I Spy A Winter Wonderland Lamp

 Winter Wonderland Lamp Makeover Story…

White Christmas decor

Sleigh bells ring, are you listening, 
In the lane, snow is glistening
A beautiful sight,
We’re happy tonight.
Walking in a winter wonderland.

I know. It’s August. Why in the world am I thinking winter? Well, I love a good DIY challenge! And thinking about December in August is a challenge, isn’t it? Besides, when August temps are high, it’s the only time I’m wishing for snow.

and…

HomeTalk and Lamps Plus are hosting a Holiday Design Contest and I’m excited to be participating!  What is HomeTalk? A fun community based around all things “home” and Lamps Plus is an awesome source for lighting – what a great team!

I Spy Winter Wonderland Lamp Tutorial:

I Spy Winter Wonderland Lamp Makeover

Materials:

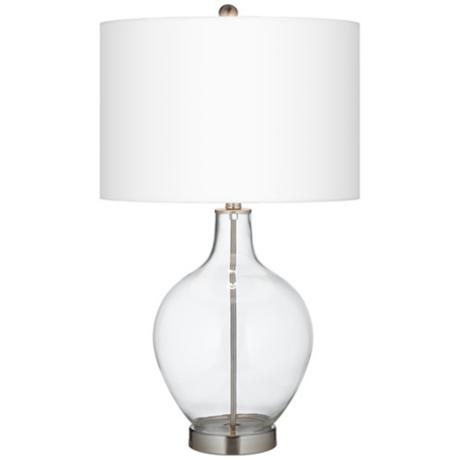
  • Fillable Clear Glass Ovo Table Lamp

Winter Wonderland Lamp Tutorial

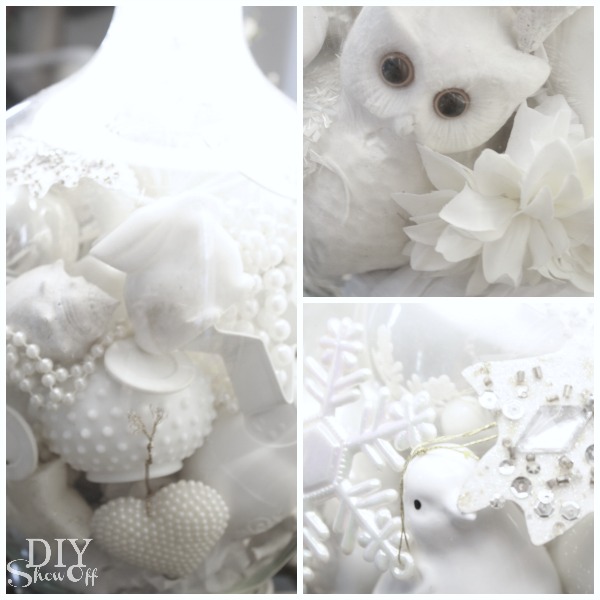
  • assorted small white accessories from around the house. Mine include Christmas bulbs, snowflake ornaments, a white owl, ceramic angel, seashells, small white feathers, stars, mask, organza butterfly, nesting dolls, poker chips, chess pieces, faux dahlia, pearls, etc. 
  • paper doilies
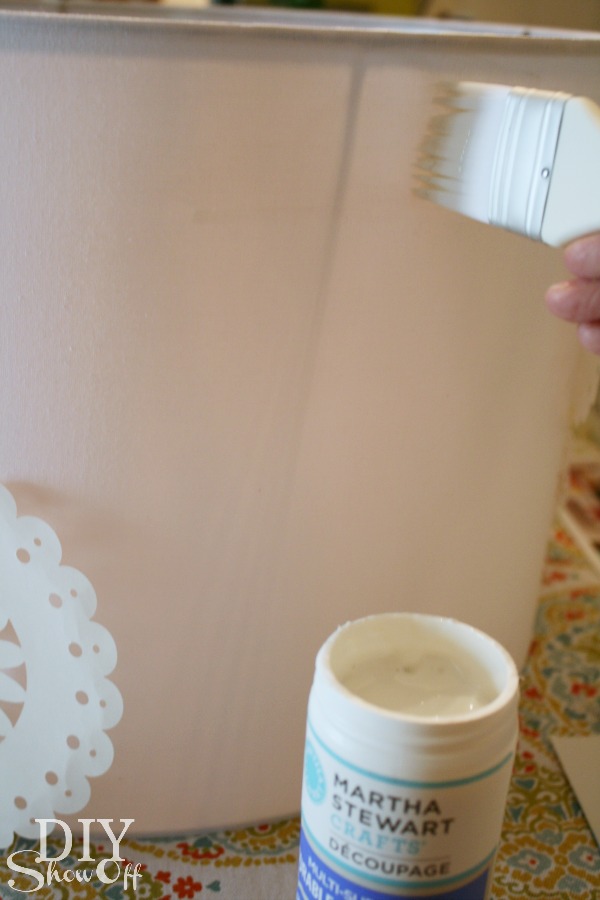
  • Martha Stewart Decoupage Multiple Surface Durable Matte Finish
  • craft chip brush

Lampshade Tutorial:

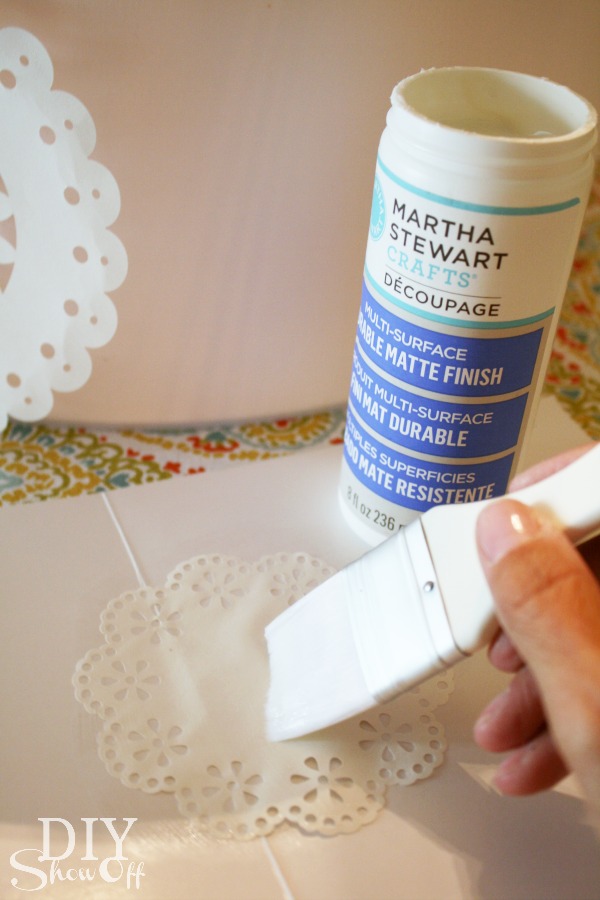
Working quickly and in small sections, apply decoupage to lamps shade with a soft bristle chip brush.

decoupaged lampshade tutorial

Apply decoupage to the back side of the paper doily. 

Martha Stewart Decoupage

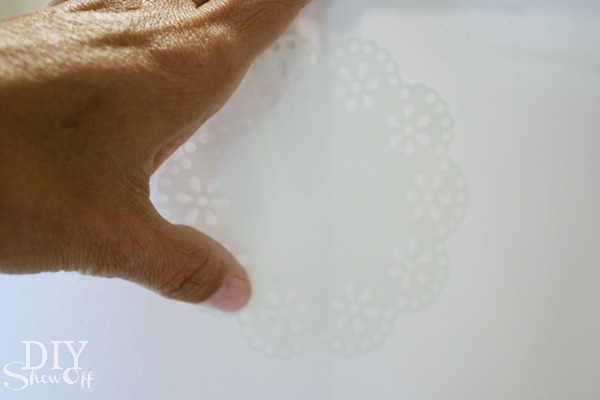
Place paper doily onto the freshly brushed decoupage on the lampshade. 

decoupage doily lampshade

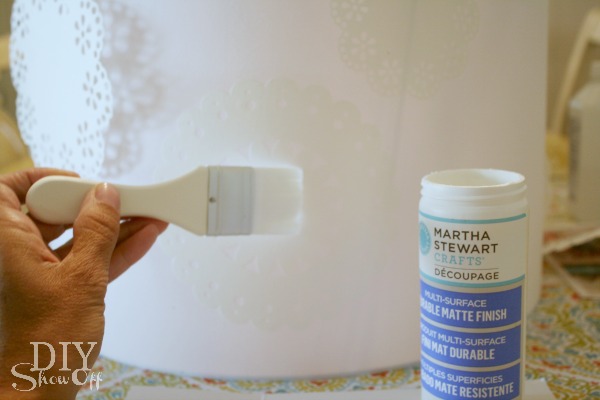
Apply a coat of decoupage to the paper doily and surrounding area. 

Martha Stewart Crafts Decoupage Doily Lampshade

Repeat steps above for all paper doilies, staggering the designs. 

Attach lampshade to lamp and give entire lampshade one to two top coats of decoupage, allowing 1-2 hours of dry time between each coat. Let dry. 

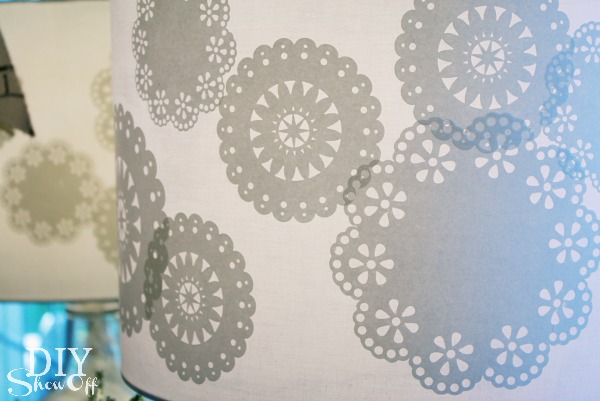
Ta-da:

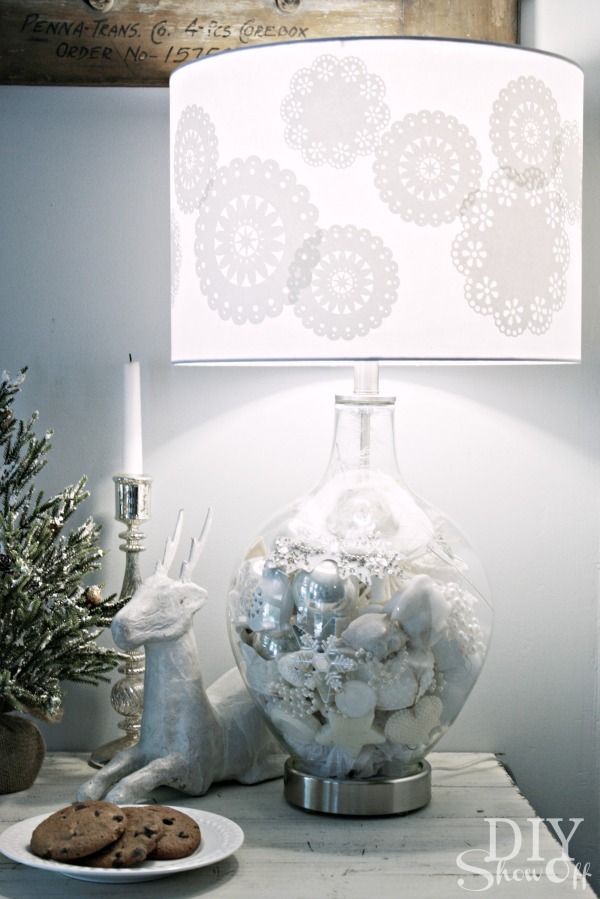
paper doily decoupaged lamp shade

Filling the Lamp:

winter wonderland ornaments

Filling the lamp is super easy: Unscrew the wing nut on the bottom of the fillable lamp to separate the bottom piece. Carefully fill the lamp with baubles. In my case, it was my white “I spy” collection from around the house. At the bottom of my lamp, I added a little bit of old tissue paper to act as a cushion. When full, replace the the base and secure with the wing nut.
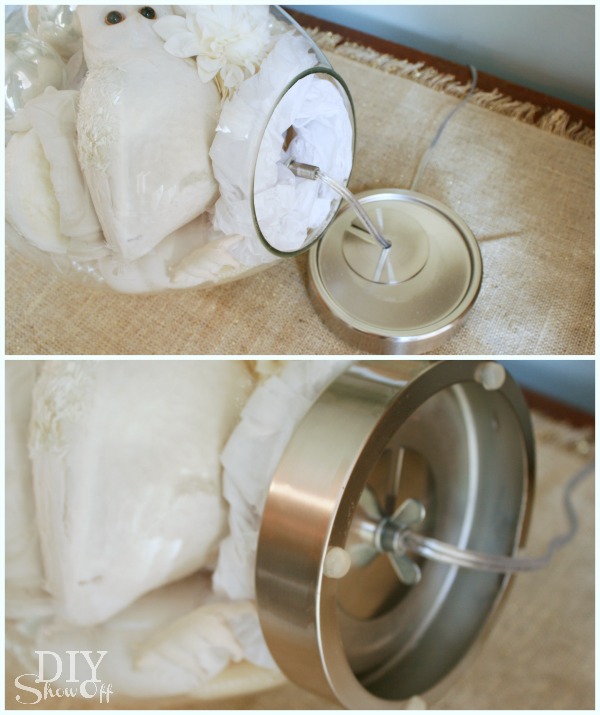
fillable lamp

Attach lamp shade.

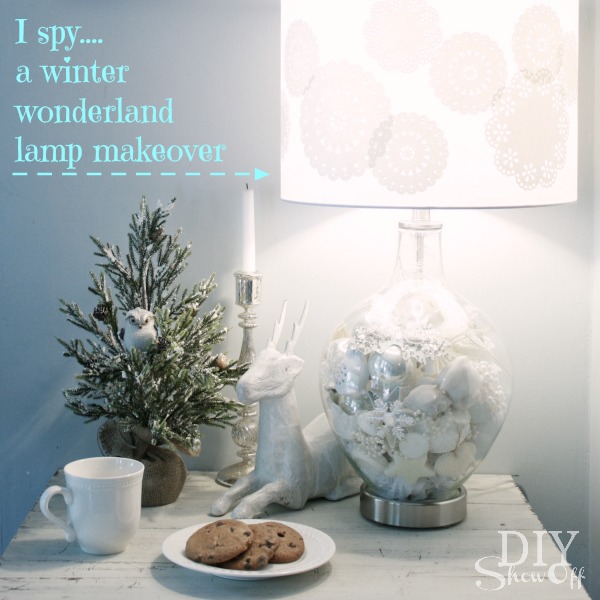
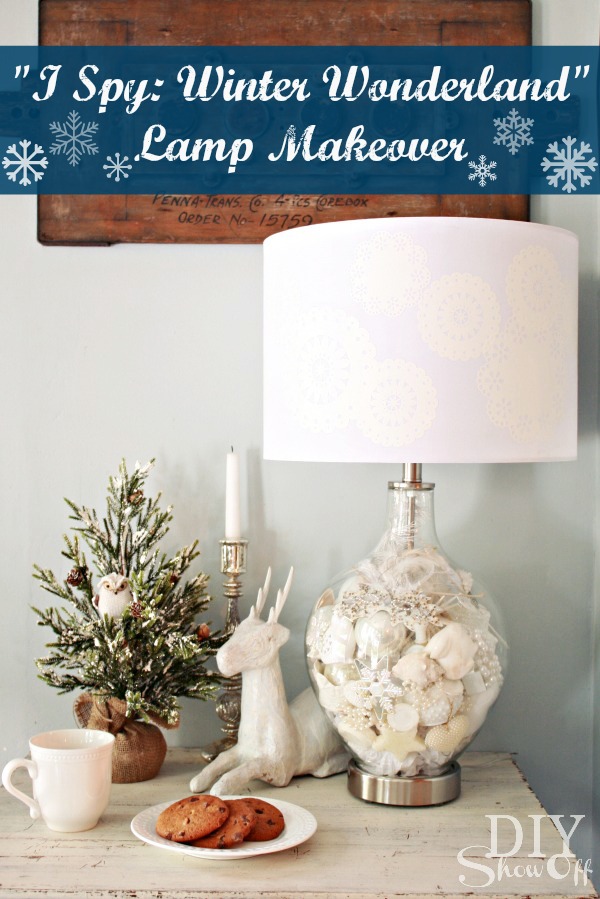
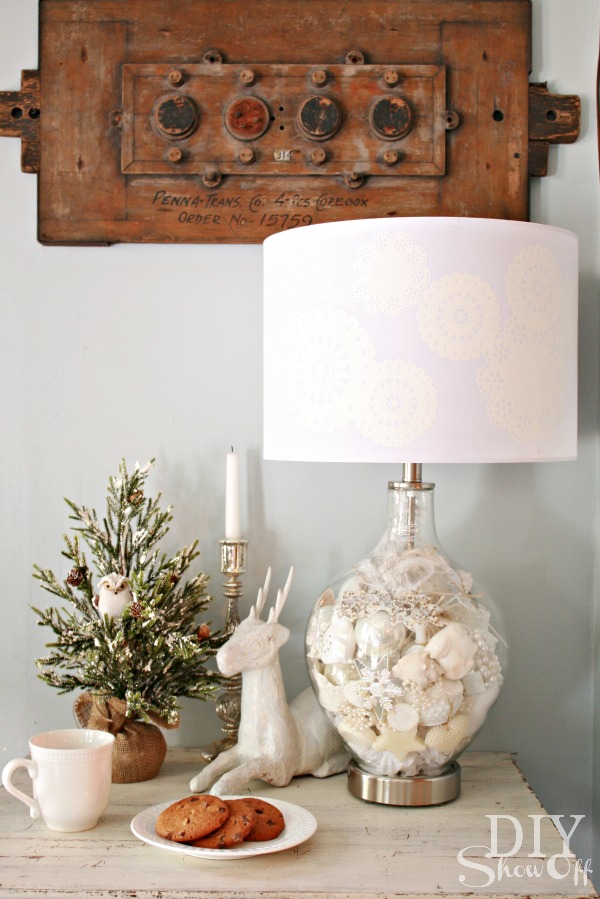
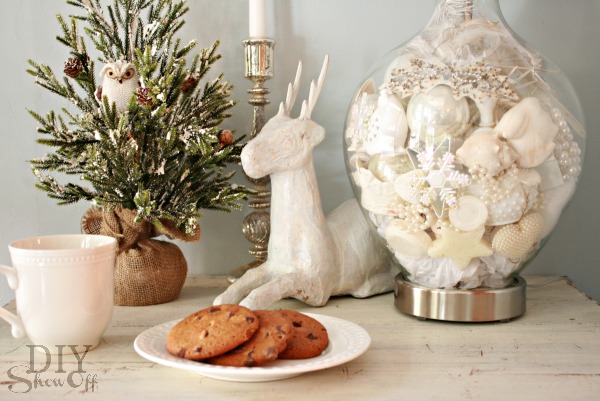
I Spy Winter Wonderland Lamp

Hot cocoa, a warm throw, cozy fire, holiday music and dreaming of a white Christmas…

DIY Christmas Lamp

What I love about my “I spy winter wonderland lamp”:

  • I love that while my lamp definitely has a winter wonderland vibe, it’s a subtle enough style to display all year long since it doesn’t scream “HO-HO-HO! Merry Christmas!”
  • Great for a winter decorated side table or vignette to coordinate with any holiday theme or color scheme. White goes with everything!
  • Perfect for a guest room night stand…who needs to count sheep when you can hunt for treasures?
  • And a fun quick “I spy” game and conversation starter for guests in the living room.  
  • Easily refillable for a new look. 

Winter Wonderland Vignette

Thanks to HomeTalk and Lamps Plus for inviting me to participate in this fun Holiday Design Challenge! 

*LampsPlus supplied the lamp for this project. All thoughts, opinions and project tutorial are 100% in my own words. 

Decorating a Lamp Shade with Vinyl

Lamp Makeover

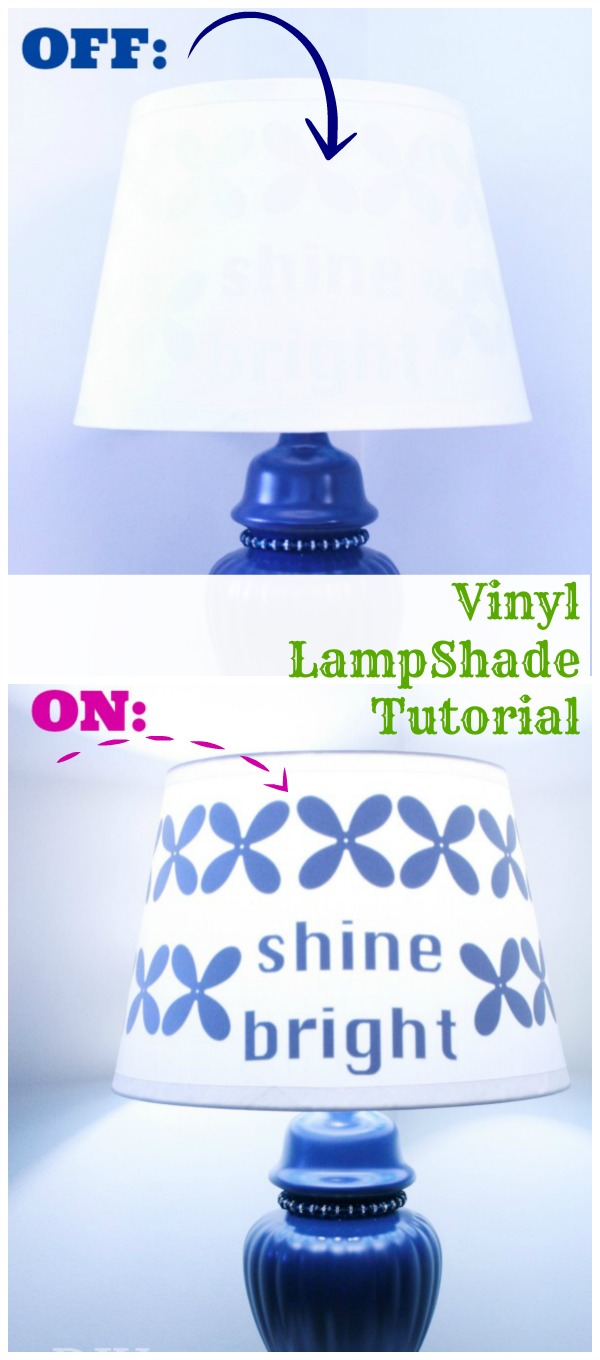
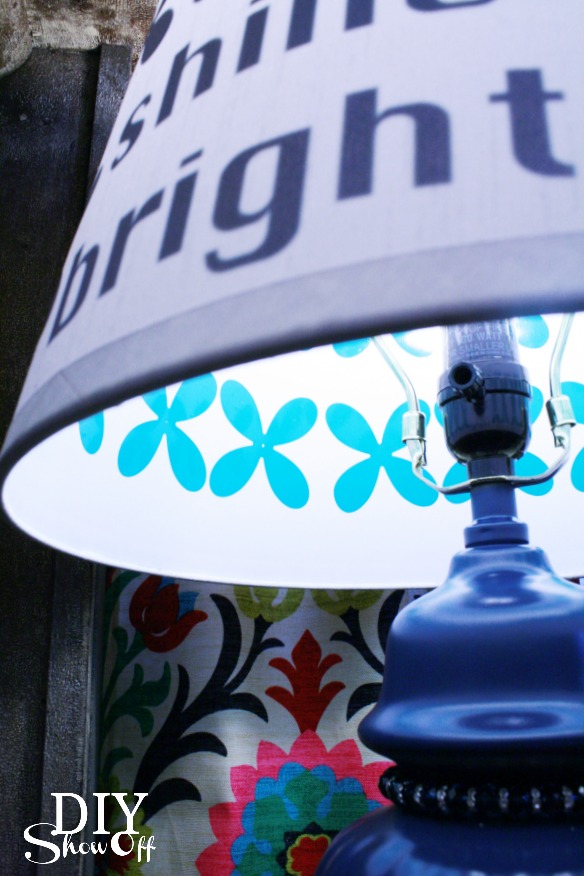
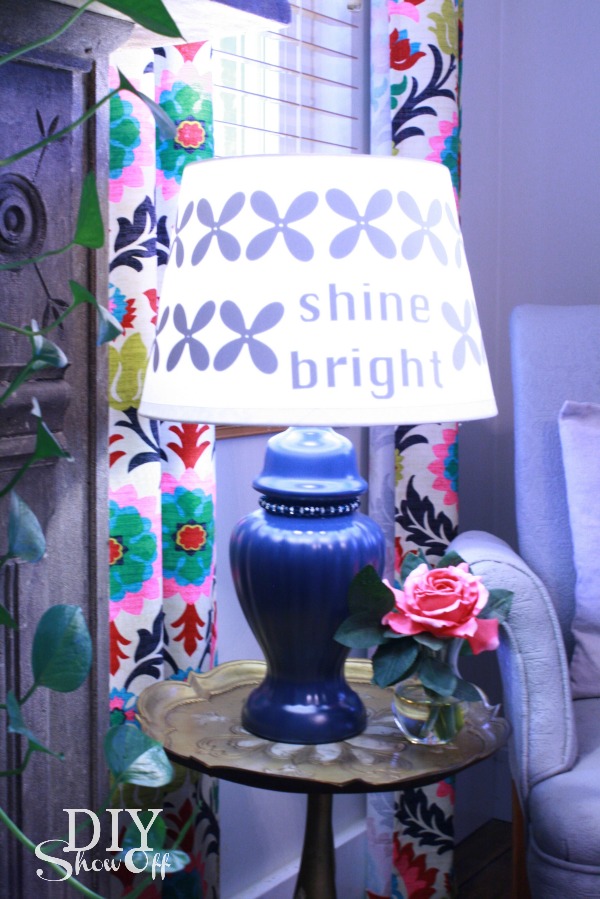
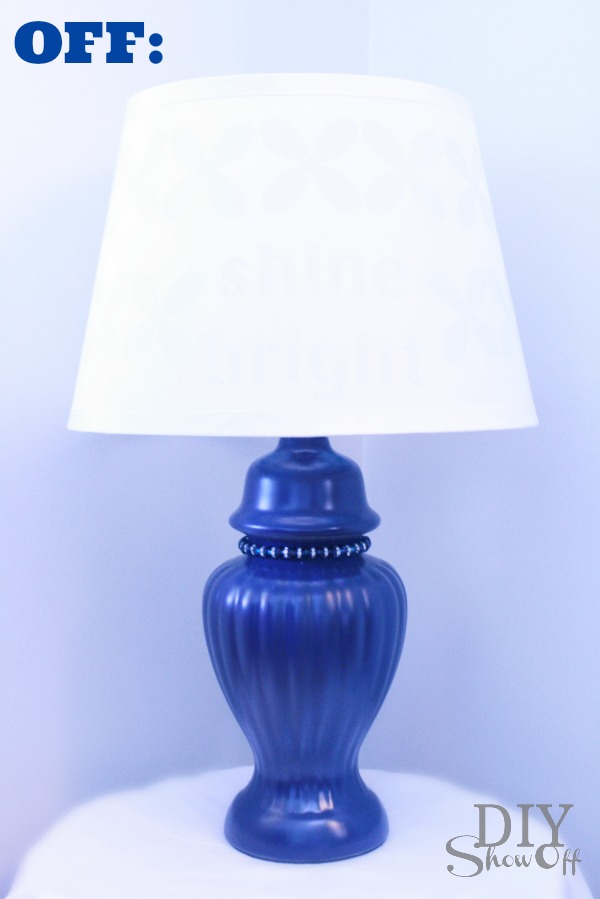
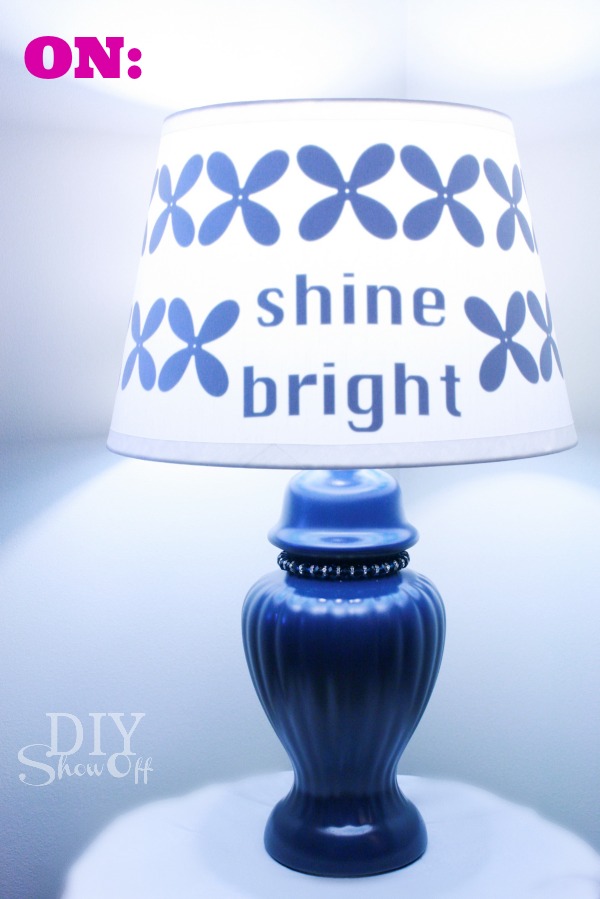
Plain white lamp shades are the perfect clean slate for adding a little DIY color and pattern to a room. I used vinyl on the inside of my shade to make it a little more special. When the lamp is turned off, the design is subtle, almost invisible but when the lamp is turned on, there’s a sweet little reminder to “shine bright”.

vinyl lampshade tutorial

Materials I used:

lamp shade and vinyl

  • old lamp
  • FrogTape® Multi-surface
  • spray paint (Valspar Indigo)
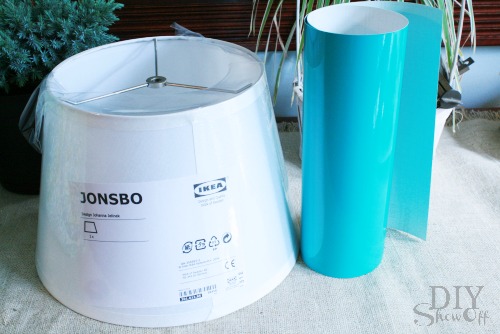
  • Ikea Jonsbo lamp shade
  • Glossy adhesive vinyl (turquoise) from Happy Crafters
  • optional: elastic gemstone bracelet

Tools: Silhouette Cameo

How I did it:

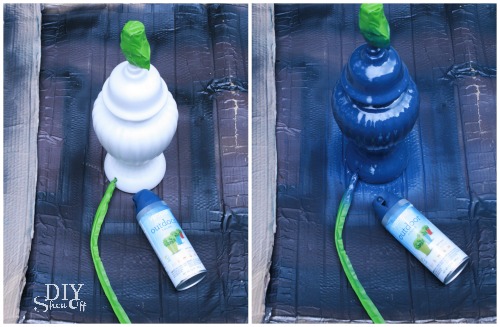
After taping off the light socket and cord using FrogTape®, I spray painted my old lamp a pretty navy and let it dry. Then simply removed the FrogTape to reveal a nice clean cord and nice clean switch and socket. 

spray painting lamp

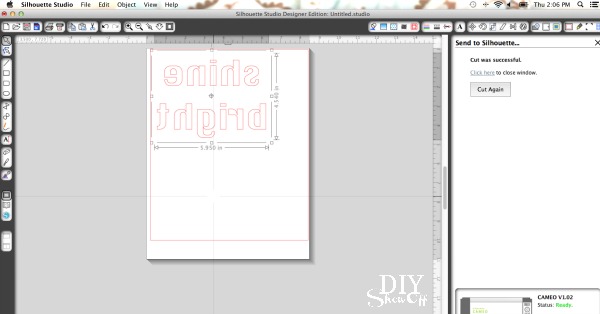
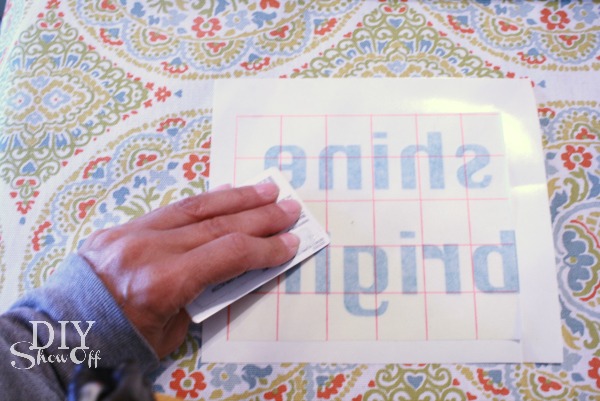
For the vinyl wording: I created my lettering in the Silhouette Design Studio. Be sure to right click the text when finished and “flip horizontally” so it shows backwards. IMPORTANT: MIRROR IMAGE the TEXT!
mirror image text

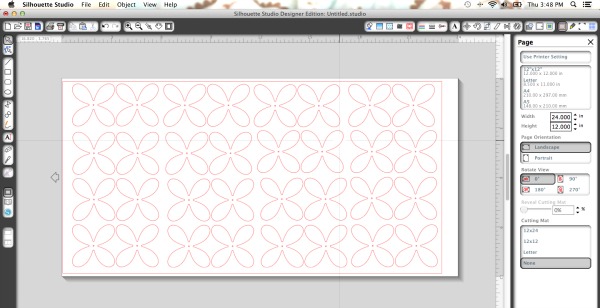
I also used a flower garland shape for my design in addition to “shine bright”. 

vinyl flower design

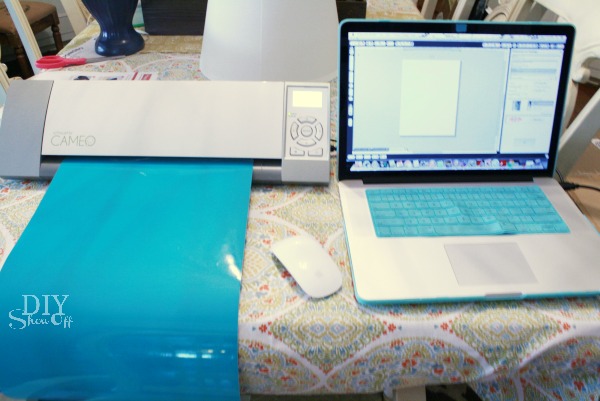
I sent both to my Silhouette Cameo to “cut” once I adjusted my settings for vinyl. If you don’t have a vinyl cutter, you could also use vinyl decals if the design looks the same backwards (remember: text must be flipped horizontal/mirror image for this project).

Silhouette Cameo tutorial

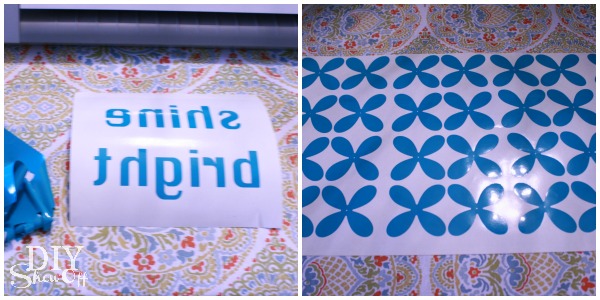
I then removed all of the unnecessary vinyl from my designs by weeding away the vinyl that isn’t a part of the design…

vinyl lettering and design

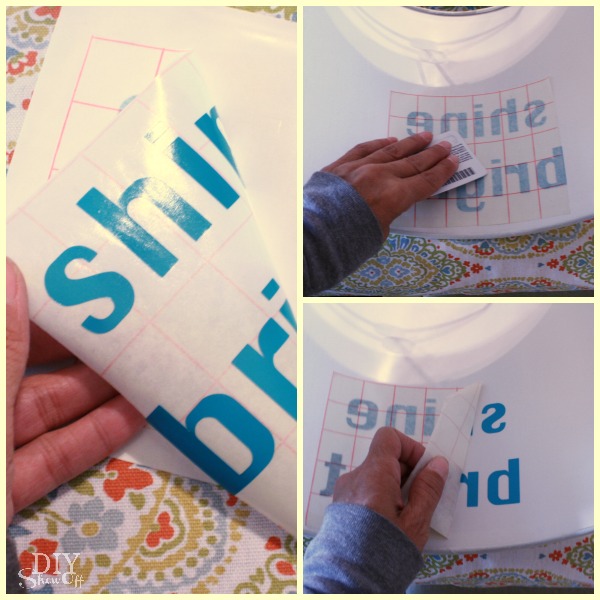
and added the transfer paper. 

Happy Crafters vinyl

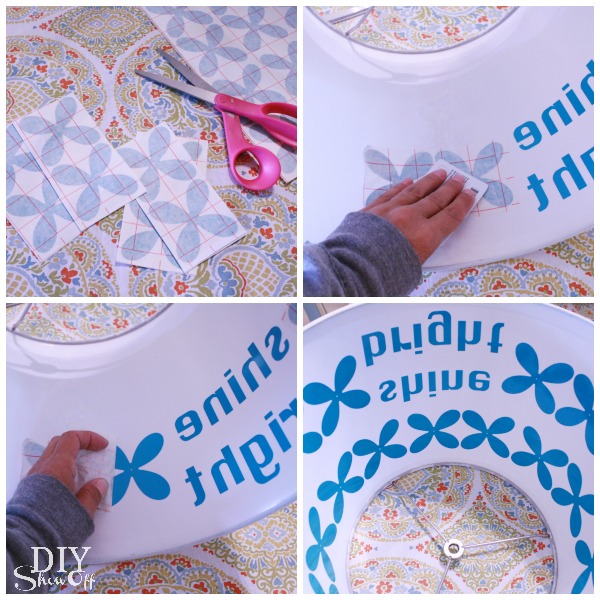
I removed the waxpaper backing and placed my designs on the inside of the lamp shade. I used a credit card to rub down the design for transferring. Then I removed the transfer paper. 

applying vinyl to lampshade

Note: I found cutting and adding my flower design in sections of two to be the best way with the rounded/tapered lamp shade. Keep vinyl pieces individual/smaller sized to go around the curved lampshade to prevent wrinkling when applying. 

applying vinyl to plastic lamp shade

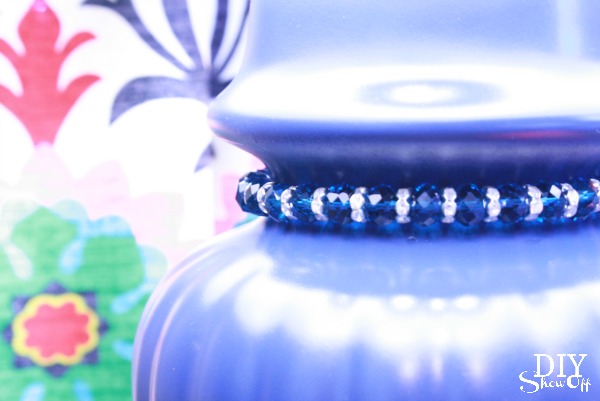
I added the turquoise bracelet for a little additional bling. 

accessorizing lamp

Here’s a shot of the inside and outside. I do love how the turquoise vinyl lettering on the inside shows navy-ish on the outside. I couldn’t have planned that better if I tried!

inside outside of lampshade

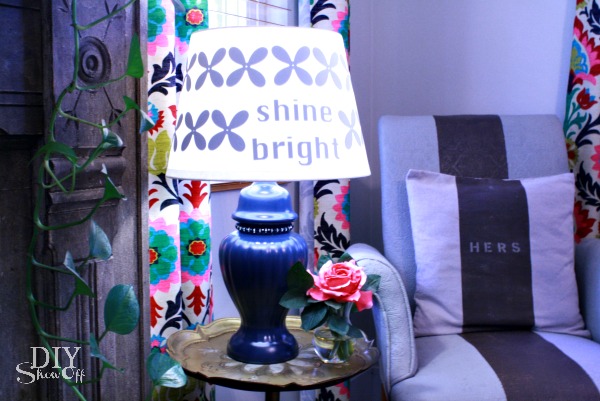
It’s perfect on a side table in our family room for a little extra reading light…

lamp makeover

lamp makeover

Lamp off… 

lamp makeover

 Lamp on…

lampshade makeover


NEAT! Love it! I also thought “Note to self: Relax.”, a monogram or a damask pattern would have been pretty. What would your lamp shade say?

FrogTape Blog Squad*This is sponsored by FrogTape®. FrogTape provided by Shurtech. The opinions are completely my own based on my own experience. 

Happy Crafters supplied the vinyl for this sponsored blog post.

 HClogopngsmall

DIY Wire Cloche SucculentTerrarium

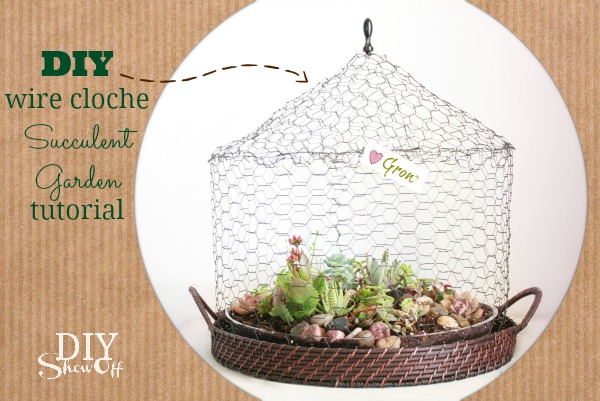
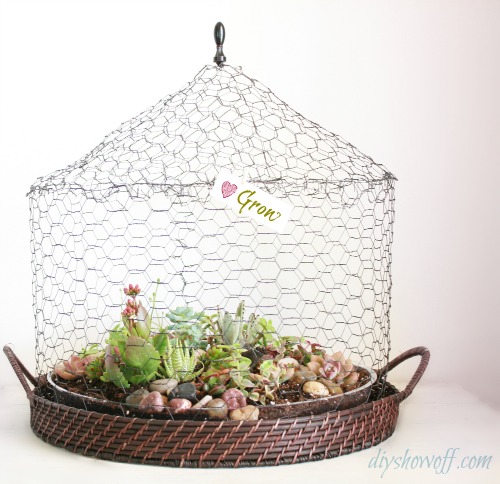
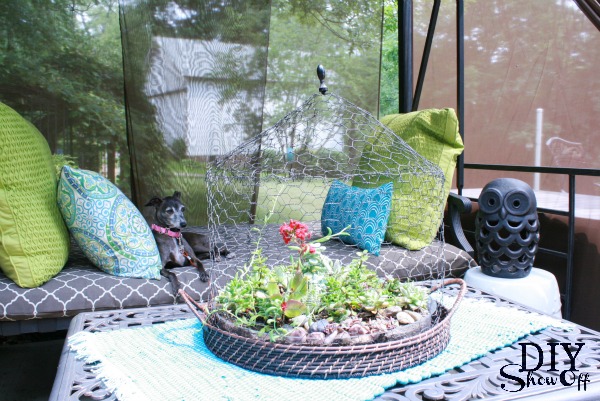
Succulents make for a great indoor/outdoor centerpiece. I’ve been using this wire cloche succulent garden as a centerpiece on our patio coffee table all summer. I love that it requires little maintenance. 

DIY wire succulent garden tutorial

DIY wire cloche succulent terrarium tutorial:

diy wire cloche succulent garden

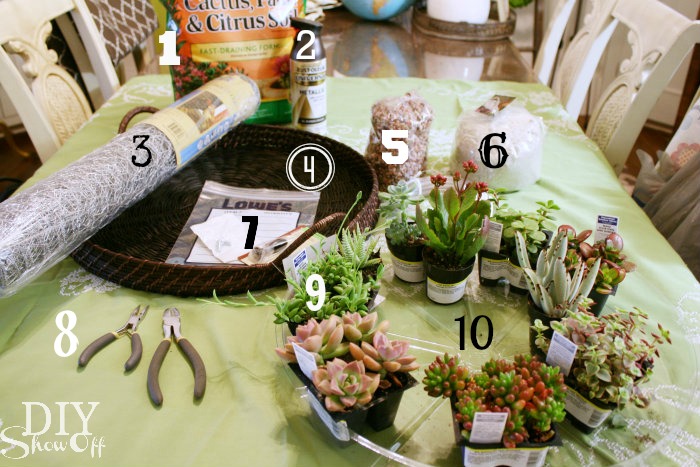
Materials I used:

  1. Miracle Gro Cactus & Citrus Potting Soil
  2. Rustoleum Oil Rubbed Bronze Spray Paint
  3. Chicken Wire 
  4. Allen & Roth Round Serving Tray
  5. Pebbles
  6. Sand
  7. Finial
  8. Tools: Needle Nose Pliers & Wire Cutters
  9. Assorted Succulents
  10. Plastic Planter Liner
  11. Decorative Rocks & Accessories (not shown)

What I did:

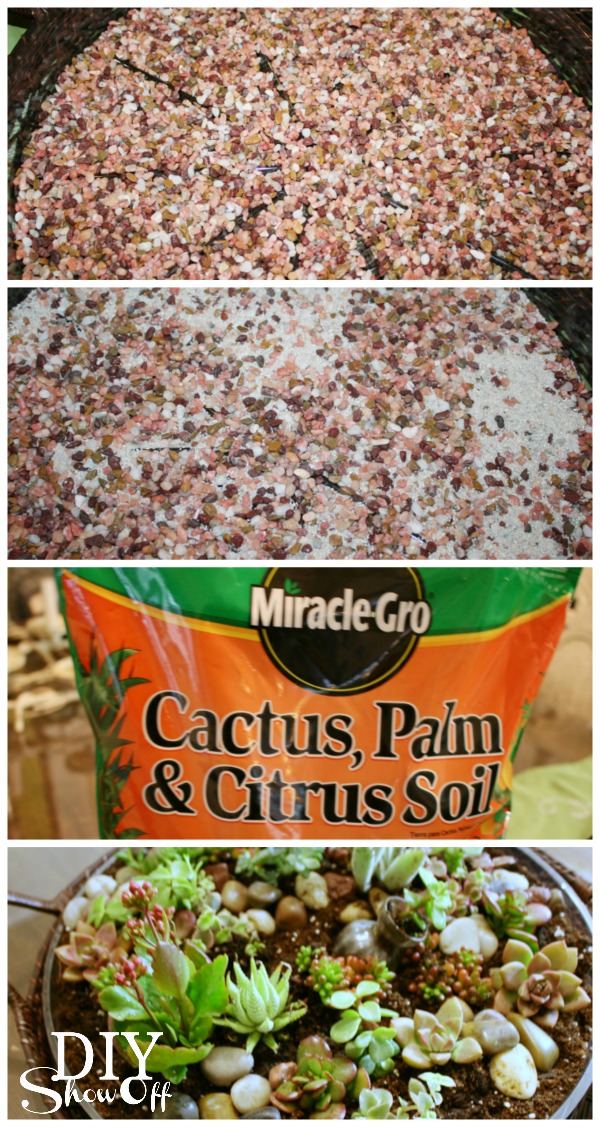
In the plastic planter liner, I layered pebbles, sand and topped with the potting soil. Then planted the succulents and added decorative rocks. And placed the plastic planter liner into the round serving tray.
DIY succulent garden

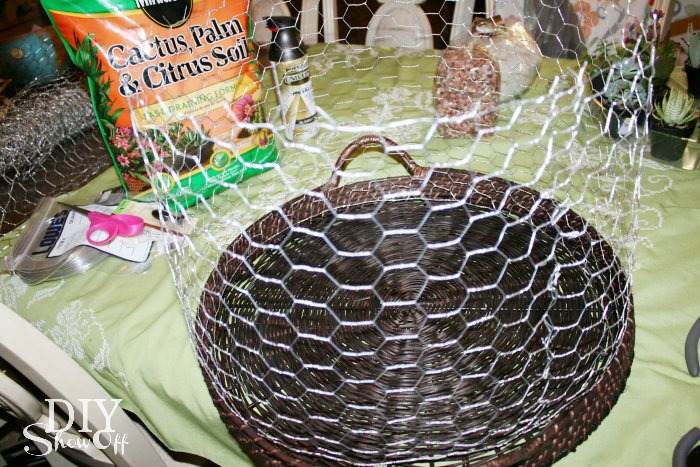
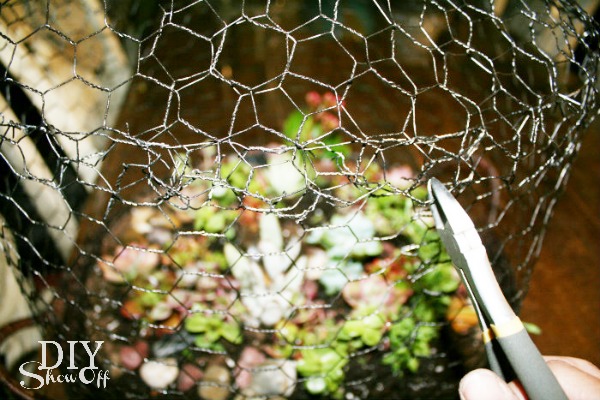
I measured the diameter of the plastic planter liner and decided on the height of my wire cloche and using wire cutters, cut out my shape to create a cylinder to go around the terrarium.

DIY wire succulent garden tutorial

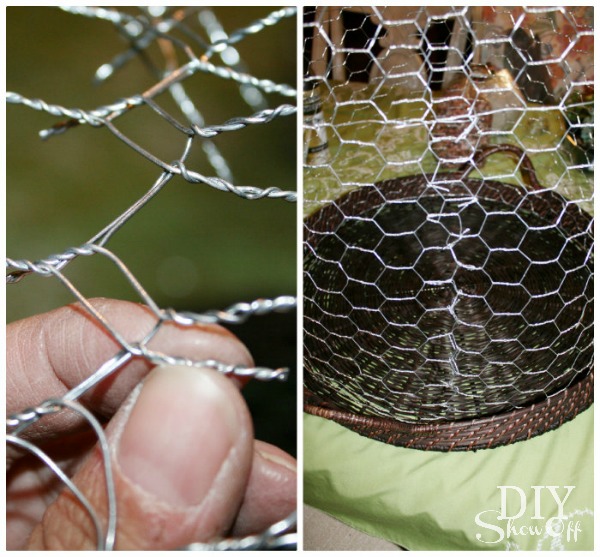
I cut the wire so that I’d have little wire “tabs” to secure the shape up along the side.

DIY wire succulent garden tutorial

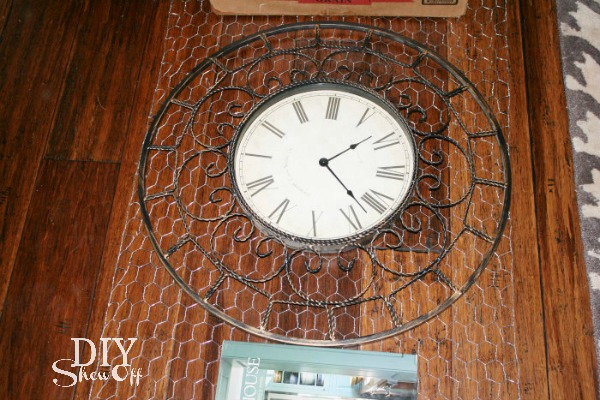
To make the top (roof) of my wire cloche, I used a large round clock as a circle template (the biggest circle size I could cut from my chicken wire width) and cut using wire cutters.

DIY wire succulent garden tutorial

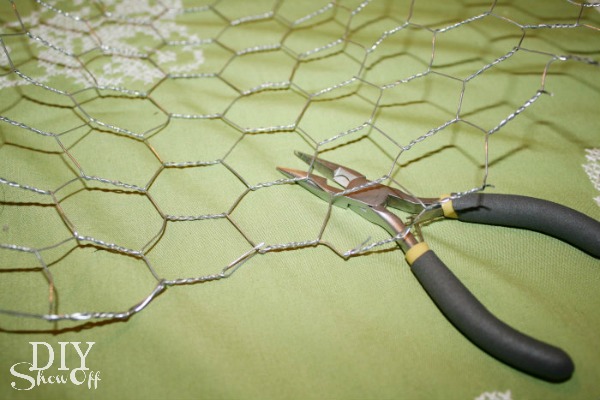
I cut a straight line to the center of the circle and created a ‘cone’ shape top for my terrarium and again used the small cut chicken wire tabs to secure my shape. Then I spray painted my cylinder and top.

DIY wire succulent garden tutorial

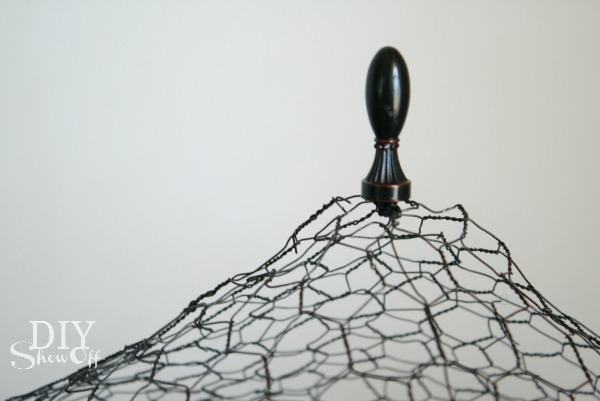
Once dry, I used an extra piece of wire (a twist tie will work) to attach a finial to the top. Glue and screws weren’t working so this takes some playing with, but the wire cloche is light so lifting it from the garden will be easy to do, even if it’s simply twisted in the chicken wire. 

DIY wire succulent garden tutorial

And using the same technique with ‘tab’ piece of wire from the cylinder, I attached the “cone” (sort of like a “roof”) to the cylinder.

DIY wire succulent garden tutorial

Then just slip the wire cloche over the terrarium.

DIY wire succulent garden

Here it is on the patio:

succulent patio garden

See more patio and outdoor projects in the DIY Show Off Project Gallery

And more fun DIY ideas at Lowe’s Creative Ideas, follow Lowe’s on InstagramPinterest and sign up for the Creative Ideas magazine and app.

Spring 13 Blogger Badge Subscribe Banner Version

*Disclaimer: As a member of the Lowe’s Creative Ideas Creators and Influencers network, I received a Lowe’s gift card to complete a DIY terrarium project, however the tutorial images, instructions and opinions are my own.