Sauder Experience

With a nursery project in the works, purchasing a dresser is near the top of the furniture list.

As a part of a fun campaign, I recently shopped at Sauder.com to choose a dresser that fit our space and needs. The Expedition Design tool makes choosing a piece that fits your style easy!

I ordered the a dresser from the Shoal Creek Collection (gorgeous jamocha finish) from Sauder that will coordinate beautifully with the crib that Ali has chosen. I love the extra attention to detail.

We loved the rich dark color, beautiful hardware and extra deep drawers for more storage. Even better? I ordered it online and it was delivered to my back door. Much less complicated than hauling it home from the store.

Upon unpacking the box, it was noted that one of the boards had snapped during shipping. But rather than have to pack everything up and return to the store (that box is heavy!), I simply ordered a replacement part at no cost to me … online. It shipped the next day. Super convenient! There’s also a live chat option.

And while the DIY part of building may feel overwhelming, assembly was actually pretty easy with detailed instructions. Every piece is labeled and the drawings of each step are helpful. The only tools required are Phillip’s screwdriver and small hammer. The dresser was assembled in just a little over an hour. An affordable dresser! With slides and drawers…that easy!

It’s currently residing in our guest room, soon to be guest room + nursery space. Perfect for baby’s clothes, blankets and diapers but until those plans are underway, it provides great storage for extra linens, towels and “junk”.

Isn’t it gorgeous? I love the placement at the end of the bed too. How about you?

You’ve seen me use a dresser as a kitchen island, hallway linen storage and dining room buffet. I love non-traditional uses for furniture. And dressers are so versatile for use and function as additional storage for any room. What do you think?

This is a sponsored conversation written by me on behalf of Sauder. The opinions and text are all mine.

Quick DIY Lamp Makeover

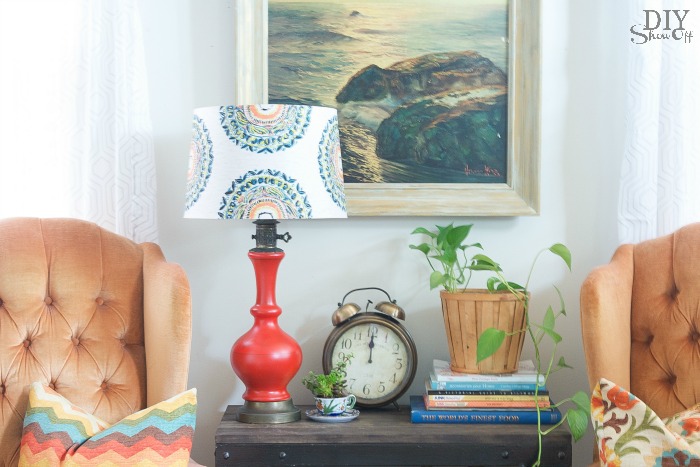
A recent thrift store score inspires a new addition to our family room. 

DIY lamp makeover at diyshowoff.com

Materials:

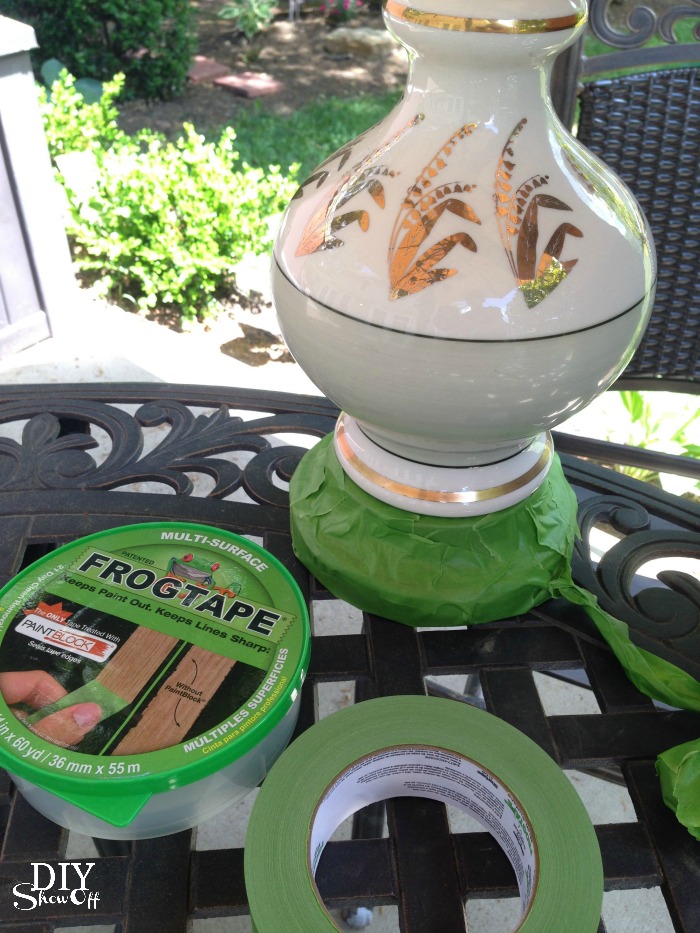
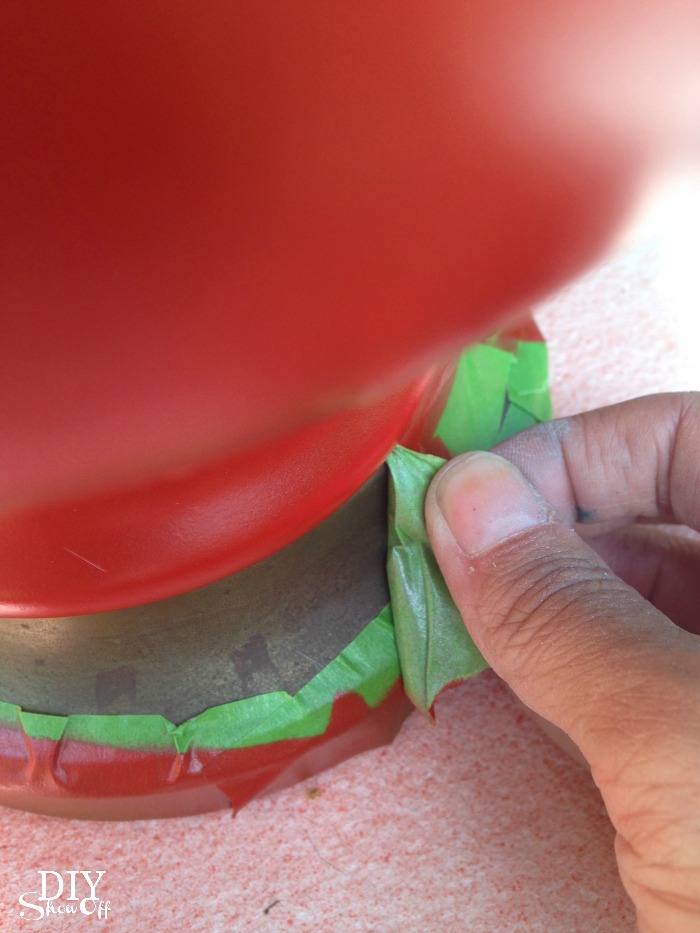
It goes without saying but I simply taped off the parts I didn’t want sprayed with paint using FrogTape.
DIY lamp makeover at diyshowoff.com

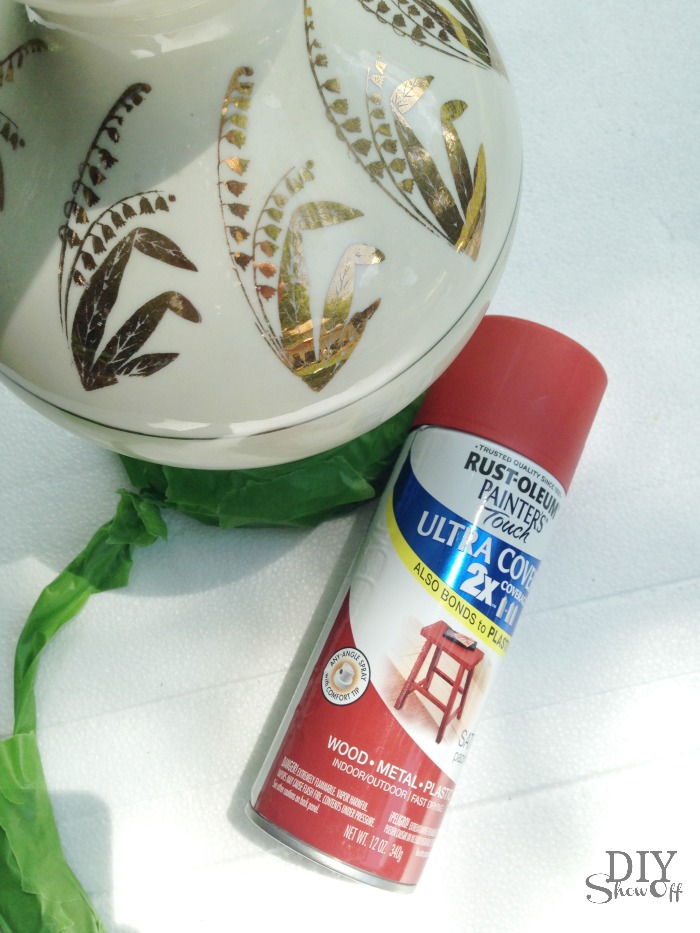
I gave the lamp a few light coats of spray paint (allowing dry time between each). 
DIY lamp makeover at diyshowoff.com

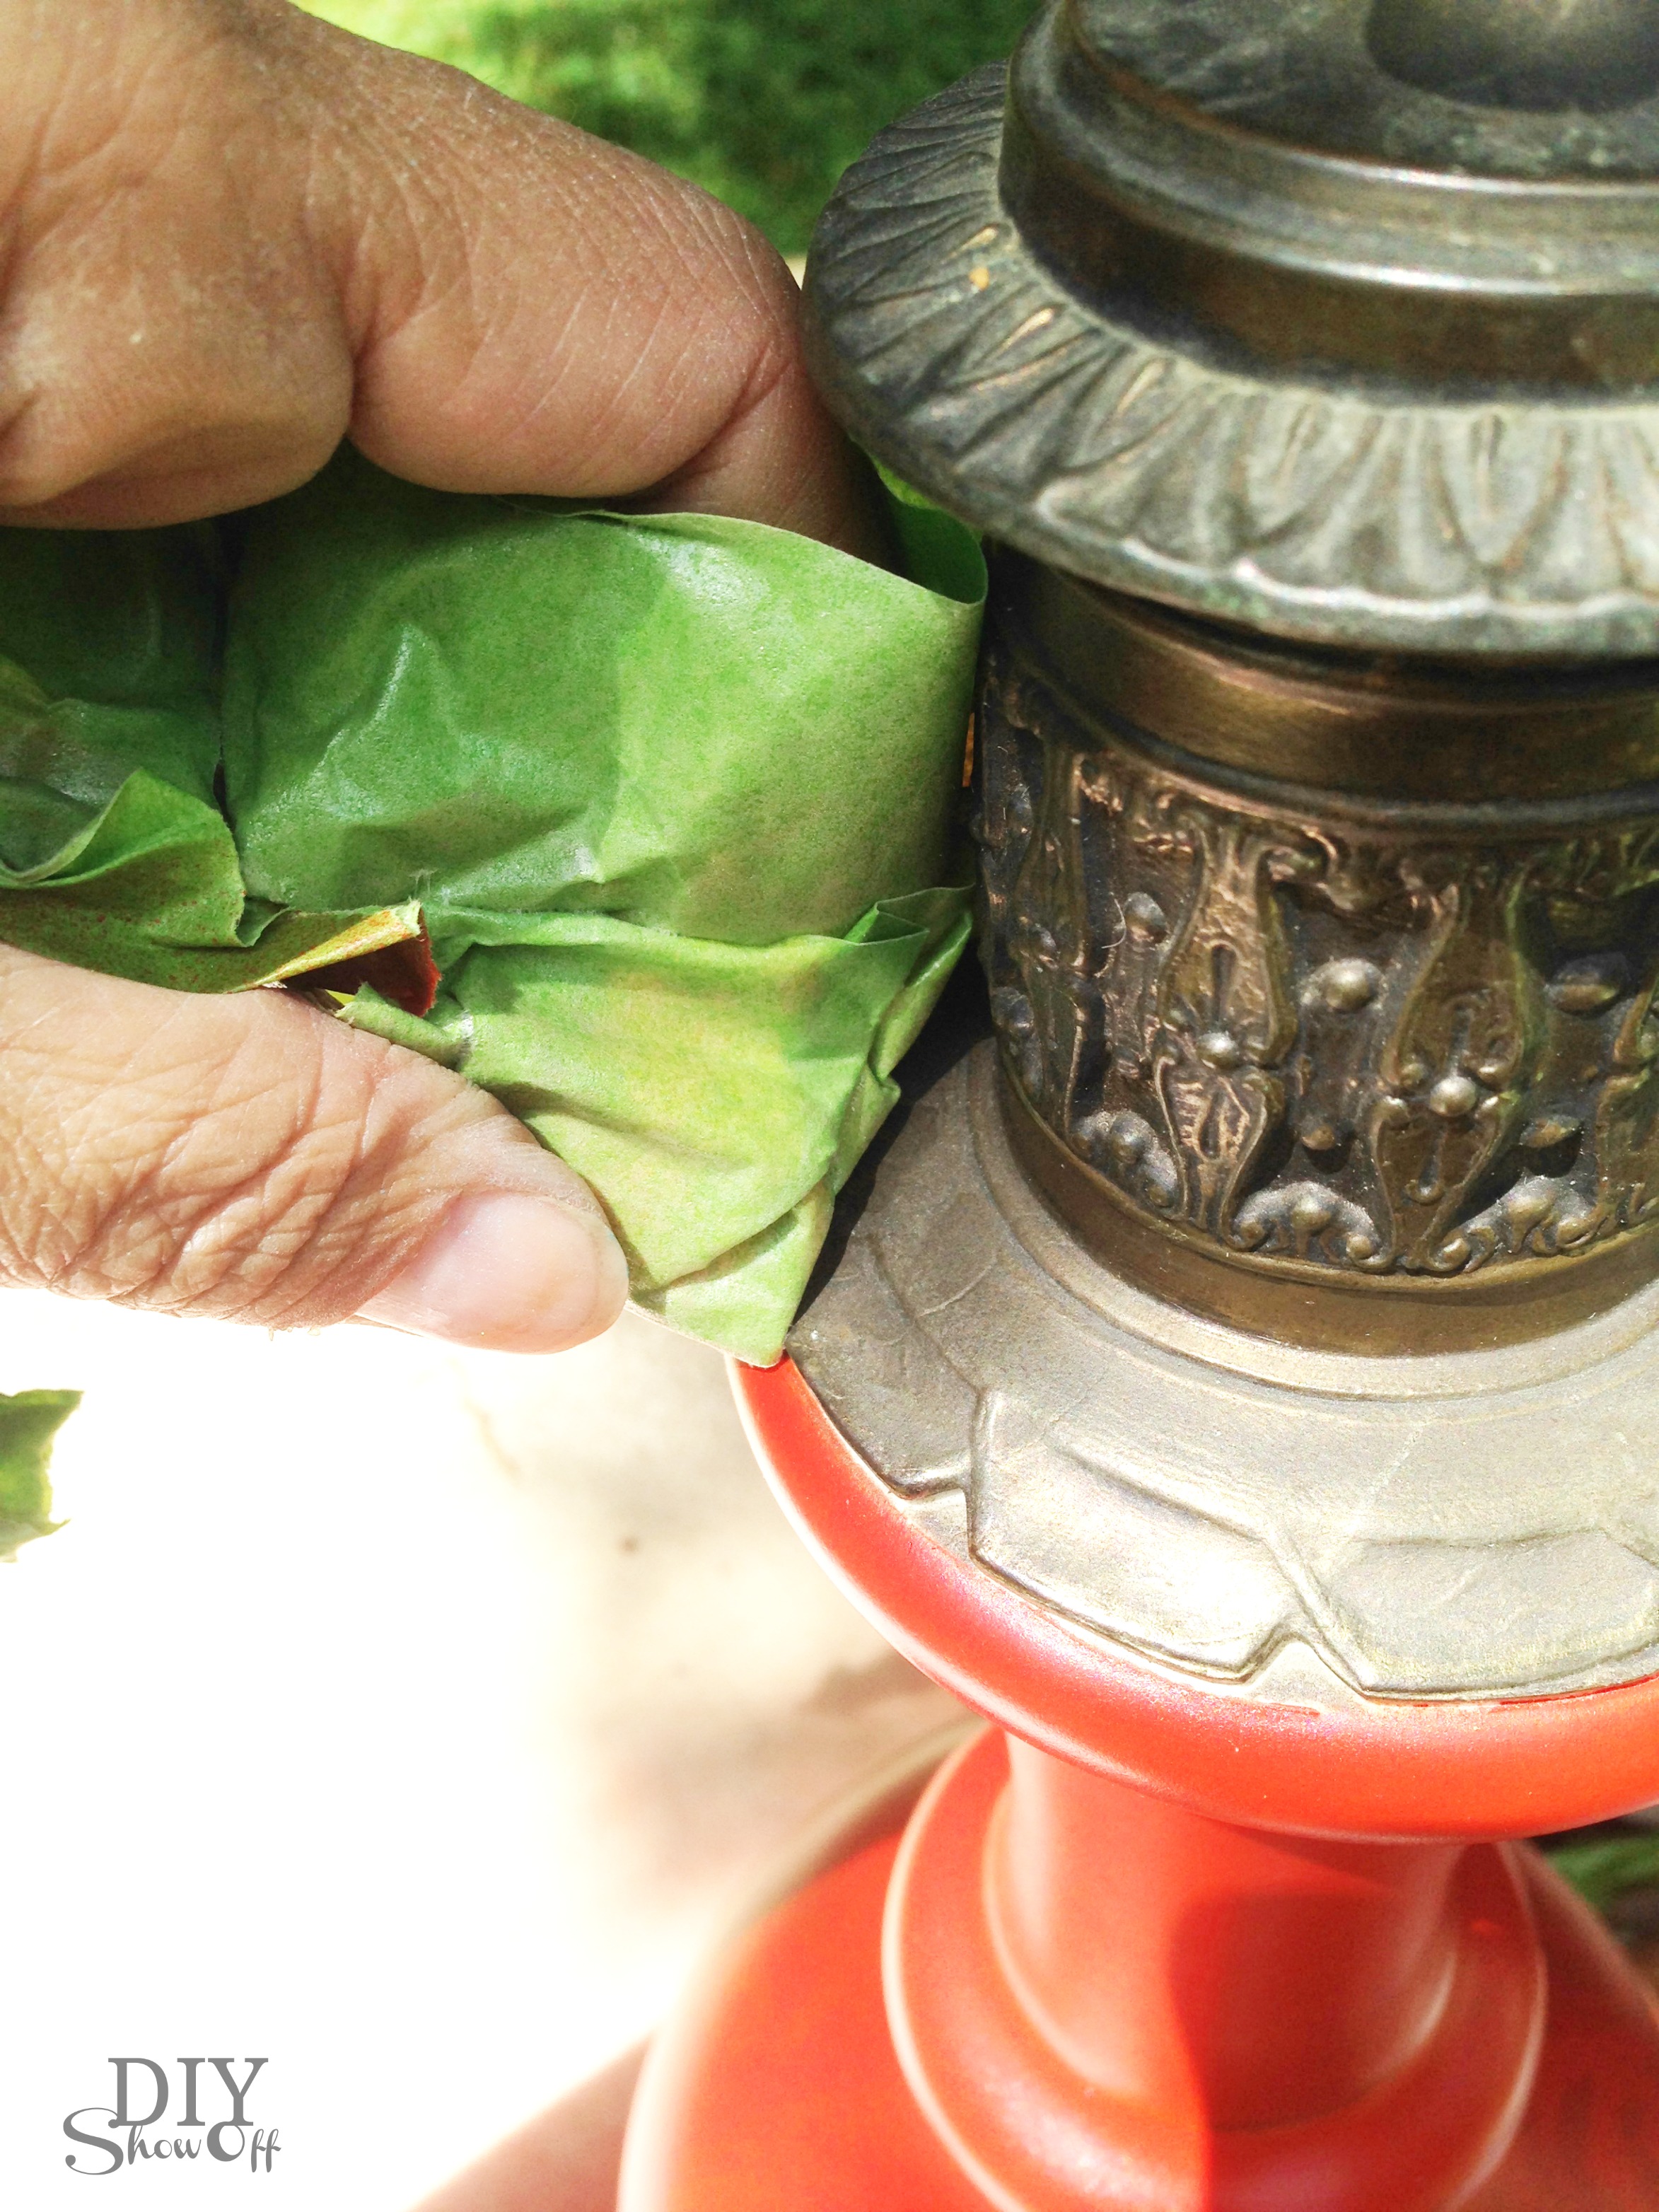
Then I removed the FrogTape while the last coat of paint was still wet.

DIY lamp makeover at diyshowoff.com DIY lamp makeover at diyshowoff.com

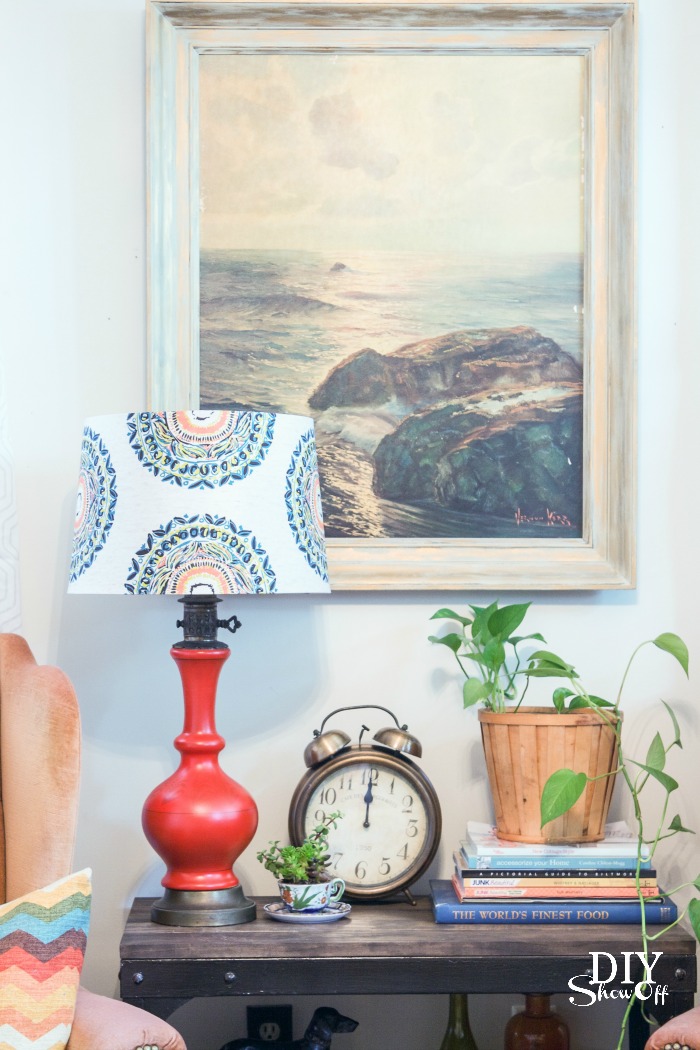
Finally, I topped it with a new lamp shade. 

A quick new lighting accent in our family room….

DIY lamp makeover at diyshowoff.com

Keep your eyes open at yard sales and flea markets this summer. Snag a lamp for cheap and give it a new look to freshen up your existing decor. 

FrogTape Blog Squad

Disclaimer: I received compensation to complete this project for using FrogTape® products. All opinions, projects and ideas are based on my own experience.

Wall Mounted Lantern Hanger

As a member of the Lowe’s Creative Ideas team, I participate in monthly DIY challenges. The challenge I chose for July is DIY decor with a DIY wall mounted lantern hanger. 

DIY wall mounted hanging lantern tutorial at diyshowoff.com

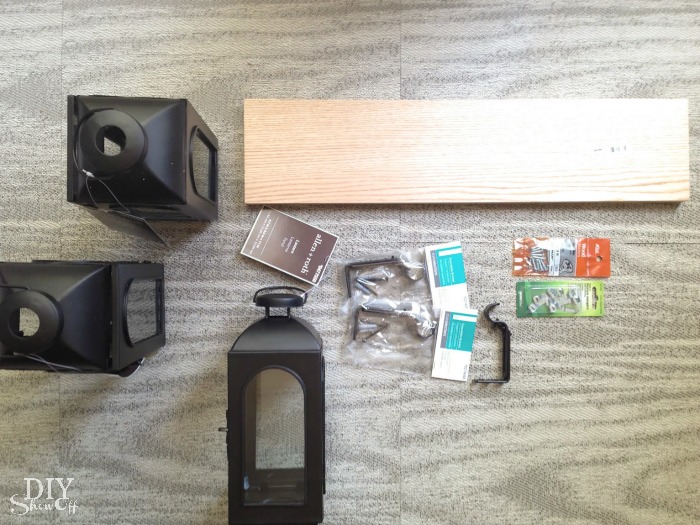
Materials I used:

wall mounted hanging lantern materials

Wall Mounted Lantern Hanger supplies

Here’s what I did:

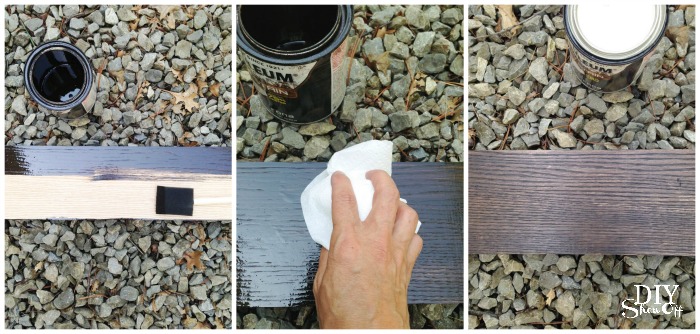
1. Stain the wood plank by brushing stain on in the direction of the wood grain, let sit a few minutes and wipe away (same direction) with clean rags. Let dry one hour.

DIY wall mounted hanging lantern tutorial at diyshowoff.com

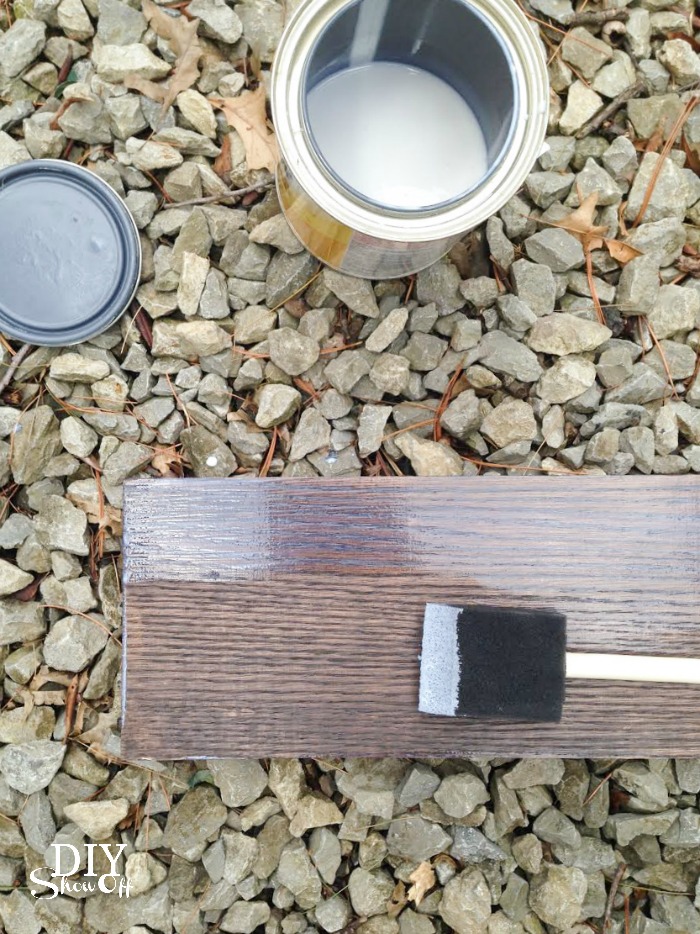
2. Apply a coat or two of polyurethane and let dry. It goes on with a milky look but dries transparent.

DIY wall mounted hanging lantern tutorial at diyshowoff.com

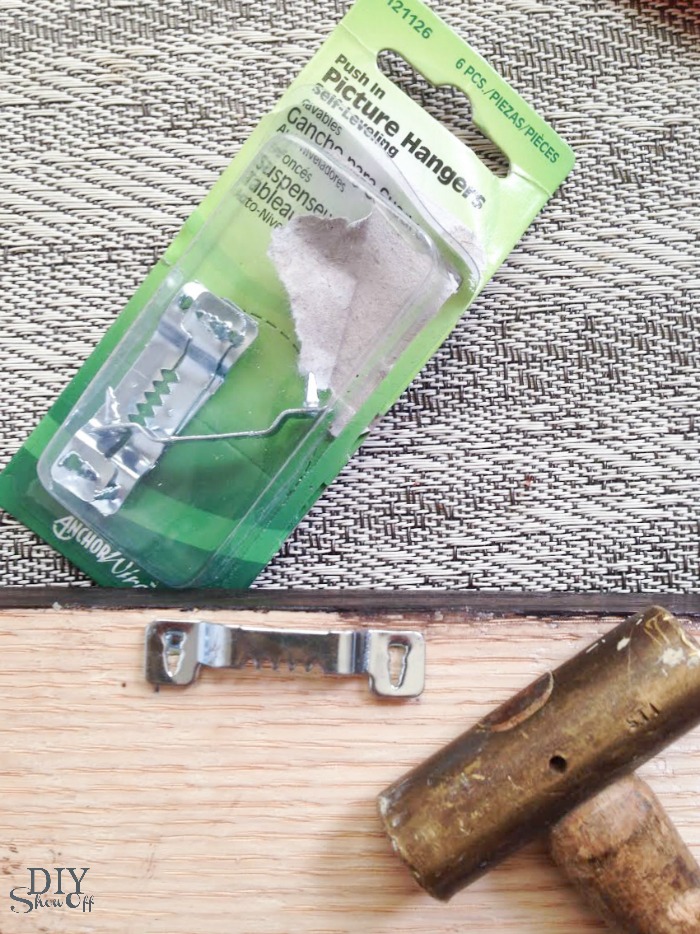
3. Attach hanging hardware to the back. I did two; one on each end.

DIY wall mounted hanging lantern tutorial at diyshowoff.com

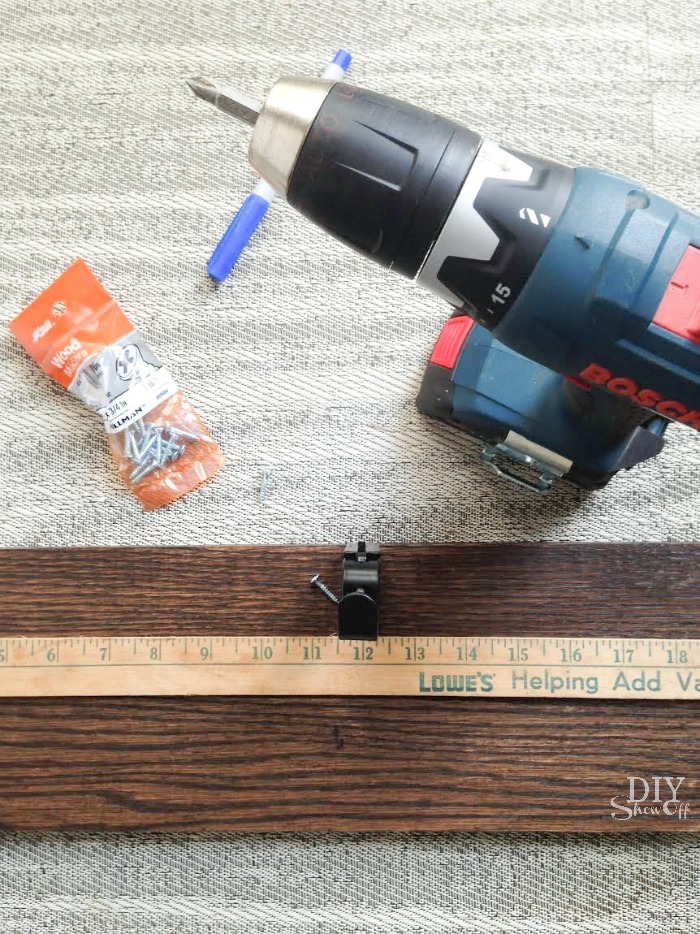
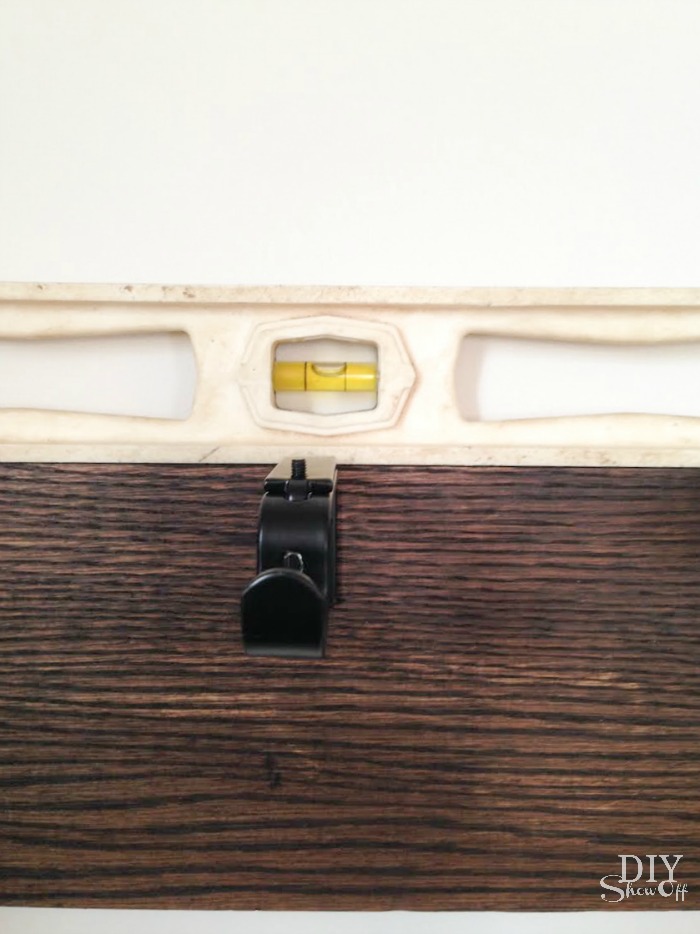
4. Flip to the front stained side and attach the curtain rod brackets using 1/4″ screws (the screws that come with the brackets will be too deep). I measured and marked the center bracket first then measured the center from the edge to the center bracket on each side for the other two ‘hooks’.

DIY wall mounted hanging lantern tutorial at diyshowoff.com

5. Adjust the brackets to fit the depth of hanging a lantern on the hook. 

6. Hang or secure to the wall. 

DIY wall mounted hanging lantern tutorial at diyshowoff.com

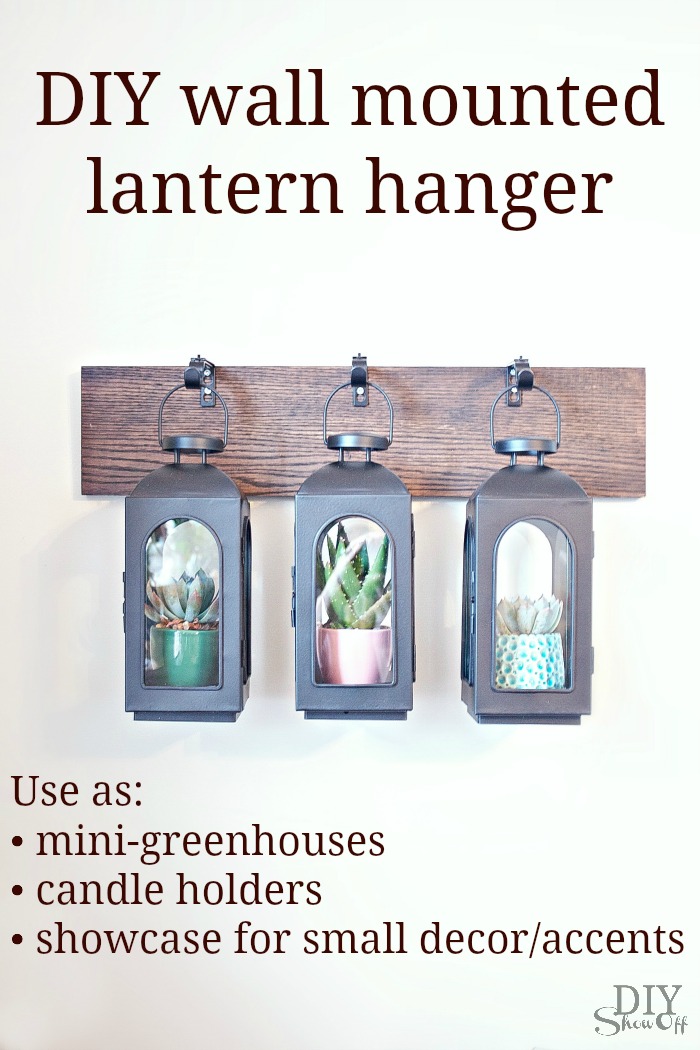
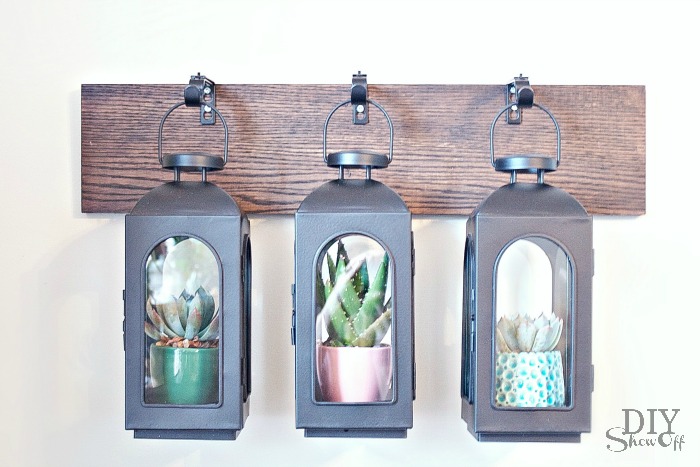
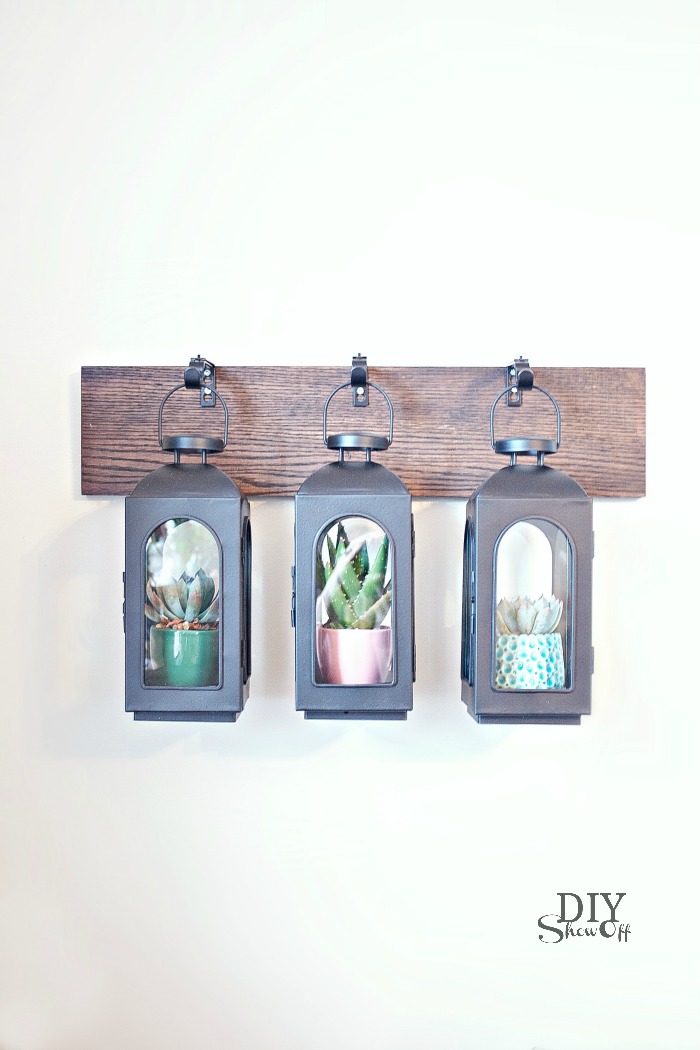
7. Hang lanterns. Add candles, use as mini display cases to showcase your favorite small decorative items or use lanterns as mini-greenhouses for succulents or small plants. 

DIYShowOff Wall Mounted Lantern Hanger Greenhouse tutorial at diyshowoff.com

DIY wall mounted hanging lantern tutorial at diyshowoff.com 

I received a Lowe’s gift card to complete this challenge. Opinion and above idea is 100% my own. More DIY ideas at Lowe’s Creative Ideas or follow Lowe’s on InstagramPinterest and sign up for the Creative Ideas magazine and app.  

LCI Summer Badge