Bathroom Makeover

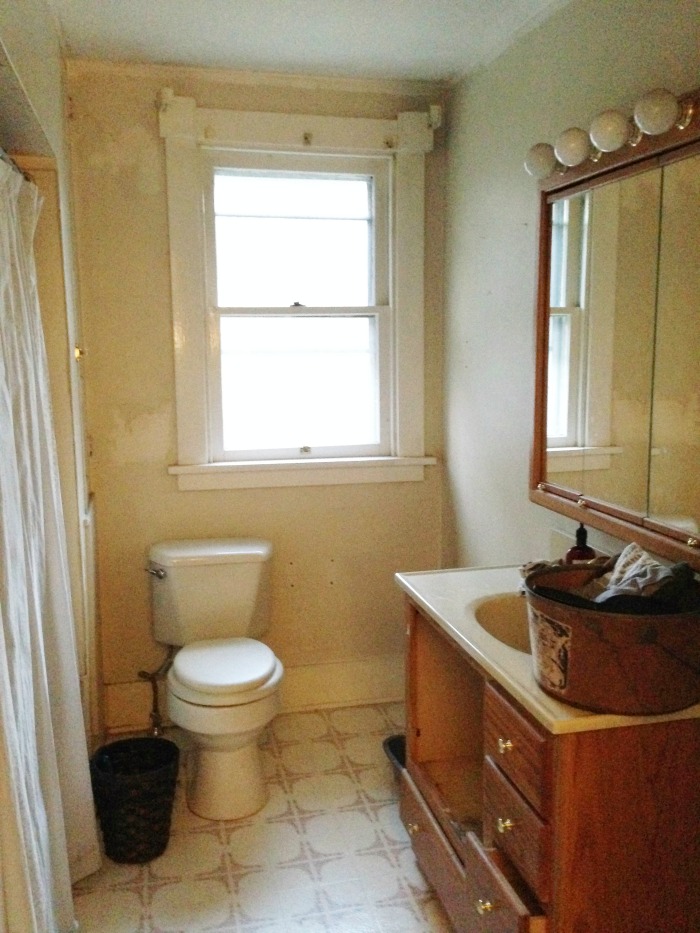
The other day I shared the before and after bathroom transformation. I’ve gone from sitting and staring all day long at our recently finished open pantry (makeover here) to wanting to sleep in my new peaceful bathroom. Since the bathroom had was a nightmare before, ANYTHING would look good after. This is what we got with this old farmhouse…

Before – yikes!bathroom makeover before

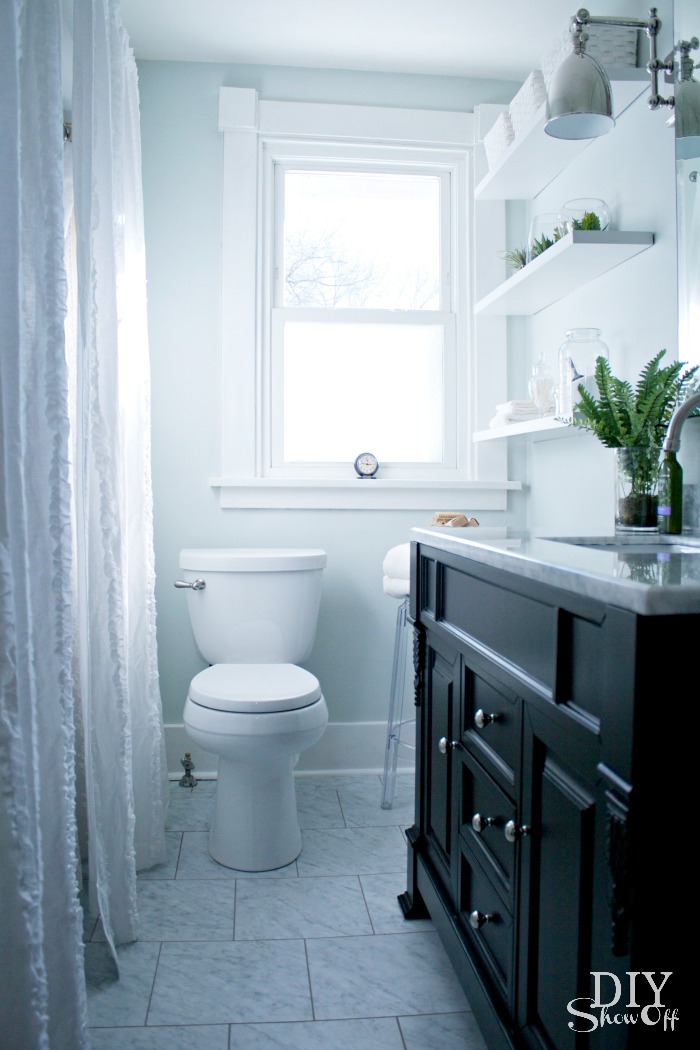
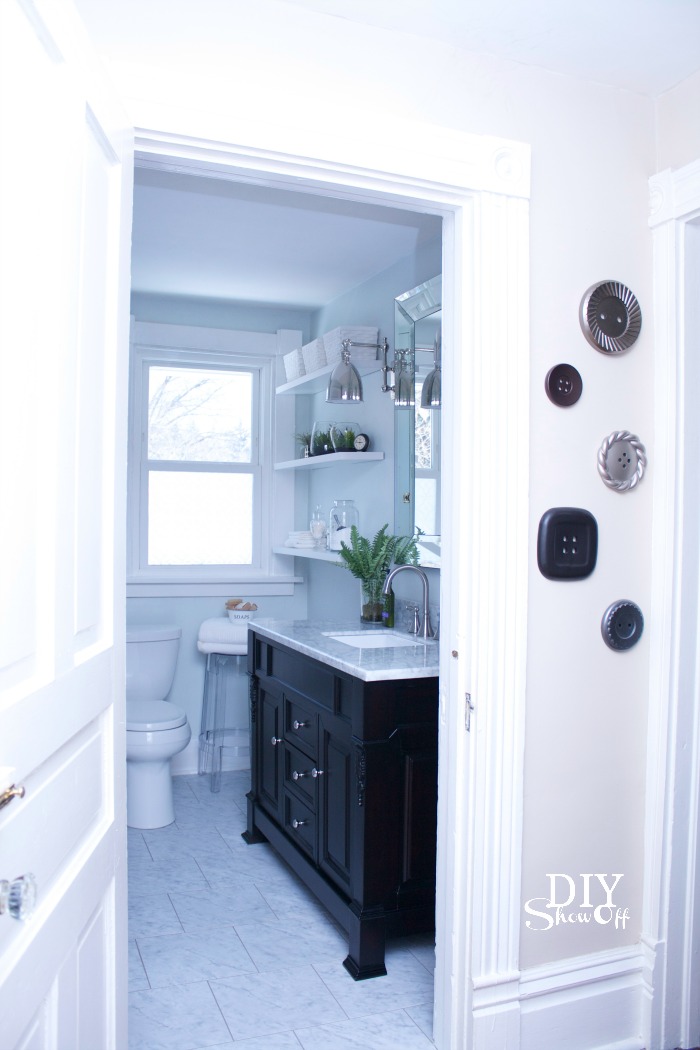
And this is the potential I saw. I’m in love with the soft peaceful ‘after’ results! Bathroom Makeover
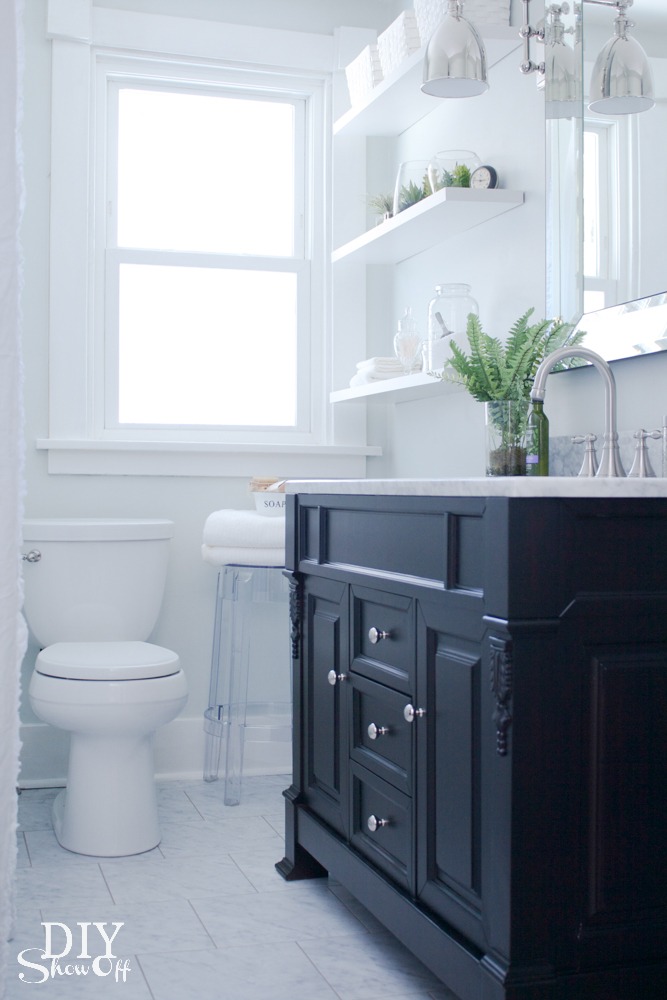
Bathroom Makeover Details at DIYShowOff

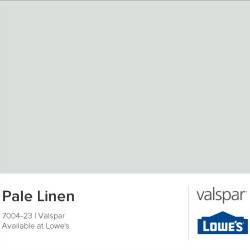
Paint: Those walls! Believe me, I did a good scrubbing but is there any better way to really clean up walls than applying a fresh coat of paint? Love this color! Valspar Pale Linen: Depending on light, sometimes it has a soothing blue tint, sometimes more of a gray/white tone but definitely a tranquil light blue color.

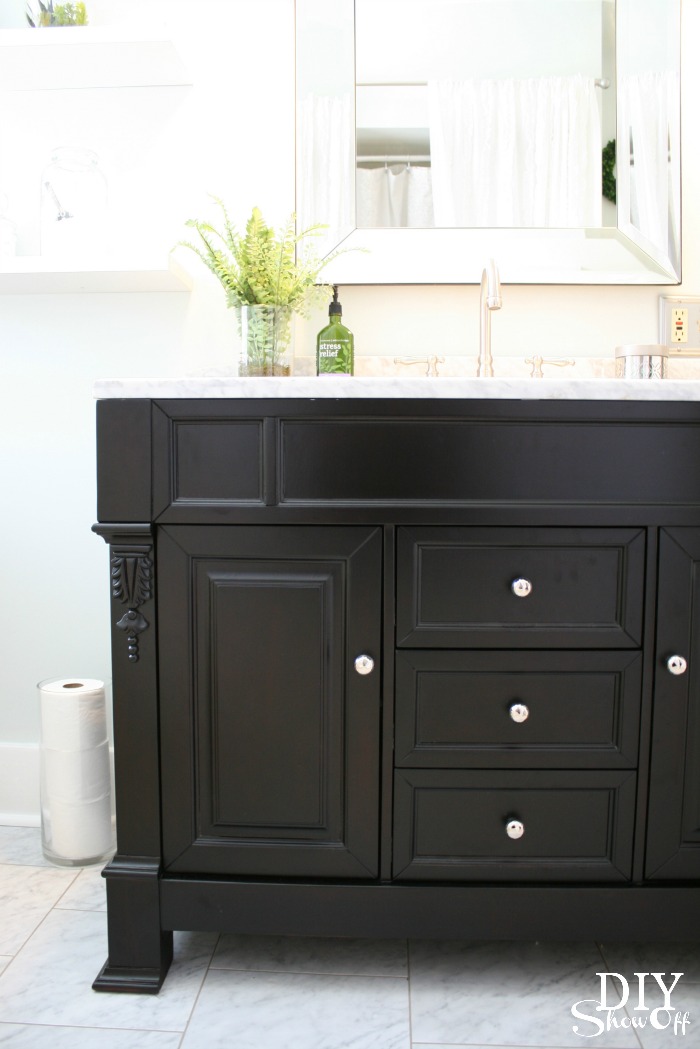
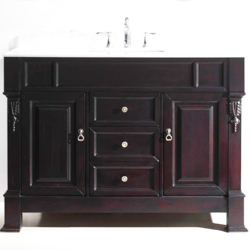
Vanity: The gorgeous Huntshire vanity with marble countertop and Talia faucet set from Virtu USA is the luxurious center of attention! Check out the beautiful detail and gorgeous espresso color.

Virtu USA Huntshire vanity

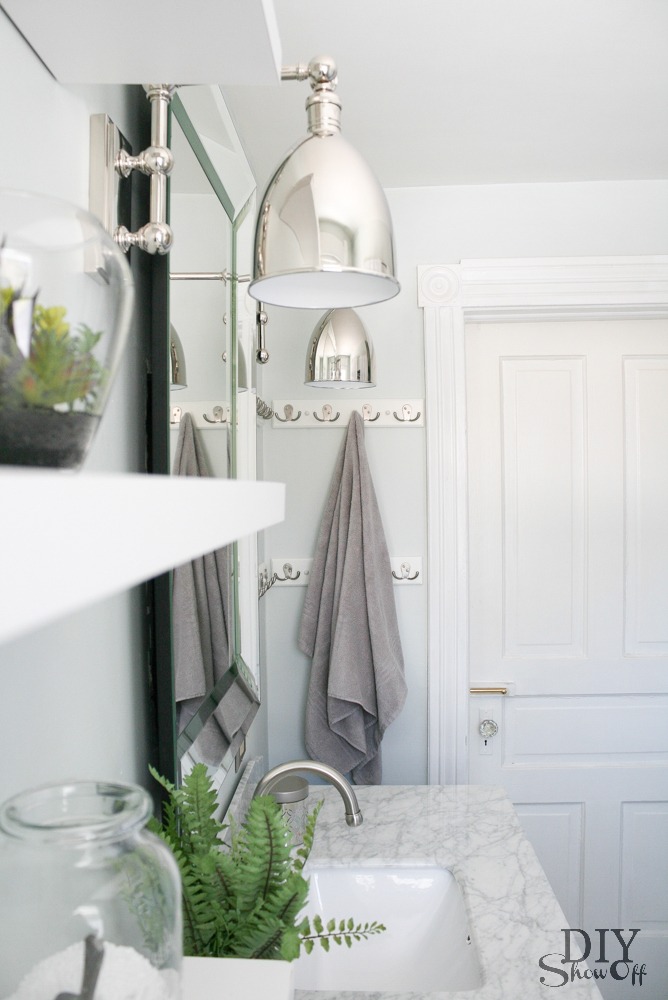
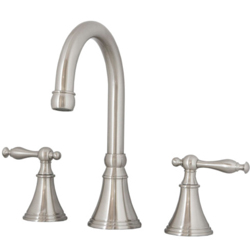
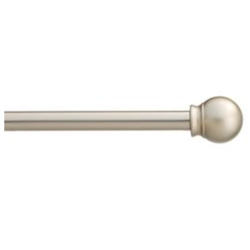
Metallics: Mixing the silver finishes like the brushed nickel faucets, polished nickel sconces, polished nickel vanity knobs, satin nickel curtain rod add just the right amount of bling!
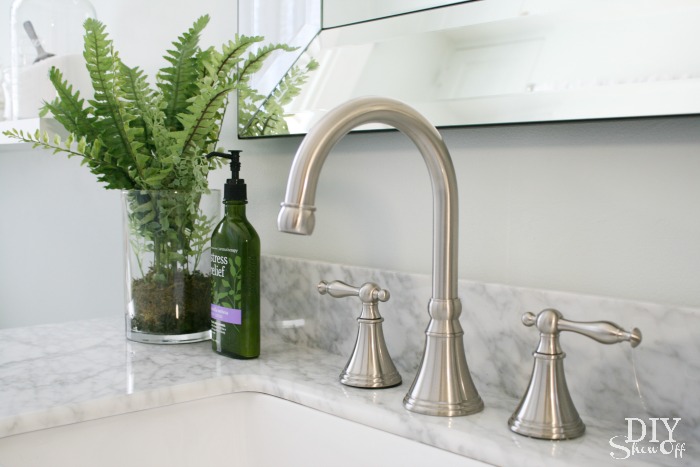
Virtu USA Talia faucet - DIYShowOff bathroom makeover

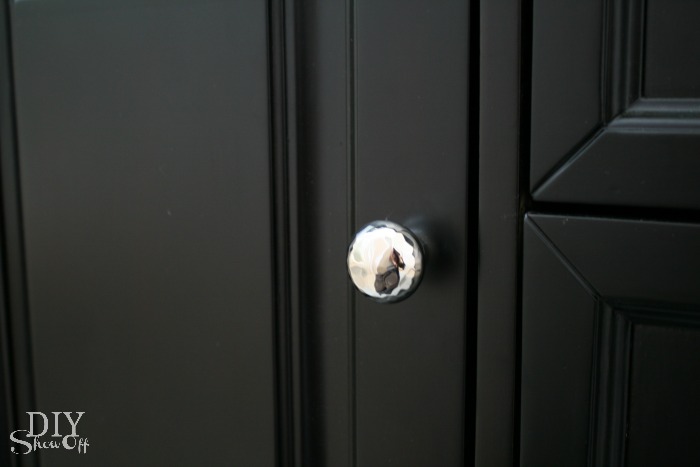
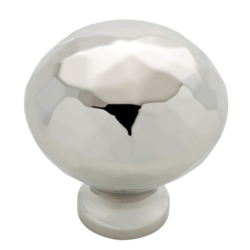
The vanity comes with beautiful antique gold hardware which I’ll re-use on another piece of furniture since I swapped them out for these beautiful polished nickel knobs.

polished nickel knobs

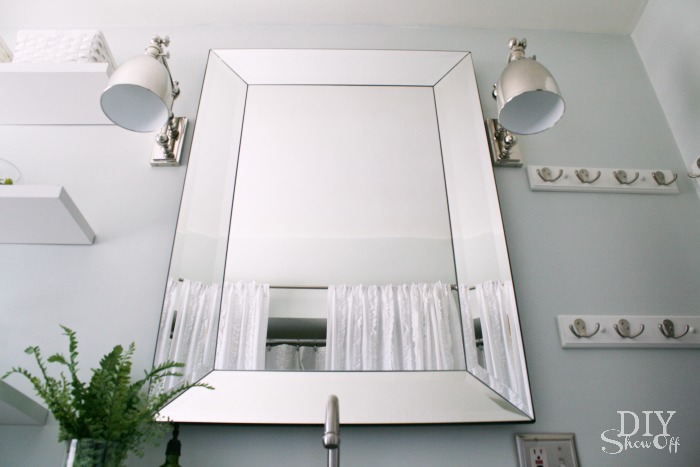
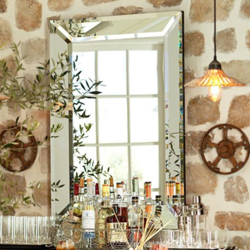
Pottery Barn Bevel Mirror: Go big or go home! {Heavy! Molly bolts included.} The mirror’s beveled mirror frame is the perfect glamorous accessory reflecting light and the illusion of more space into this small bathroom. 

bevel mirror

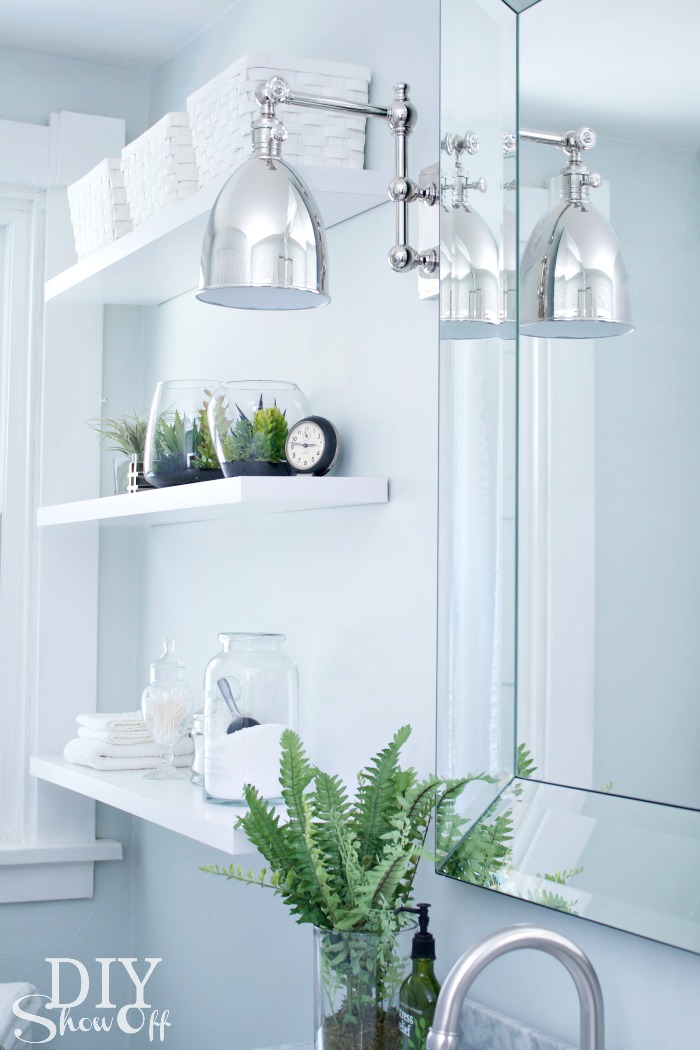
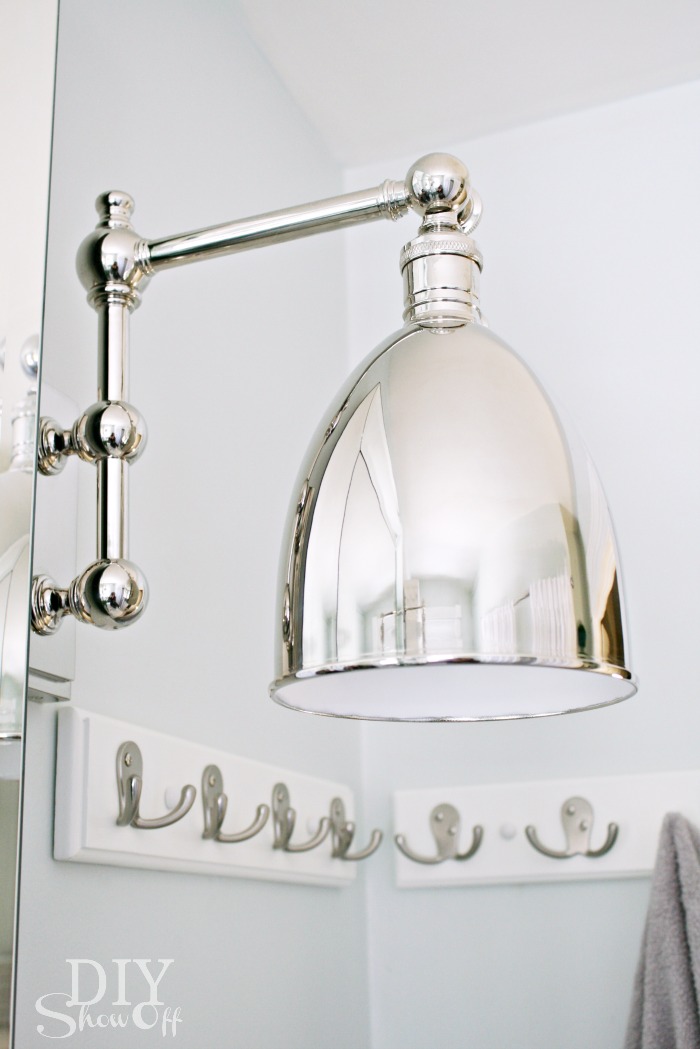
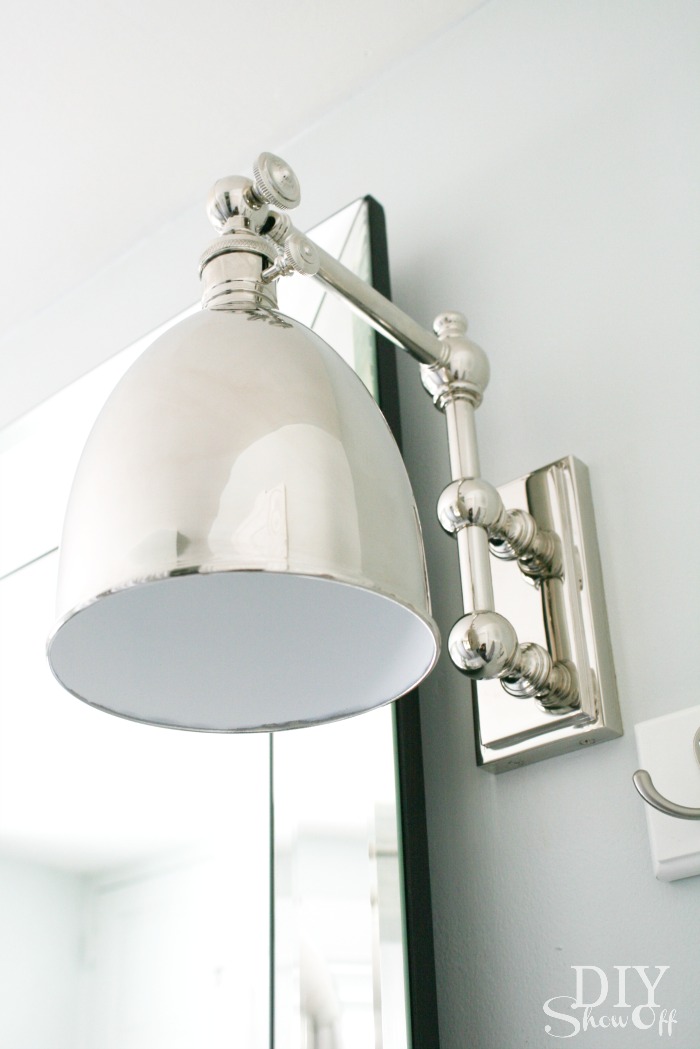
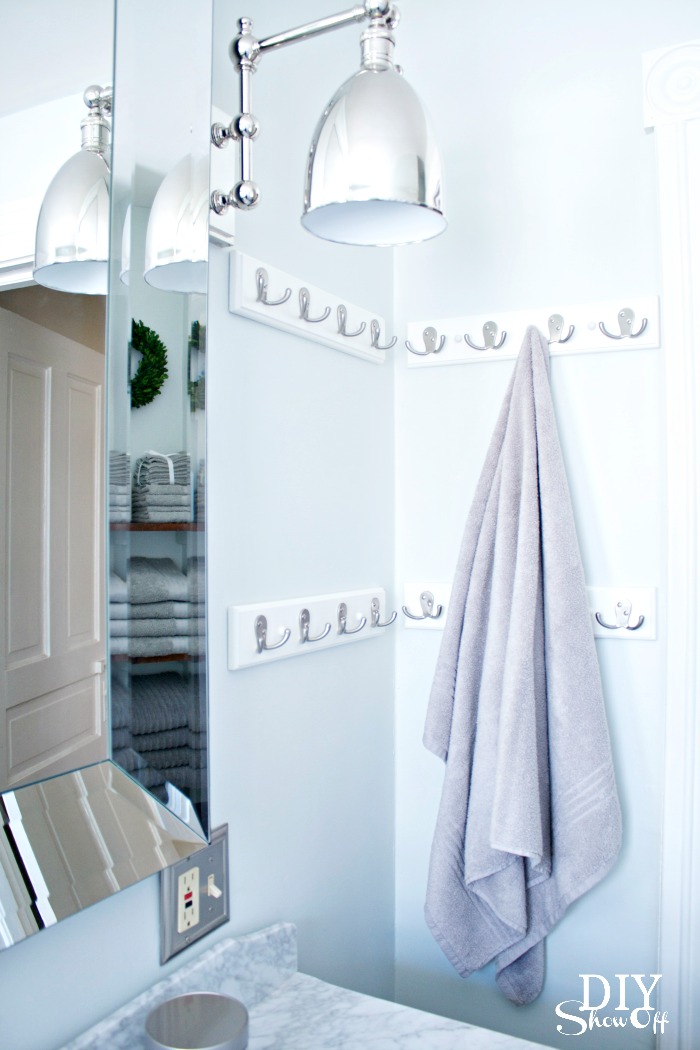
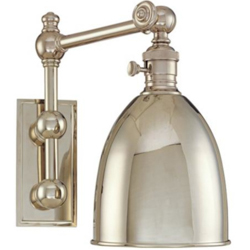
Lighting: Drool-worthy. ::sigh:: Thanks to LampsPlus for the stunning lighting! {Hudson Valley Monroe polished nickel adjustable wall lights} These are just the icing on the cake, aren’t they? Definitely my most favorite fixture in my home!

Lamps Plus Monroe Adjustable Arm Sconce

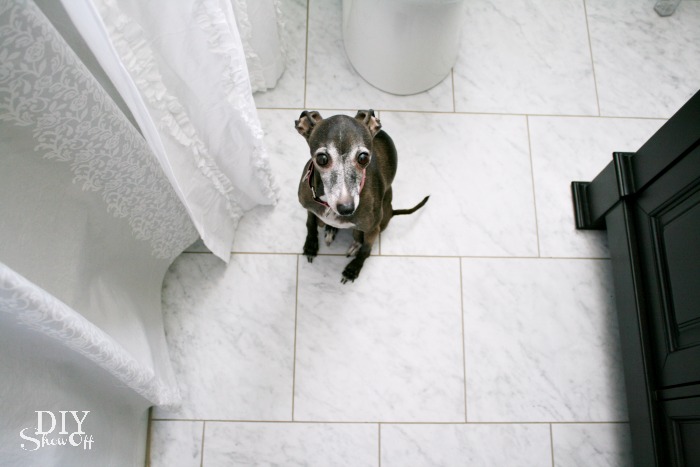
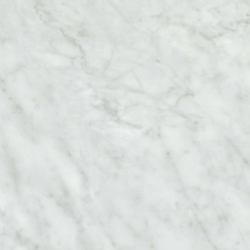
Floor: I did this all by myself! Would you believe they’re vinyl tiles? Easy to install and grout (use grout for vinyl) gives it a look so similar to real marble but without the maintenance or cost and installed in just a few hours! Check back for the tutorial.

grouted vinyl floor tiles - diyshowoff bathroom makeover

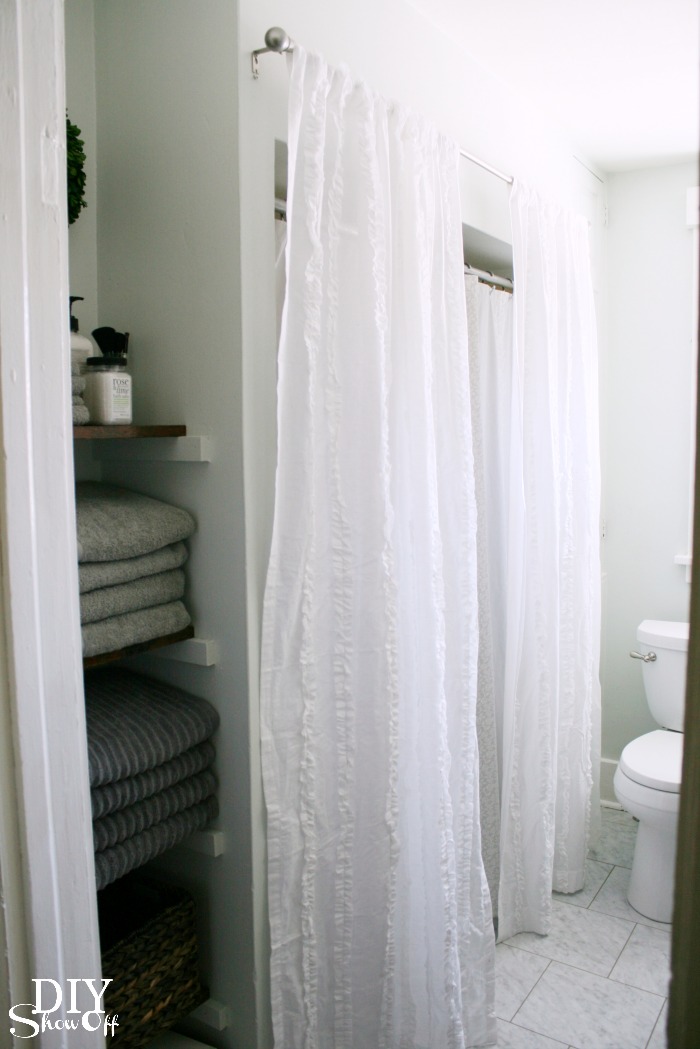
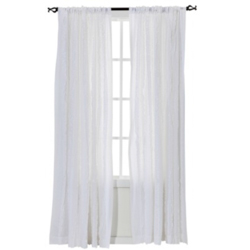
 The tub and shower will get a makeover later this year. In the meantime, I “framed” the bathtub nook/shower curtain with curtains (difficult to photograph that side of the room!)…

bathroom curtains

bathroom makeover diyshowoff

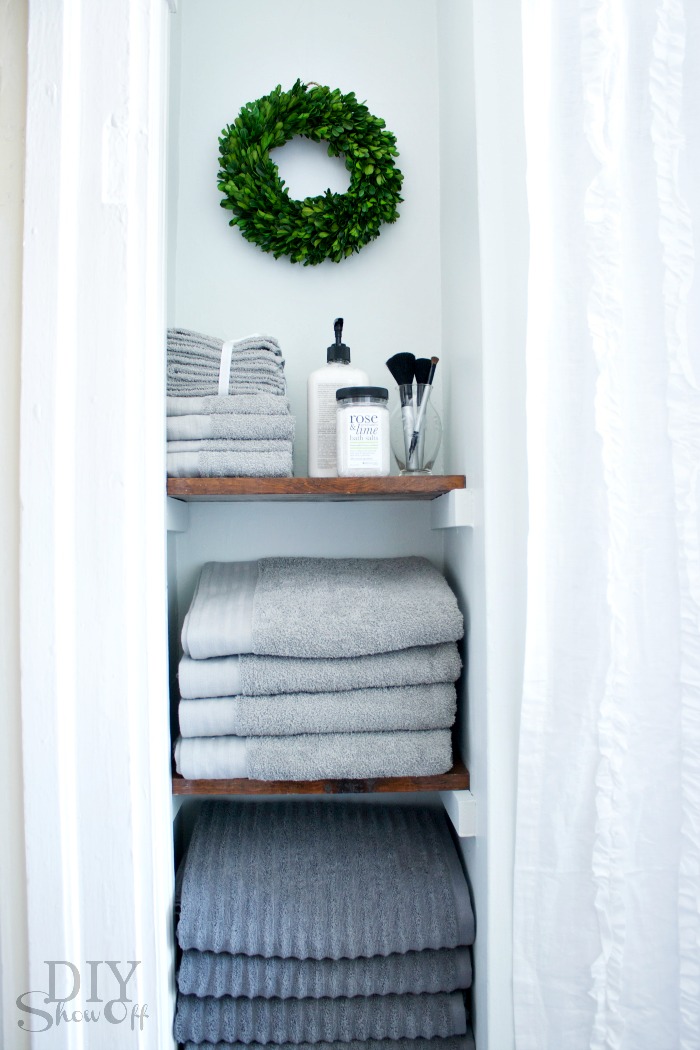
Storage to the left of the bathtub/shower:

bathroom storage

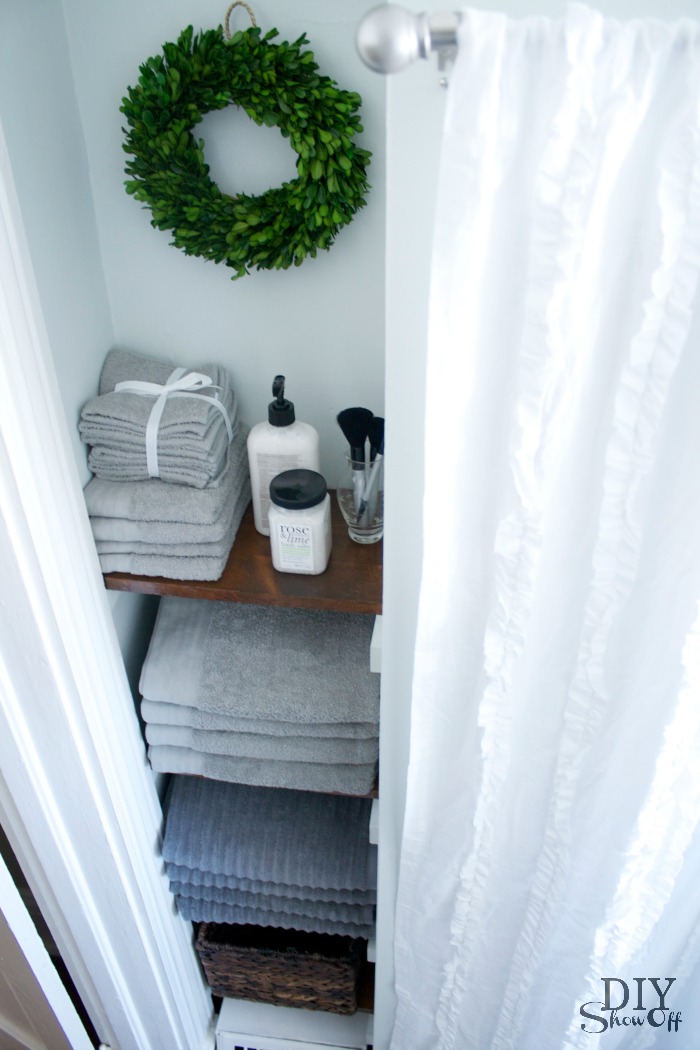
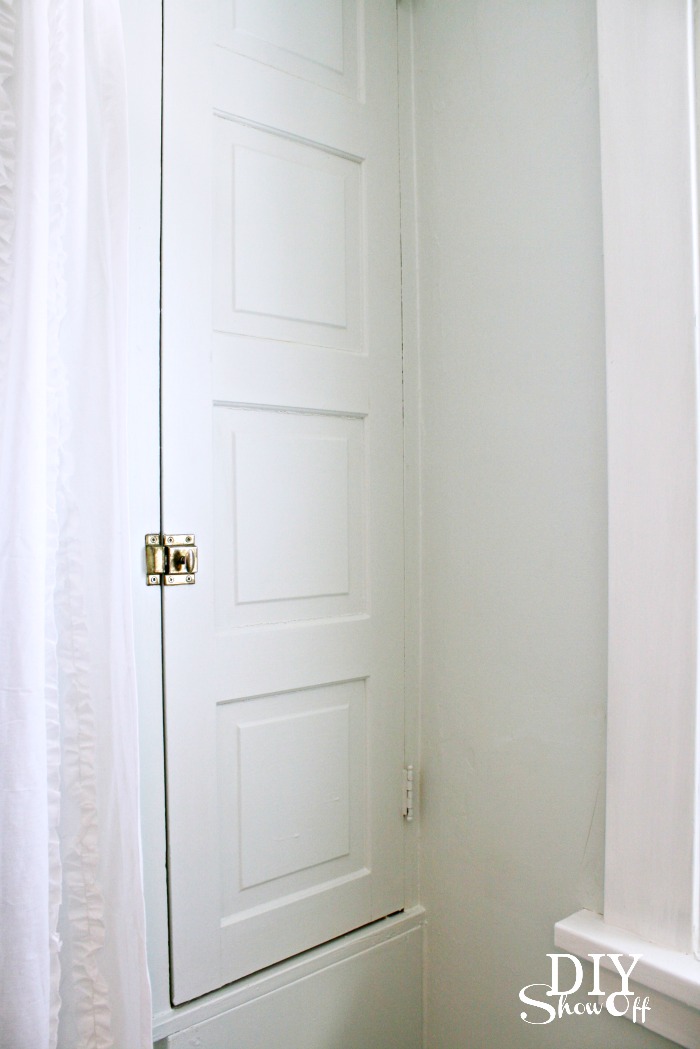
Built in storage cabinet to the right…

bathroom storage cupboard

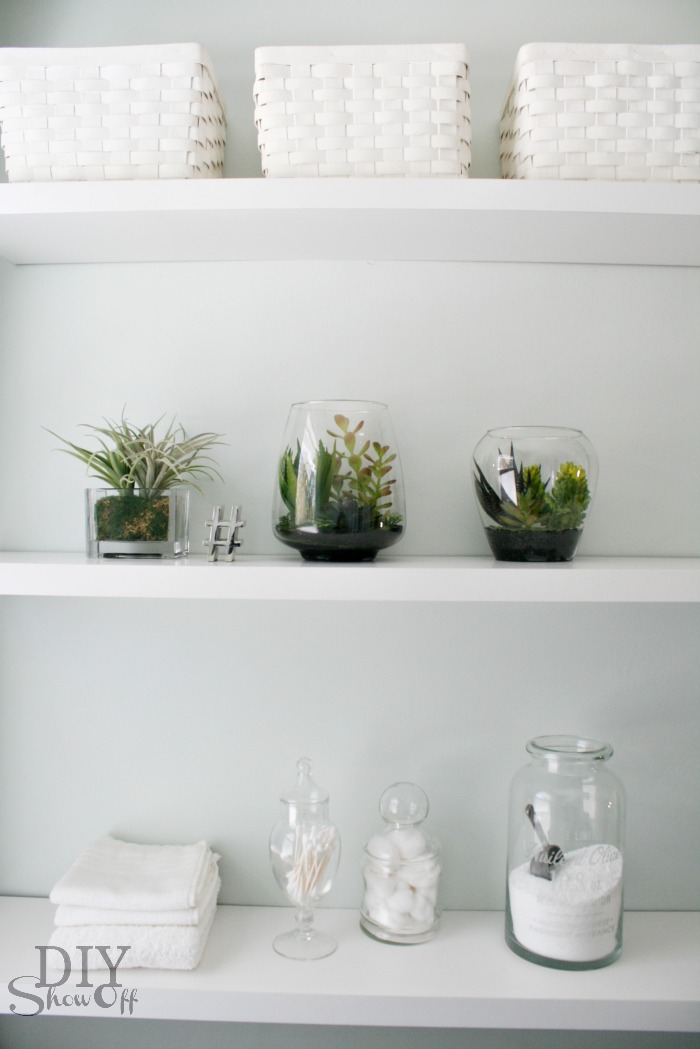
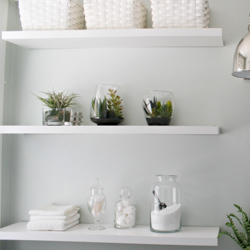
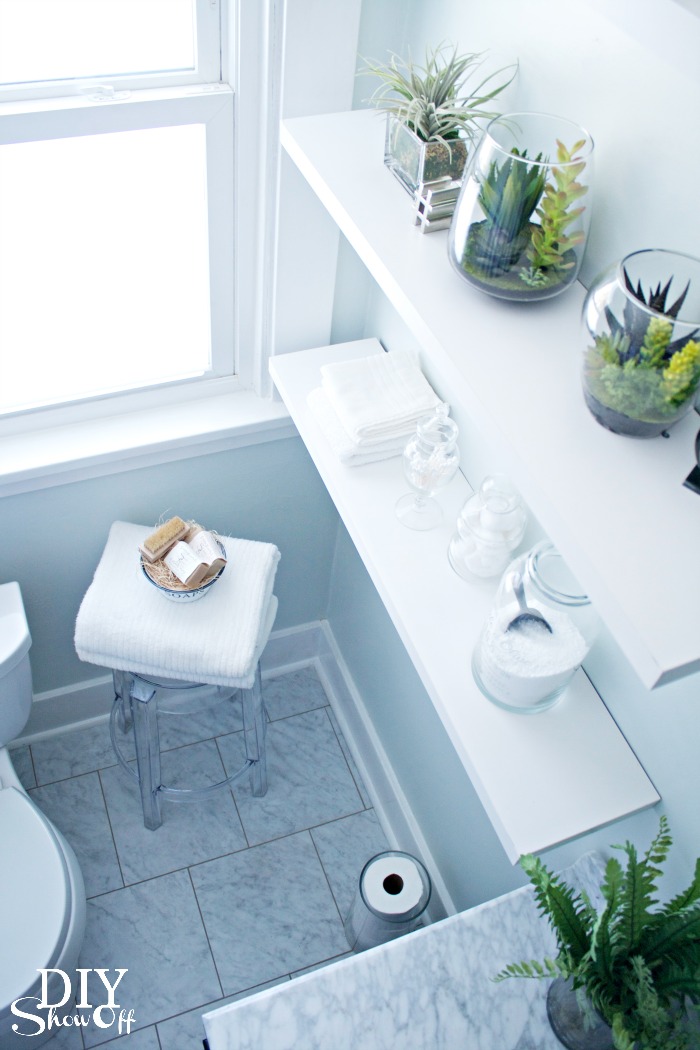
 Floating shelves and baskets provide more storage options. 

DIYShowOff bathroom shelves

Because there is no such thing as too many photos:DIYShowOff Bathroom MakeoverLampsPlus Monroe Adjustable Wall Sconce
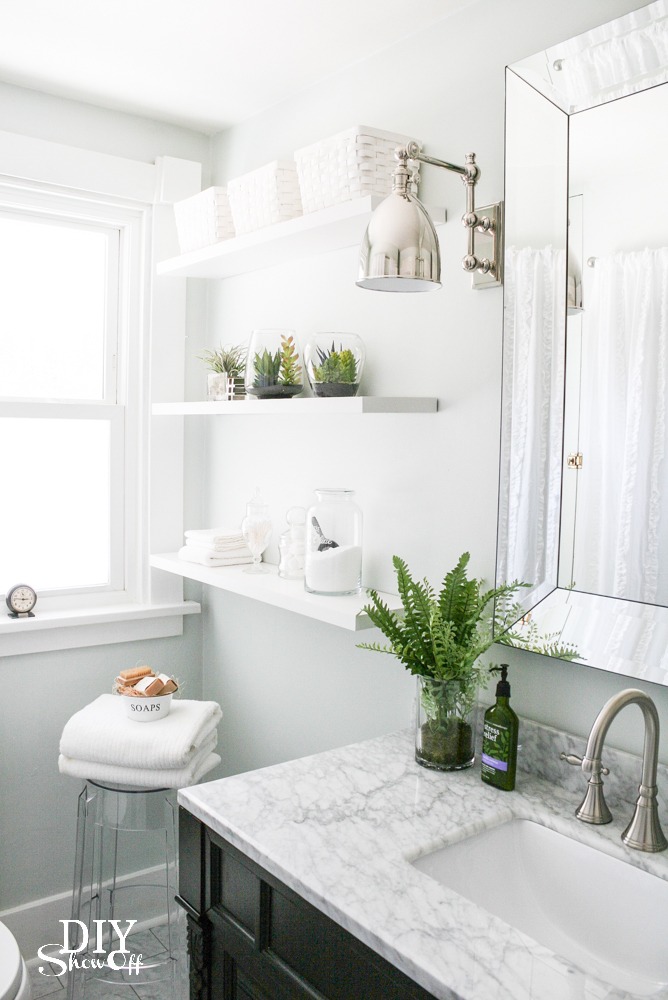
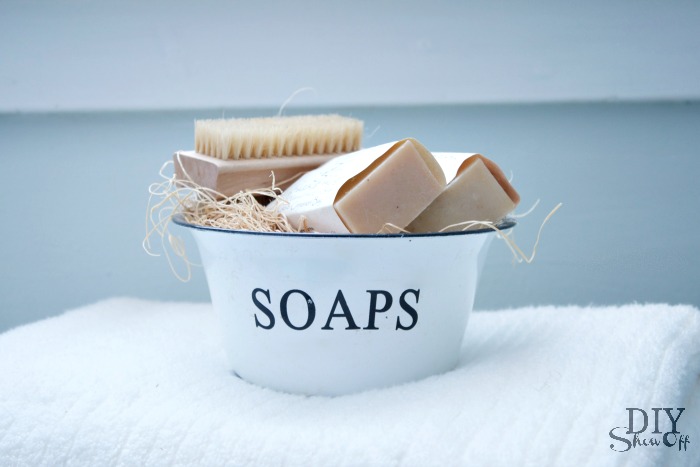
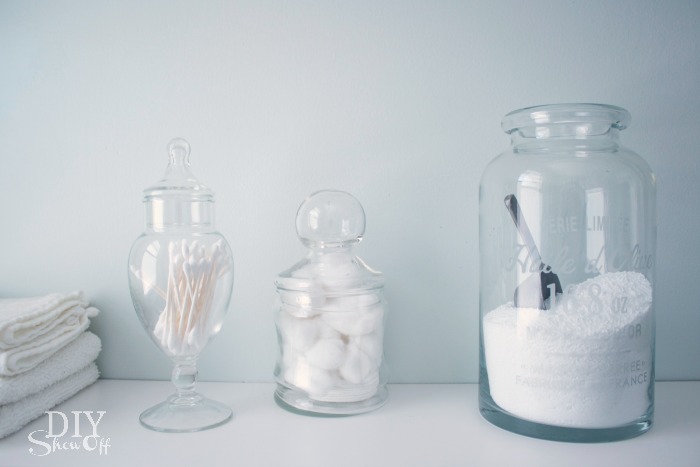
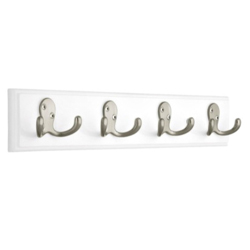
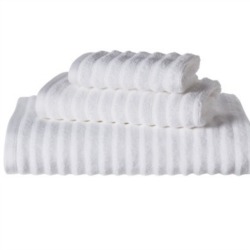
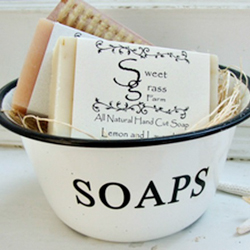
Bathroom makeover - towel nookFarmhouse Wares soap gift set - diyshowoff bathroom makeoverDIYShowOff bathroom accessoriesDIYShowOff bathroom lighting from LampsPlusBathroom storageDIY bathroom makeovertowel hooks - diyshowoff bathroom makeover

For those of you asking about the button wall art, they’re about 10 years old and I can’t remember where I got them so I’m pretty sure they’re out of stock (it was probably somewhere like JoAnn’s) but here’s button wall art I spied on Amazon, if you love buttons: 

bathroom makeover - diyshowoff

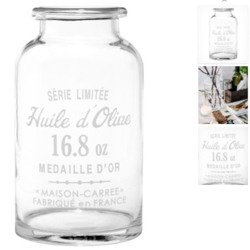
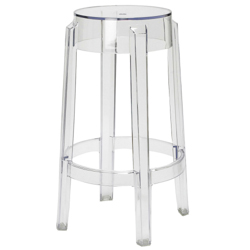
I’ve received a lot of questions about some of the accessories and fixtures shown above. Here’s a source list. Click the images for to be redirected. 

DIYShowOff bathroom makeoverDIYShowOff bathroom makeoverDIYShowOff bathroom makeoverDIYShowOff bathroom makeoverDIYShowOff bathroom makeoverDIYShowOff bathroom makeoverDIYShowOff bathroom makeoverDIYShowOff bathroom makeoverDIYShowOff bathroom makeoverDIYShowOff bathroom makeoverDIYShowOff bathroom makeoverbathroom makeover at diyshowoff.comDIYShowOff bathroom makeoverDIYShowOff bathroom makeover - Valspar Pale LinenDIYShowOff bathroom makeoverDIYShowOff bathroom makeoverDIYShowOff bathroom makeoverDIYShowOff bathroom makeoverDIYShowOff bathroom makeoverDIYShowOff bathroom makeoverDIYShowOff bathroom makeoverDIYShowOff bathroom makeoverDIYShowOff bathroom makeoverDIYShowOff bathroom makeover

Still have a question? Let me know in the comment section and I’ll get right back to you. Thanks so much for stopping by! 

Don’t forget to swing by to enter to win the Virtu USA Dream Bathroom giveaway to get started on creating your dream bathroom makeover. Easy to enter, lots of prizes! 

Ready for some more bathroom makeover inspiration? Check out these awesome blog friends for more:

Linking up to: 
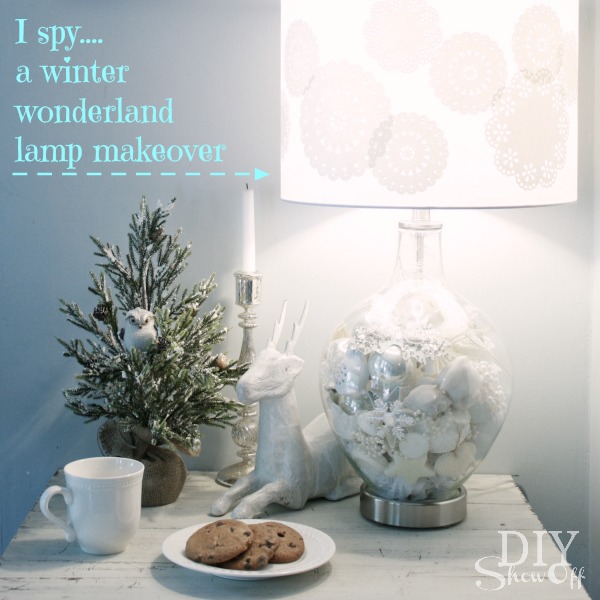
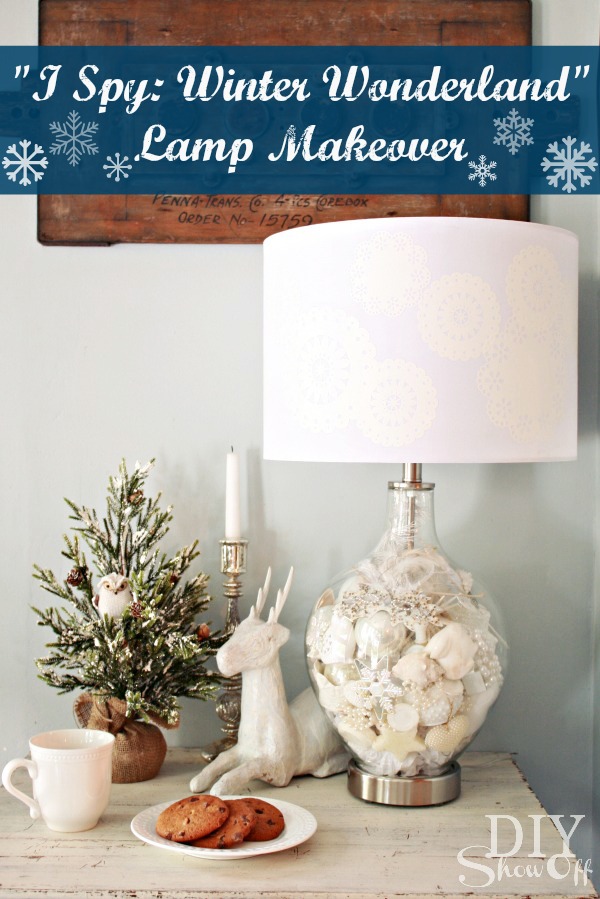
I Spy A Winter Wonderland Lamp

 Winter Wonderland Lamp Makeover Story…

White Christmas decor

Sleigh bells ring, are you listening, 
In the lane, snow is glistening
A beautiful sight,
We’re happy tonight.
Walking in a winter wonderland.

I know. It’s August. Why in the world am I thinking winter? Well, I love a good DIY challenge! And thinking about December in August is a challenge, isn’t it? Besides, when August temps are high, it’s the only time I’m wishing for snow.

and…

HomeTalk and Lamps Plus are hosting a Holiday Design Contest and I’m excited to be participating!  What is HomeTalk? A fun community based around all things “home” and Lamps Plus is an awesome source for lighting – what a great team!

I Spy Winter Wonderland Lamp Tutorial:
I Spy Winter Wonderland Lamp Makeover

Materials:

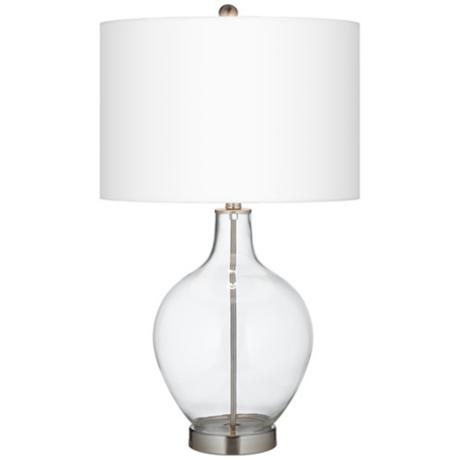
  • Fillable Clear Glass Ovo Table Lamp

Winter Wonderland Lamp Tutorial

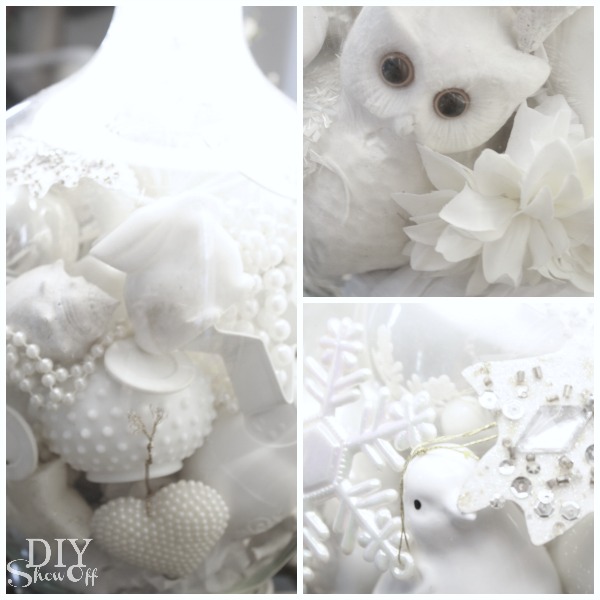
  • assorted small white accessories from around the house. Mine include Christmas bulbs, snowflake ornaments, a white owl, ceramic angel, seashells, small white feathers, stars, mask, organza butterfly, nesting dolls, poker chips, chess pieces, faux dahlia, pearls, etc. 
  • paper doilies
  • Martha Stewart Decoupage Multiple Surface Durable Matte Finish
  • craft chip brush

Lampshade Tutorial:

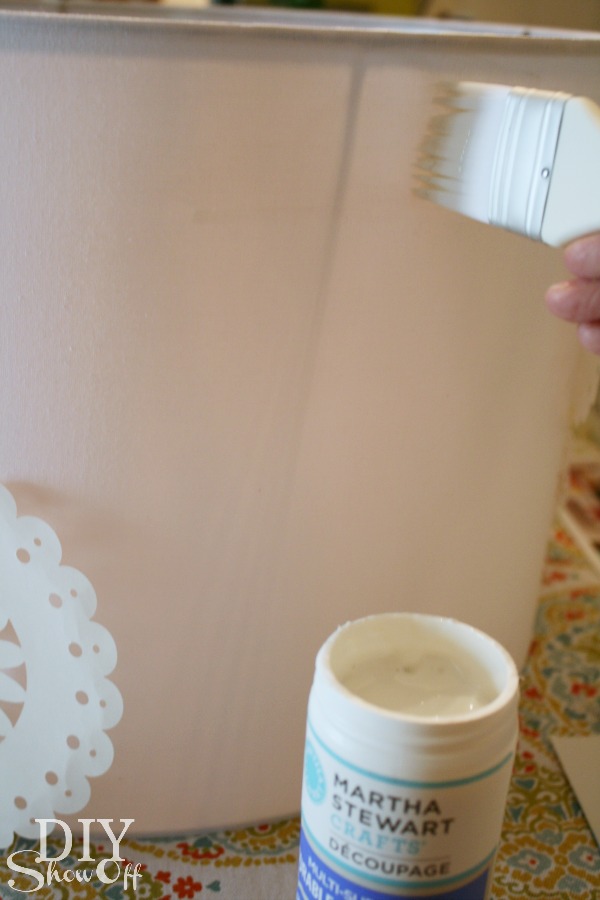
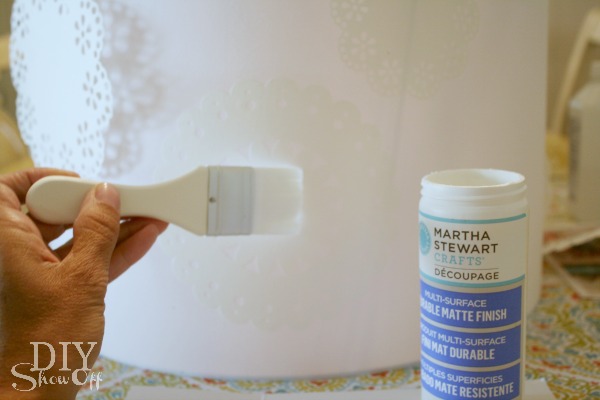
Working quickly and in small sections, apply decoupage to lamps shade with a soft bristle chip brush.

decoupaged lampshade tutorial

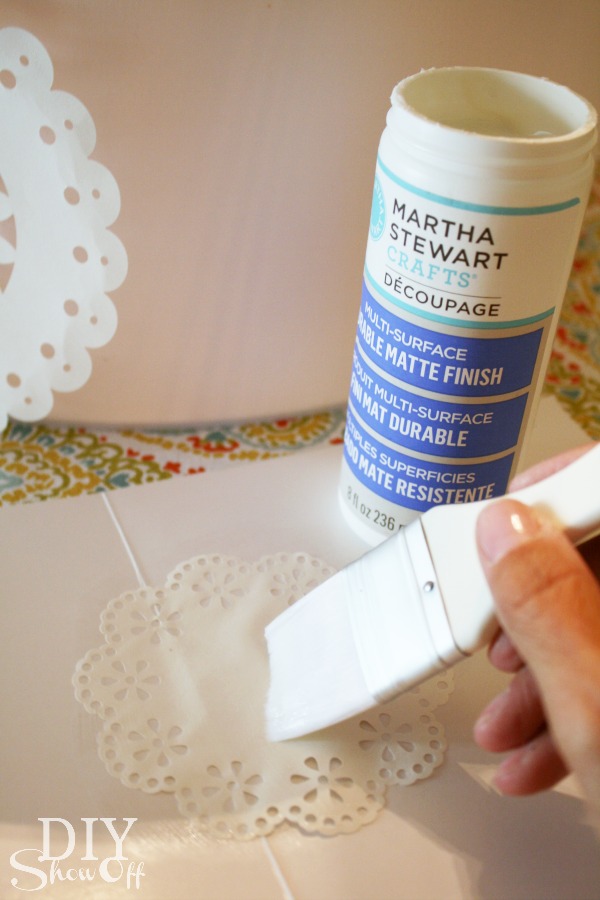
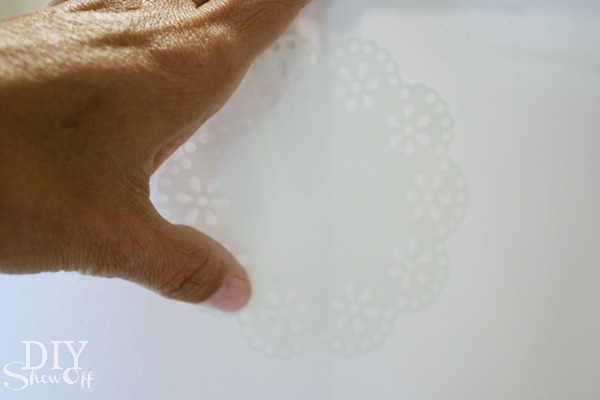
Apply decoupage to the back side of the paper doily. 

Martha Stewart Decoupage

Place paper doily onto the freshly brushed decoupage on the lampshade. 

decoupage doily lampshade

Apply a coat of decoupage to the paper doily and surrounding area. 

Martha Stewart Crafts Decoupage Doily Lampshade

Repeat steps above for all paper doilies, staggering the designs. 

Attach lampshade to lamp and give entire lampshade one to two top coats of decoupage, allowing 1-2 hours of dry time between each coat. Let dry. 

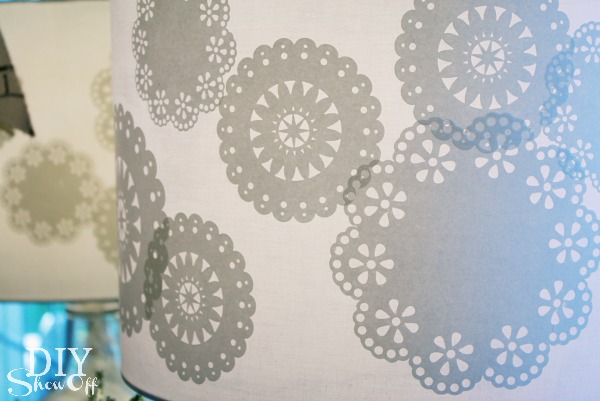
Ta-da:

paper doily decoupaged lamp shade

Filling the Lamp:

winter wonderland ornaments

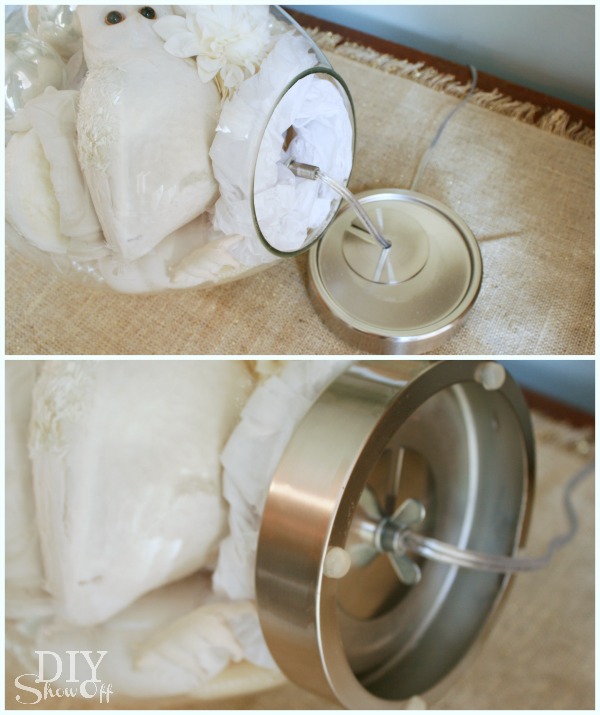
Filling the lamp is super easy: Unscrew the wing nut on the bottom of the fillable lamp to separate the bottom piece. Carefully fill the lamp with baubles. In my case, it was my white “I spy” collection from around the house. At the bottom of my lamp, I added a little bit of old tissue paper to act as a cushion. When full, replace the the base and secure with the wing nut.

fillable lamp

Attach lamp shade.

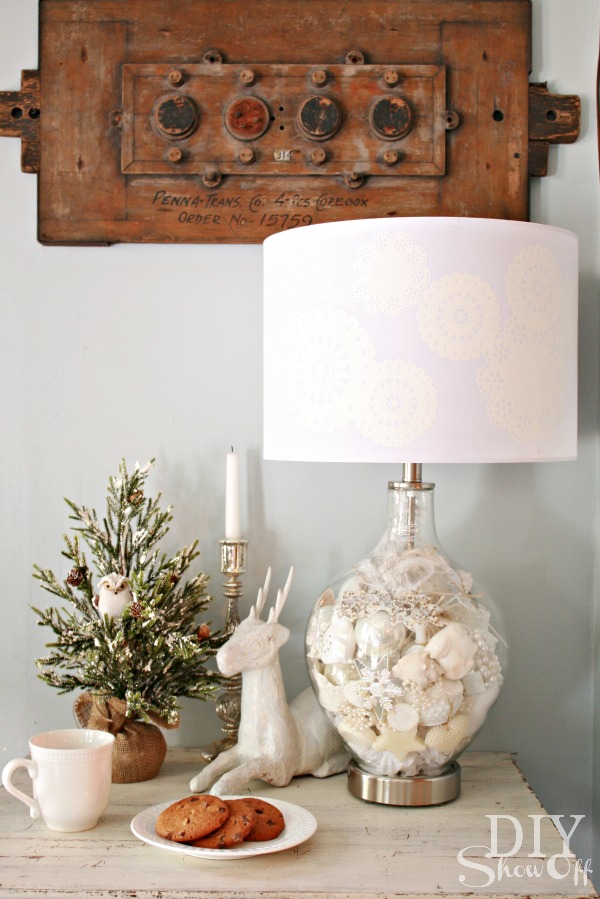
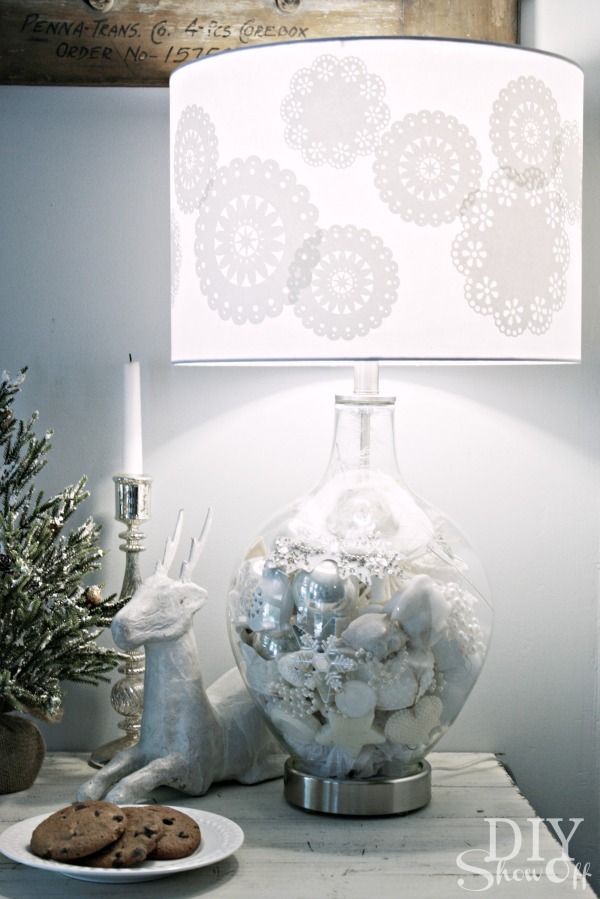
I Spy Winter Wonderland Lamp

Hot cocoa, a warm throw, cozy fire, holiday music and dreaming of a white Christmas…

DIY Christmas Lamp

What I love about my “I spy winter wonderland lamp”:

  • I love that while my lamp definitely has a winter wonderland vibe, it’s a subtle enough style to display all year long since it doesn’t scream “HO-HO-HO! Merry Christmas!”
  • Great for a winter decorated side table or vignette to coordinate with any holiday theme or color scheme. White goes with everything!
  • Perfect for a guest room night stand…who needs to count sheep when you can hunt for treasures?
  • And a fun quick “I spy” game and conversation starter for guests in the living room.  
  • Easily refillable for a new look. 

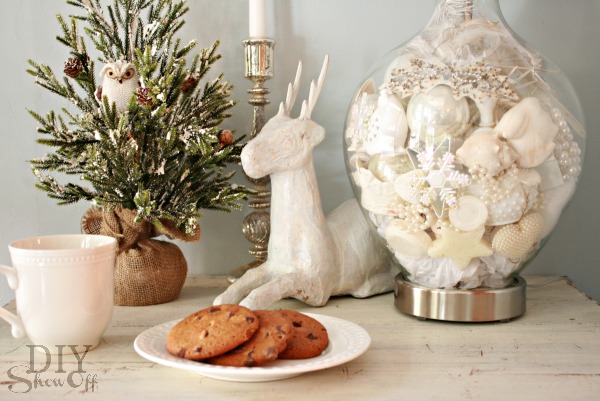
Winter Wonderland Vignette

Thanks to HomeTalk and Lamps Plus for inviting me to participate in this fun Holiday Design Challenge! 

*LampsPlus supplied the lamp for this project. All thoughts, opinions and project tutorial are 100% in my own words. 

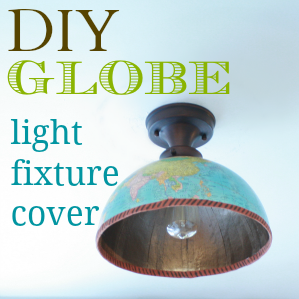
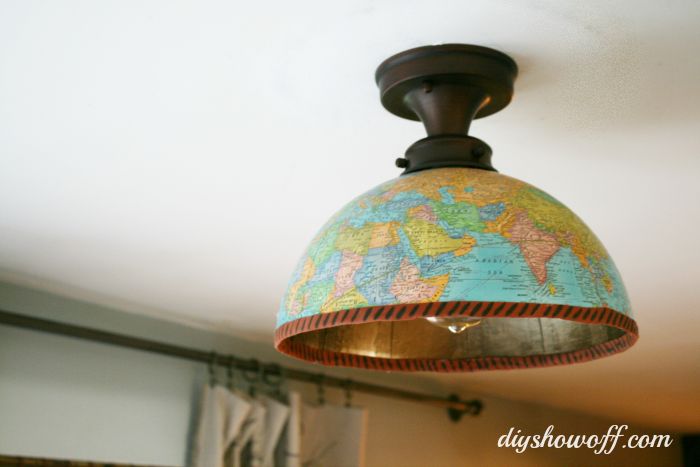
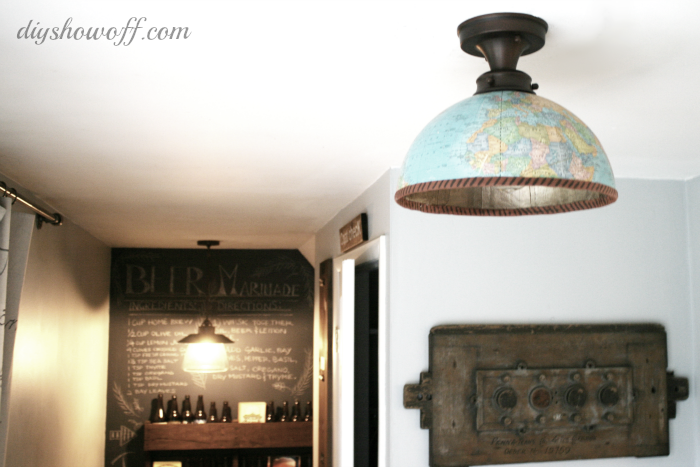
DIY {half} globe light fixture cover

DIY Globe Light Fixture Cover

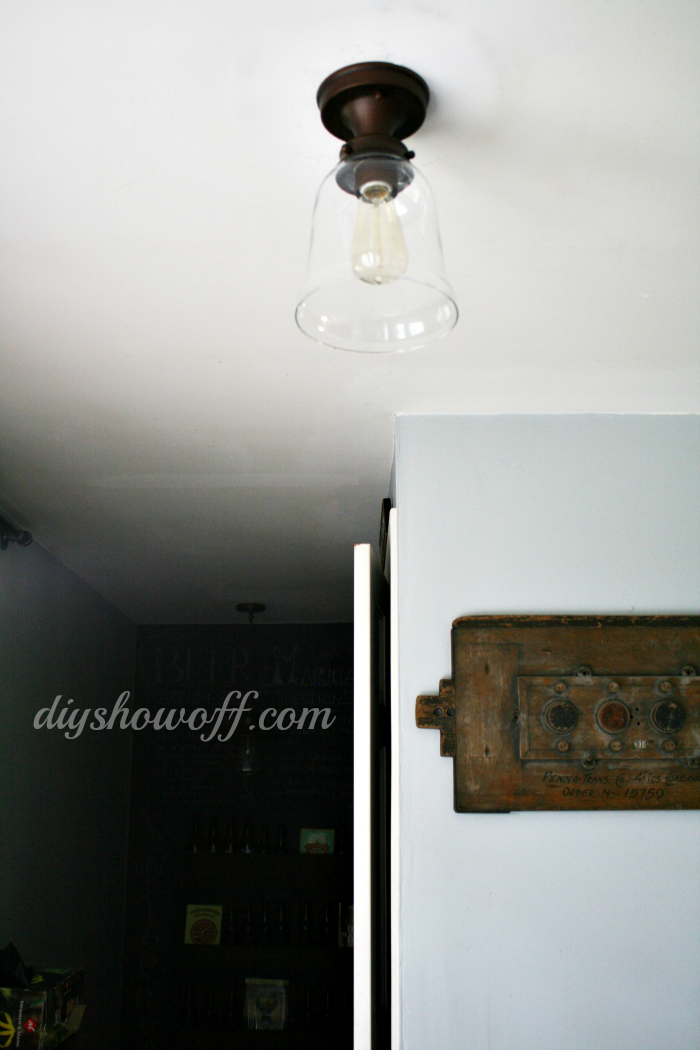
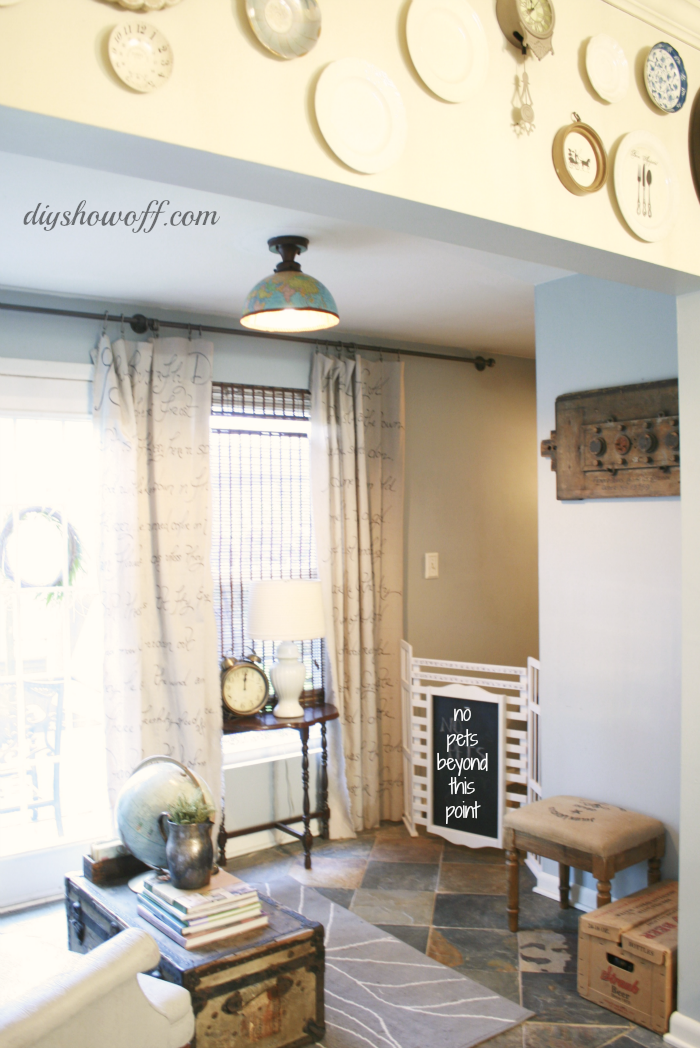
After I completed the wall mounted-pallet shelf, I updated some of the light fixtures including the one in the sitting room…

allen-roth-edison-orb

Allen + Roth Edison Oil Rubbed Bronze

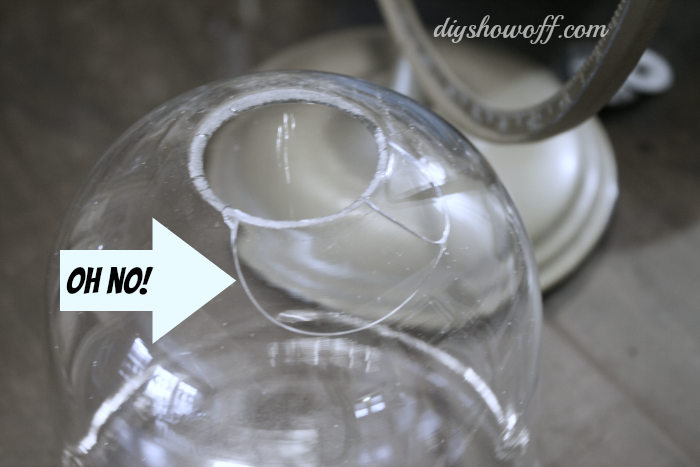
However, the glass on this specific light is very thin and it cracked during the final stages of assembly, just by screwing in the light bulb. The crack was located in such a way that it wasn’t safe. I feared the entire glass piece was going to come crashing down.

cracked-glass

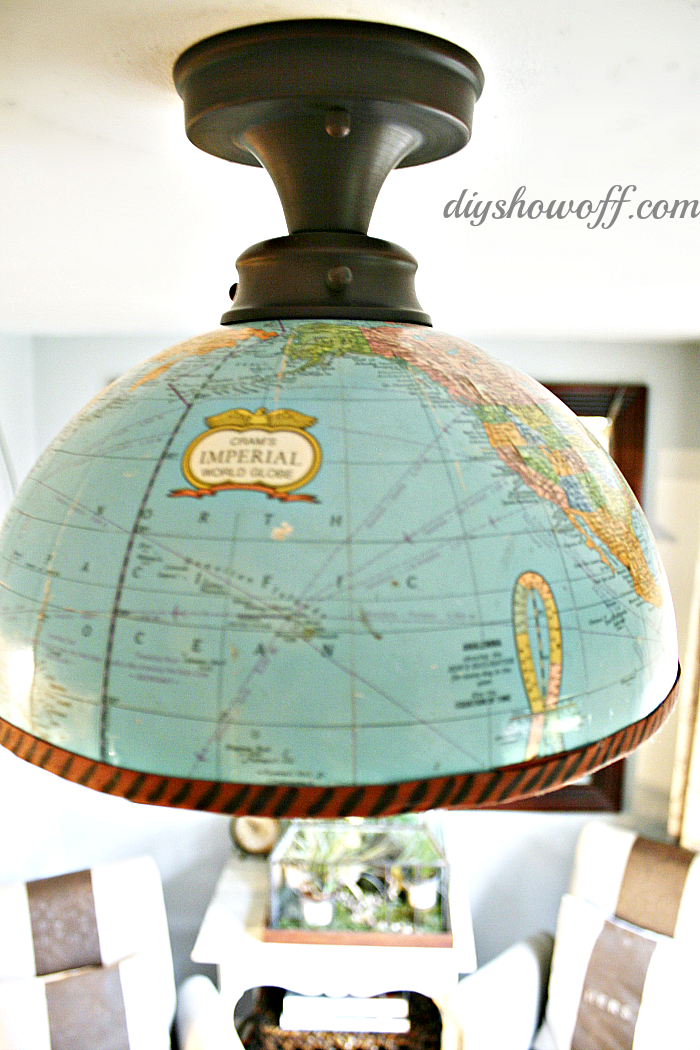
So, one rainy day, I gathered some supplies from around the house and created a new cover? fixture? globe? well, northern hemisphere at least.

DIY-globe-light-fixture-cover-tutorial

Here is what I did:

Materials: 

  • LOW WATTAGE light bulb
  • old globe (I have an addiction. I can’t pass up a globe at the thrift store, thus a collection on hand.)
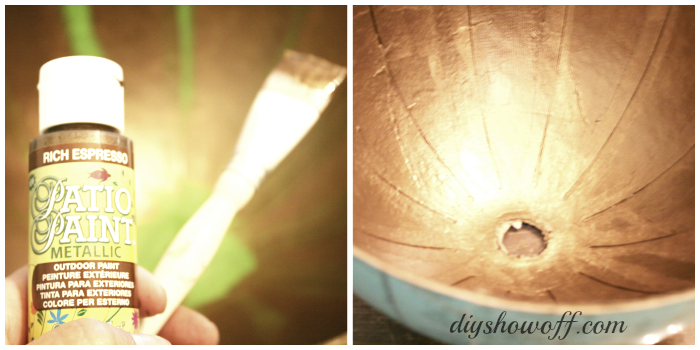
  • craft paint (I had DecoArt’s Patio Paint/rich espresso on hand.) A high heat/temperature paint is a better, safer option.
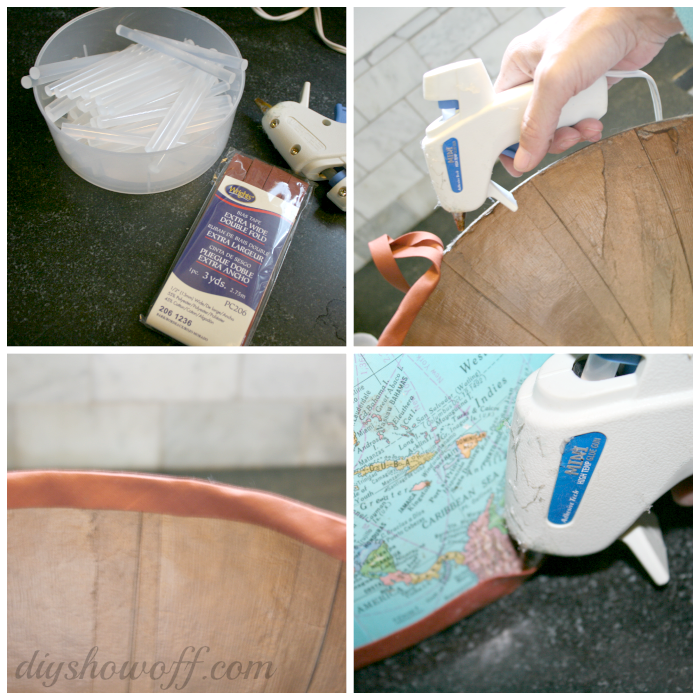
  • double fold bias tape (Again…I had brown left over from a patio cushion project.)
  • hot glue
  • Sharpie
  • Edited to add: Flameproof coating

Tools:

  • Utility knife
  • Needle-nose pliers
  • Scissors
  • Glue gun
  • Craft paint brush

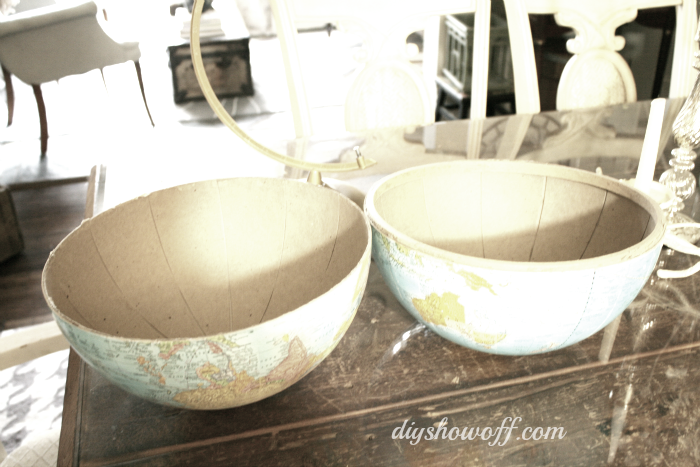
I started by disassembling the globe by gently pulling the frame from the north/south pole. My globe popped right out.

globe

I also chose a globe that wasn’t in the best shape, so the north and south hemispheres just pulled apart. (Cut seam along the equator with a utility knife if needed.)

split-globe

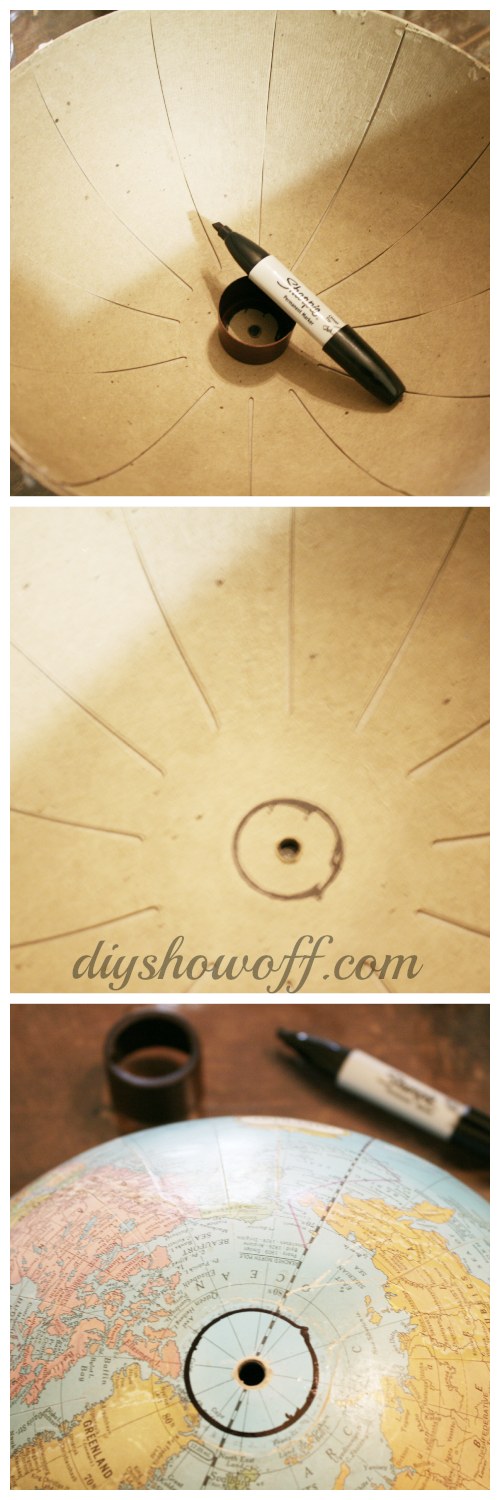
Next, using a Sharpie, I traced the fitting (or draw a circle the size of where the globe will be held into place on the light fixture).

globe-light-tutorial

I used a utility knife to remove some of the map/cardboard and discovered a metal circle underneath. I was able to remove it with pliers. Then cut away the rest of the cardboard/paper with a pair of scissors.

globe-light-cover

I painted the inside of my globe and let it dry (well, sort of. I may have been too eager to move on to the next step)…

paint-inside-globe

Then attached the bias tape around the perimeter with hot glue.

gluing-bias-tape

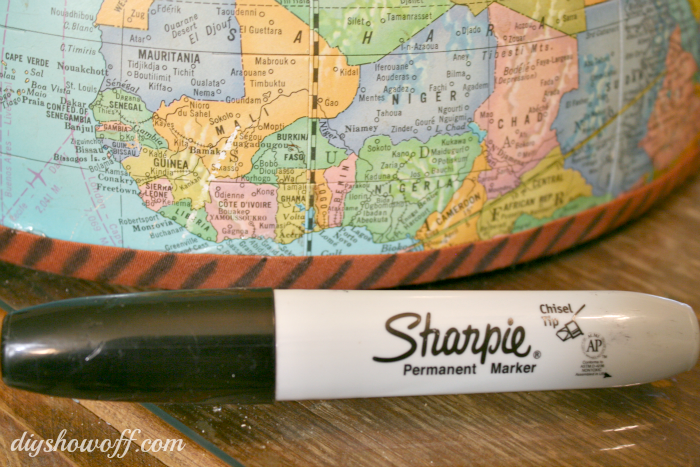
Since I was impatient with waiting for paint to dry and had a little “oopsy”…paint on the bias tape, I used a Sharpie to create a design to distract from the accidental smudge. Imperfection adds character.

globe-light-border

Ready to install.

globe-ceiling-light-cover

Heading to the basement: This is also the path to the basement and I can breathe a sigh of relief that the cracked glass isn’t going to hurt someone when it comes crashing down or that it’s no big deal if my 6’2″ husband carrying a ladder accidentally hits the globe. I kept worrying he’d ‘ding’ that thin glass on his way through…now, it’s okay.

sitting-room-ceiling

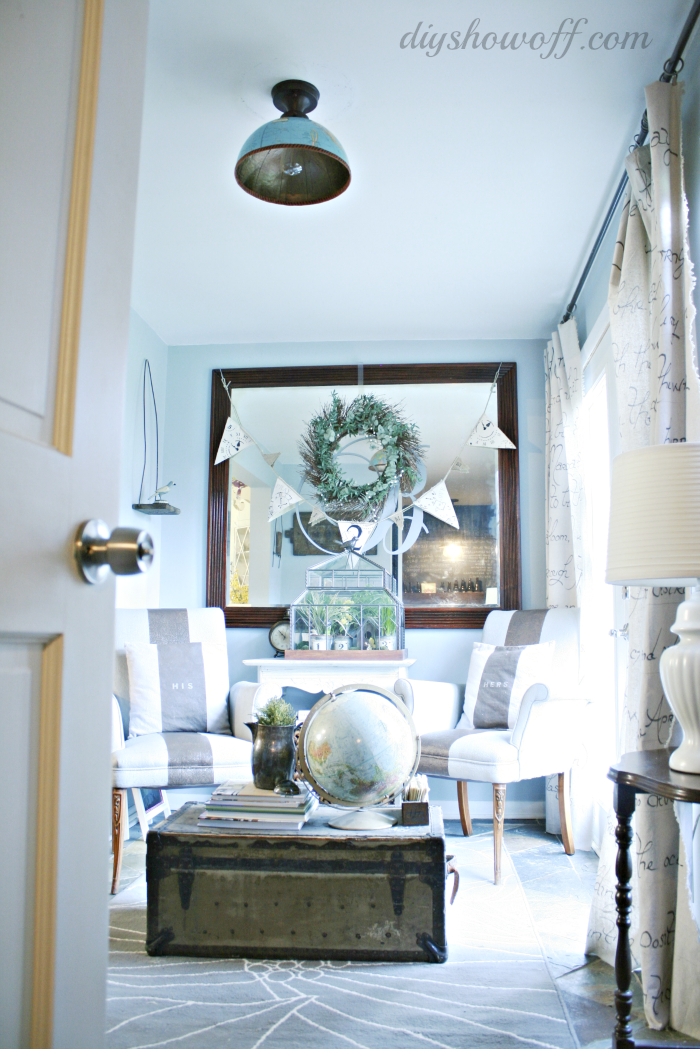
It fits with the style of our sitting room too…

sitting-room

Easy enough.  (Would also work as a lamp shade…decorative only.}

half-globe-light-cover

 Mystikit: Purchase the materials and tools needed to make this half globe light fixture cover.

sitting-room-diy

*more DIY projects in this space:

 *This light shade is mainly decorative. In our home, it is rarely turned on for more than a few minutes at a time. Please do your homework and consider safety in your own home before using a globe as a light fixture. 

Sharing here:

Home Stories A to Z Tips & Tutorials party

So You think You’re Crafty

Weekend Bloggy Reading