Design Style: Urban Classic

I’m often stumped when asked my decorating style. I tend to just do what I love. Our family room is a mix of modern with vintage, new with old, an “urban classic” style but with a bit more fun with pops of color.

I’ve recently been working on redoing the family room which is a mix of repurposed, thrifted, DIY and new. Vintage modern. Urban classic. It’s still a work in progress (I know. I know…I just revealed the family room makeover not long ago but it wasn’t feeling ‘just right’ so I’m slowly changing it. Again.) I love decorating. I love thrifting. I love DIY. But sometimes adding something new is just as important for achieving the look I love. Sometimes that means saving for a big ticket item but most of the time I’m working on a tight budget.

One of the elements you can’t miss in my family room is the set of Sauder Barrister Lane bookcases on either side of the fireplace surround. New but classic spin on the plain cubby-style shelving. I love the color/finish and the addition of vintage-looking name plates.

Two Barrister Lane bookcases give this wall and fireplace surround a built-in (but moveable) look.

I love the vintage vibe of the bookcases paired with a modern pattern like in this accent rug and colorful glass lamps:

And they’re versatile. So when I get the urge to rearrange, they’ll work in several other rooms in my home too.

Get the Look: For a bit of casual sophistication, Urban Classic reflects a smart, easygoing lifestyle through timeless decorating. Somewhat eclectic, this style focuss on mixing classic and found items to hint at a well-traveled taste. Urban Classic is full of sophisticated yet relaxed home design ideas with a healthy mix of materials. Colors are earthy and rich, while materials show age to suggest a loving history of use.

  • Find inspiration. Check out magazines, decorating blogs, ideas via Pinterest or a Google search. Sometimes inspiration can be found in art, fashion, one object, fabric patterns, catalogs, etc.
  • Mix repurposed, thrifted, DIY with new and modern (Sauder has a broad range of beautiful furniture at affordable prices) to create a room that reflects your style.
  • Personalize. Take what you love about your inspiration and put your own spin on it, making it fit your lifestyle, your personality.

Perfect timing: Before I even received this opportunity, I spied the Barrister Lane bookcases and knew right away that I wanted a set of two to flank either side of the vintage fireplace surround that you often see in my family room (sometimes I move it to the dining room). I couldn’t pass up the color, style, function and affordable price and ordered two of them online. THEN just a few days later, I received the offer to participate in the Sauder Get the Look campaign. Great timing, awesome coincidence! I purchased the product before the campaign became available to me. How perfect!

Purchase experience: The bookcases arrived and were simple to assemble by myself. The instructions were easy to read and the pieces clearly marked. There was however one piece missing from one of the packages. My first reaction was panic…would I have to box it back up and ship it back? (Sauder furniture is super heavy – not fun for shipping but definitely adds to the overall quality of product.) The answer: No. I simply went online to sauder.com and ordered a replacement part. Free-of-charge. It arrived within in a few days. No hassle! Great customer service – I was able to manage ordering the replacement part on a Sunday evening without even having to explain the situation to a sales representative or make an extra trip to the store or without having to return the product. Gotta love that!

What design style is most prevalent in your home? See more ‘Get the Look’ ideas from Sauder on Pinterest.

This is a sponsored conversation written by me on behalf of Sauder Woodworking. The opinions and text are all mine.


DIY Window Shelves for Plants

I recently shared my craft room tour. And as a little reward for cleaning up that chaos and getting organized, I treated myself to a little DIY project. I love one of the windows in this room. Here’s how it looked in the past:

vintage craft room

The window shown above nearly reaches from floor to ceiling and with the two different sized windows in the room (one tall window with trim original to the house/one high small window with no trim), window treatments always felt tricky or lopsided. 

So why cover that beautiful trimmed tall window at all? It faces the back of the house, it’s a second story window and it’s not a room for dressing or a need for privacy. I’ve always wanted to put shelves on a window for plants. Plenty of sunshine should assist in changing my luck with plants, right? 

Here’s what I did…

Materials:

  • (3) 1 x 4″ pine boards for shelves
  • (6) shelf brackets
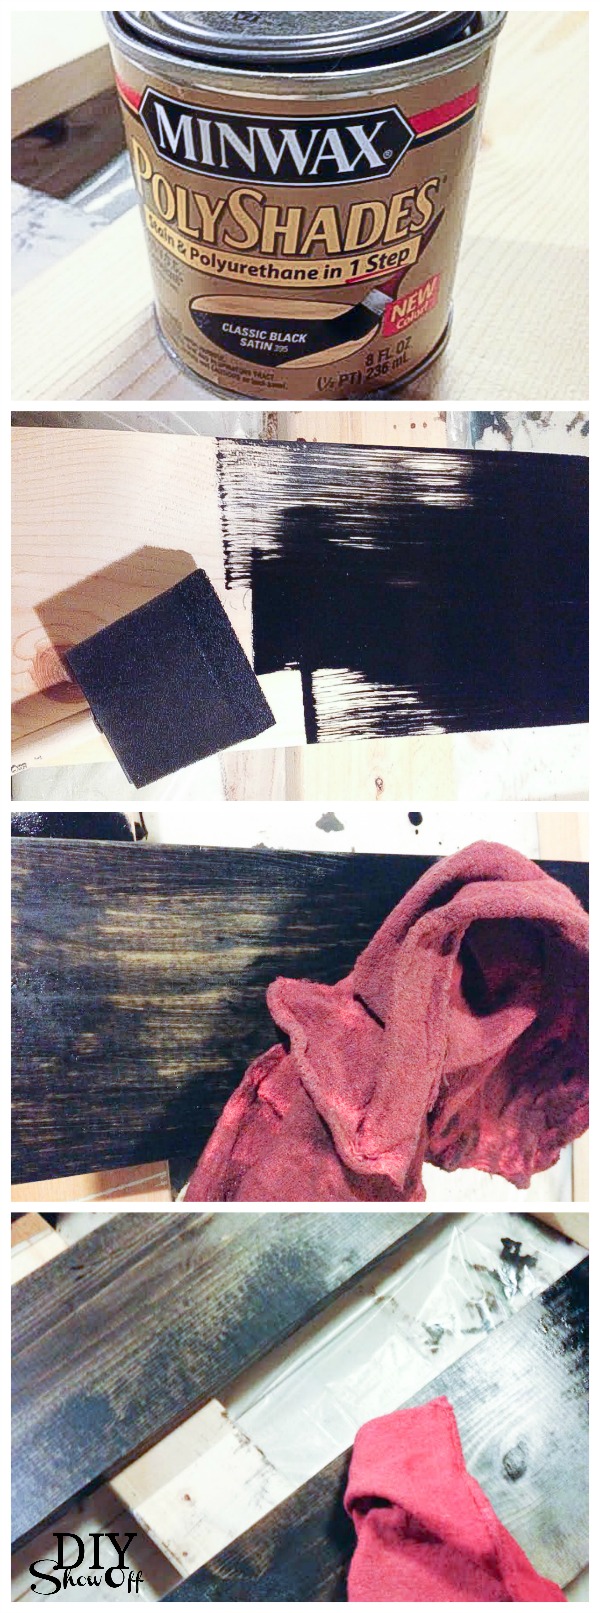
  • Minwax Polyshades (Ebony)

I decided where I would attach the brackets to the window trim to calculate the measurement of my shelves.

measure

Then cut my shelves. 

window shelving tutorial

Sanded the rough edges and wiped them clean. 

window shelving tutorial

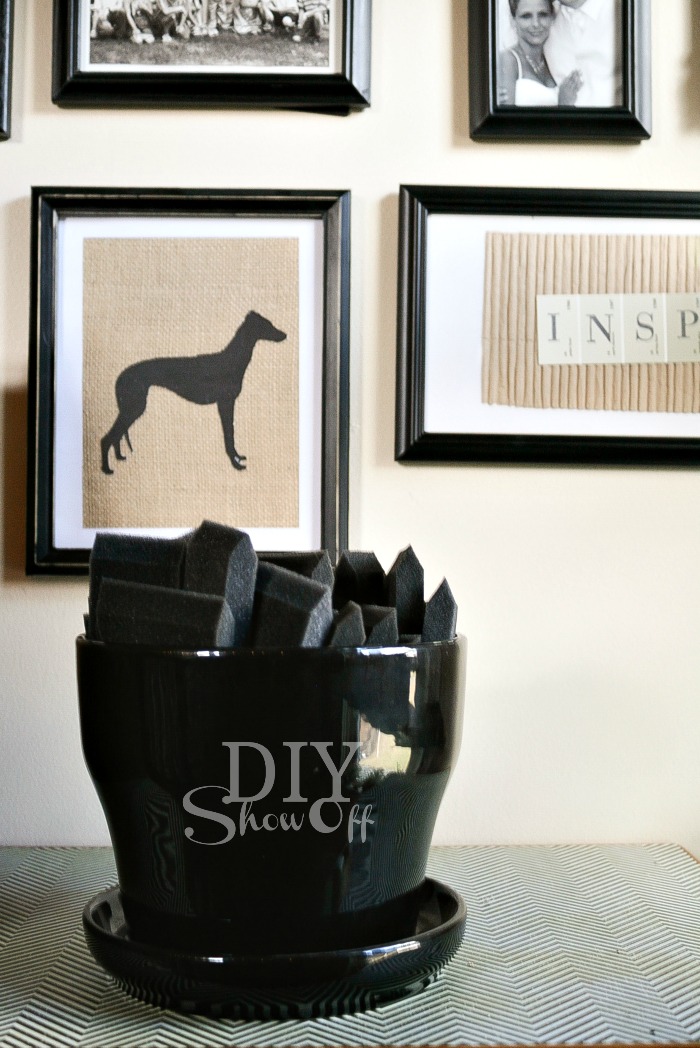
Then brushed on the Polyshades using a foam brush. I let it sit for a few minutes then wiped the stain away and let dry. I did all sides. (I may apply a wax finish to the wood shelves for further water-proofing but I was on a bit of a deadline.)

window shelving tutorial

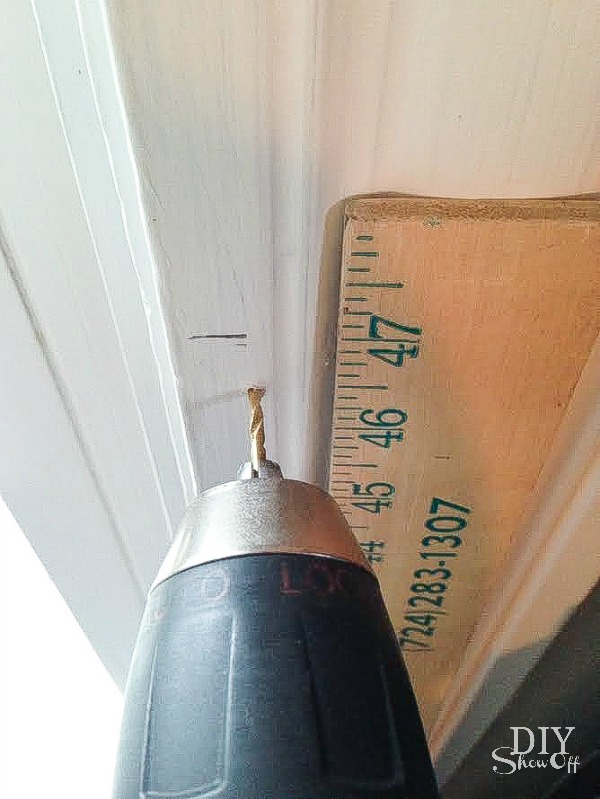
Next I marked the holes for the brackets and drilled a pilot hole.

window shelving tutorial

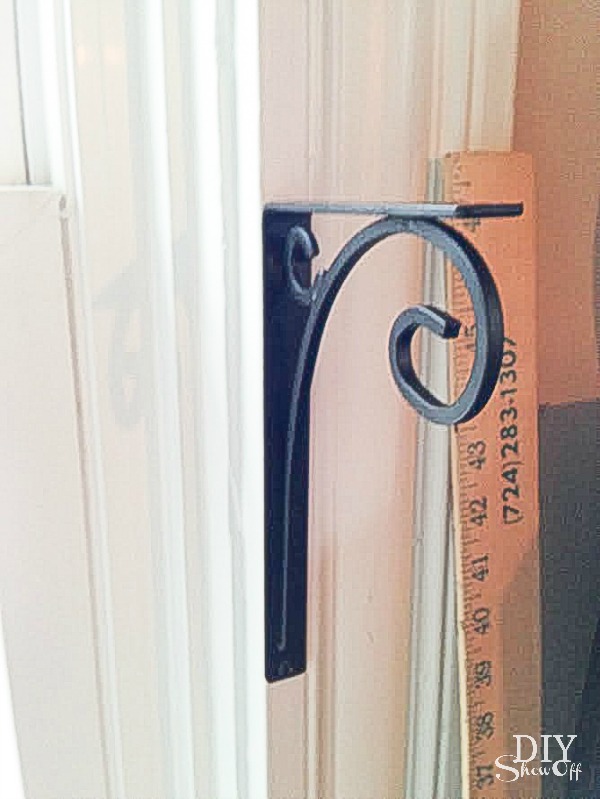
Then I just screwed the brackets into the window trim/pilot hole (can always be patched with wood filler in the future). *Use a level to be sure they’re ‘level’. 

window shelving tutorial

Attach the wood shelves to the brackets with screws (be sure these screws are smaller than the shelf thickness so the screw doesn’t poke up from the bottom).  

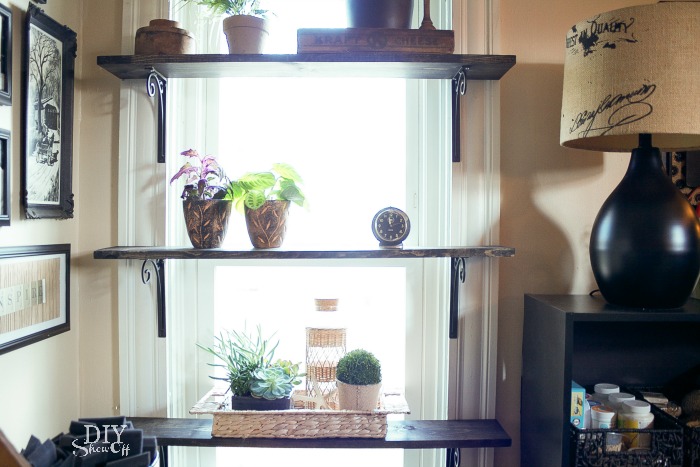
It adds a bit of privacy without a long drapy curtain panel but still lets natural light into the room.  

window plant shelves at diyshowoff.com

It’ll take some maneuvering/removing plants to open the window but the shelves don’t interfere with the function. 

window shelves at diyshowoff.comwindow succulents


before

vintage craft room

after

Craft Room at diyshowoff.com


Facebook DIY Show Off - FacebookDIY Show Off - TwitterDIY Show Off - Pinterest DIY Show Off - FeedDIY Show Off - HomeTalkDIY Show Off - G+ photo Bloglovin_zps7a62ddb7.png photo instagram_zpsd219e830.png

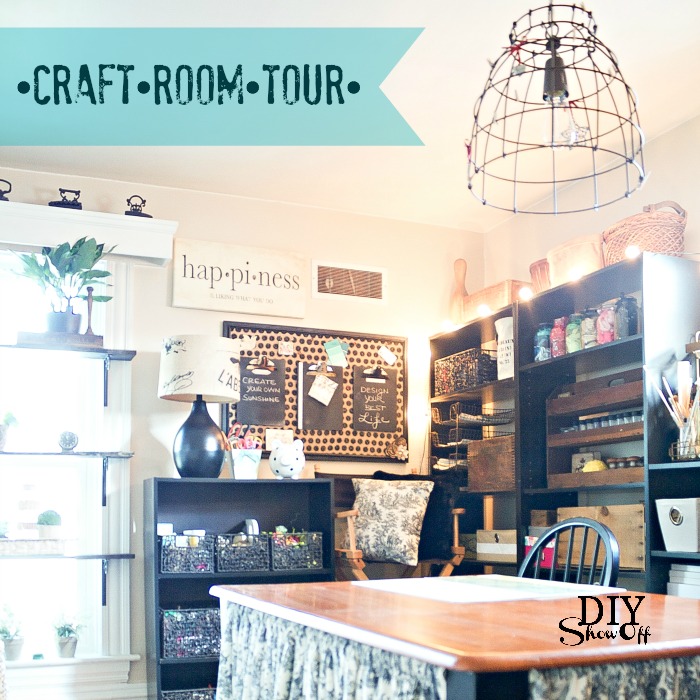
Craft Room Tour

Have you been following along the Craft Rooms and Spaces series hosted by Angie at Country Chic Cottage? It’s so fun seeing where bloggers create, getting ideas and motivation to maybe initiate some spring cleaning and organization in your own space?

DIY Show Off craft room tour

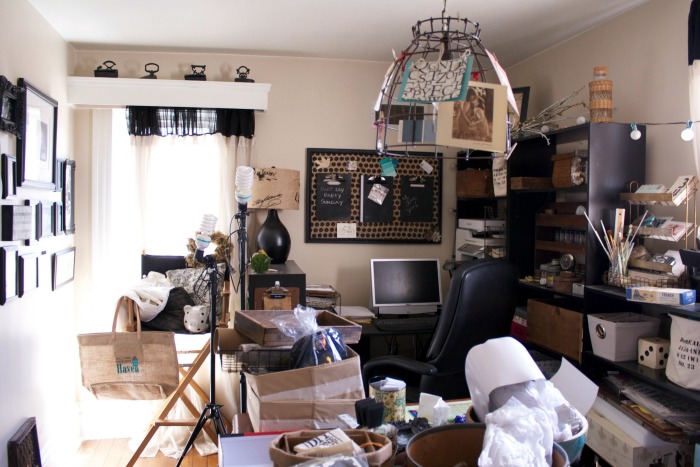
Thanks to Angie for the invitation to participate! I had no choice but to finally put things away. Here’s my chaotic craft room when I agreed to join the series…

craft room mess before

Yikes!

I’ve made some changes and cleaned things up for your arrival today. Ready for oodles of pics? There’s lots to see!

Craft Room at diyshowoff.com

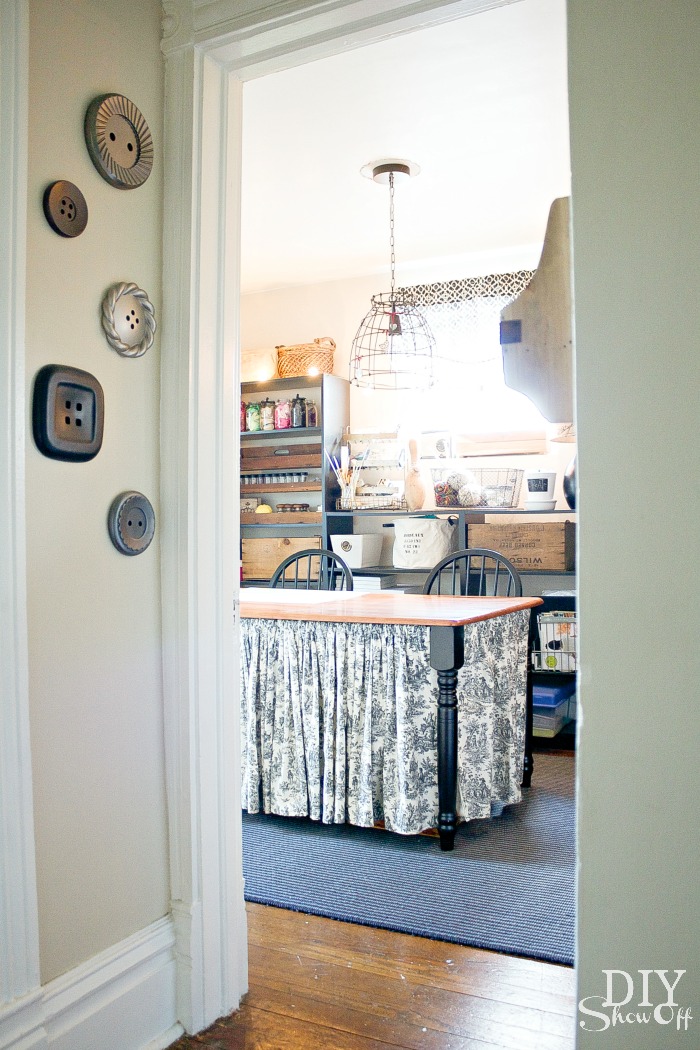
Looking into the room from the hall (the resin button plaques on the wall are several years old, so no source to list).

Craft Room Tour at diyshowoff.com

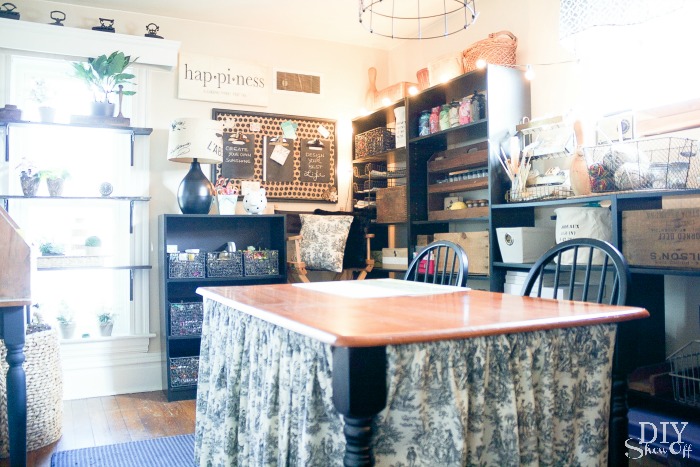
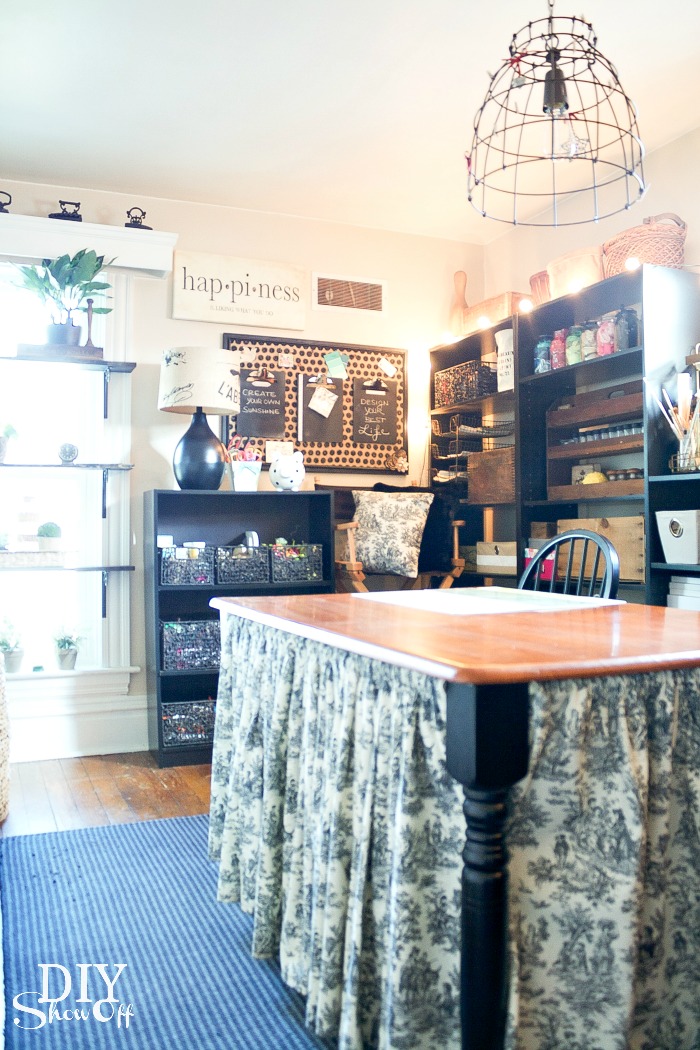
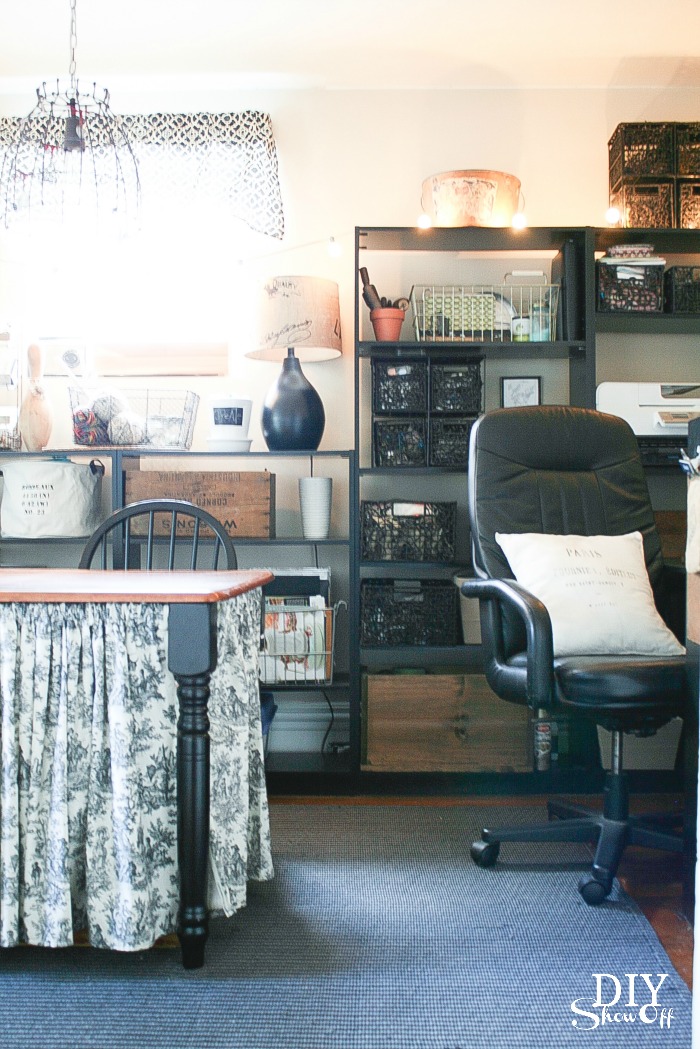
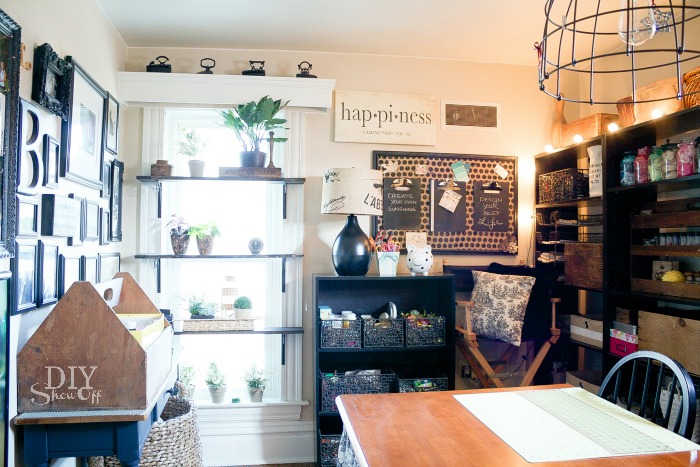
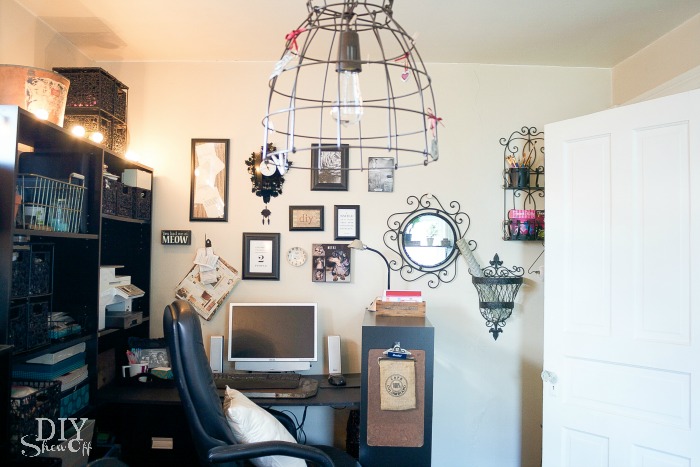
One first thing you’ll notice is this room is PACKED full. But when everything is organized and tidy and in it’s place, its a great space for getting creative. The old farmhouse dining room table serves as a great workspace.

diyshowoff craft space

The skirt is sewn into simple custom sized rod pocket panels and attached using tension rods on 3 sides. I’m ready for an updated fabric/pattern but what I really love about the skirt is that it hides even more storage (things not so pretty to display, boxes of supplies and such) under the table. 

DIYShowOff Craft Room

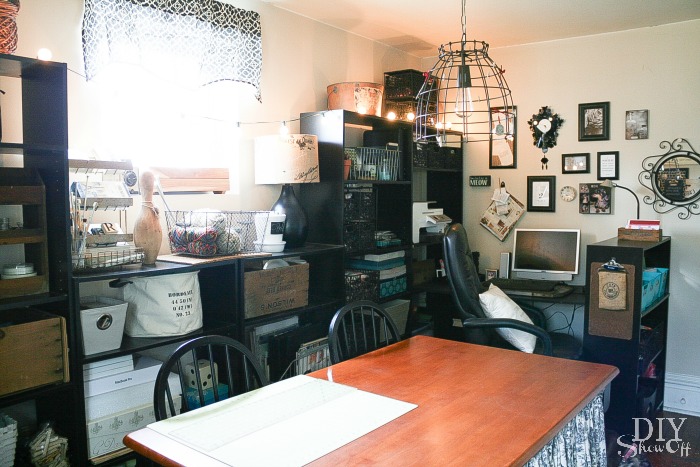
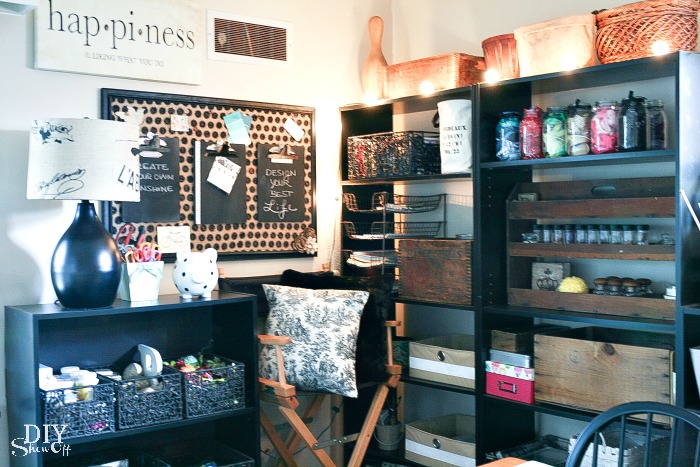
The walls are lined with inexpensive shelving units, some tucked for a perfect fit against the back wall, providing TONS of storage and organization. A string of lights adds a fun festive feel.

DIYShowOff craft room tourdiyshowoff home officecraft room

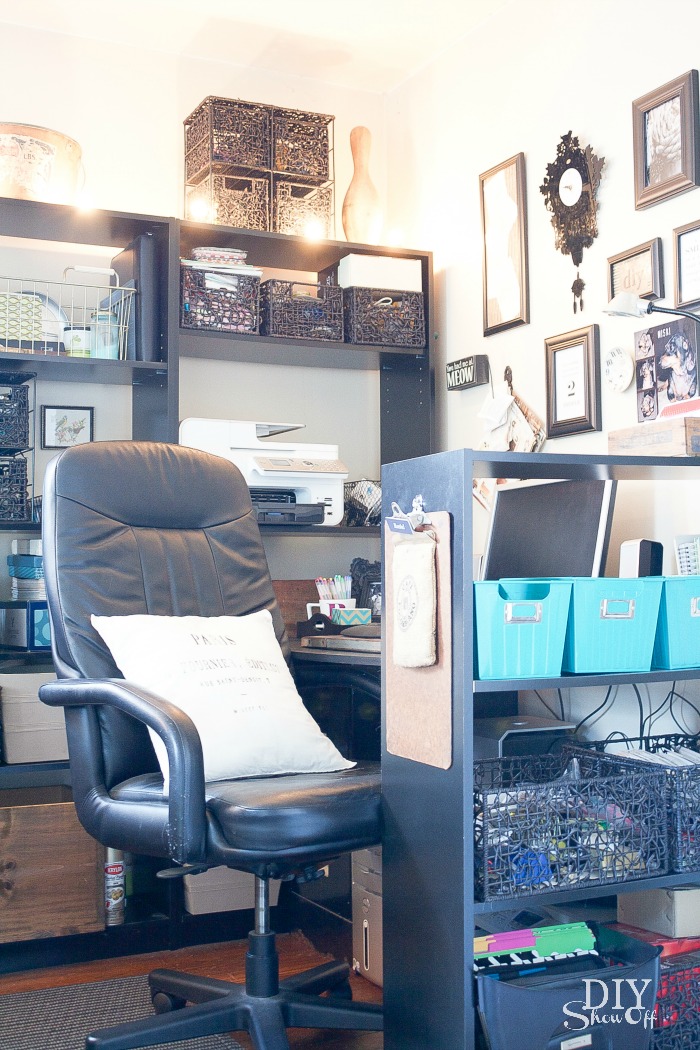
A small DIY desk area holds our desktop computer, although I’m more inclined to work from my laptop in the living room most days. 

work space at diyshowoff.com

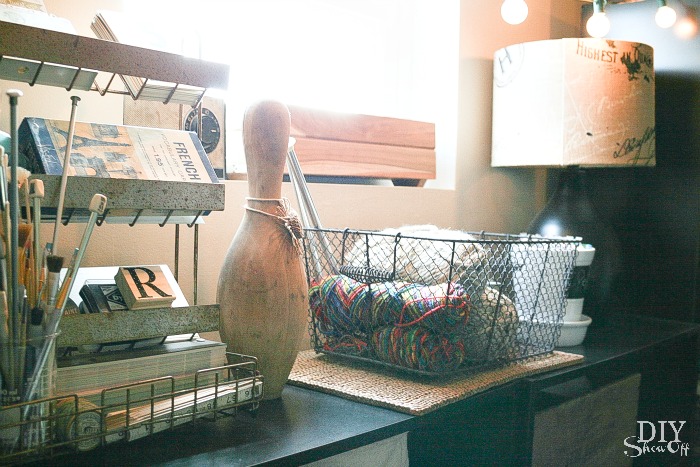
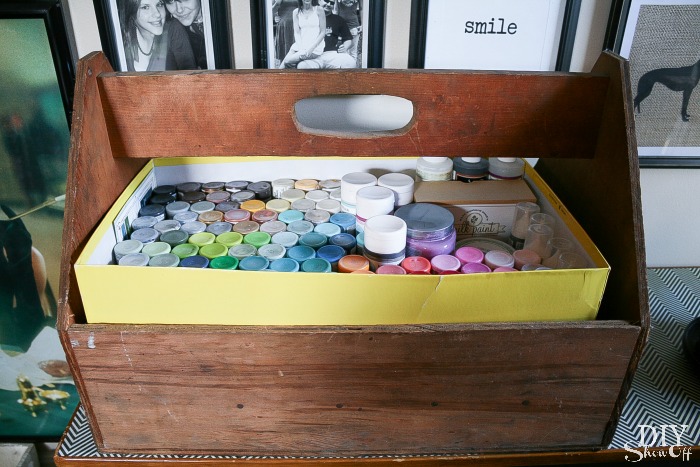
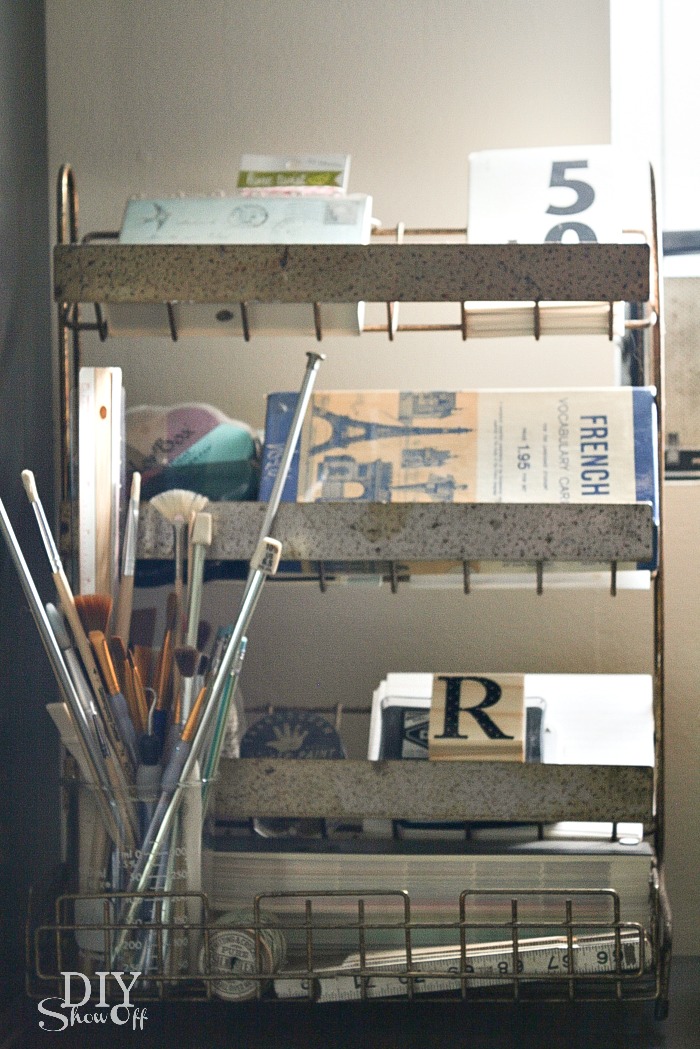
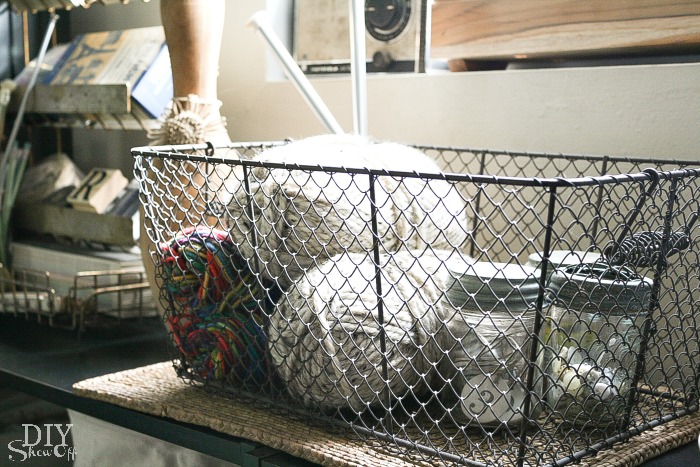
I love the mix of old crates, baskets and vintage finds for storing craft supplies, mason jars for scrap ribbon by color…

diyshowoff craft room storagecraft room organization at diyshowoff.comcraft paint storage at diyshowoff.comcraft room tourstorage for craft roomvintage craft room storage at diyshowoff.comcraft supply storage at diyshowoff.com

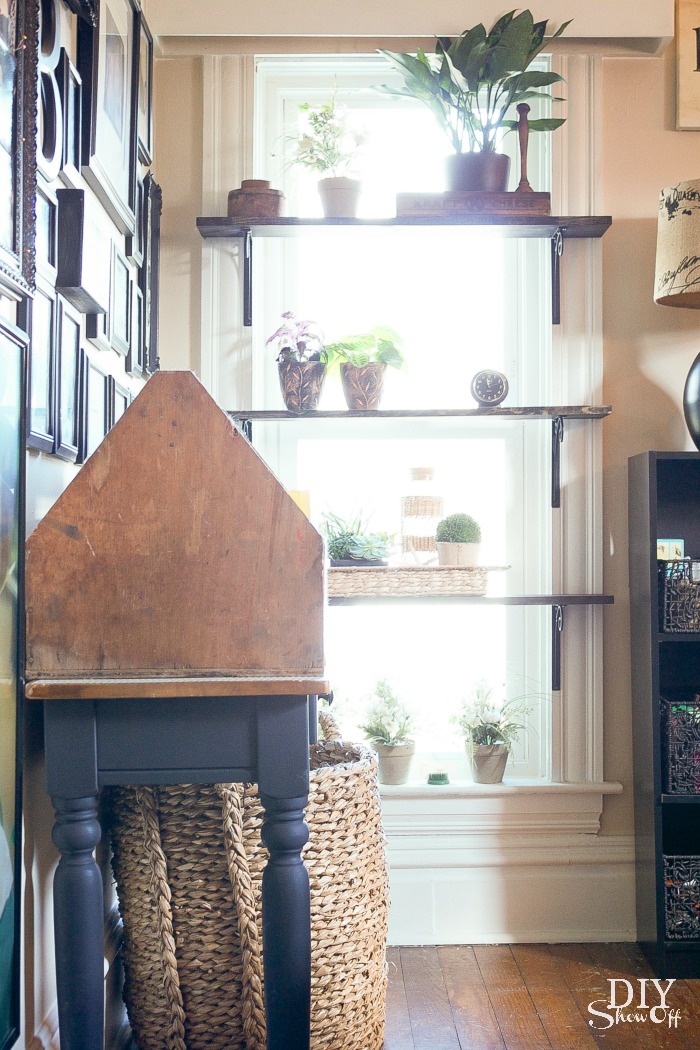
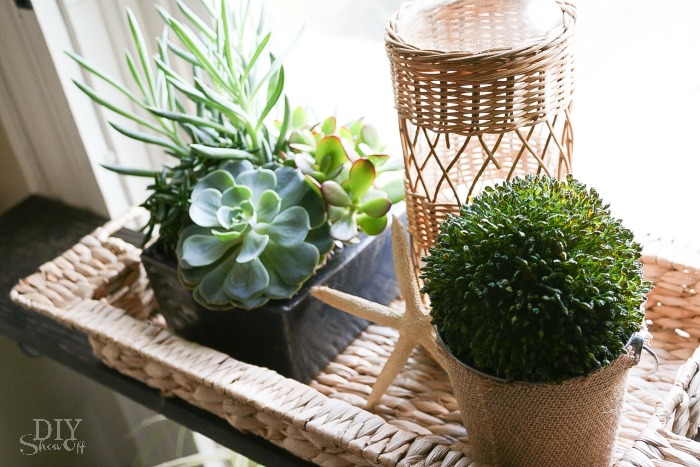
I recently added some shelves to the window for plants to bring some “life” to the space. 

diyshowoff craft room

 I love that this window sits low, close to the floor. The shelves add a little privacy (second floor) but still allow for lots of natural light to flood the room.

window plant shelves at diyshowoff.comwindow shelves at diyshowoff.comwindow succulents

I don’t remember where I got the light fixture (maybe Urban Outfitters years ago) but I really like the cage and sometimes clip cards or paint swatches there. 

craft room light fixture at diyshowoff.com

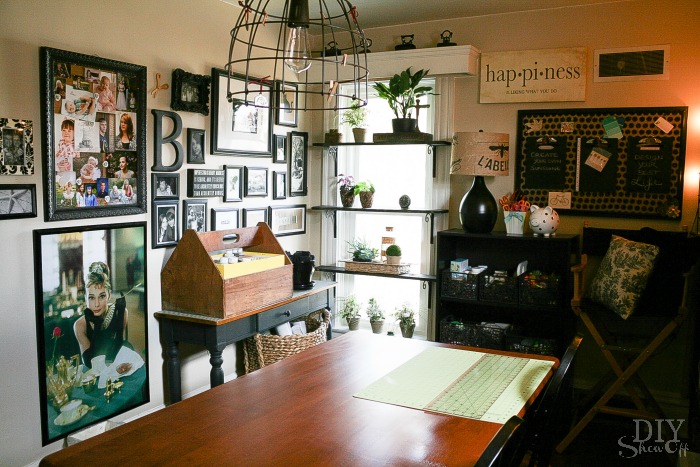
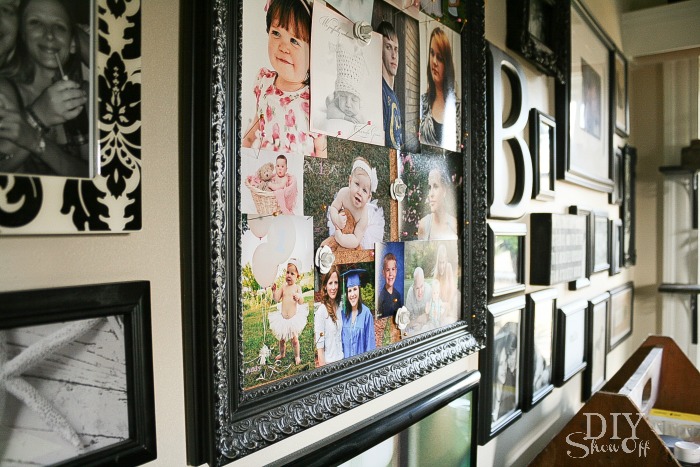
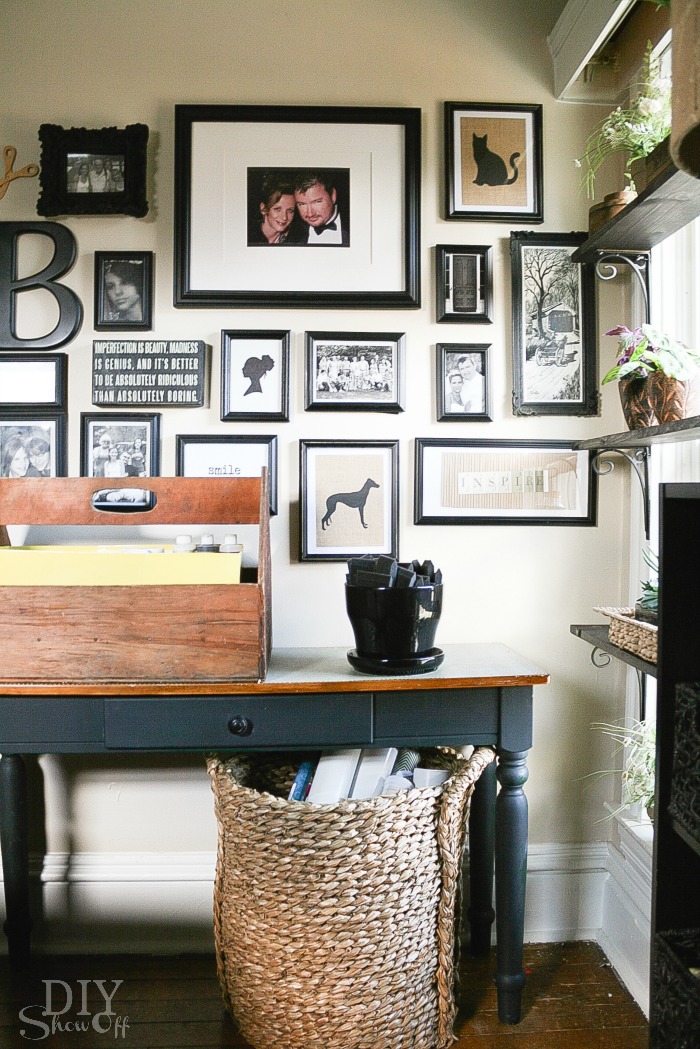
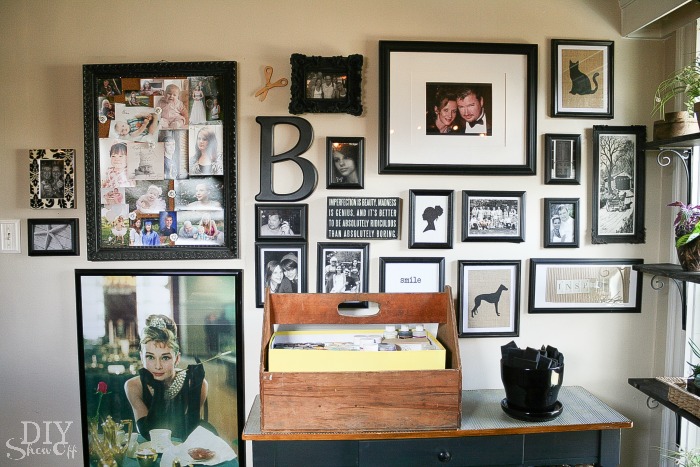
The walls are filled with a mix of fun frames collected over time, some with family photos, others just random art or thrift store finds and continues to grow here and there. 

gallery wall at diyshowoff.comCraft Room photo wall at diyshowoff.comCraft Room gallery wall

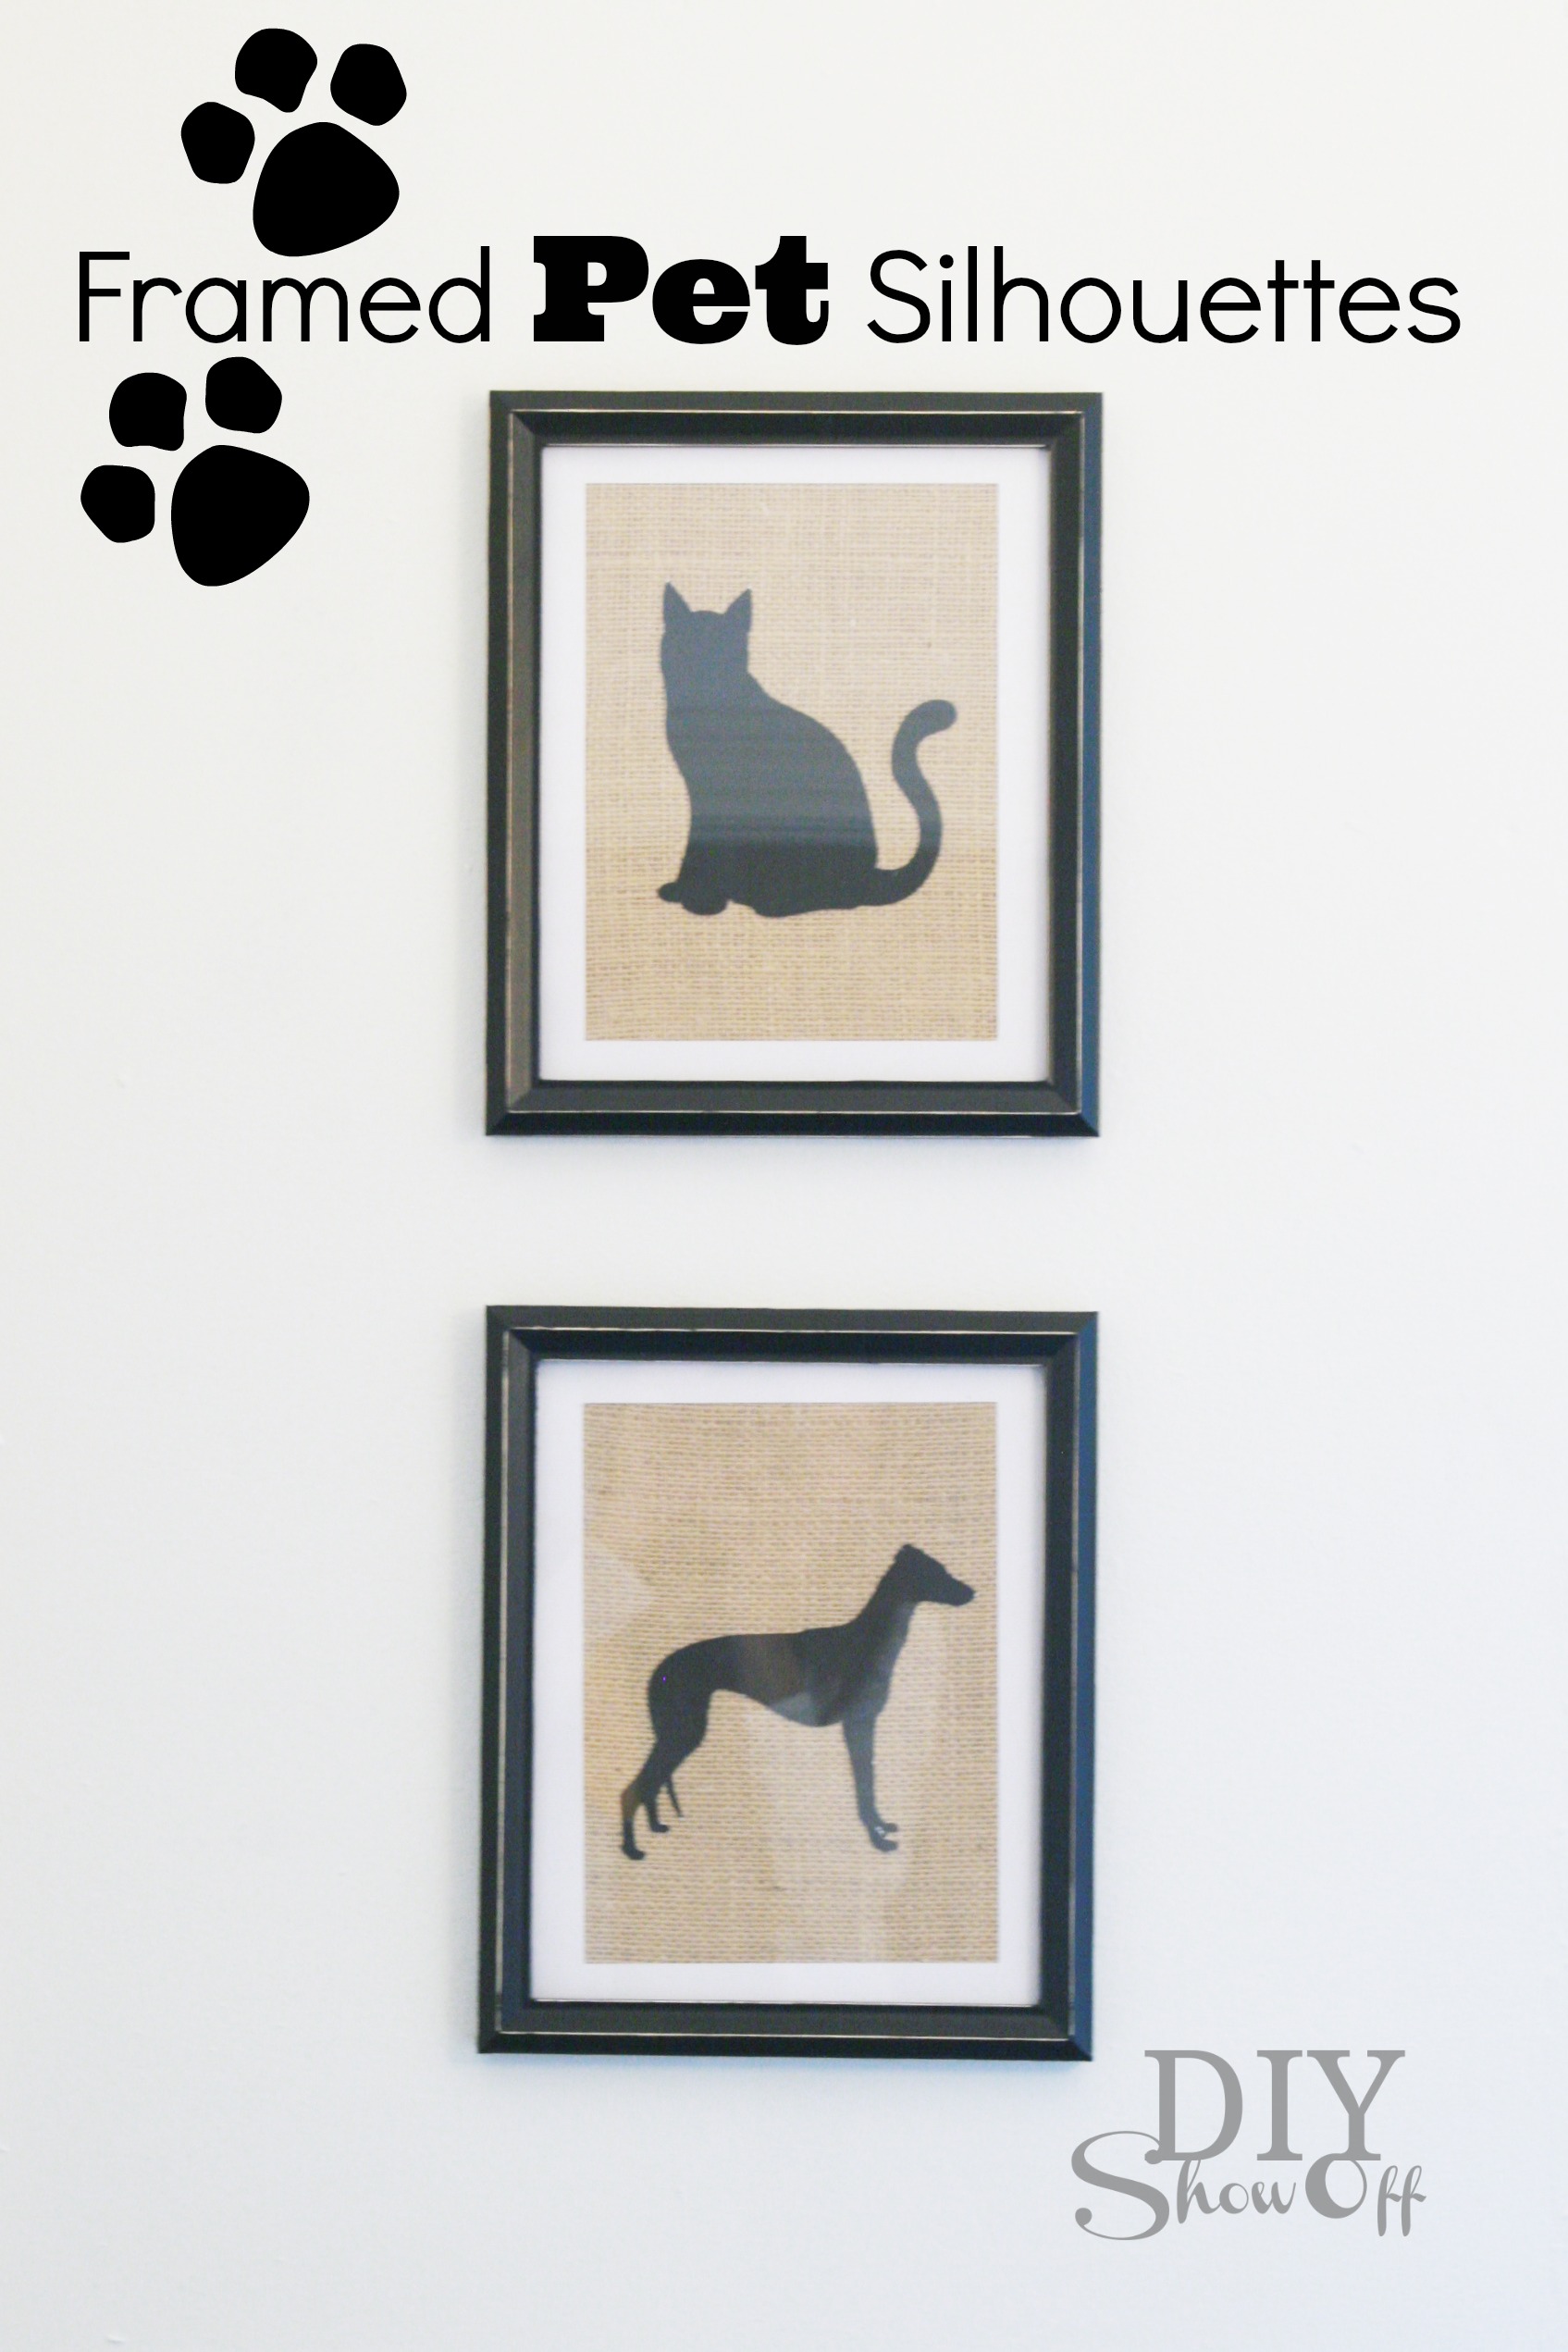
Pet Silhouette Art Tutorial

Framed Pet Silhouettes on Burlap

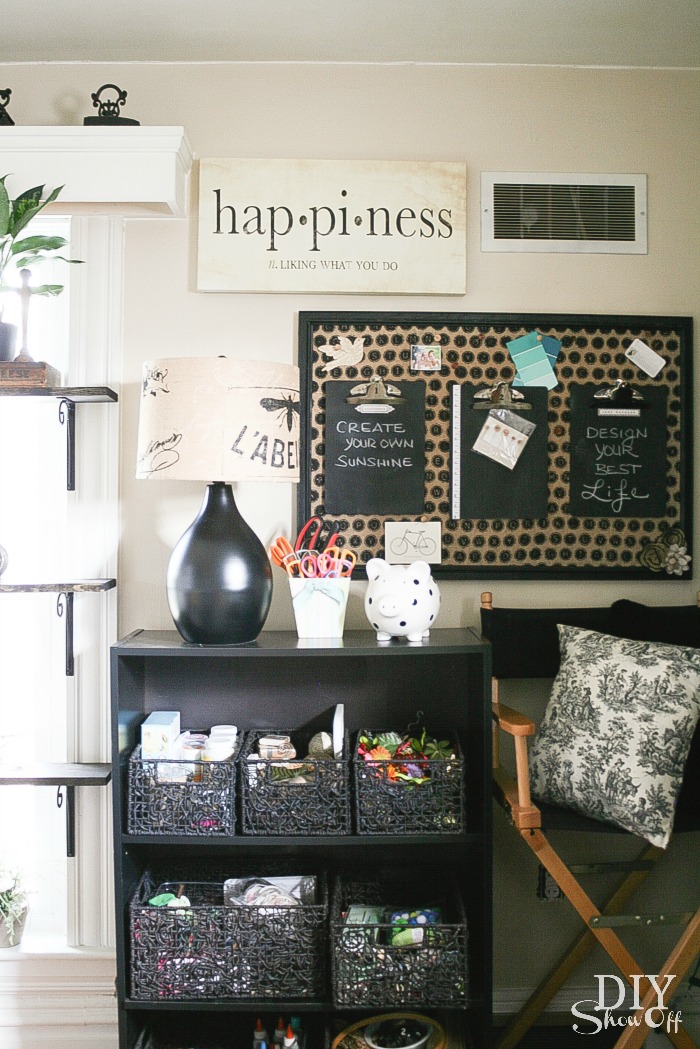
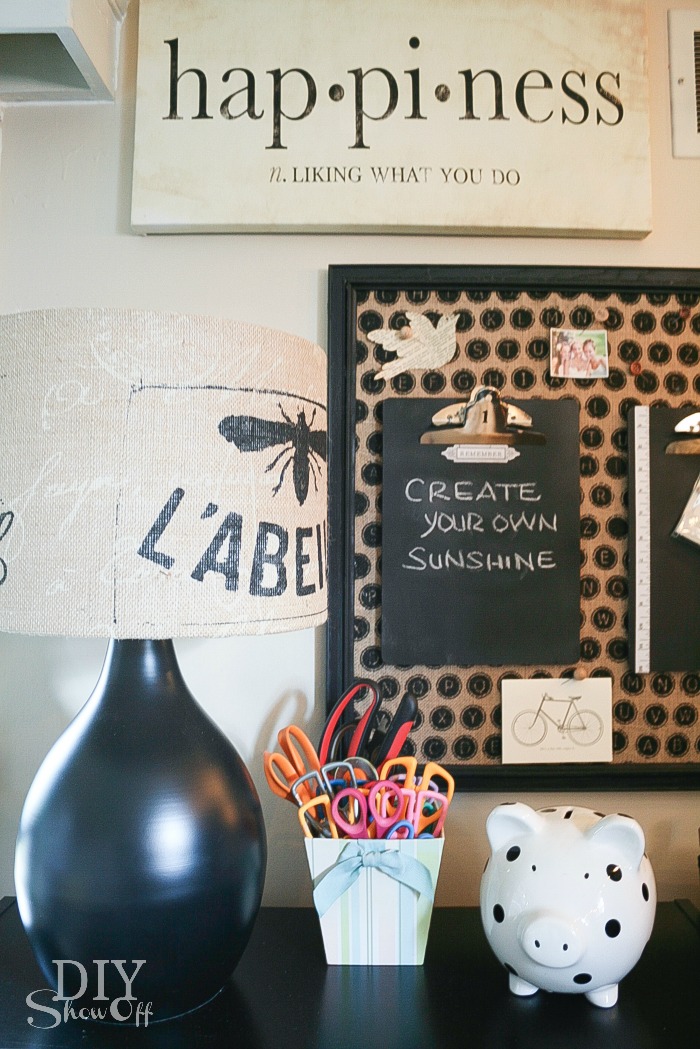
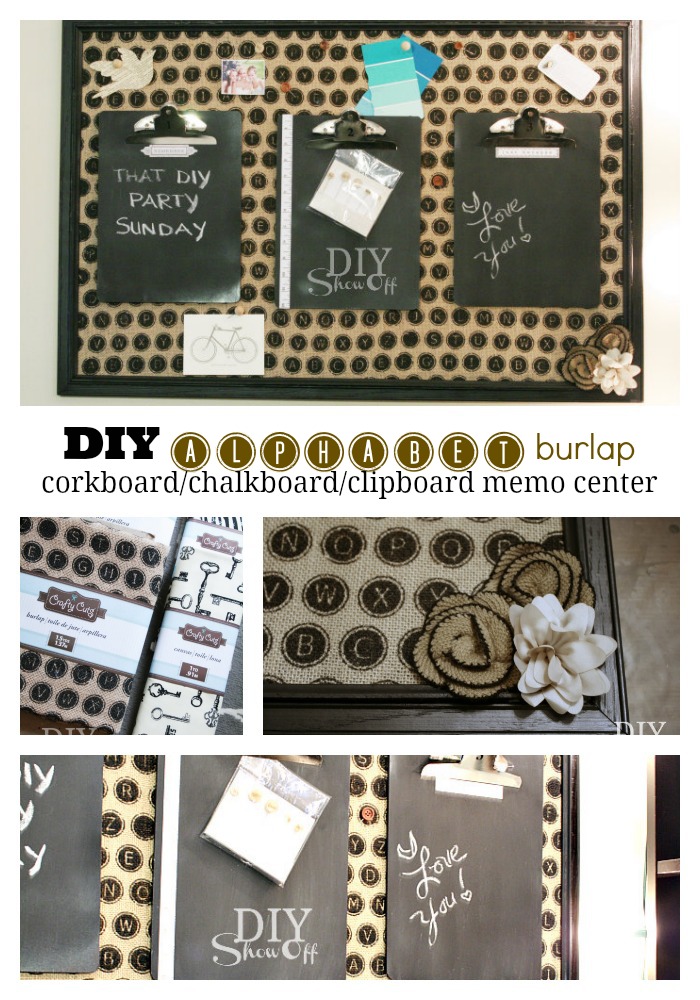
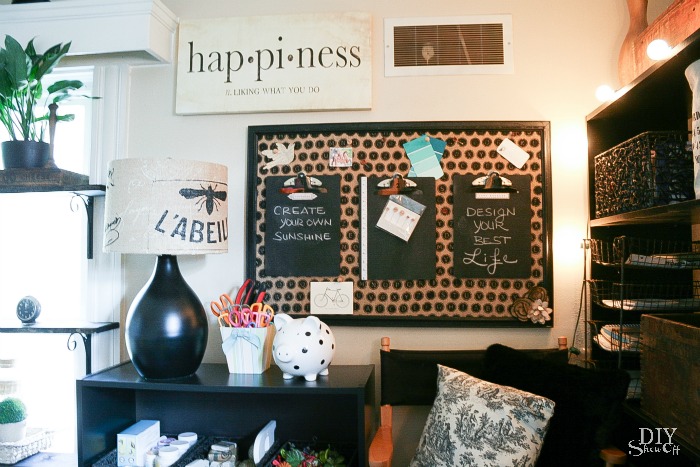
A DIY chalkboard + cork board + burlap message center helps keep ideas and schedules more organized. 

DIY burlap message centerCraft Room message center

A lot going on, right? A LOT of junk which I’ve unsuccessfully tried to downsize but perhaps one day I’ll grasp the truth that if I haven’t used it in 10 years, I probably never will but I’m still waiting for that day to arrive.

Craft Room at diyshowoff.com

Ready to see more craft spaces? Start the tour at here to see Angie’s super organized space. Or if you’re visiting from the creative room at Major Hoff Takes a Wife, welcome friends! I’m so glad you stopped by! Or following along and ready for the next awesome craft room tour on the list? Head over to Homemadeville!

craftroomtourbutton