Rustic Glam Woodland Centerpiece and a Mint Mocha Smoothie

My favorite time of the year is summer and I love spending my days outdoors when I don’t have to bundle up, the sun shining warm on my face, taking a few moments from the chaos on the patio swing to close my eyes while I ponder the day’s plans.

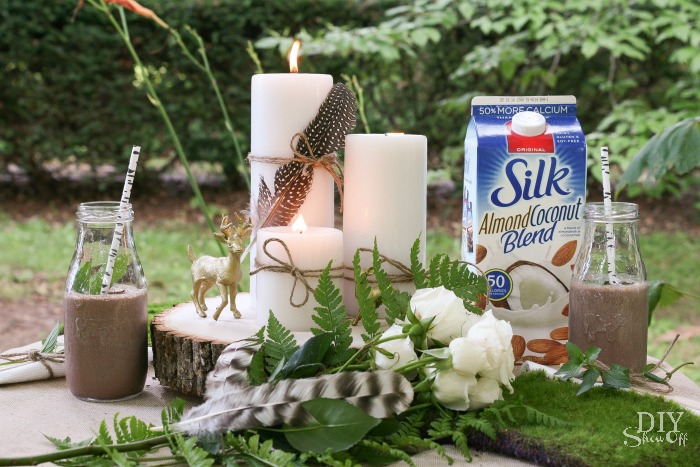
My woodland centerpiece is inspired by summer, talking walks in the woods. A good hike, re-connecting. Mood boosting!
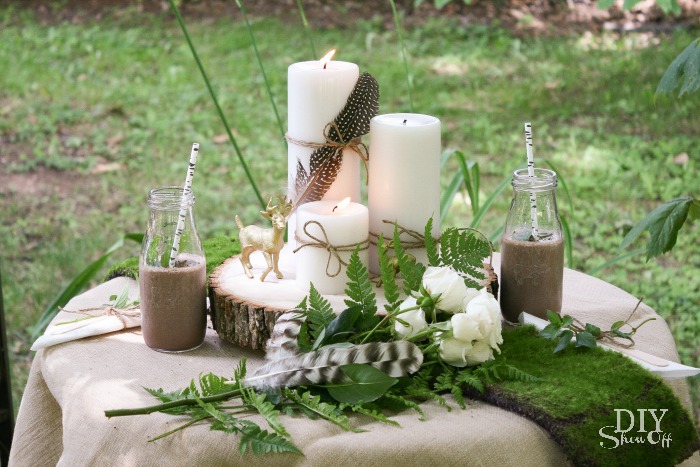
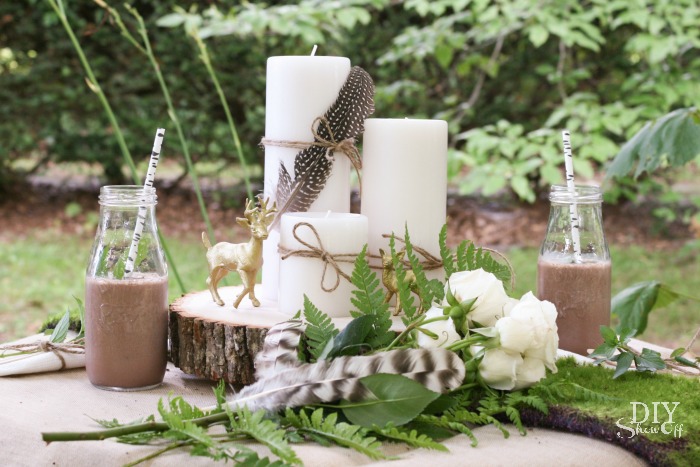
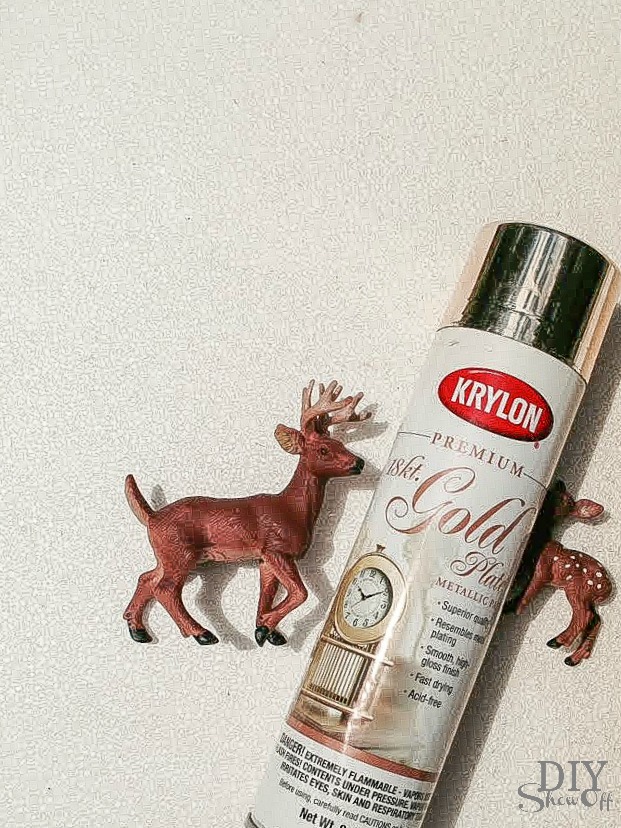
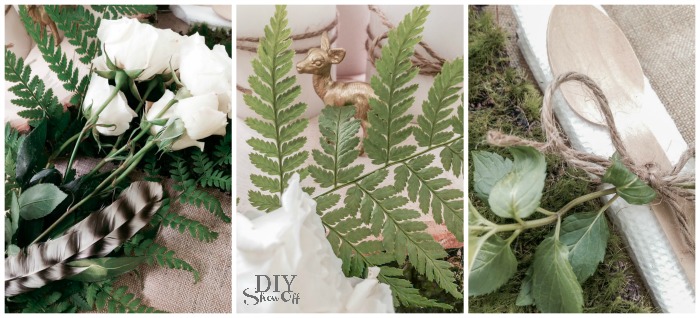
Materials: moss runner, large wood slice, fresh flowers, feathers, white candles, twine, wooden spoons and gold spray painted toy animals.
a blend of natural elements with a little glam

Create a woodland themed vignette. Nature inspired. Peaceful and serene.
It’s a sweet centerpiece for the bistro table under our grape arbor gazebo, all set for some quiet time, counting blessings, healthy meditation and brainstorming up my next big DIY project. Remember to take a few quiet minutes for the sake of your health, to breathe, to think (or not think) and to just rest before tackling the rest of the day.
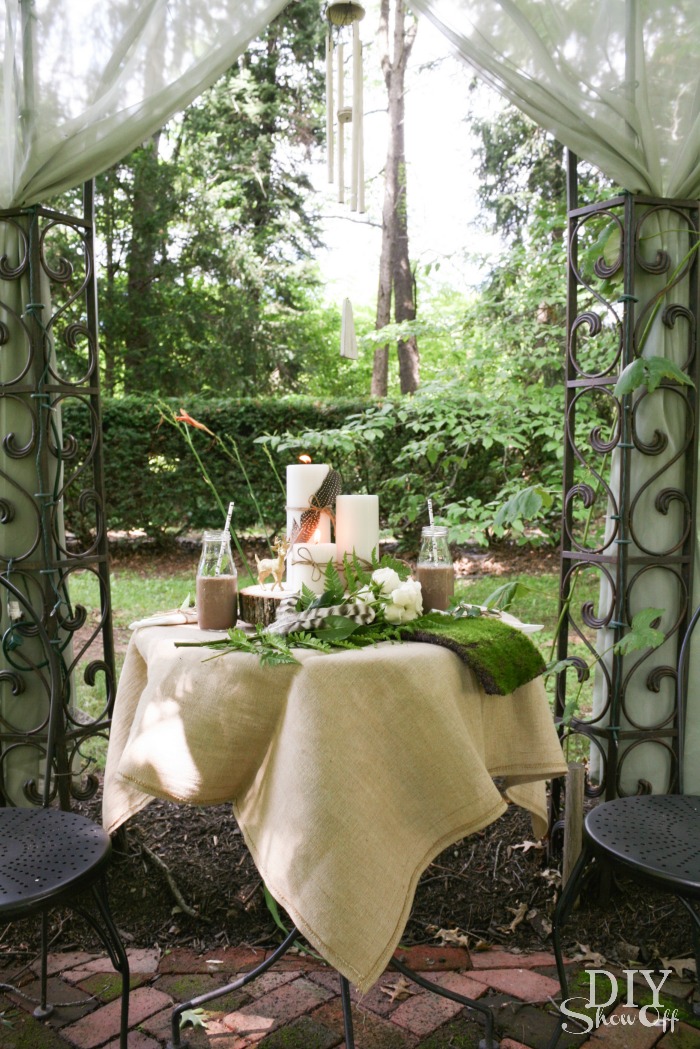
A shaded haven for catching up with my daughter. We sat there the other day, sipping mocha mint smoothies, talking and dreaming big.

Do you take the time to sit and soak up the good things? What inspires you to live a healthier lifestyle?
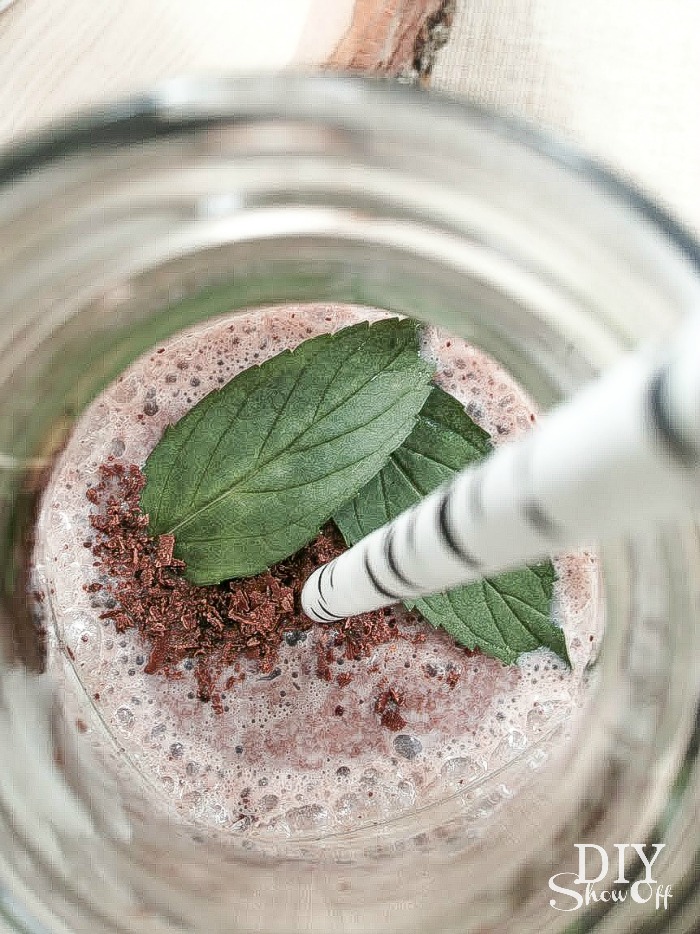
Mocha Mint Smoothie Recipe
Ingredients for 1 large serving or 2 small:

mocha mint smoothie

Check out the Silk products for yourself on the Silk Facebook page. Cool, refreshing and so good! I hope you get a few happy moments away from summer’s crazy schedule today. xo

This is a sponsored conversation written by me on behalf of Silk. The opinions and text are all mine.


DIY Pipe Fitting Wooden Coat Rack Tutorial

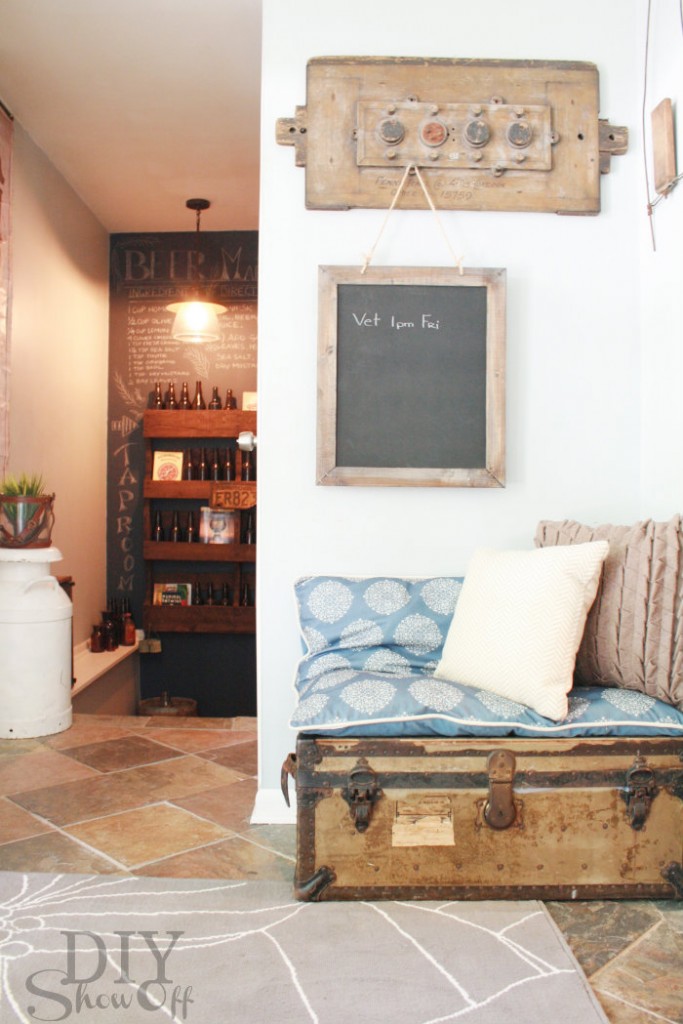
This little seating area is great for putting on shoes and a quiet pet resting place and I love the vintage mould (I think that’s what the chalkboard is hanging on) but you know what? I was ready for a change. Surprise, surprise! haha!

eclectic-hallway

Time to get creative and since we love pipe and wood projects for a bit of a rustic industrial style (see this), those are the materials I used to create a pipe fitting wooden coat rack. 

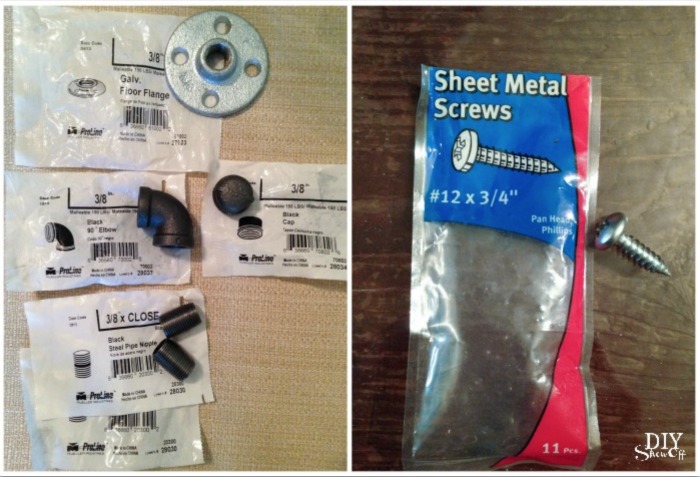
What I used:

DIY pipe coat hooks

  • Three 3/8 inch galvanized flanges
  • Three 3/8 inch 90 degree elbows
  • Three 3/8 inch black caps
  • Three 3/8 inch x close steel pipe nipples
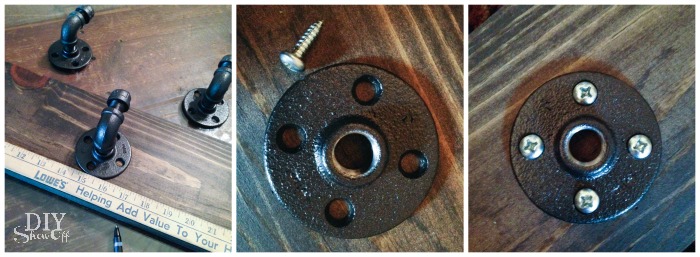
  • Twelve 3/4 inch sheet metal screws (these fit nicely for securing the flanges to wood)
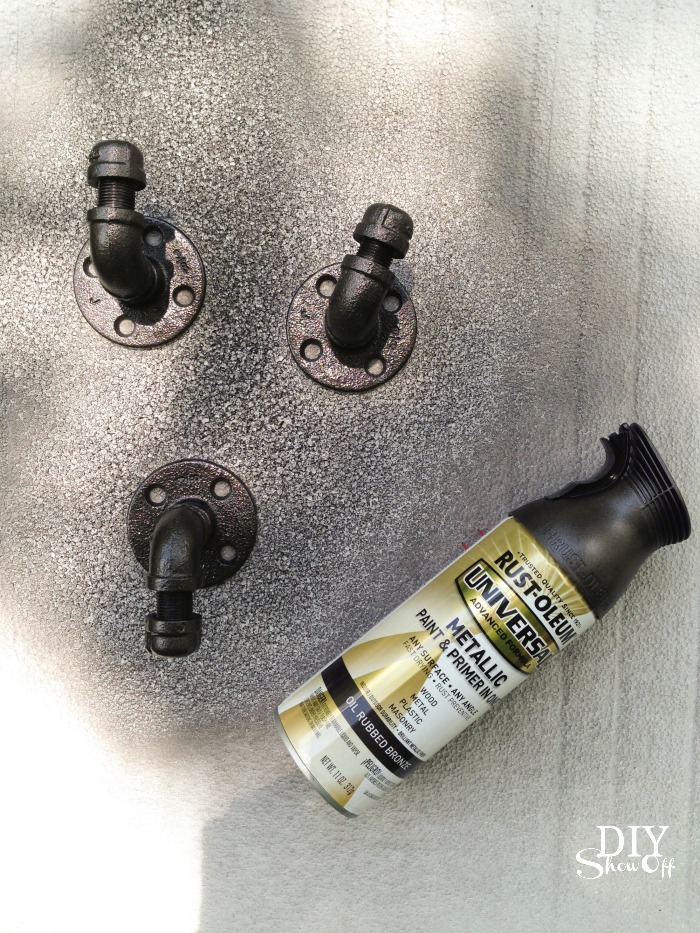
  • RustOleum Universal Metallic spray paint + primer (oil rubbed bronze)
  • Scrap 1 x 6 pine board 
  • RustOleum Ultimate wood stain (Kona)
  • RustOleum Ultimate polyurethane
  • 2 drywall anchors and screws (to secure to wall)

What I did:

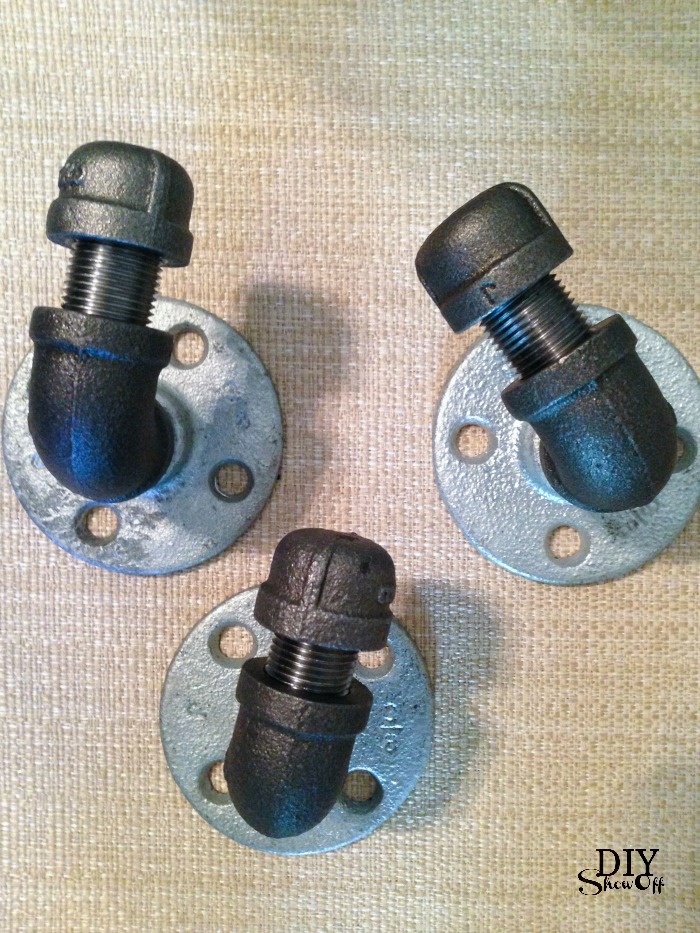
1. I connected my pipe fittings in this order: flange, nipple, elbow, nipple, cap.

DIY pipe coat hooks @diyshowoff

2. Then I gave them a few light coats of spray paint and let dry. 

DIY pipe coat hooks @diyshowoff

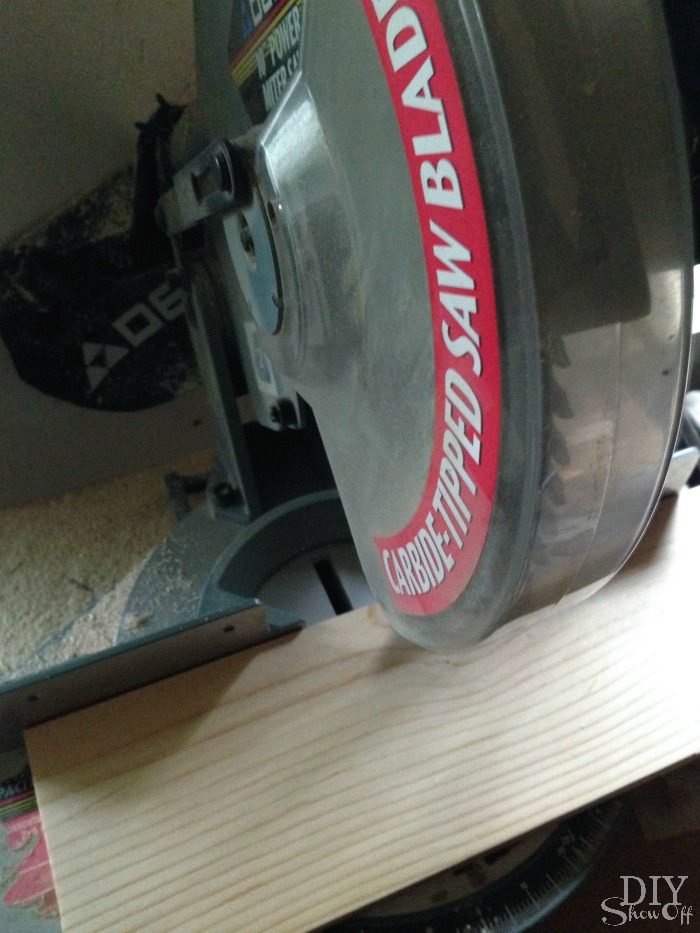
3. I cut my scrap pine board to 30 inches.

DIY pipe coat hooks @diyshowoff

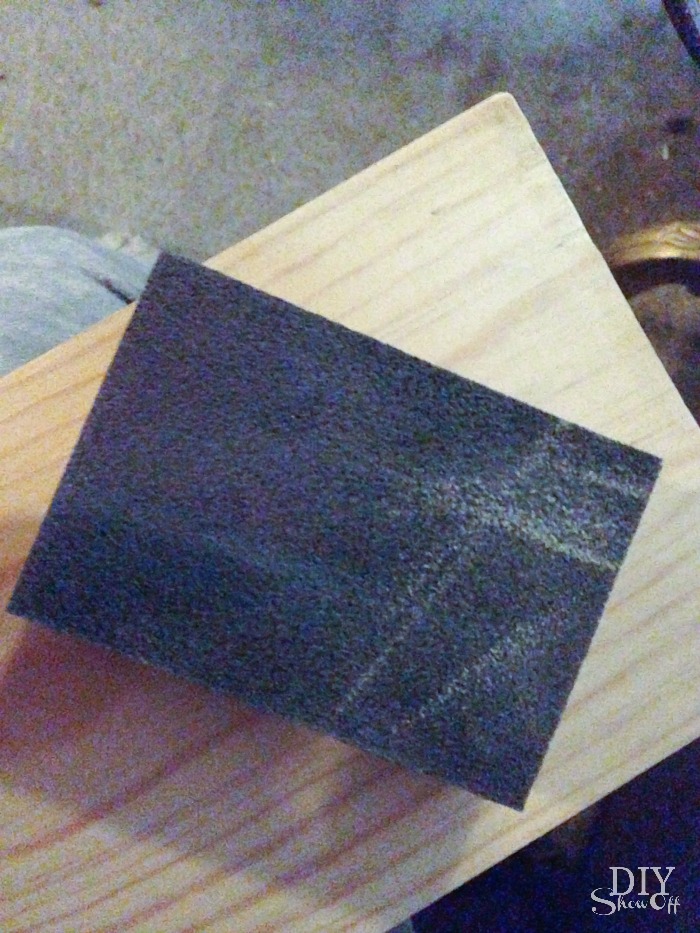
4. Then sanded the edges smooth and wiped clean. 

DIY pipe coat hooks @diyshowoff

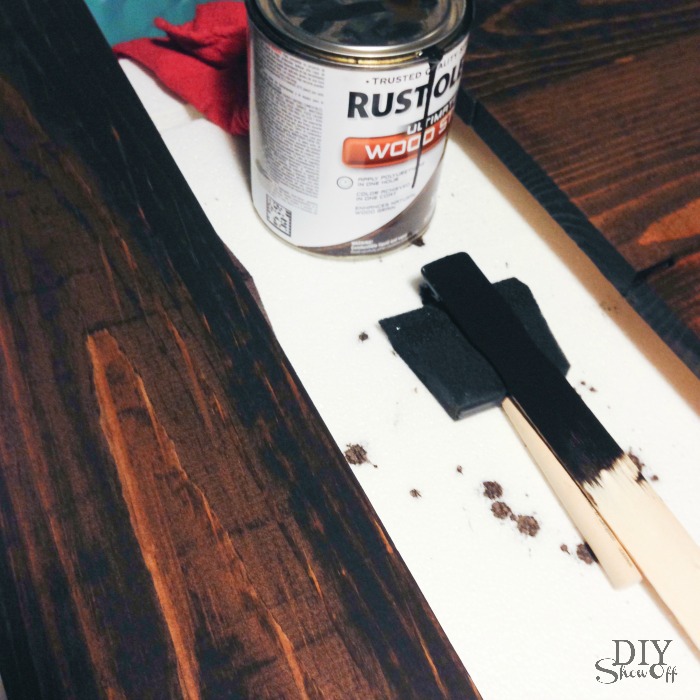
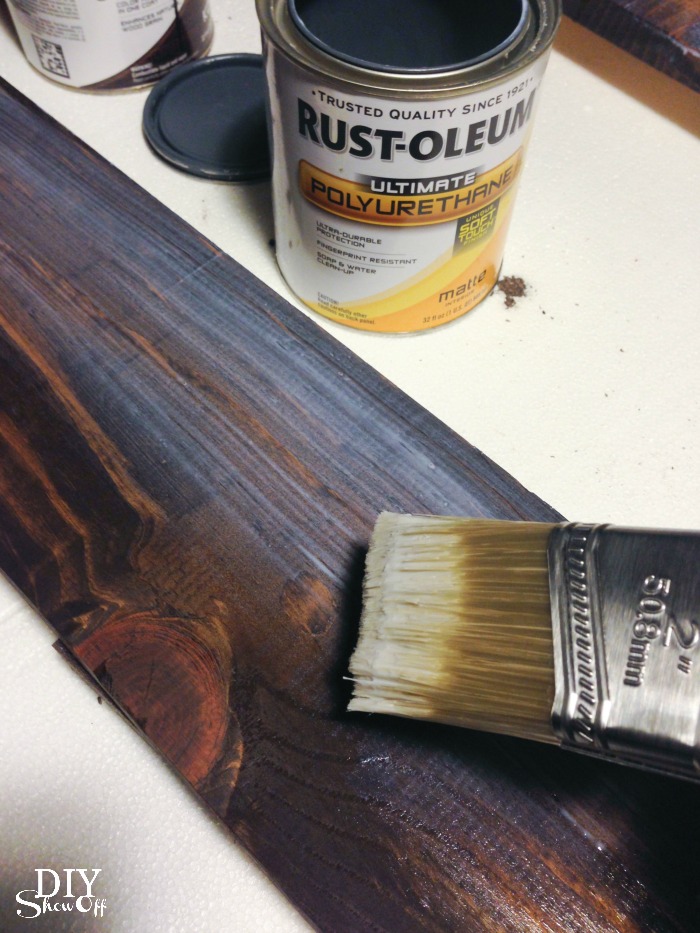
5. Next using a foam paint brush, I applied the wood stain and let it sit for a couple of minutes. You’ll want to wear gloves!

DIY pipe coat hooks @diyshowoff

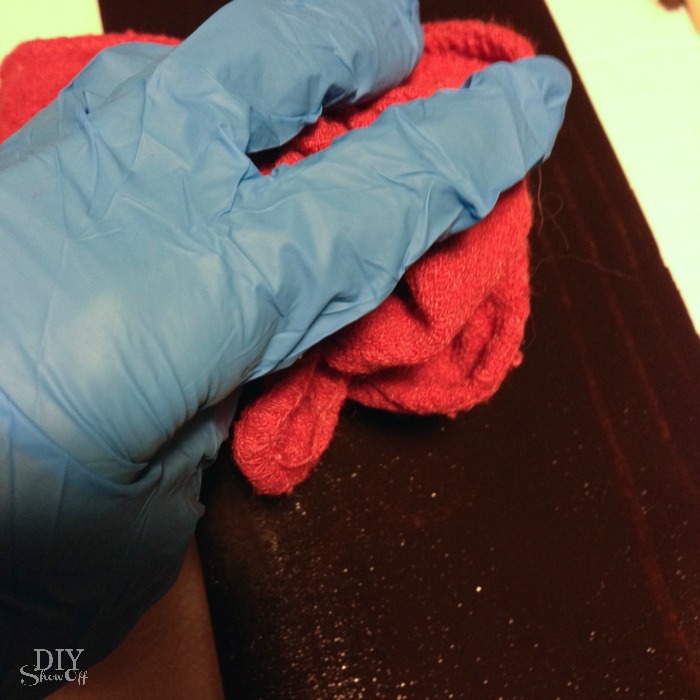
6. Then wiped away the stain with an old rag and let it dry.

DIY pipe coat hooks @diyshowoff

7. After about an hour, I brushed on the polyurethane and let it dry according to manufacturer’s instructions. 

DIY pipe coat hooks @diyshowoff

8. Once everything was dry, I secured the first pipe hook to the center of my wood plank. Then secured the other two. 

DIY pipe coat hooks @diyshowoff

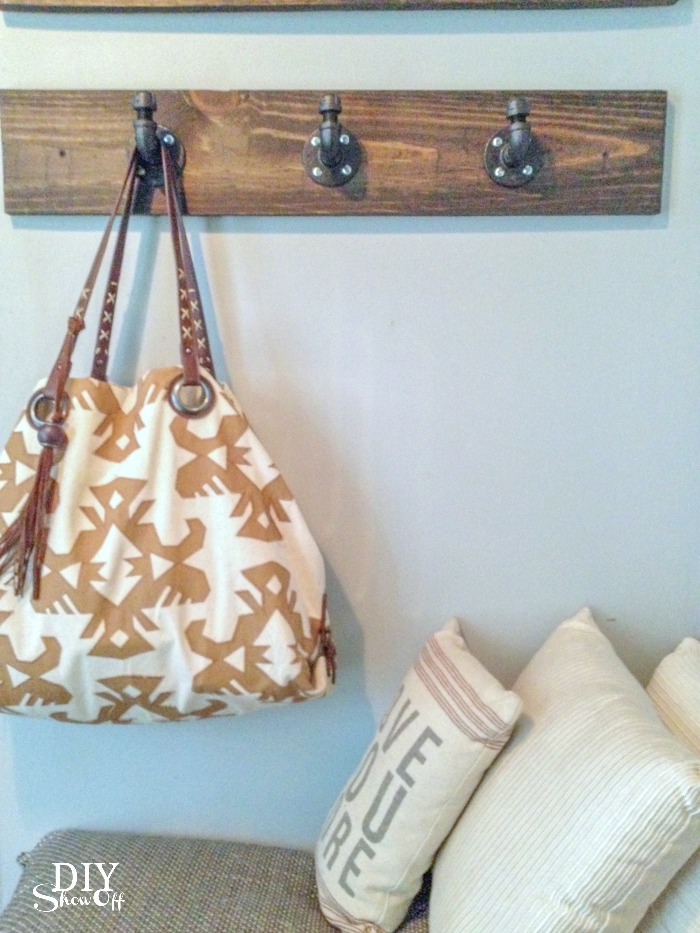
9. I attached it to the wall using drywall anchors and screws. 

DIY pipe coat hooks @diyshowoff

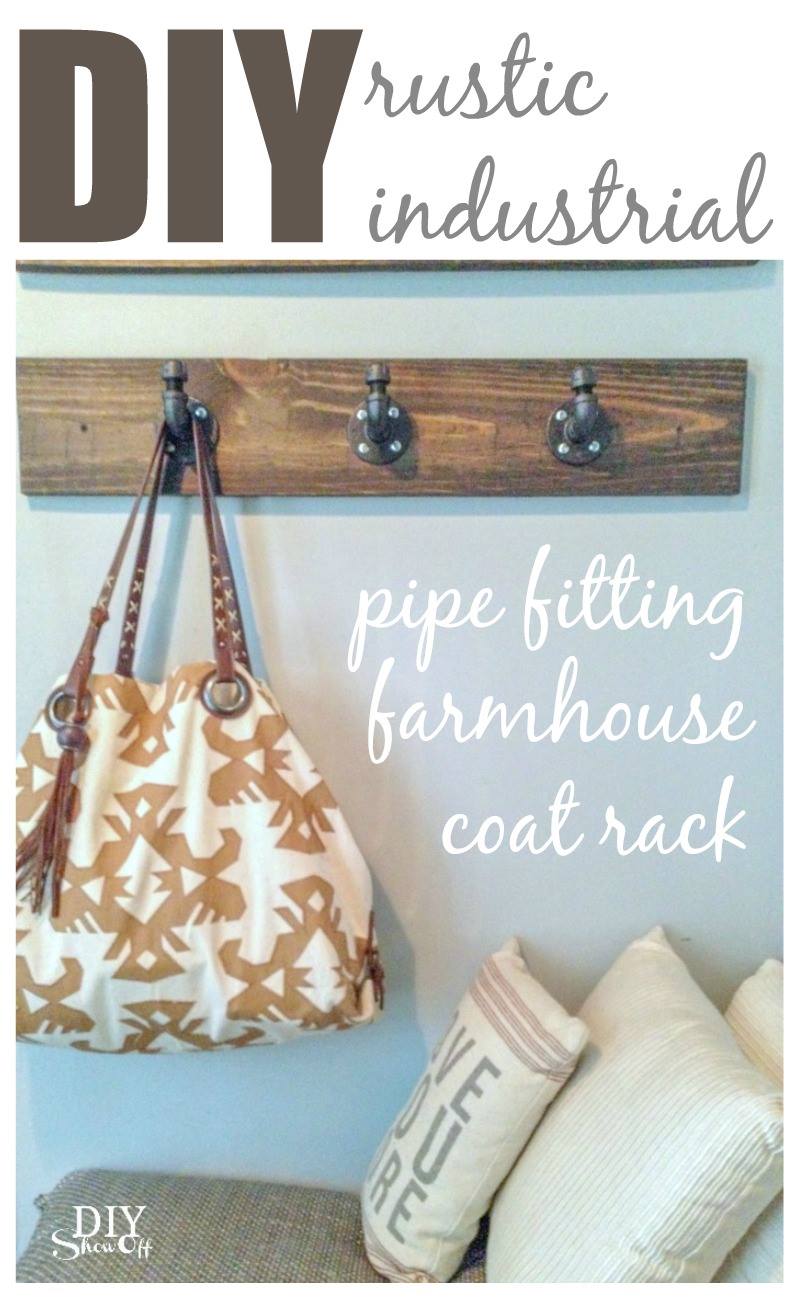
Perfect for hanging jackets, the dog’s leash, or my tote bag. 

rustic industrial pipe fitting coat rack @diyshowoff.com

Check back next week to see the tutorial for the dog silhouette wood plank wall art tutorial.

Sauder Experience

With a nursery project in the works, purchasing a dresser is near the top of the furniture list.

As a part of a fun campaign, I recently shopped at Sauder.com to choose a dresser that fit our space and needs. The Expedition Design tool makes choosing a piece that fits your style easy!

I ordered the a dresser from the Shoal Creek Collection (gorgeous jamocha finish) from Sauder that will coordinate beautifully with the crib that Ali has chosen. I love the extra attention to detail.

We loved the rich dark color, beautiful hardware and extra deep drawers for more storage. Even better? I ordered it online and it was delivered to my back door. Much less complicated than hauling it home from the store.

Upon unpacking the box, it was noted that one of the boards had snapped during shipping. But rather than have to pack everything up and return to the store (that box is heavy!), I simply ordered a replacement part at no cost to me … online. It shipped the next day. Super convenient! There’s also a live chat option.
And while the DIY part of building may feel overwhelming, assembly was actually pretty easy with detailed instructions. Every piece is labeled and the drawings of each step are helpful. The only tools required are Phillip’s screwdriver and small hammer. The dresser was assembled in just a little over an hour. An affordable dresser! With slides and drawers…that easy!

It’s currently residing in our guest room, soon to be guest room + nursery space. Perfect for baby’s clothes, blankets and diapers but until those plans are underway, it provides great storage for extra linens, towels and “junk”.

Isn’t it gorgeous? I love the placement at the end of the bed too. How about you?

You’ve seen me use a dresser as a kitchen island, hallway linen storage and dining room buffet. I love non-traditional uses for furniture. And dressers are so versatile for use and function as additional storage for any room. What do you think?

This is a sponsored conversation written by me on behalf of Sauder. The opinions and text are all mine.