Laundry Room Herringbone Pattern Tile Floor Details

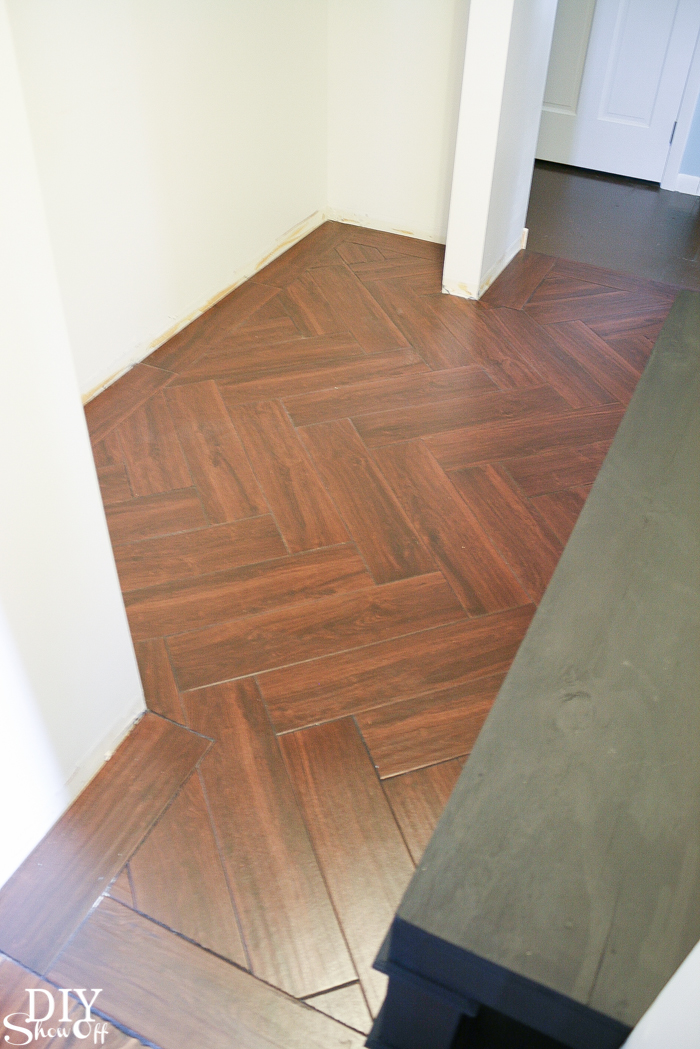
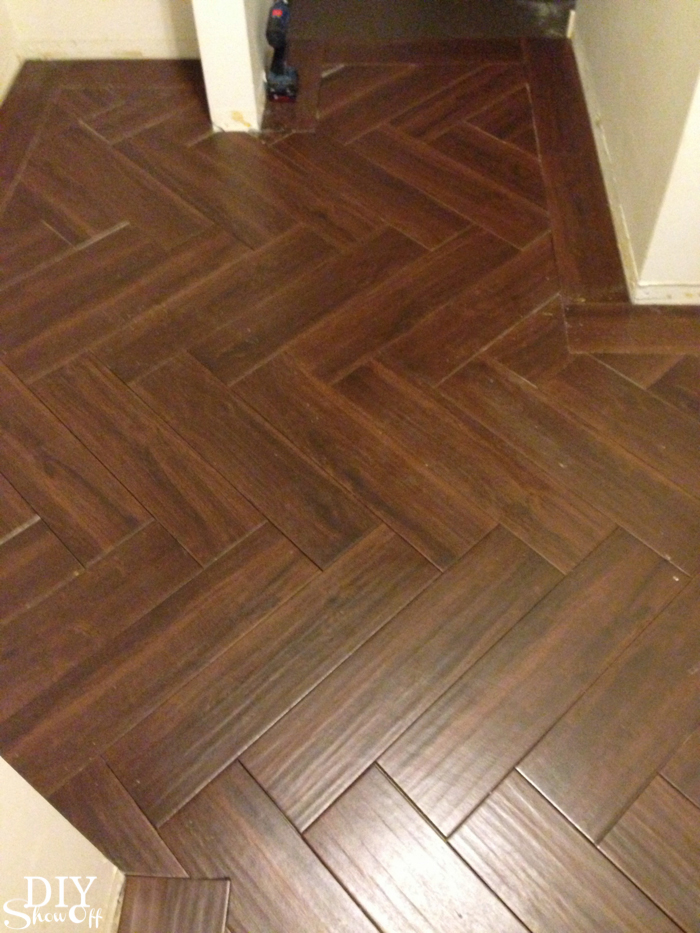
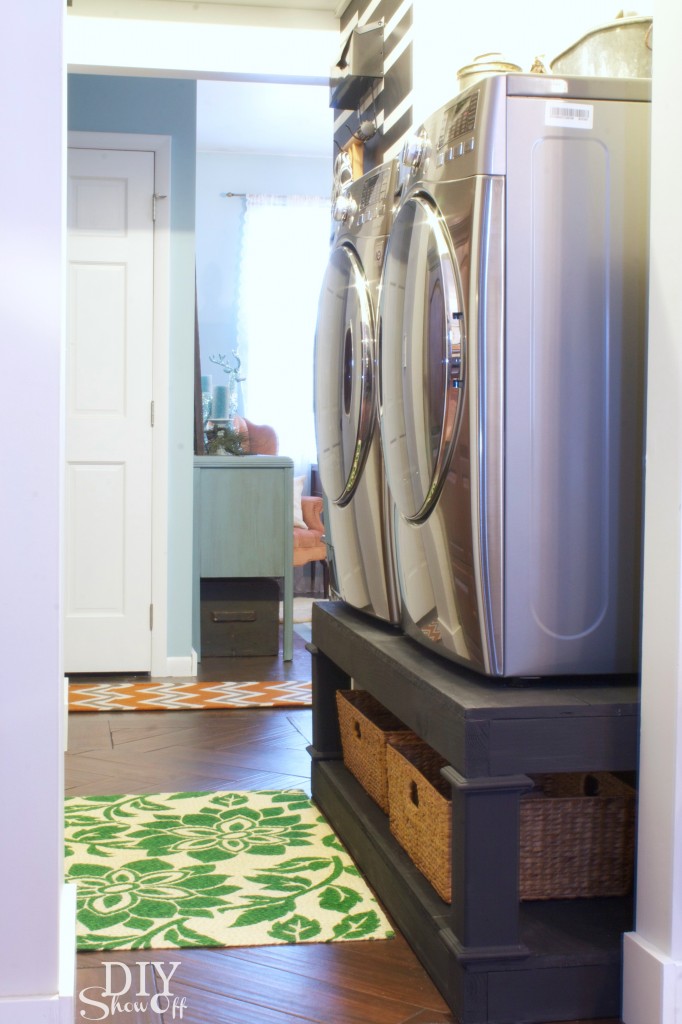
We’ve been working in the laundry room (see more in the home tour). We chose black walnut porcelain tile that looks like wood and oh my, it’s gorgeous!

Herringbone Tile Floor - DIYShowOff (38 of 83)

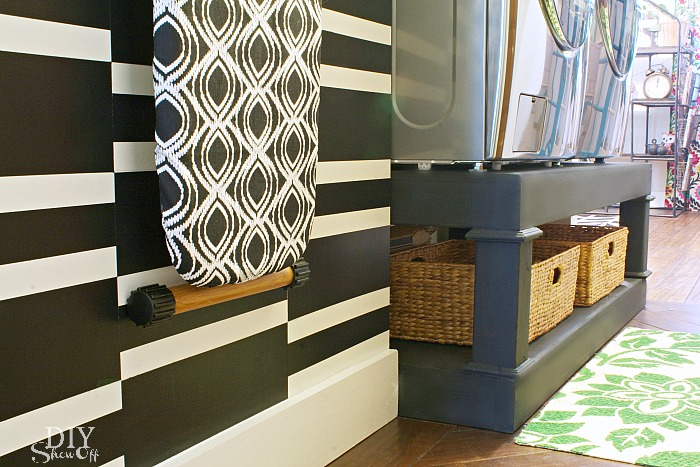
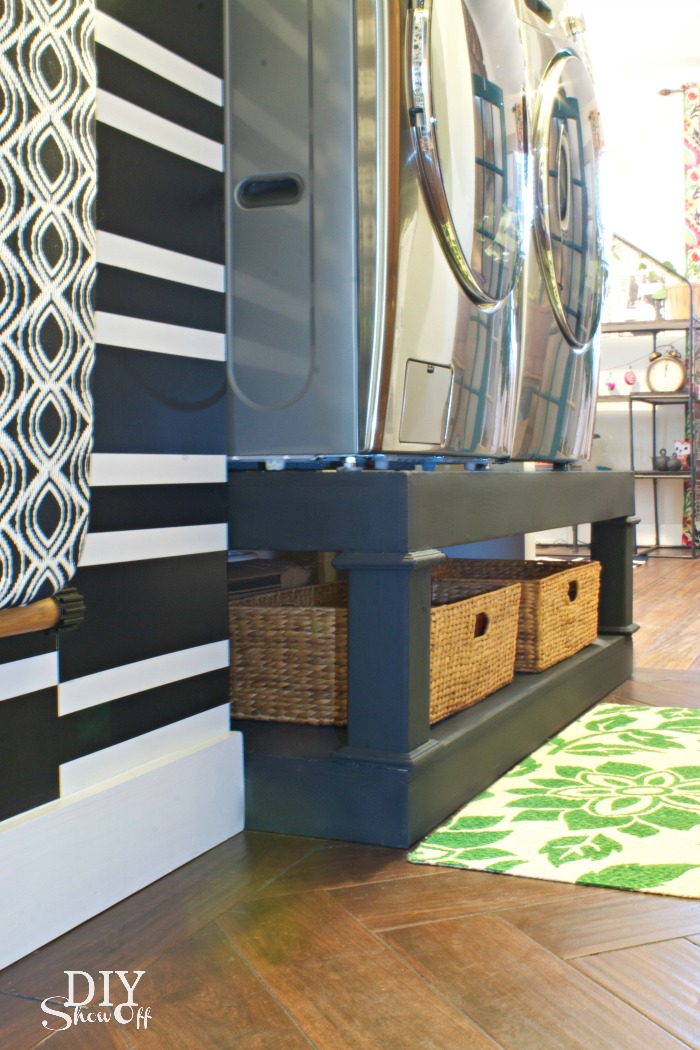
do-it-yourself laundry pedestals

When we got it home from Lowe’s, my sweet husband suggested doing a herringbone pattern (because the herringbone patterned brick walkway and patio wasn’t enough torture, I guess) and I think he realized after his offer, that he may have stuck his foot in his mouth. But he did a beautiful job despite the tricky cuts, despite the fact that most of it is covered by a washer and dryer, a throw rug and someday soon, cabinetry and shelving. 

DIY laundry pedestal

This isn’t a full detailed tutorial per se because I’m not the one who did the work but I did take some pictures of the process for your DIY tiling enjoyment. Be sure to do plenty of research on tiling tips before beginning. Ready?

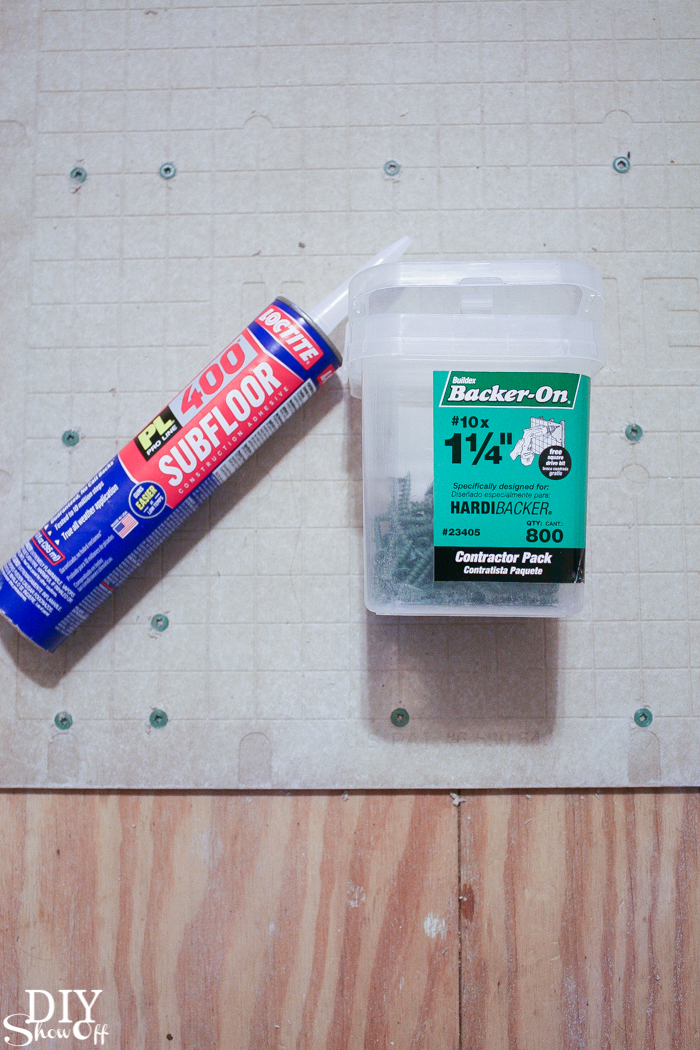
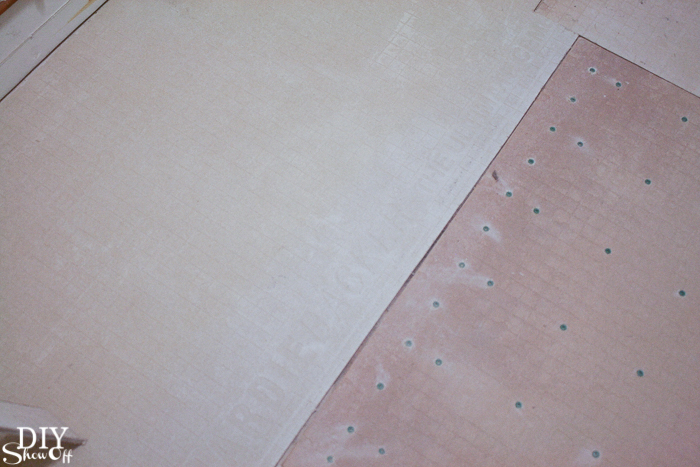
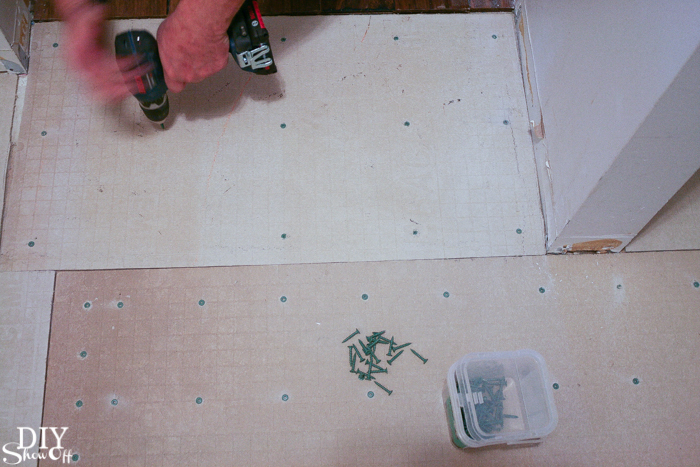
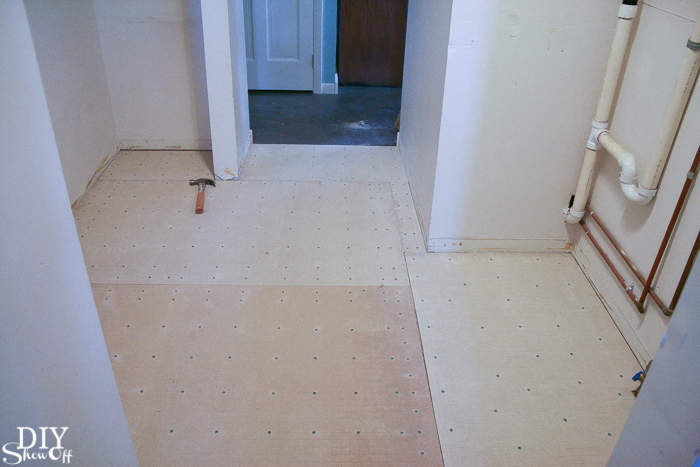
Level subfloor. Check. Hubby glued and screwed down Hardibacker. 

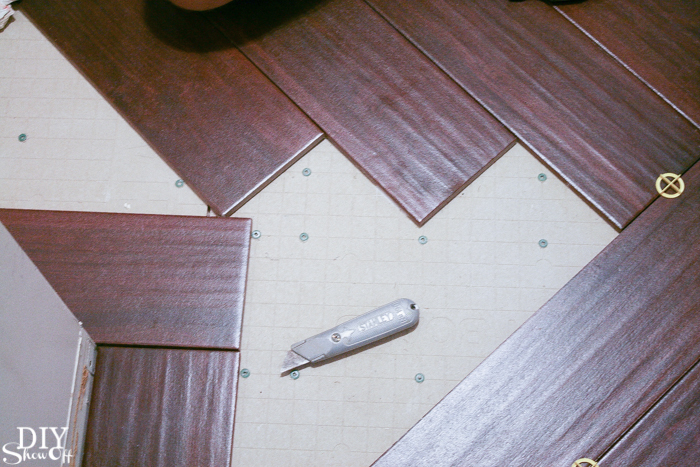
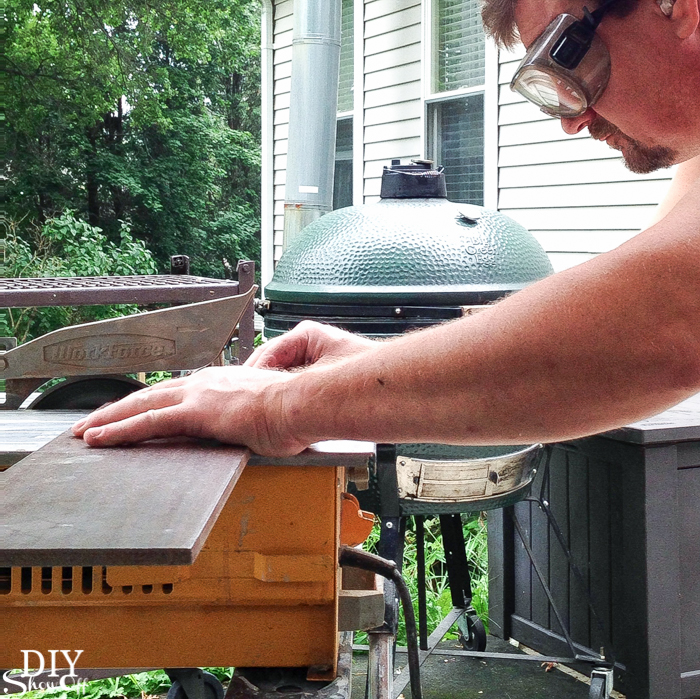
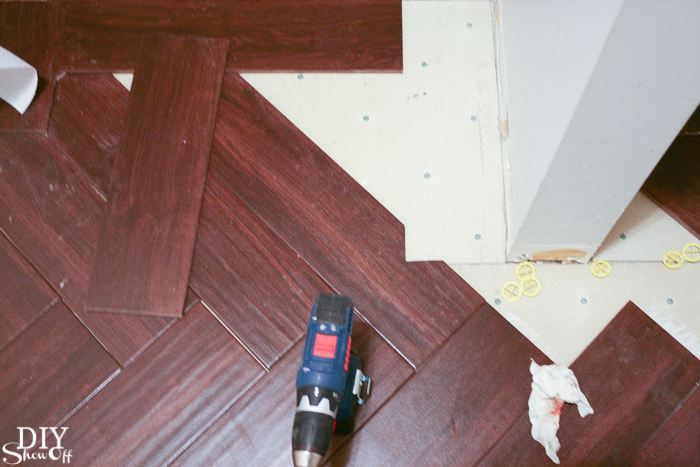
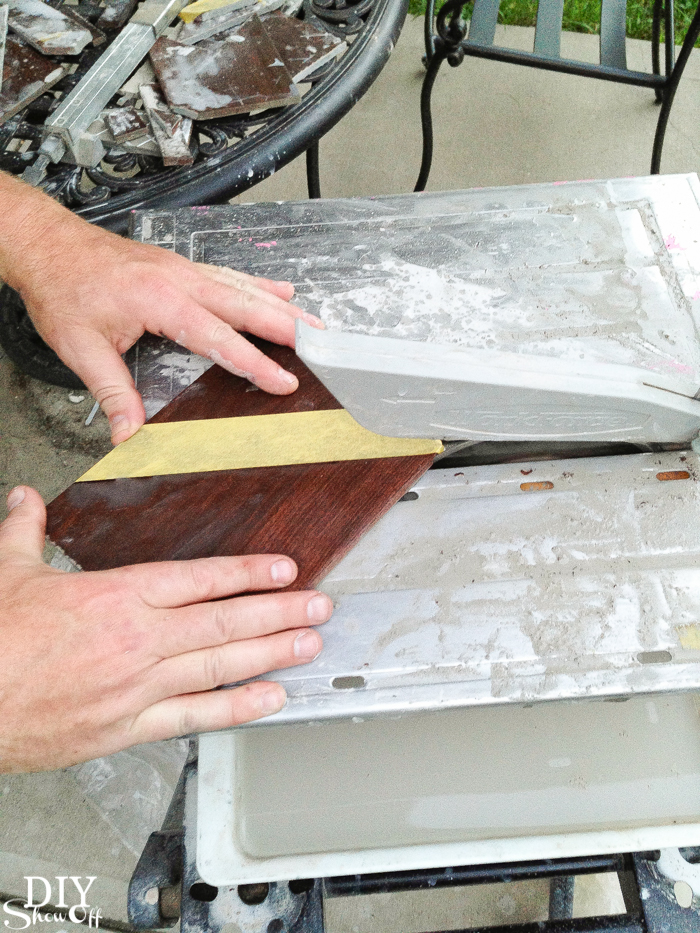
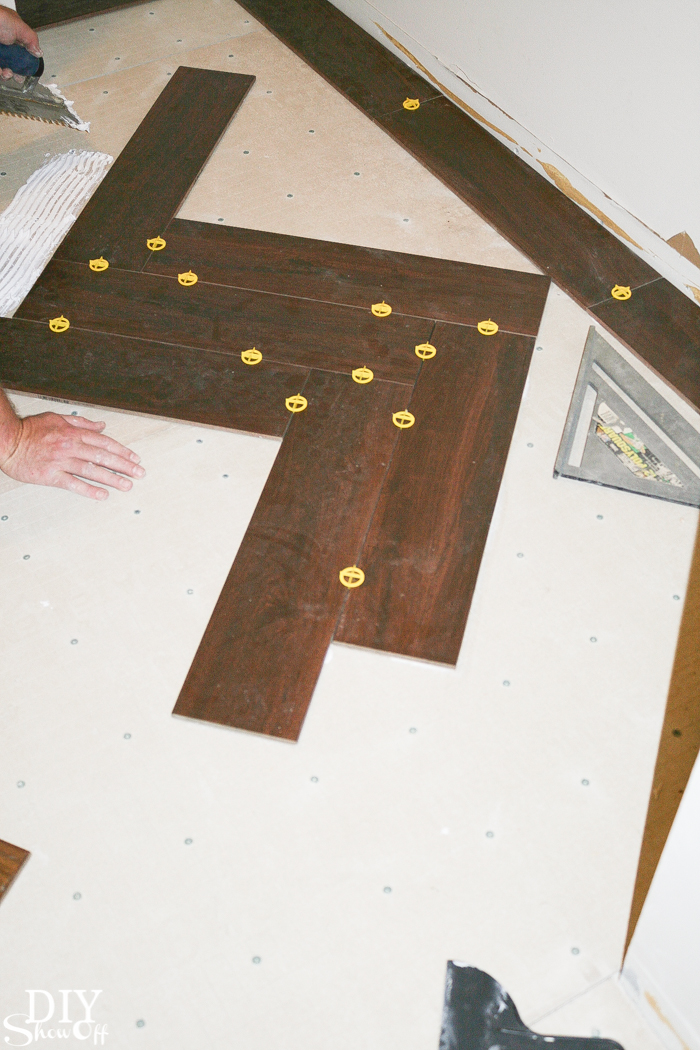
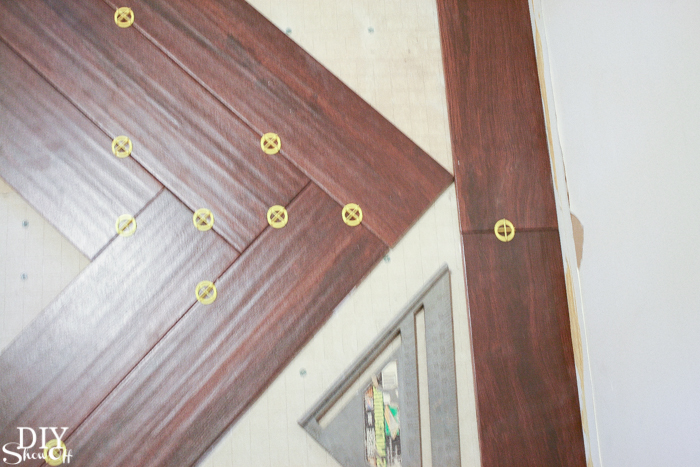
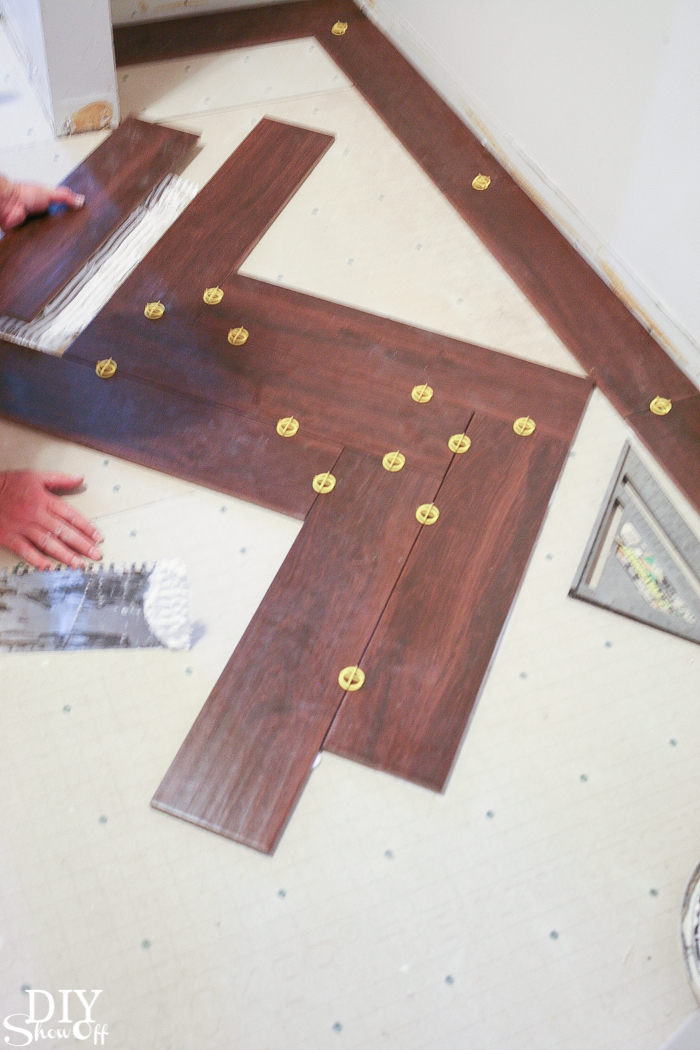
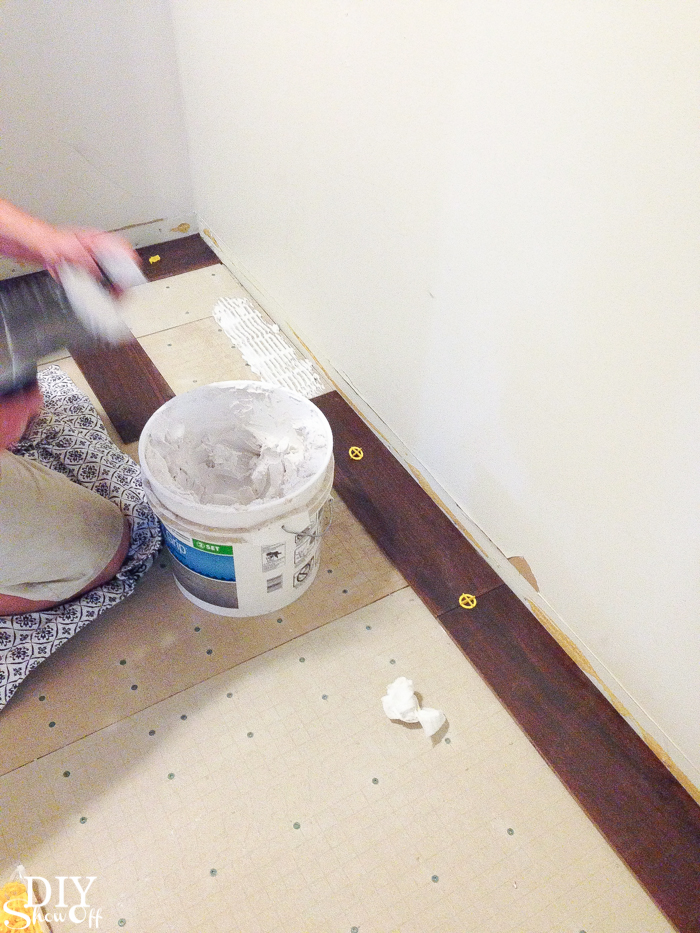
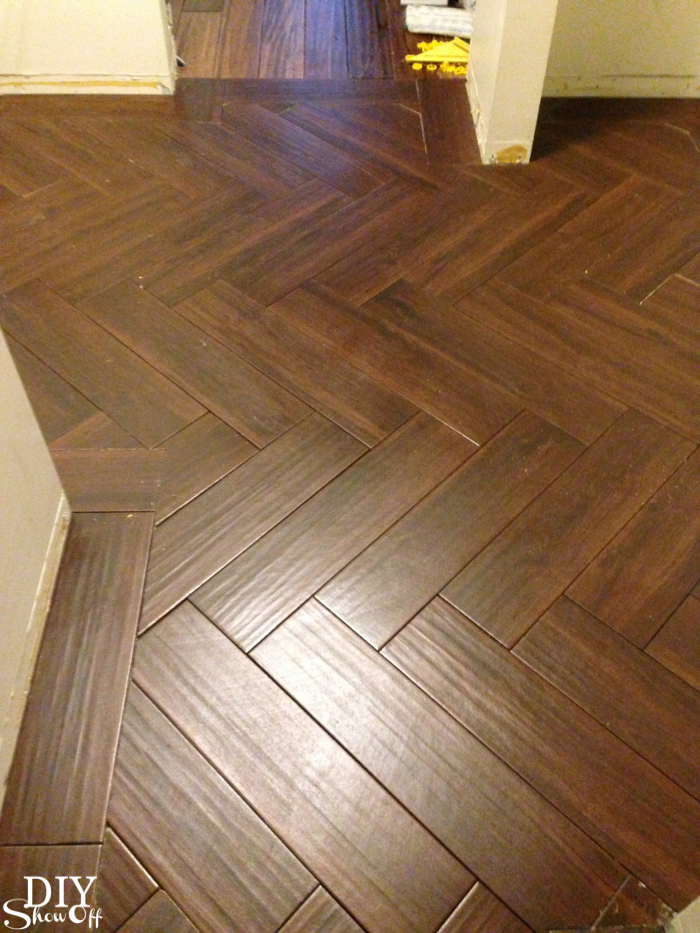
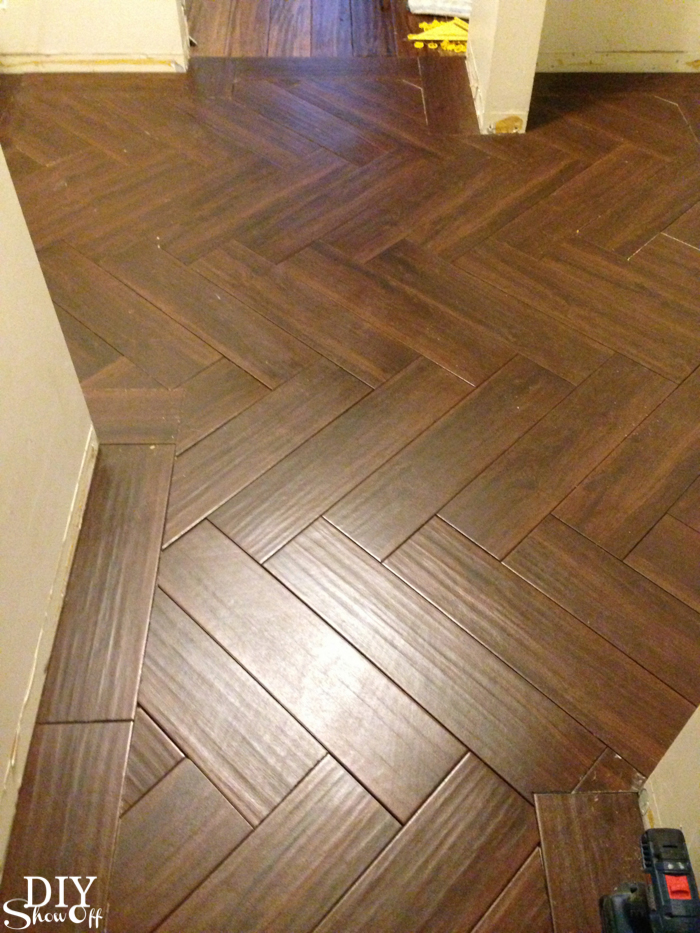
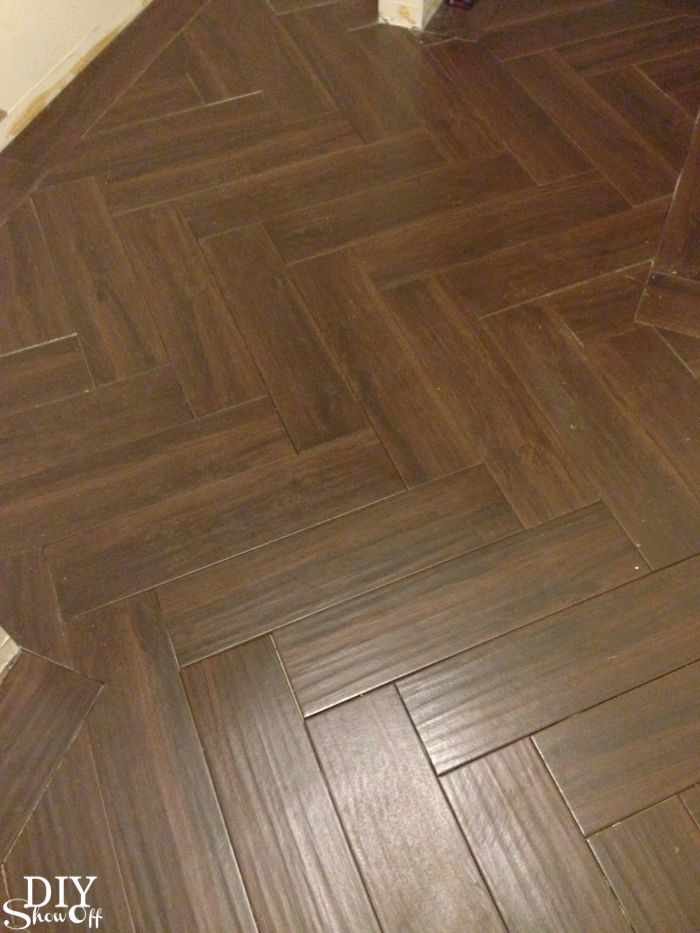
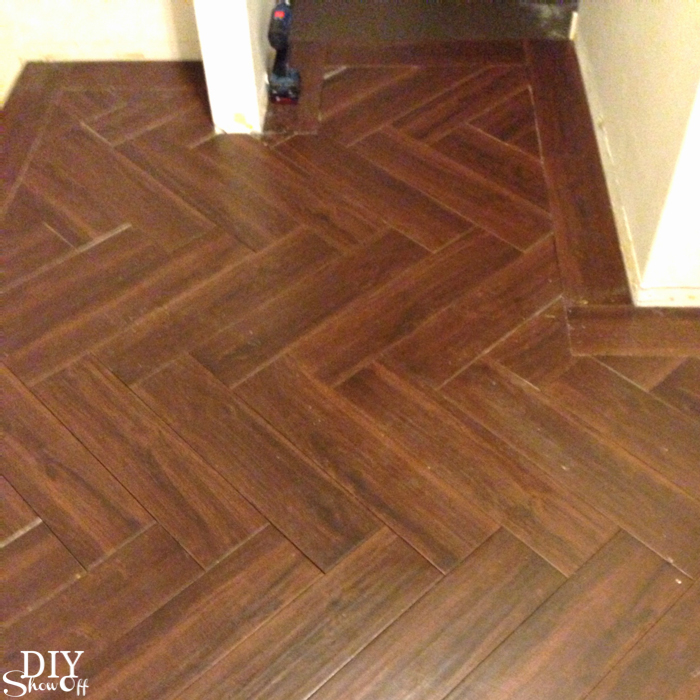
Herringbone Tile Floor - DIYShowOffHerringbone Tile Floor - DIYShowOffHerringbone Tile Floor - DIYShowOffHerringbone Tile Floor - DIYShowOff

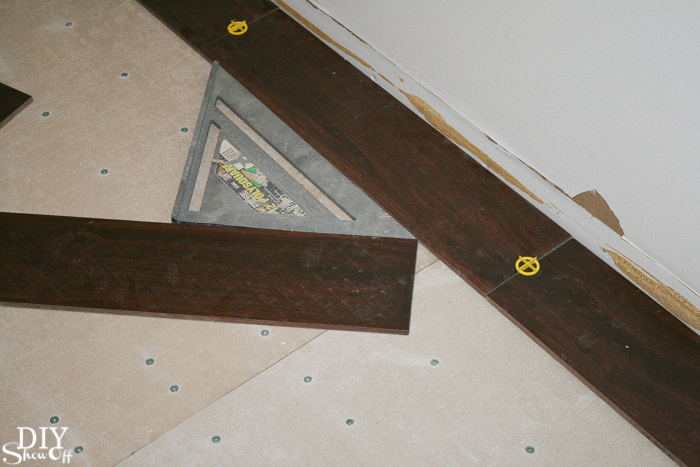
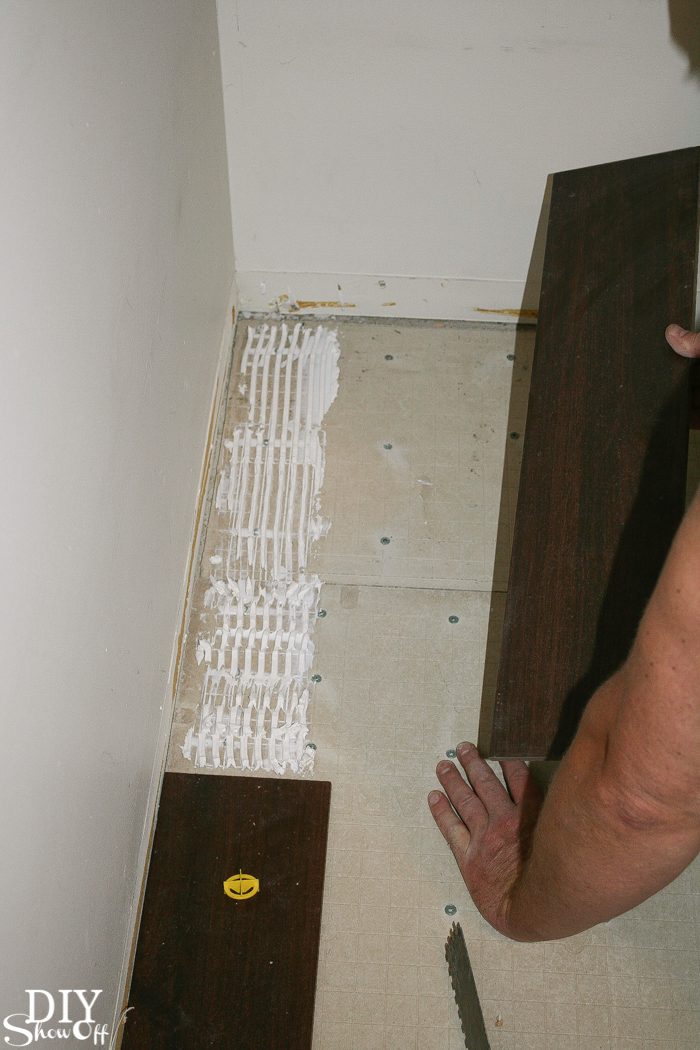
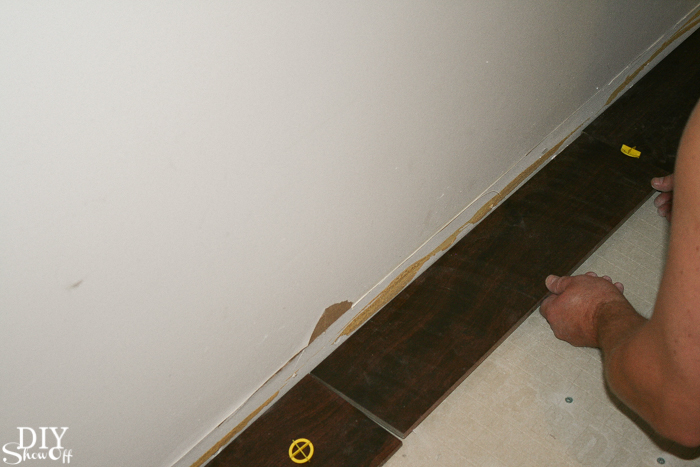
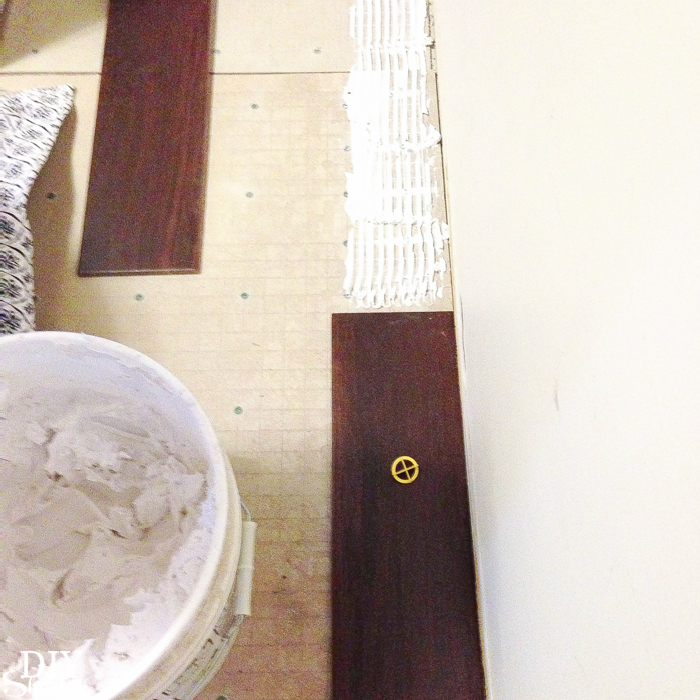
He started the tile pattern by creating a border around the space and cutting/laying out/fitting those tiles first.

Herringbone Tile Floor - DIYShowOff

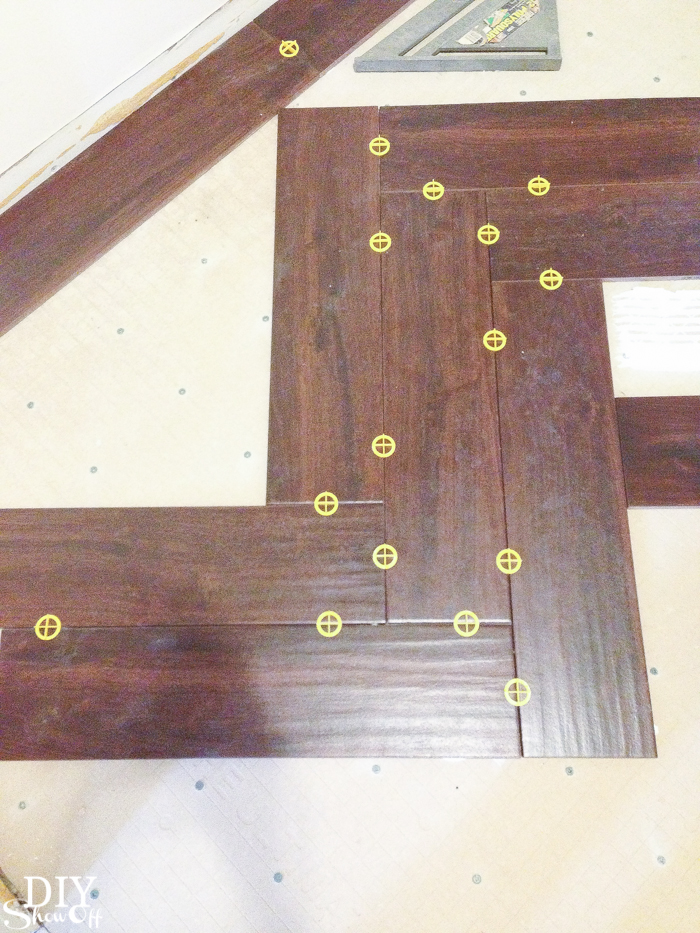
Then laid out the placement of the herringbone with solid un-cut tiles in the design. 

Herringbone Tile Floor - DIYShowOff

Next up is cutting the tiles needed to create a herringbone pattern in the space between the tile border. 

Herringbone Tile Floor - DIYShowOffHerringbone Tile Floor - DIYShowOff

We find (he finds) that using FrogTape on the tile cut lines for tricky cuts with angles or small pieces helps prevent breakage. 

Herringbone Tile Floor - DIYShowOff

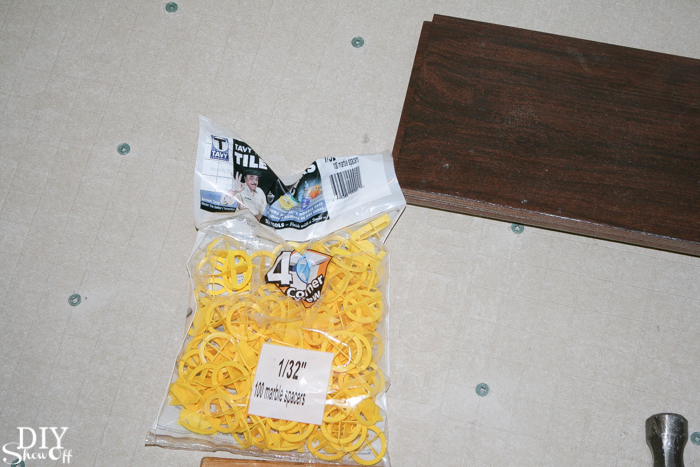
We used 1/32″ spacers. We didn’t want huge gaps between the tiles since they resemble wood. 

Herringbone Tile Floor - DIYShowOff

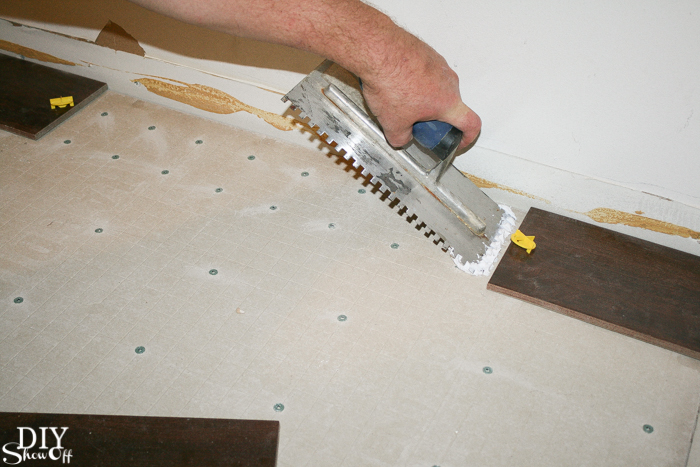
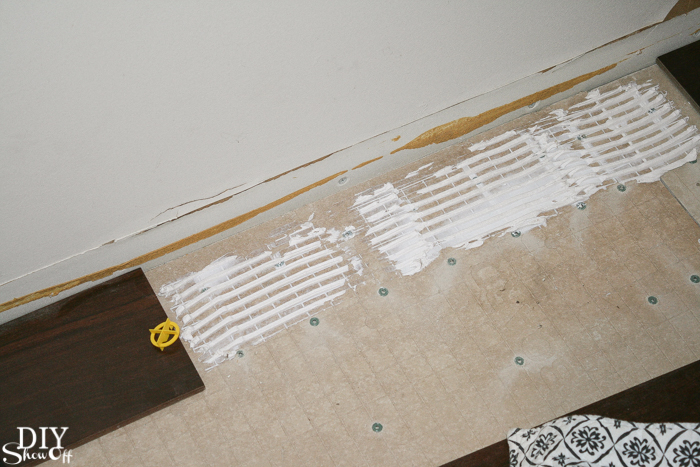
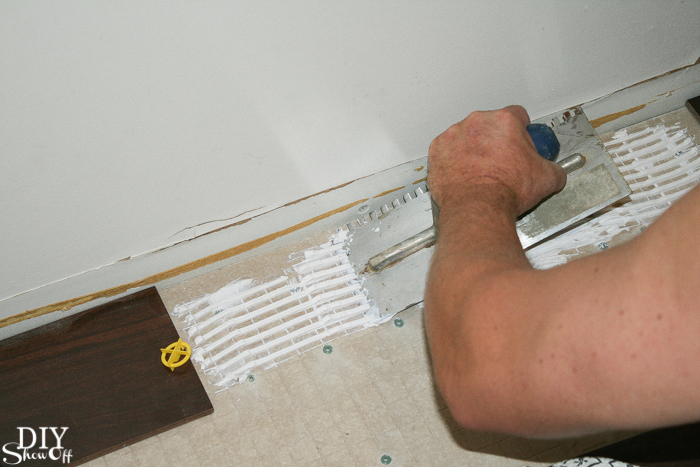
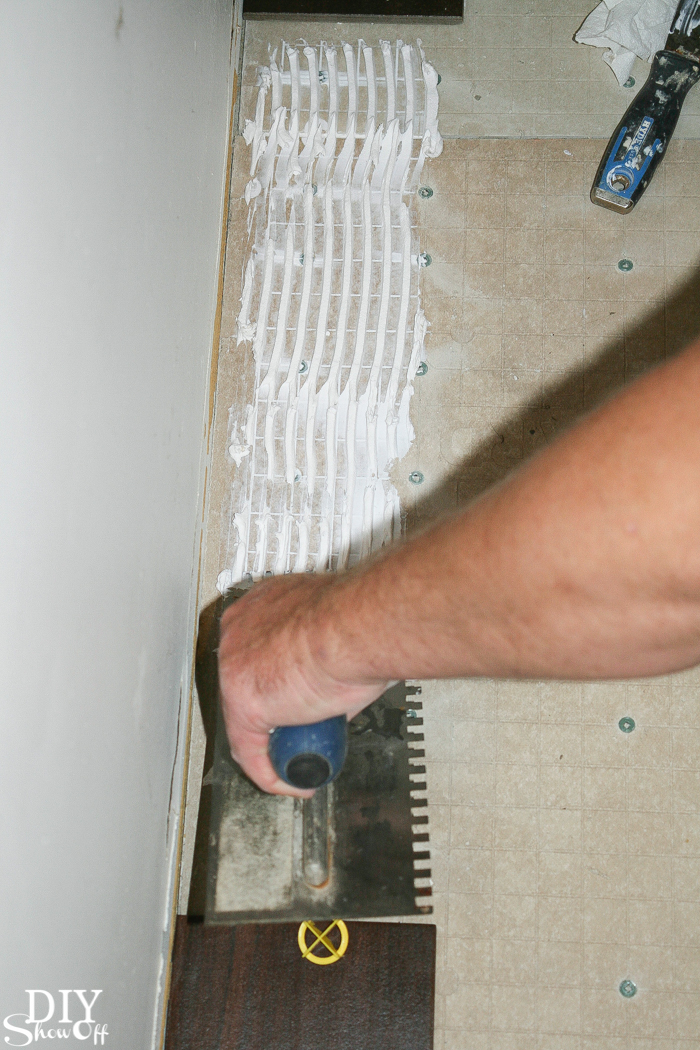
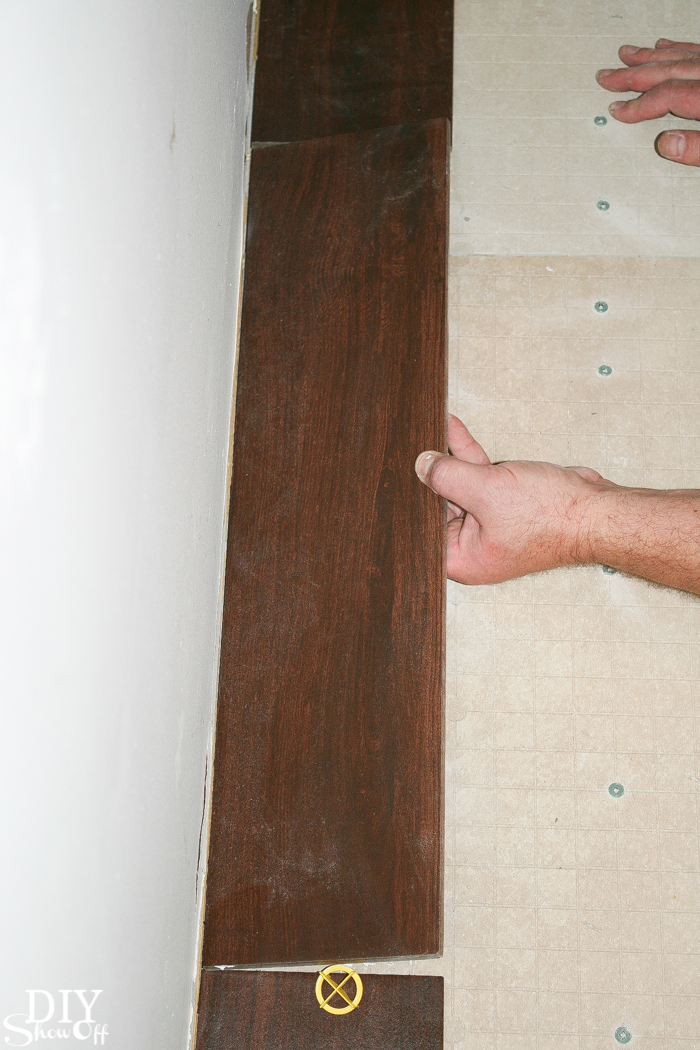
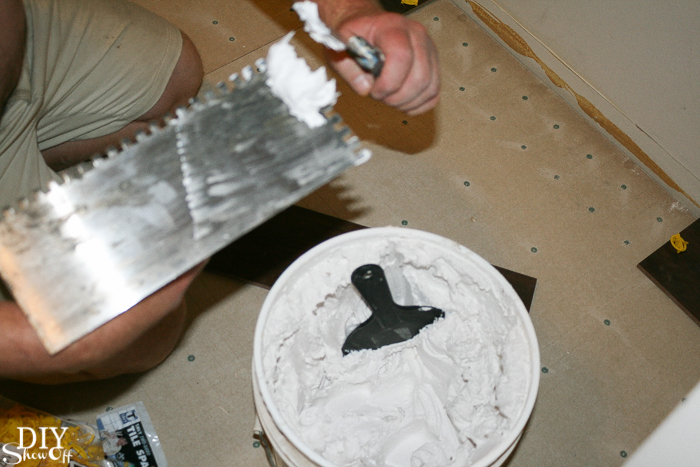
Next up, he set the tiles with mortar (OmniGrip) applied with a trowel. 

Herringbone Tile Floor - DIYShowOff Herringbone Tile Floor - DIYShowOff Herringbone Tile Floor - DIYShowOff Herringbone Tile Floor - DIYShowOff Herringbone Tile Floor - DIYShowOff Herringbone Tile Floor - DIYShowOffHerringbone Tile Floor - DIYShowOff Herringbone Tile Floor - DIYShowOff Herringbone Tile Floor - DIYShowOff Herringbone Tile Floor - DIYShowOff Herringbone Tile Floor - DIYShowOff Herringbone Tile Floor - DIYShowOff Herringbone Tile Floor - DIYShowOff Herringbone Tile Floor - DIYShowOff 

Then removed the spacers and started the grouting process. We let it ‘cure’ for a week before  applying the grout. 

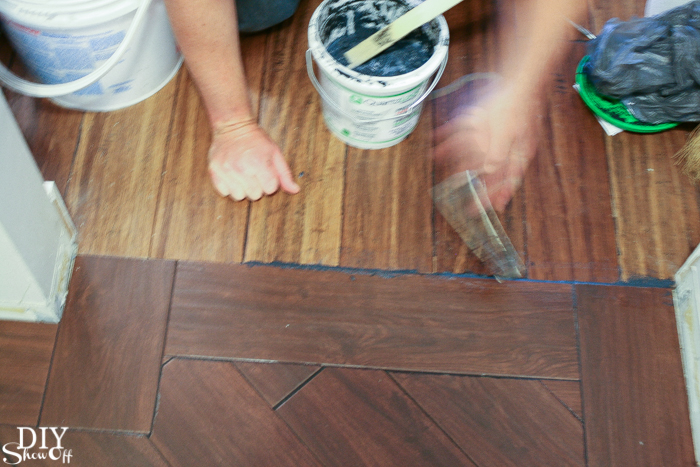
Grouting: We chose a black grout because it gave a similar look to the edges of our distressed antique java bamboo floors in the adjoining room. He used a sanded black epoxy grout (Quartz Lock Urethane Grout – jet black), smushing it into the spaces between the tile with a float then wiping away the excess with a sponge.

Herringbone Tile Floor - DIYShowOff

Let dry a good 24 hours before walking on it and because we were awaiting appliances, it was a couple weeks before every-day traffic. 

Herringbone Tile Floor - DIYShowOff Herringbone Tile Floor - DIYShowOff Herringbone Tile Floor - DIYShowOff Herringbone Tile Floor - DIYShowOff Herringbone Tile Floor - DIYShowOff

Isn’t it beautiful? I was half tempted to put the washer and dryer somewhere else so I don’t have to cover it up! More laundry room makeover details coming up. Stay tuned!

DIYShowOff Laundry Room Pedestals 

16 Fabulous Leather Tutorials for the Home

Hello there friends of Roeshel! My name is Corinna and I’m the blogger behind For My Love Of. I love my home, and the process of making it a beautifully decorated home. For the past 2 years I’ve been learning and sharing different DIY home improvement and decor techniques on my blog. It’s a fun journey and I’m hoping it encourages others to take passion in their homes too. My most recent obsession in home decor is leather, so I’m pretty excited to be sharing today’s post with you- 16 Fabulous DIY Leather Tutorials for The Home!
*Please remember to pin from the original sources listed below.

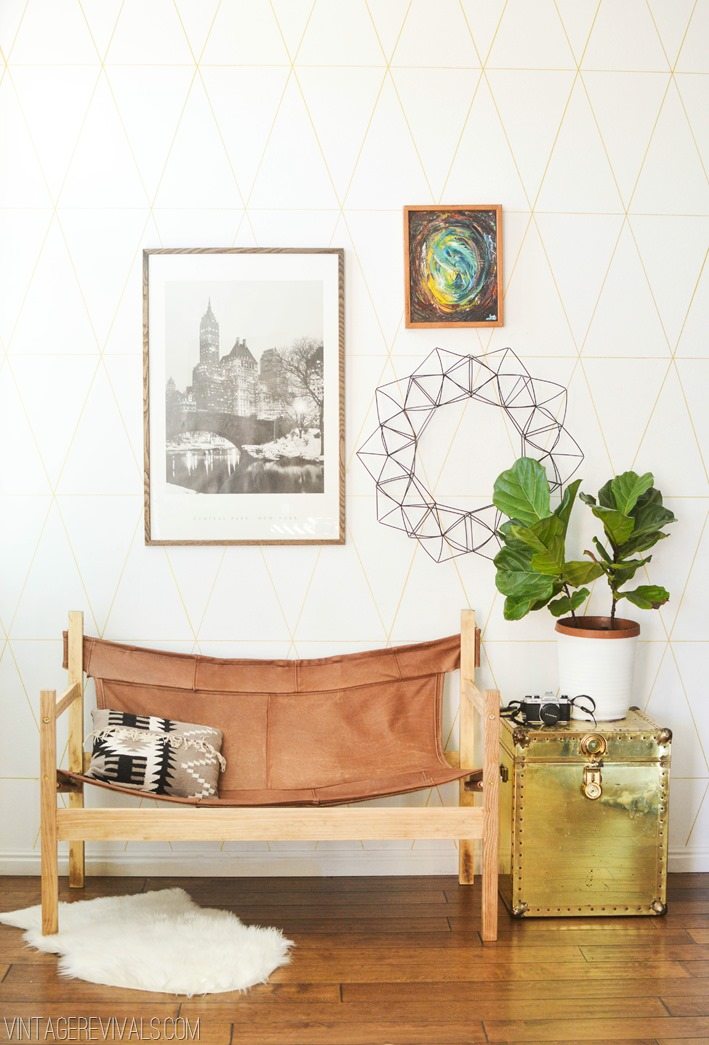
16 Fabulous DIY Leather Tutorials For The Home Ugly Sofa Upcycled Into Leather Safari Sling Bench
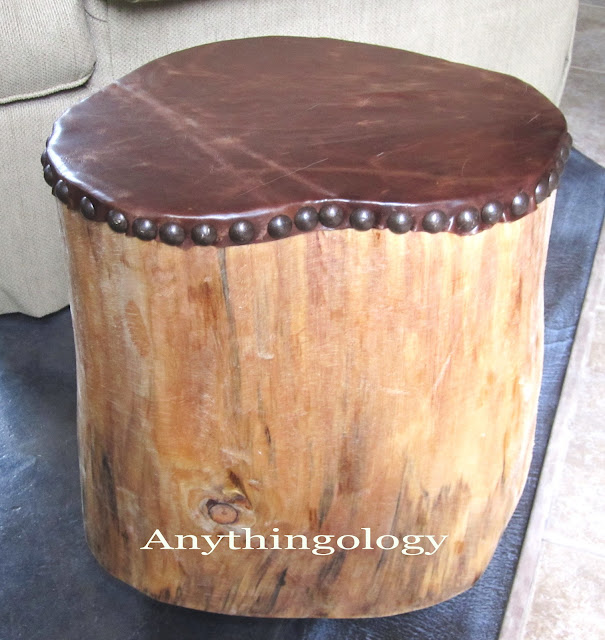
Might as well start big or go home, am I right? Ugly Sofa Upcycled Into Leather Safari Sling Bench by Mandi of Vintage Revivals. Incredibly impressive, using the fabric from one couch to create a sofa from bare materials! DIY Leather Herb Labels DIY Leather Herb Label by Chris Loves Julia. If you’re growing your own herbs, dress them up with cute leather labels! leather studded stump Leather Studded Stump by Anythingology blog. Everybody loves a good tree stump stool, and you can amp up a raw one with leather and upholstery tacks!

DIY Stitched Leather Stool

DIY Minimal Leather Stool Cover by Meg Kemner for Design Milk. Another fantastic stool, and so minimalistic! Personally, I think it could look really neat with colorful legs too! DIY (faux) leather accent pillow DIY Leather Accent Pillow by For My Love Of for The Love Nerds. For an easy touch of leather, and minimal tools, try adding a leather accent pillow!

hand sewn leather pillow tutorials

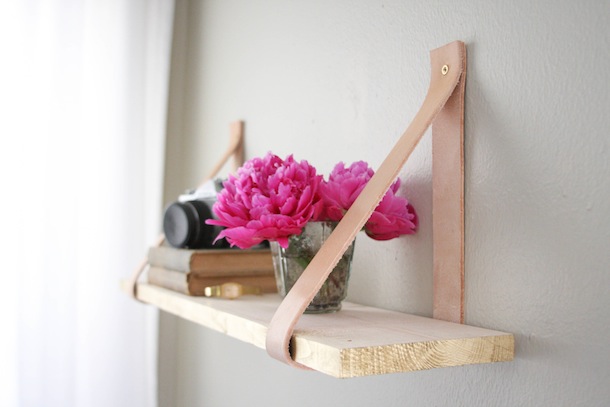
Pump up a basic pleather pillow with neon embroidery floss and some time and create a Hand Embroidered Leather Pillow with Pop of Neon by For My Love Of. Wood & Leather Suspended Shelf Wood & Leather Suspended Shelf by Camille Styles. Add style and texture in one easy DIY shelf!

DIY Leather Coasters

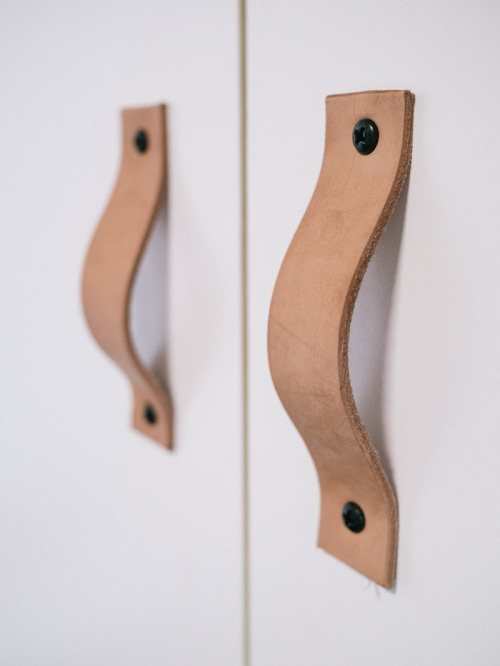
DIY Leather Coasters by Carly of Create Live Blog. For all the remnant leather fabric from other projects, you could create these fabulous coasters! DIY Leather Plant Hanger DIY Leather Plant Hanger by Steven Soria of Make Smith Leather Co. for Design Sponge. The honeycomb pattern created by the cuts in the leather is too cool for words. DIY Braided Leather Hanging Planter Tutorial DIY Braided Leather Hanging Planter by For My Love Of. And because hanging planters are so practical, here’s another one using leather-like materials. DIY Leather Cabinet Handles DIY Leather Cabinet Handles by Veronica Loves Archie. Another great project for leather remnant pieces. Definitely takes the boring out of those basic white cabinets.

Wood + Leather Magazine Holder DIY

Wood + Leather Magazine Holder DIY by A Beautiful Mess. A bit more skill is involved, but the end result is a stunning piece. Woven Stool Tutorial Woven Leather Stool Tutorial by Matt of Wood & Faulk. A great dose of leather and would make a fantastic footstool! Modern Leather Bench Tutorial

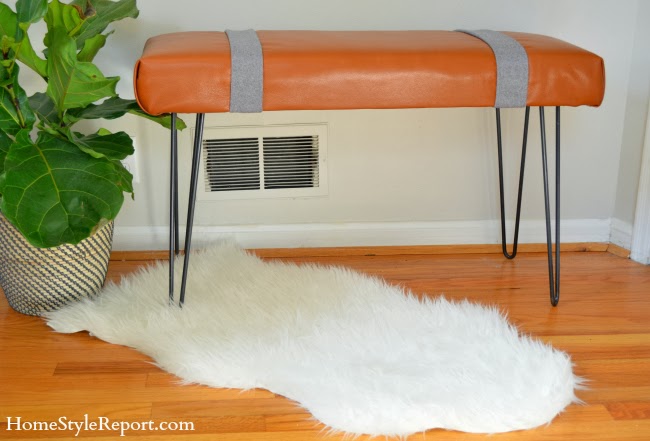
DIY Modern Leather Bench w/Hairpin Legs by Home + Style Report. I feel like this would be so practical for those of us with kids and it’s so stylish too!

 DIY Home Decor: How to Make a Leather Valet Tray

How to Make a Leather Valet Tray by Paul for Apartment Therapy. Couldn’t you find lots of uses for a leather tray like this one? DIY Leather Organizer Organize paperwork and add a dose of leather to your work space with this DIY Leather Organizer by Mandy Pellegrin for Design Sponge.

I hope you’ve enjoyed this collection of fabulous DIY projects and are inspired to try the material (faux or real) in one of your next home decor projects! Please share any of your leather projects in the comments below!

Facebook | Pinterest | Twitter | Instagram | Google+
Blogger behind For My Love Of

That DIY Party

Welcome, friends! Time for That DIY Party!

That DIY Party link party at diyshowoff.com


This week at DIY Show Off:

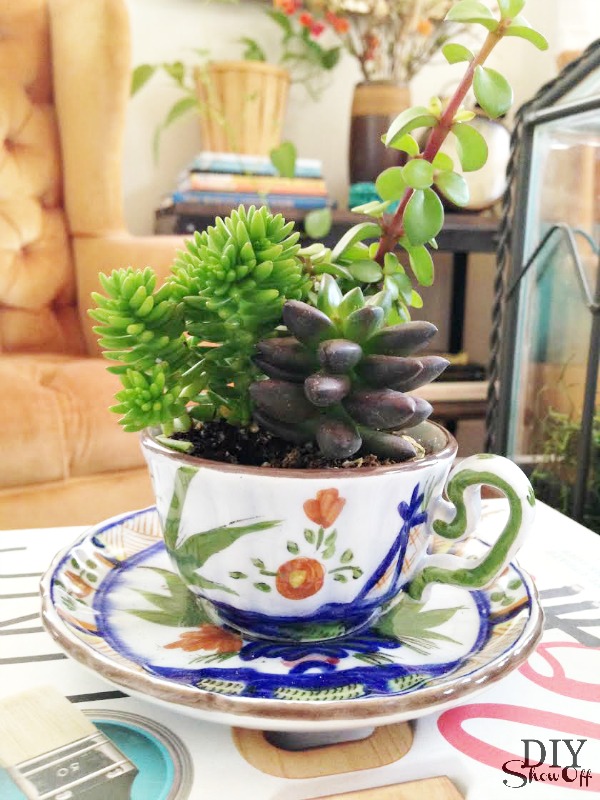
Teacup Succulent Garden

tea cup succulent planters at diyshowoff.com

Reminder: 

The annual Earn Your Stripes™ painting contest is taking place right now!!! Grand prize is $5,000.00!! I’d LOVE for a DIYShowOff reader to win! Imagine what you can do with $5000! Since I can’t enter, I hope you will! I’ll be participating in the judging! Enter here —> https://promotions.frogtape.com/earn-your-stripes/

FrogTape Earn Your Stripes

That DIY Party time! Let’s see what you’ve been up to!

That DIY Party link party at diyshowoff.com

1. Please use the button above or text and link to this post to share the linky love. Here is the link: https://diyshowoff.com/category/other/that-diy-party/. 

2. This blog linky party is for YOUR DIY projects only. Links not related to DIY will be deleted. Please share your link one week only.  Please do not link recipes, giveaways, linky parties, promotions or a collection of inspiration that isn’t your own DIY project. PLEASE DO NOT LINK TO YOUR ETSY SHOP. 

3. By joining the party, you give permission for your project to be featured and ‘shown off’ via blog highlight, Twitter, Facebook, Pinterest, G+. I love your shares too! Thank you!