Apartment progress!
Herringbone Accent {on textured} Wall
I’ve shown sneak peeks of the apartment renovation progress and you’ve likely seen the herringbone-like accent wall in the kitchen area…
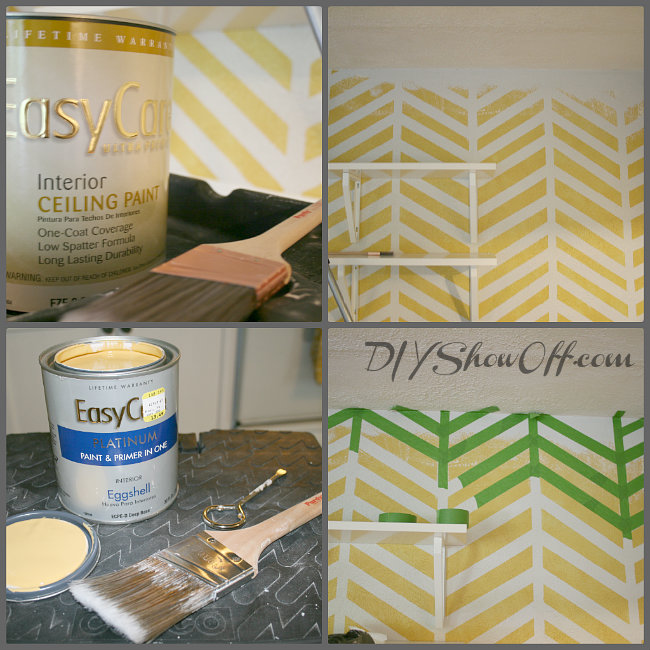
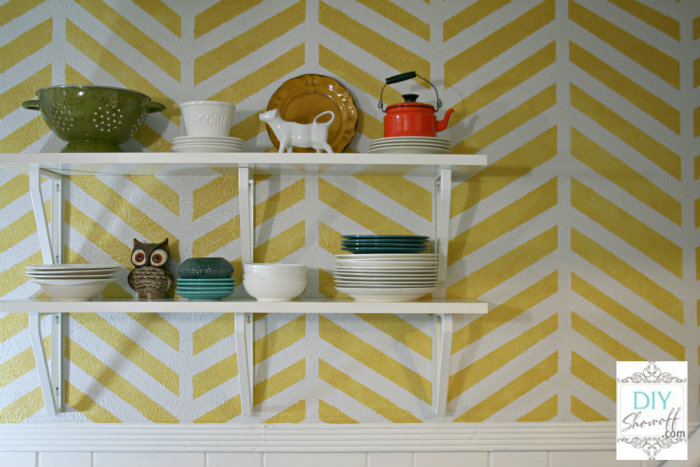
Base paint color: True Value Easy Care – Baby Elephant (soft neutral gray) & Accent color: True Value Easy Care – Sweet Honey
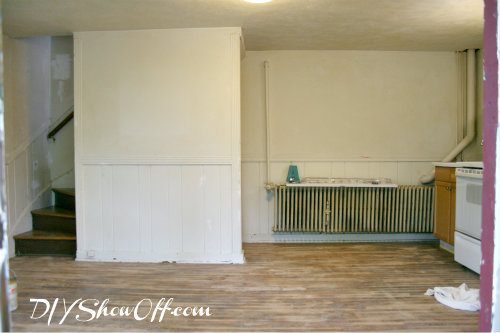
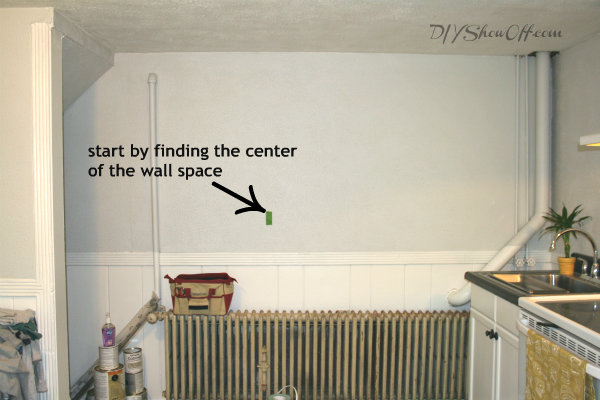
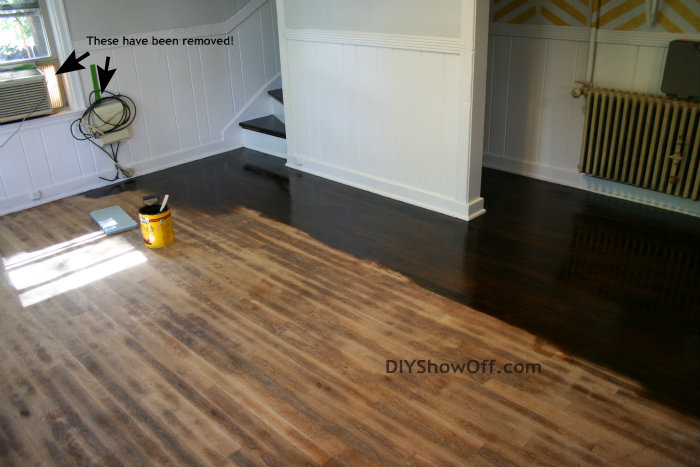
Since we own this rental space, I was able to get a little creative in adding a fun accent wall as a backdrop behind some open shelving. Before paint…
Yes…I have ‘plans’ for a DIY radiator cover but I must confess that I feel it’s a LOT ambitious and I’m scared. Working up the courage to give it a try sometime this month. Anyway, after paint {including painting kitchen cabinets and Rustoleum Countertop Transformations}:
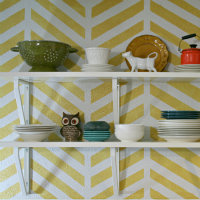
The open wall space above the wainscoting was the perfect spot to display open shelving as a solution for more storage/organization in this tiny apartment. True Value’s Easy Care Platinum and FrogTape were all I needed to add some interest to a flat textured wall. The pattern also helps disguise the un-hidden pipes. I put together a quick tutorial video using my iphone {pardon the portrait orientation, poor quality…amateur videographer but working hard on getting better!} explaining how I achieved the herringbone pattern:
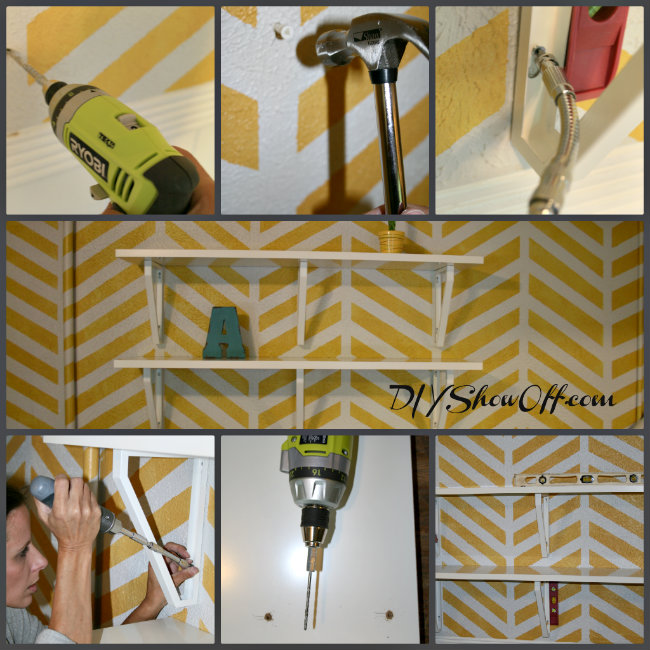
The wall was finished and I was so happy to be able to move forward on the renovation! Shelves are budget friendly Ekby shelving and brackets from IKEA…
{installation was super easy using the Master Mechanic Swift Driver!}
Woo hoo!
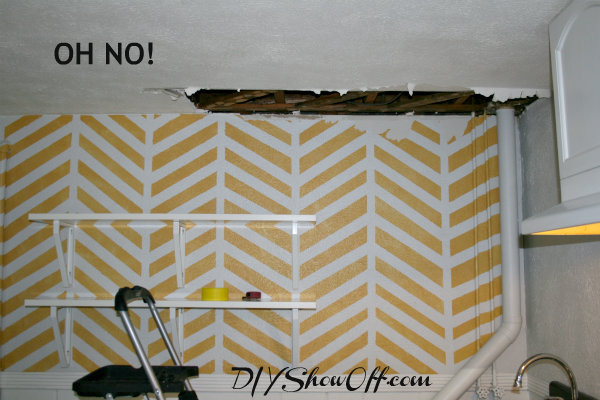
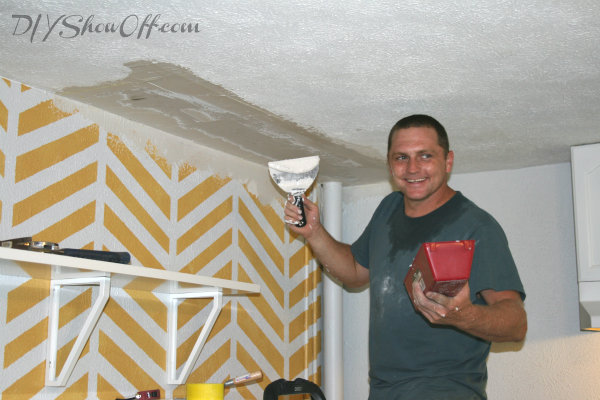
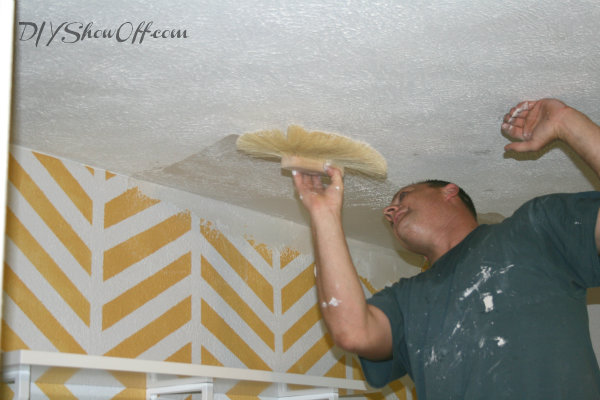
And just when I felt super good about a little DIY success, something went wrong upstairs with the plumbing. The joys of DIY… I was just too exhausted and heartbroken to deal with it. My Mr. DIY fixed the plumbing issue in the bathroom above and Bri’s boyfriend, Steve, saved the day by patching the ceiling below. and I set about touching up the paint… Now, all done for real… If you missed it yesterday, I shared the hardwood floors before/after refinishing:More apartment renovation, decorating and furnishing coming soon!
We were chosen by True Value to be one of the members of the 2012 DIY Squad. I have been compensated for the materials needed for my DIY projects. However, the thoughts and opinions expressed are completely honest and my own. I have not been paid to publish positive comments and no one has twisted my arm to participate.
This is a sponsored post brought to you by FrogTape. The opinions are completely my own based on my own experience.









Now from someone who doesn’t paint a lot and would be a beginner, when you remove the Frog Tape is the paint still wet or do you allow it to dry? Might be a silly question but I seriously unsure! Thanks!
What a gorgeous and cheerful wall. This apartment sure is a labor of love. And kudos for picking up so fast after the water disaster. That would have set me back another month.
Oh, I would have felt like crying when the ceiling leaked! You’ve done such a wonderful job with this wall!
Oh — I would’ve cried over the ceiling leak, but it looks great now! Love those dark stained floors!
WOW what a great tutorial. I love how you pulled it all togther… look beautiful.
This look amazing! I absolutely love the pattern and the color is perfect. Love this.
Wow, great transformation. Love the bright yellow 🙂 Very Cheerful.
Pingback: DIY Project ParadeDIY Show Off ™ – DIY Decorating and Home Improvement Blog
I love this! It turned out so fun!
Pingback: Herringbone Wall
I LOVE this! This is exactly what I was looking for when it comes to our drab bedroom wall…plan on trying it soon! I also love how inexpensive the supplies are-thank you so much for sharing.
thank you! I just painted my kitchen with your tutorial. It’s beautiful:)
That’s awesome, Jess! Thanks for letting me know! I’d love to see a picture! 😉