Decorate Your Rain Boots!

April showers bring May flowers! Dress up your rain boots by creating custom vinyl decals. 

DIY rainboots vinyl decal design tutorial at diyshowoff.com


Materials:

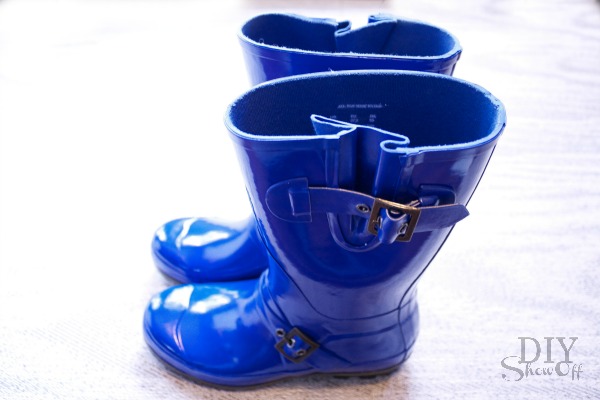
Rain boots before:

DIY rainboots vinyl decal design tutorial at diyshowoff.com

What I did:

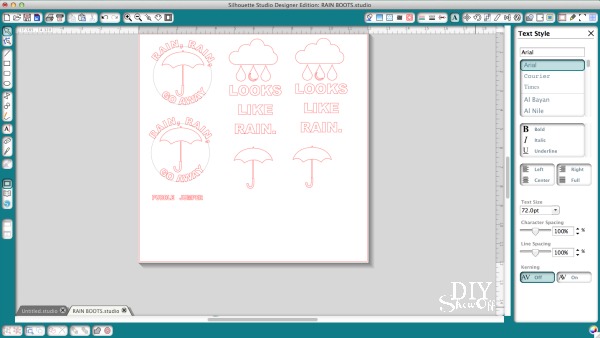
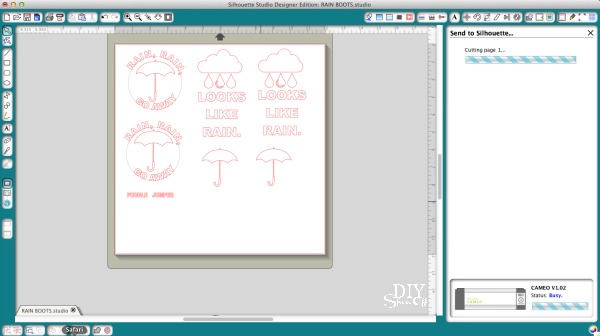
I created a design with umbrellas, rain clouds, raindrops and text in my Silhouette Design Studio software. Be sure to measure design area on boot and size vinyl design to fit. 

DIY rainboots vinyl decal design tutorial at diyshowoff.com

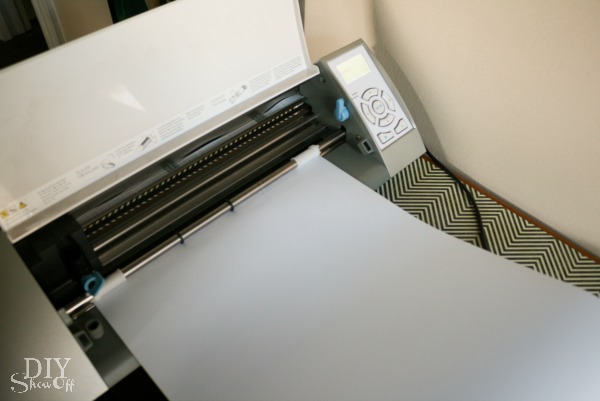
Insert vinyl into the machine, vinyl side up. Adjust blade settings and send design to cut. 

DIY rainboots vinyl decal design tutorial at diyshowoff.comDIY rainboots vinyl decal design tutorial at diyshowoff.com

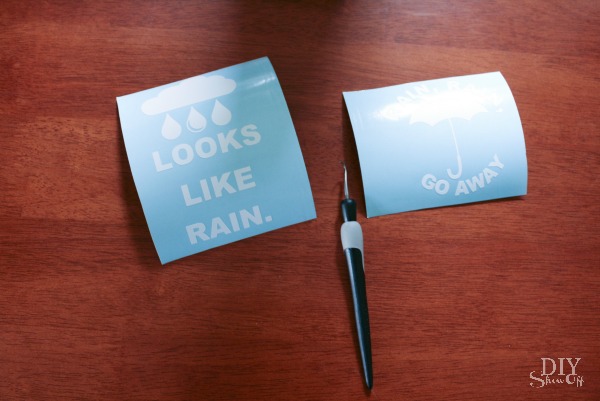
When cutting has finished, unload vinyl from machine. Weed away the excess vinyl that’s not a part of the design. 

DIY rainboots vinyl decal design tutorial at diyshowoff.com

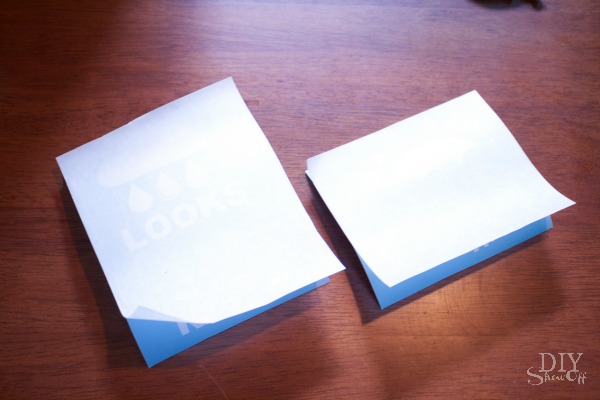
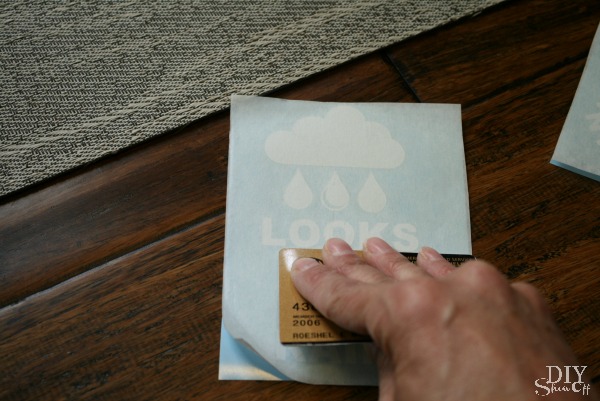
Apply transfer paper to vinyl. Rub with a credit card. 

DIY rainboots vinyl decal design tutorial at diyshowoff.comDIY rainboots vinyl decal design tutorial at diyshowoff.com

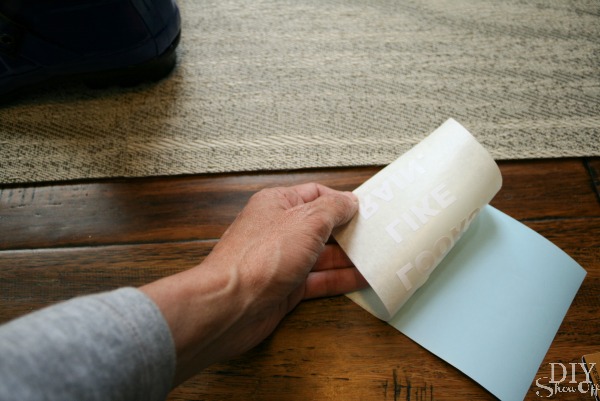
Remove wax paper back, transferring vinyl to sticky transfer paper. 

DIY rainboots vinyl decal design tutorial at diyshowoff.com

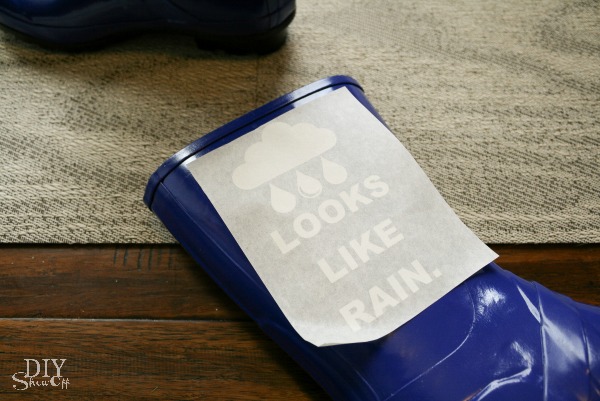
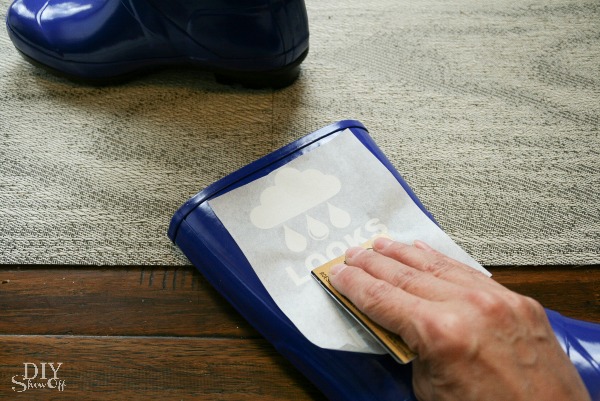
Place vinyl design onto rain boot. Rub with a credit card to transfer the vinyl to the boot.

DIY rainboots vinyl decal design tutorial at diyshowoff.comDIY rainboots vinyl decal design tutorial at diyshowoff.com

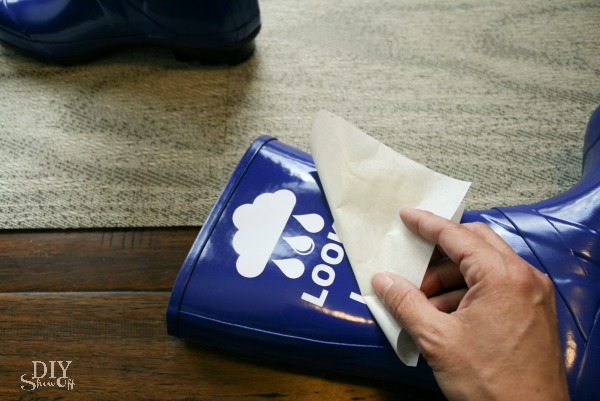
Slowly peel away transfer paper.

DIY rainboots vinyl decal design tutorial at diyshowoff.com

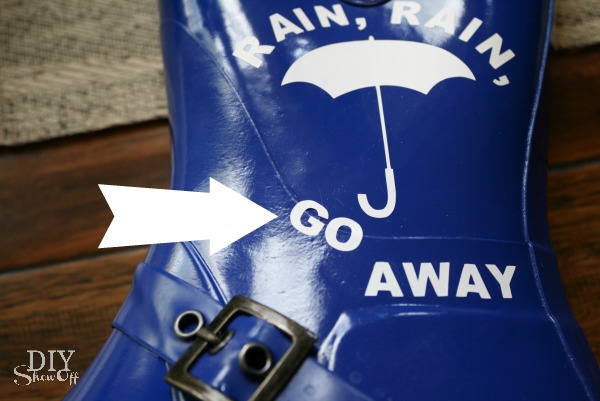
Remember in step 1 where I mentioned measuring and sizing. Oops. I was a bit off. So I peeled up the vinyl, like stickers, and re-placed them for a better fit (not over a seam). 

DIY rainboots vinyl decal design tutorial at diyshowoff.com

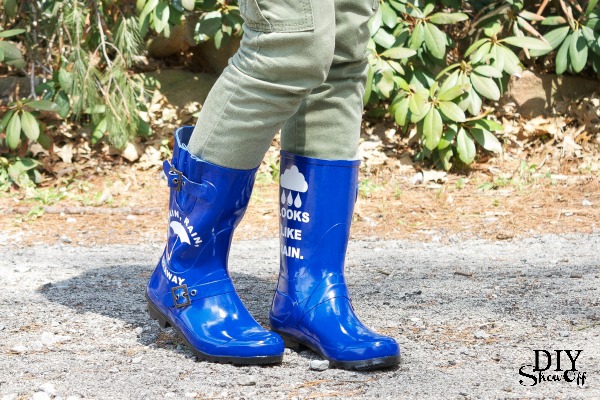
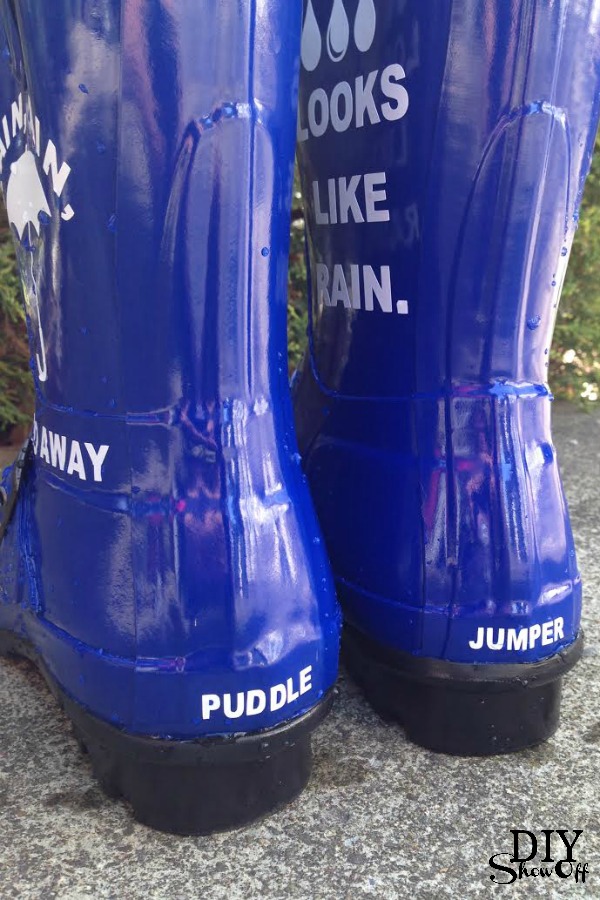
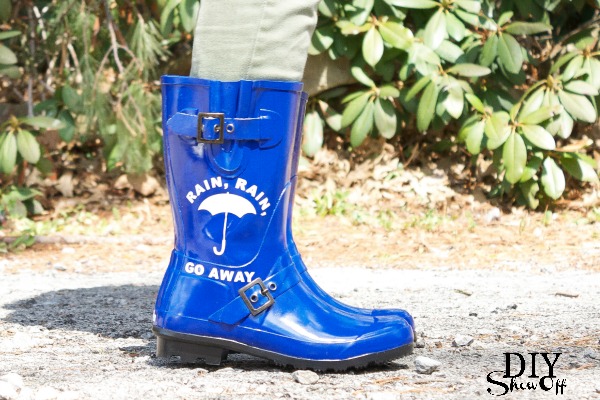
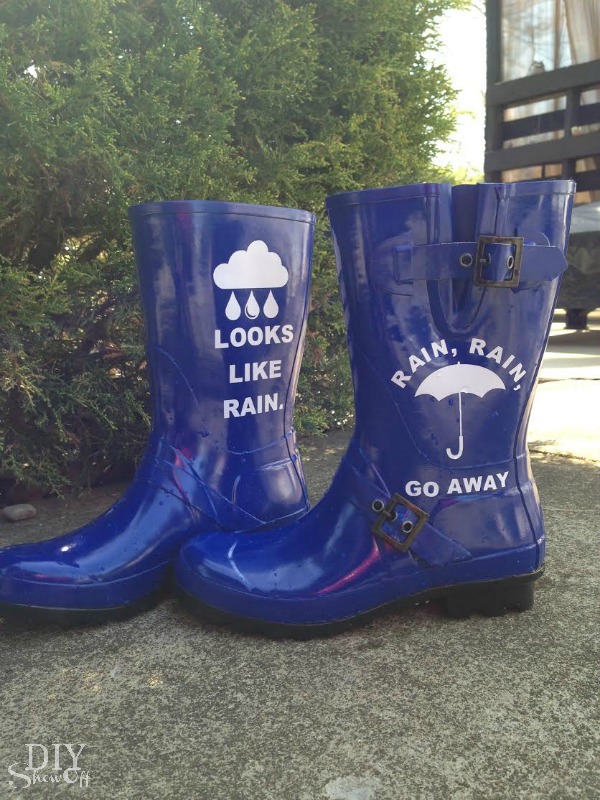
Now I have cute custom rain boots! I also tested the vinyl adhesive using water and the vinyl is still “stuck”! 

DIY rainboots vinyl decal design tutorial at diyshowoff.comDIY rainboots vinyl decal design tutorial at diyshowoff.comDIY rainboots vinyl decal design tutorial at diyshowoff.comDIY rainboots vinyl decal design tutorial at diyshowoff.com

Lots of fun options to play with! Raining cats and dogs, dance in the rain, your name or a cute and trendy design. What would you create for your rain boots?

*This post is sponsored by Happy Crafters. Tutorial, experience and opinion is my own.  Check out all the supplies at Happy Crafters for inspiration for your next project. 

HClogopngsmall

DIY Window Vinyl Decal

I recently revealed our bathroom makeover

bathroom makeover after

and you may have noticed that the window is bare. 

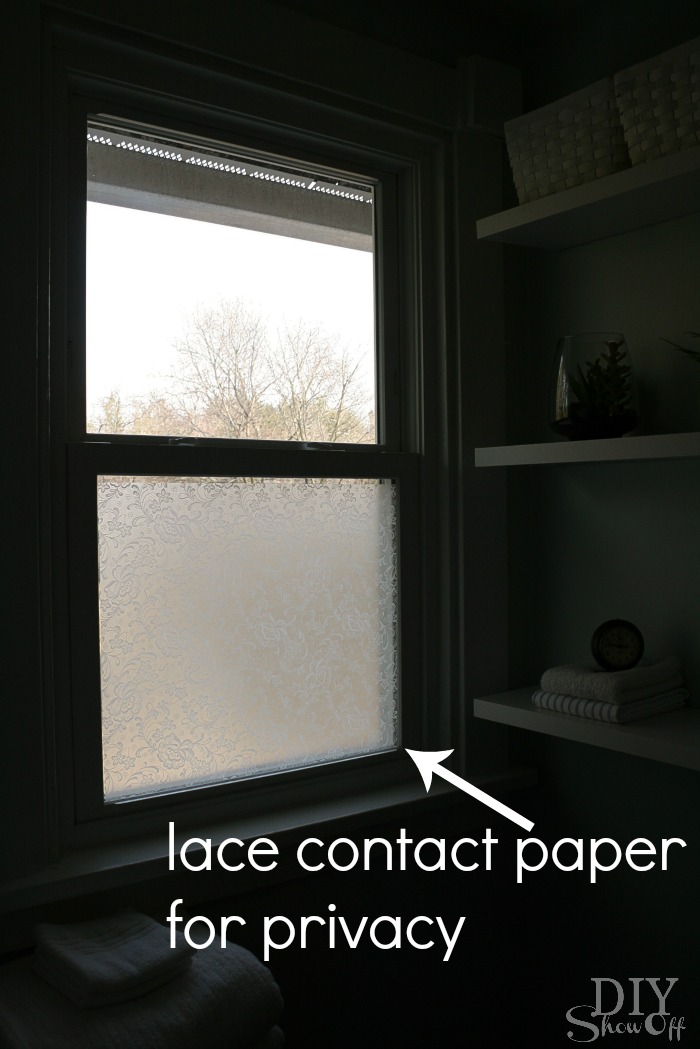
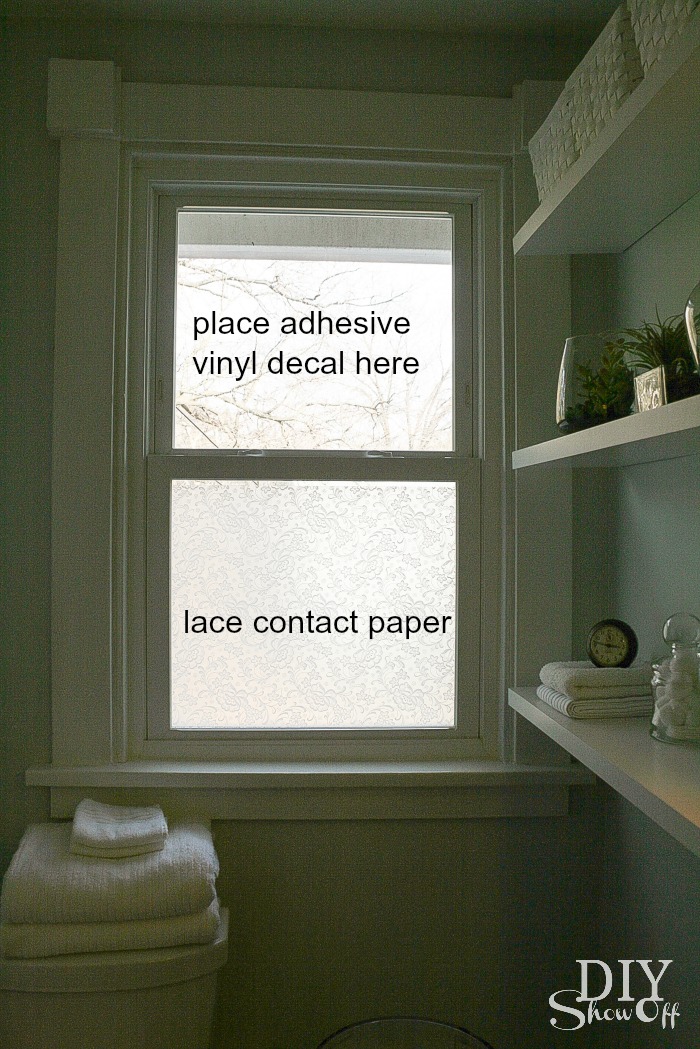
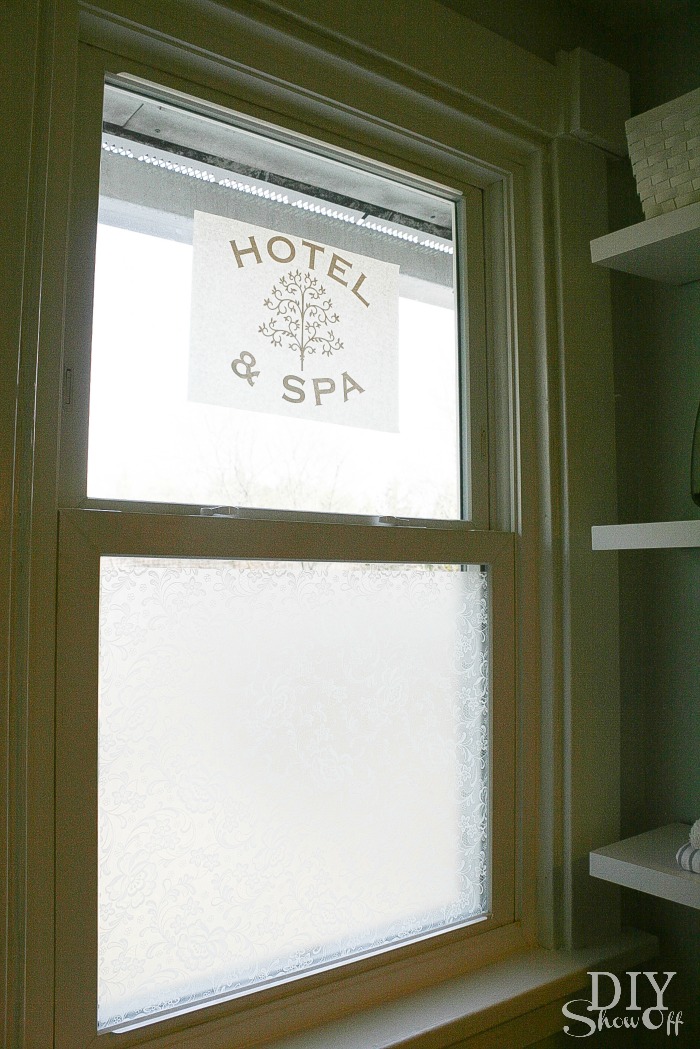
Problem: I haven’t been able to decide on curtains…the length would be awkward with placement of the toilet. I like the natural light during the day since I use this space to get ready in the mornings. But I don’t like the lack of privacy even if it is on the second floor. Pictures of the window in the day time are tricky…but here goes!

DIY vinyl window decal tutorial at diyshowoff.com

Solution: I applied a lace contact paper {affiliate link} to the bottom window which is where someone from the outside looking up from a distance would be able to see someone standing in the bathroom with the light on at night. Then I created a fun decorative vinyl decal for the top window.

lace contact paper on bathroom window for privacy

Materials:

Tools:

  • Silhouette Cameo and Silhouette Studio Designer Software
  • Scissors
  • Credit/gift card for rubbing

What I did:

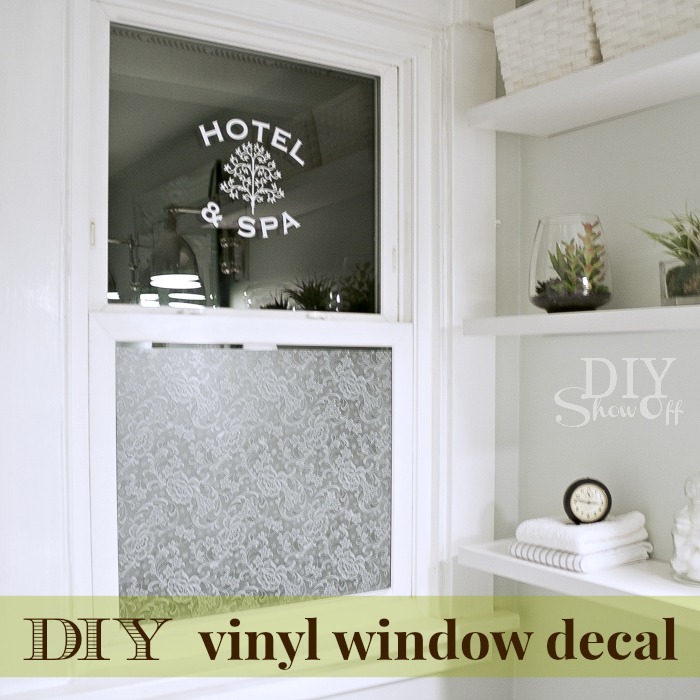
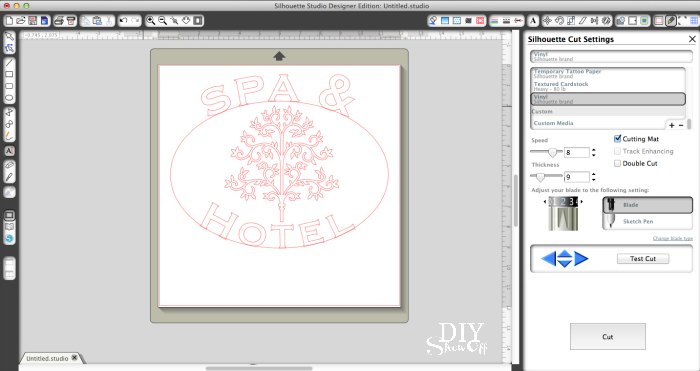
Using the Silhouette Studio Designer software, I created my design. I purchased a tree shape from the online Silhouette store and surrounded it with curved “Hotel & Spa” text since my new bathroom has a relaxing spa feel. 

bathroom window treatment

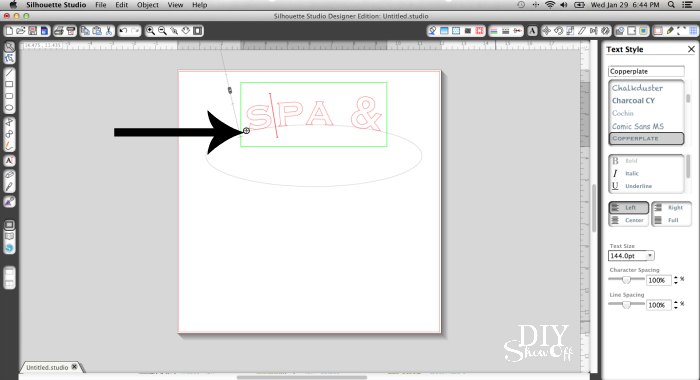
How to curve text: Click the circle shape on the left. Drag to size, shape and center on design. Next click the font button on the left and create your text. While the text box is surrounded with a green window, click the circle with a cross. Drag text to the inner or outer circle border. (You can also change the character spacing in the font tool.) 

Silhouette curved text tutorial

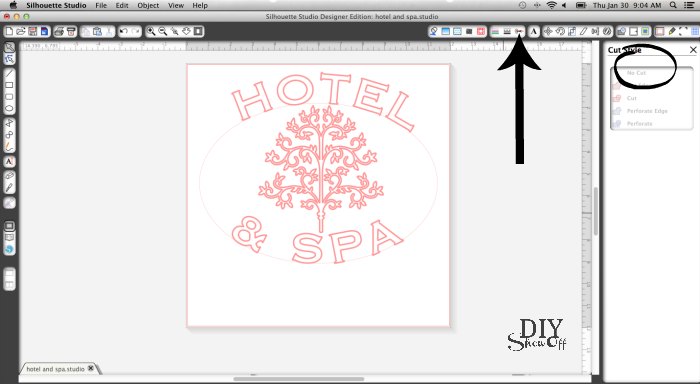
Next, select the circle again by clicking on it. Then click the scissors button in the right hand corner. Choose “no cut”. Now the text in the design will be cut but the circle won’t. (As you can see, I played around with rearranging my text too.)

Silhouette curved text

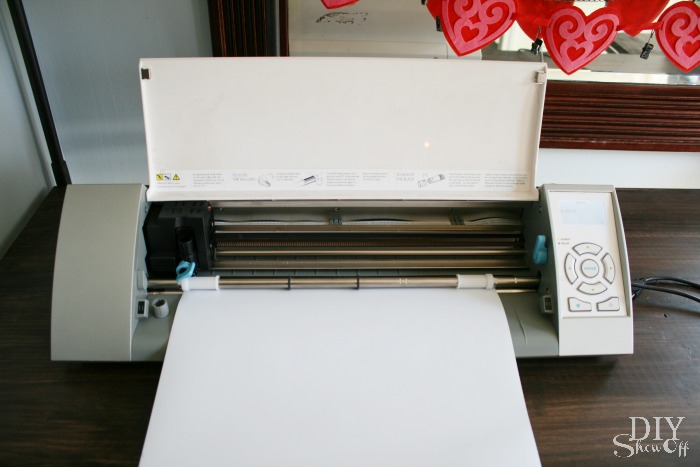
Load vinyl into the machine color/vinyl side up. Change blade and settings for adhesive vinyl cutting. Send design to cut. 

Happy Crafters vinyl tutorial

Silhouette vinyl window decal

Remove vinyl from the machine and trim to a more manageable size around the design.

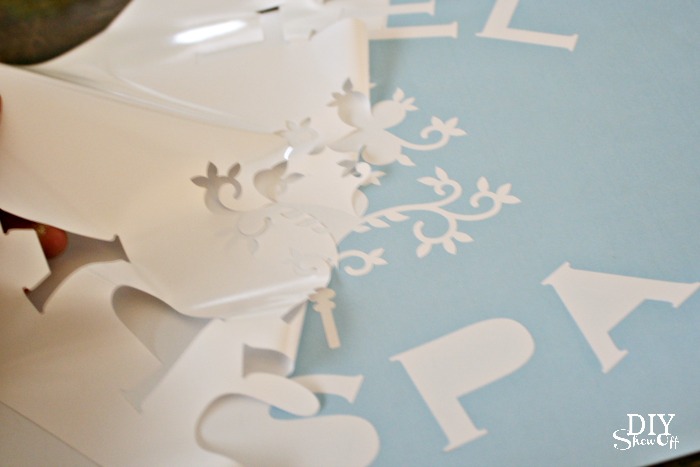
Weed away the unused part of the vinyl design. 

vinyl weeding

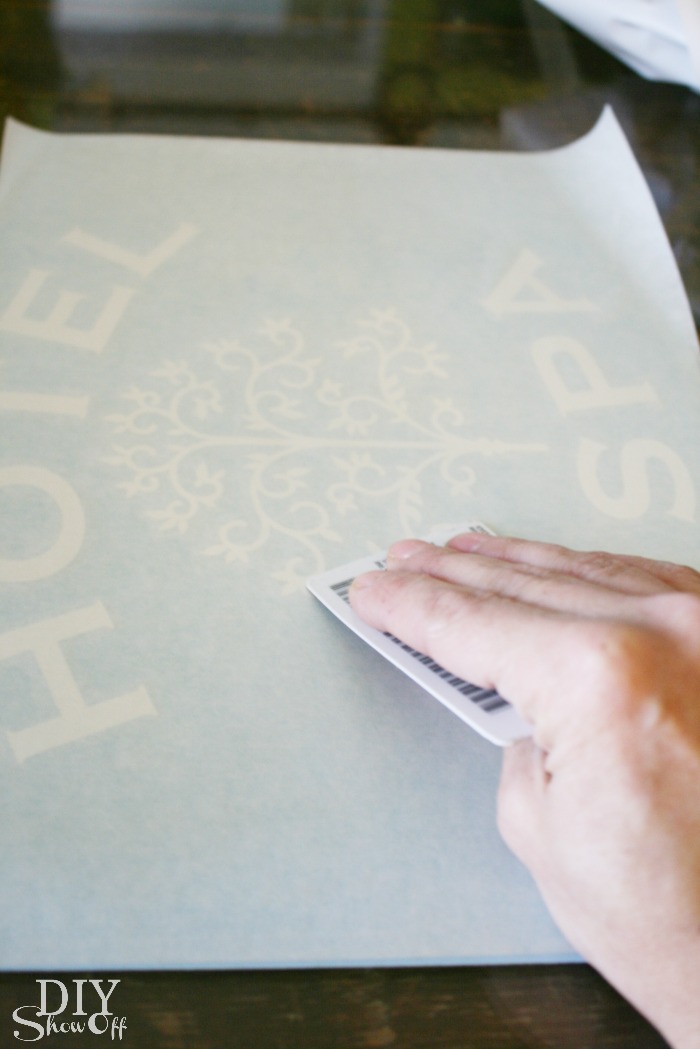
Cover vinyl decal with transfer paper. Rub with a credit card.

adhesive vinyl tutorial

Clean window. 

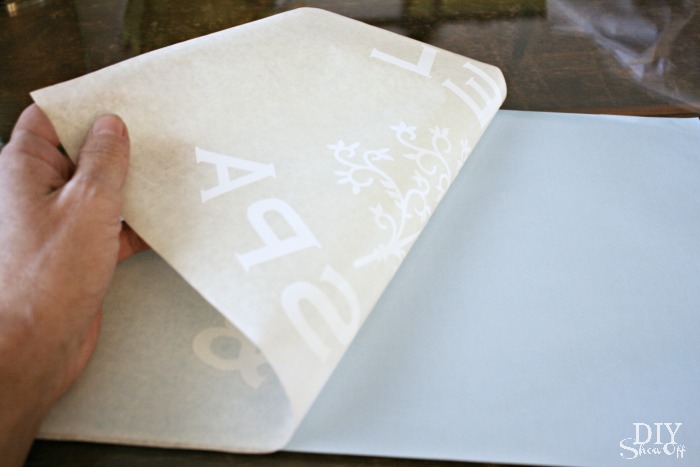
Peel away paper backing, transferring the vinyl decal to the sticky transfer paper. 

transfer paper tutorial

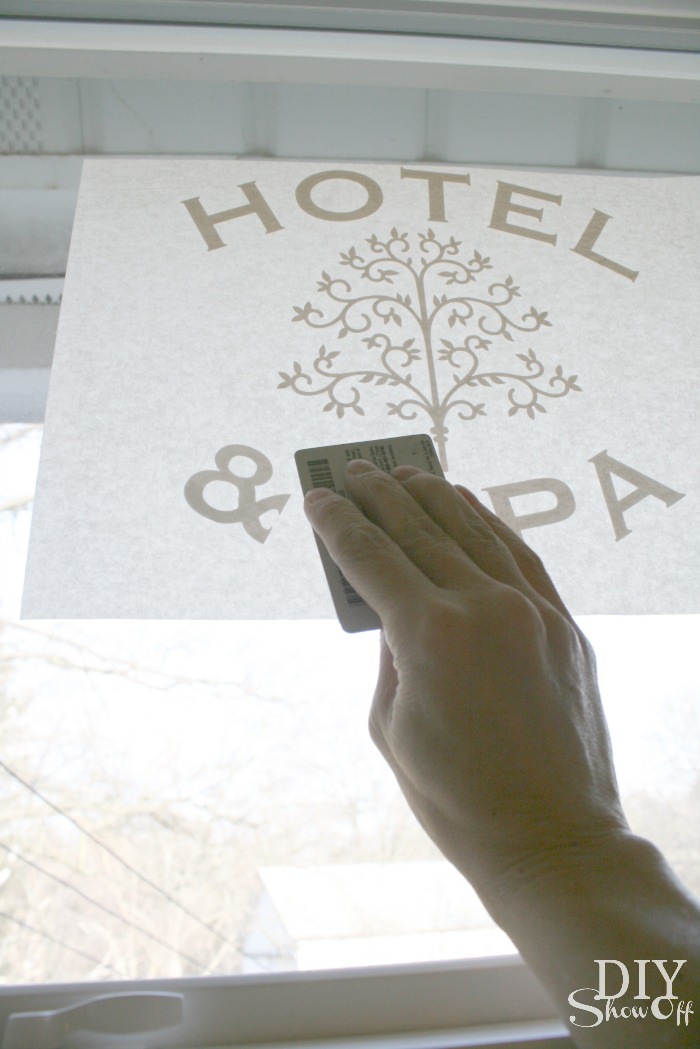
Place design on window. Rub with a credit card and peel away transfer paper. 

bathroom window vinyl decal tutorial

DIY vinyl window decal

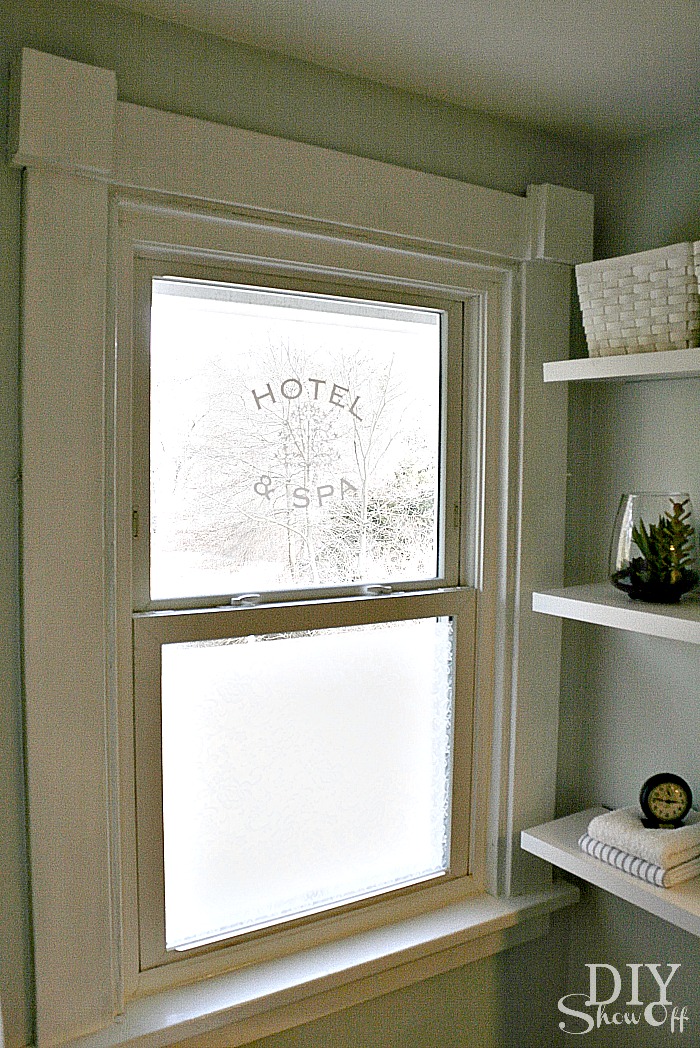
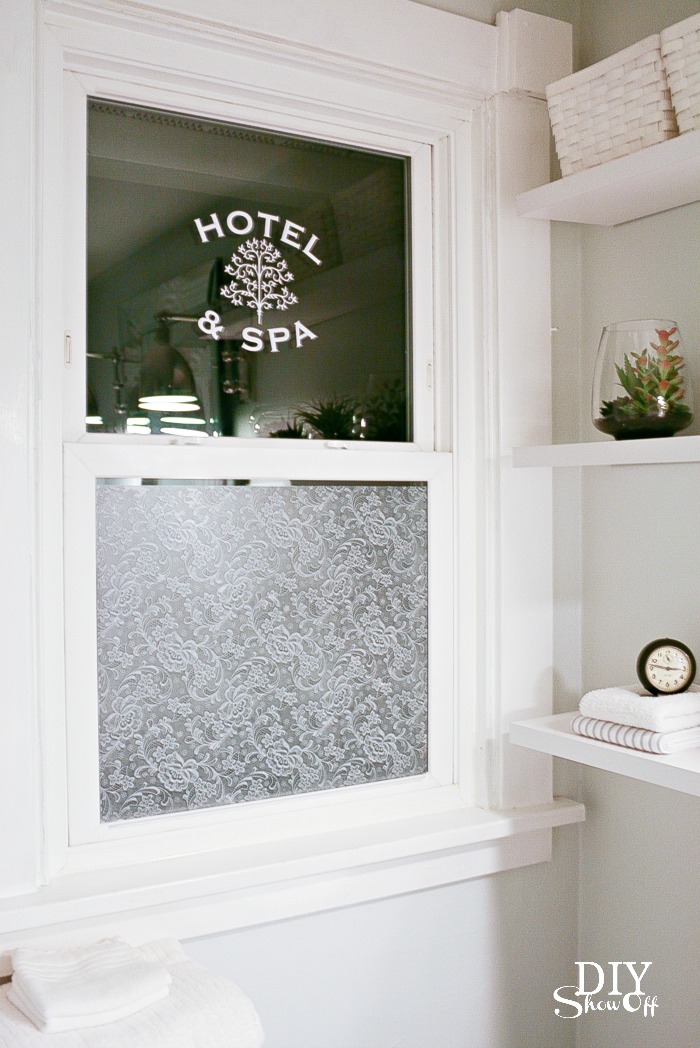
Ta-da! Now my window has some decorative type detail without curtains or a blind. I have privacy and natural light. What do you think?

day time

vinyl window decal tutorial


{It’s difficult to capture in a photo of a window in day light but it’s very visible in real life.}

bathroom window privacy idea

night time

vinyl window decal tutorial

*This post is sponsored by Happy Crafters. Tutorial, experience and opinion is my own.  I really love working with this vinyl. Check out all the supplies at Happy Crafters for inspiration for your next project. 

HClogopngsmall

DIY Glitter Iron-On Vinyl Tutorial

The Chinese zodiac/new year follows the lunar calendar and begins January 31st. 2014 is the year of the horse. It’s a year for making efforts to improve yourself. Why not wear a reminder to do just that. It’s also the symbol for my word of the year for 2014 but more on that later this week. iron on vinyl glitter decal tshirt tutorial
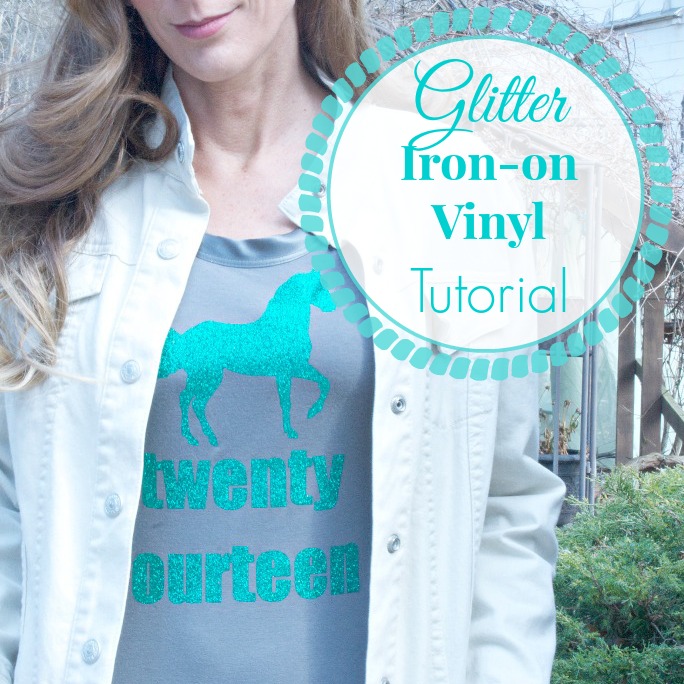
Did Santa bring you a Silhouette Cameo? Unpack that baby! There are so many cool things to create just waiting for your imagination! One of the things I love is the ability to create custom vinyl decals easily and that includes not just stencils or signs but dressing up my t-shirts too. Here’s how:

Materials:

  • t-shirt or sweatshirt. Give an old one a little pizzazz! Or purchase new if creating a gift.
  • Iron-on vinyl. I’m using Happy Face Glitter Iron On Vinyl in Pine Bling from Happy Crafters for this project. Big selection of fun printed, solid and glitter iron-on vinyl for DIY projects. 

Tutorial:

1. Create a design using the Silhouette Studio. I purchased a horse shape from the Silhouette online store and added text. 
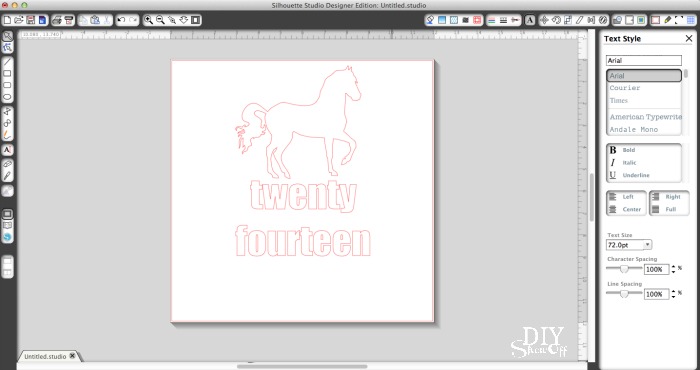
iron on vinyl decal tutorial

2. For iron-on vinyl, you’ll need to “mirror” the design. I just ‘right click’ my design and flip horizontally. 
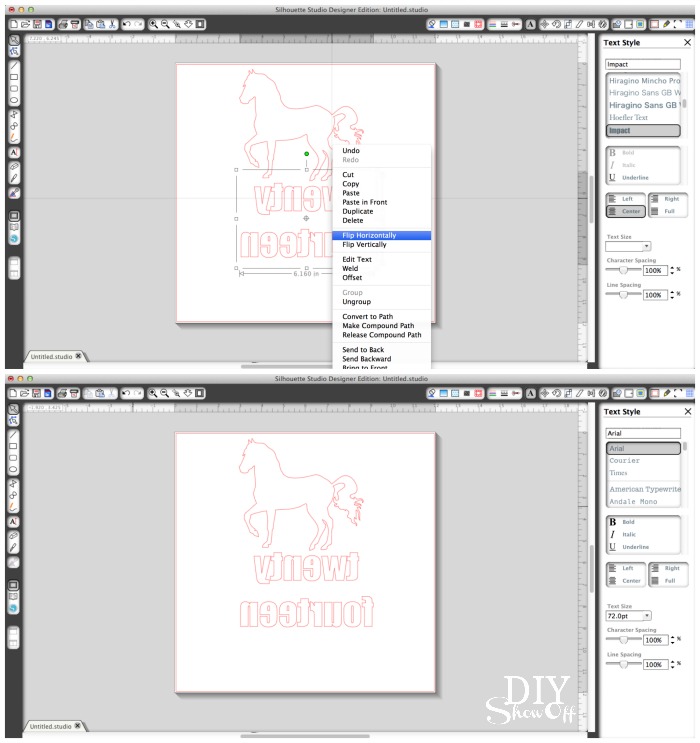
iron on vinyl tutorial

3. Load the vinyl into the machine glossy/sparkly/glitter side down {transparency side down}. Adjust settings. Recommended settings for cutting iron-on vinyl are blade 2, speed 8, thickness 5. Send to cut. 
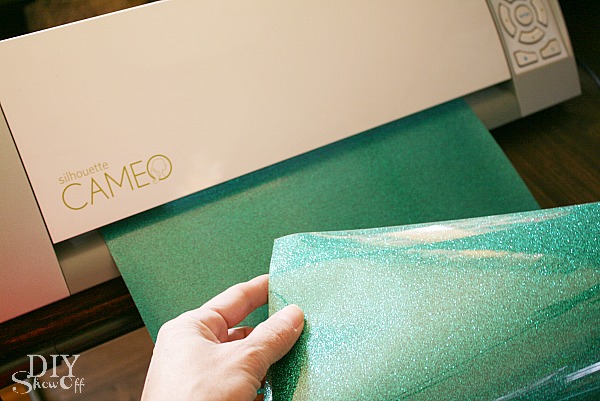
iron on vinyl tutorial

4. My blade is dull from so much use and the glitter iron-on vinyl is thick so before removing from machine, I could tell it wasn’t a good all-the-way-through cut. I had to re-adjust my blade setting to 6 and send to cut again. Tip: Test yours before removing vinyl from the machine so that the not-so-good cut lines will match up with the newer cut lines if needed. You’ll want the vinyl to be cut but not the transparency. When cutting is complete, remove vinyl from the machine. Cut vinyl to a smaller more manageable size from the roll/sheet. iron on vinyl tutorial

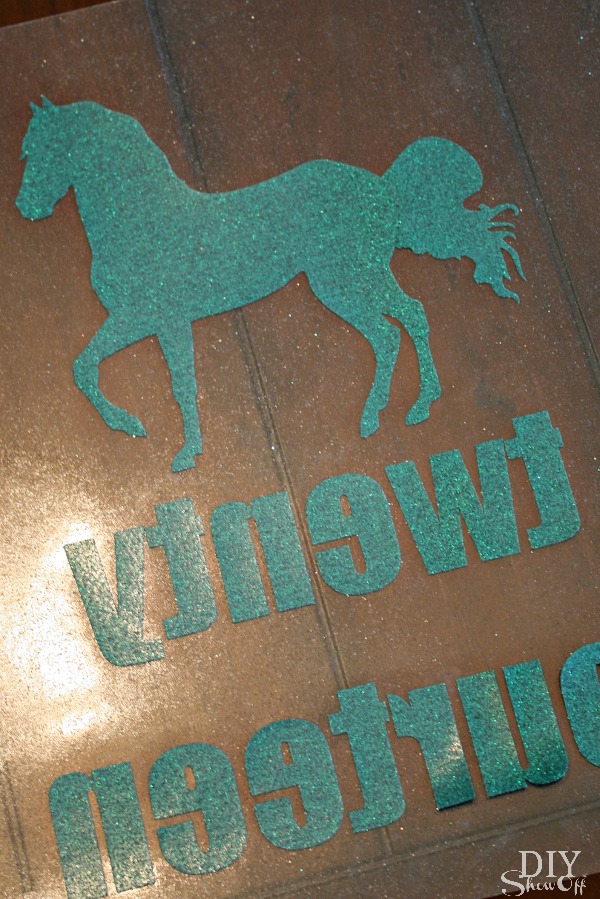
5. Weed away all negative vinyl (vinyl that is not a part of the design) from the adhesive transparency.
iron on vinyl tutorial

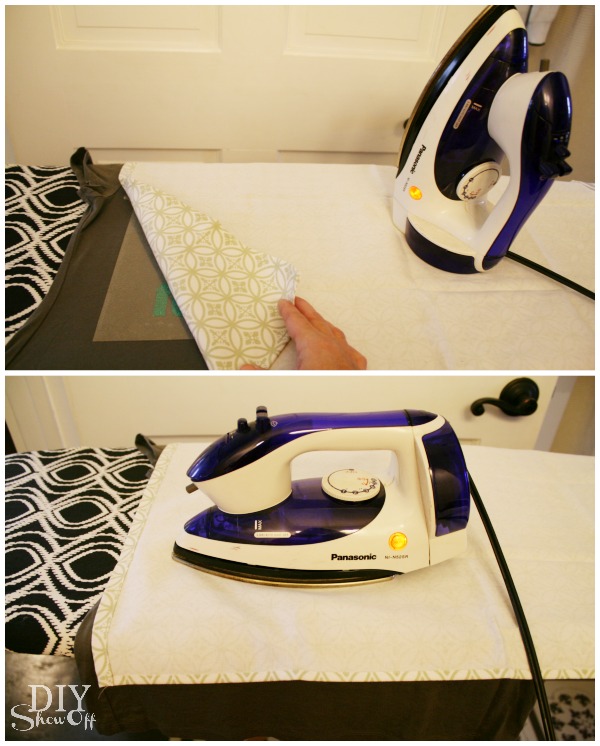
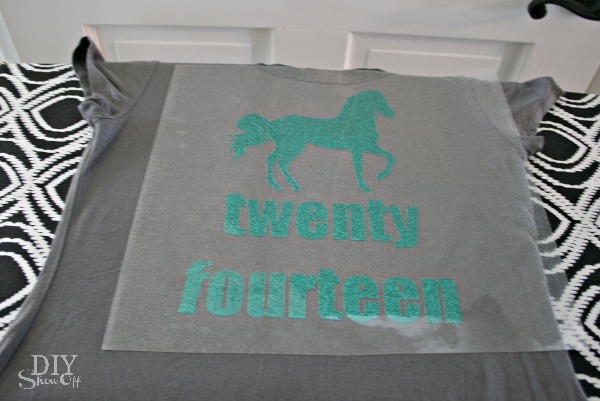
6. Position decal onto shirt. Cover with a cotton tea towel, napkin or fabric. Iron on high, pressing down 25-30 seconds on each part of the design (no steam).iron on vinyl tutorialiron on vinyl tutorial
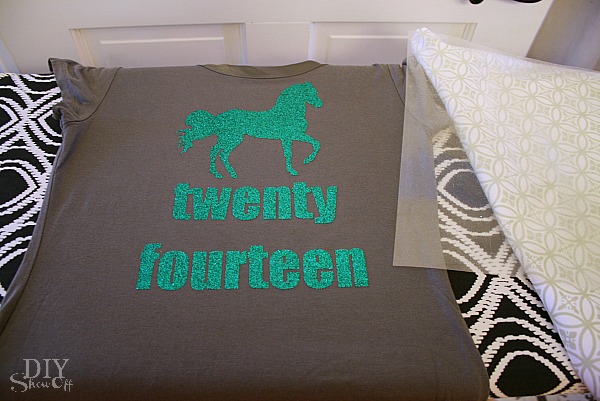
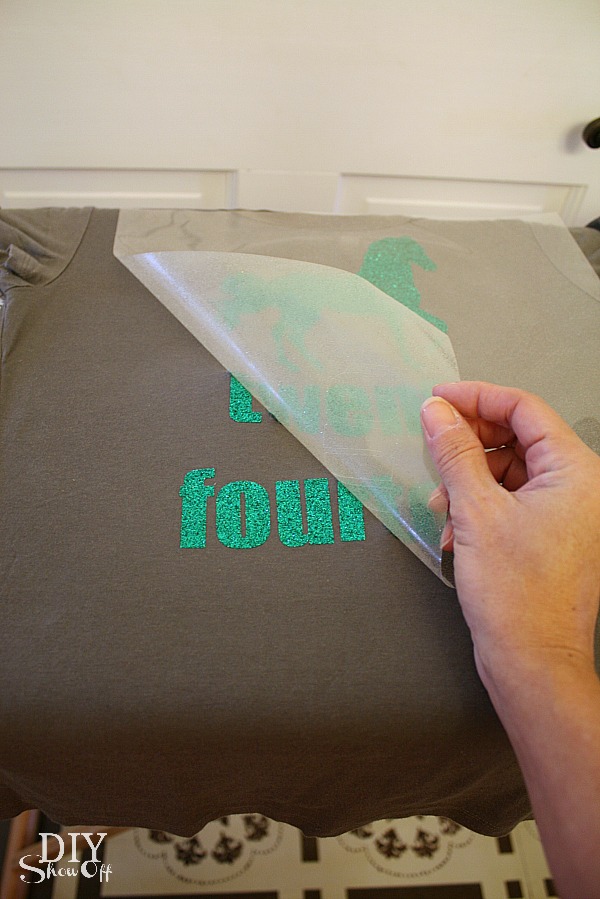
7. Peel away the transparent shiny plastic. If part of the design starts to lift, replace transparent plastic, re-cover and iron again. iron on vinyl tutorialiron on vinyl tutorial
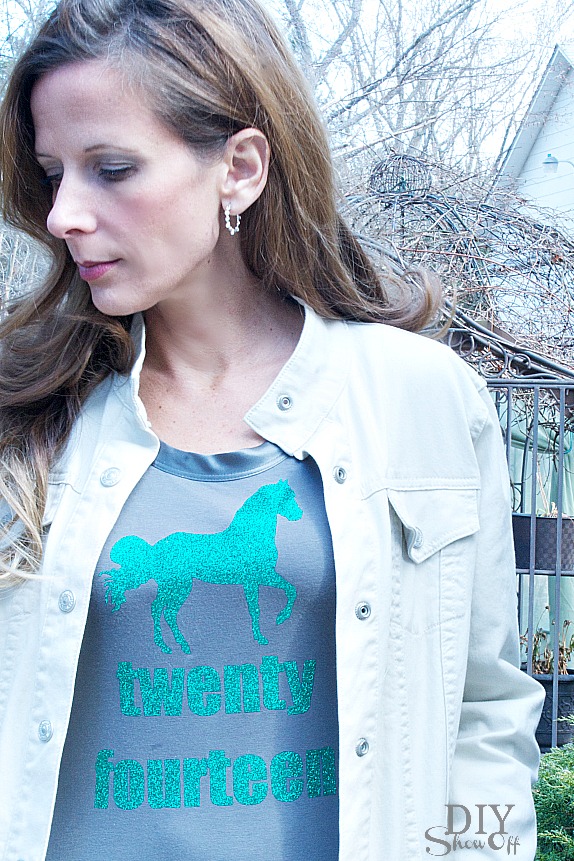
8. All done! An old t-shirt, a new look and a fun reminder of your ‘word of the year’ to make 2014 awesome! 
iron on vinyl decal how-to

It’s certainly difficult to photograph the sparkle, not to mention take photos of myself wearing it. But you get the idea, right? It’s super glittery!

iron on vinyl decal tshirt tutorial

Isn’t that green glitter iron-on vinyl pretty? I’ll be using scraps for a glittery shamrock for St. Patrick’s Day too! Here’s another iron-on vinyl tutorial for a monogrammed t-shirt for more direction and inspiration.

*This post is sponsored by Happy Crafters. Tutorial, experience and opinion is my own.  I really love working with this vinyl. Check out all the supplies at Happy Crafters for inspiration for your next project. 

HClogopngsmall