Many of you have asked how my sister is doing and guess what? She’s finally completely “all done” with her treatments! Hurray! Confetti & champagne! My hero! And my hero’s superpower is “hope”…
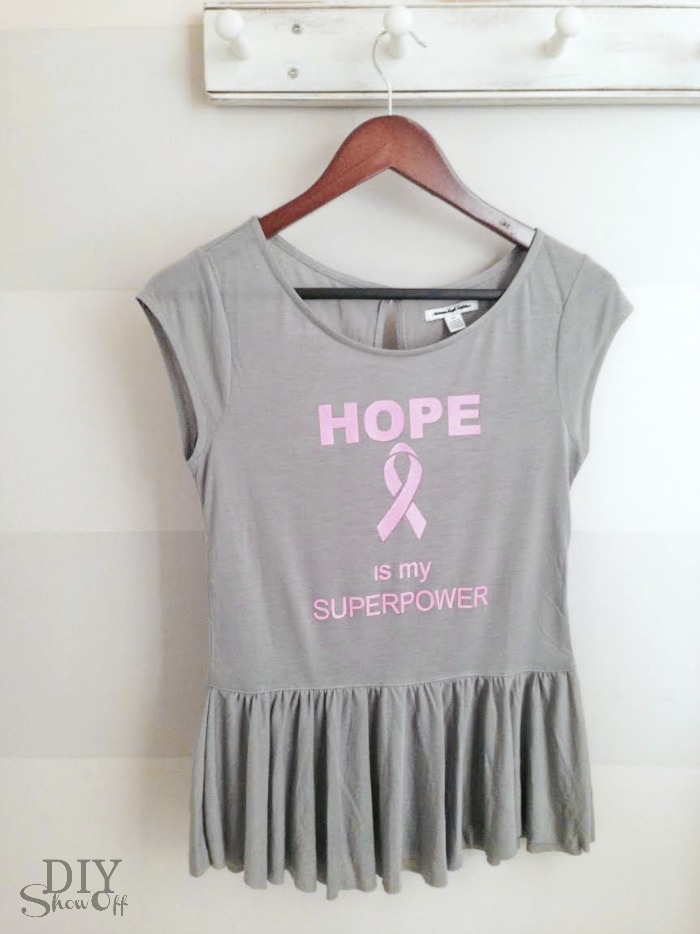
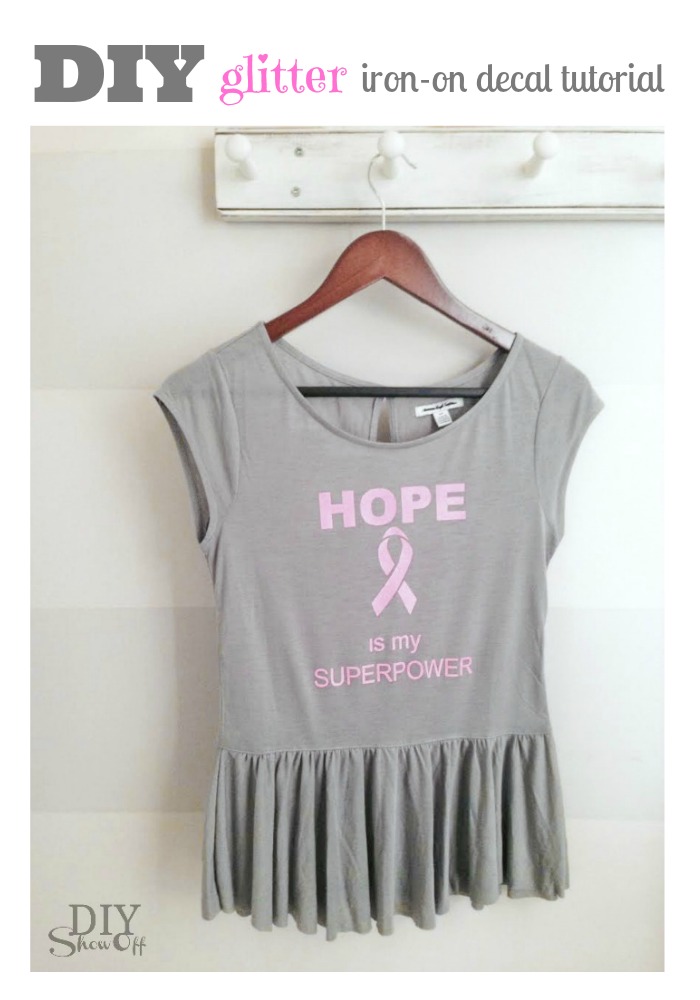 …and like most heroic milestones, it’s an occasion for a celebration, right?! Right! Well, that’ll be coming up in just a few weeks when we celebrate her birthday with a super-hero themed “Bobbi-fest” but in the meantime, I whipped up a cute breast cancer survivor shirt.
What I used:
- a knit peplum style t-shirt from the thrift store
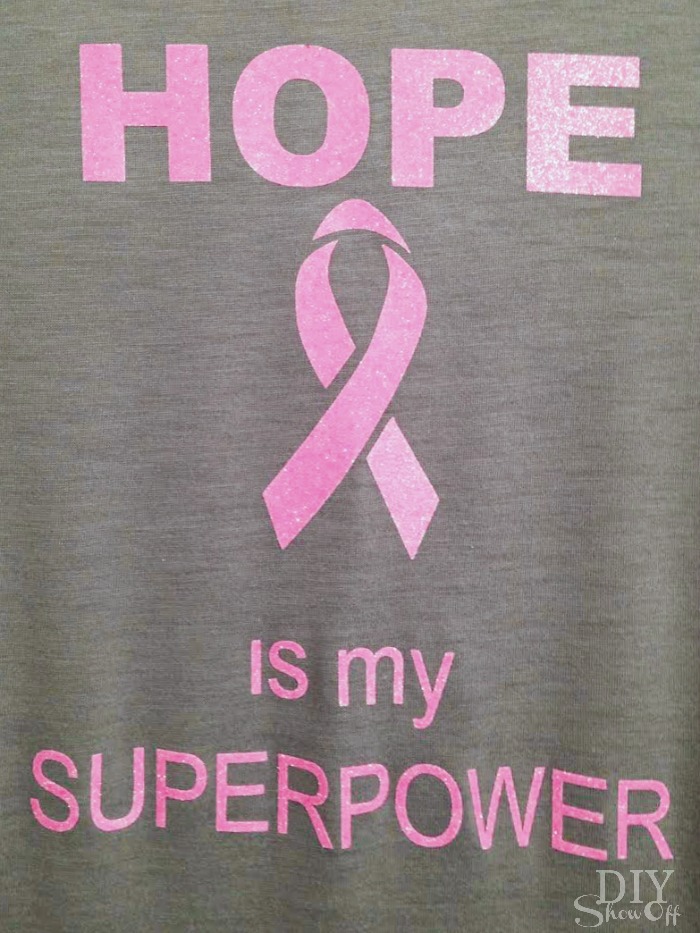
- Happy Crafters party pink glitter iron on vinyl
What I did:
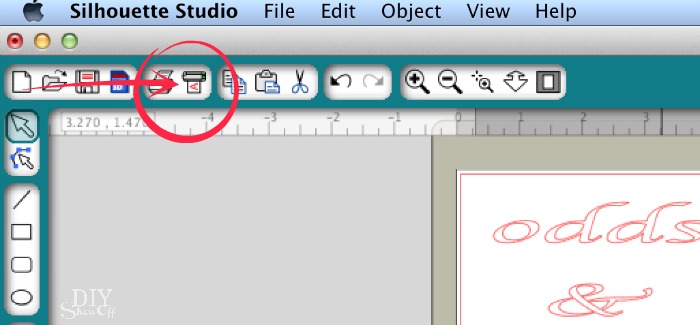
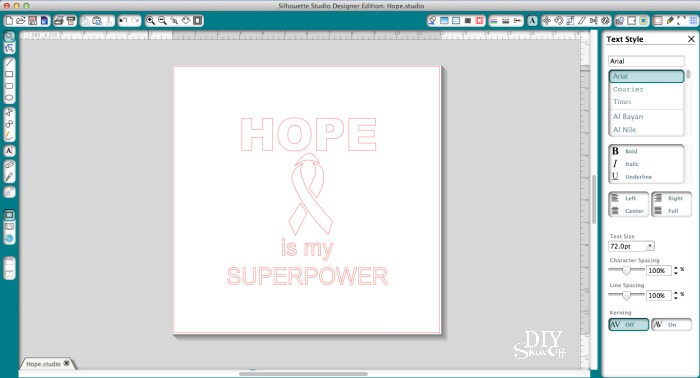
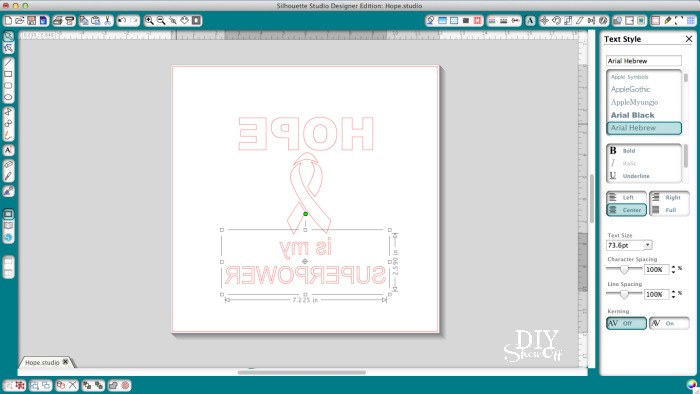
1. Using my Silhouette design studio software, I created a design using text and a breast cancer ribbon, keeping the overall size in mind for a good fit on the shirt.
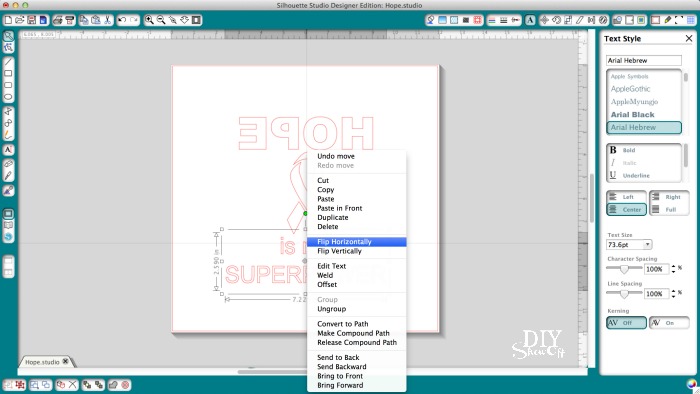
2. Right click each part of the design and choose “flip horizontally” to mirror the text and image.
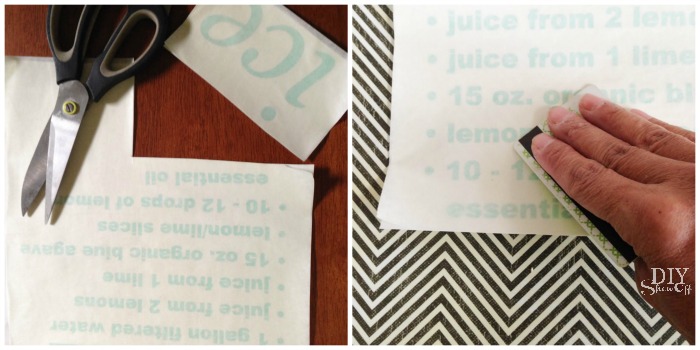
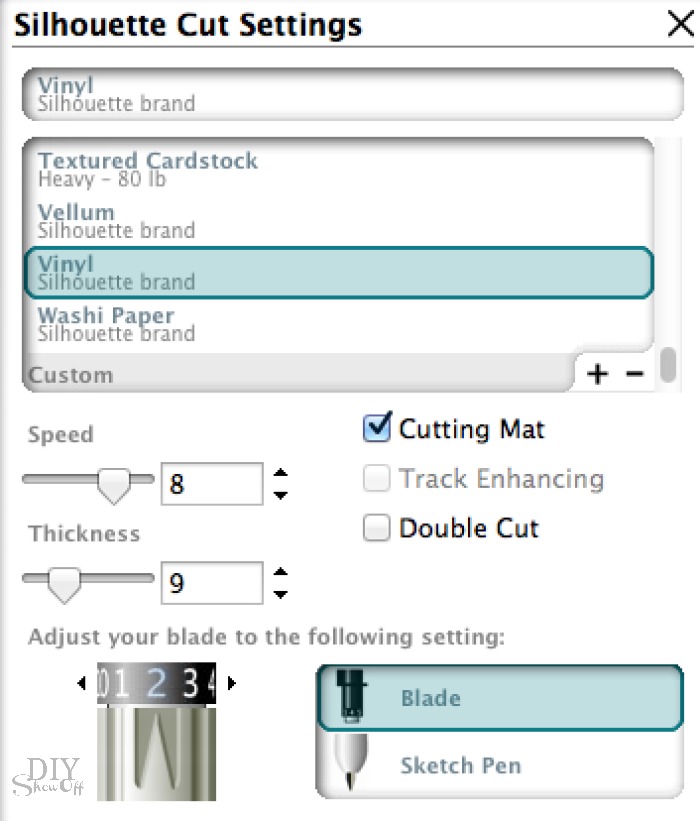
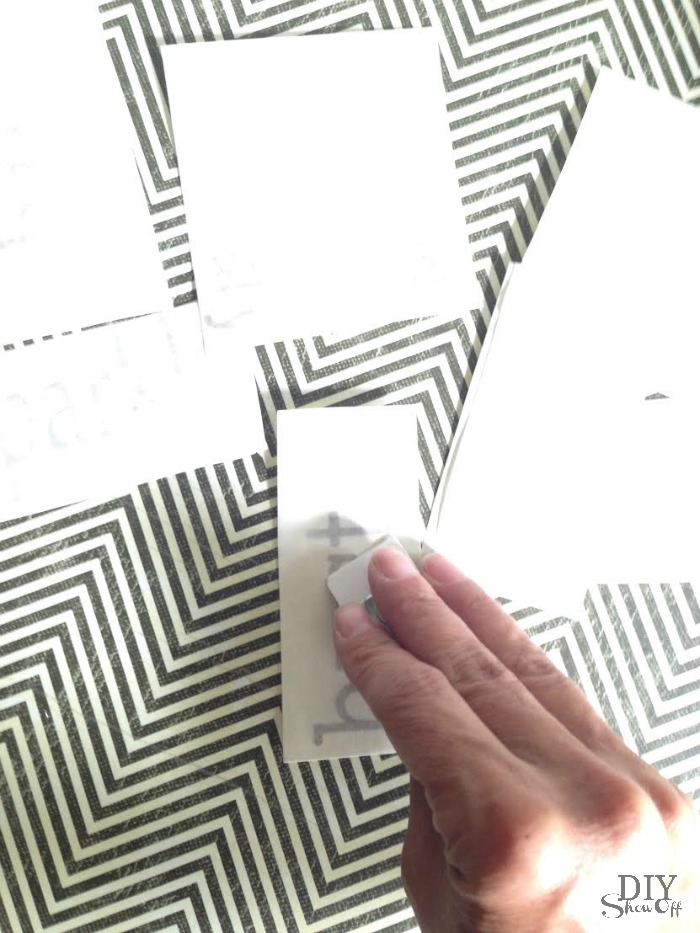
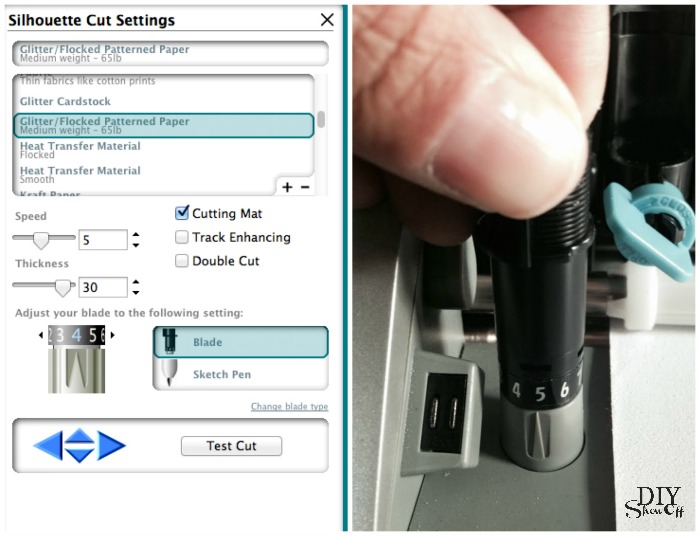
3. Load the vinyl shiny-side (pink glitter side) facing down into the vinyl cutting machine.

4. Choose glitter/flocked iron on adhesive from the drop down menu in the cut settings. Adjust blade settings. (Always do a test cut first to ensure the blade doesn’t cut too deep or too shallow.)
5. Hit “cut”.
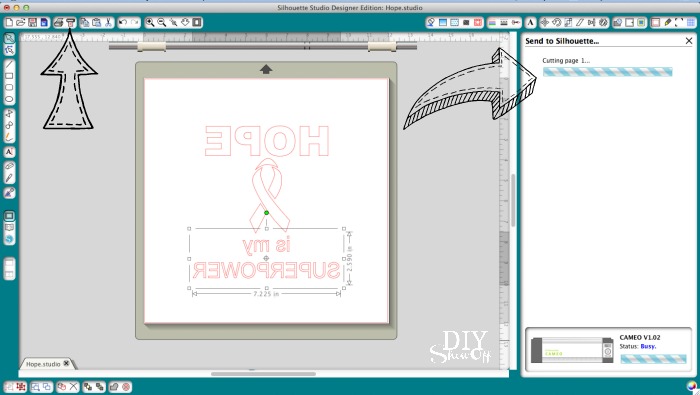
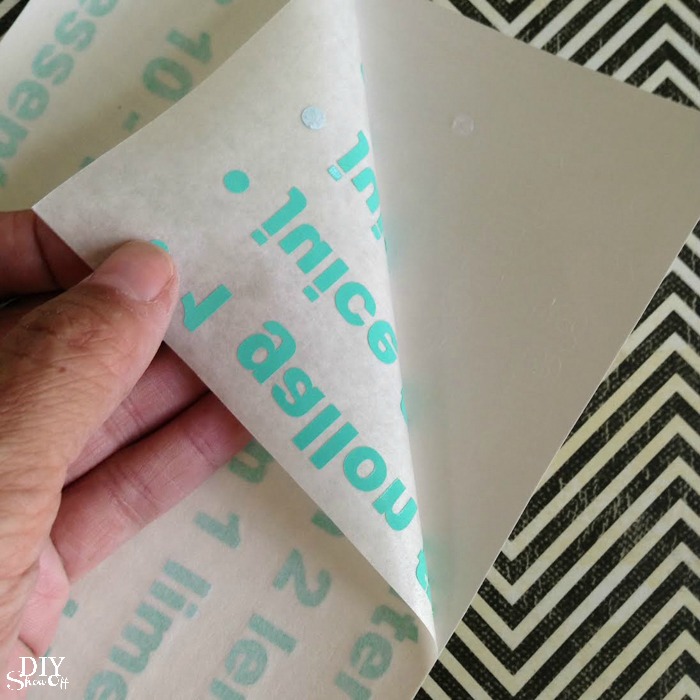
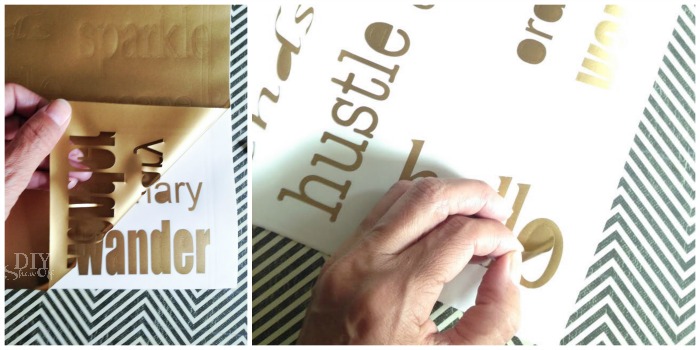
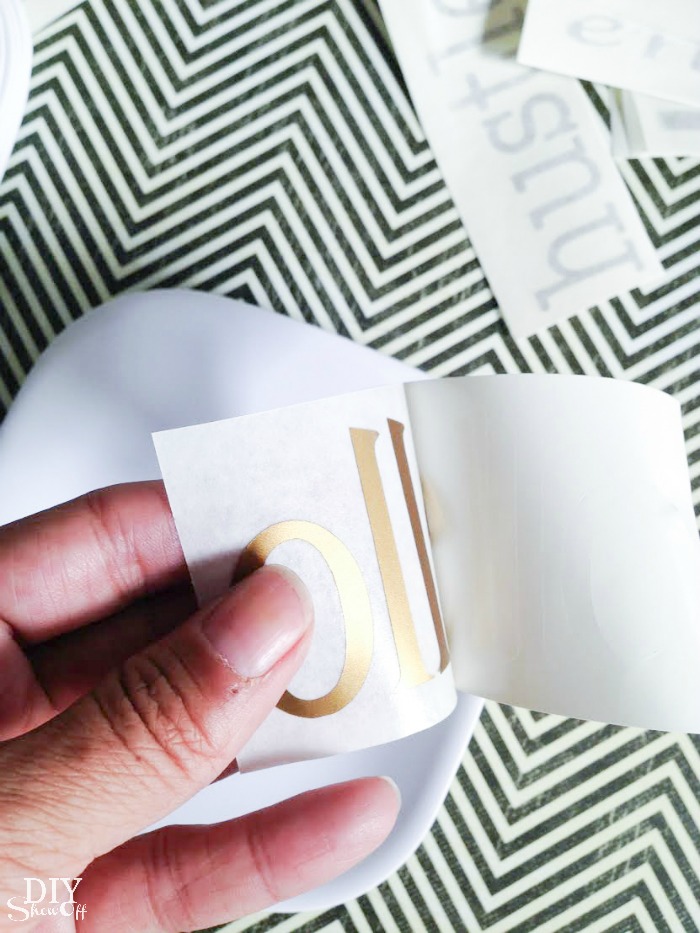
6. When cutting is complete, remove from machine and peel away excess vinyl. Weed away the vinyl surrounding the design.
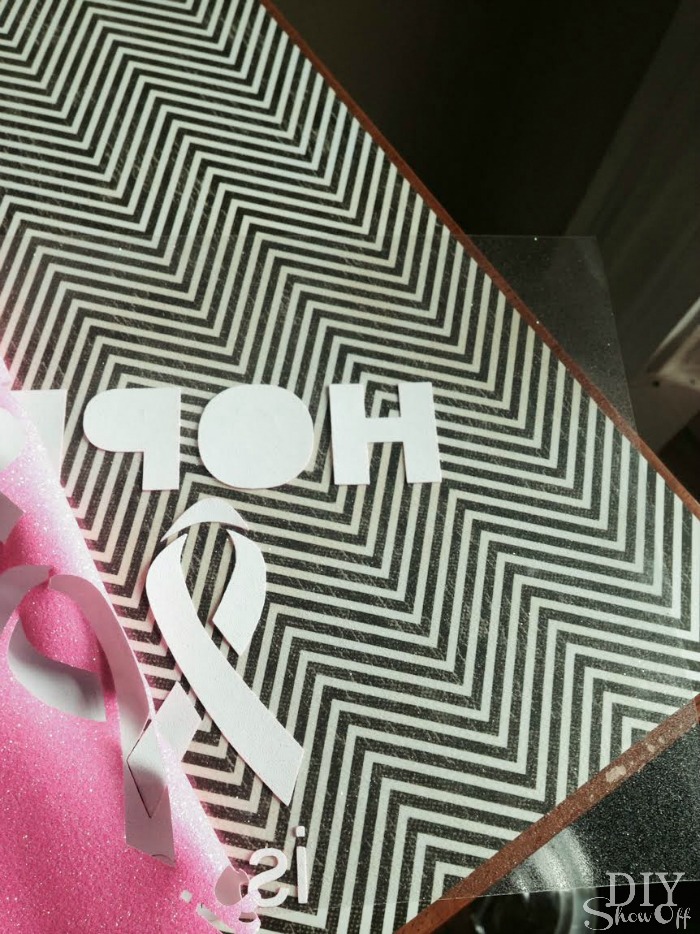
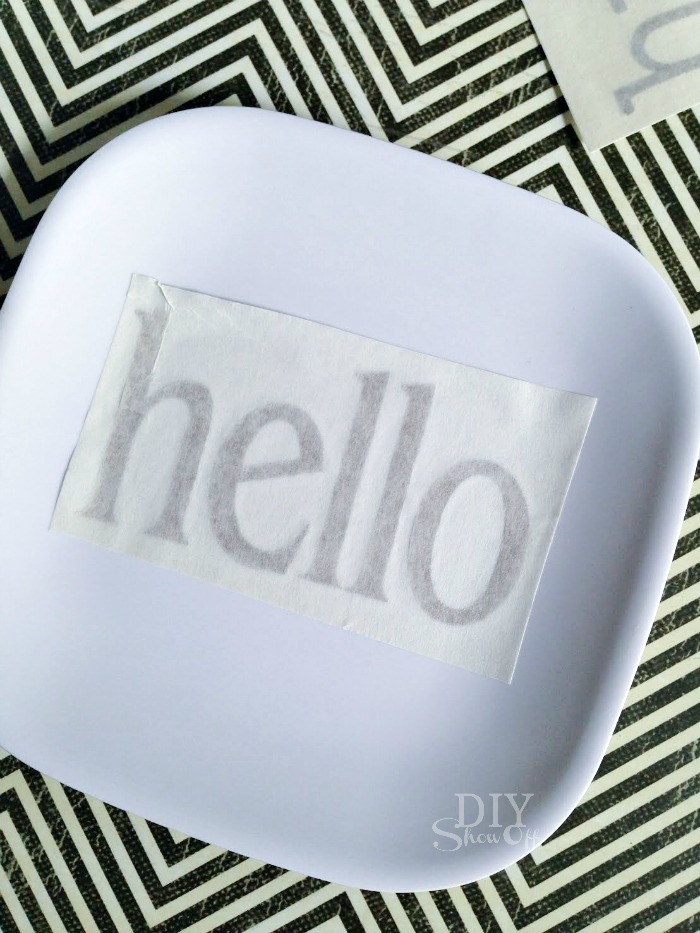
7. Following the iron on’s printed instructions, I laid out the shirt on an ironing board and smoothed out the wrinkles. Place vinyl onto shirt.
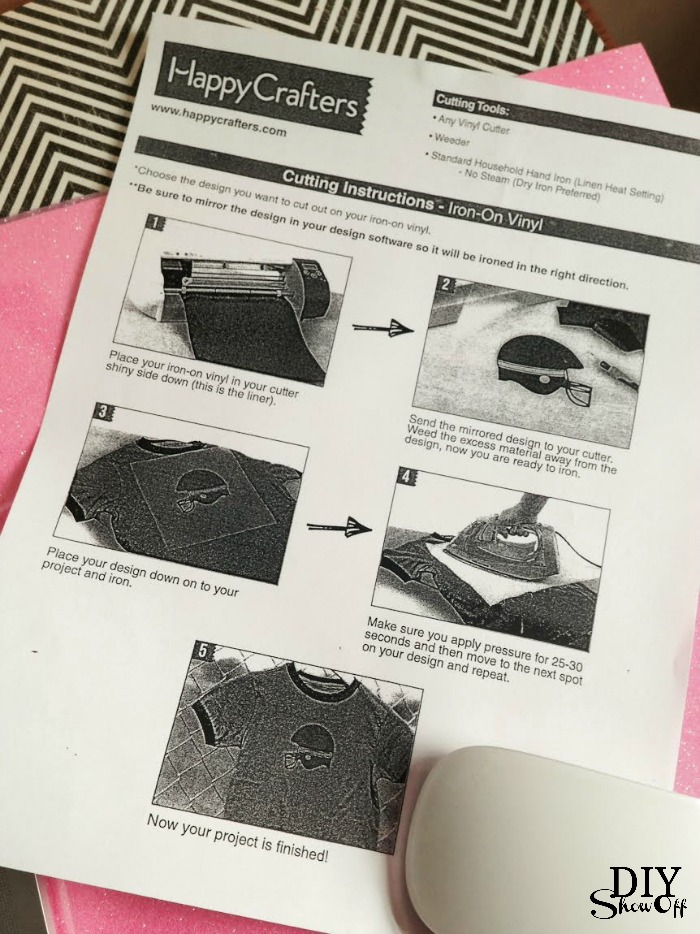
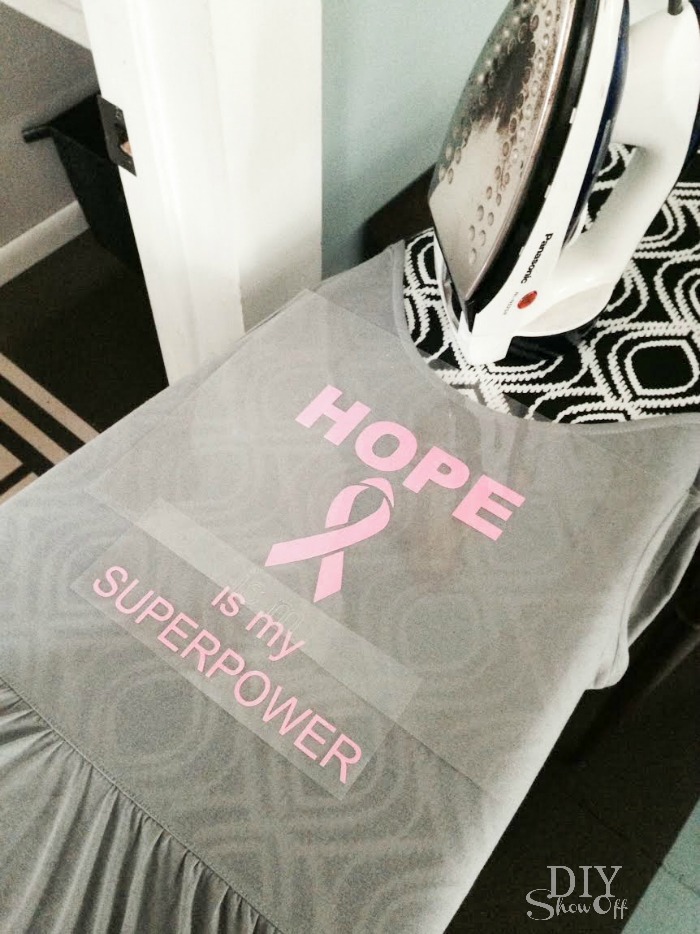
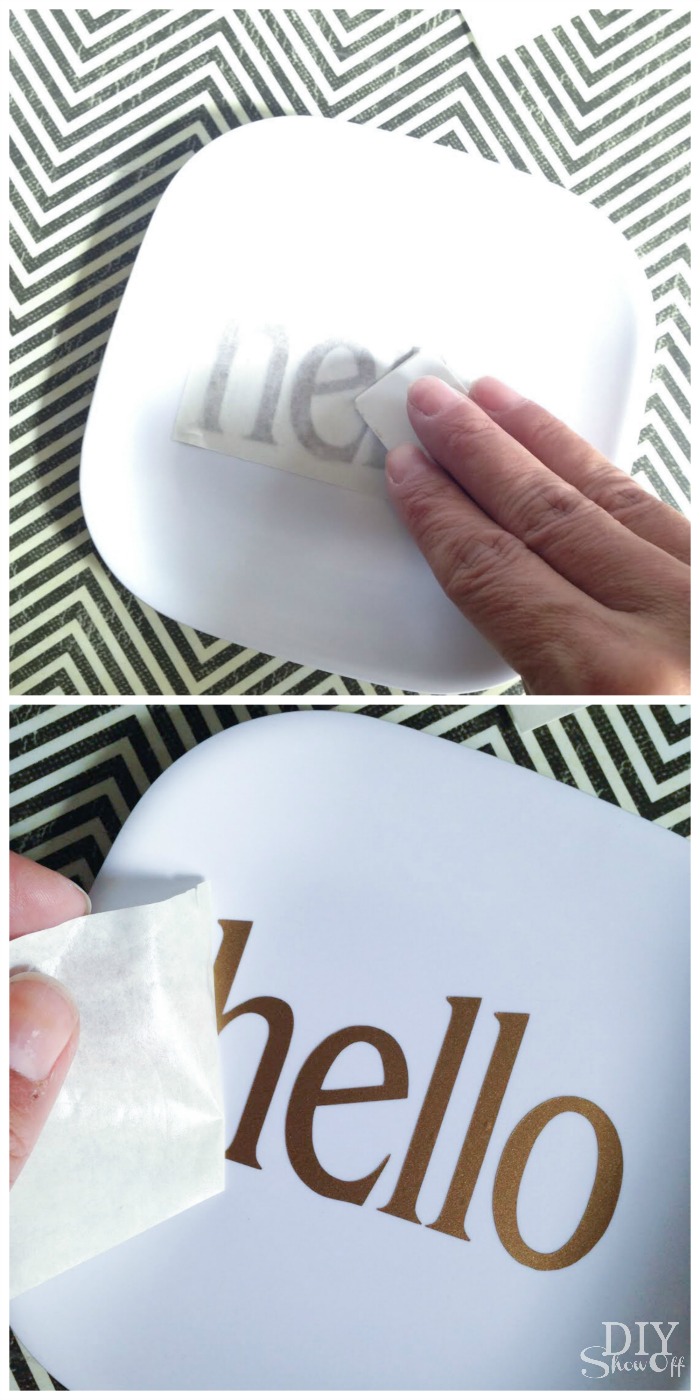
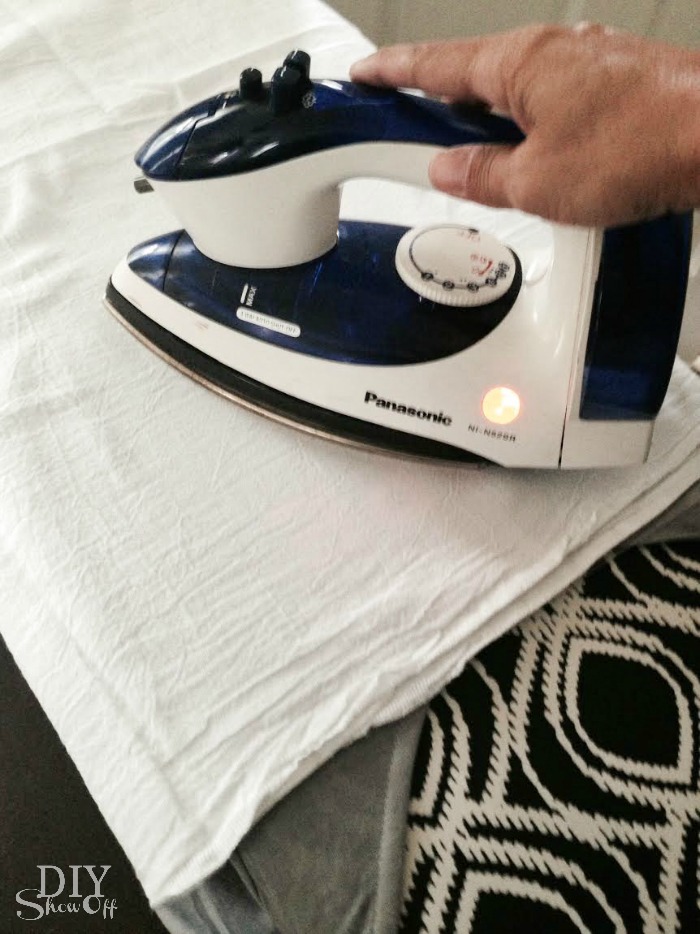
8. Cover with a cotton dish towel or cotton fabric and iron, applying pressure 25-30 seconds and then moving to the next spot on the design and repeating. I used the highest setting on my iron (no steam).
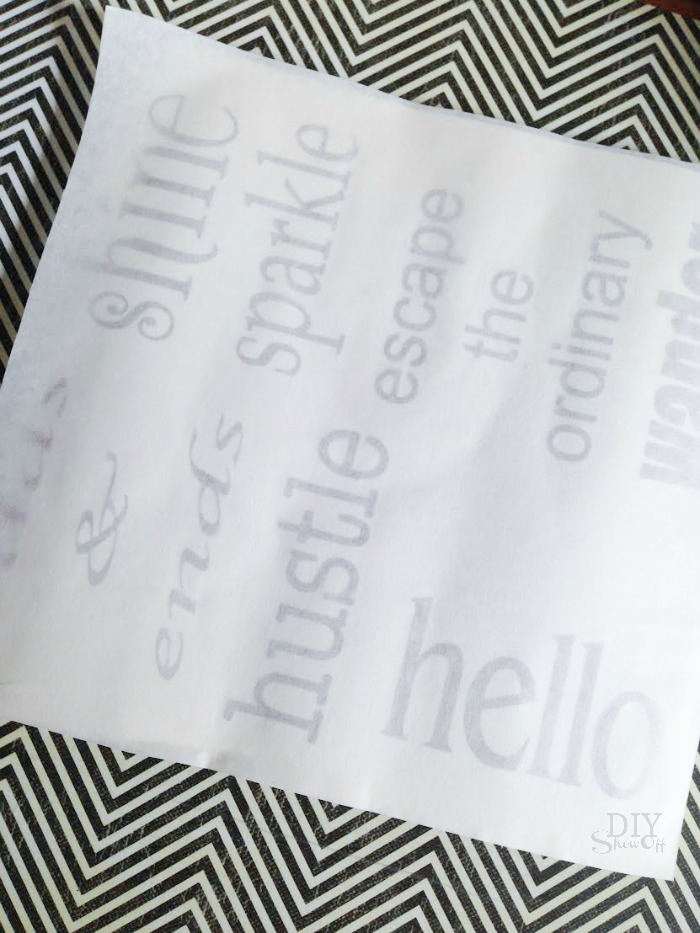
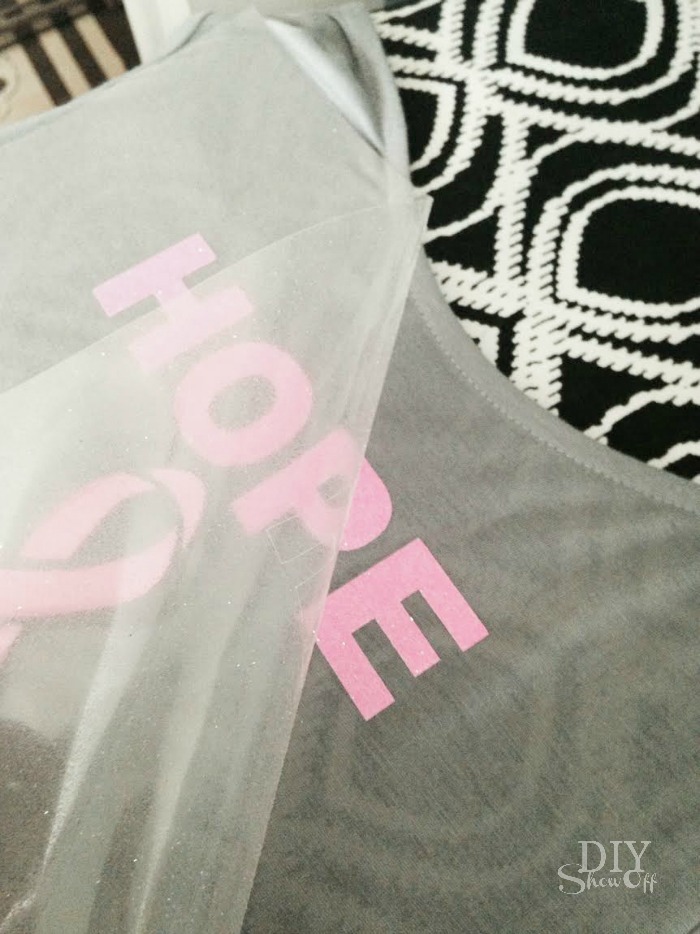
9. Slowly peel away the transparency. (If letters peel away too, repeating step 8, applying more pressure/holding a few seconds longer.)
Ta-da!
Despite nausea and having tests done the same day, she agreed to model my handiwork. Isn’t she beautiful? {I love how despite not feeling 100%, she smiles. And how her hair is growing back with curls!}
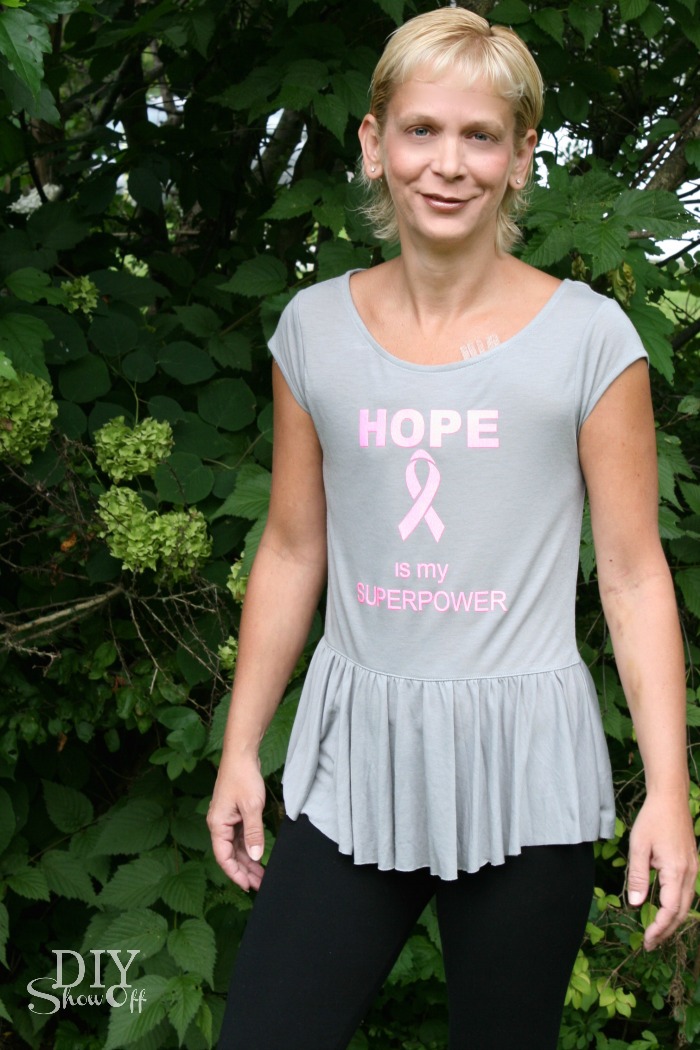
Now that the treatment is behind her, she’s free to focus on recovering, building up strength and feeling better every single day. Thanks for your prayers! xoxo
Glitter is so difficult to photograph. It’s a more uniform and sparkly than shown above.

*This post is sponsored by Happy Crafters. Tutorial, experience and opinion is my own. Check out all the supplies at Happy Crafters for inspiration for your next project.