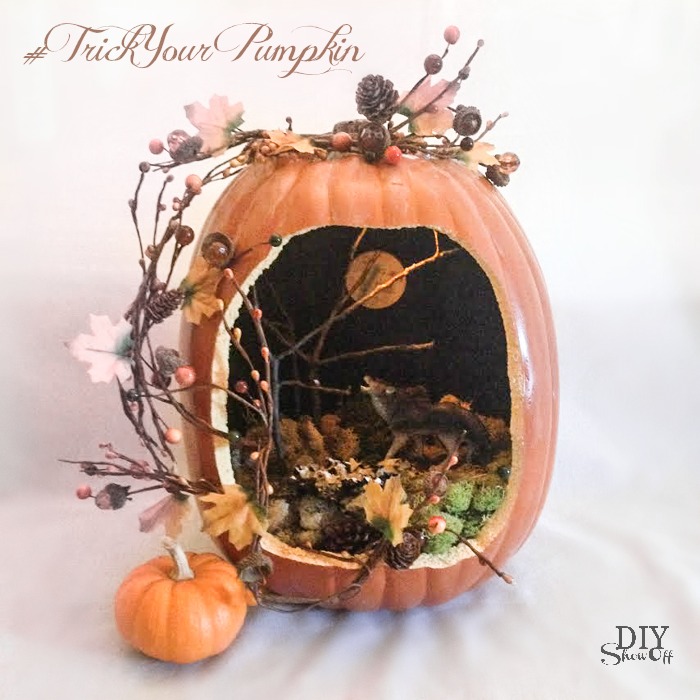
Scenic Pumpkin Jack-o-lantern

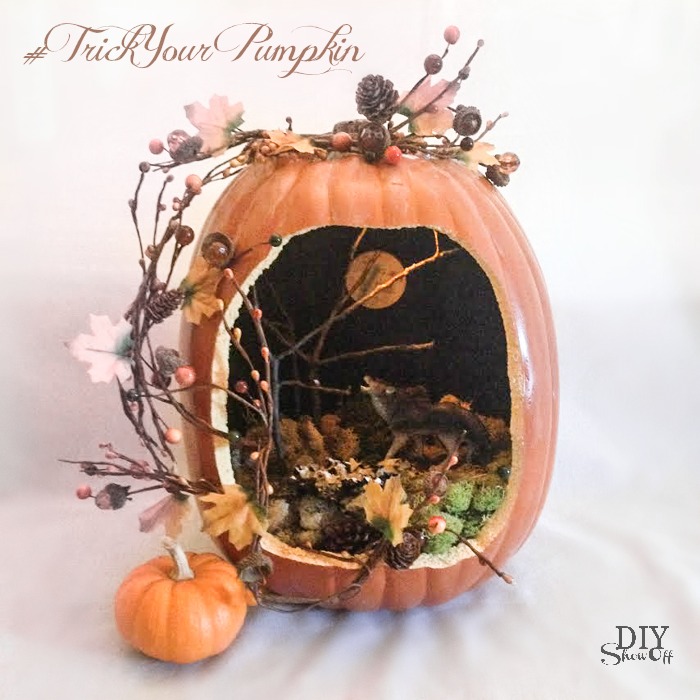
Inspired by a picture of a pumpkin diorama from Country Living that I stumbled across on the Michaels’ Halloween Pinterest Board, I couldn’t resist making up a scenic jack-o-lantern of my own. *This post contains affiliate links. 

scenic faux pumpkin jackolantern tutorial @diyshowoff #trickyourpumpkin

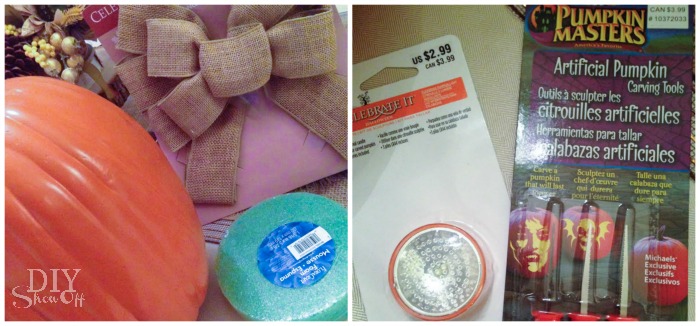
Materials I used (all purchased at Michaels Craft Stores with the exception of stick trees and rocks): 

scenic faux pumpkin jackolantern tutorial @diyshowoff #trickyourpumpkin

  • faux pumpkin
  • carving tools
  • black acrylic craft paint
  • sky blue glitter craft paint
  • 4 small foam paint brushes
  • plastic toy wolf
  • moss
  • styrofoam disk
  • hot glue/gun
  • fall garland
  • tree-like sticks from the yard
  • small rock
  • small wood disk (for full moon)
  • white acrylic craft paint
  • glow in the dark paint
  • tiny faux pumpkin
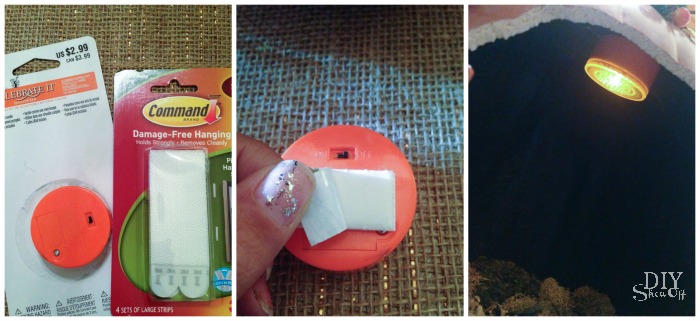
  • small battery operated light
  • 3M adhesive velcro

Buy Online, Ship to Your Local Store for FREE

What I did:

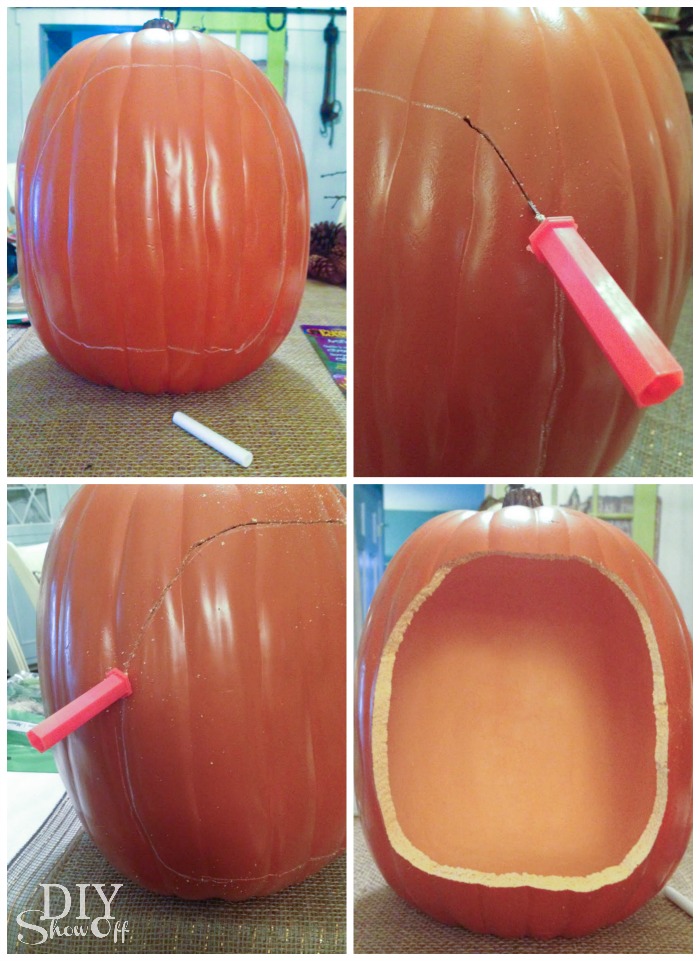
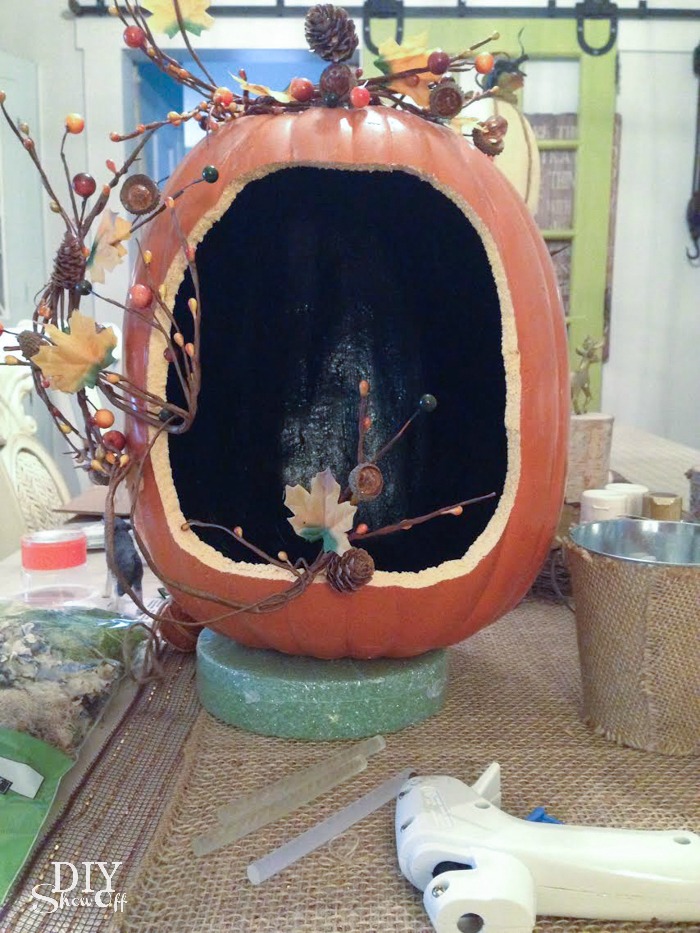
Using chalk, I drew a circular shape onto the front of my faux pumpkin, then cut out the shape using small carving tools. Then I cleaned the dust and pieces out of the pumpkin.

scenic faux pumpkin jackolantern tutorial @diyshowoff #trickyourpumpkin

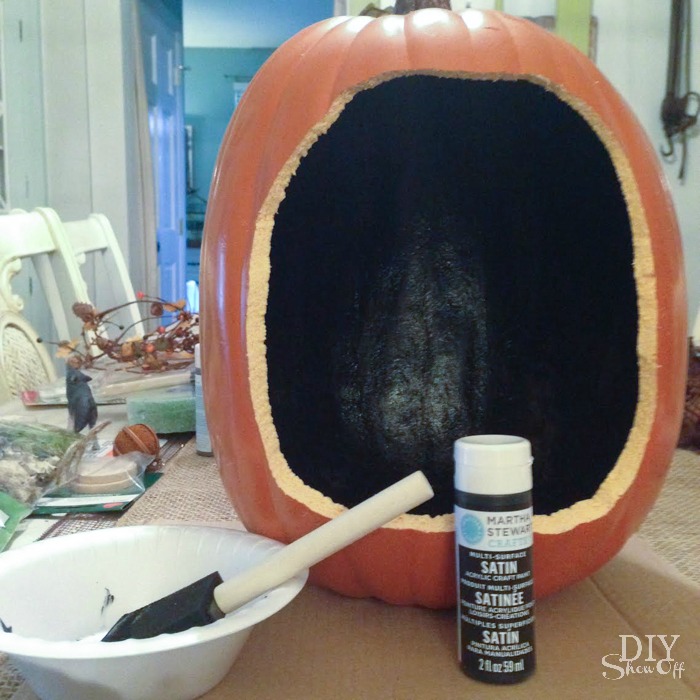
Using a foam paint brush, I painted the inside of my pumpkin black. I brushed on the dark glitter coat over top and let paint dry. 

scenic faux pumpkin jackolantern tutorial @diyshowoff #trickyourpumpkin

While the paint was drying inside, I attached a decorative fall garland with mini leaves and acorns to the outside using hot glue. 

scenic faux pumpkin jackolantern tutorial @diyshowoff #trickyourpumpkin

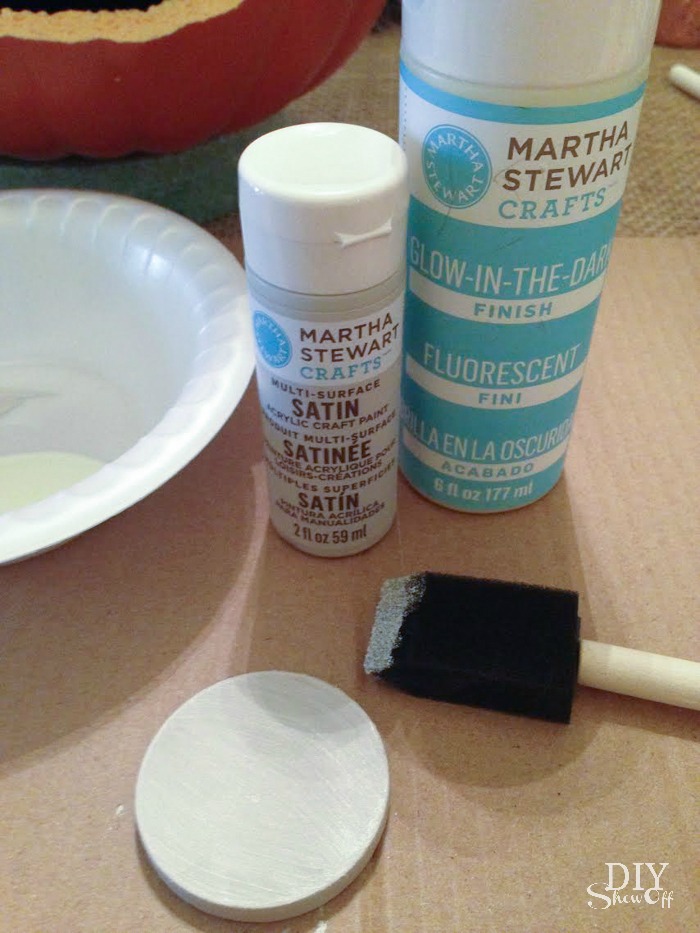
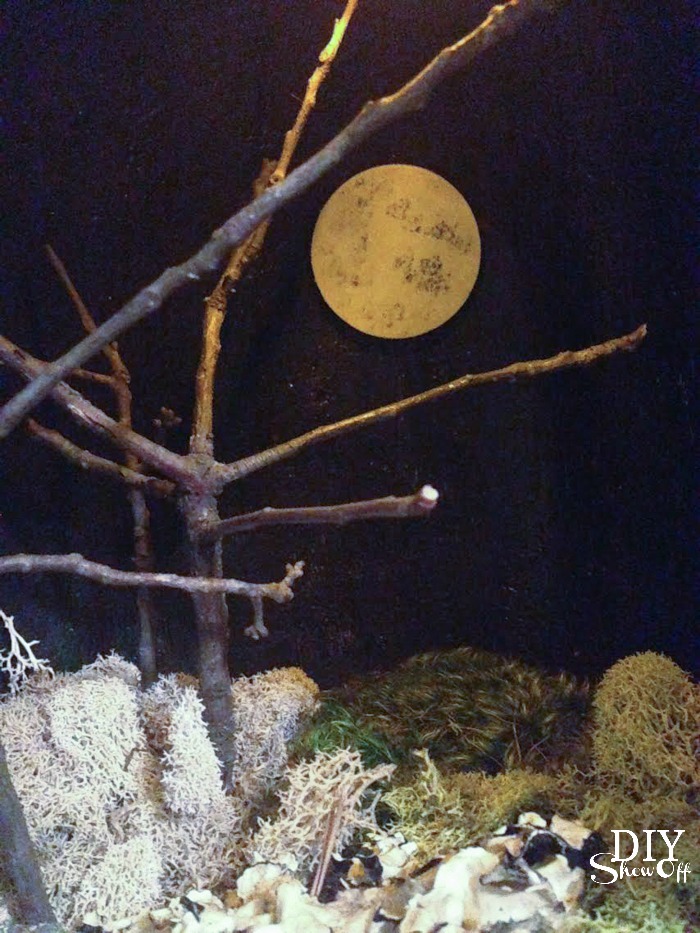
I painted the wooden disk white, followed by a coat of glow in the dark with a few ‘pounces’ of the dark glitter paint using my foam paint brush (not shown). Let dry. 

scenic faux pumpkin jackolantern tutorial @diyshowoff #trickyourpumpkin

I inserted the styrofoam disk into the bottom of the pumpkin. I left the plastic wrap on the styrofoam disk. Optional: I used some mini-pinecones to fill in the gaps along the sides.

scenic faux pumpkin jackolantern tutorial @diyshowoff #trickyourpumpkin

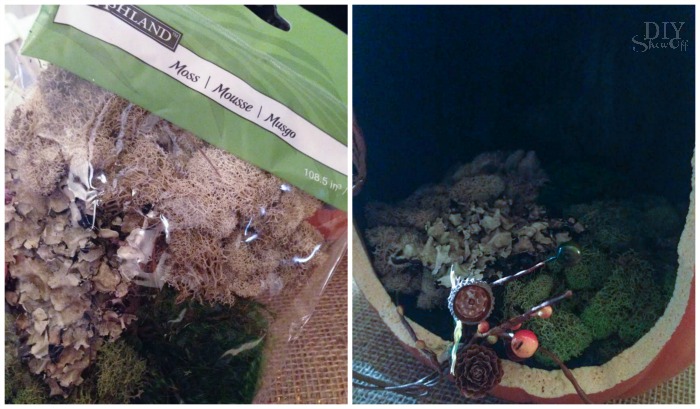
Then I topped it off with moss.  

scenic faux pumpkin jackolantern tutorial @diyshowoff #trickyourpumpkin

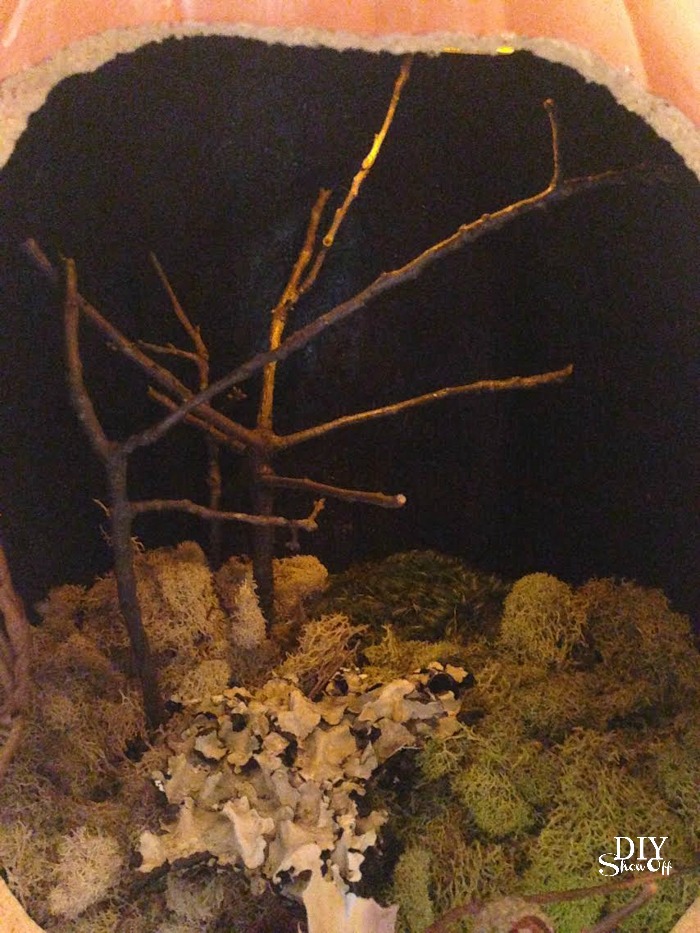
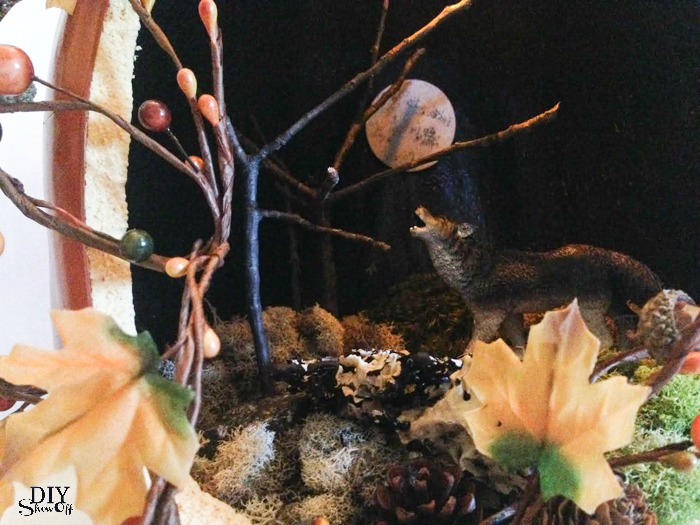
I carefully poked sticks (I found some in the yard that had sort of a ‘tree’ look) through the moss/styrofoam to create “trees”. 

scenic faux pumpkin jackolantern tutorial @diyshowoff #trickyourpumpkin

I then secured full moon to the back using hot glue. You could do this before adding the trees. I waited so I could decide the placement behind the trees.

scenic faux pumpkin jackolantern tutorial @diyshowoff #trickyourpumpkin

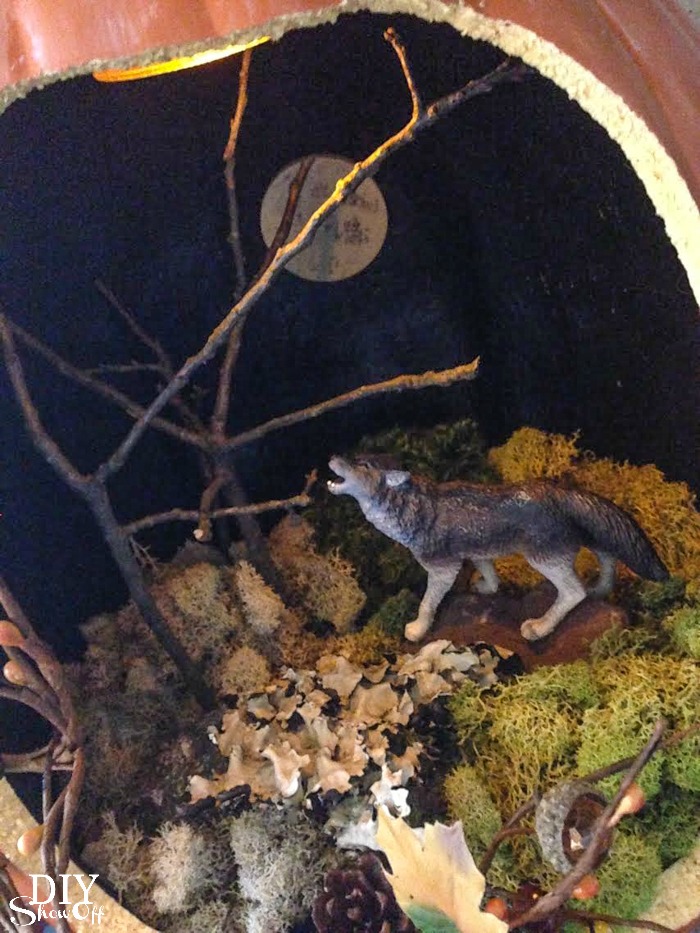
I added a piece of adhesive velcro to the back of the small battery operated light (don’t cover the on/off switch). It’s adhered to the “roof” of the pumpkin. The velcro attachment allows me to remove the light to turn if off and on. 

scenic faux pumpkin jackolantern tutorial @diyshowoff #trickyourpumpkin

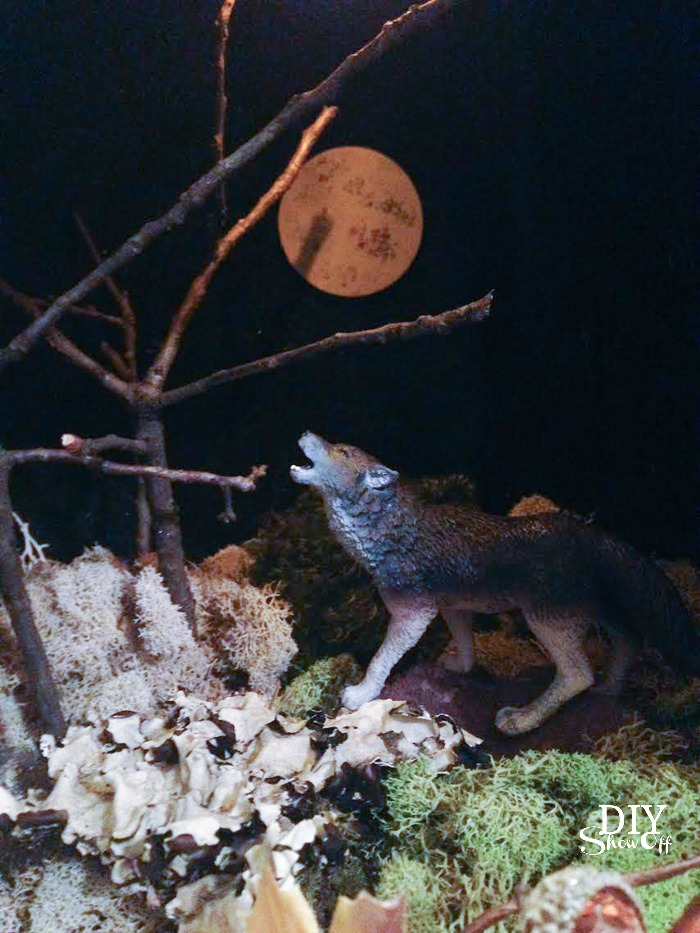
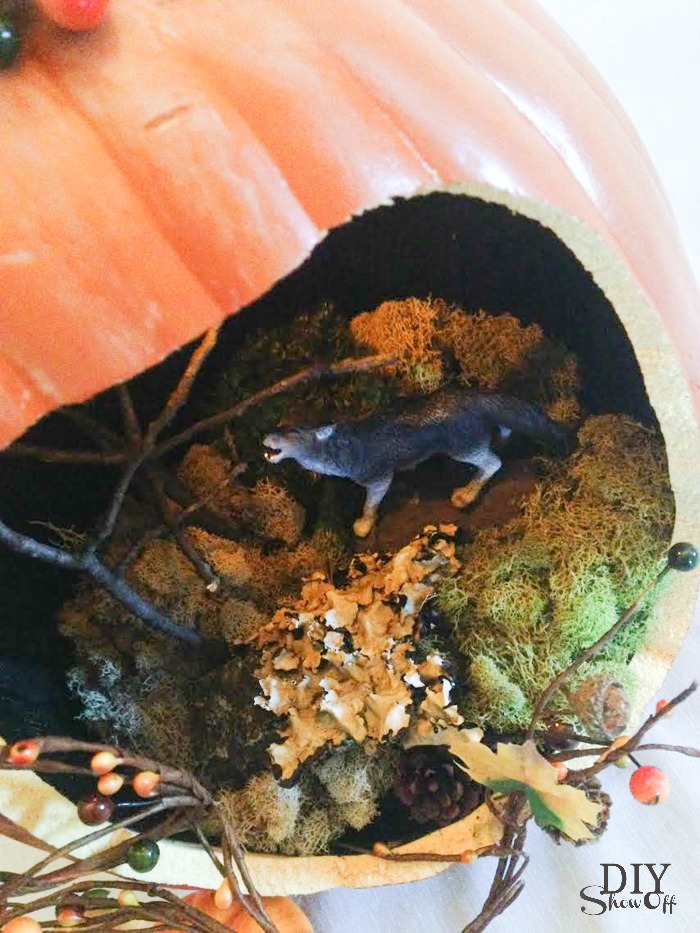
I finished it off by adding rocks and a wolf. 

scenic faux pumpkin jackolantern tutorial @diyshowoff #trickyourpumpkin scenic faux pumpkin jackolantern tutorial @diyshowoff #trickyourpumpkin

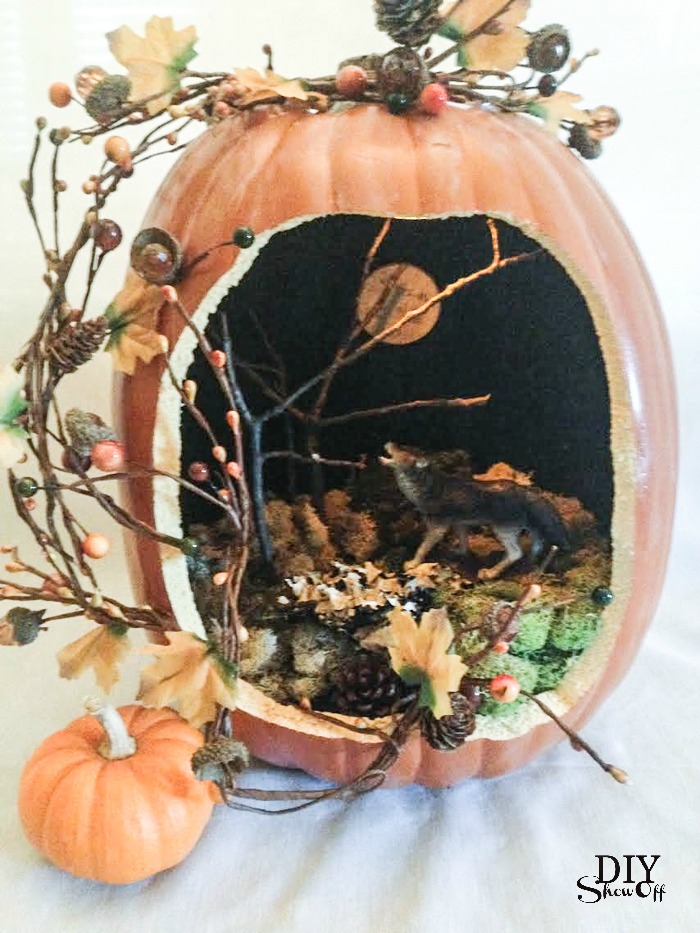
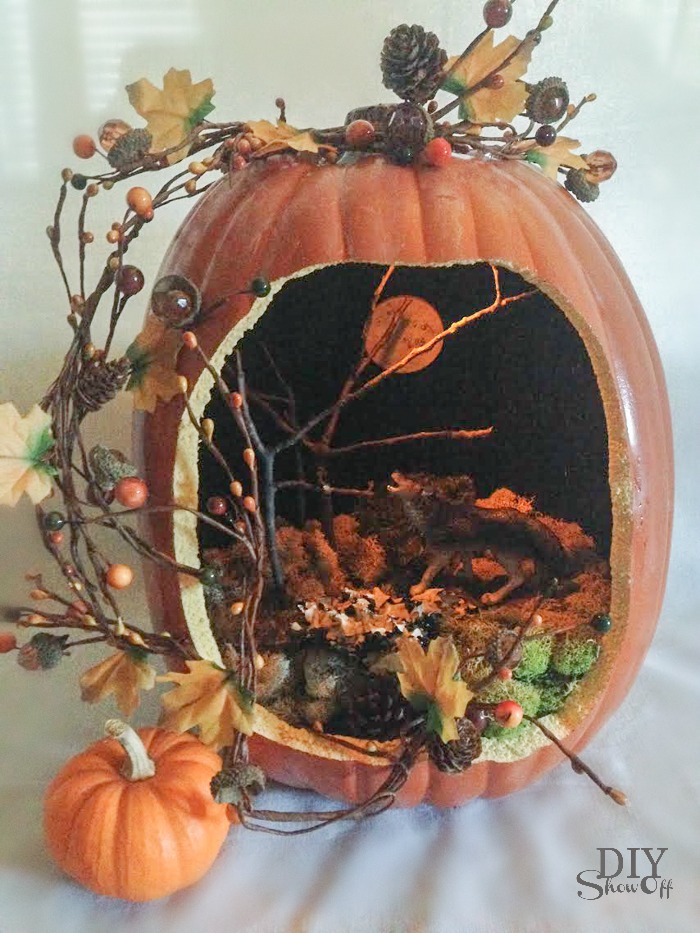
Display! Isn’t it fun? I’m going to raffle this one off at a local event but may just have to make one for myself too…maybe with a different scene: mini hale bales and a scarecrow or a ‘nevermore’ theme with ravens or a graveyard scene with tombstones. What about you? 

scenic faux pumpkin jackolantern tutorial @diyshowoff #trickyourpumpkin scenic faux pumpkin jackolantern tutorial @diyshowoff #trickyourpumpkin scenic faux pumpkin jackolantern tutorial @diyshowoff #trickyourpumpkin scenic faux pumpkin jackolantern tutorial @diyshowoff #trickyourpumpkin scenic faux pumpkin jackolantern tutorial @diyshowoff #trickyourpumpkin

#TrickYourPumpkin Sweepstakes

The Michaels social team is working on a #TrickYourPumpkin sweepstakes. Crafters just submit their pumpkin creations via Instagram any time between Oct. 4th through 31th, 2014 for a chance to win a $250 Michaels gift card and Plaid products each Friday throughout the month of October! What would you do with a $250 Michaels’ shopping spree?

Shop at Michaels

Michaels would love to see your pumpkin creation! Post your pumpkin project on Instagram (using #TrickYourPumpkin #sweepstakes and tagging @MichaelsStores). Simple! Good luck! 

scenic faux pumpkin jackolantern tutorial @diyshowoff #trickyourpumpkin


*I received a Michael’s gift card to complete this project. 

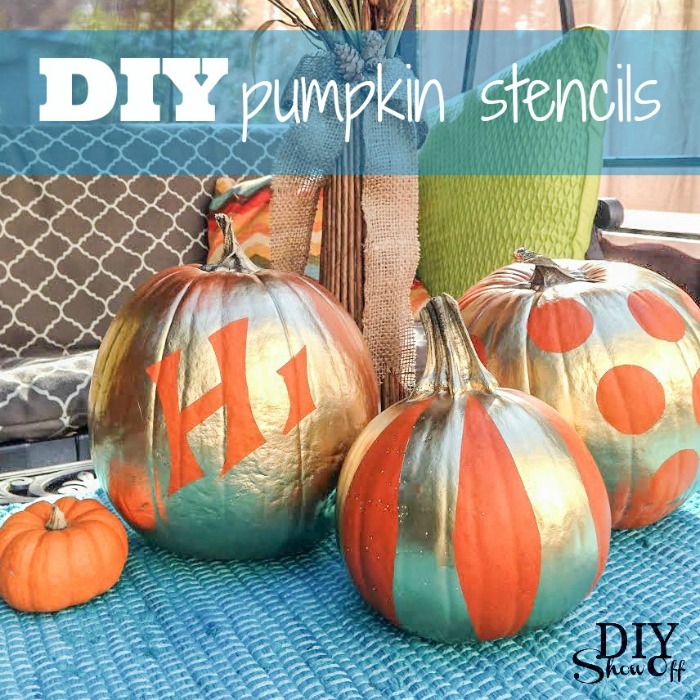
DIY Pumpkin Stencils

DIY Pumpkin Stencil Tutorial 

DIY pumpkin stencils at diyshowoff.com


Materials:

  • Pumpkins
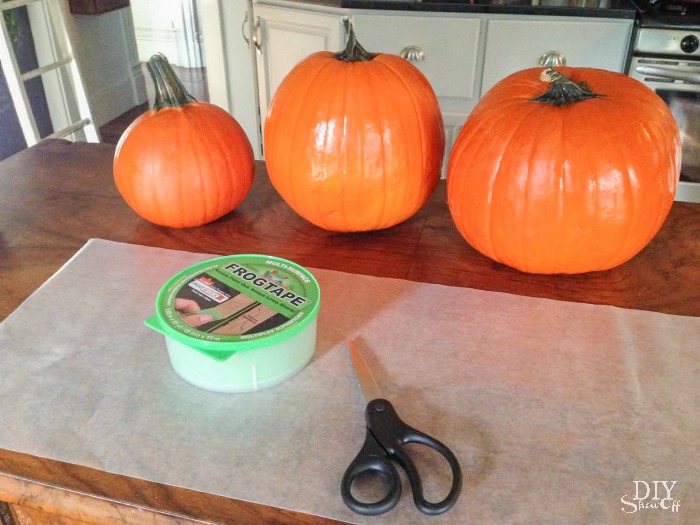
  • FrogTape® Multi-Surface
  • Wax paper
  • Spray Paint

DIY pumpkin stencils materials

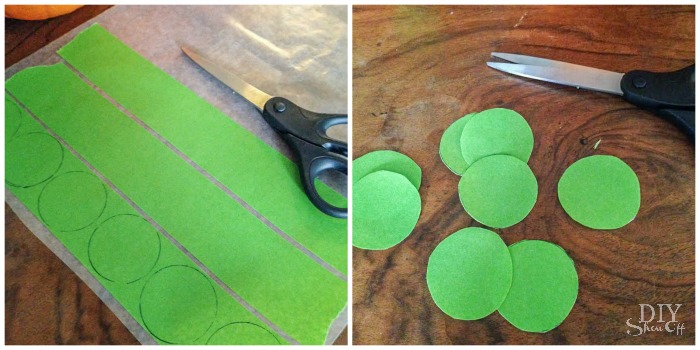
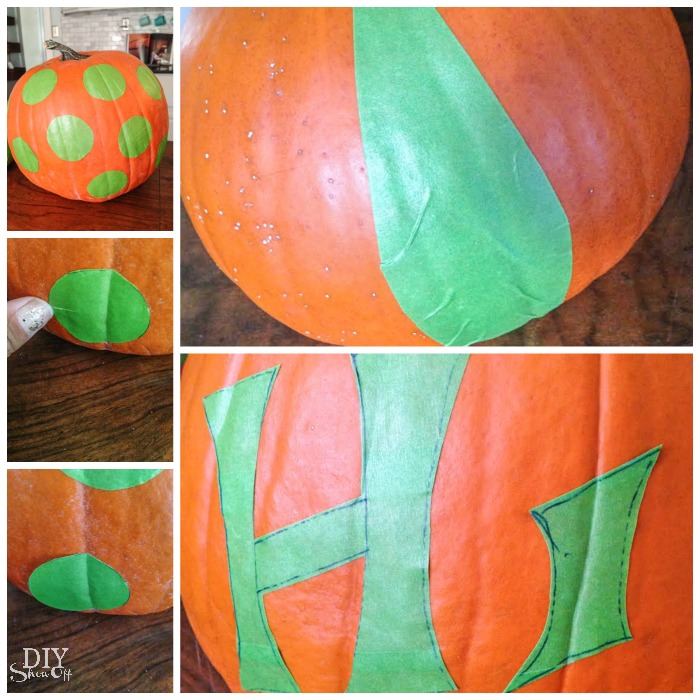
1. Adhere pieces of FrogTape to wax paper.

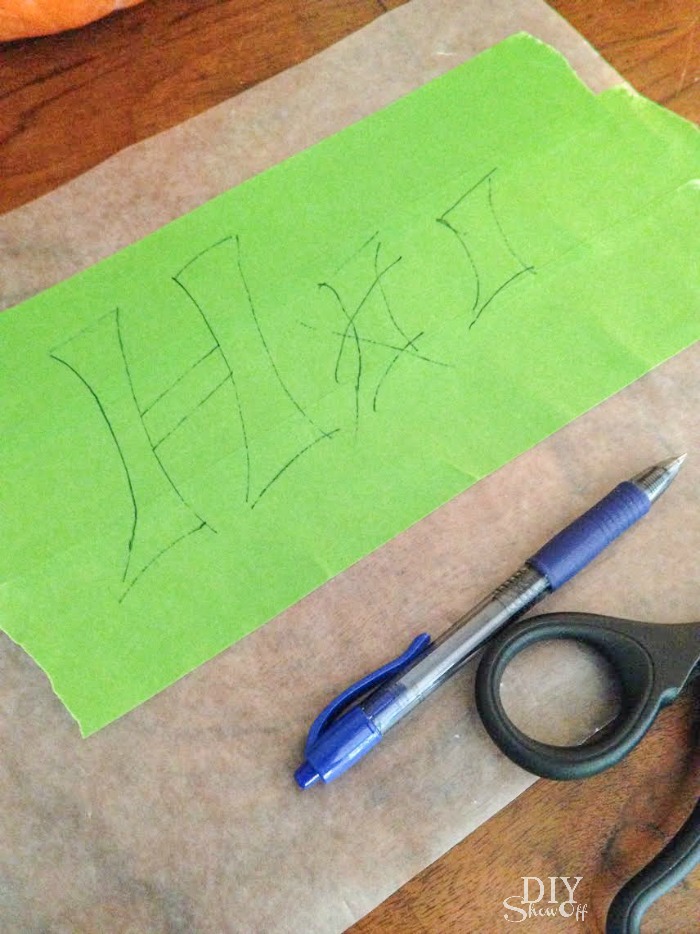
2. Using a pattern (I made mine from a piece of paper), freehand or by tracing shapes; create stickers. 

3. Cut out stencils. I folded a few of mine to create more.

FrogTape pumpkin stencil tutorial @diyshowoffDIY FrogTape stencils DIY pumpkin stencils with FrogTape at diyshowoff

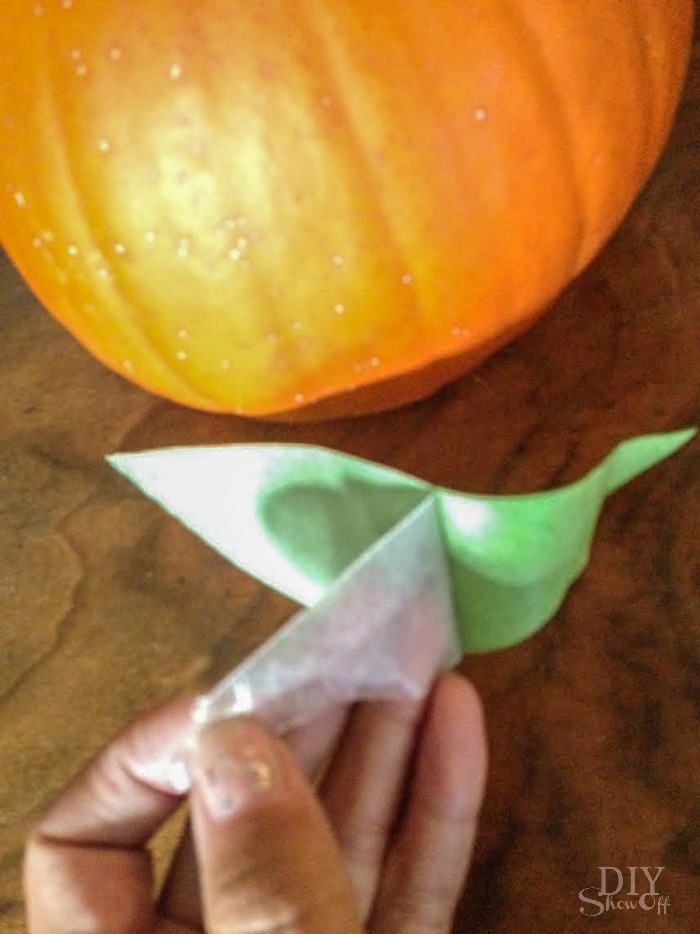
4. Remove wax paper backing and apply your DIY FrogTape stencils to the clean, dry surface of a pumpkin.

FrogTape pumpkin stencil tutorial @diyshowoff

5. Use your thumbnail to burnish the edges of the tape and to smooth out creases.

FrogTape pumpkin stencil tutorial @diyshowoff

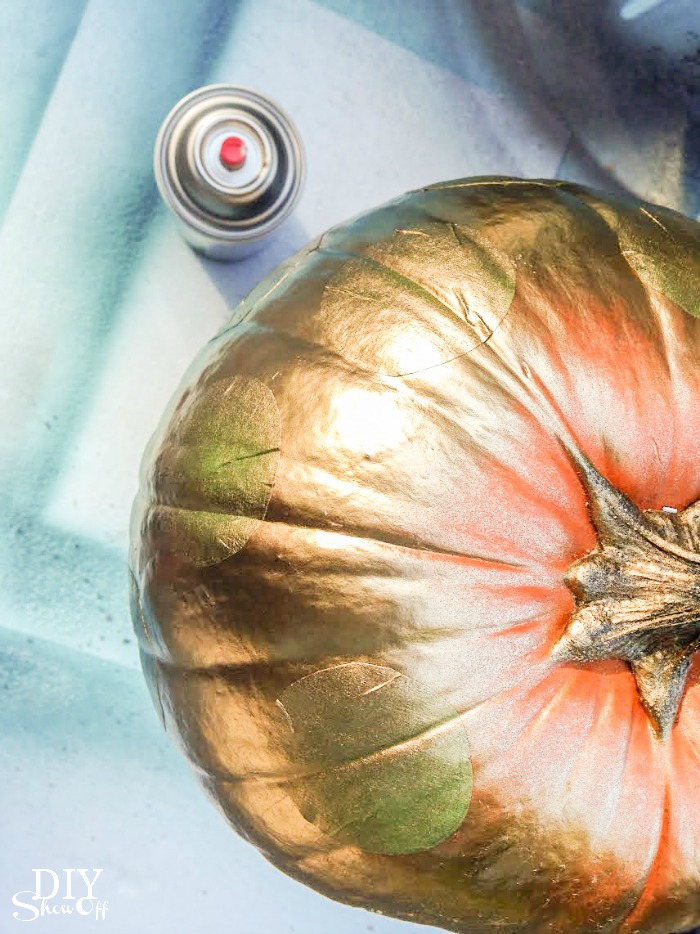
6. Tape off stem if desired. Spray paint pumpkin.

FrogTape pumpkin stencil tutorial @diyshowoff

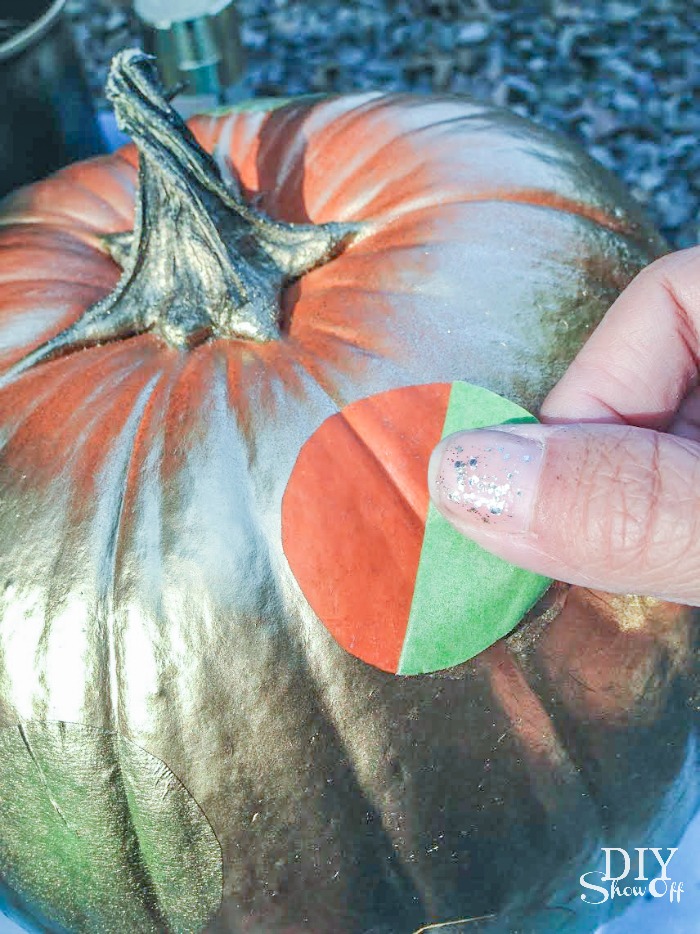
7. Paint dried really fast for me since I just did a light coat with some of the pumpkin showing through in most places. After just a few minutes, remove stickers/stencils. 

FrogTape pumpkin stencil tutorial @diyshowoff

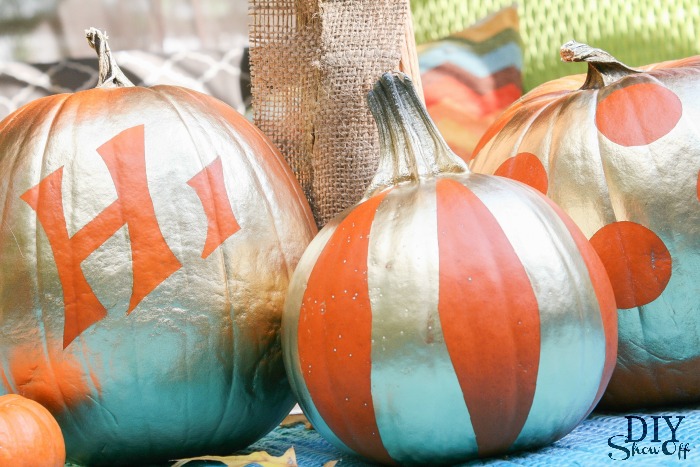
Display!

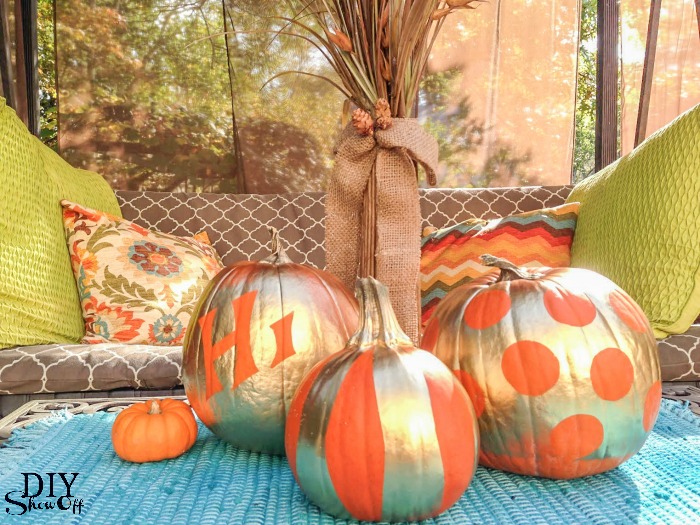
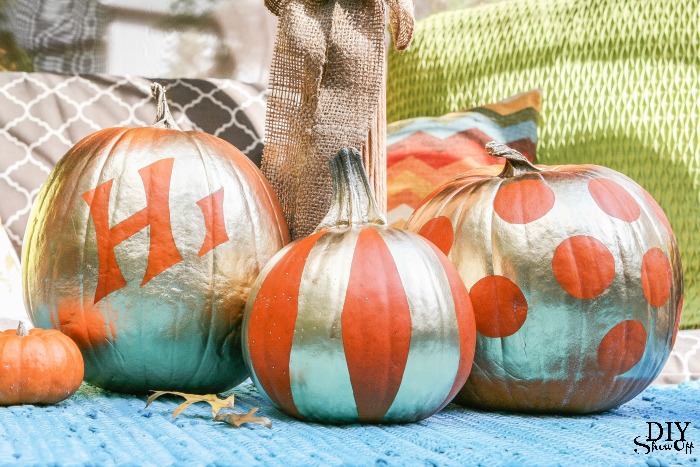
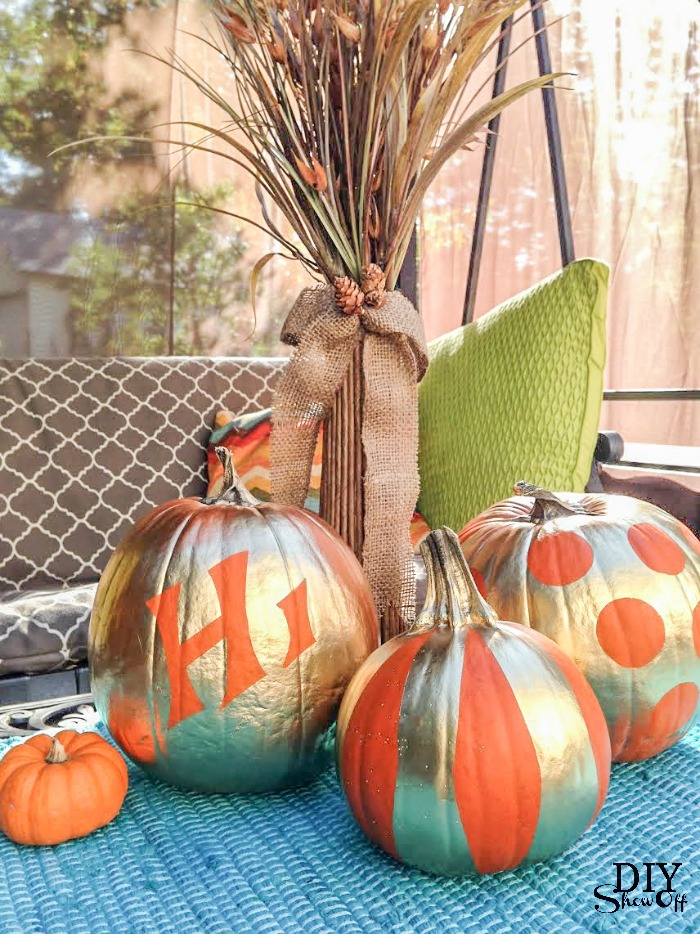
FrogTape pumpkin stencil tutorial @diyshowoffFrogTape pumpkin stencil tutorial @diyshowoffFrogTape pumpkin stencil tutorial @diyshowoffFrogTape pumpkin stencil tutorial @diyshowoff

FrogTape Blog Squad

Disclaimer: I received compensation to complete this project for using FrogTape® products. All opinions, projects and ideas are based on my own experience.

Thrifty Bathroom Counter Organizer


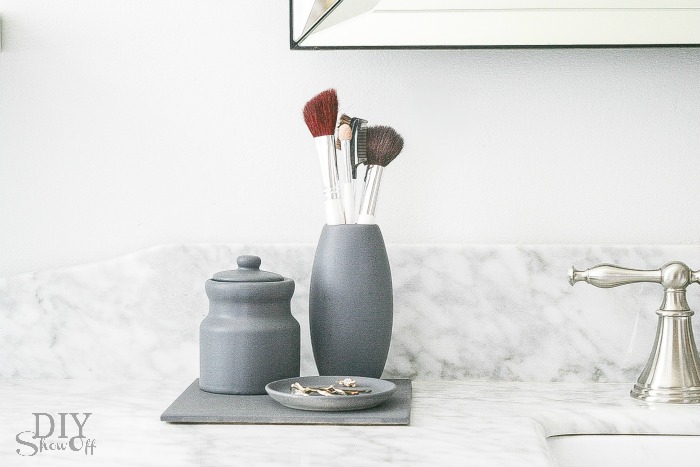
Thrifty bathroom counter organizer (this would be cute on a desktop in my home office too)…bathroom organizer at diyshowoff.com 

Materials:

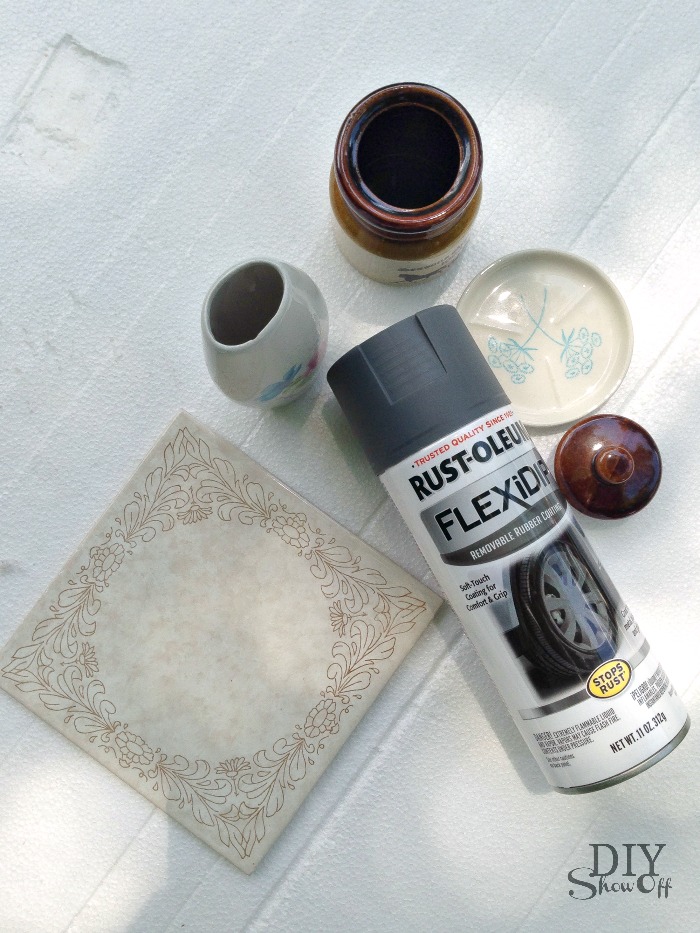
  • Thrift store scores: mismatched vase, ceramic jar with lid, tiny dish and tile trivet
  • RustOleum FlexiDip (removable rubber coating in gray) or spray paint

DIYShowOff bathroom counter organizer materials

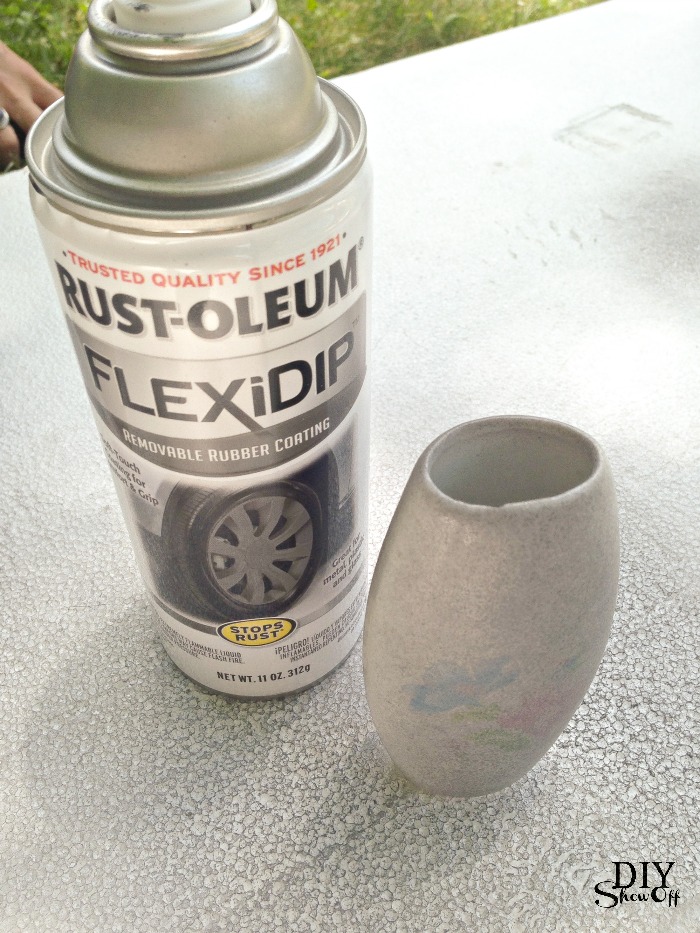
How to: Clean and dry ceramic pieces. Apply 4-6 light even coats allowing 5 minutes dry time between each coat. Let dry overnight. Optional: Glue pieces together with an epoxy glue. Rubber coating is removable (within three months) when adhered to plastic, metal and glass…pretty cool! 
DIYShowOff bathroom counter organizer materials

That’s it. I love the matte color, texture, that if I had used something ‘precious’, I’d be able to peel away the rubbing coating, and that it’s waterproof too. 

bathroom counter organization at diyshowoffbathroom organizer at diyshowoff.com

See the bathroom reveal here