Painted upholstered chairs – story of an unplanned DIY.
Does your DIY ever go like this: I started my day with big plans to finally sew the curtains in the family room. In order to do so, I needed to clean off the dining room table which was piled with boxes filled with ornaments and holiday decor and other junk from the shuffling around, rearranging and decorating {because of course the table in my craft room is piled high with an unorganized cluttered mess that also needs cleaned}.

Of course clearing the dining room table meant decorating for Christmas which lead me to the room right off the dining room that we’re currently calling the “sitting room”. So, in order to sew curtains for the family room, I had to clean the dining room which meant decorating the sitting room and in there were these chairs.
These $6 thrift store chairs. I loved the color and pattern. But I have had a difficult time with orange, fuchsia and olive green colors. Love them. But they don’t work in our home. I gave them a chance, but not even in our eclectic home. I considered slipcovers but I am decorating this room right now. No materials or time for slipcovers.
{before}

And I had the brilliant idea to paint them. Right then. That minute.
I had seen the upholstery painting tutorial at Hyphen Interiors in 2011. Loved it. Left an impression. Very inspiring.
I also knew I had most materials on hand. Paint! Everything except the fabric medium. I’ve looked at the bottles for sale at Michael’s in the past {for painted curtains} and knew they weren’t cheap. I was also still in my pajamas and on a mission. Sewing curtains, remember?! But these multi-colored chairs were an obstacle.
DIY girls thoughts: No fabric medium. No budget. No desire to run to the store. Lots of leftover latex paint. The only one who really sits in these chairs is the cat. So for now…if painting doesn’t go right, I can still slip cover them at a later date. GO FOR IT!
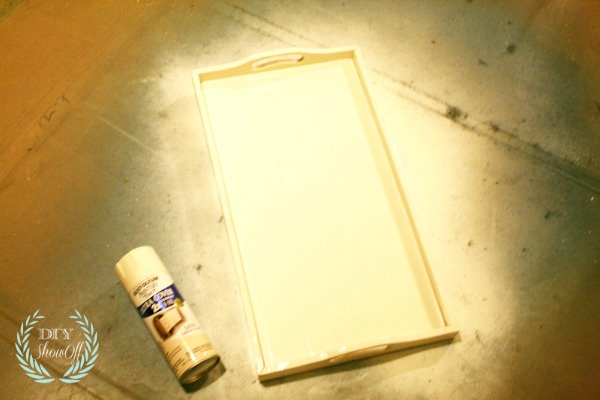
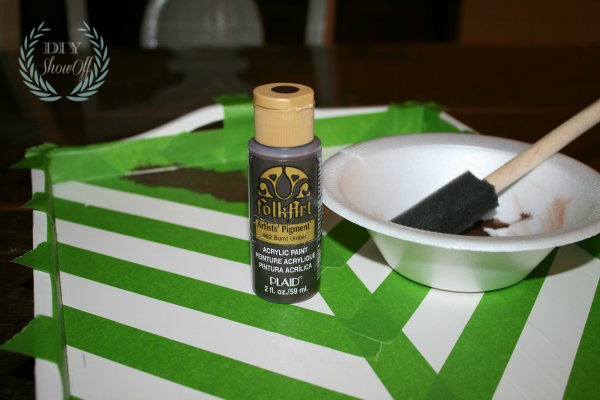
I found a left over can of Ralph Lauren paint that I hated working with as it was super watery. Perfect! I watered it down even further with water. I didn’t measure, just created a consistency that was still able to hold to the paint brush but watery enough to be absorbed into the textured fabric of the chairs. I used a 2.5 inchPurdy brush.
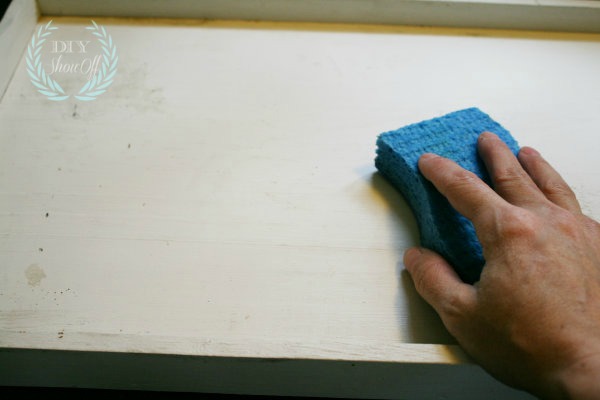
I gave the chairs a good cleaning, getting up all of the cat hair (FrogTape works great as a cat fur remover).
And I just started painting. My mixture of latex and water had amazing coverage.
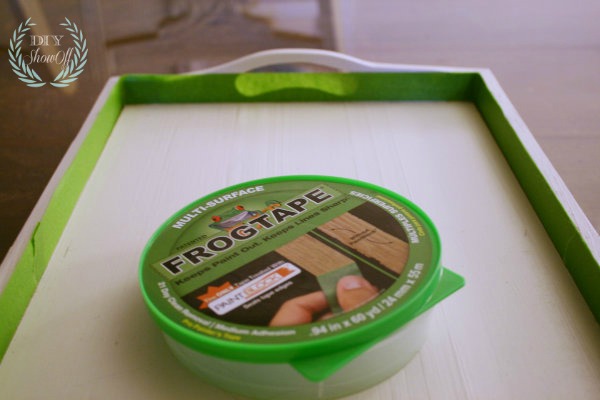
I also taped off the legs using FrogTape.

Sometimes I had to swirl the brush for coverage, then followed up with a straight brush stroke.

And worked my way along the bottom edges, up the side, around the back, in the creases of the attached cushions and finished by painting the seat back and cushion.

I took a few breaks and a bigger one between the painting the two chairs. The Paintbrush Cover was perfect for keeping my paintbrush from drying out. It creates an airtight seal during usage. Simply place the brush in the cover and close the lid. After my break, I simply opened the cover, removed my brush. It was like I never stopped painting! {Thanks to Salvatore of the Paintbrush Cover for the gift…definitely something that’s going to get a lot of use around here. If you paint a lot…visit the link above to purchase a few for yourself. Definitely useful and convenient! 2 must have DIY paint tools to have on hand: FrogTape and the Paintbrush Cover.}

One coat. It dried fairly fast. I removed the FrogTape which perfectly protected the wooden legs. Who even noticed those pretty legs with that crazy printed fabric before? Discovery: She has legs with beautiful carved detail!

The texture which was lost in the busy pattern…
before

now shows the quilted pattern with a solid color…
after

SO PRETTY!
And before you ask, yes…without the fabric medium, my chairs are rough. They have a vinyl look and feel. Since the paint is watered down…it’s not going to crack or chip or anything. The paint is absorbed into the fabric. I would recommend NOT skipping the fabric medium and to use the recipe shared by Hyphen Interiors. However…if you find yourself in a DIY emergency like me and aren’t particular about a sort of vinyl look/feel. And you have to do something or your entire Christmas decorating is going to be a big fail and you’ll never move on to the project that you planned to complete in the first place…I must tell you, I love these chairs now. Forget the slipcovers.
I knew I wanted to do more than just have a set of solid light grey chairs. My inspiration:
Serena & Lily Bark Miramar Racing Stripe Chair

Of course I know that my chairs aren’t the same shape. They’re slender girls with long legs. But that stripe. I love that stripe. Not quite a knock off or copy cat project, but it’s what inspired my next steps…
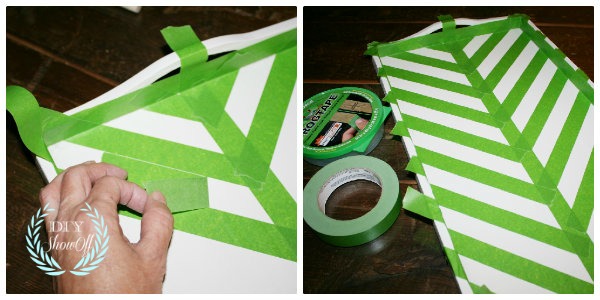
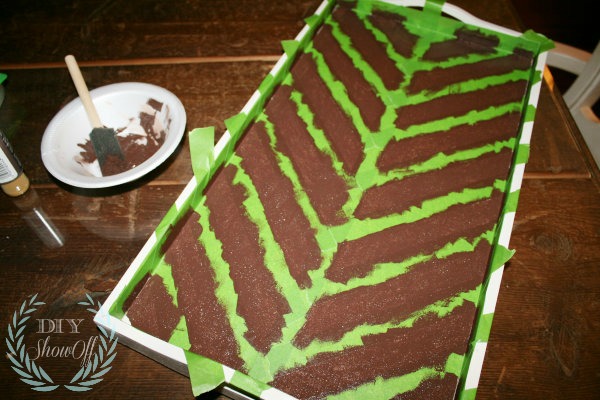
I found the center of the chair and using FrogTape, created a stripe down the middle. I was sure to burnish the edges where the tape would meet paint. And using leftover {watered down} brown latex paint, I painted in my stripes from bottom of the front of the chair, over the cushion, up seat back and down the back of the chair.

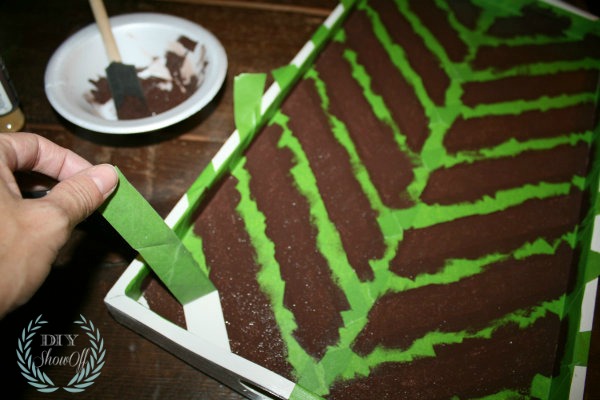
I removed the FrogTape while the paint was still wet, pulling away from the wet paint. I did take a wet paper towel to carefully wipe away wet paint where a tiny bit seeped under the tape due to the texture of the fabric. See – it’s a good thing I have that vinyl-ish finish!

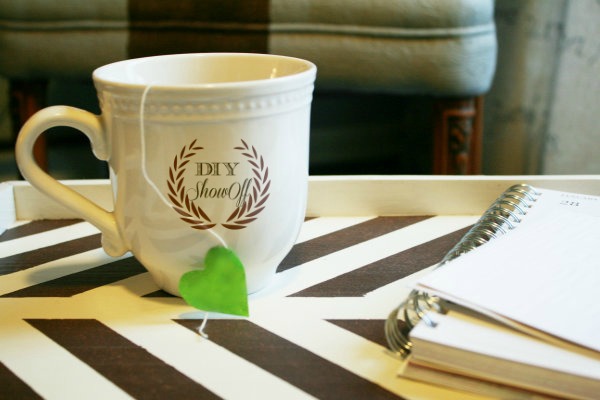
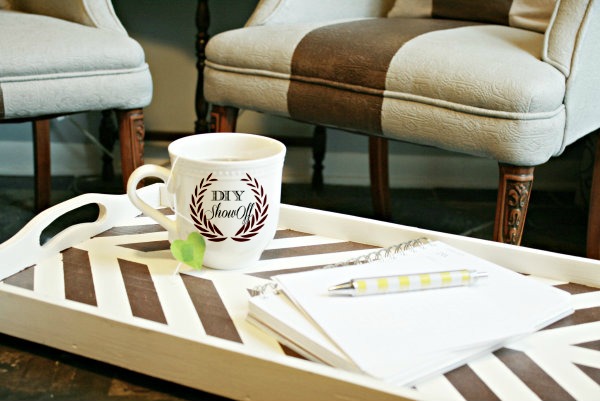
Amazing transformation, right? Love it!

Now I’m happy with my $6 chairs.And I was able to decorate the sitting room for Christmas.
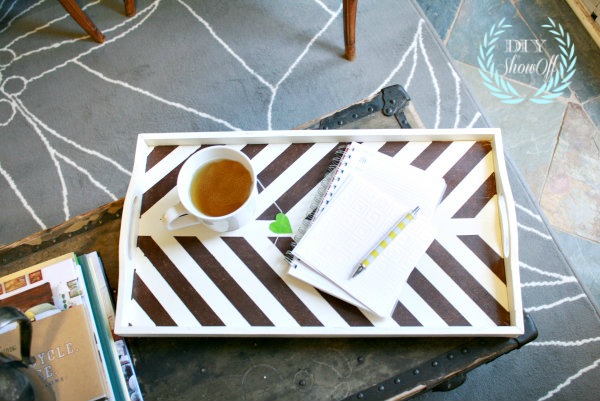
See more Painted Upholstery Chair pictures in the sitting room mini makeover.

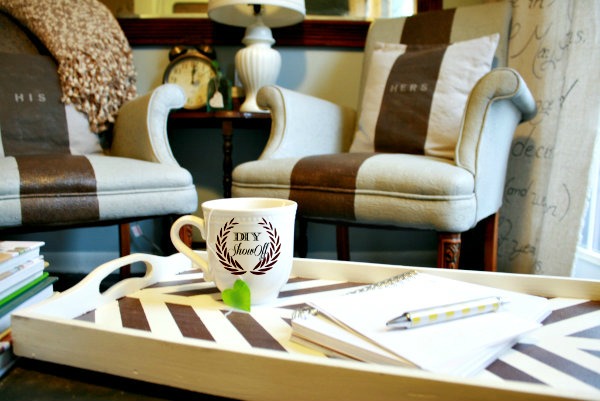
His & Hers painted pillow covers

{tutorial}

I was able to get the dining room table cleared off and decorated and the clutter put away. (okay…for real, some of that was shifted to the craft room table which is dangerously close to an avalanche. Shhhh!)
I still haven’t sewn 6 of the 8 family room curtain panels. {Remember the no sew ruffled ombre tree skirt and the sewing machine being at the repair shop? One of these days I’ll get those curtains done. You don’t remember that I’ve had the fabric since June, do you?}
Perhaps another day, I’ll have a DIY plan that will go according to plan.
Joining the party here:
 Beneath My Heart
Don’t miss a thing!


*This is a sponsored post brought to you by FrogTape. The opinions are completely my own based on my experience. Results may vary.