Lamp Makeover
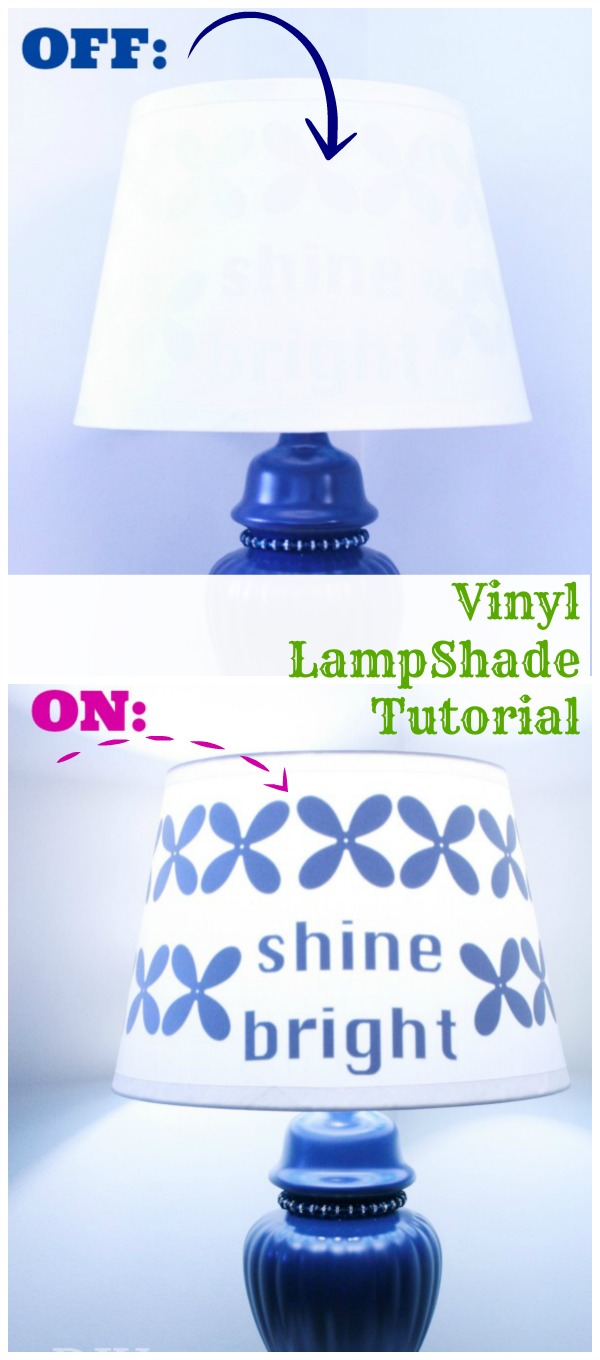
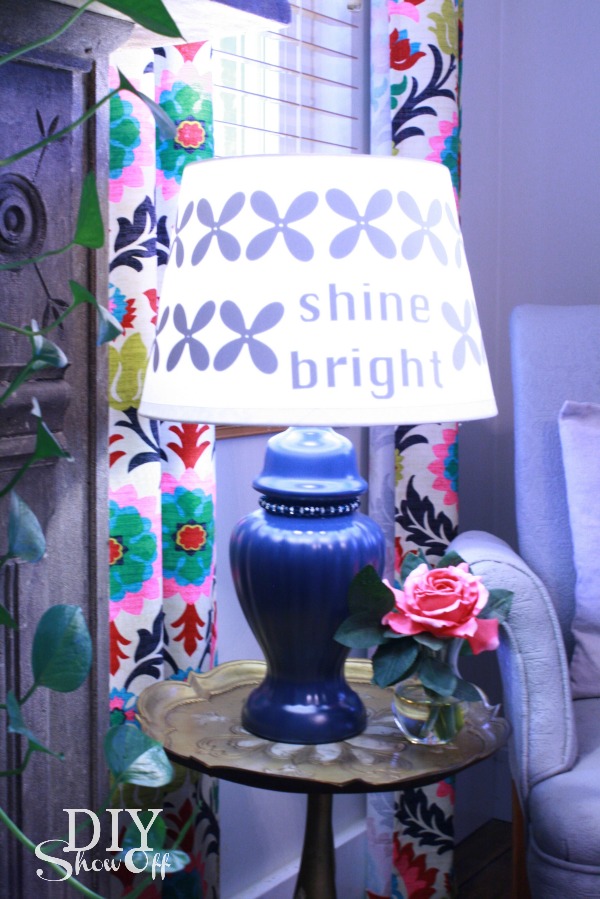
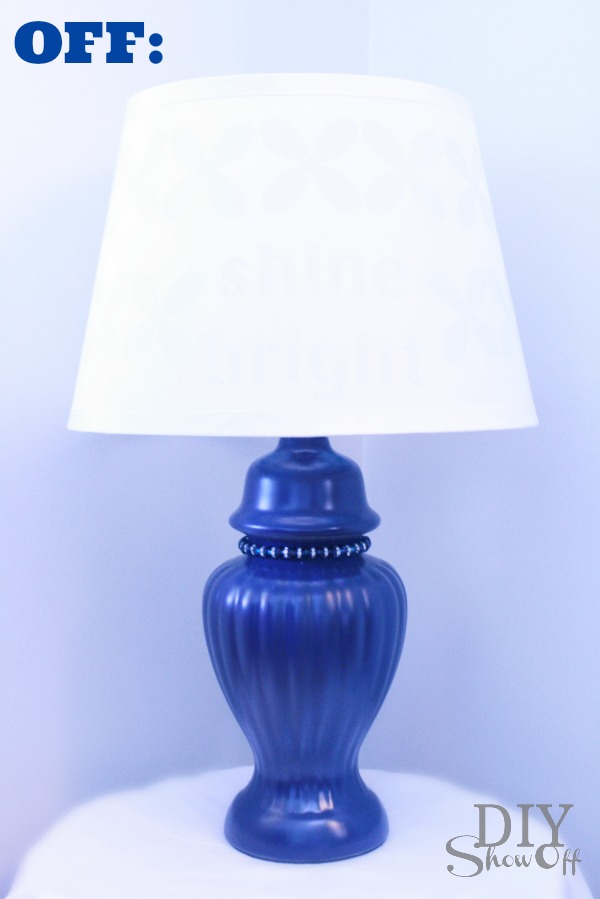
Plain white lamp shades are the perfect clean slate for adding a little DIY color and pattern to a room. I used vinyl on the inside of my shade to make it a little more special. When the lamp is turned off, the design is subtle, almost invisible but when the lamp is turned on, there’s a sweet little reminder to “shine bright”.
Materials I used:
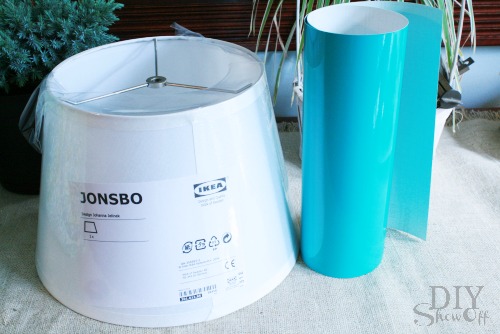
- old lamp
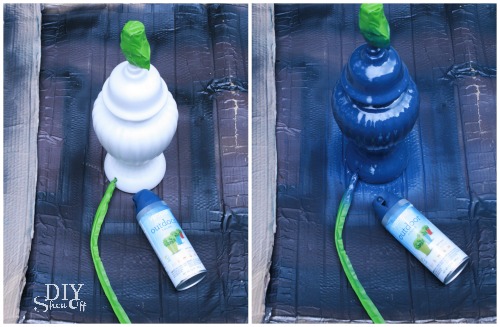
- FrogTape® Multi-surface
- spray paint (Valspar Indigo)
- Ikea Jonsbo lamp shade
- Glossy adhesive vinyl (turquoise) from Happy Crafters
- optional: elastic gemstone bracelet
Tools: Silhouette Cameo
How I did it:
After taping off the light socket and cord using FrogTape®, I spray painted my old lamp a pretty navy and let it dry. Then simply removed the FrogTape to reveal a nice clean cord and nice clean switch and socket.
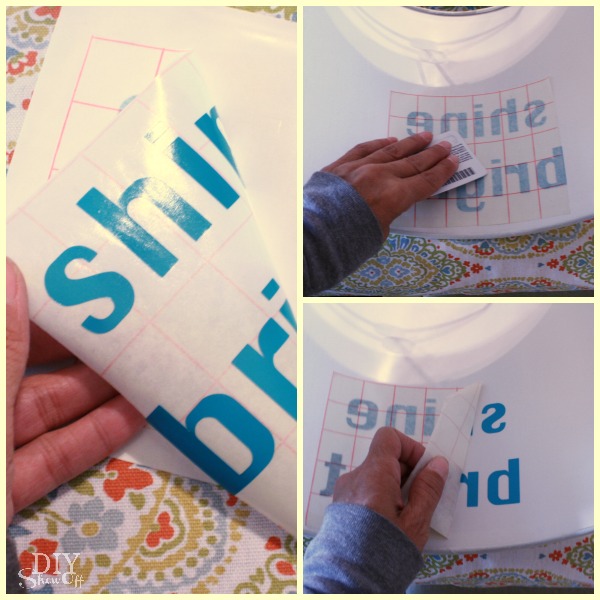
For the vinyl wording: I created my lettering in the Silhouette Design Studio. Be sure to right click the text when finished and “flip horizontally” so it shows backwards. IMPORTANT: MIRROR IMAGE the TEXT!
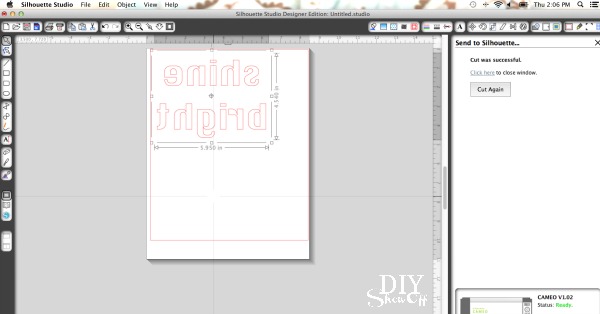
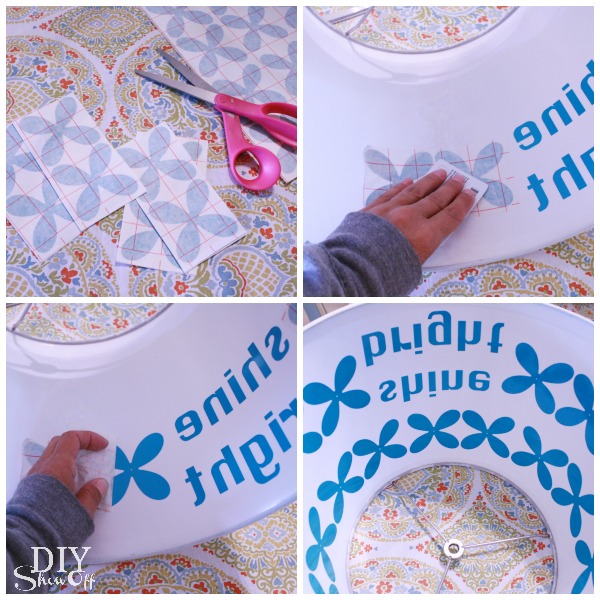
I also used a flower garland shape for my design in addition to “shine bright”.
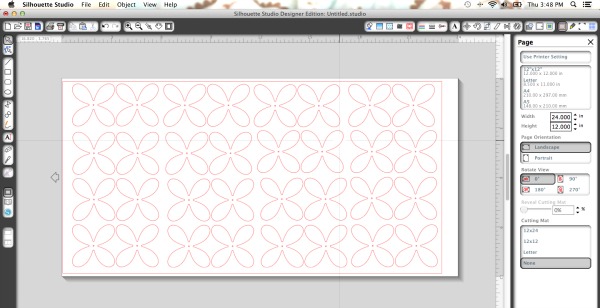
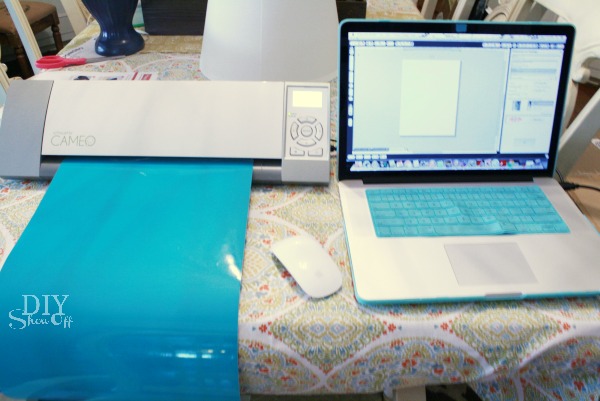
I sent both to my Silhouette Cameo to “cut” once I adjusted my settings for vinyl. If you don’t have a vinyl cutter, you could also use vinyl decals if the design looks the same backwards (remember: text must be flipped horizontal/mirror image for this project).
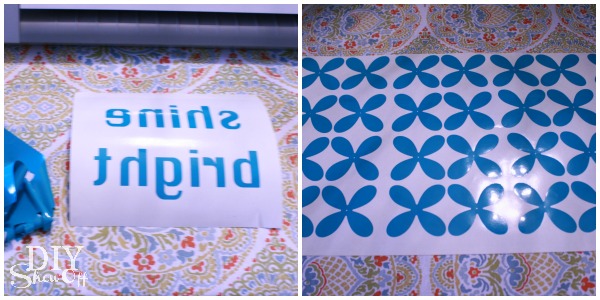
I then removed all of the unnecessary vinyl from my designs by weeding away the vinyl that isn’t a part of the design…
and added the transfer paper.
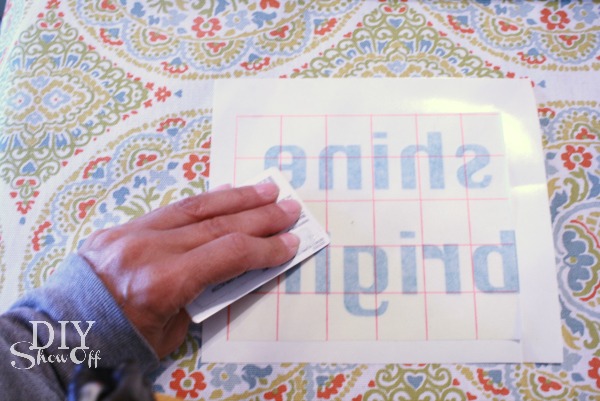
I removed the waxpaper backing and placed my designs on the inside of the lamp shade. I used a credit card to rub down the design for transferring. Then I removed the transfer paper.
Note: I found cutting and adding my flower design in sections of two to be the best way with the rounded/tapered lamp shade. Keep vinyl pieces individual/smaller sized to go around the curved lampshade to prevent wrinkling when applying.
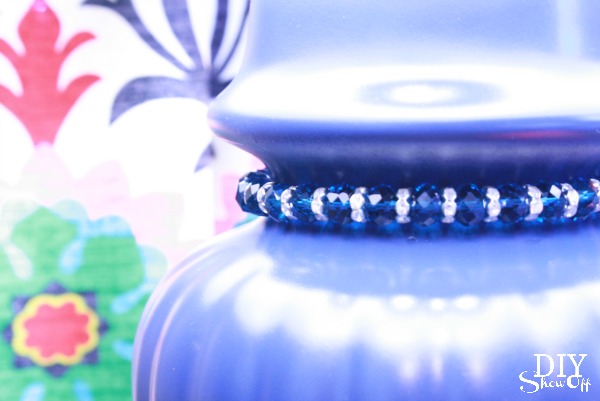
I added the turquoise bracelet for a little additional bling.
Here’s a shot of the inside and outside. I do love how the turquoise vinyl lettering on the inside shows navy-ish on the outside. I couldn’t have planned that better if I tried!
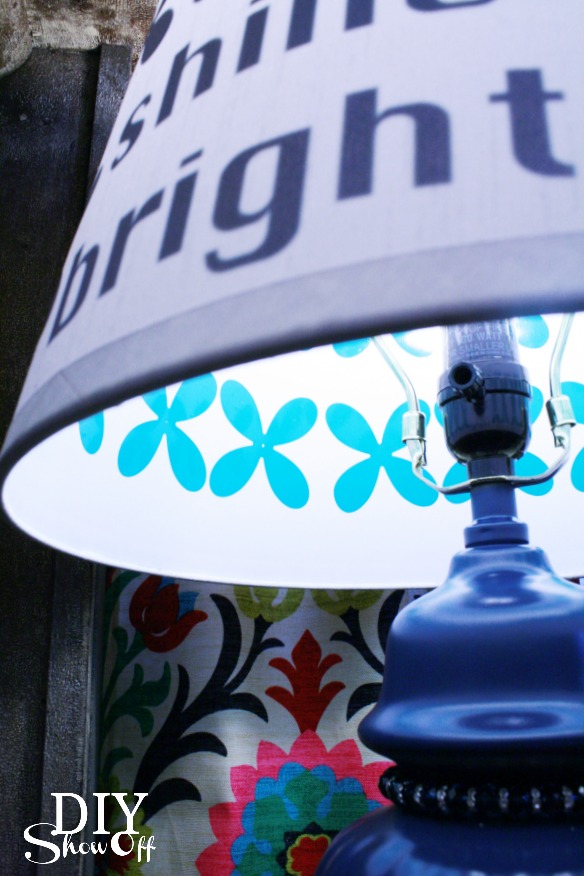
It’s perfect on a side table in our family room for a little extra reading light…
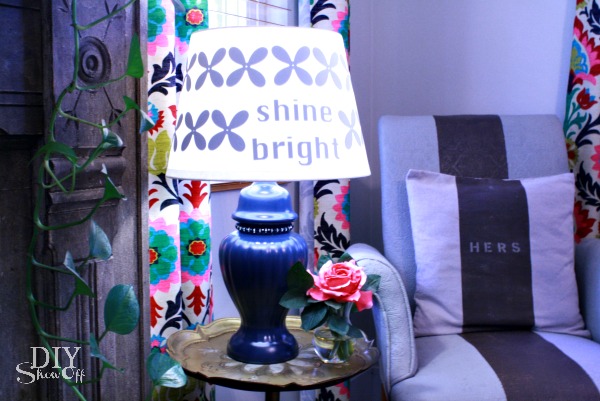
Lamp off…
Lamp on…
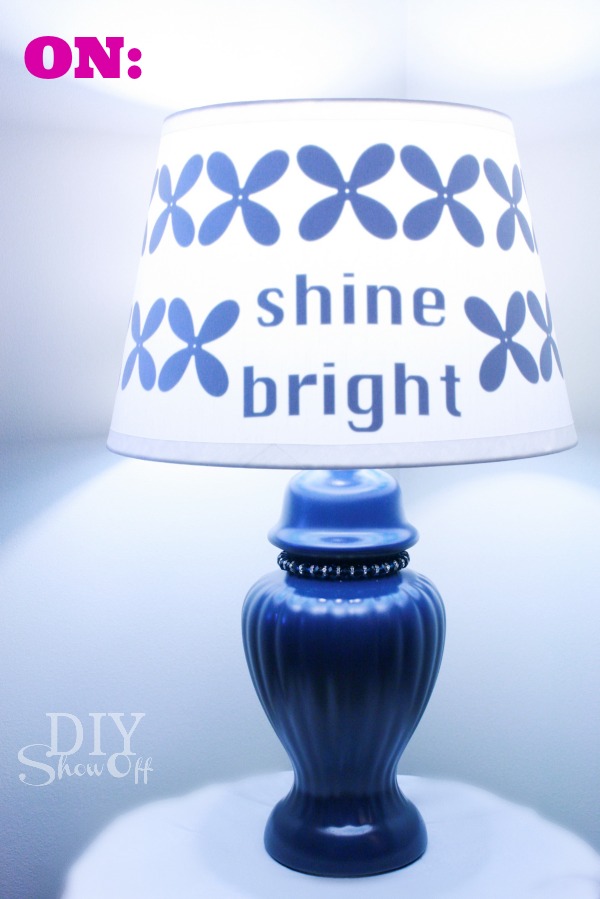
NEAT! Love it! I also thought “Note to self: Relax.”, a monogram or a damask pattern would have been pretty. What would your lamp shade say?
 *This is sponsored by FrogTape®. FrogTape provided by Shurtech. The opinions are completely my own based on my own experience.
Happy Crafters supplied the vinyl for this sponsored blog post.





 *This is sponsored by