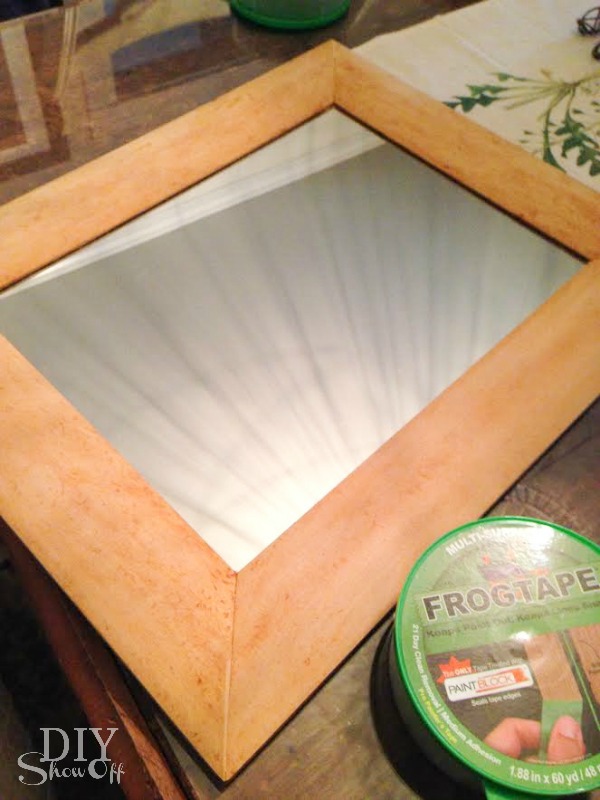
Thrift store jackpot! Well, a great deal, at least! I snagged this mirror at the thrift store for $2.99. Original TJMaxx sticker is marked 19.99. Great price, sort of zzzzz.
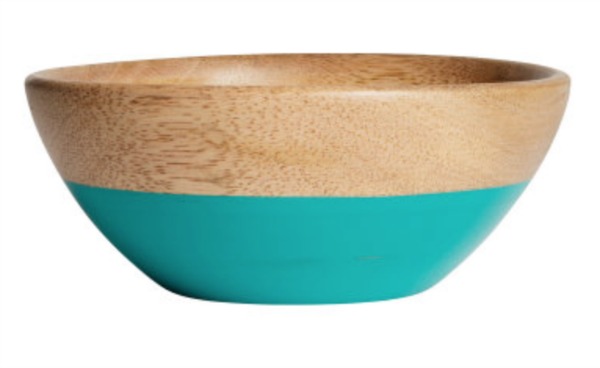
Inspiration comes in many forms. For this mirror and the light wood finish, my inspiration came from this wood and turquoise bowl at H&M:
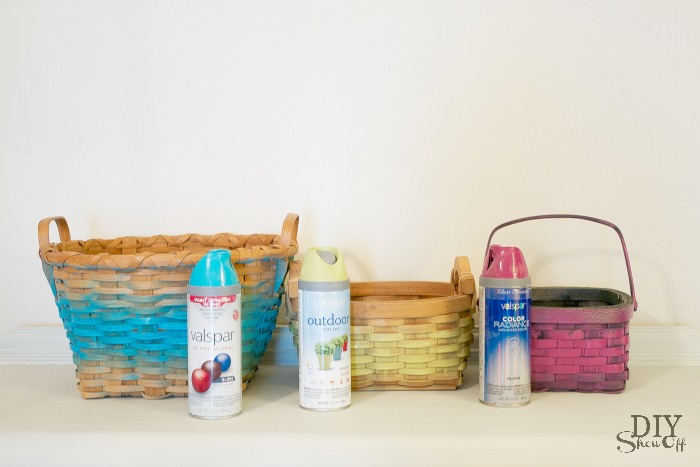
Materials:
- Mirror
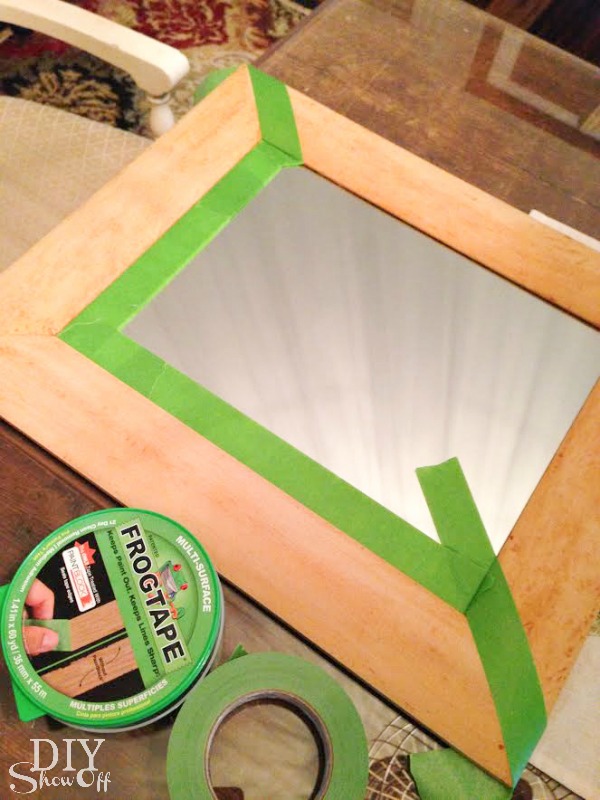
- FrogTape®
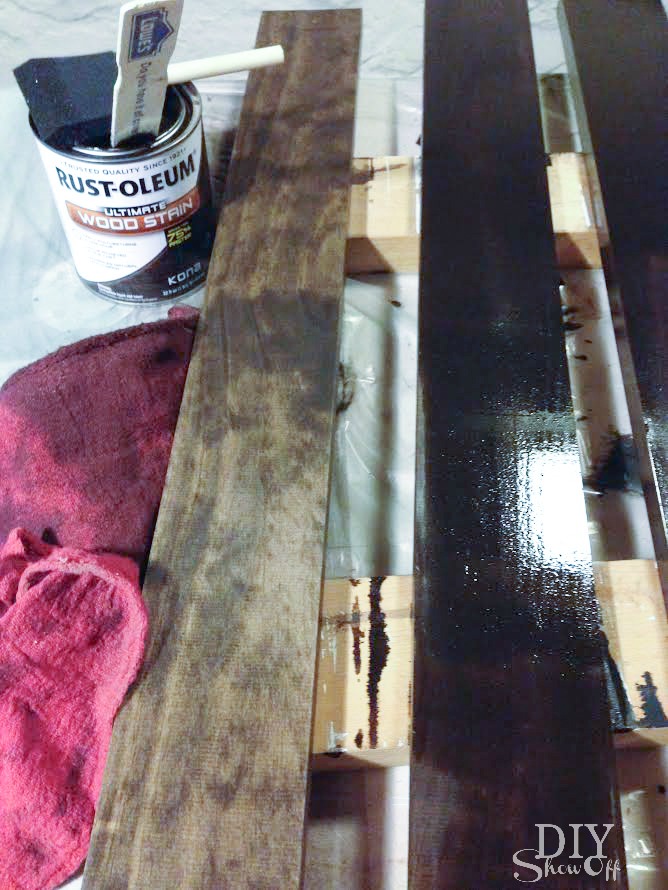
- Paint (I used Maison Blanche Furniture Paint. Color is colette.)
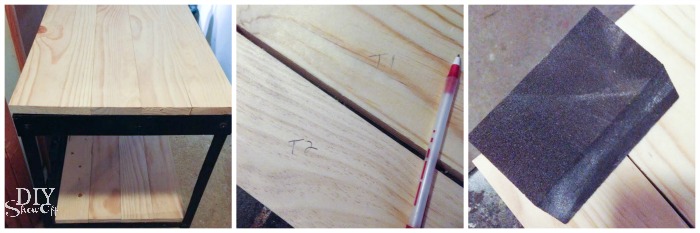
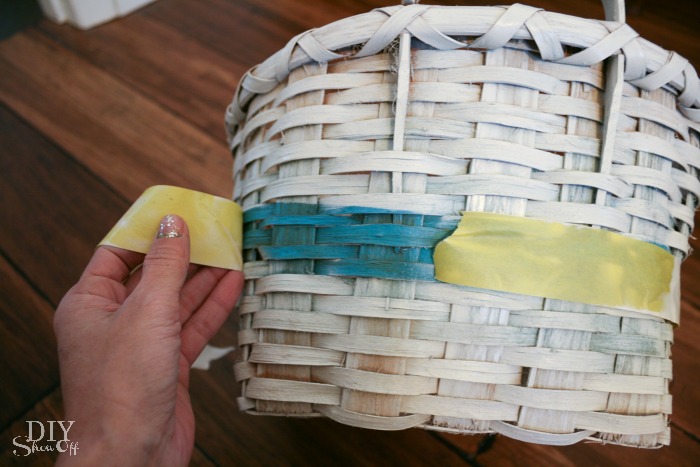
Tutorial:
Tape off the mirror. I also taped diagonal at the top right and bottom left mitered joints.
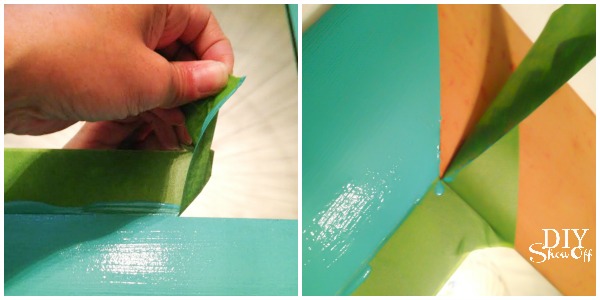
Burnish the edges of the tape using thumbnail.
Paint. I used a foam brush to apply two coats.

While paint is still wet, remove tape by pulling away from the paint.
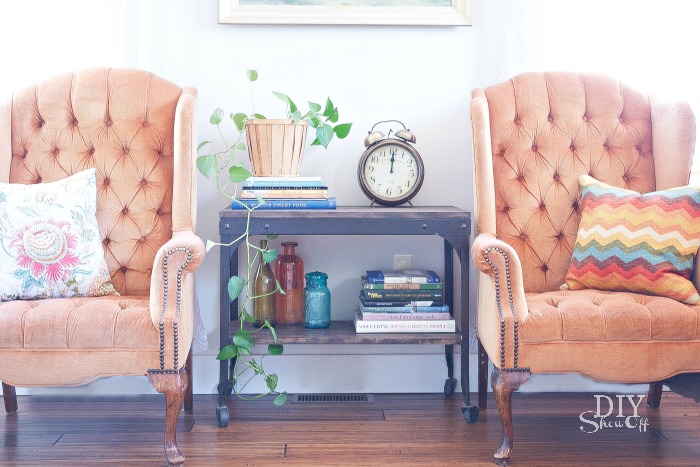
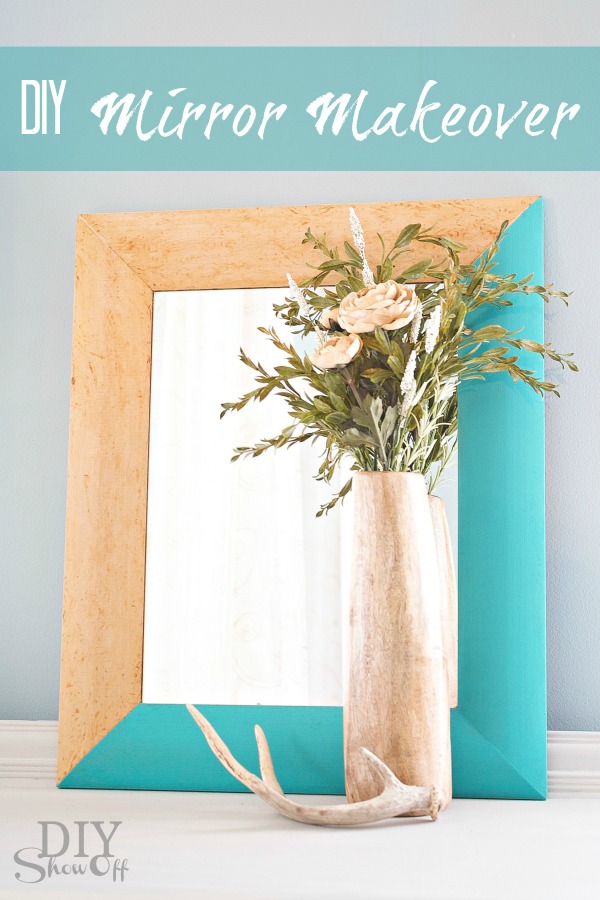
Let dry. Ready to hang and display.
Inspiration:
Wood & Turquoise Mirror Makeover:
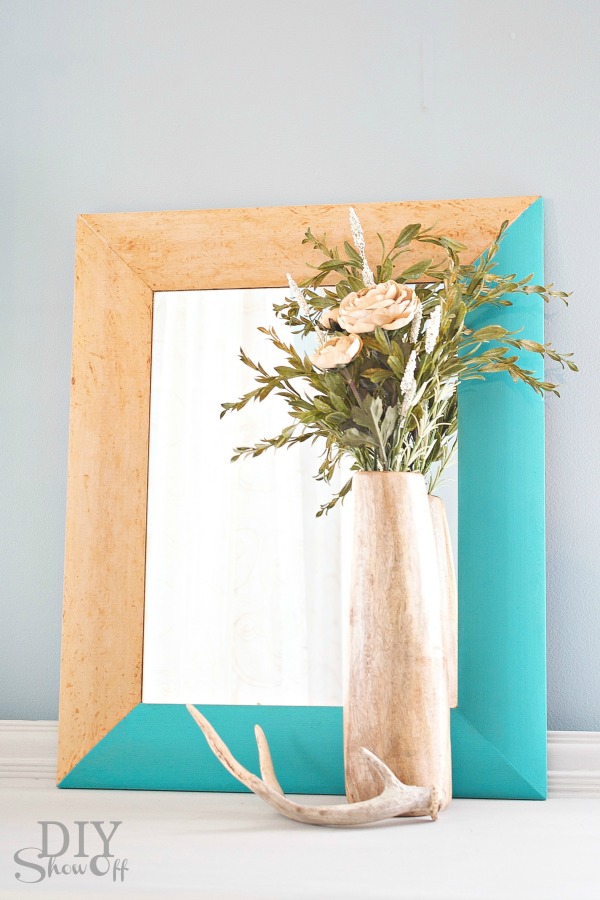
Depending on the hanger on the back, it may only hang one direction (unless you add a DIY hanging mechanism for an alternate hanging direction). For display, there are 4 rotation possibilities. One mirror, four ways:

Sharing at Southern Hospitality Thrifty Treasures.
Easy! A little color, a modern touch and a new decorative mirror = thrift store score, don’t you think? Looking for more fun ideas using FrogTape? Click here—-> FrogTape DIY ideas
![]()
Disclaimer: As a member of the FrogTape® Blog Squad, I received compensation to complete this project for using FrogTape® products. All opinions, projects and ideas are based on my own experience.