Tea Cup Succulent Planters

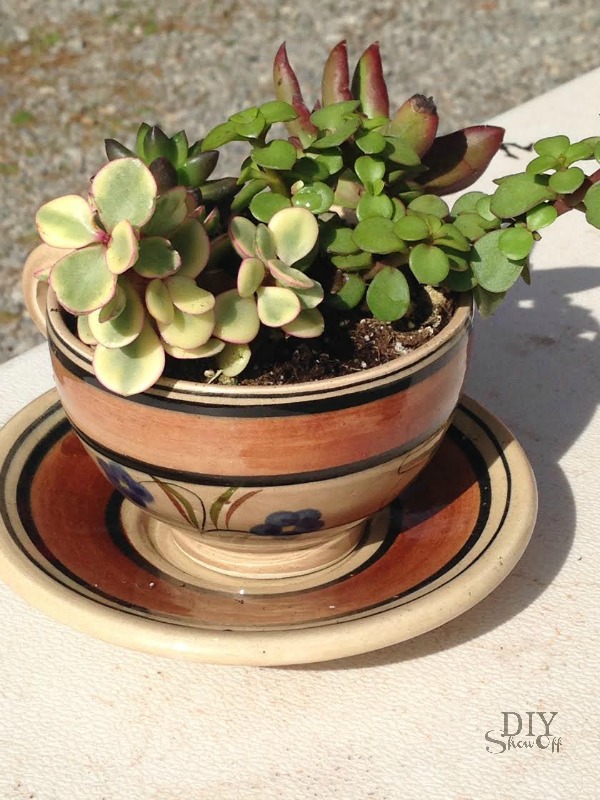
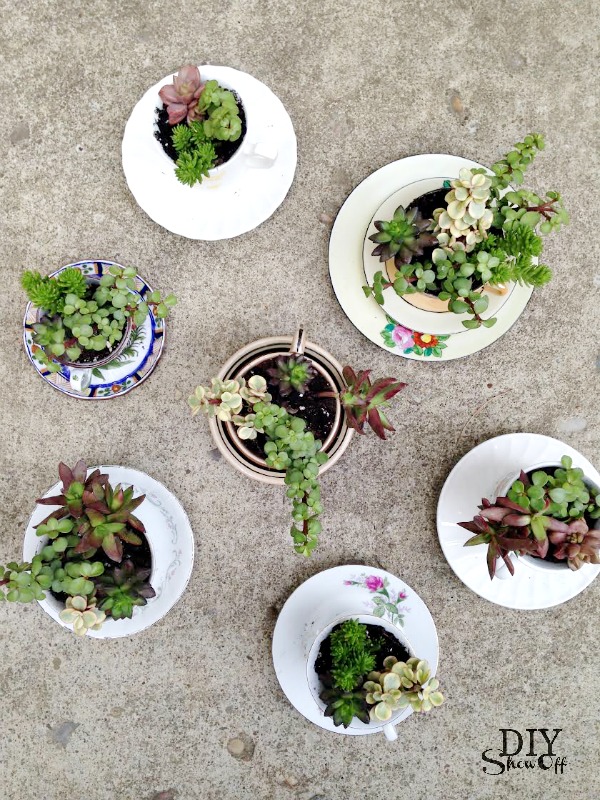
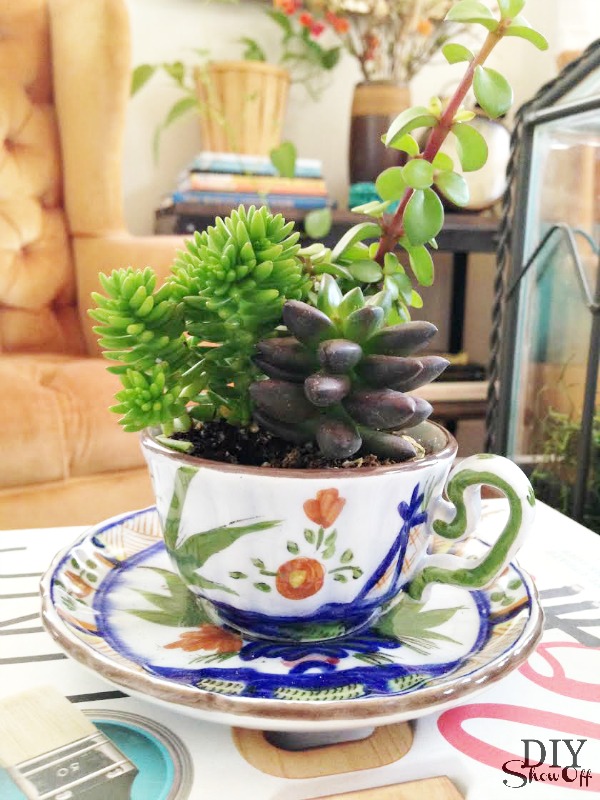
It’s become a tradition! Last year for Mother’s Day, the females in our family each planted flowers in chandelier planters. This year, we worked on another planting project but on a much smaller scale. Bri and I scoured the thrift stores for tea cups and saucers.

tea cup succulent planters at diyshowoff.com

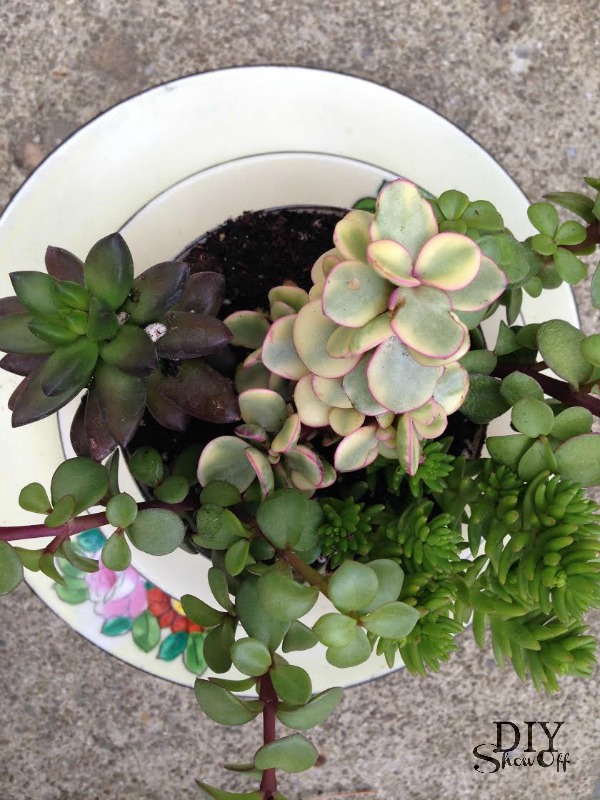
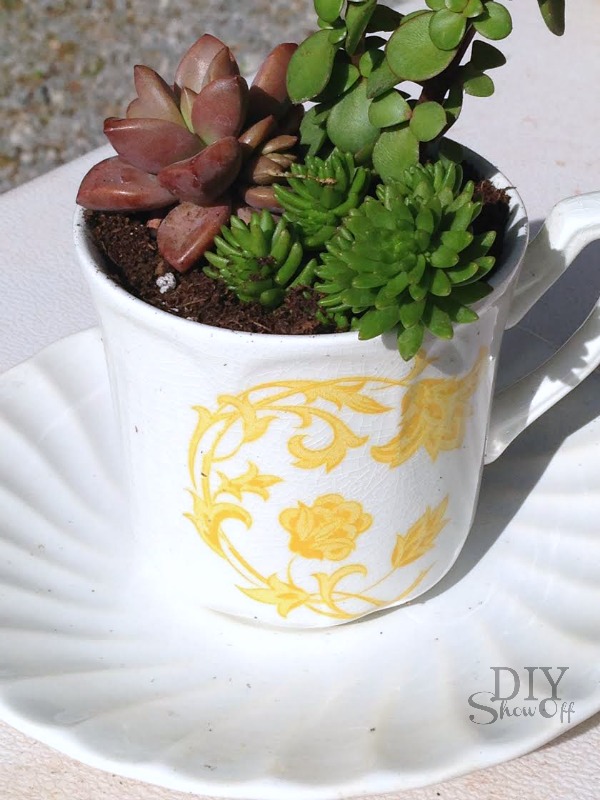
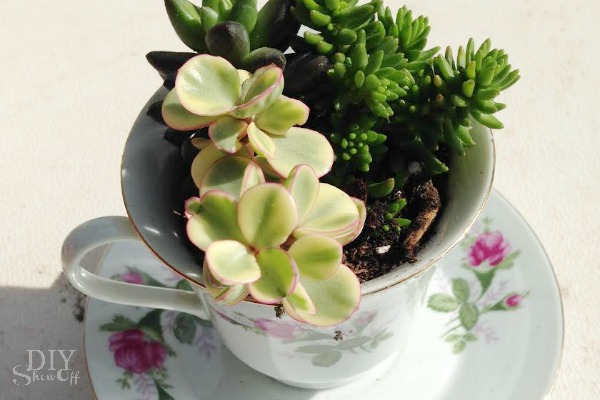
And everyone planted some succulents in their tea cups. 

succulent planters - diyshowoff.com succulent teacup tutorial at diyshowoff.com succulents - diyshowoff.com tea cup planters - diyshowoff.com tea cup succulent planter - diyshowoff.com tea cup succulent planters - diyshowoff.com

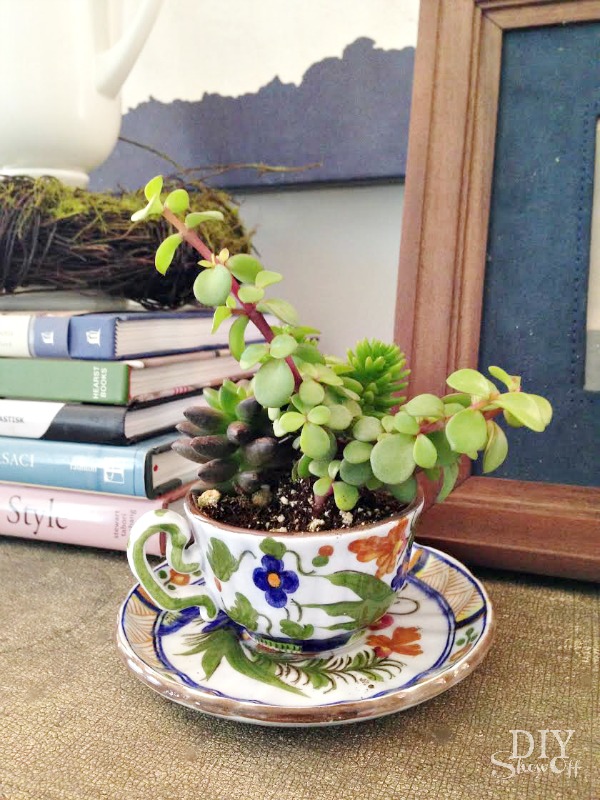
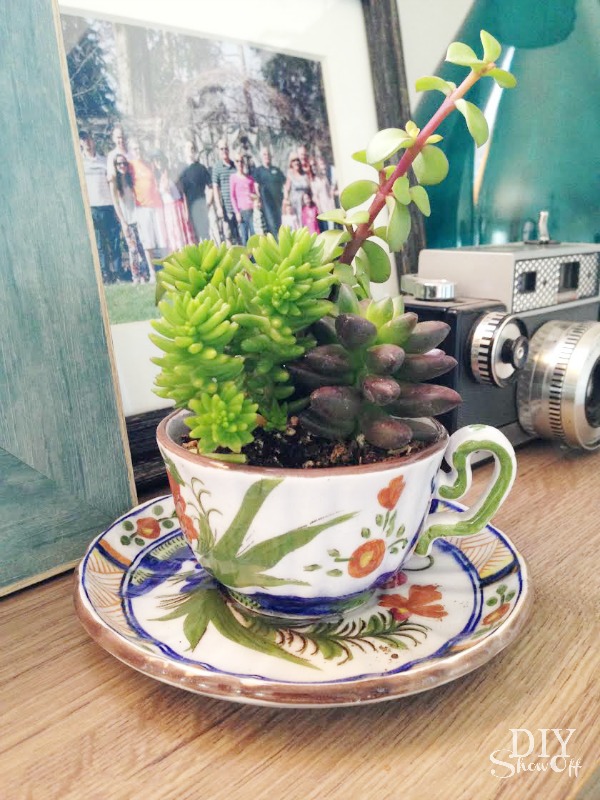
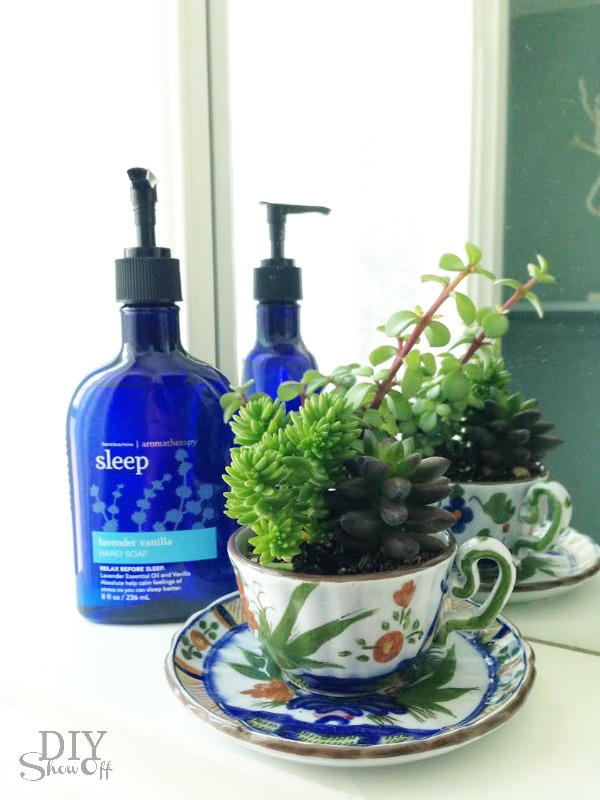
So cute! Now to decide where to display mine…

tea cup succulent planters at diyshowoff.com tea cup succulent planters at diyshowoff.com tea cup succulent planters at diyshowoff.com tea cup succulent planters at diyshowoff.com

More planter ideas…

DIY Chandelier Plantertire flower planter tutorial at DIYShowOfffree-standing-vertical-pallet-herb-gardenDIY wire succulent gardenHow to Make Stacked Stenciled Ombre Flower Potshouse number flower pots


This post is sponsored by my Young Living business! Check out my essential oils page for more information on how you can get these amazing oils in your hands too along with helpful freebies, a gift from me, and tons of support:

young living essential oils @diyshowoff
 

Add a Pop of Color to Your Decor (step stool makeover)

The Lowe’s Creative Ideas challenge for May is Pop of Color. We’ve been working on a laundry room makeover (still in progress) and while my goal is to keep the walls and fixtures neutral, I wanted to introduce fun pops of color in small amounts with accessories that I could easily swap out when the mood (often) strikes. Spray paint is a great way to update old pieces to add a pop of color to your existing decor. 

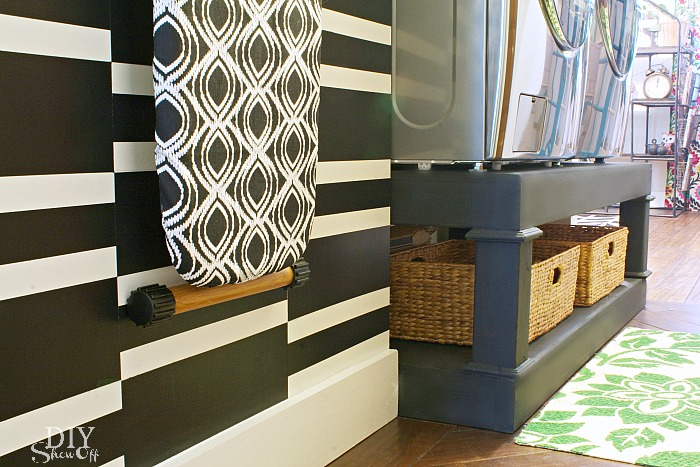
do-it-yourself laundry pedestals

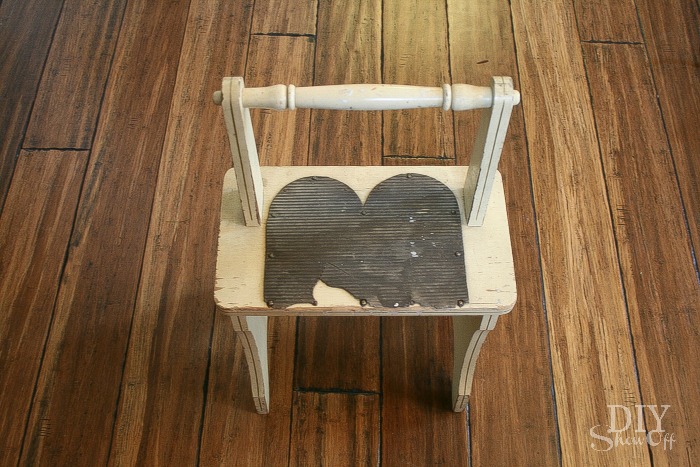
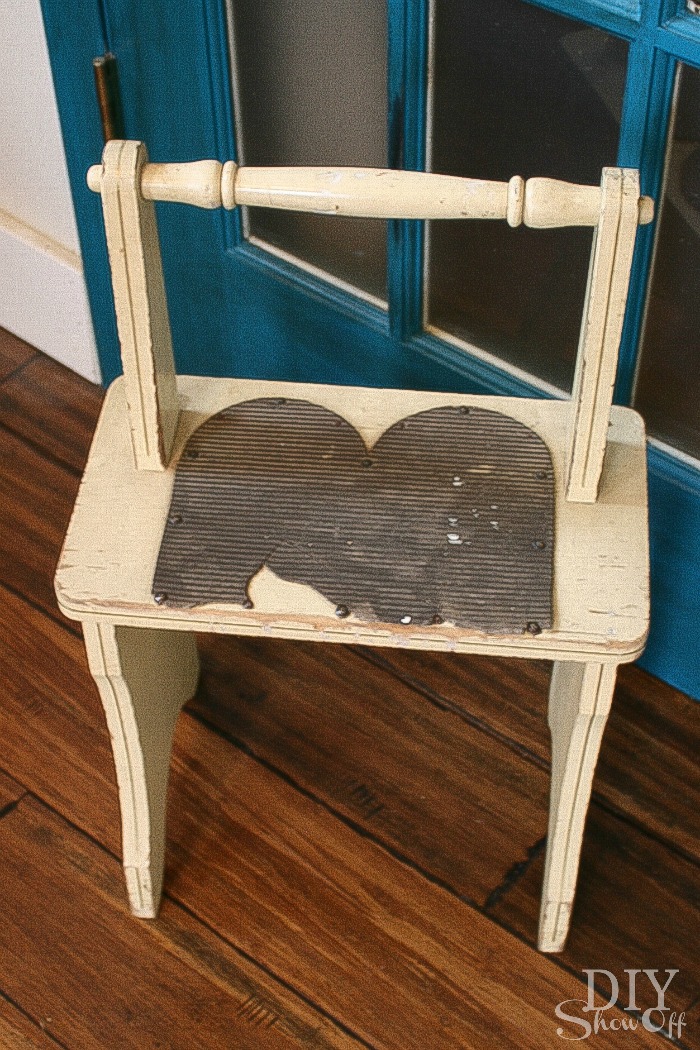
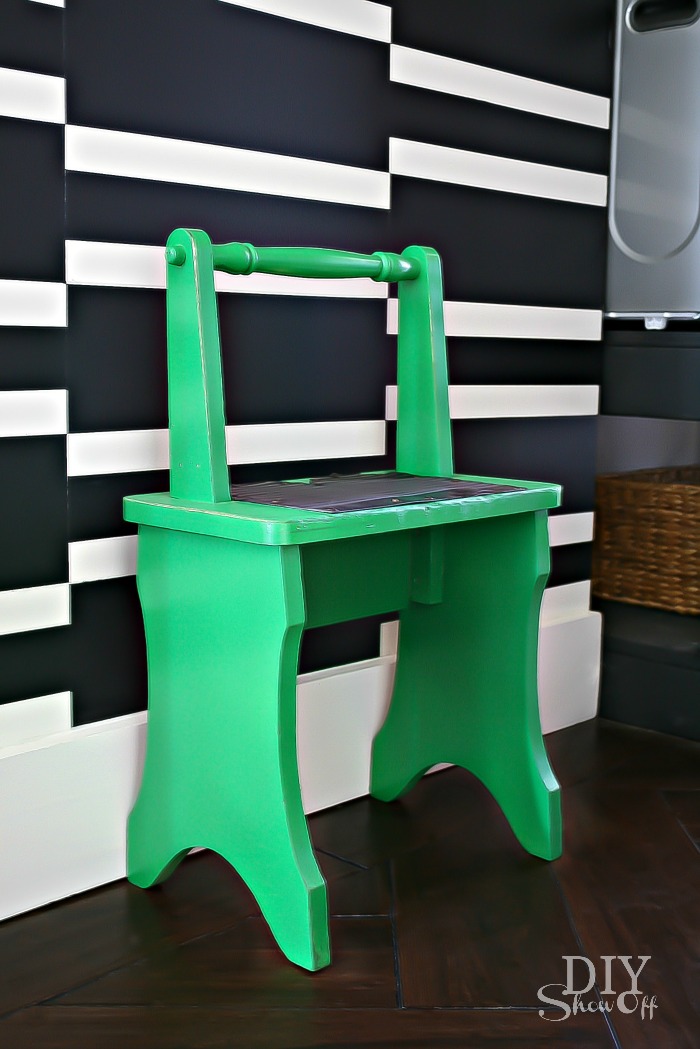
With the washer and dryer on a DIY pedestal, adding a step stool to the laundry room was necessary and this $10 vintage step stool was a great estate sale find…don’t you love the wooden carrying handle? Sweet!

step stool before

…it just needed a little DIY TLC. 

vintage step stool makeover at diyshowoff.com

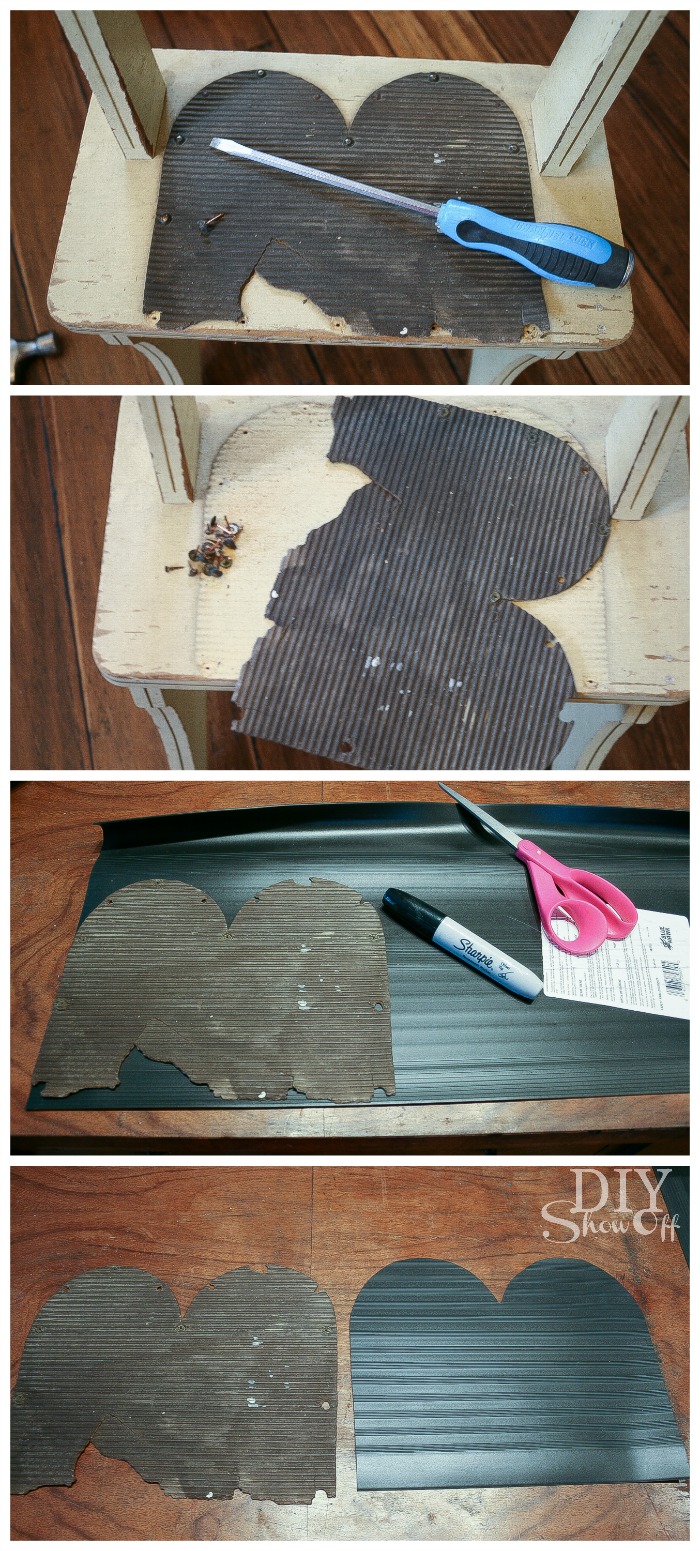
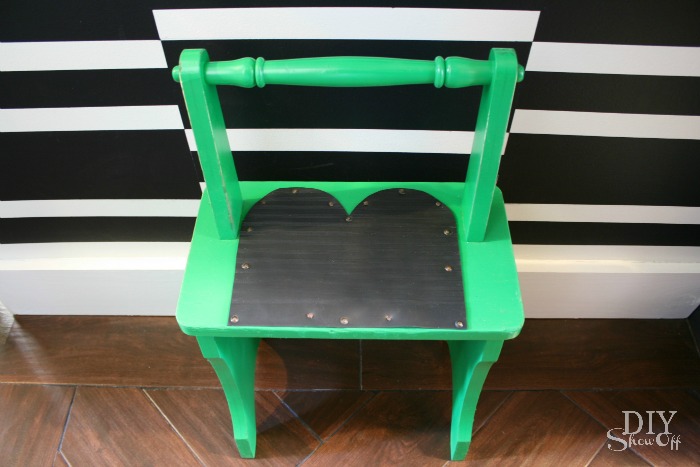
I carefully removed the old tread and used it as a pattern for a newer piece (rubber stair tread available at Lowe’s) since I wanted the stool to have the same original look (only not quite so worn, chipped and peeling). 

replacing step stool tread

Next I gave the stool a light sanding and wiped it clean. 

vintage step stool makeover at diyshowoff.com

The color I chose is Valspar’s Paint + Primer spray paint (Luscious Green). I applied one coat, let it dry then sprayed another. 

DIYShowOff before and after step stool

I re-used the old tacks to attach the new piece of tread.

And it’s as good as new and adds an awesome pop of color to our laundry room. 

DIY Show Off step stool makeover

Before…

step stool before

After…

vintage step stool makeover at diyshowoff.com

More DIY ideas at Lowe’s Creative Ideas, follow Lowe’s on InstagramPinterest and sign up for the Creative Ideas magazine and app!   

LCI Spring

*Disclaimer: As a member of the Lowe’s Creative Ideas Creators and Influencers network, I received a Lowe’s gift card to complete this challenge. As always, all ideas and opinions are in my own words. The blog post above is what worked for me. Results may vary. Remember to work in a well-ventilated area and to take the proper safety precautions.

Painted Wooden Candlesticks

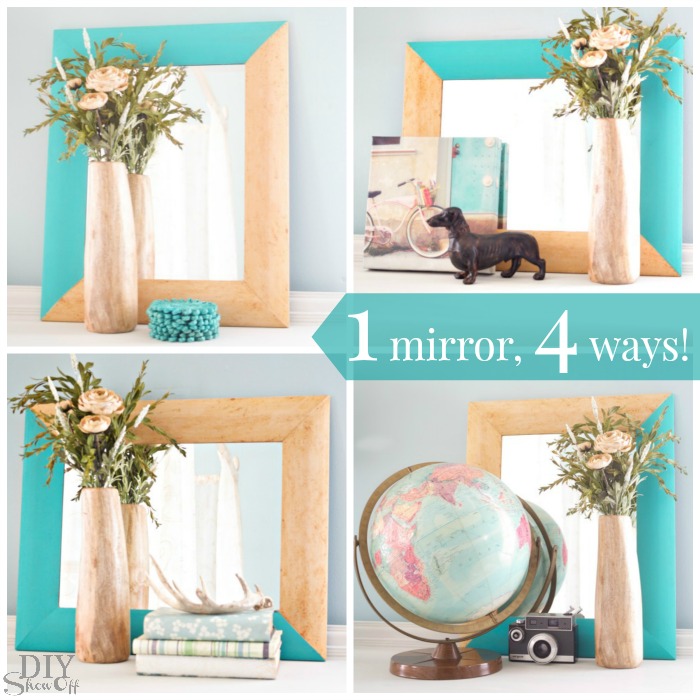
I recently shared an easy mirror update inspired by a wood + turquoise bowl…

inspiration:
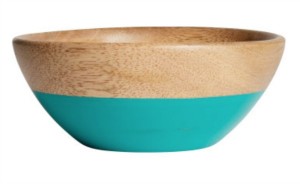
H&M turquoise and wood bowl

mirror update:

One mirror, four ways at diyshowoff.com

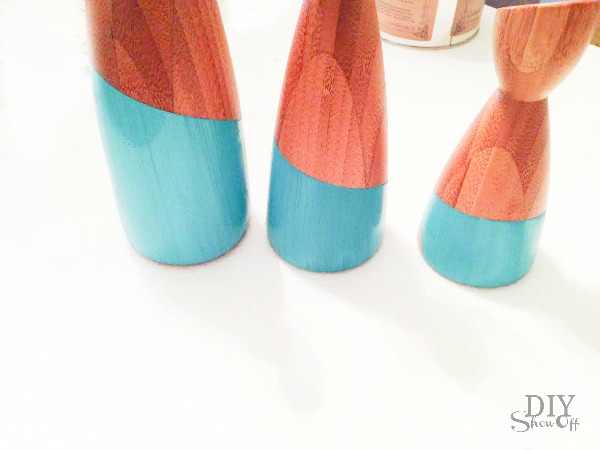
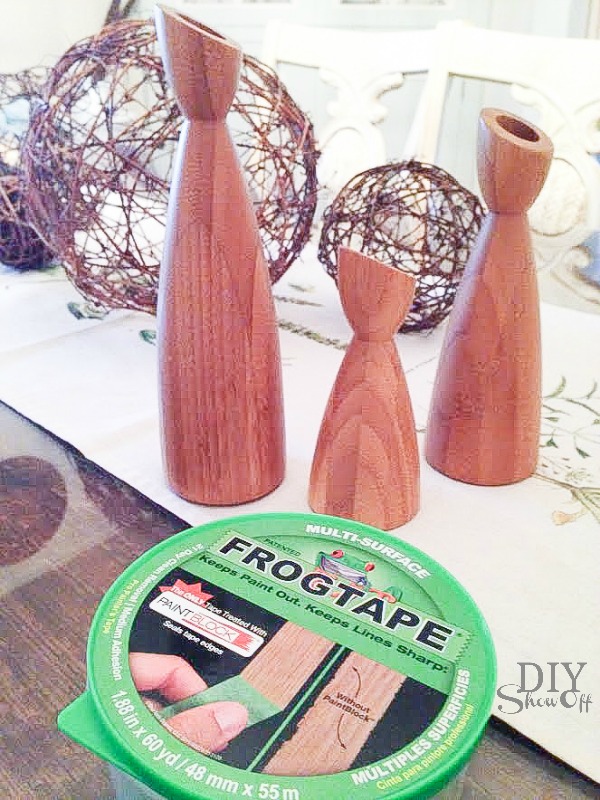
Then I spied a set of three {Ty Pennington Style…love his style, don’t you?} candlesticks for $4.99 at the thrift store and couldn’t resist creating a wood + turquoise collection. 
turquoise + wood painted candle tutorial at diyshowoff.com

Materials:

  • Wooden candlesticks
  • FrogTape®
  • Paint (Maison Blanche Furniture Paint, color is “colette”.)
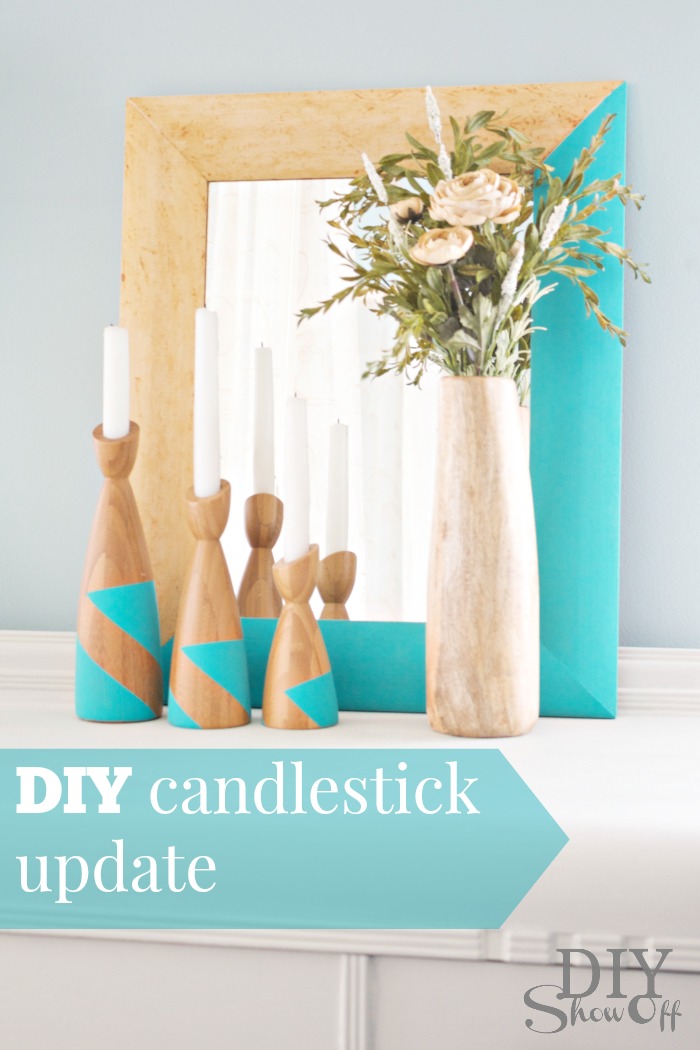
DIY candlestick update at diyshowoff.com

What I did:

I simply wrapped the FrogTape® around my candlesticks to create an angled design.
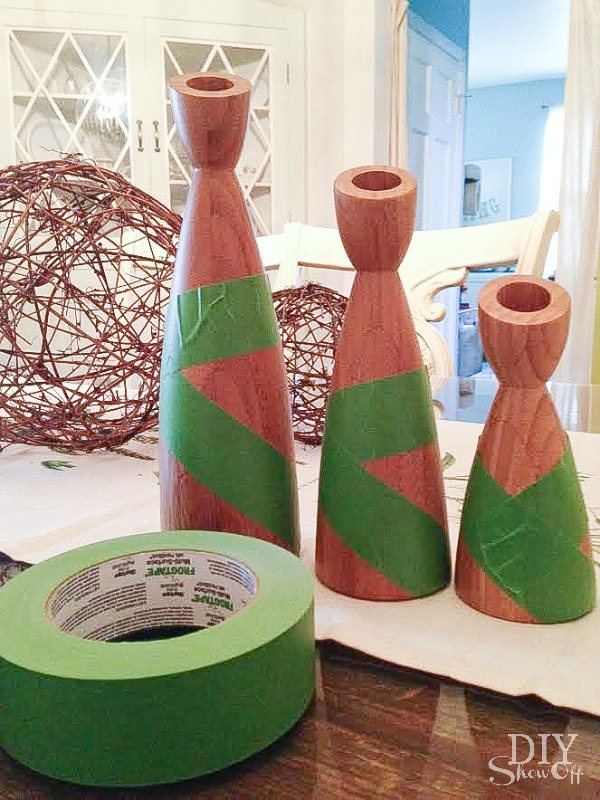
turquoise + wood painted candle tutorial at diyshowoff.com

Using my thumbnail, I burnished the edges of the FrogTape. 
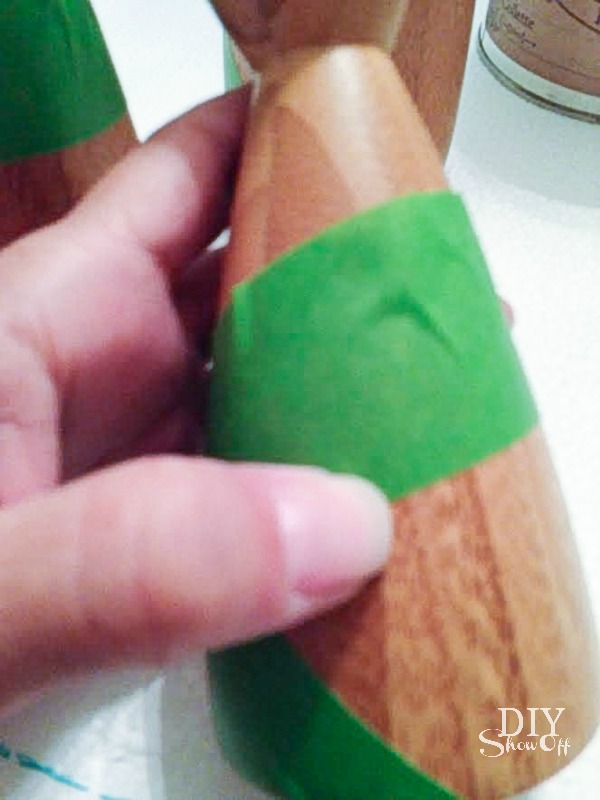
turquoise + wood painted candle tutorial at diyshowoff.com

Then simply applied two coats of paint with a foam brush. 

turquoise + wood painted candle tutorial at diyshowoff.com

While the paint was still wet, I carefully pulled away the FrogTape to reveal a crisp, straight, clean paint line. 
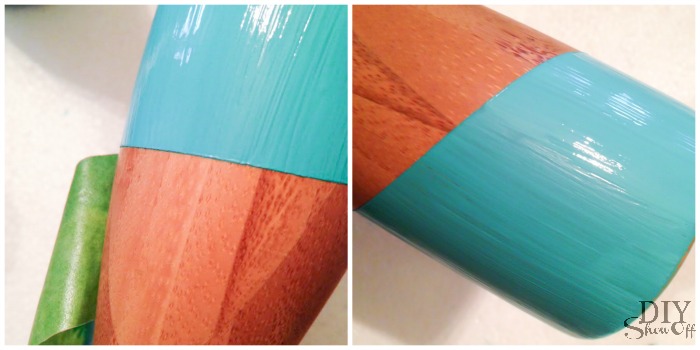
turquoise + wood painted candle tutorial at diyshowoff.com

 The design varies depending on which side faces out.
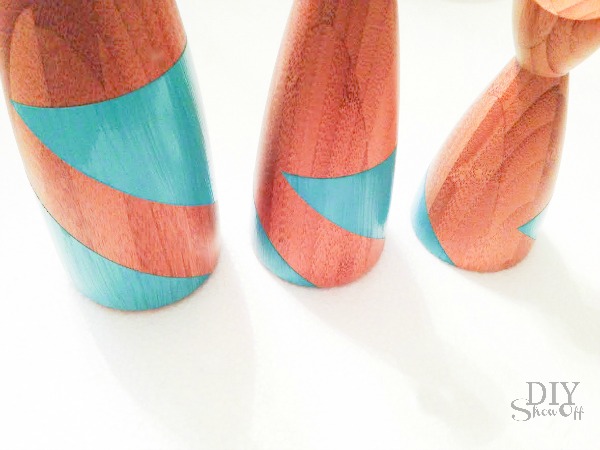
turquoise + wood painted candle tutorial at diyshowoff.comturquoise + wood painted candle tutorial at diyshowoff.com

Now they’re a one of a kind Ty Pennington/DIYShowOff style! Working with him and he isn’t even aware.  Maybe it’s for the best as he may not be flattered that I altered his design. 😉
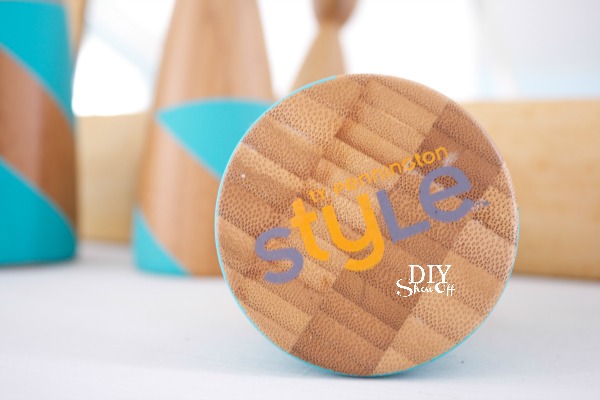
Painted Wooden Candlesticks

Then let them dry. Add candles and display! So cute! West Elm log vase is from my secret Santa…love it! 
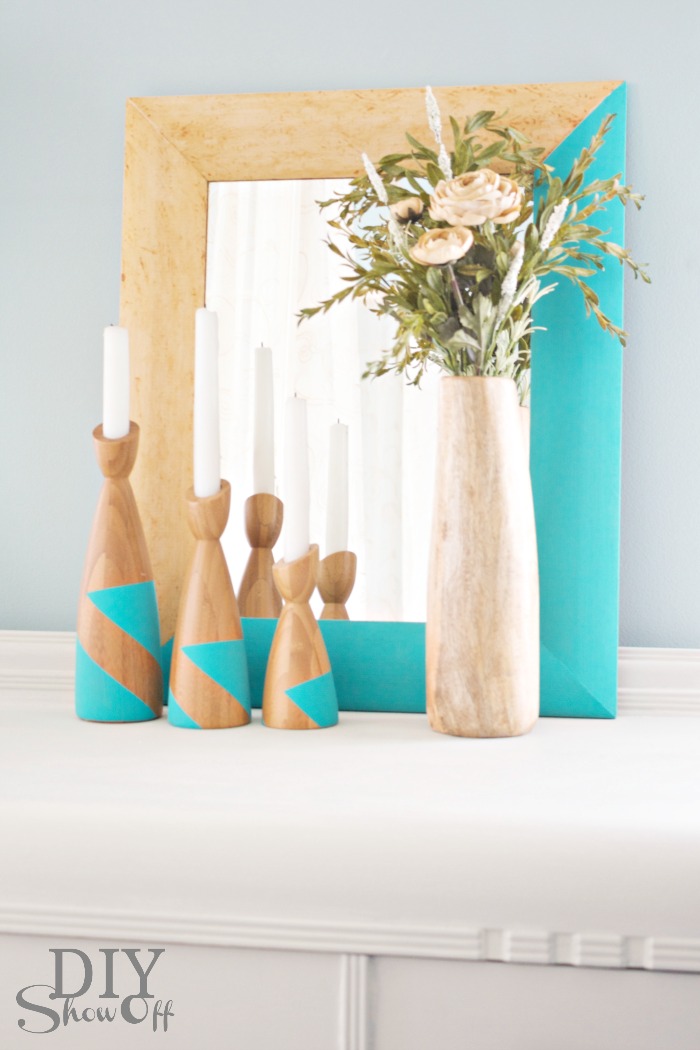
DIY candlestick update at diyshowoff.com

The annual Earn Your Stripes™ painting contest is taking place right now!!! Grand prize is $5,000.00!! I’d LOVE for a DIYShowOff reader to win! Imagine what you can do with $5000! Since I can’t enter, I hope you will! I’ll be participating in the judging! Enter here —> https://promotions.frogtape.com/earn-your-stripes/

FrogTape Earn Your Stripes

Deadline to enter is now through July 1st – so, plenty of time to get creative hats on and execute a project.  You’ll need before, during and after photos.  Here are the official rules: https://promotions.frogtape.com/earn-your-stripes/rules. Here are the FAQ’s for the contest:  https://promotions.frogtape.com/earn-your-stripes/faqs

Best part, all entries (see official rules) will receive a free roll of Shape Tape! Good luck! 

FrogTape Blog Squad

Disclaimer: I received compensation to complete this project for using FrogTape® products. All opinions, projects and ideas are based on my own experience.