Subway Art Painted Floor Tutorial
16


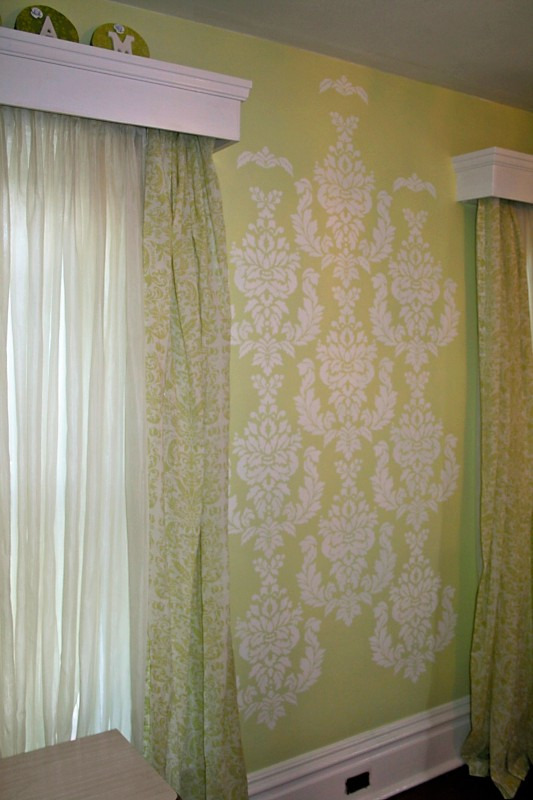
Using Cutting Edge Stencils and Mythic paint, I added some detail.


See what I did at the DIY Club.

I‘m joining the party at


I‘d love to see what you’ve been up to!

If you’d like to link YOUR DIY project post to The DIY Show Off Project Parade:
1.You must use the button above and link to this post to share the linky love.
2.Include your name or blog name and project title. Add your permalink (not your blog url, but your DIY project post url). Feel free to link a Past Post, just invite your readers in a current post with a quick note.
3.Or email your link to thediyshowoff@gmail.com and I will add it for you.
4.If you notice your link has disappeared -please add the link back to The DIY Show Off to your post today, a button or a quick note to your readers about the party and try again! I love when everyone participates and readers check out everyone’s links, but I think the return favor of linking back is the nice thing to do so everyone plays fair and enjoys all of the projects and links. Also – this blog party is for DIY projects only. Links not related to DIY will be deleted.
The winner of the Black & Decker giveaway is…

Lucy said…
I’m a long-time RSS subscriber. That way, I don’t miss a thing!
January 13, 2011 5:57 AM
Congratulations, Lucy!


Materials:
Old cabinet door
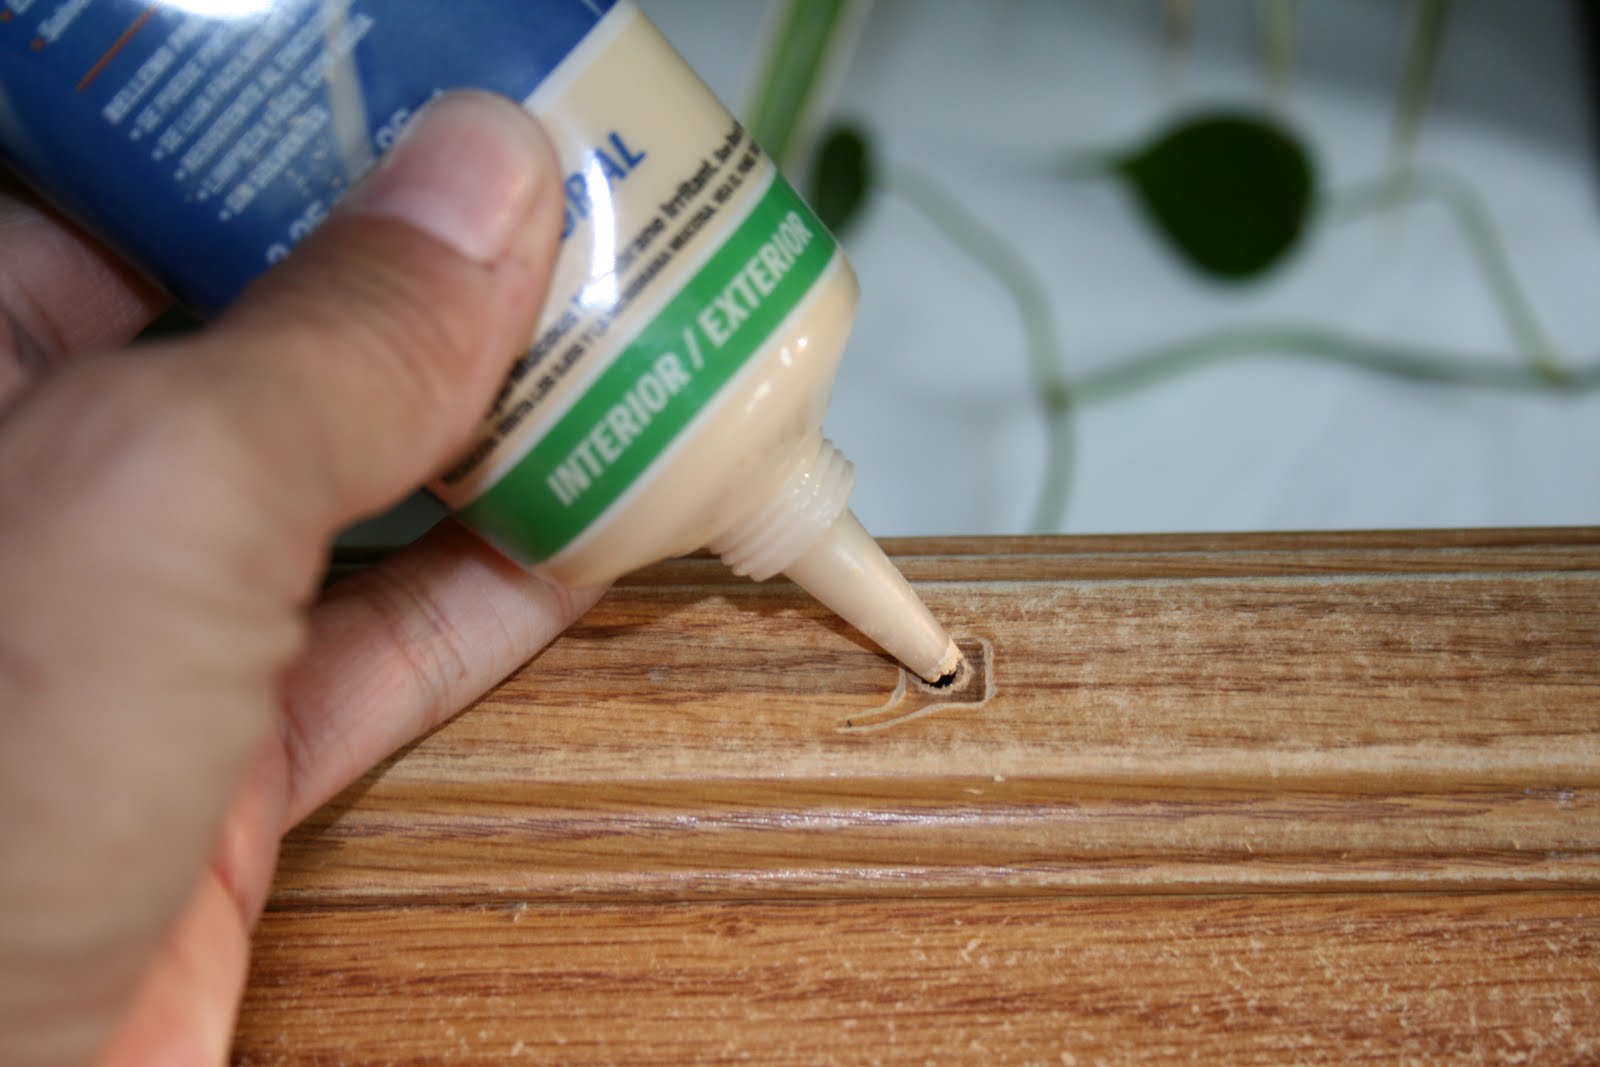
Wood filler
Sandpaper
Paint and Primer (Dutch Boy – Color: Lake Champlain)
Milk Paint (Antique White)
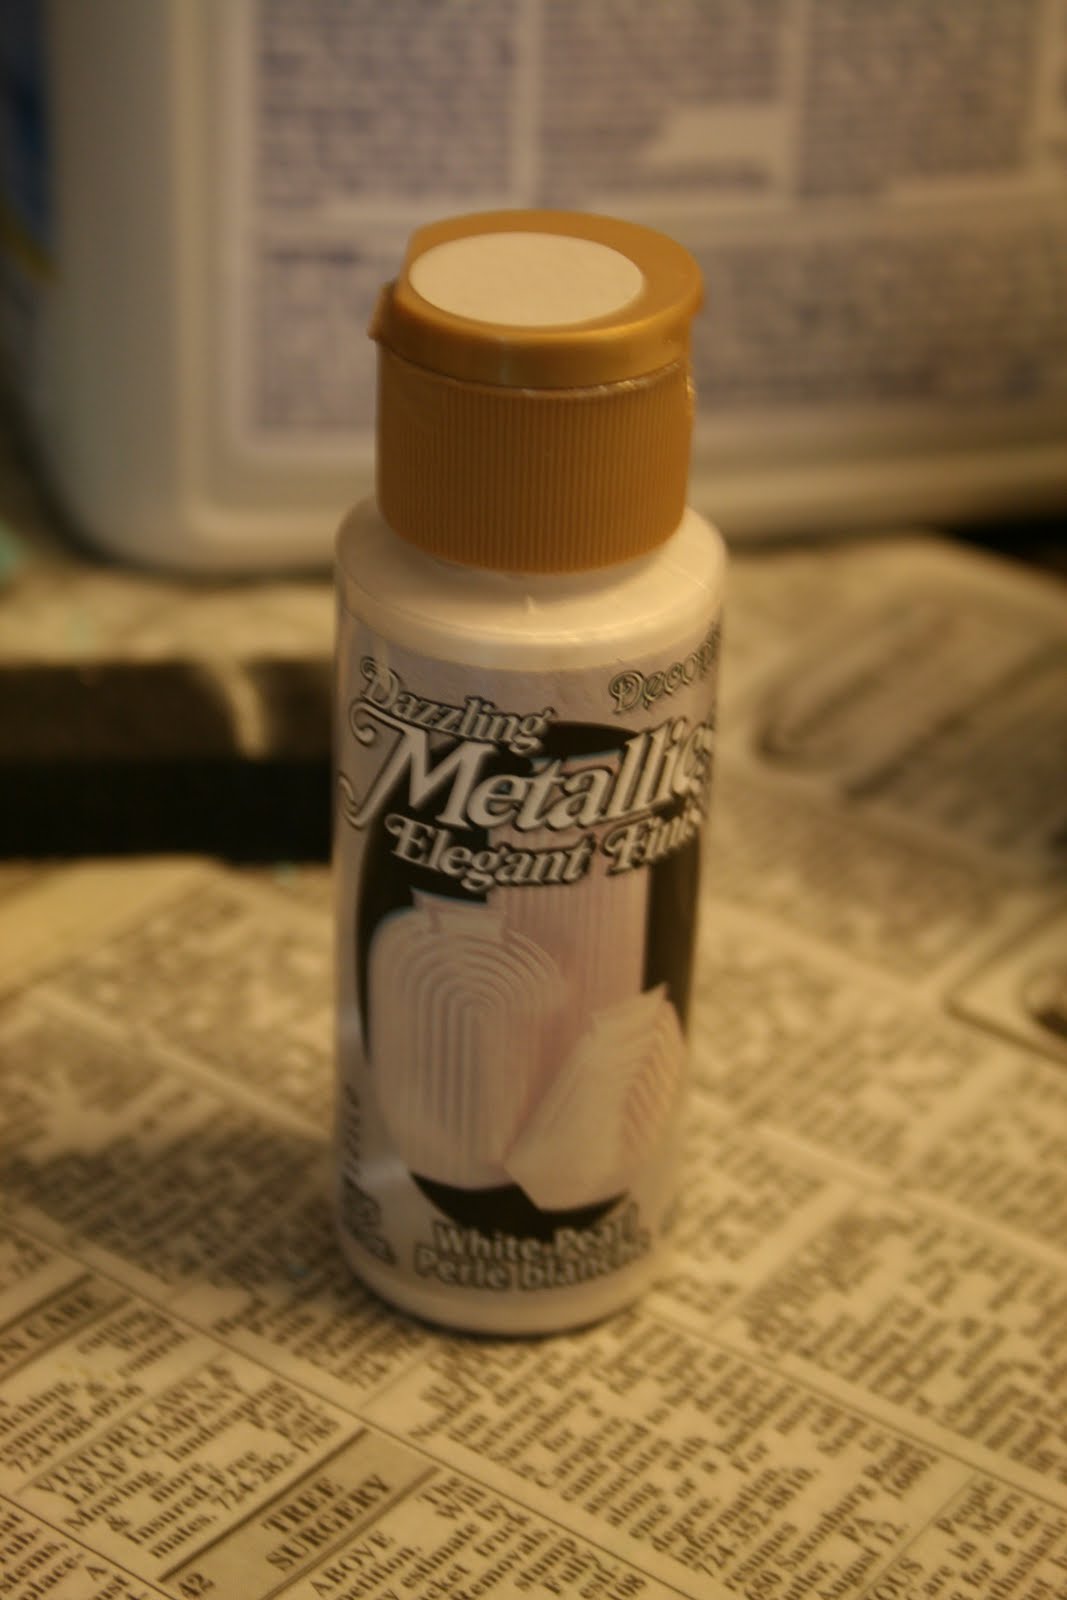
Deco Art (Pearl White)
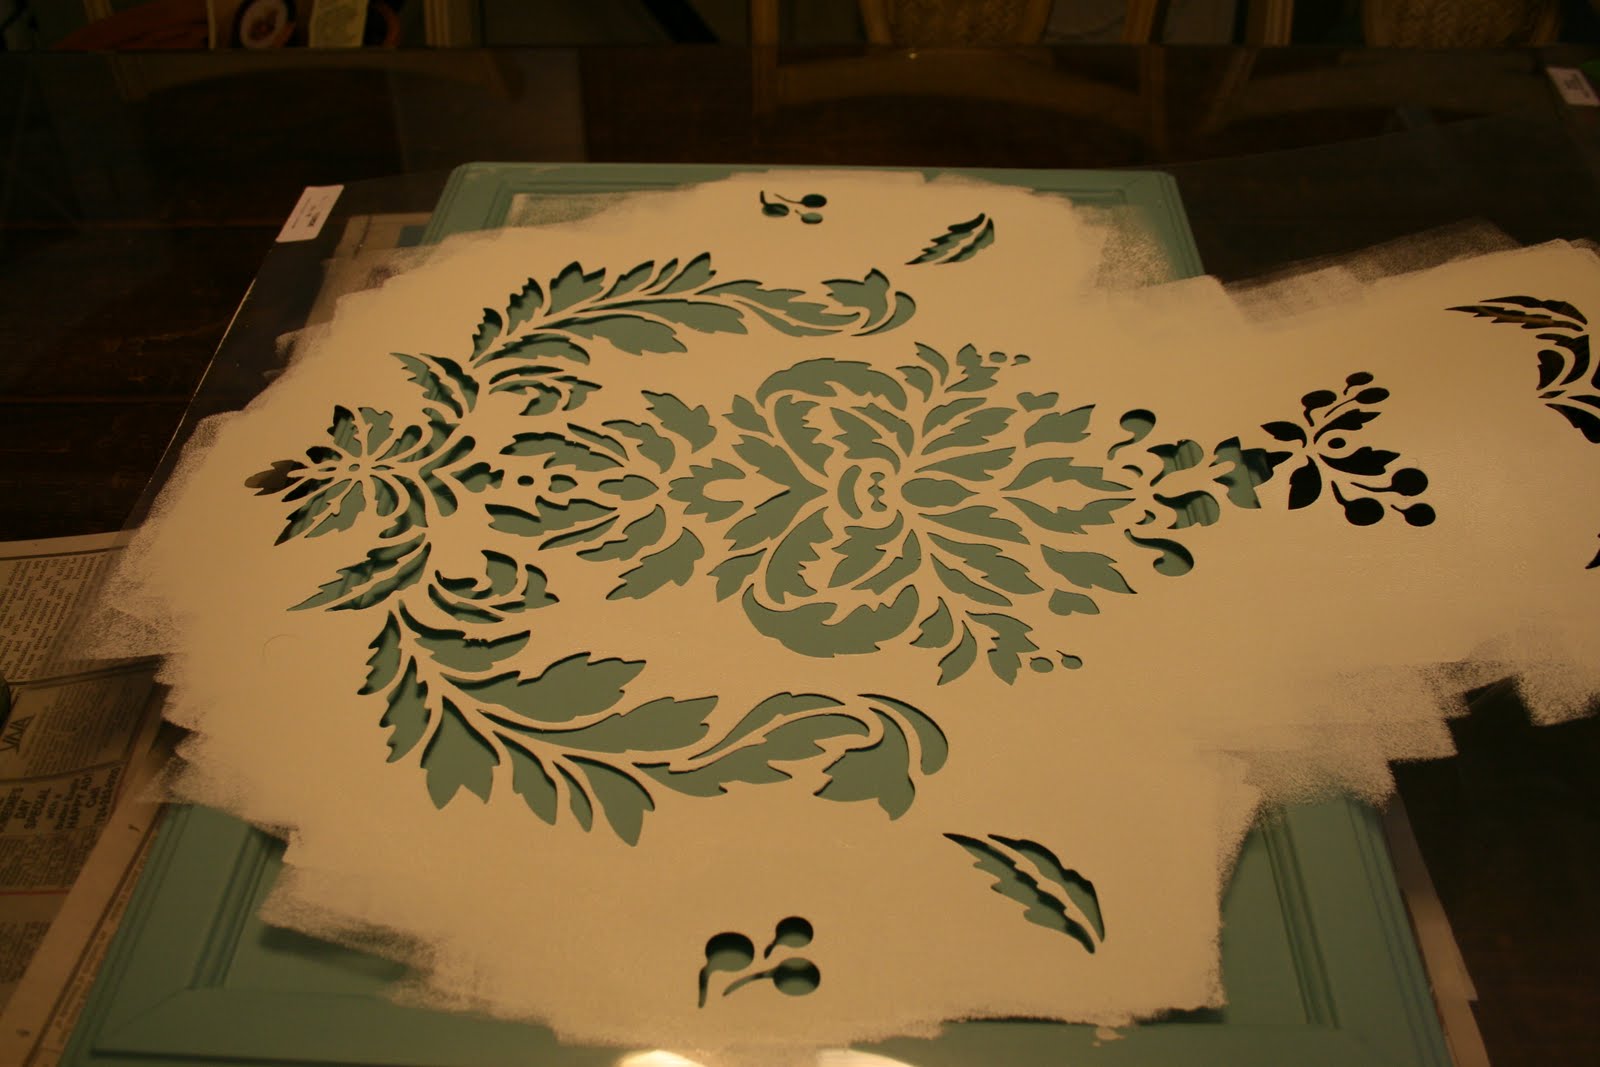
Cutting Edge Stencil (that I used on my daughter’s walls)
(2) Cabinet pulls
Deft Clear Gloss Wood Finish
Adhesive Felt
Tools: Foam brushes, Sanding Bug, Drill, Scissors


I sanded both sides and wiped it down. Isn’t this sanding bug so cute? Works great on a small project like this too! Since it’s not real wood, sanding took some of the faux wood paper off, but I just kept sanding until it was as smooth as I could get it. One of the things I love most about DIY is the amazing transformation and the little imperfections that make it one of a kind.

Then I remembered that I needed to fill the holes. So, I did and sanded again once the wood filler was dry.


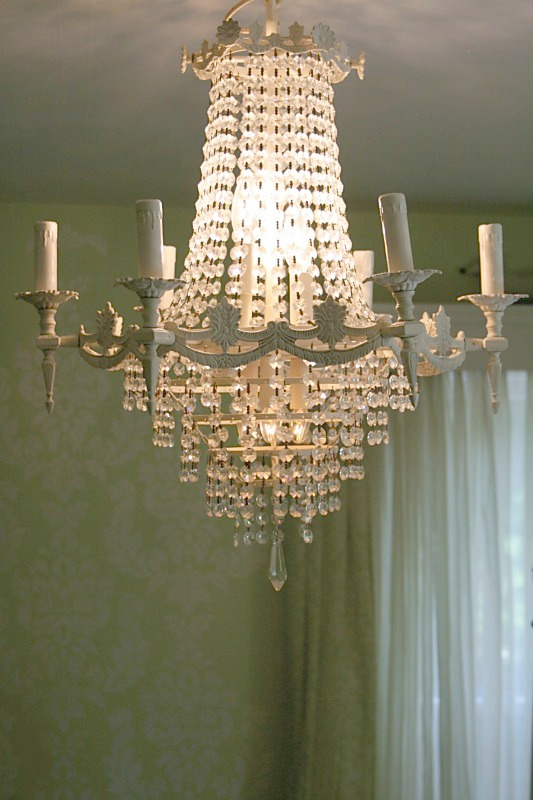
This chandelier (free):
got a makeover: In the guest room, we have this Pinecone Hill Genevieve bedding (celery):


See here how the top of the stencil overlaps a finished stencil area? It keeps things lined up! How cool!

If you’re looking for a stencil – I highly recommend Cutting Edge Stencils. It’s a really nice size and so easy to use (learn from my mistake!). I will be using it again. I love it and it made the entire project less overwhelming. I’m going to use it in another upcoming project too!


Love the free chandelier in here…
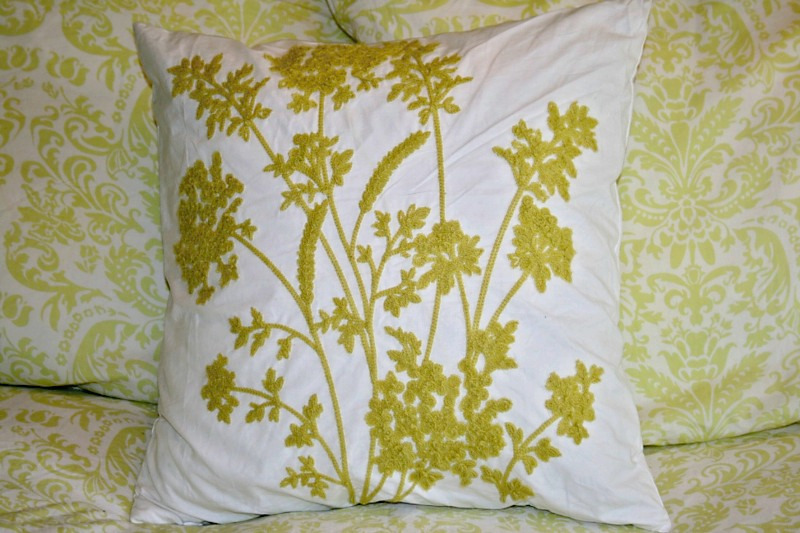
Pillow on clearance at TJMaxx..
Frame from estate sale – future project. 🙂


—
This post is brought to you by…
Looking for that nail free premium deck finich, hidden deck fasteners by Tiger Claw are your solution.

 I filled in the cracks/seams with wood filler.
 Sanded. (It’s not completely smooth and perfect, but we were okay with imperfections. It is an old farmhouse, after all.) You could also lay down a fresh new base but we were cutting corners.
 2 coats of Zinsser Primer
 2 coats of Valspar Porch and Floor paint. I chose a color called Journey. It’s a nice dark chocolate brown.


 I painted my ‘rug’ color twice using Benjamin Moore (eggshell finish) in Smoke Embers.


My big center area is 3 x6, so using a pencil, I drew a grid with 12″ squares in order to keep everything symmetrical. I learned that a Magic Eraser is quick and easy for erasing pencil! But, when all was said and done, most of the penciled area was covered by paint and what wasn
‘t, I painted over when doing my final touch ups. I considered using a chalk line, but intimidation got the better of me. I’ve never used one and with me being down on the floor…I was worried I’d smear it all.

I even painted over the gray area one time because despite drawing some ideas on paper, I didn’t like the first design. It’s just paint and it really doesn’t take too long. Right under this room is a wood stove, so the floor is warm and helps to speed up drying time.
I did use acrylic craft paint for the stencil (that happens to match the dark brown perfectly) because it is thicker consistency than the brown floor paint I used. Also – my stenciled areas “bled” a little – anyone know how to get a perfect stencil? Anyway – it actually gave it more character and I like the effect of “fuzzy” edges with the stencil rather than “clean edges”. It really does give it more of a “rug-look”. And honestly – can you really tell? Not unless your nose is 6 inches from it. 🙂

Ta-da! 


 Next, a couple of coats of water-based polyurethane to seal and protect. I used Minwax Water Based Polyurethane. I’m applying 3 coats by using a brush along the border and against the wall and a foam roller for the rest of it. Now it’s waterproof and protected.


Materials: {affiliate links}
Large Wall Damask Stencil Faux Mural Design #1015 5″ x 7 3/8″
Large Wall Damask Stencil Faux Mural Design #1012 9″ x 7 7/8″
FrogTape 1358463 Multi-Surface Painting Tape, Green, 0.94-Inch Wide by 60 Yards Long
Flower Stencil Zinnia Grande size Med – Reusable wall stencils better than wall decals
Shur-Line 4-Inch Foam Mini Roller Refills, 2-Pack #04940C
Minwax 63333 Satin Polycrylic Protective Finishes, 1 Quart

