The Chinese zodiac/new year follows the lunar calendar and begins January 31st. 2014 is the year of the horse. It’s a year for making efforts to improve yourself. Why not wear a reminder to do just that. It’s also the symbol for my word of the year for 2014 but more on that later this week. 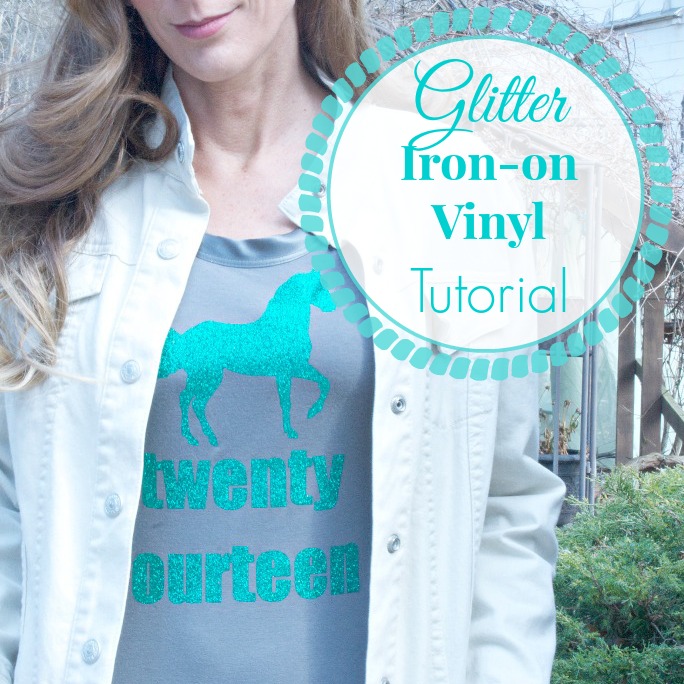
Did Santa bring you a Silhouette Cameo? Unpack that baby! There are so many cool things to create just waiting for your imagination! One of the things I love is the ability to create custom vinyl decals easily and that includes not just stencils or signs but dressing up my t-shirts too. Here’s how:
Materials:
- t-shirt or sweatshirt. Give an old one a little pizzazz! Or purchase new if creating a gift.
- Iron-on vinyl. I’m using Happy Face Glitter Iron On Vinyl in Pine Bling from Happy Crafters for this project. Big selection of fun printed, solid and glitter iron-on vinyl for DIY projects.
Tutorial:
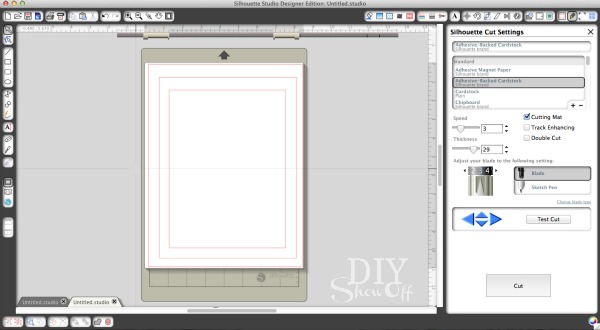
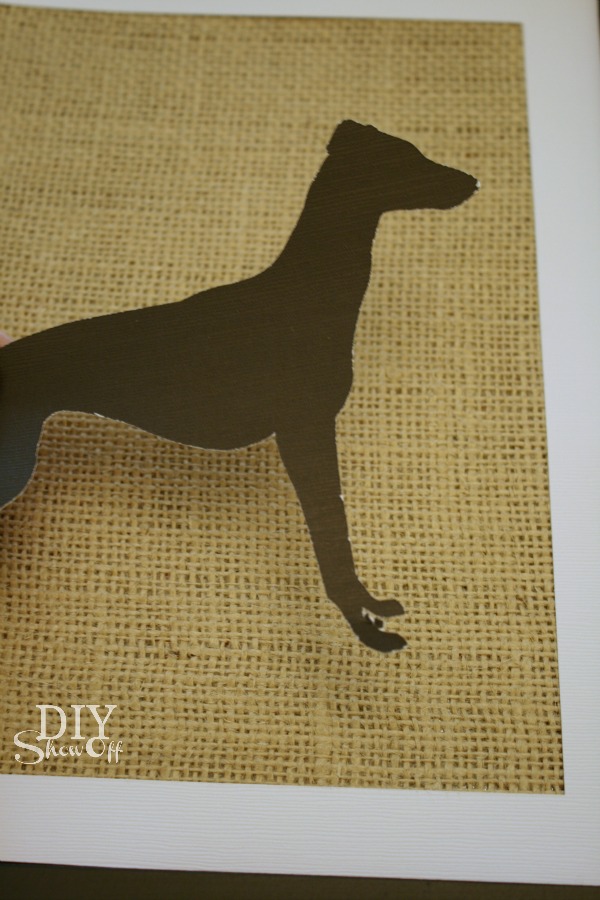
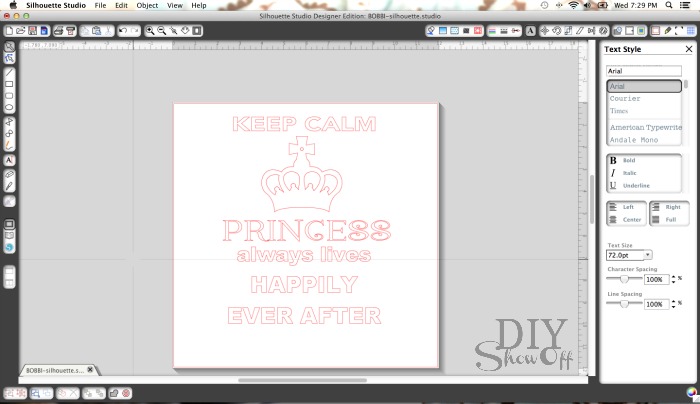
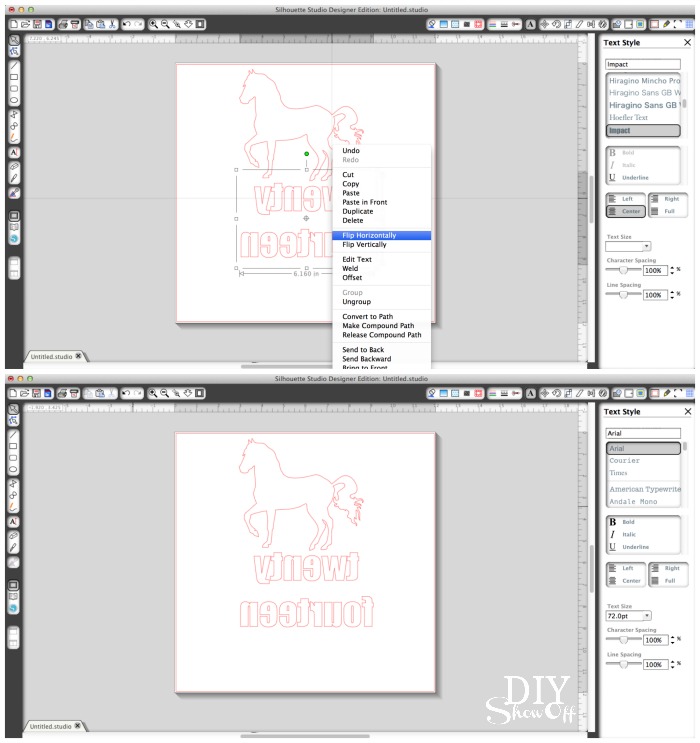
1. Create a design using the Silhouette Studio. I purchased a horse shape from the Silhouette online store and added text.
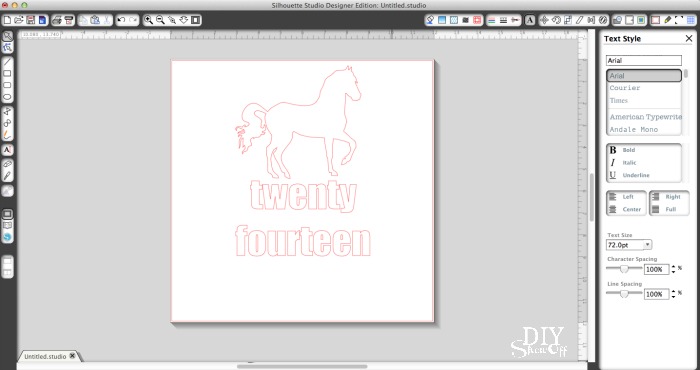
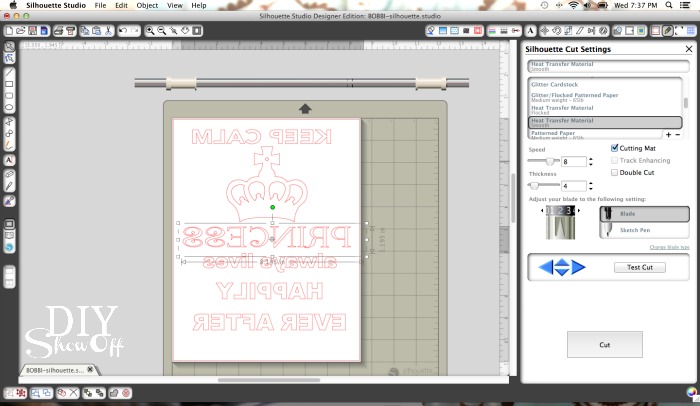
2. For iron-on vinyl, you’ll need to “mirror” the design. I just ‘right click’ my design and flip horizontally.
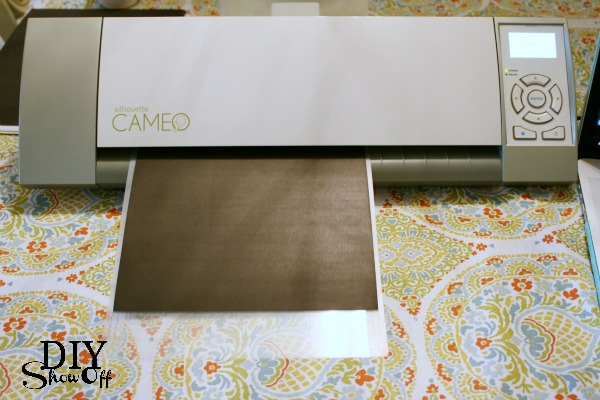
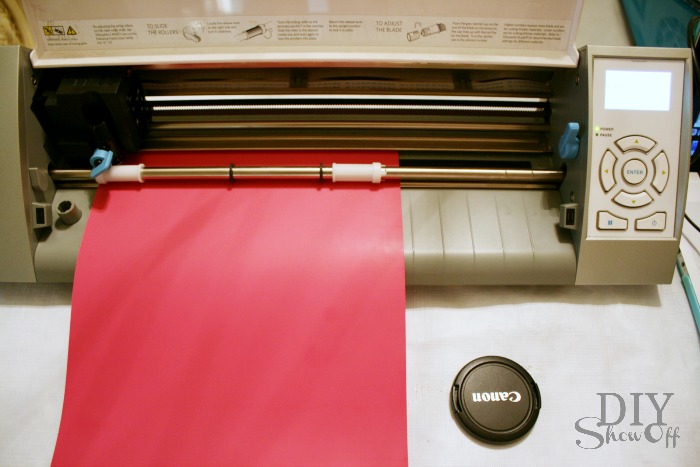
3. Load the vinyl into the machine glossy/sparkly/glitter side down {transparency side down}. Adjust settings. Recommended settings for cutting iron-on vinyl are blade 2, speed 8, thickness 5. Send to cut.
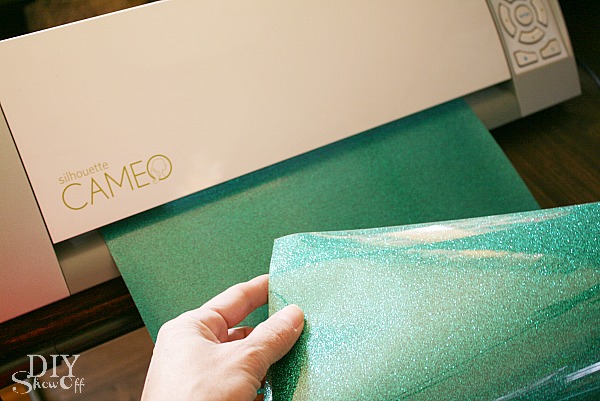
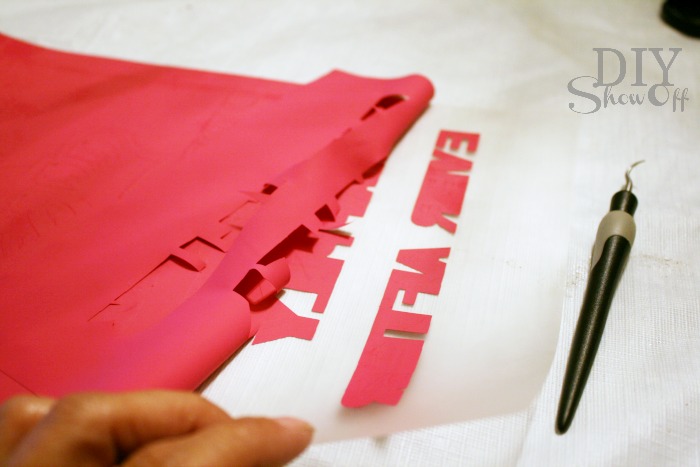
4. My blade is dull from so much use and the glitter iron-on vinyl is thick so before removing from machine, I could tell it wasn’t a good all-the-way-through cut. I had to re-adjust my blade setting to 6 and send to cut again. Tip: Test yours before removing vinyl from the machine so that the not-so-good cut lines will match up with the newer cut lines if needed. You’ll want the vinyl to be cut but not the transparency. When cutting is complete, remove vinyl from the machine. Cut vinyl to a smaller more manageable size from the roll/sheet. 
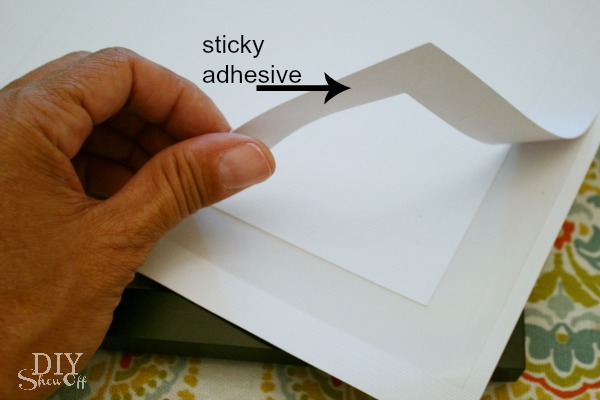
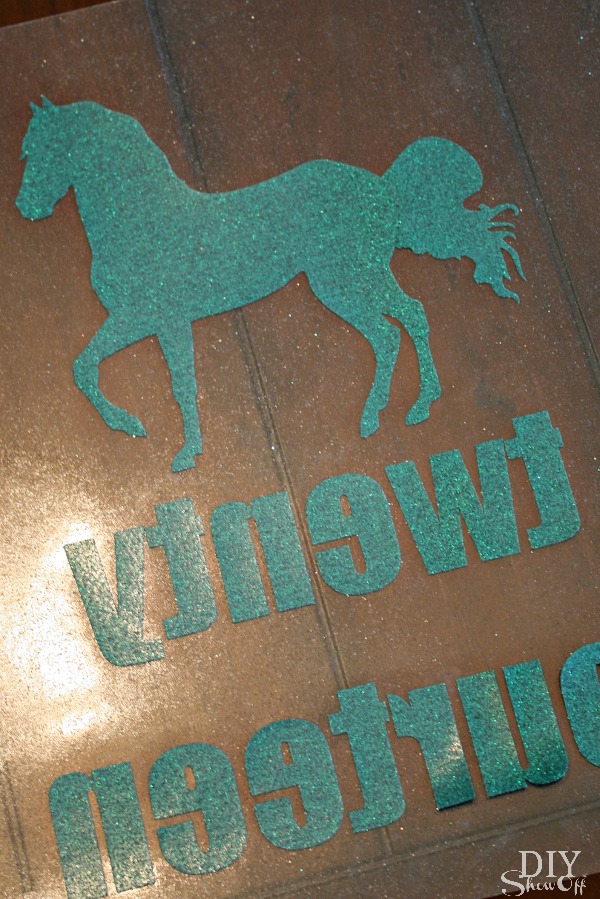
5. Weed away all negative vinyl (vinyl that is not a part of the design) from the adhesive transparency.
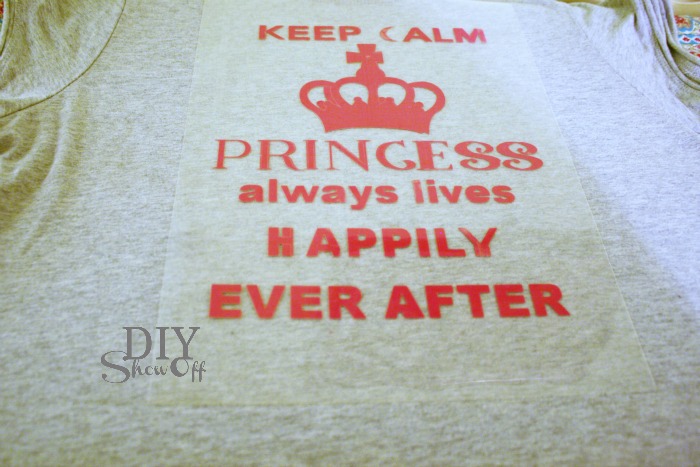
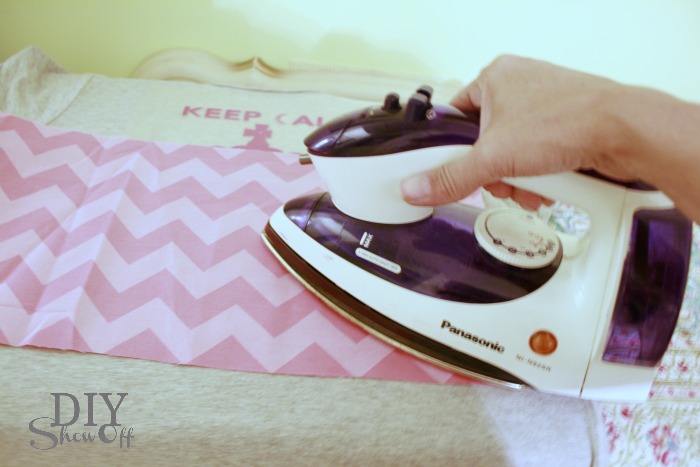
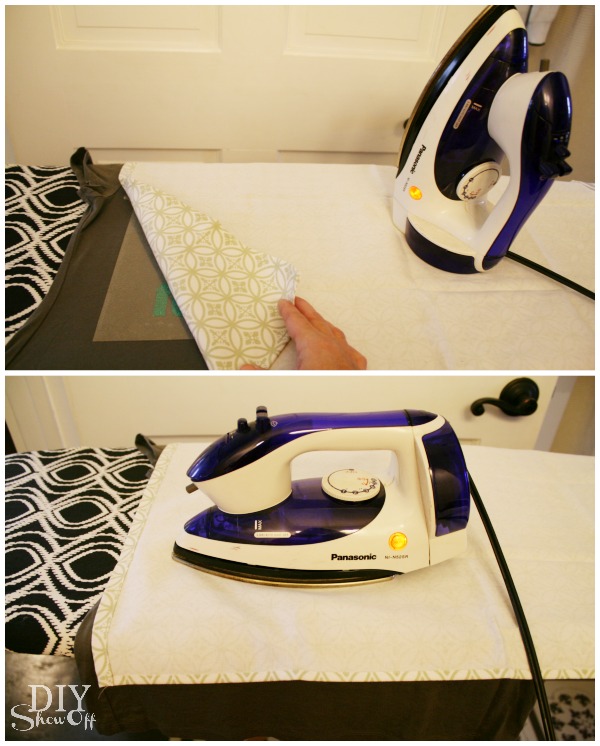
6. Position decal onto shirt. Cover with a cotton tea towel, napkin or fabric. Iron on high, pressing down 25-30 seconds on each part of the design (no steam).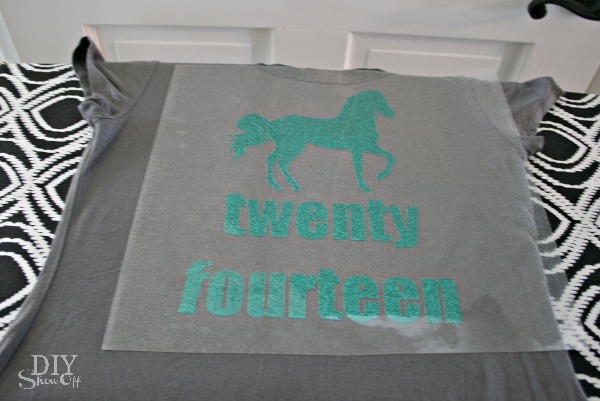
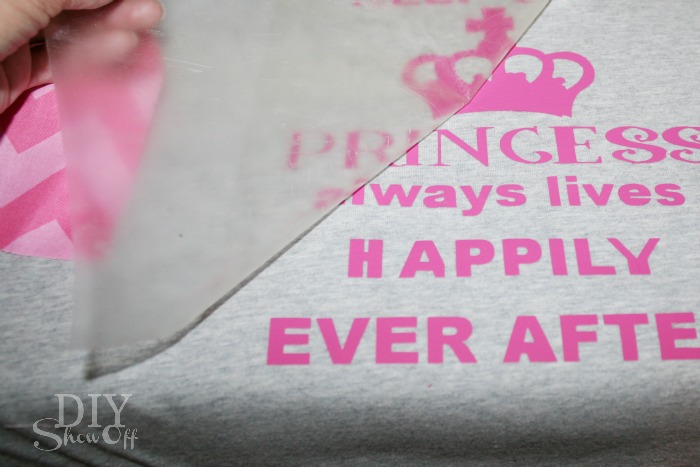
7. Peel away the transparent shiny plastic. If part of the design starts to lift, replace transparent plastic, re-cover and iron again. 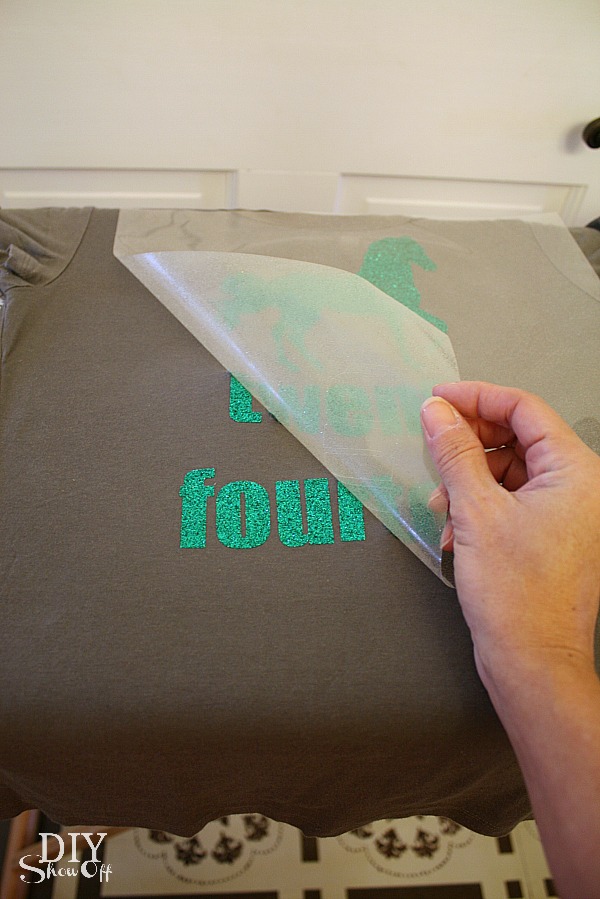
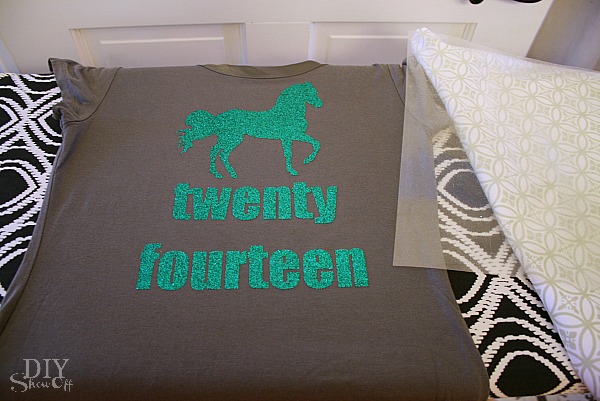
8. All done! An old t-shirt, a new look and a fun reminder of your ‘word of the year’ to make 2014 awesome!

It’s certainly difficult to photograph the sparkle, not to mention take photos of myself wearing it. But you get the idea, right? It’s super glittery!

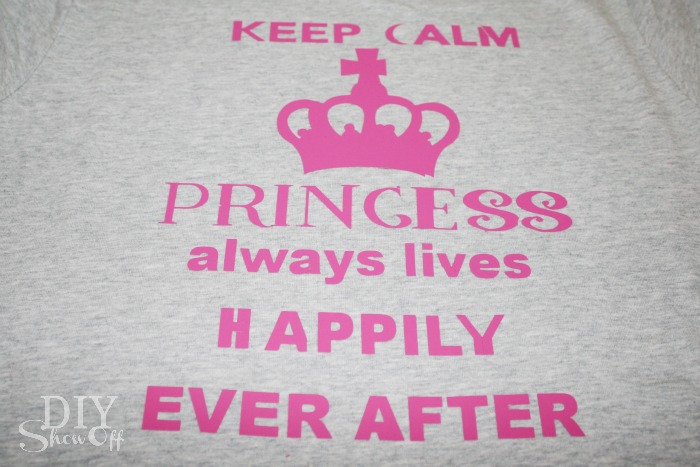
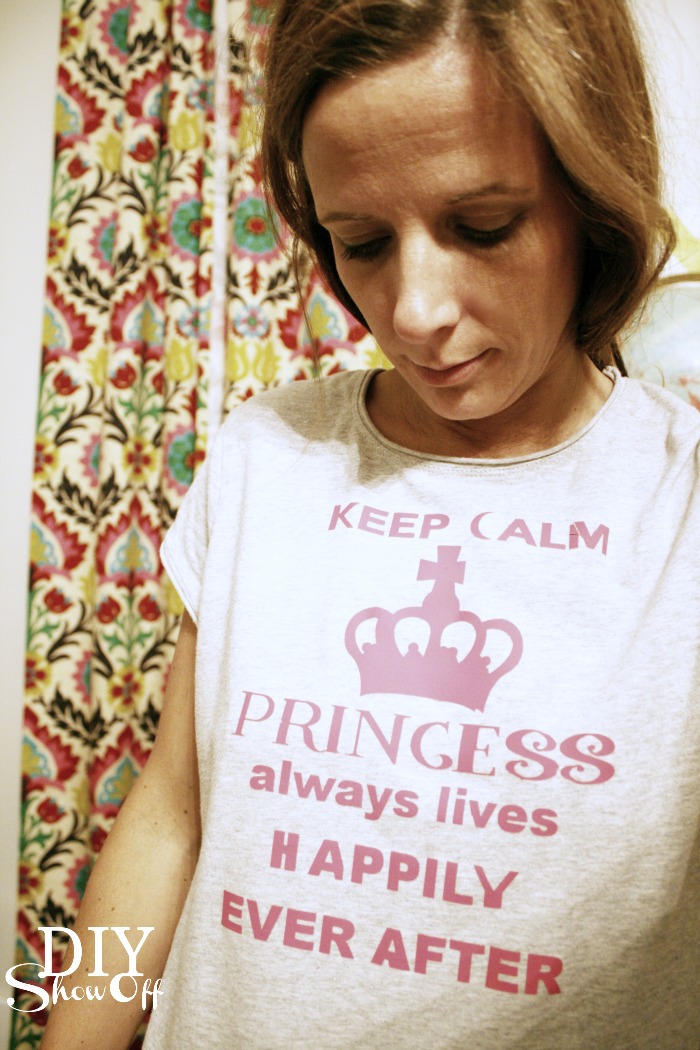
Isn’t that green glitter iron-on vinyl pretty? I’ll be using scraps for a glittery shamrock for St. Patrick’s Day too! Here’s another iron-on vinyl tutorial for a monogrammed t-shirt for more direction and inspiration.
*This post is sponsored by Happy Crafters. Tutorial, experience and opinion is my own. I really love working with this vinyl. Check out all the supplies at Happy Crafters for inspiration for your next project.