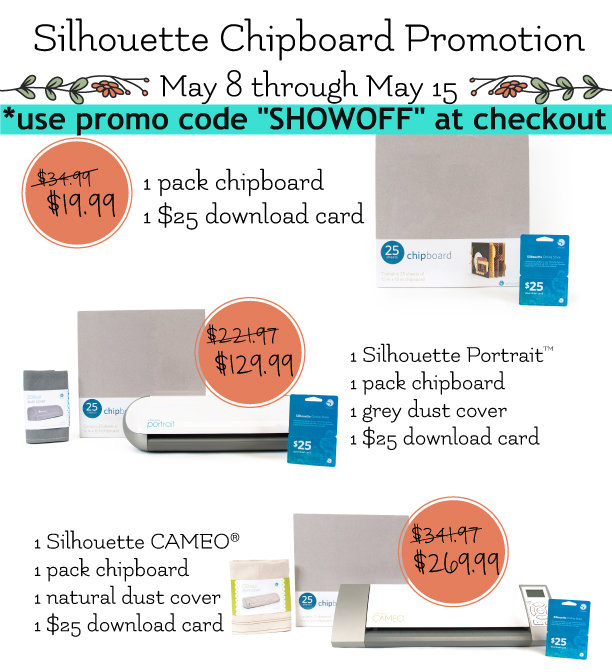
As a Silhouette America affiliate, I have the opportunity to try new products and earn a small commission on sales while passing along special promotions. Here’s the current deal with awesome savings. Just use code “SHOWOFF” at checkout.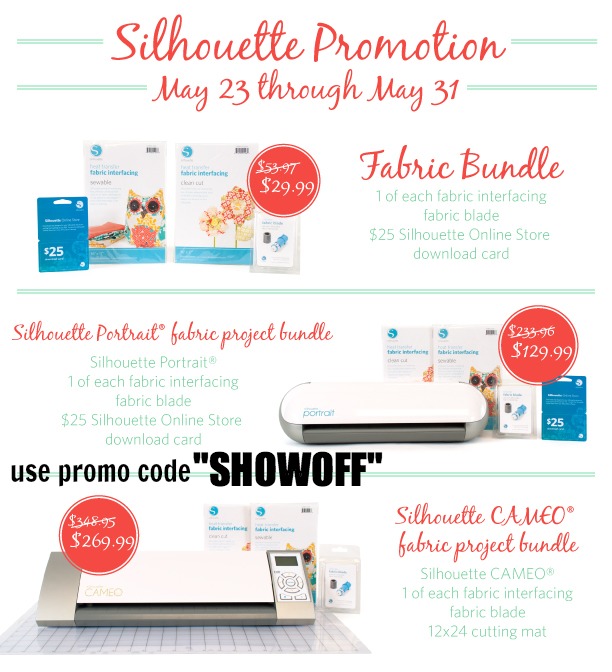
Did you know that Silhouette America has fun products like sewable fabric interfacing (thinner for sewing into place and washable) and clean cut fabric interfacing (thicker for no sew/no wash projects) for creating fabric appliqués?
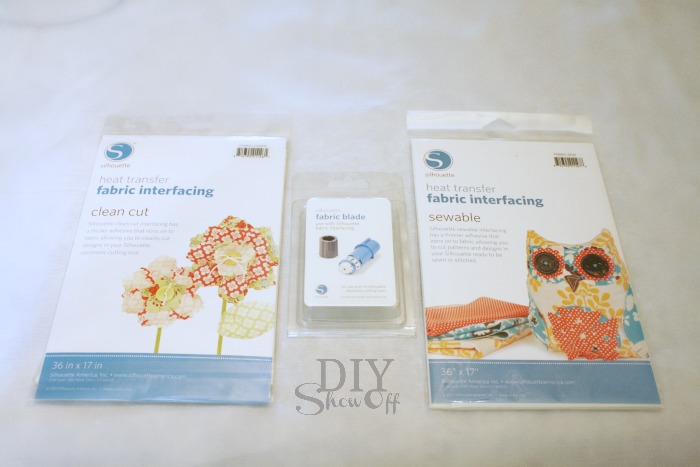
Here’s a tutorial on how it works: I chose the sewable fabric interfacing.
1. Pre-wash/shrink fabric and t-shirt.
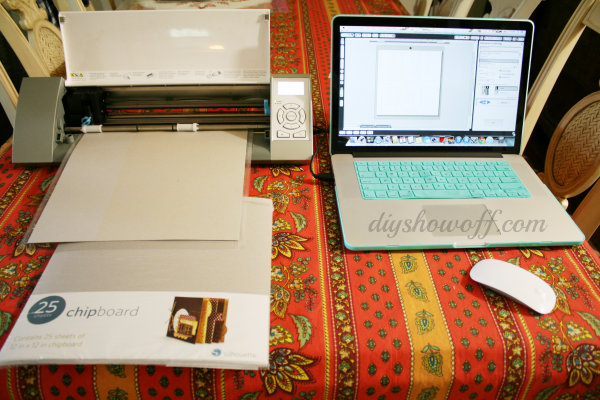
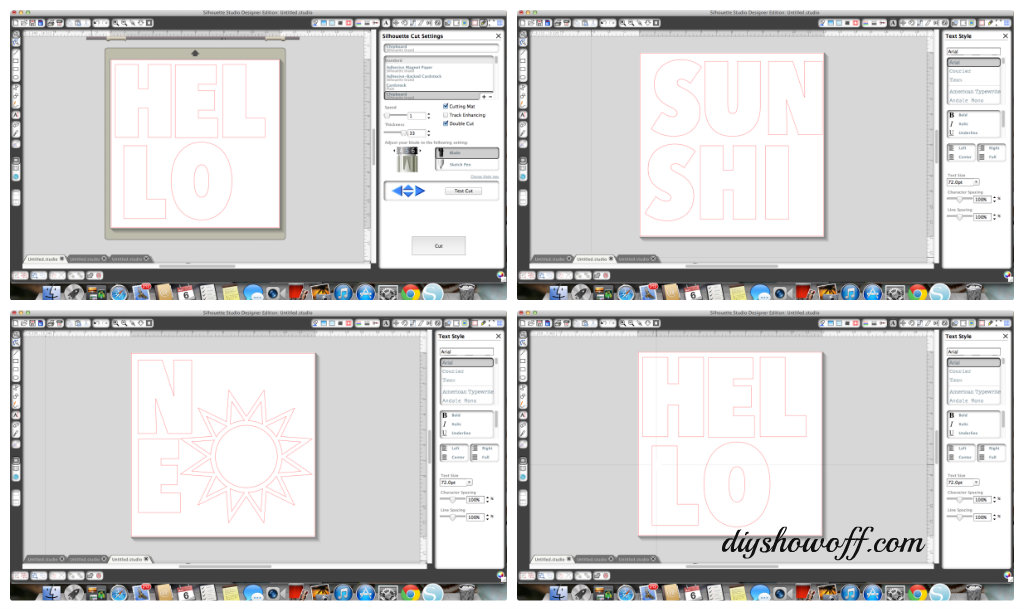
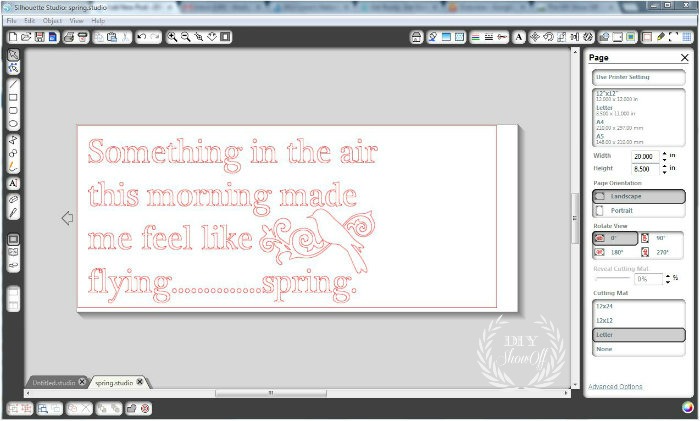
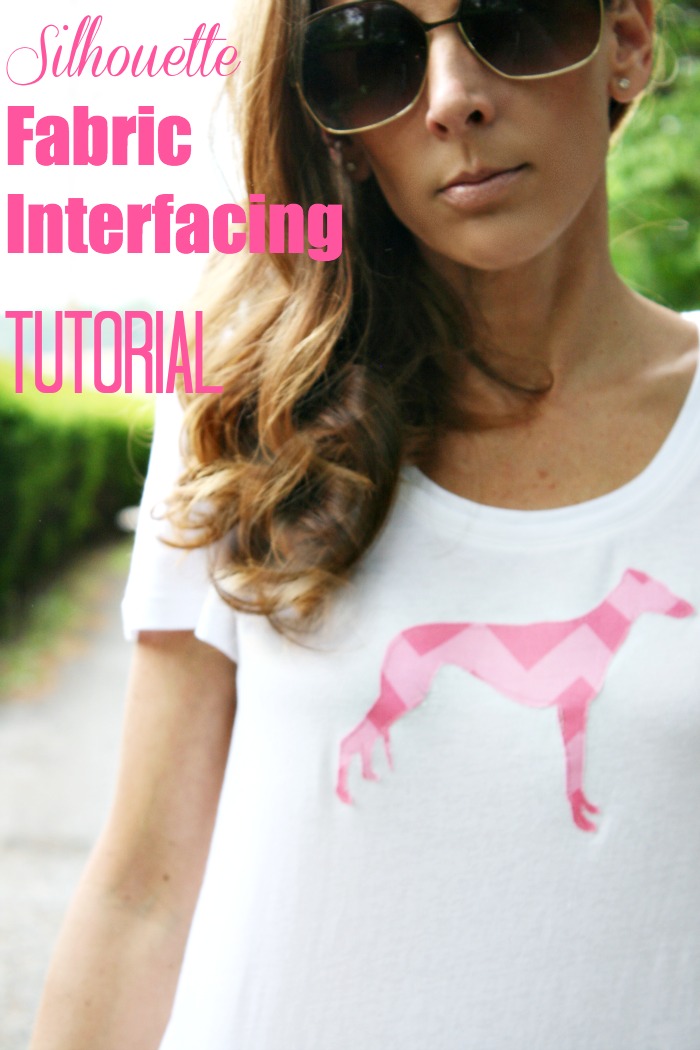
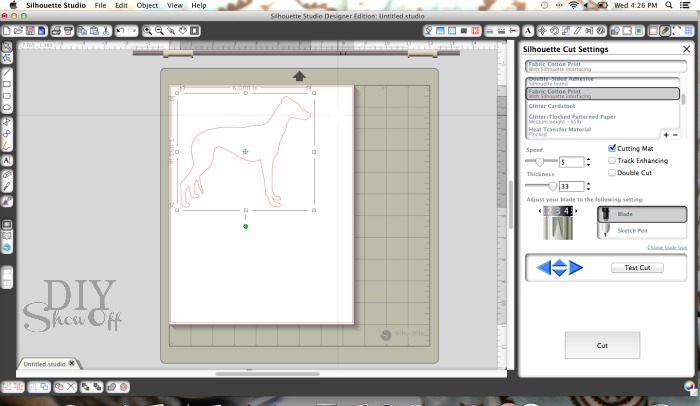
2. Open the Silhouette Studio software and create a shape, monogram, even lettering for words. I easily purchased a ‘greyhound shape’ from the Silhouette online shop for 99 cents for labeling the pet food jars a while back that I can use over and over again. The little girl in me decided to create a pink chevron appliqué for a plain white t-shirt. For me. To match my dog. I’m a dork like that. 😉
3. It’s easy to size in the software. I place my shape in the top left hand corner of the “cutting mat” in the open studio software.
4. Cut the appropriate sized piece of fabric and interfacing.
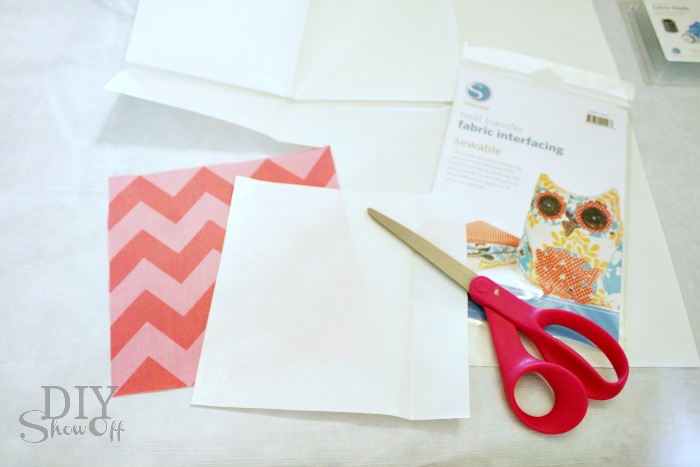
5. Next, iron together a piece the sewable fabric interfacing (rough side) to a piece of scrap fabric (cut to size) on the back/wrong side using the appropriate settings for the fabric.
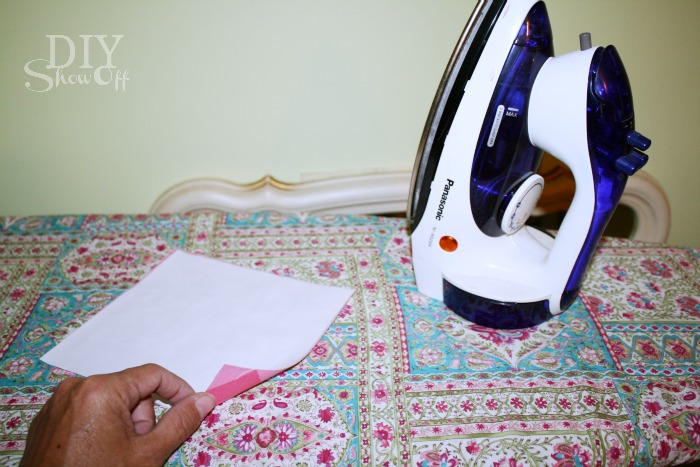
{Wow! I guess I did get some sun in Mexico in Feb! I tan super easy/quick even with sunblock.}
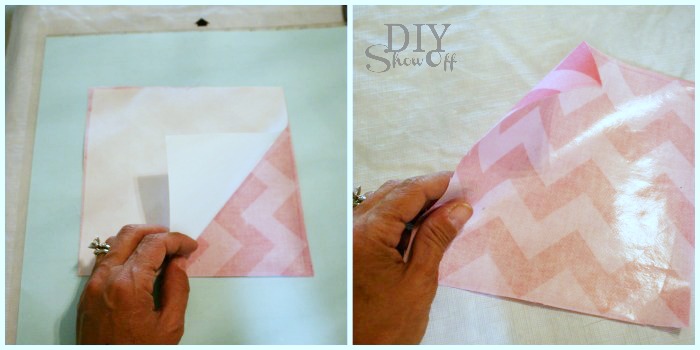
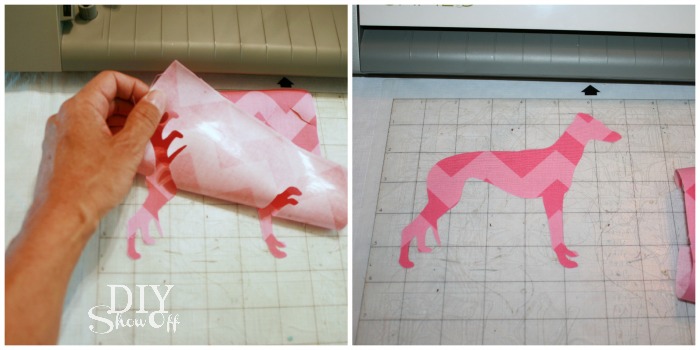
6. Peel away the paper…you’ll see the ‘interfacing/glue’ has transferred to the fabric.
7. Then place the fabric onto the cutting mat (into the same location as shown in the Silhouette Studio software) and insert into the machine.
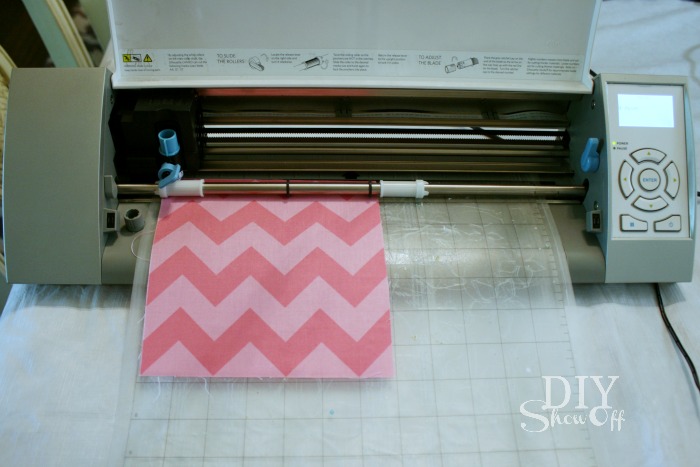
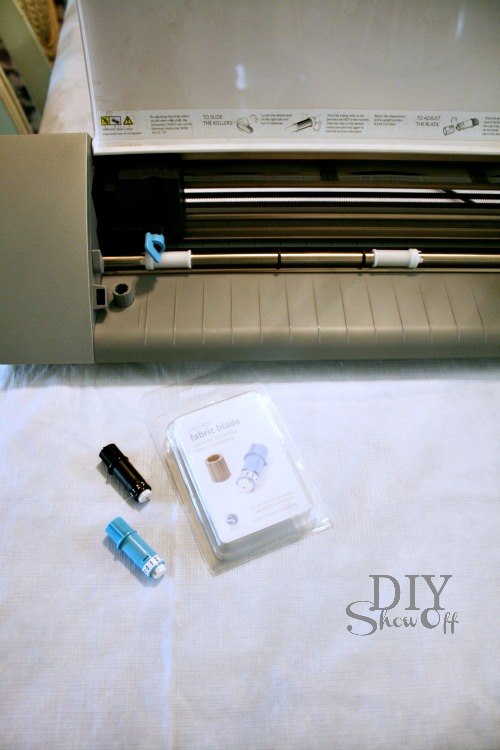
8. Hit “send to Silhouette”, change the blade and cut settings.
9. Click “cut”.
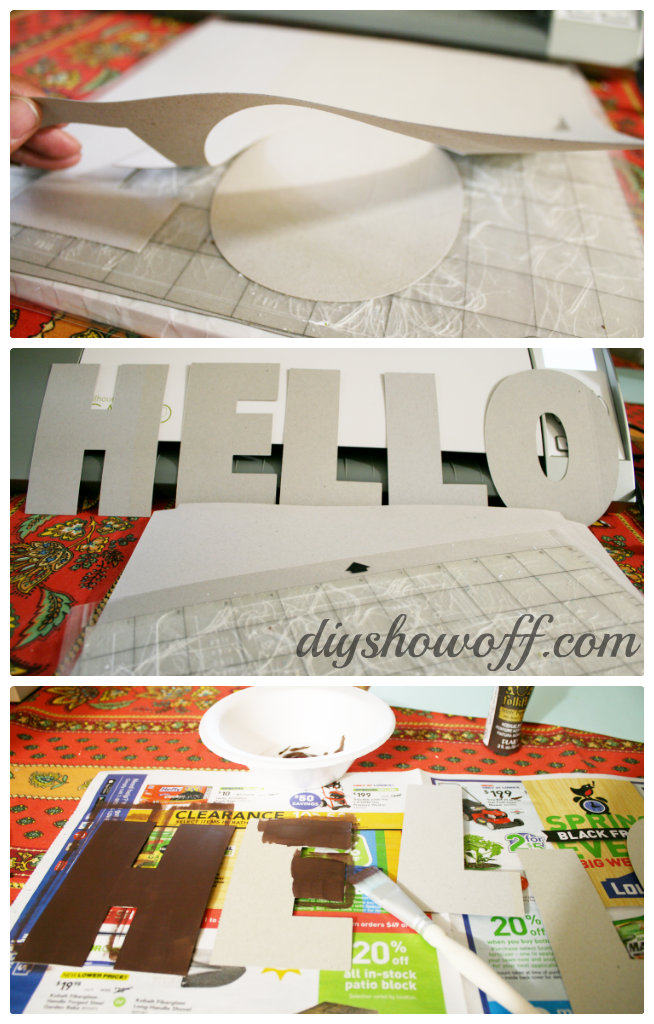
10. Once it’s finished cutting, remove the fabric from the cutting mat, toss the scraps and you’re left with an iron-on fabric appliqué.
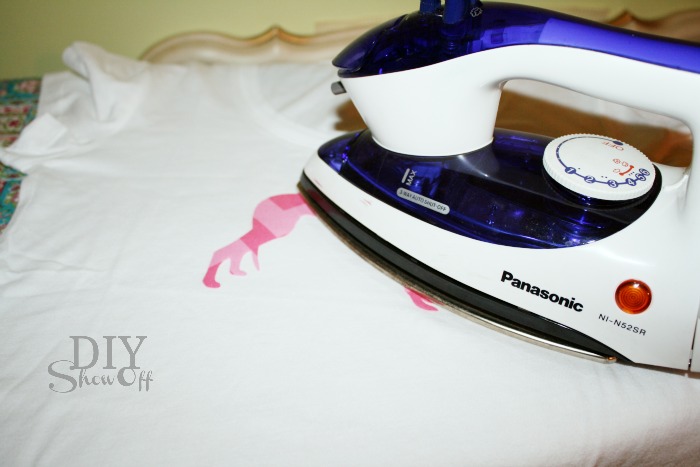
11. Next I positioned the appliqué onto my t-shirt and ironed it on (using the heat setting for cotton). This holds it into place.
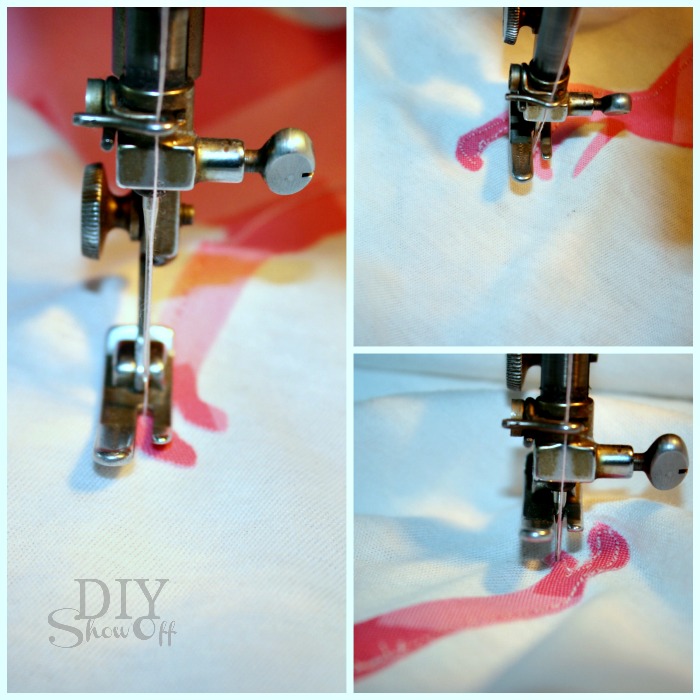
12. Then added stitching as close to the border as I could get with the sewing machine to make it more secure and durable for washing. Tip to help maneuver curves in a design: with the needle down (piercing the fabric appliqué), lift the foot then slide around the t-shirt, put the foot back down and resume sewing. Also, make sure NOT to sew the front of a shirt to the back while sewing!
All done! Here is what it looks like inside out and all complete…
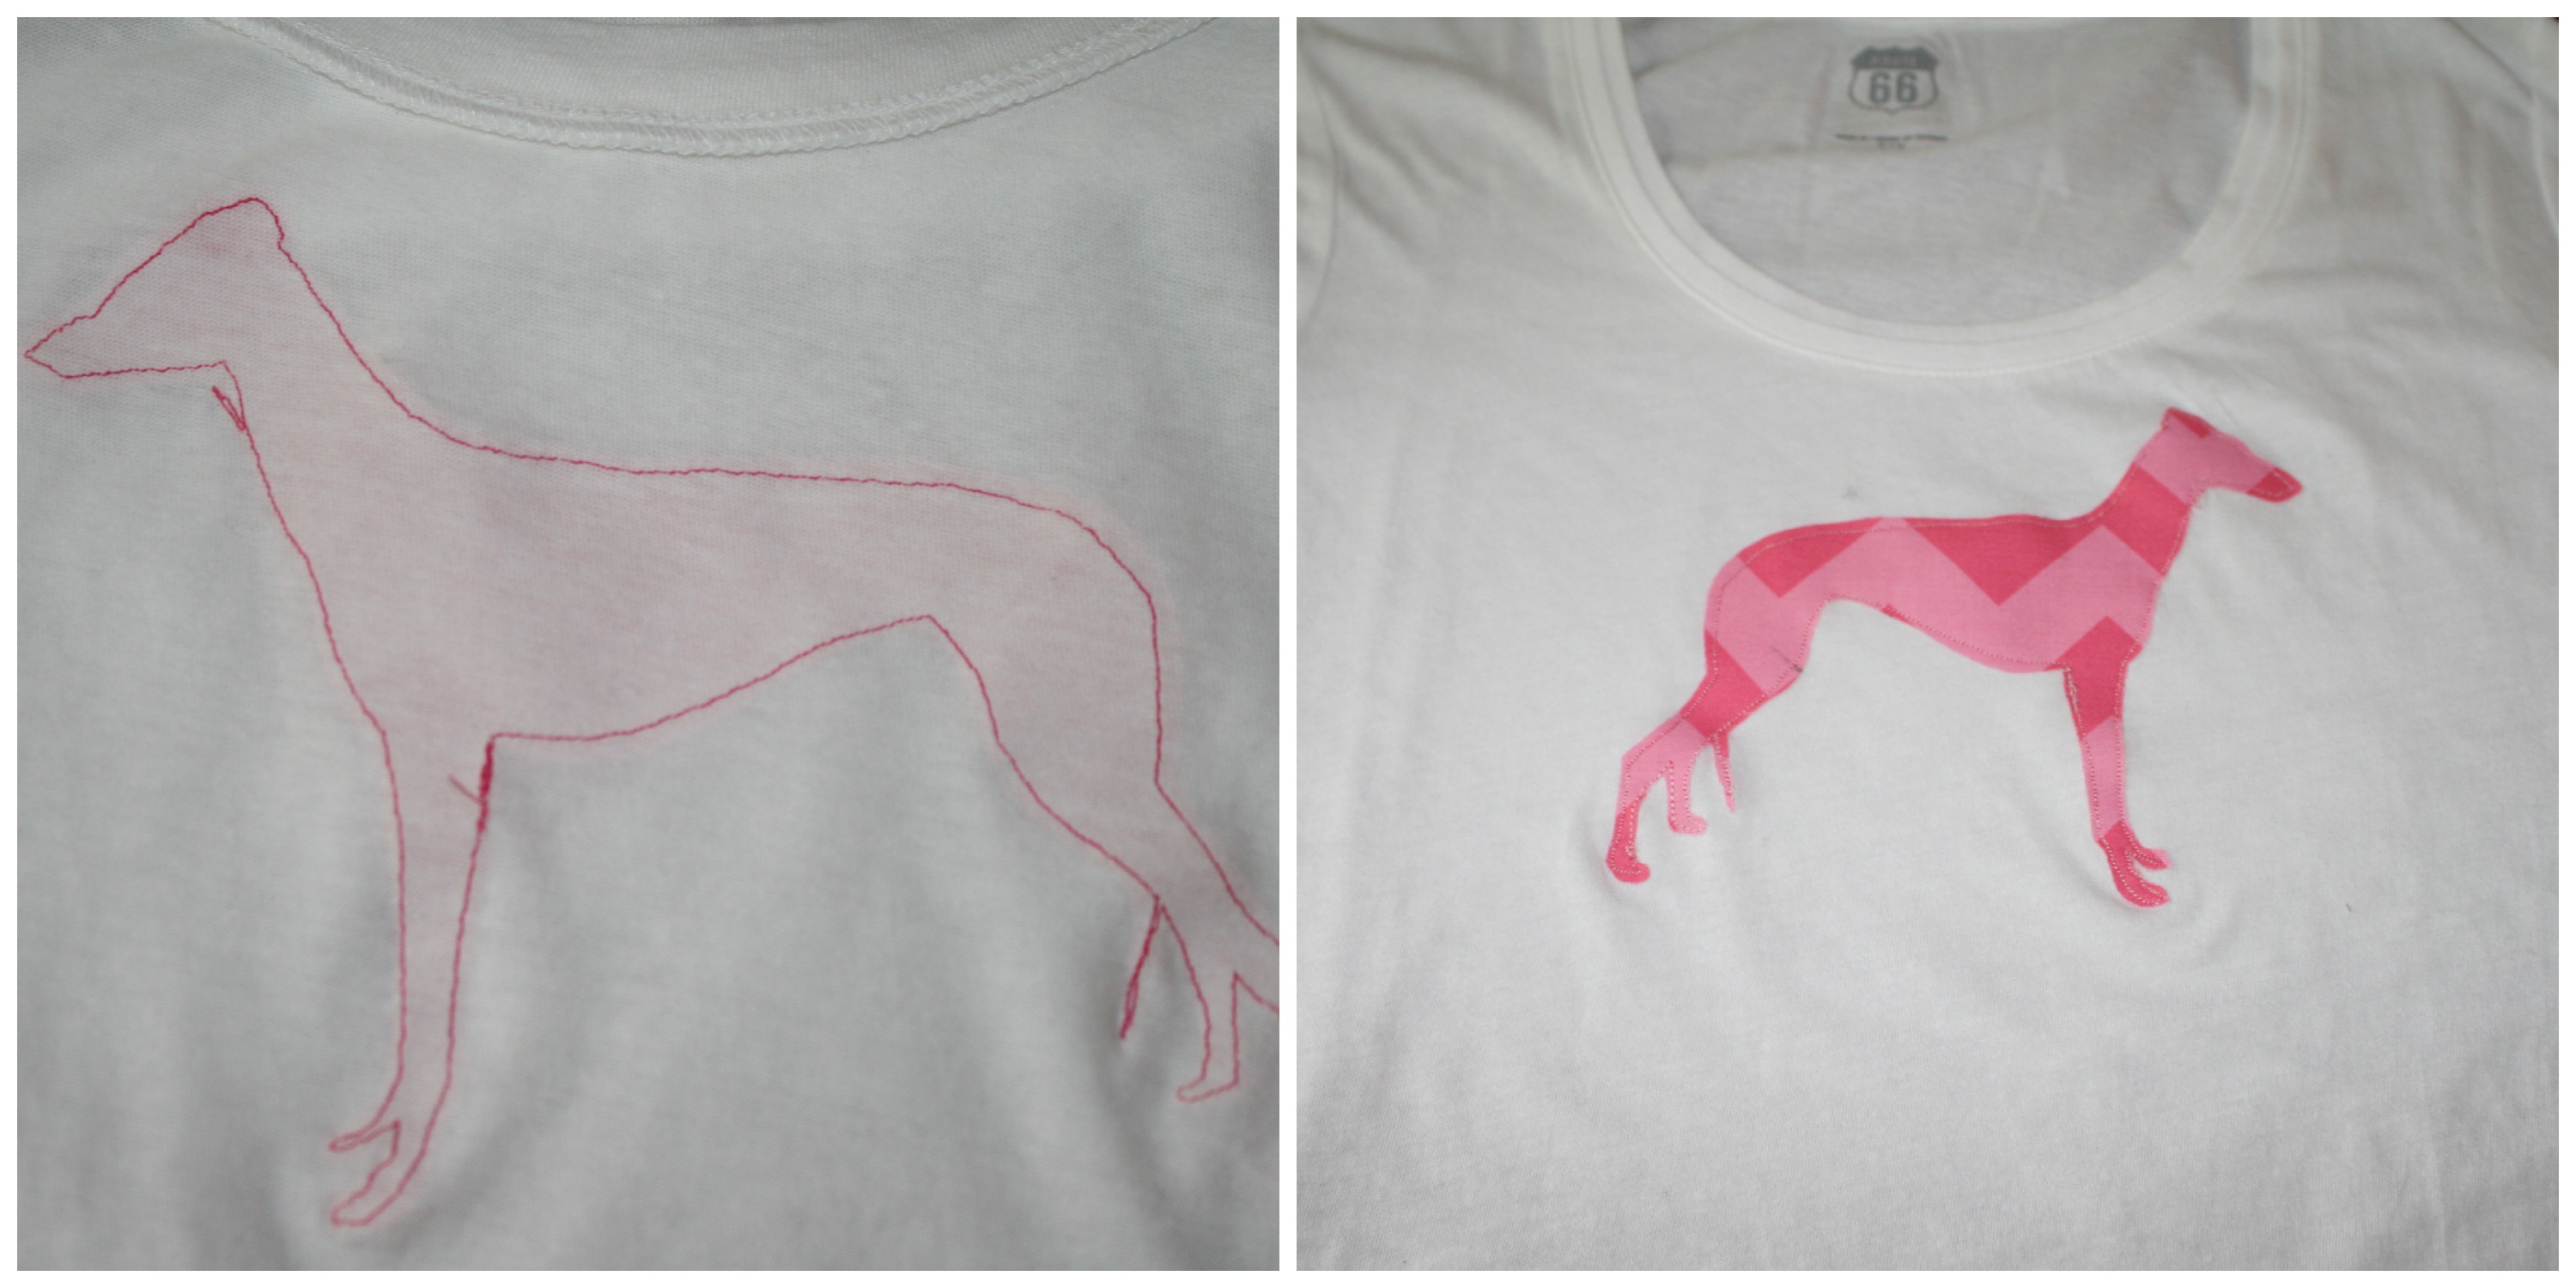
Cute! I love it. 🙂
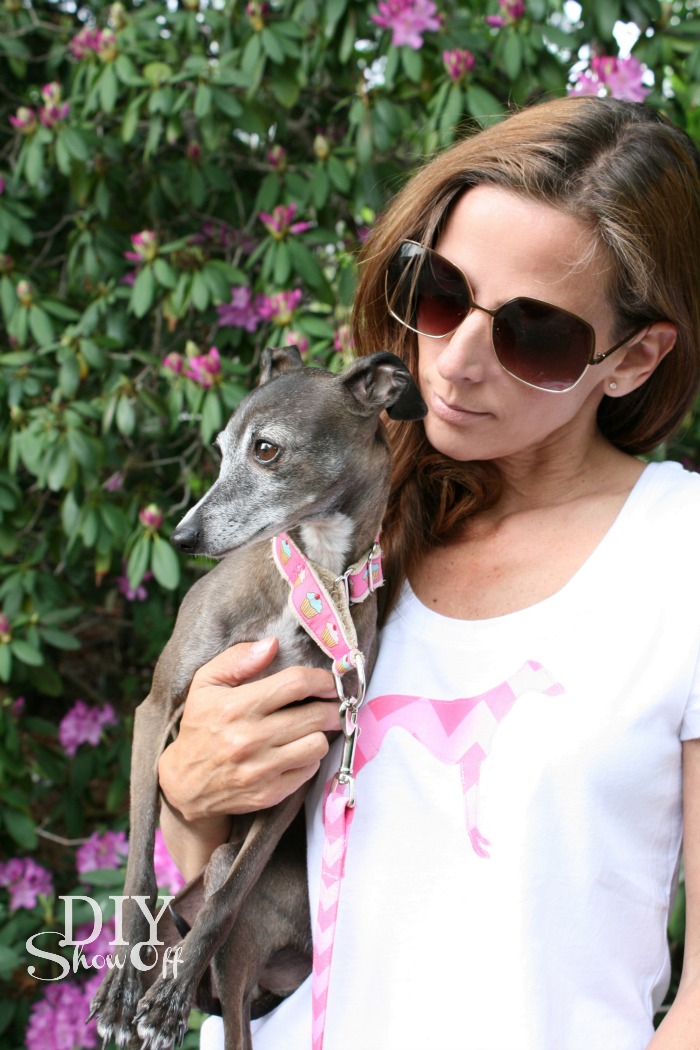
Me & CocoRosie…
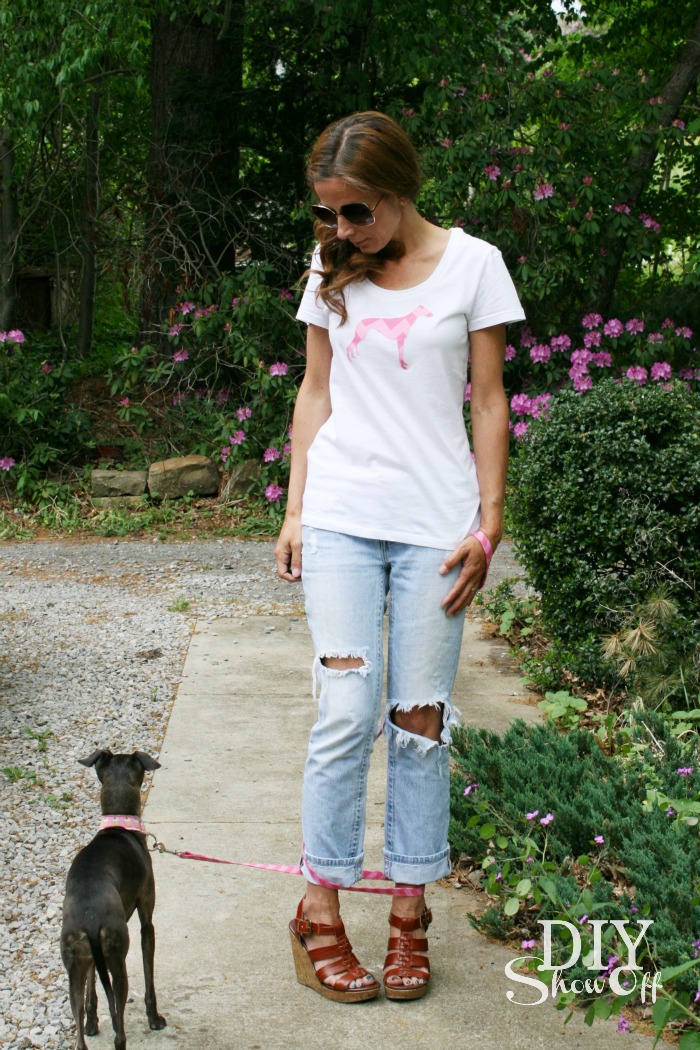
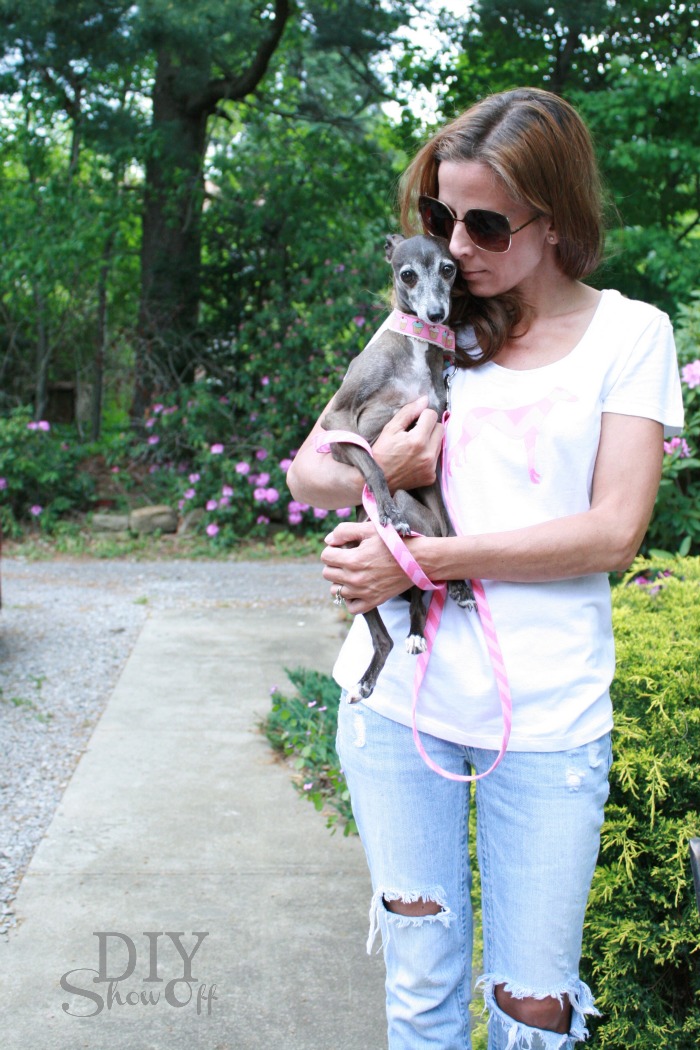
Yes, this little Italian Greyhound has stolen my heart in the 1 month since we rescued her…
![]()
Note: I purchased the matching pink chevron dog leash (shown) and chevron dog collar (not shown) at Etsy shop, Learned Stitchworks. I loooove it (Thanks for the purple set too, Karen!) Gorgeous color choices, beautiful handmade quality, BEST pricing ever! Very satisfied customer. I need a set in every color, don’t you?
I purchased the (Riley Blake) pink chevron fabric from Fabric.com (leftover from the DIY dog bed cushion I made).
Back the fabric interfacing…It’s great for making personalized tea towels, baby blankets, tote bags, t-shirts, monogrammed pillow covers.
So not only does my Silhouette cut paper, vinyl and chipboard, it cuts fabric too! One more reason you can’t live without one! 🙂
Use code “SHOWOFF” at Silhouette America (this affiliate link) from now through May 31st to take advantage of the special pricing.
And how about a chance to win a Silhouette Portrait machine?!
THIS GIVEAWAY IS NOW CLOSED. Winner is Benny who says “My son is getting married soon, I would make ‘bride’ and ‘groom’ appliqued t-shirts.” Congratulations, Benny! Benny has been notified by email to claim her prize.
Giveaway starts today, 5/23 and ends Monday, May 27th at midnight EST. Winner will be chosen randomly and announced shortly after. Prize: Silhouette Portrait machine (supplies not included). This giveaway is sponsored by Silhouette America and open to US residents 18+ only.
For more chances to win, visit these blog friends: