Ever think about those boring stair balusters?
Martha Stewart

Meet: Angie from

Angie and her husband bought a 100+ year old home in desperate need of some love and blog about the misadventures in DIY home improvement. Angie’s project was the Pinterest-Martha-Stewart-inspired image above and here is her DIY result:

Gorgeous! When Angie first started this project, she hadn’t intended to use the same blue color scheme as in the Martha Pin-spiration photo but after color searching, a blue palette was the obvious choice for a home filled with many blues and sea foamy colors.

Her pictures are just as inspiring. But Angie does warn: this project is HARD for her 100+ year old, un-square, un-level home.
First step, choosing the colors:

Angie’s tips for choosing colors: So many blues! I’m addicted to the Valspar color options at Lowes, so I started the color selection process by selecting one section of the blues and bringing home ALL the chips in that section. I then chopped them up so I could “play paint chips”. And I played, and I played and I played some more. I originally thought I wanted to choose 16 different colors, one color for each of our balusters. But choosing 16 blues and putting them in ombre order proved way too difficult. Choosing 8 colors was hard enough. In the end, I chose two sets of three chips (you know…the paint chips come with 3 different colors on them with their own little ombre-ness to them). Then I just found two more colors, one really dark one and one really light one, to round out the field of 8.

It doesn’t take much paint. Paint samples (Valspar $2.94/each) are perfect for this project.

Angie didn’t want brush strokes to show up on the finish and used 1″ foam brushes to apply the paint. Three coats each.

So pretty! Next step was installation. The balusters did get a little scuffed up by the table saw and during installation, but it is far easier to touch up a little paint here and there afterwards than to paint them in their entirety after installing.

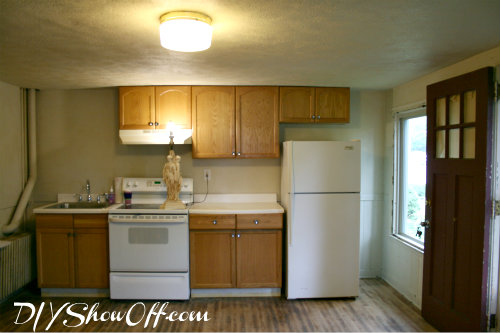
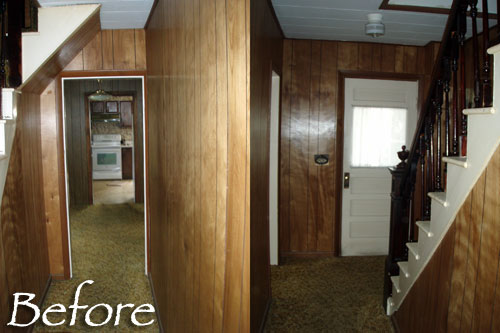
Before:
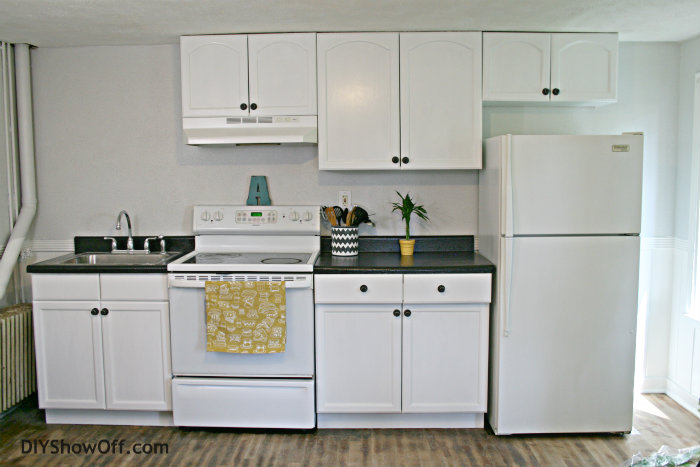
Amazing after:

The balusters are a great complement to DIY ski map art and pictures on the entry gallery wall.

Again, before (old homes have so much character but they generally do look like this at one point in their history)…

And the beautiful, fresh and light after…

Want to see more DIY (home + wedding) from Angie? Pop over, introduce yourself and take a look around at Angie’s Roost.