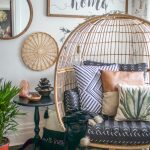
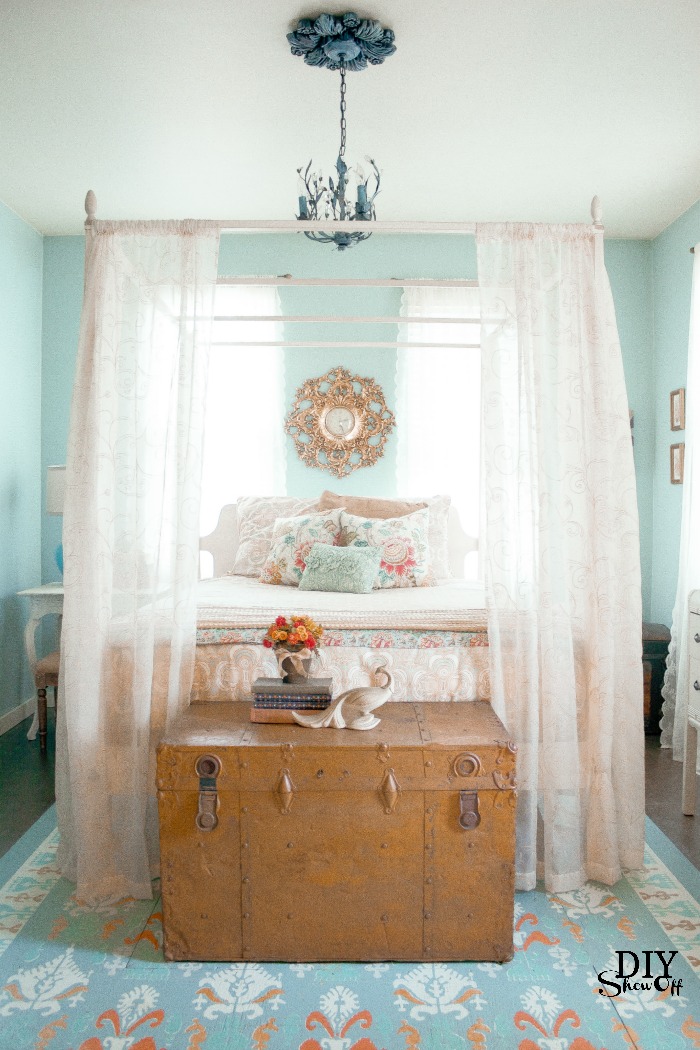
Eclectic Guest Bedroom Ideas

When I shared our family room and kitchen in the What’s Your Style Series, one style those rooms (and all rooms in my home) share is “eclectic”.

Visiting from the beautiful bedroom at Shabby Love? Welcome, friends!

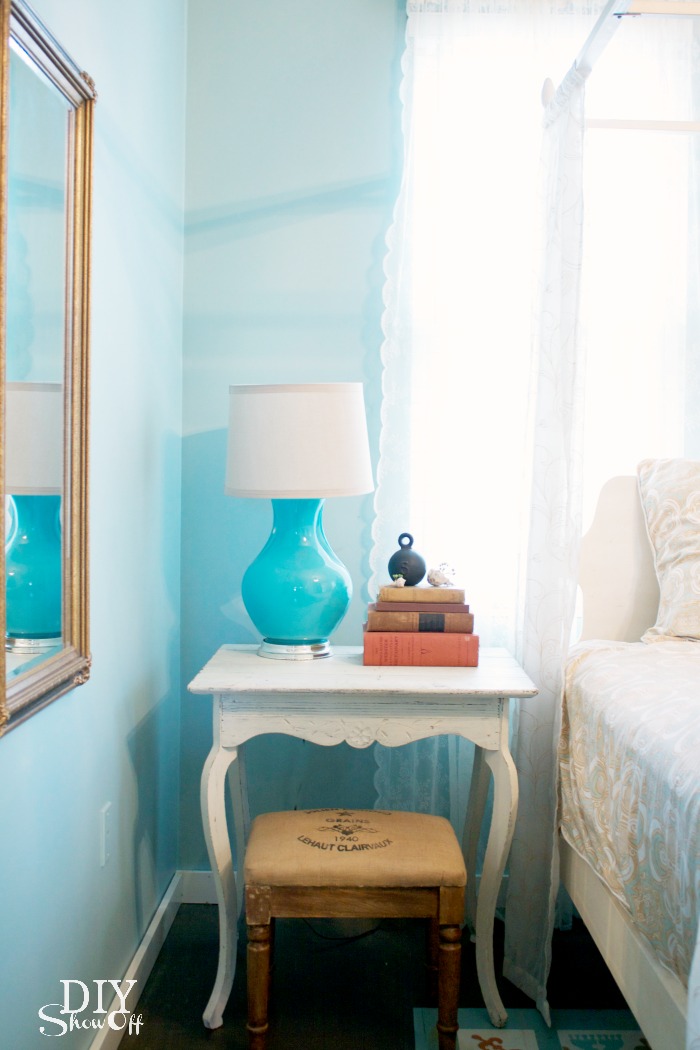
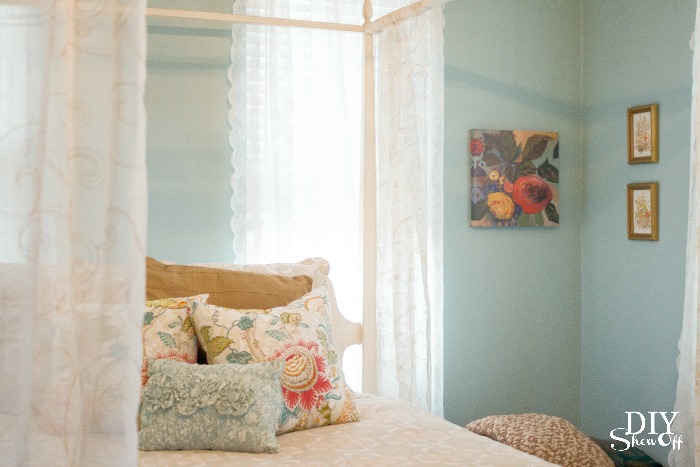
When you do what you love, specifically on a small budget; thrift stores, flea markets, estate sales, yard sales and Craigs List become favorite sources for unique, eclectic decor. Our guest bedroom is no exception. 

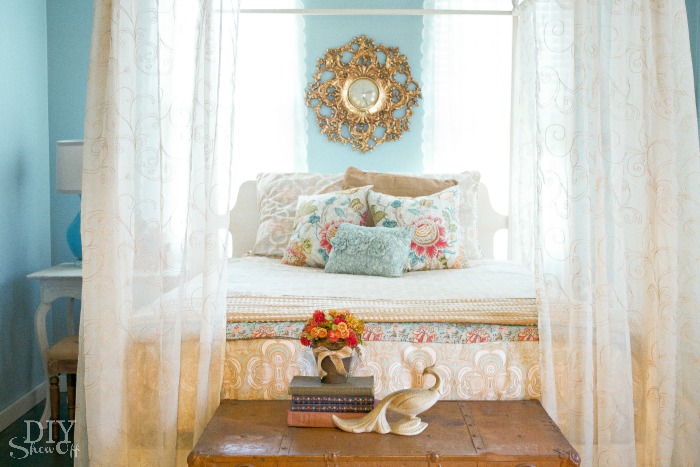
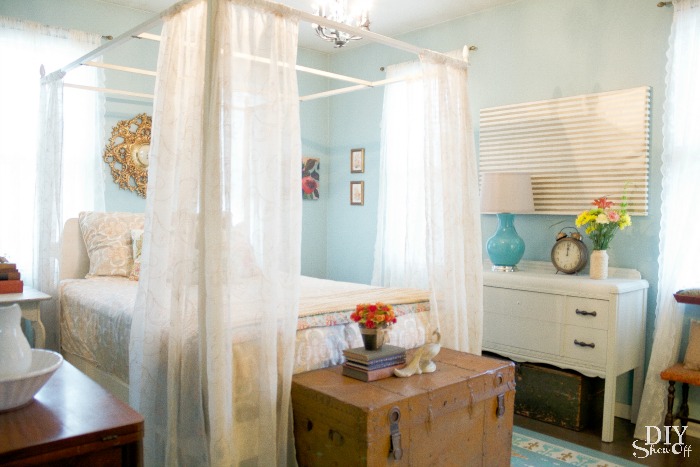
blue orange and gold eclectic guest bedroom at diyshowoff.com blue orange and gold guest room bed at diyshowoff.comblue orange and gold guest room bed at diyshowoff.comguest bedroom at diyshowoff.comeclectic guest room at diyshowoff.com

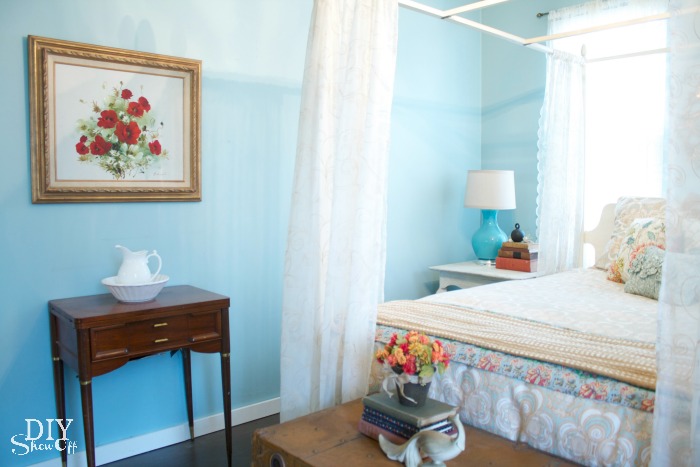
and a mix of old and new.

mixing old and new - eclectic guest bedroom at diyshowoff.com

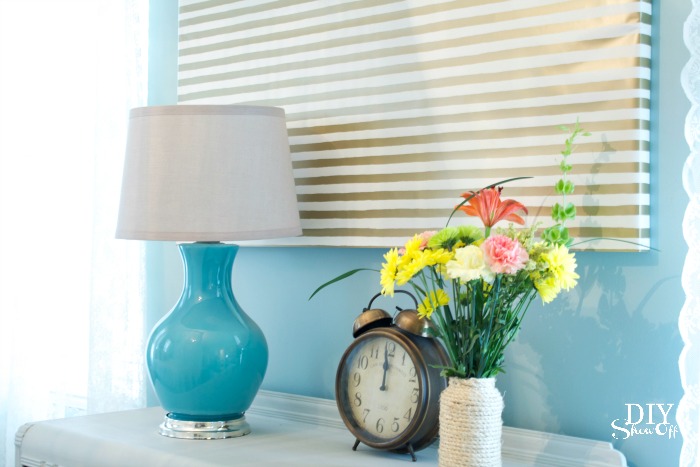
Small budget? Wrap a canvas you already own with pretty wrapping paper to freshen up old decor. 

wrapping paper canvas art at diyshowoff.com

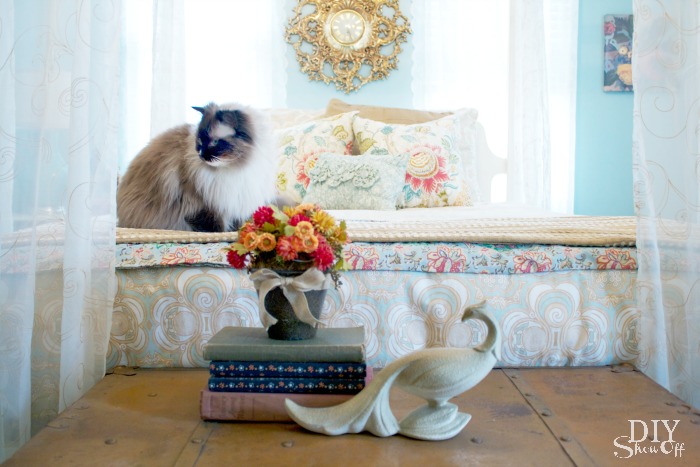
Layer the bed with a folded top sheet topped with a throw blanket. Cat optional. 

eclectic guest bedroom at diyshowoff

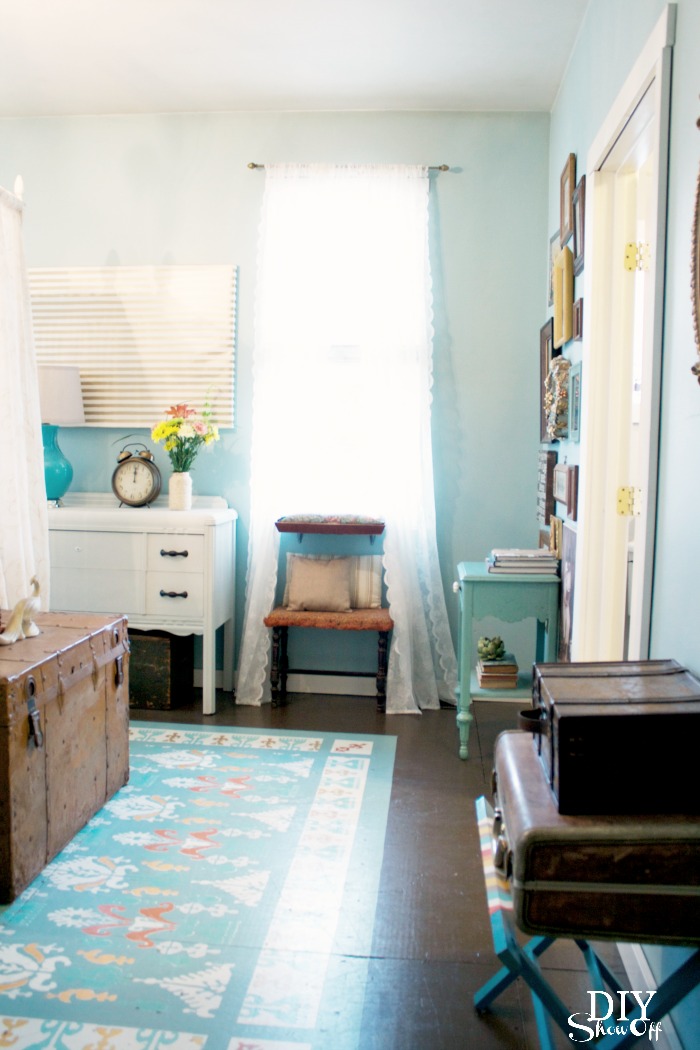
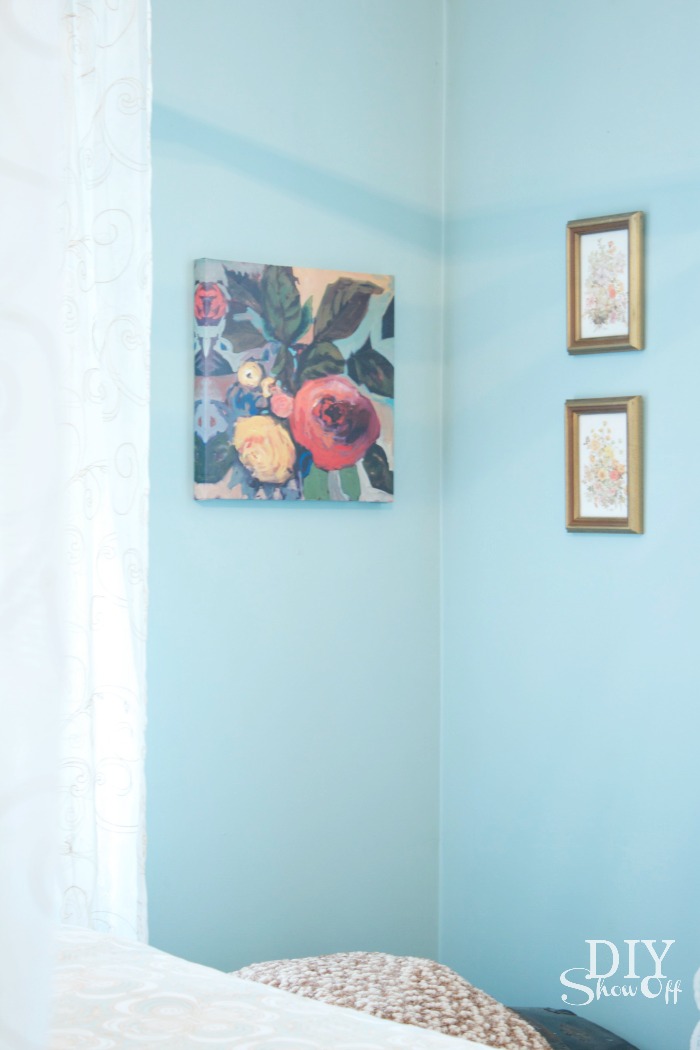
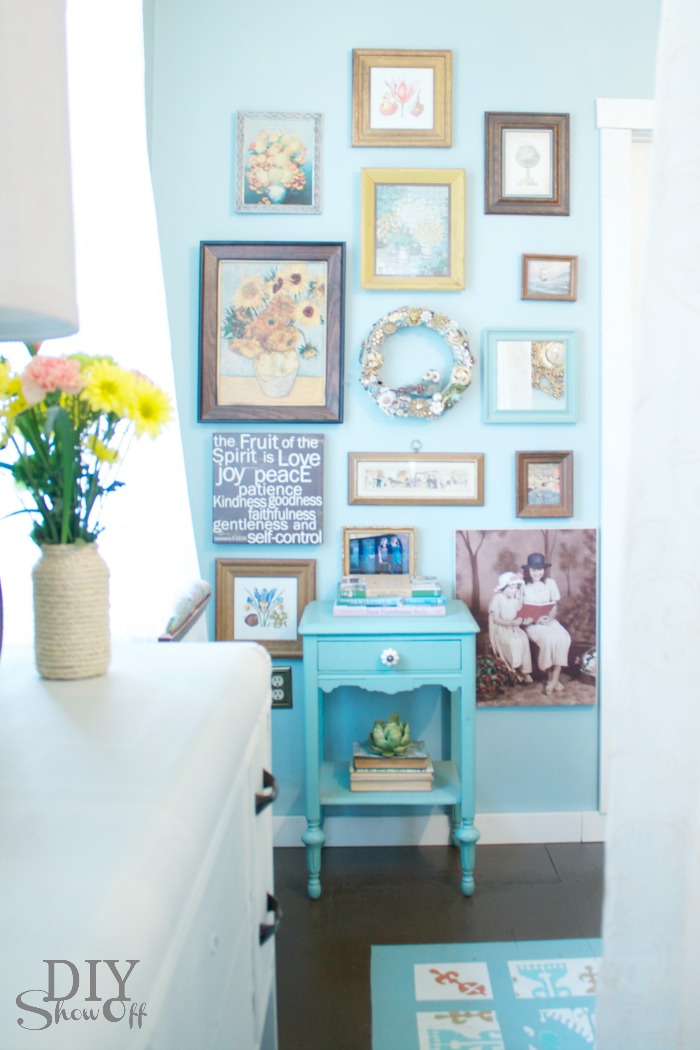
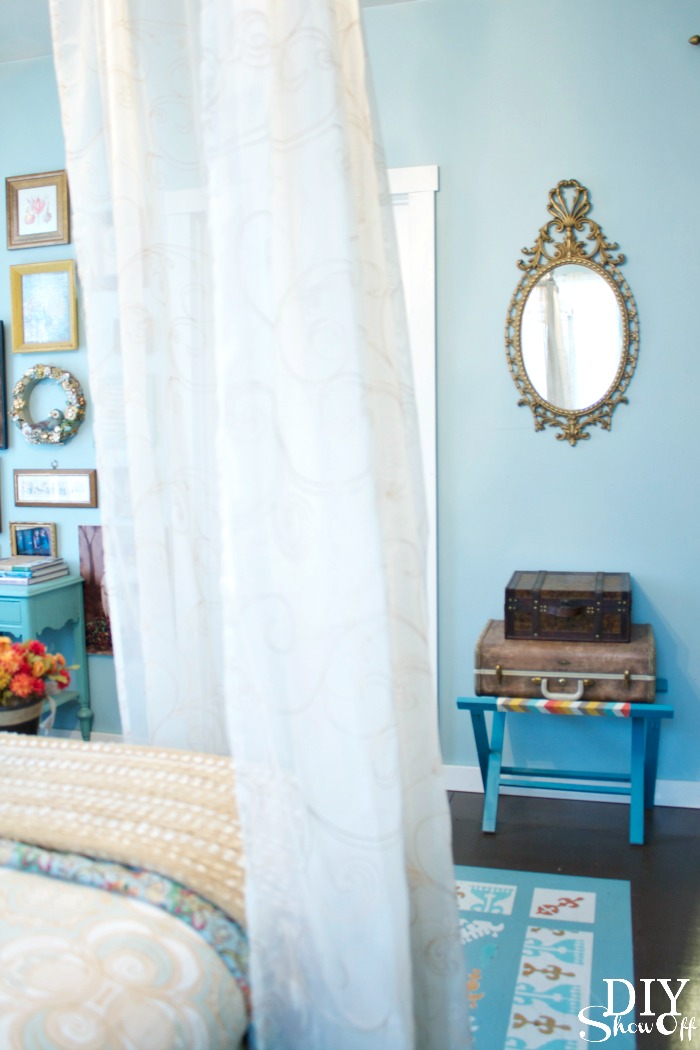
Eclectic: mismatched furniture, a mix of pattern and colors, collected-over-time gallery wall, DIY accents, a painted floor and flea market finds. 

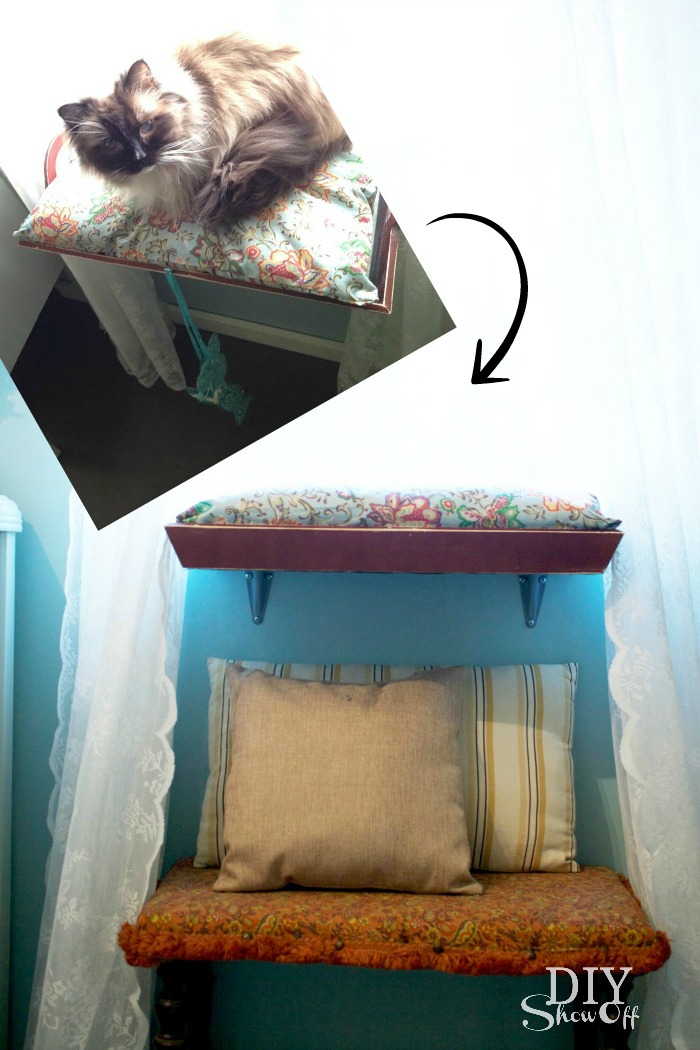
blue orange gold eclectic guest bedroom at diyshowoff.commixed media gallery wall at diyshowoff.comguest bedroom redo at diyshowoff.comeclectic guest bedroomDIY cat window seat

I’m in the process of planning a re-do on our other guest room/dressing room. Our master bedroom is a disaster since the day we moved in but always seems to get pushed further down the priority list. What’s your style and favorite bedroom in your home?

Posts related to this room/DIY in this bedroom:

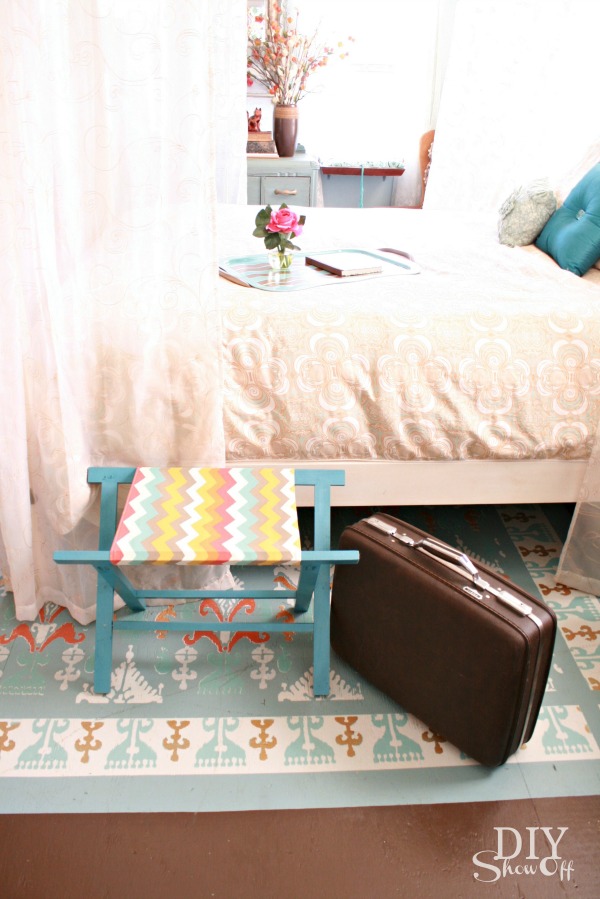
diy luggage rack

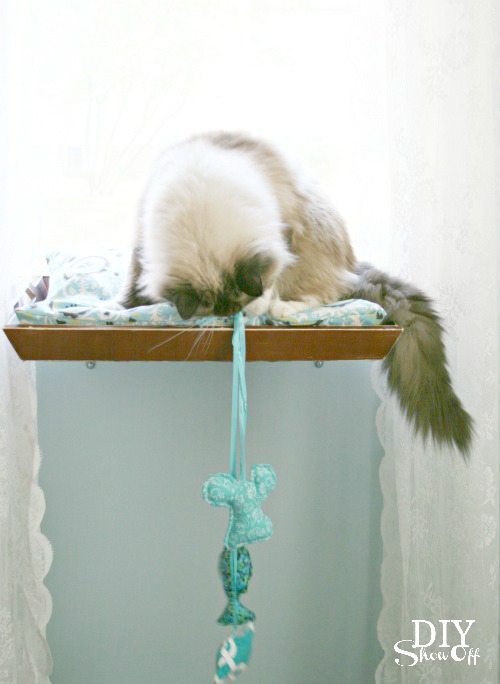
easy DIY cat window seat

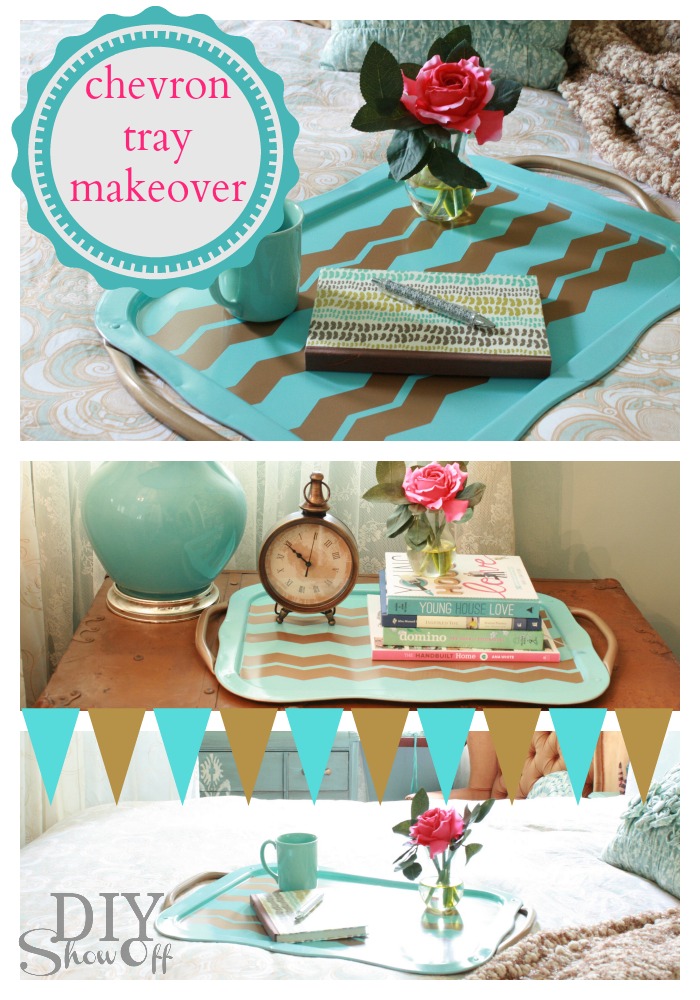
chevron Shape Tape tray

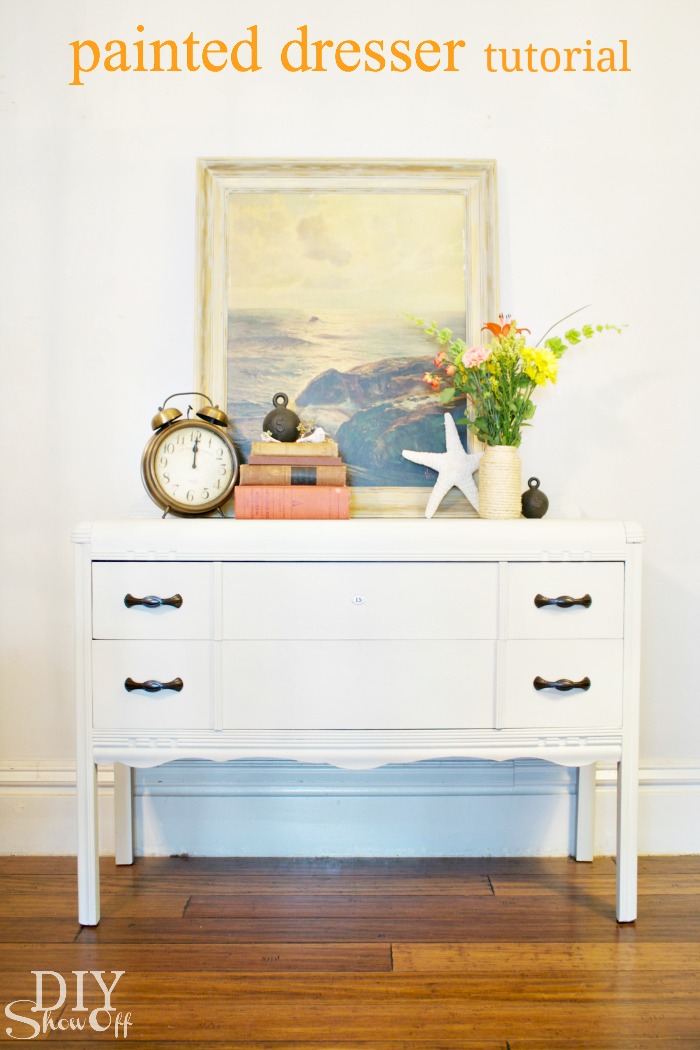
painted dresser tutorial at diyshowoff.com

See more of my style in the DIY Show Off Home Tour.

Ready for some more bedroom inspiration? Check out these bedroom beauties in the What’s Your Style Series:

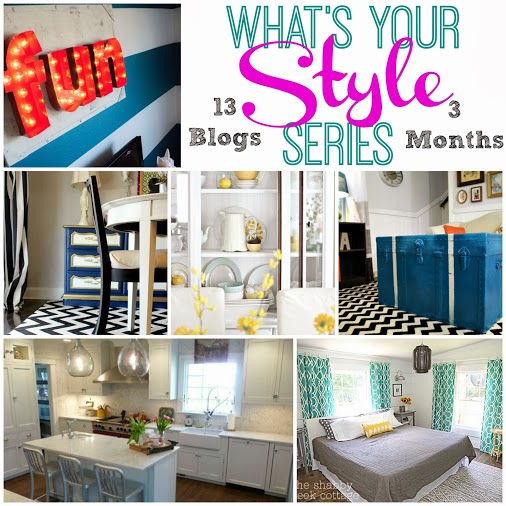
what's your style series

Ready for a little inspiration to get started on freshening up your bedroom? Check out the giveaway using the widget below to be entered to win a $100 gift card to Online Fabric Store. Good luck!

a Rafflecopter giveaway

DIY Holiday Home Decor: Mirror Makeover

Give an existing mirror a new look for the holidays with a simple makeover and a frosted technique is perfect! The look without the shivers and frozen toes.

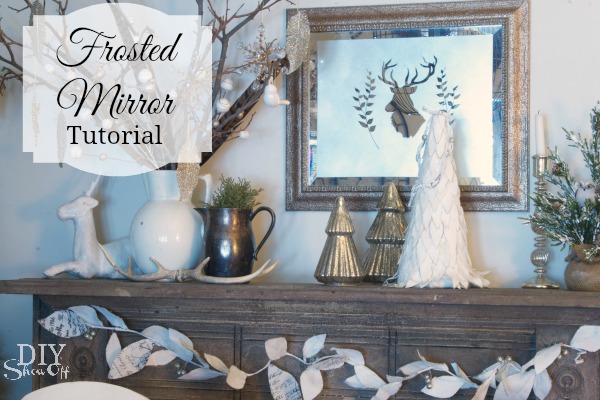
DIYShowOff frosted mirror tutorial

Materials:

  • Framed mirror
  • FrogTape®
  • Frosted Glass Spray Paint
  • Vinyl Decal

What I did: (pardon for the poor quality tutorial photos – this was something I worked on in the evening for a party the next day!)

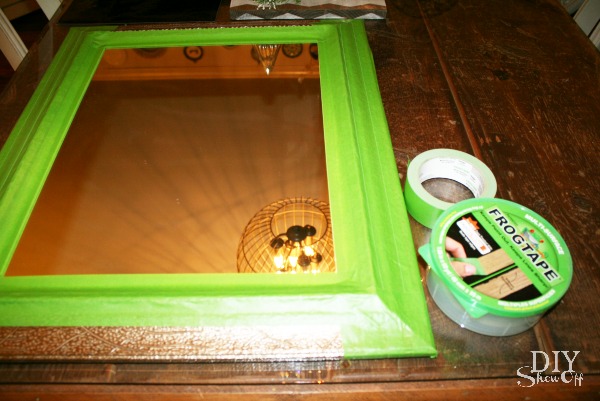
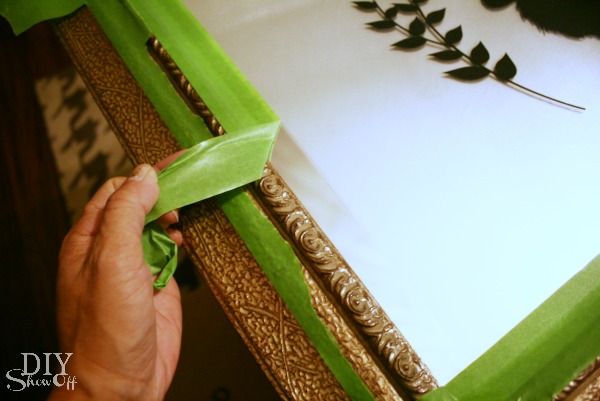
Using FrogTape, I taped off the beveled edge of the mirror. I also liked the mirror’s metallic frame so I taped that off too. Using my thumbnail, I burnished the edge of the tape so that I’d have a crisp clean spray paint line.

FrogTape mirror

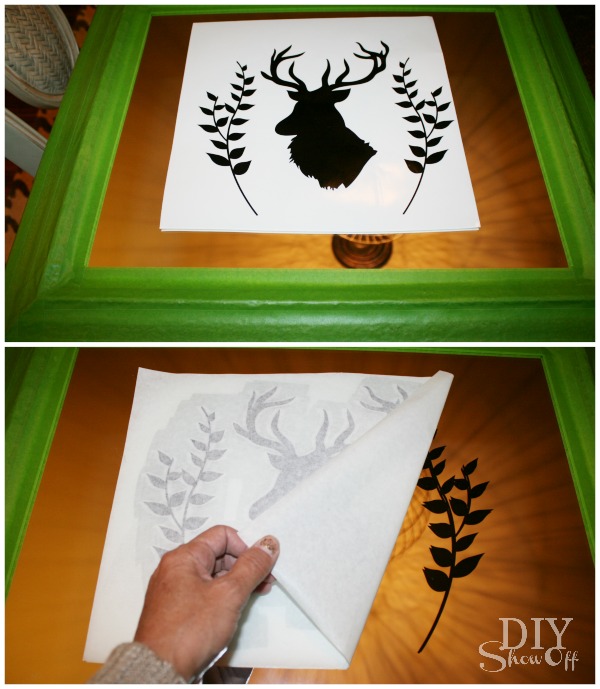
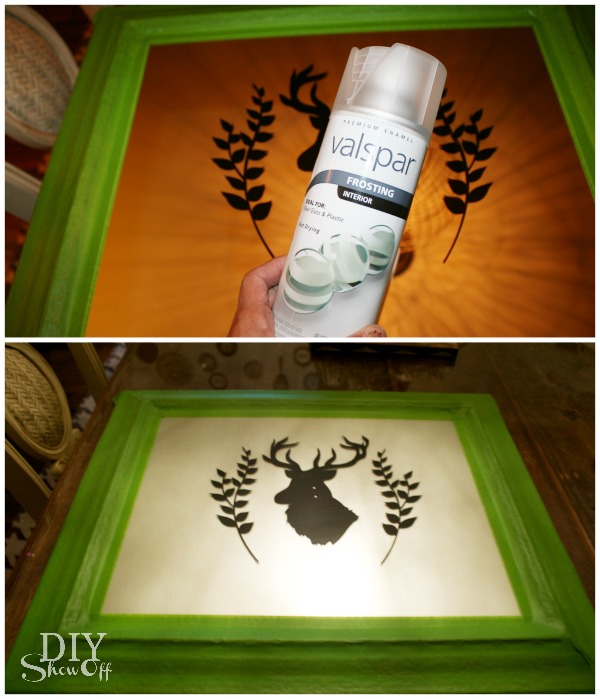
Apply a vinyl decal. I used a deer head I created using my Silhouette Cameo. You can use stickers or create your own decal from adhesive vinyl. If you’re artistic, try lining up strips of FrogTape, sketching your own design to cut out and apply to the mirror. 

mirror makeover

Spray one coat for a light frosted finish, more for a more solid frosting. I went with one light coat.

DIY frosted deer mirror tutorial

Remove FrogTape and decals.

Frosted Mirror Tutorial

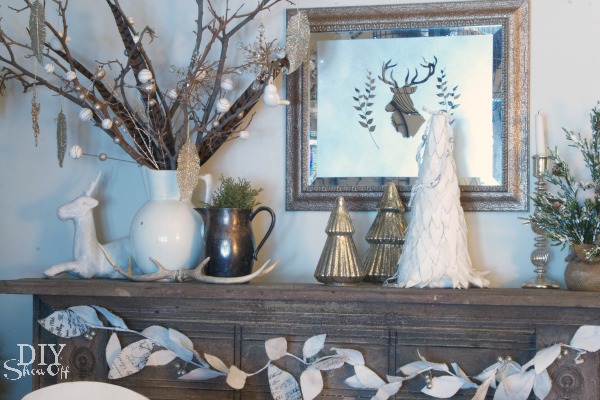
Let the frost dry then display! Perfect for a winter wonderland themed mantel, don’t you think?

Frosted Mirror Christmas Mantel

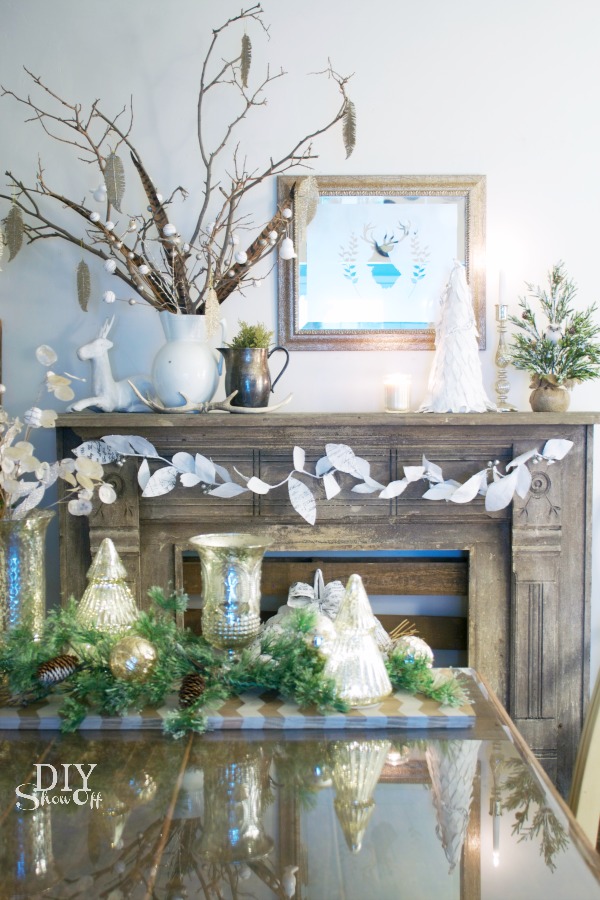
I can use it from fall, Thanksgiving, winter and Christmas or even display it all year long. Wouldn’t a monogram be lovely?

rustic glitter Christmas decor

Do you spy the wooden chevron {ShapeTape} table runner? See how to make that here.

I shared a summary of my holiday home tour this week too – you’re invited to stop by!

See more of my Christmas dining room in photos today at 11 Magnolia Lane…

11 Magnolia Lane open house 

and don’t forget to check out the blogger holiday home tours at

Deck the Halls Party


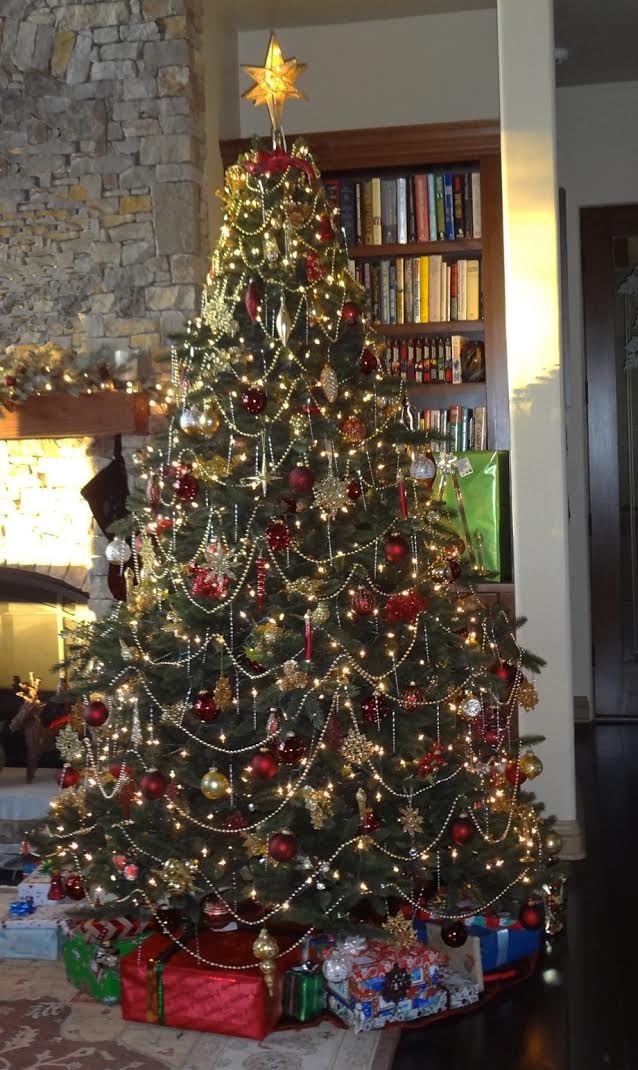
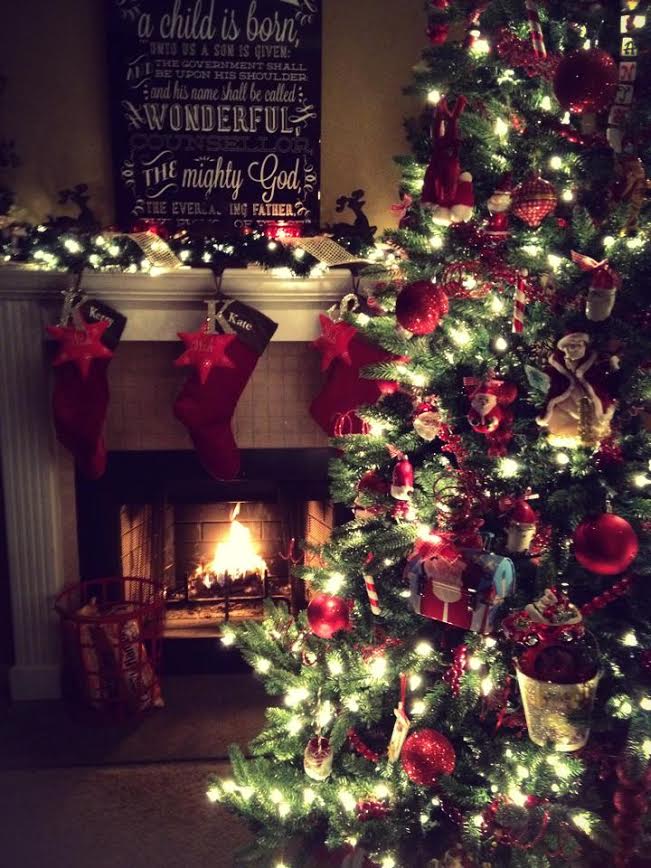
Eddy’s Christmas Tree for the Christmas Tree Contest

Eddy's Christmas Tree

FrogTape Blog Squad

Disclaimer: I received compensation to complete this project for using FrogTape® products. All opinions, projects and ideas are based on my own experience.

Transforming Home Decor

Who doesn’t love the power of paint? Need a quick change in your existing decor? Pick out a decorative accent and give it a coat of spray paint for a fresh new look. 

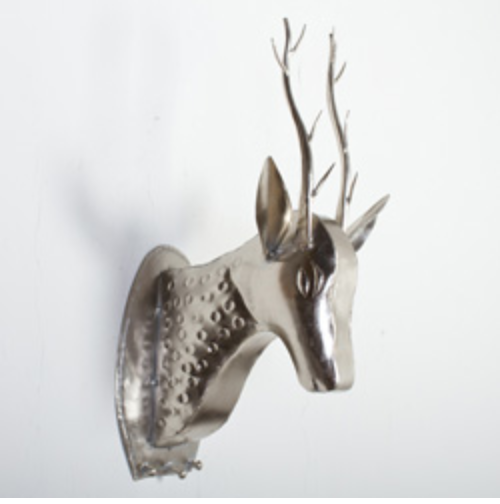
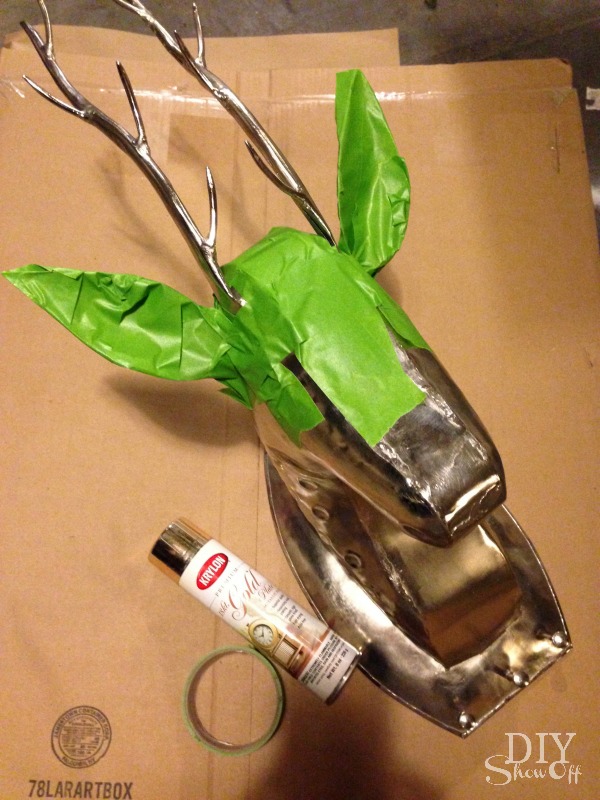
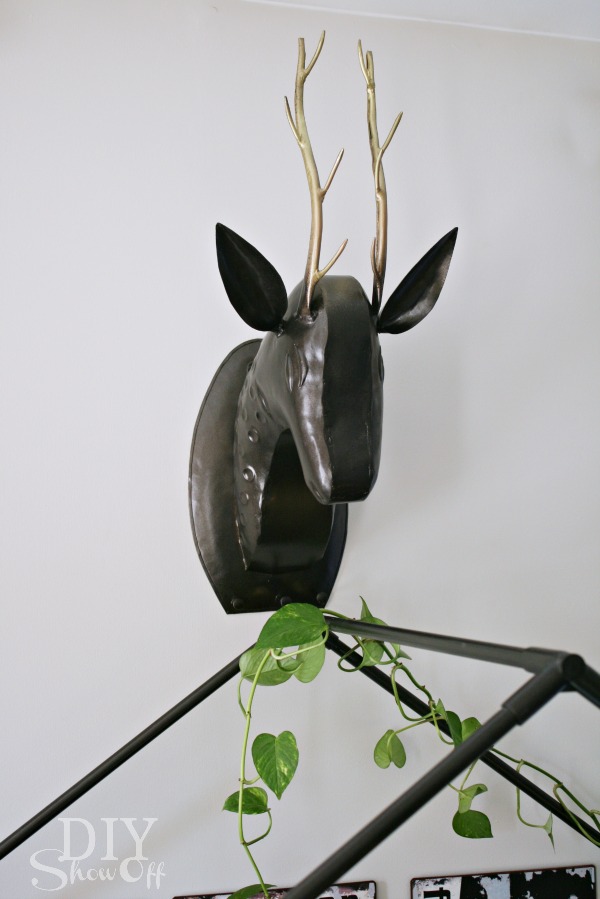
This deer head was pretty and shiny in silver but I wanted a more custom look: oil rubbed bronze with gold antlers to be exact.

wall mount faux deer head

Using FrogTape®, I taped off the deer’s head then gave the antlers a quick coat of gold spray paint.

spray painting home decor

I removed the FrogTape and did two coats of oil rubbed bronze on the deer head without taping…so it could fade up into the gold.

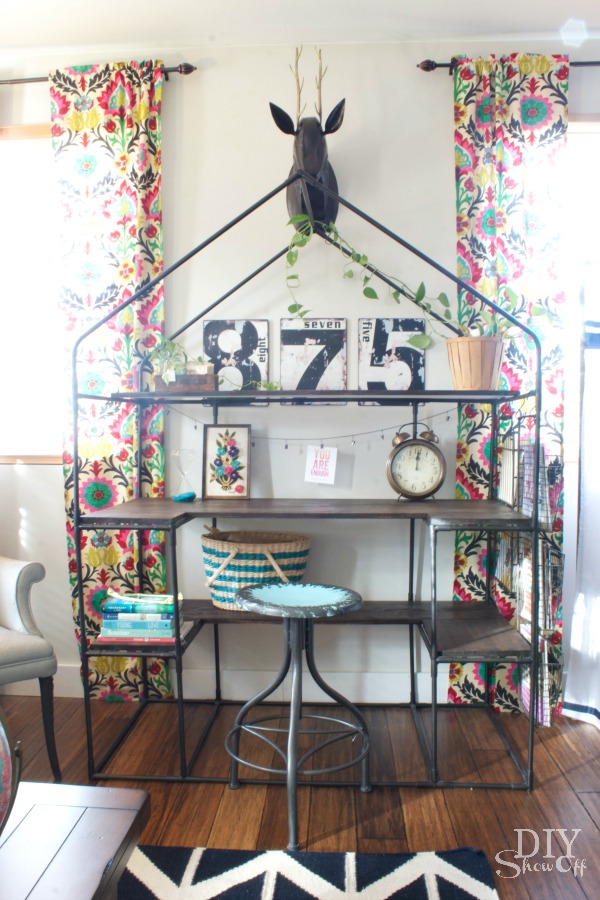
family room makeover

Much better for the space above my greenhouse frame turned desk. workspace

See the entire family room makeover here. 

FrogTape Blog Squad

Disclaimer: I received compensation to complete this project for using FrogTape® products. All opinions, projects and ideas are based on my own experience.

Kerry’s beautiful tree for the Christmas Tree Party & Contest

Kerry's Christmas Tree

DIY Alphabet Burlap Cork Board Message Center

Hello DIY friends! One of my favorite stores is Michaels – although it’s one of those stores that I can’t run in for just one thing because I end up with a cart full of the cutest decorative accents and more materials for my craft stash. You too, right? Well, Michaels just announced the addition of pre-cut craft fabric to the thousands of creative products available in its stores, providing us with one-stop shopping for DIY projects. This is BIG HUGE news when you live in a smaller city with only one local fabric store! While I was there, I also discovered that Michaels sells a complete line of sewing supplies as well…this cuts my shopping time in half. One store instead of two. Bonus!
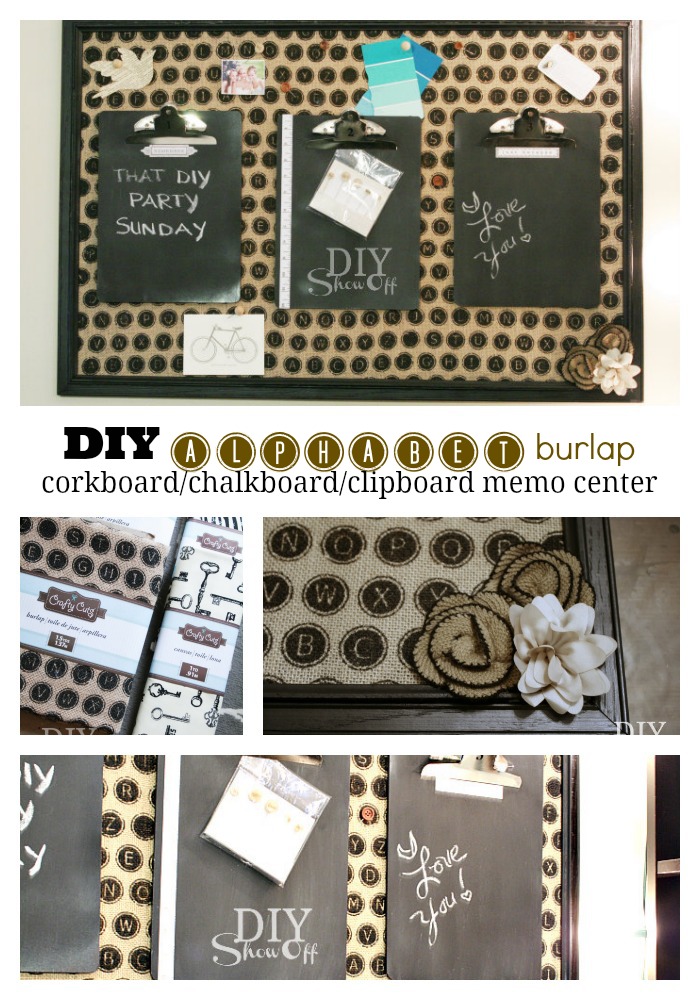
DIY burlap message center

Michaels supplied me with this awesome stash of fabric as a part of a promotion for their new line of home decor fabric. Isn’t it darling? 
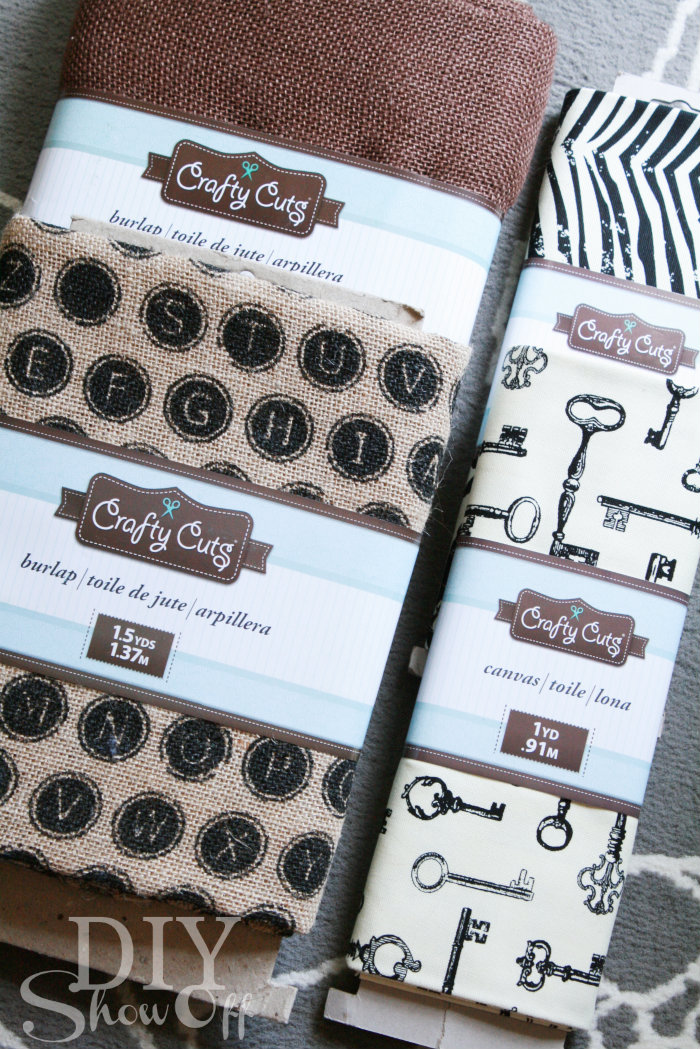
Michaels fabric line

The alphabet burlap is ADORABLE! and a perfect match for my craft room so I decided I would make myself a burlap covered corkboard message center to help keep me organized. Cork board, Chalk board, Clip board AND burlap? That’s what I’m talking about! A fun combo!

Materials:

  • 36″ x 24″ framed corkboard
  • Crafty Cuts alphabet burlap
  • 4 pieces of thin wood trim (Michael’s also sells a small miter box & saw)
  • Black spray paint (or you could probably get away with one can of chalkboard spray paint)
  • Spray adhesive
  • 3 clipboards
  • Chalkboard spray paint
  • Hot glue (and hot glue gun)
  • Embellishments
  • Push pins

Corkboard/Chalkboad/Clipboard Message Center Tutorial:
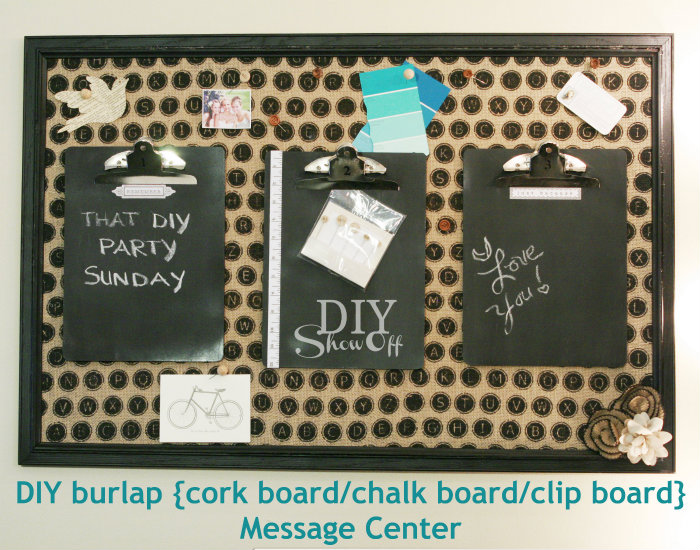
DIY message center

1. Measure and (miter) cut small trim pieces to fit inside of the corkboard’s frame. 
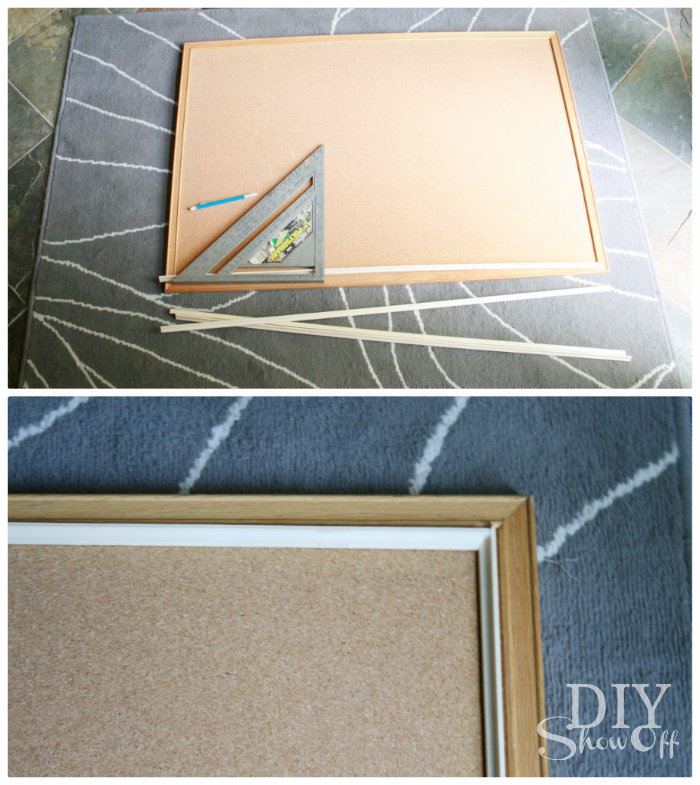
DIY burlap covered cork board

2. Iron burlap. I used my iron’s highest setting and sprayed water (not steamed) to get out wrinkles. Iron both sides. 
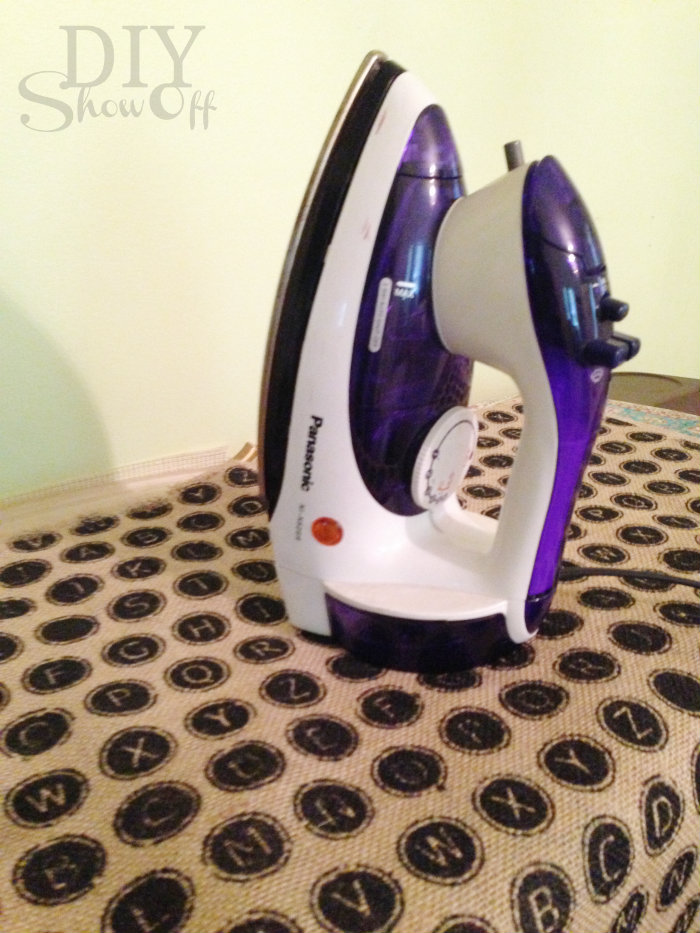
ironing burlap

3. Measure inside of corkboard frame and cut a piece of the burlap to those measurements (mine was 34.5″ x 22.5″). If you subtract 1/4″, it will save you from having to trim the fit later. If it’s a smidge small, it’s okay (and actually better) and will be hidden by the added wood trim later. Set fabric piece aside. 
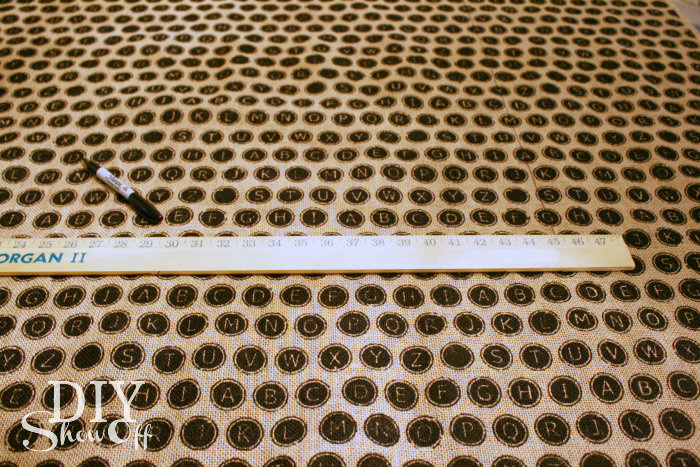
alphabet burlap

4. Spray paint the corkboard frame and trim pieces black. I was okay with imperfect coverage for a distressed look. (You could also sand edges when dry.) No need to tape the corkboard since it’ll be covered later. Let paint dry. 
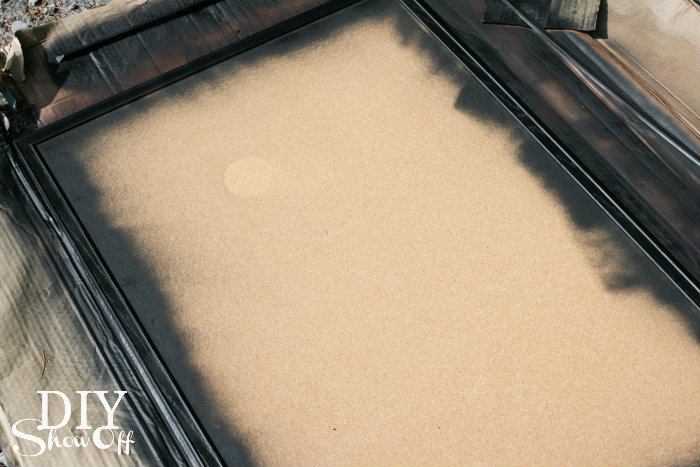
DIY burlap corkboard message center

5. Give the cut burlap piece a coat of spray adhesive on the back side.  (I do this outside because of the overspray but be mindful of the wind direction blowing the adhesive spray mist as well as when picking up the sticky burlap, not to touch/fold which mine did but easily quickly pulled apart.) Immediately move to step 6.
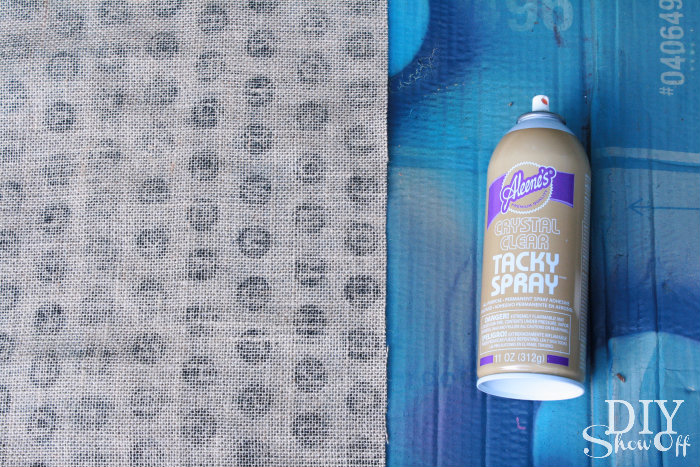
DIY burlap covered cork board message center

6. Working from the middle out, smooth the burlap over the corkboard (inside the frame). It’ll be reposition-able right away if needed. 
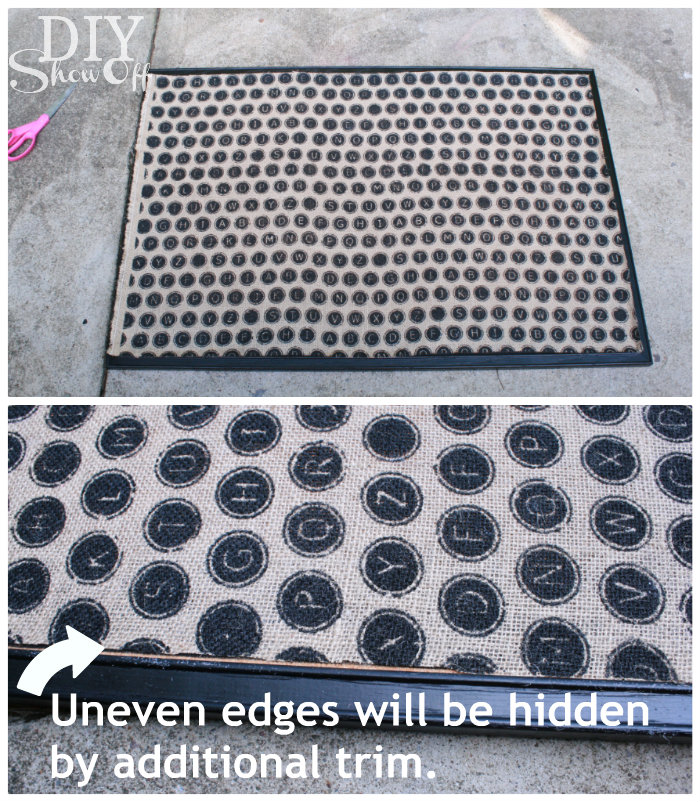
DIY burlap covered cork board

7. Next I used hot glue to attach my small mitered trim pieces over the burlap edges, right next to the inside of the corkboard frame. This covers the edge of the burlap.
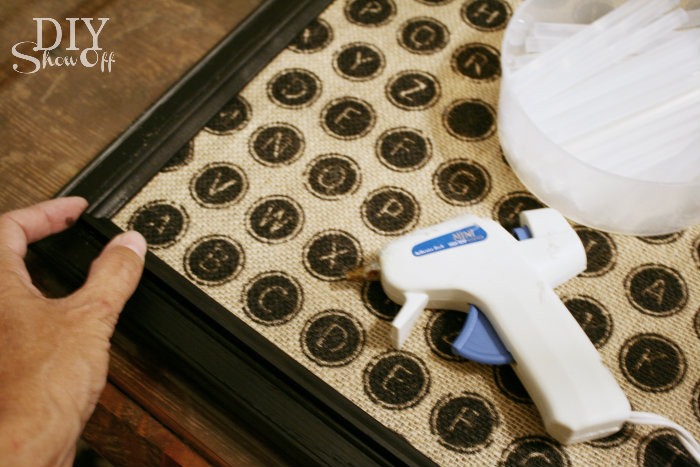
DIY burlap covered cork board

If you need to re-cut a mitered piece or accidentally scratch the black paint finish, simply fix it with a black Sharpie.
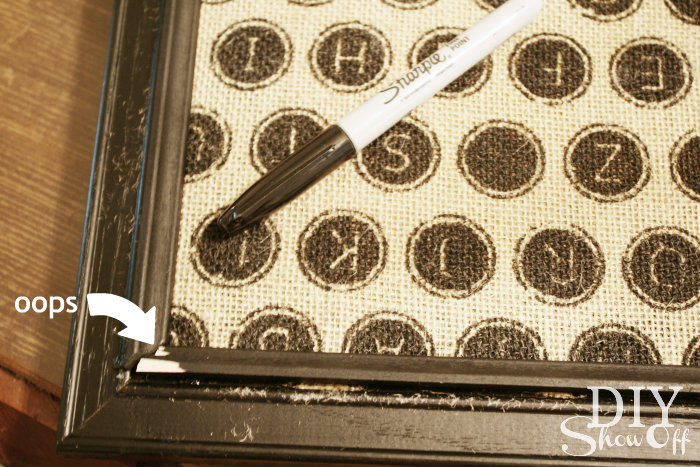
DIY burlap covered cork message center

8. Embellish as desired. My mitered edges surprisingly were a great fit after the mitered cut fix above, but these adorable flower embellishments attached with hot glue would work for covering a not so professional {tricky cuts!} mitered fit too. 
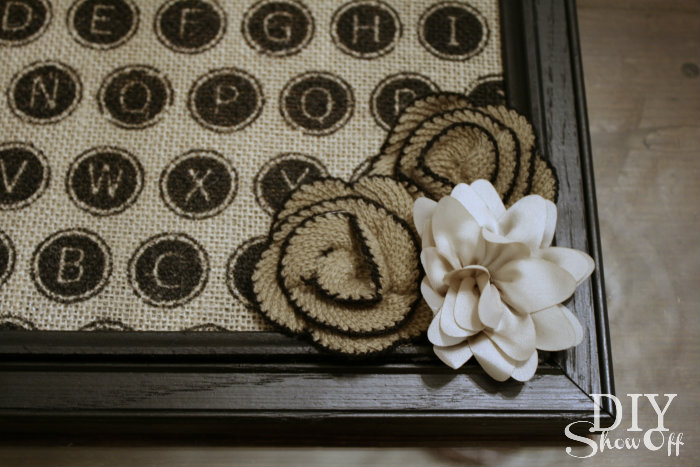
flower embellishments

9. Clipboards: Remove metal clip hardware, coat with chalkboard paint, let dry and repeat a second coat and let dry. 
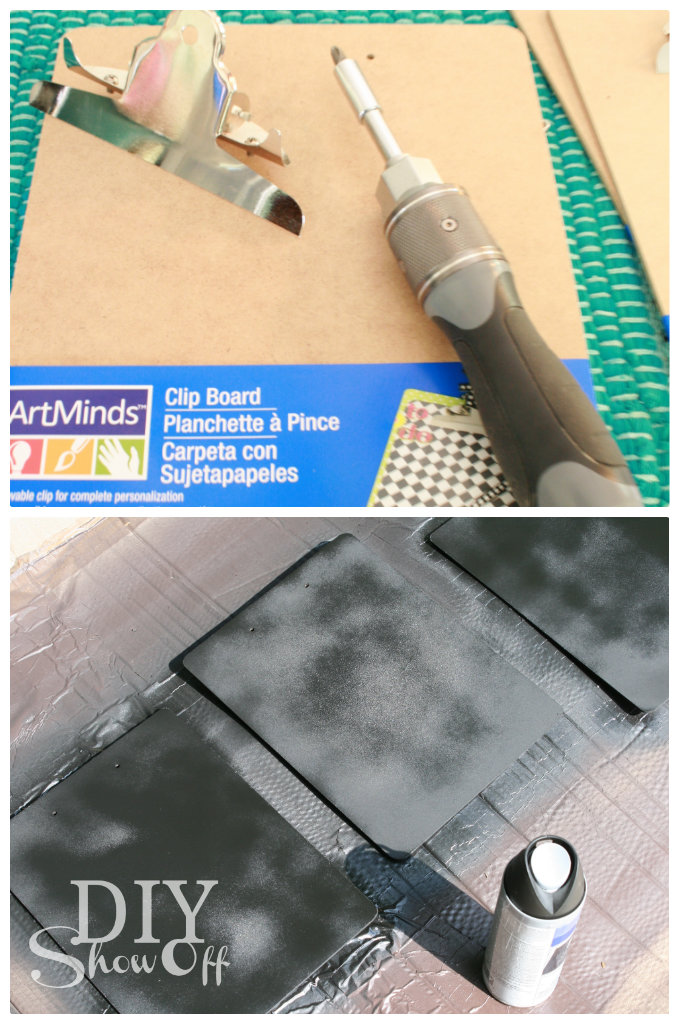
chalkboard clipboard

10. Season chalkboard by rubbing the length of a piece of chalk over the complete surface then erasing. 
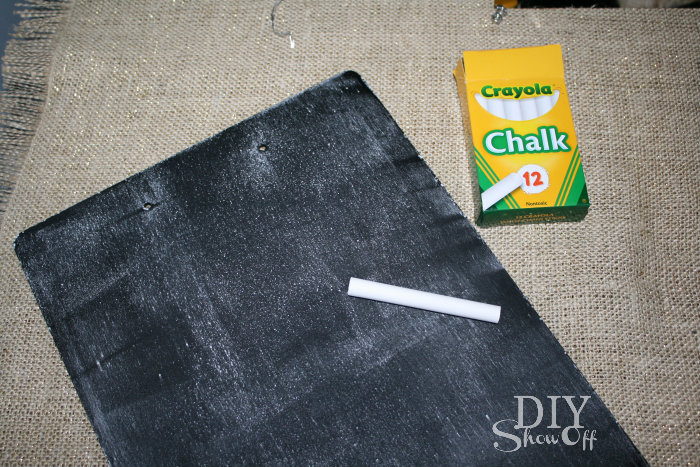
seasoning chalkboard

11. Re-attach clips. I found that using a twist tie to hold the clip open then lining up screws made reattaching the clip to the board a lot easier (because of the spring in the clip). Once screws are in place and tightened, remove twist tie. 
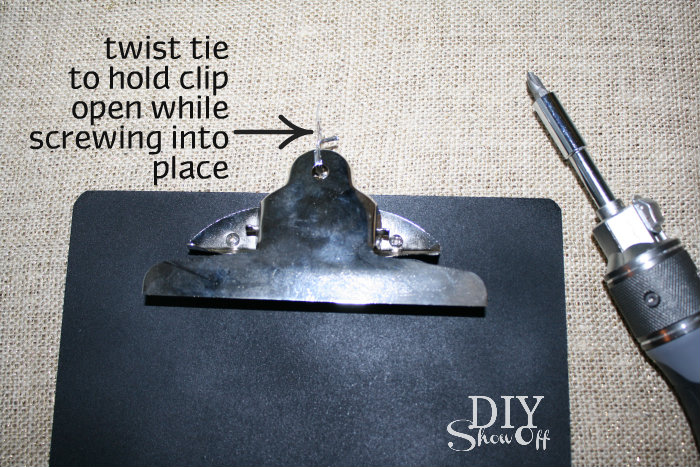
reattaching clipboard hardware

12. Embellish chalkboard clipboards if desired. I numbered mine and added some cute stickers. 
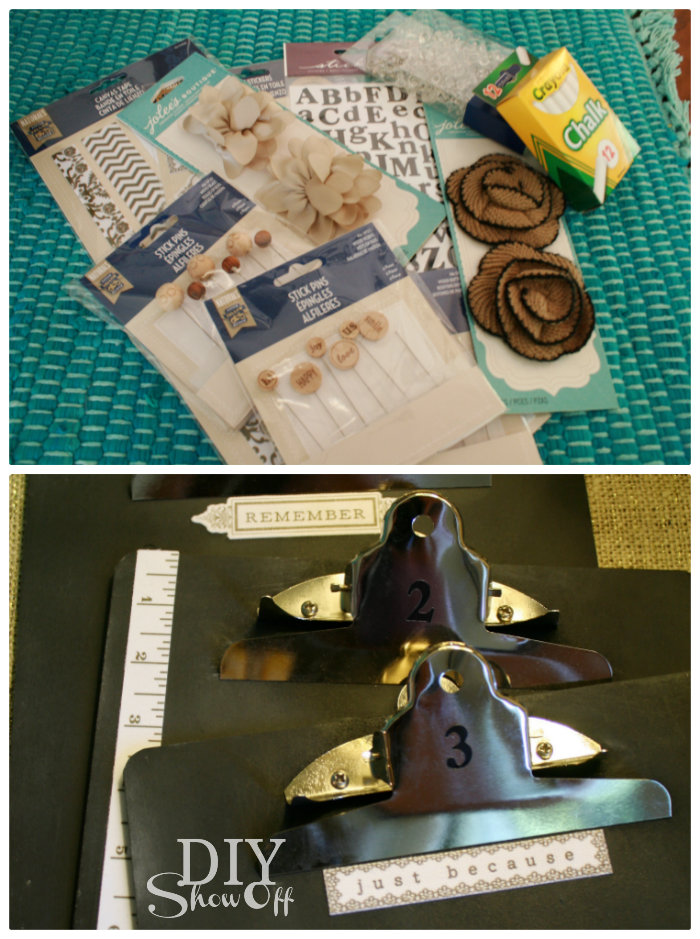
decorating chalkboard clipboard

13. Hang! Corkboard should come with hanging hardware but large Command strips will work too. 
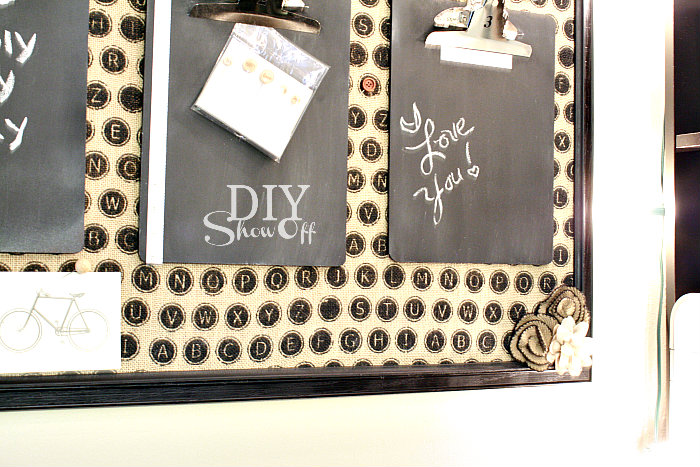
alphabet burlap message center

It’s perfect for my black, natural, vintage inspired craft room. Lovin’ it!
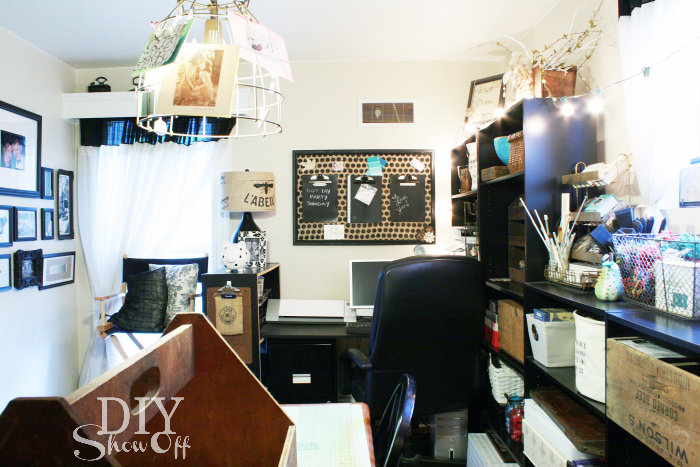
craft room

There’s a lot of “stuff” in this room but it is clean and organized!
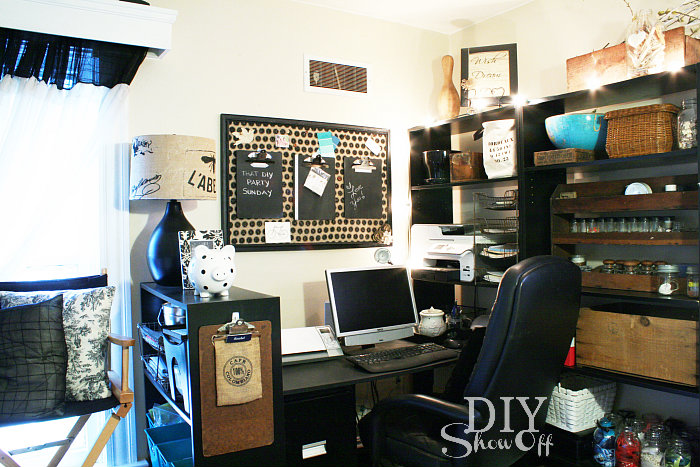
craft room / home office

I was provided with fabric and a Michaels gift card to complete the challenge. Michaels.com and Michaels Pinterest Boards feature project ideas that use fabric, including throw pillows, lamp shades, chair seat covers, and bracelets. Laminated burlap, a Michaels limited exclusive, can be fed through most home printers to add personalized messages and images to fabric projects…I want to try that next!

Fun Fab Finds

There’s nothing I love more than adding unexpected fun character to a room. My favorite part about room makeovers is shopping for and adding the decorative elements.

smile…Fab.

Are you familiar with Fab? It’s an online marketplace offering {constantly changing} designer products at great prices. I enjoy discovering new-to-me decorating shops and thought you might too. Plus, they’re offering free shipping today and tomorrow (3/27-28) on any size order.  I was recently invited by Fab to share a few of my favorite finds. Just being silly, I call this my THRIVE collection of items I love currently on sale:

thrive

fab-finds

Here’s what I found fab on Fab:

  1. Who else has a spouse who ‘misplaces’ everything? “I Wear Rack” in walnut is perfect for holding items (i.e. wallet, shades, mail).
  2. Great price on this indoor/outdoor Danube 6 x 9 ft. sized area herringbone rug…and I love the awesome pattern.
  3. Industrial touches like this Birdcage Black Lamp catch my eye every time. Love!
  4. Giant Rocky Ram – don’t you just love cardboard animal heads? Maybe it’s just me. ?
  5. Personalizing the dinner table with a cute Placecard Activity Kit.
  6. Vinyl cut-out decals {Huelva}…great for DIY storage labeling.
  7. Chalkboards are trendy, but a US map chalkboard is even more irresistible.
  8. Love notes: Carve Your Own Card.
  9. Rewined Candle: clean burning soy candle in a recycled wine bottle which can be recycled with DIY soy candles again!
  10. Vintage Peace Globe: Peace on one side and a flock of birds on the other. Love it {inspires a DIY project}!
  11. The Garden Deck – set of 48 individual cards packed with tips on growing and harvesting fruits and vegetables. Help for acquiring a green thumb!
  12. Vintage industrial rolling shop storage inspires organization since it’s too cool to junk up, right?

There’s only one shopping day left ’til tomorrow. ~Unknown Author

*This post is sponsored by Fab, but choice of products and opinion is my own.