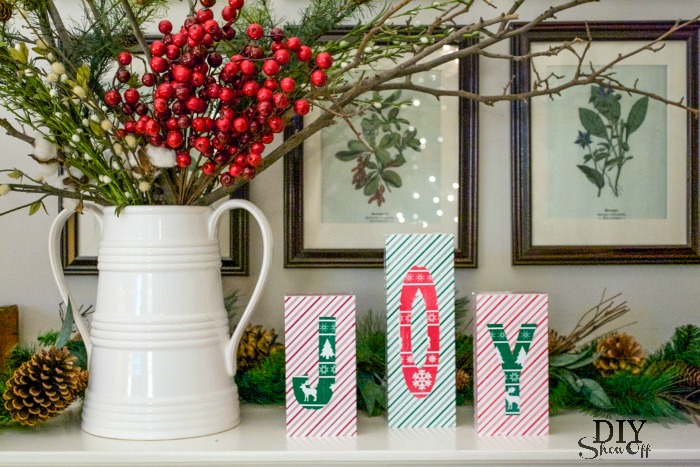
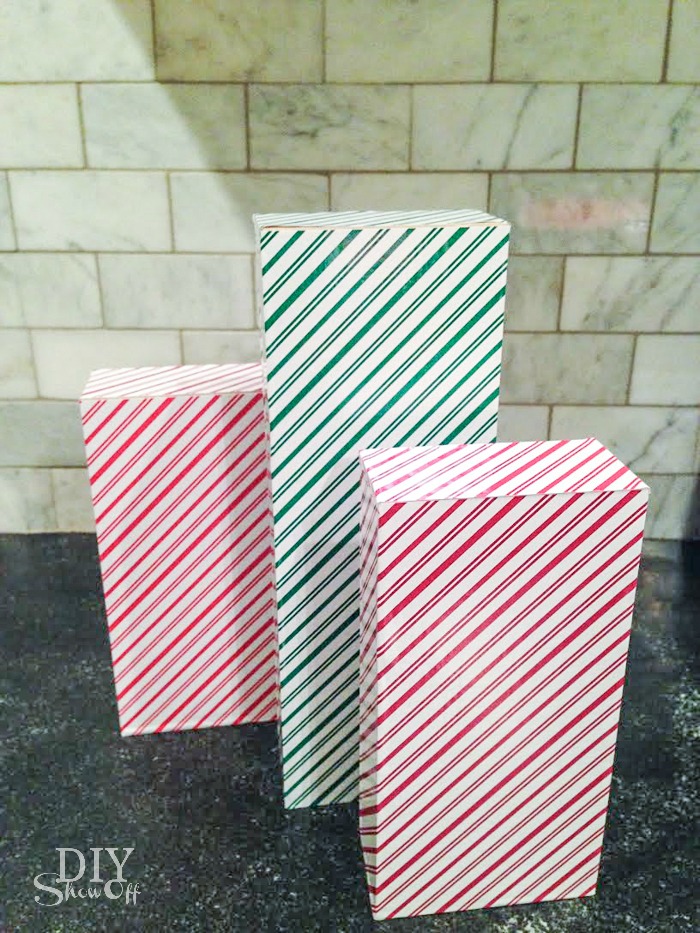
JOY vinyl covered wood blocks
What you’ll need: a vinyl cutter (or cut vinyl out by hand using scissors)
- three blocks of wood
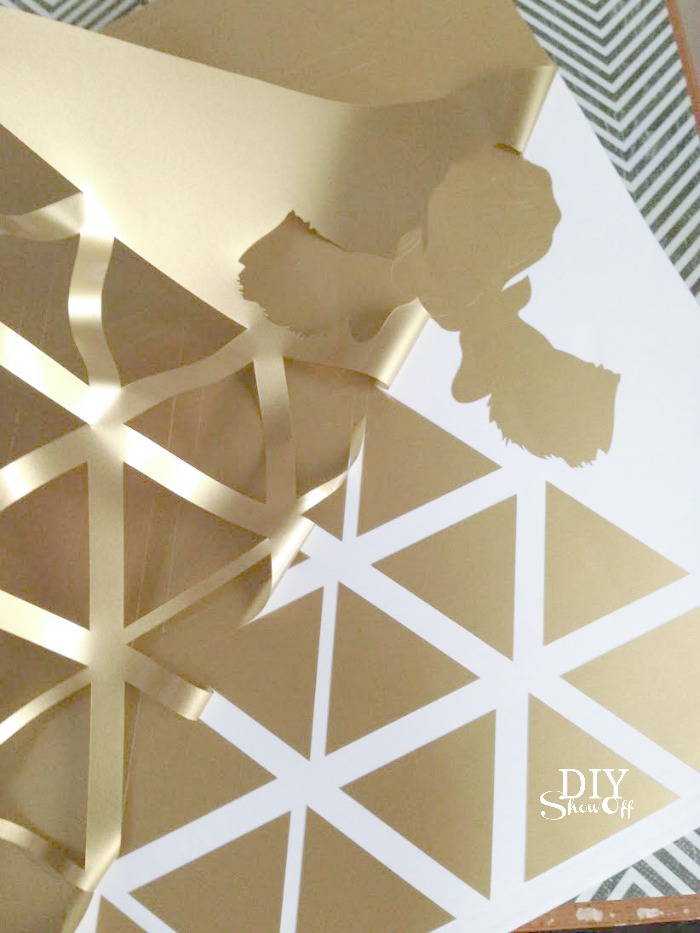
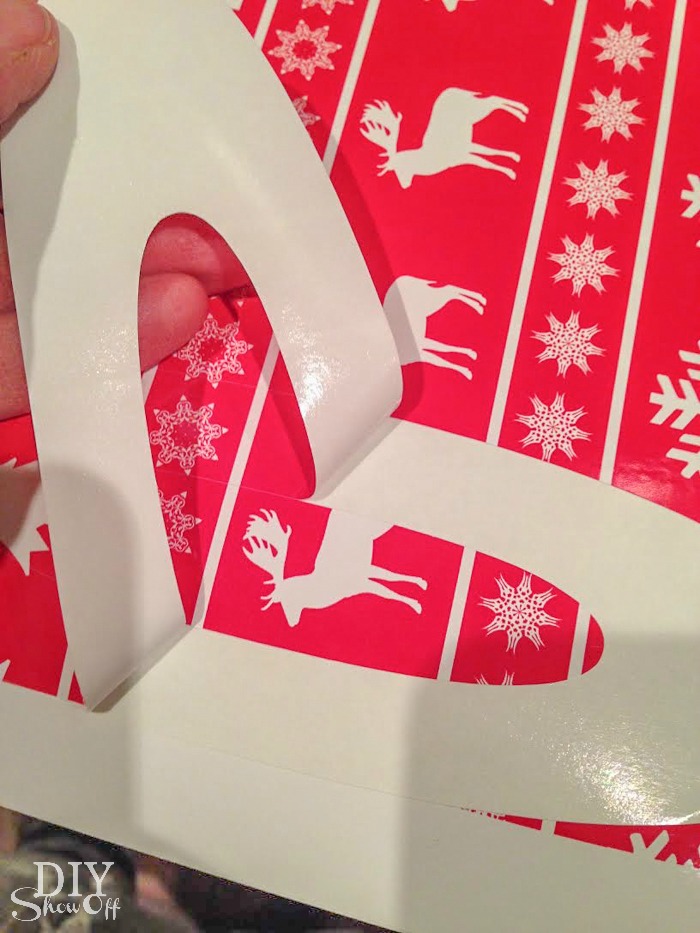
- Happy Face Pattern Adhesive Vinyl – Holiday Pack (you’ll have some left over for more decals) This vinyl is so pretty/so easy to work with – it’s great for just covering old cans and jars too!

Tutorial:
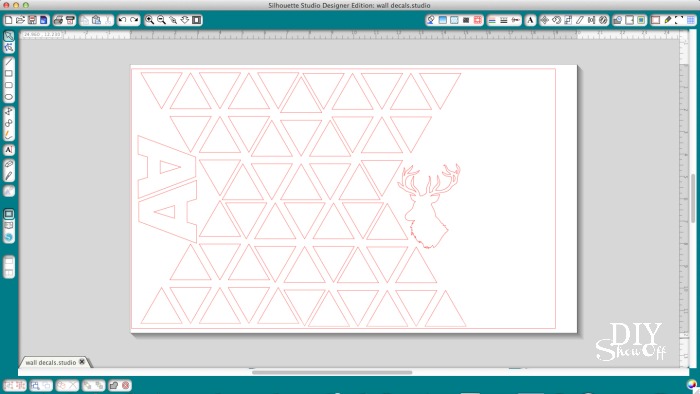
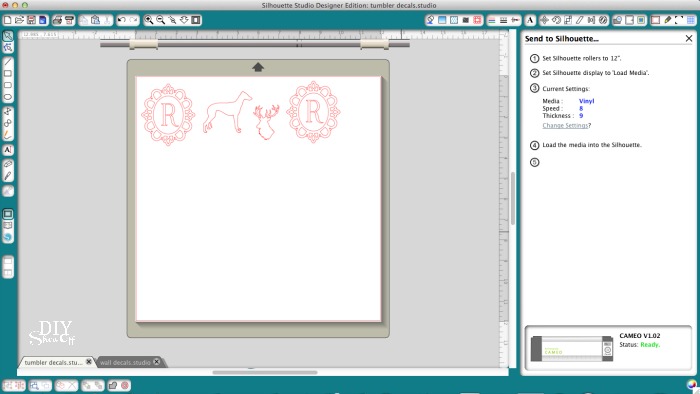
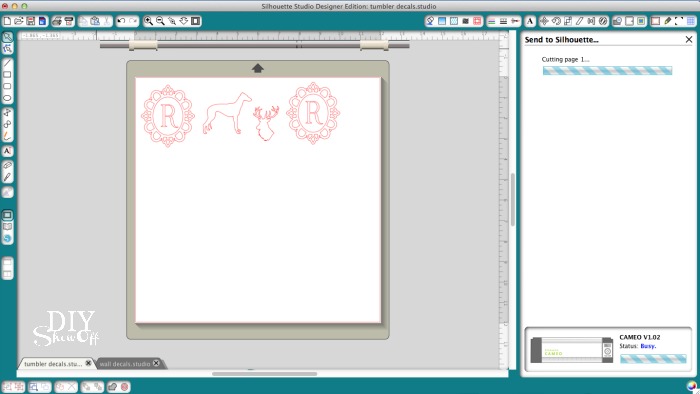
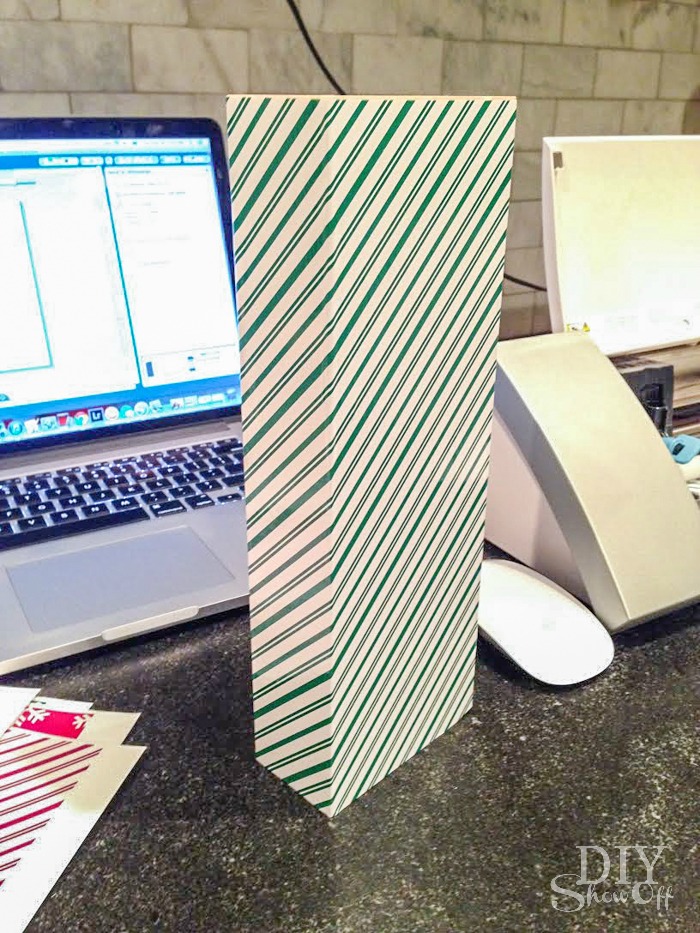
Using the Silhouette Studio Designer software, create individual designs…I created one for wrapping each block (measure and add up all side of each block for width and the height of block), three individual rectangles for the top of each block. Then the letters J – O – Y (be sure to create a size that will fit nicely on the front of each block).
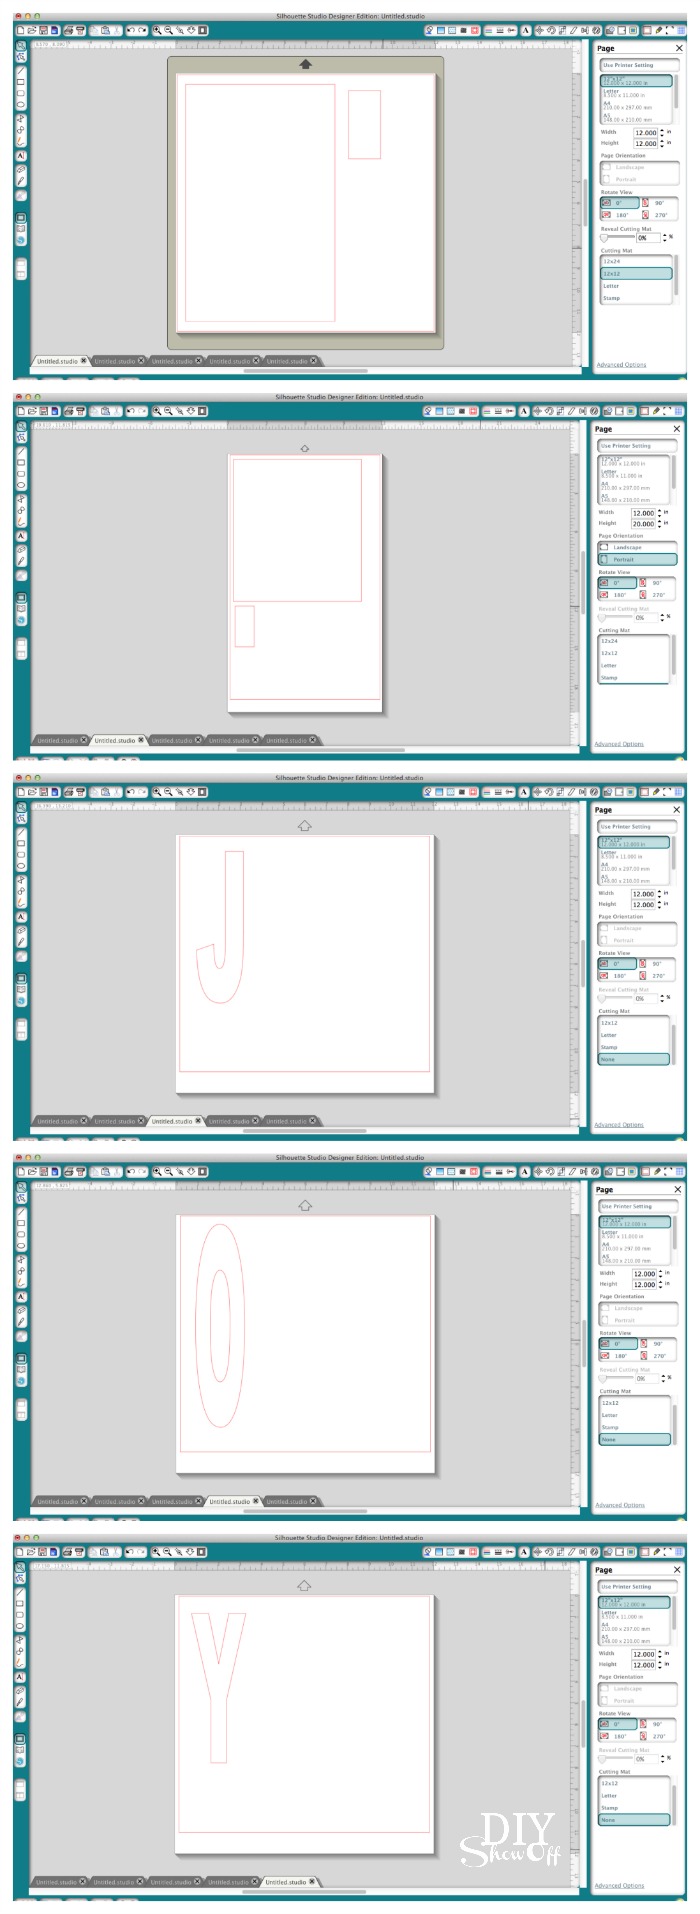
For wrapping each block, I used the striped vinyl and the patterned vinyl for lettering.
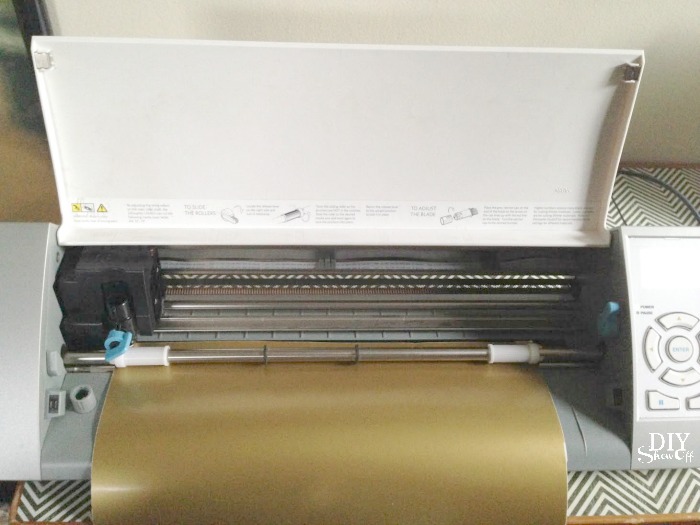
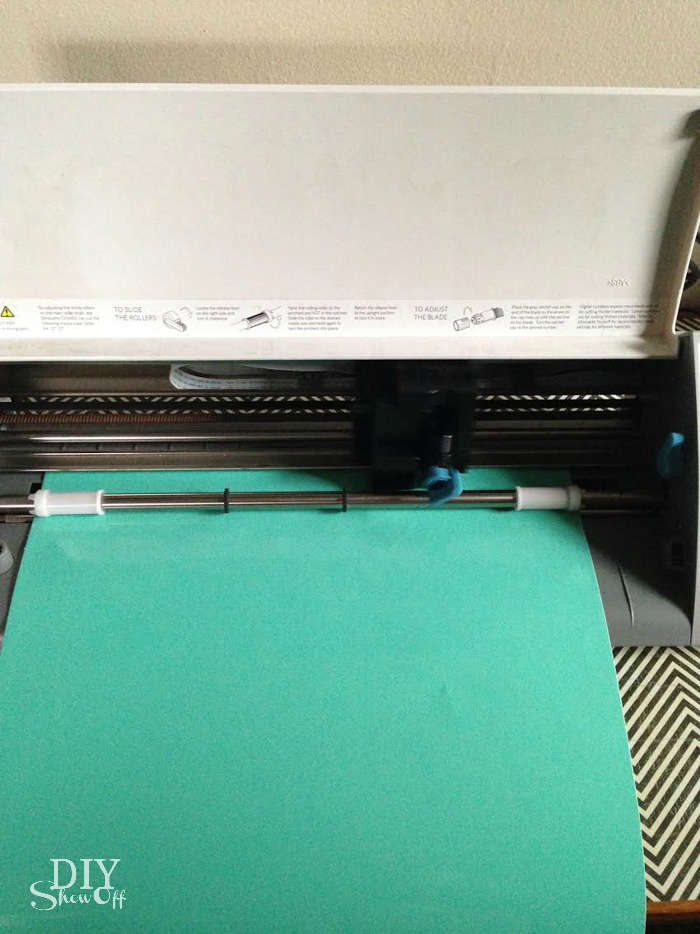
For each design, load vinyl into the machine pattern side facing up.
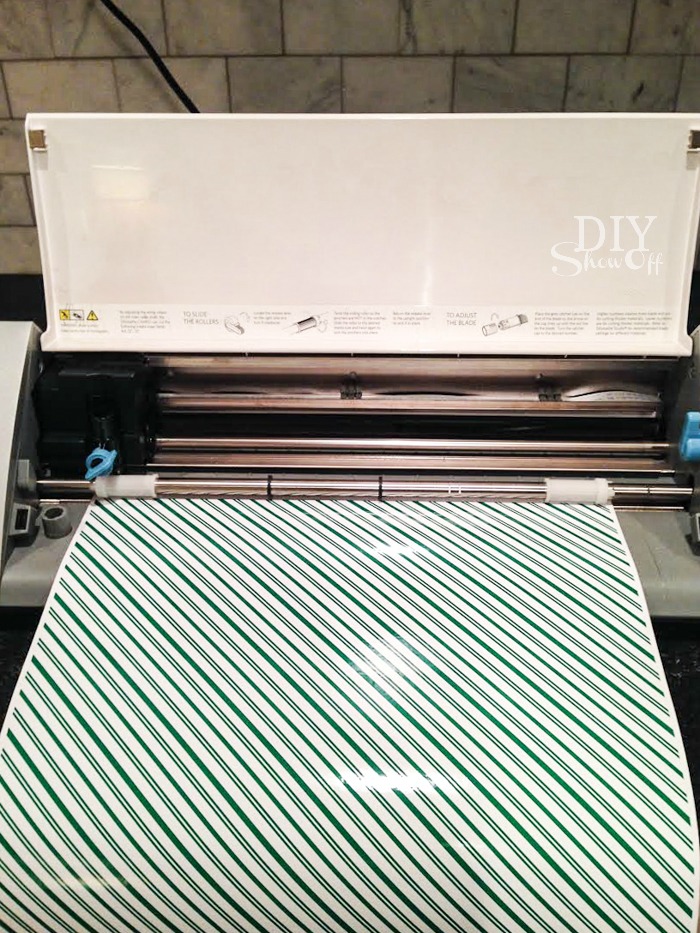
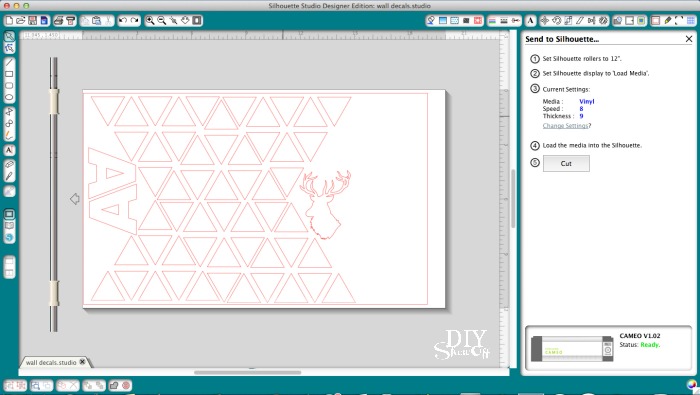
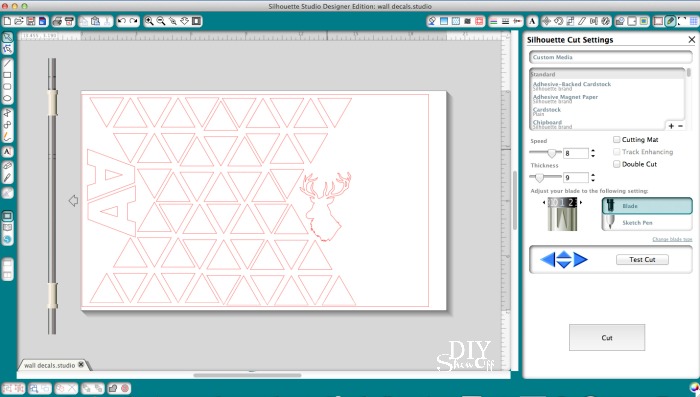
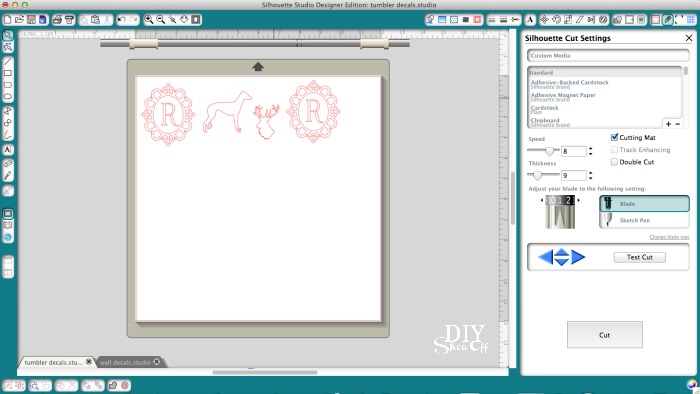
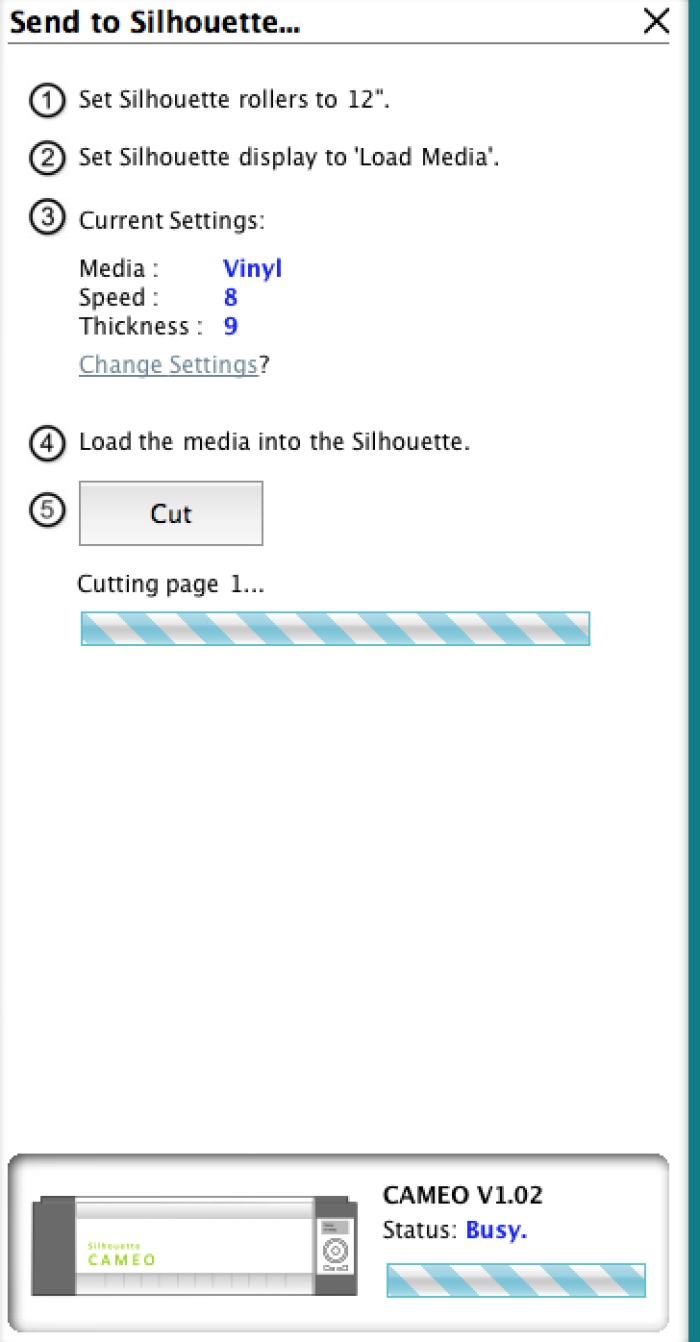
Send design to cut. Adjust settings for cutting vinyl. Cut.
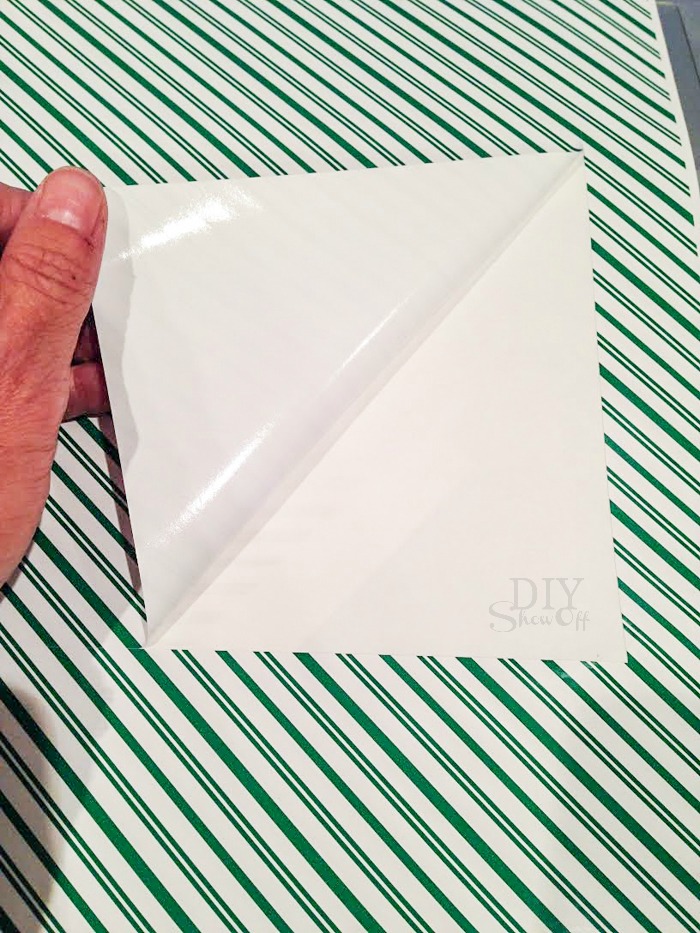
Unload vinyl.
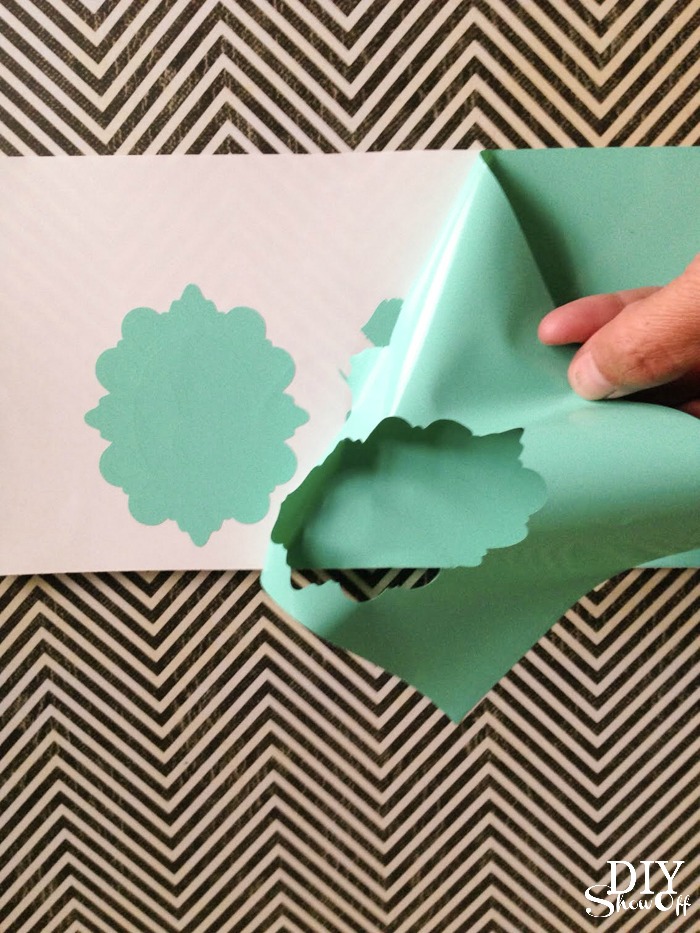
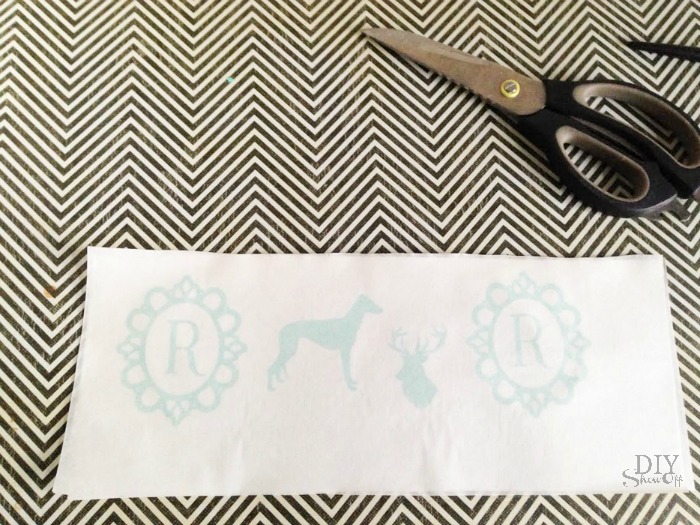
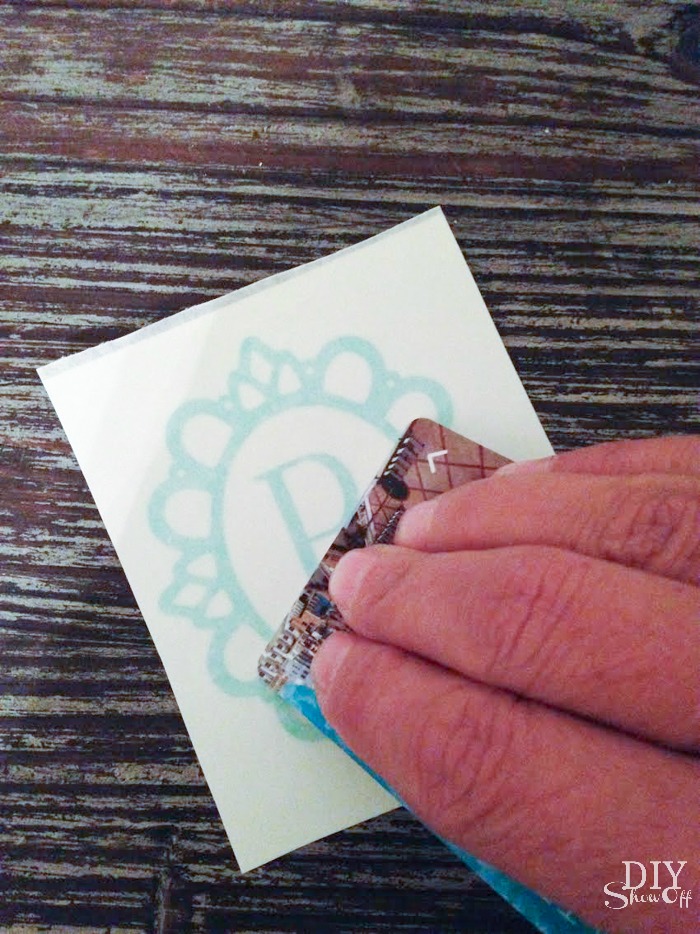
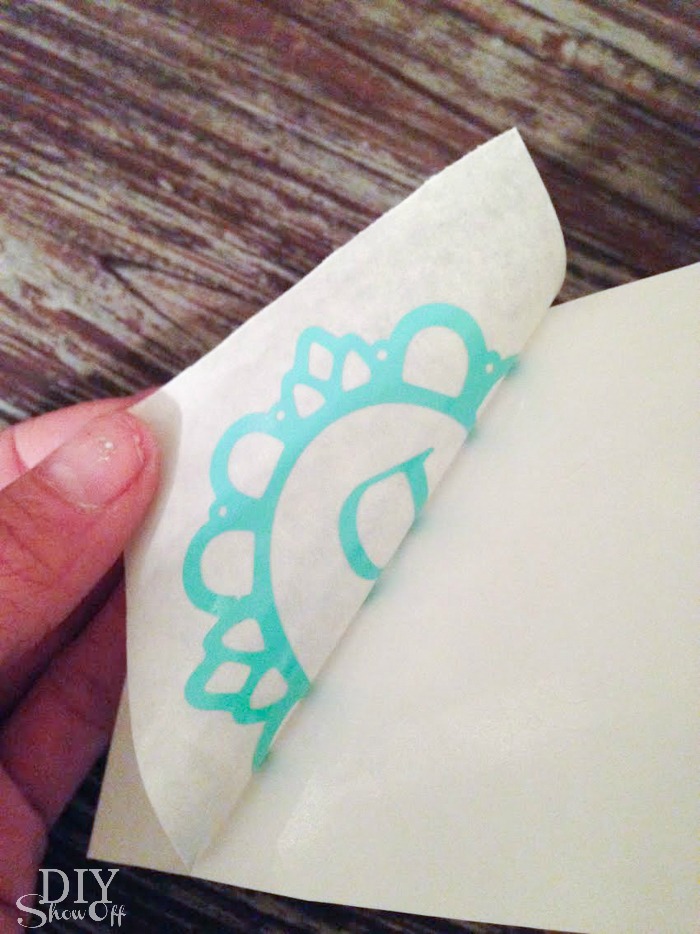
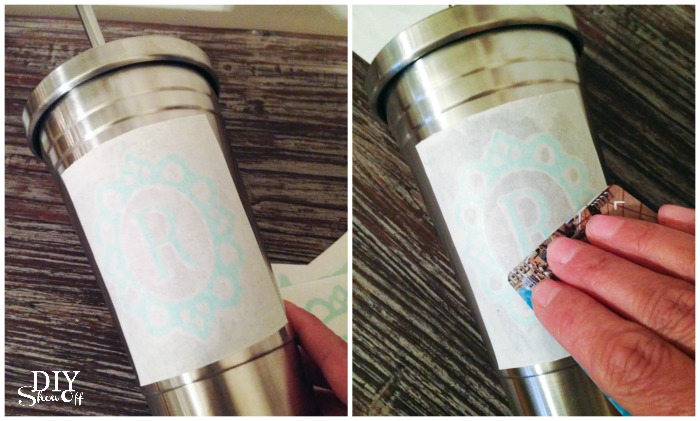
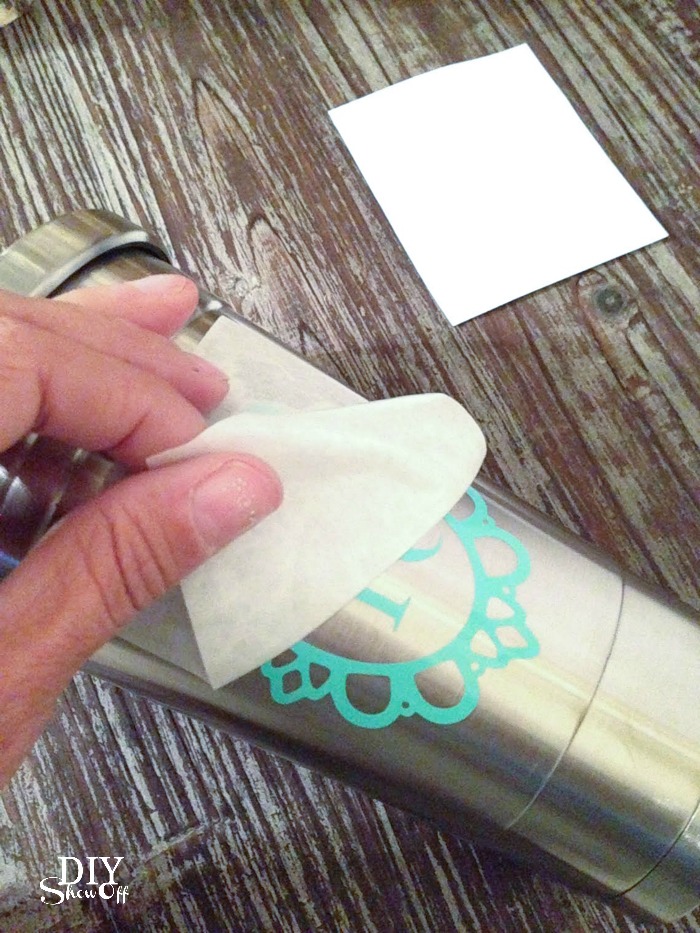
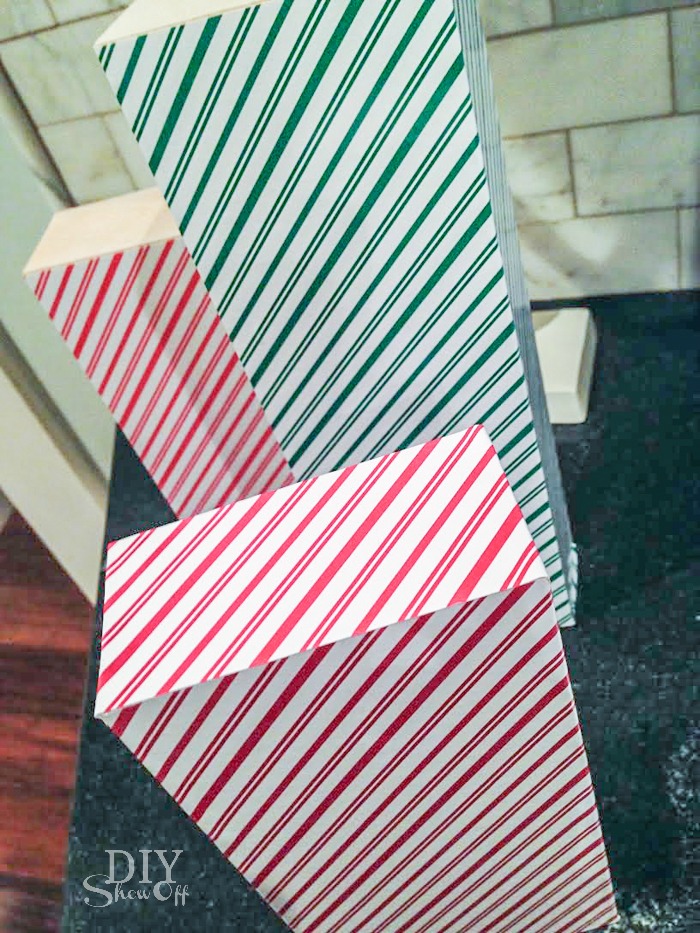
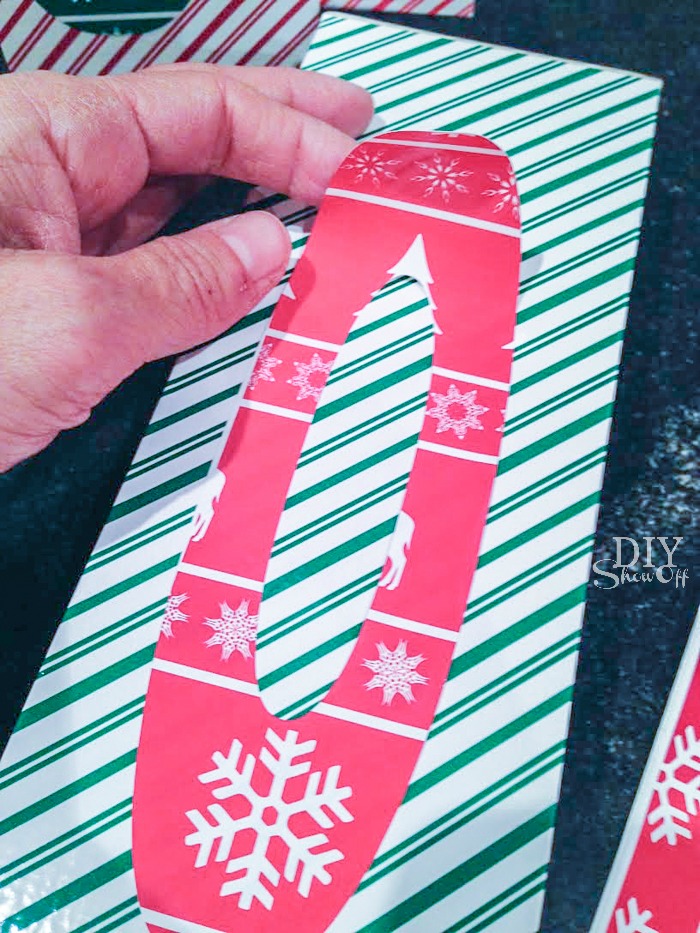
Peel away vinyl (like stickers) and apply vinyl to blocks, wrapping first
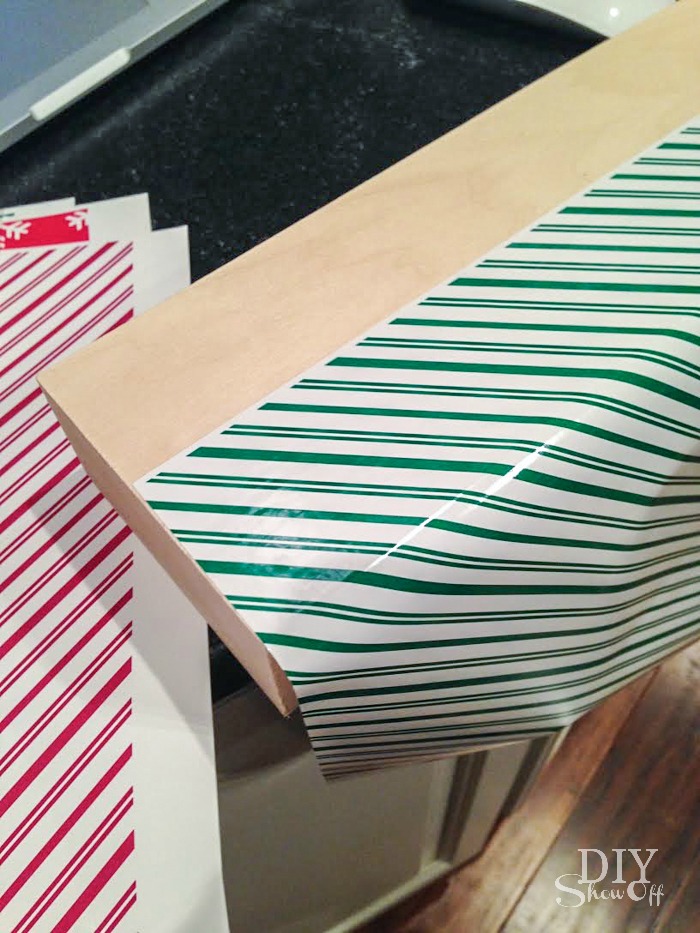
then the top rectangle…
followed by a letter for each block.
So cute. A great gift or holiday decor.

Decorate!
*This post is sponsored by Happy Crafters. Tutorial, experience and opinion is my own. Check out all the supplies at Happy Crafters for inspiration for your next project.