October? Already?! Let’s start off the month with a Halloween DIY. As a part of the Lowe’s Creative Ideas team, I received a gift card to purchase the materials for a Halloween decor challenge. I made a cheesecloth ghost and what a challenge it was! Because of the large life-size, I ran into some obstacles and almost threw in the towel, accepting defeat and attempted to think of another project. The joys of DIY: sometimes a big fat fail.
BUT I switched direction and saved the project! Below I share what I did, recommendations for what I’d do different and how I rescued the project making it a success. If this is something you’d like to tackle, read through my tutorial to decide the best way to go about making your ghost.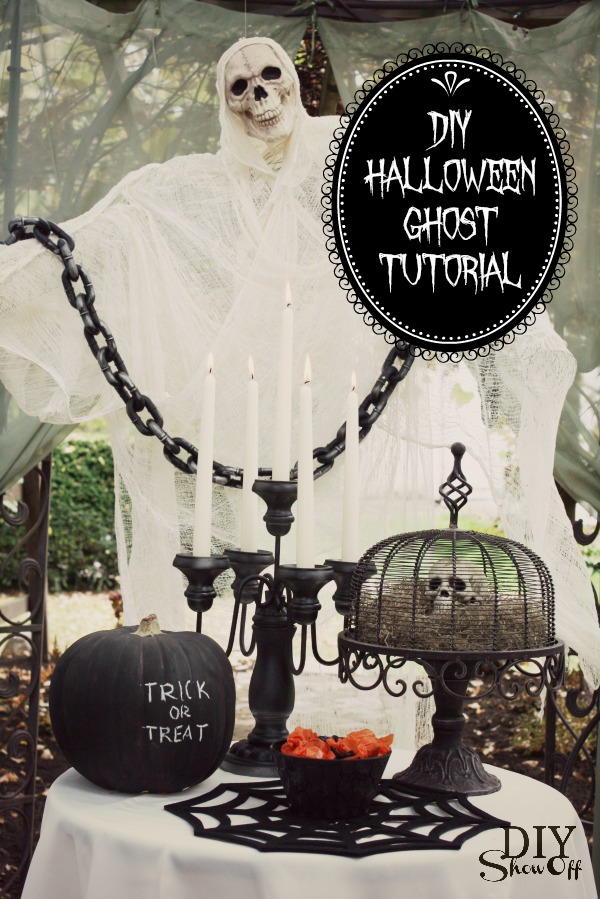
Materials for a chicken wire cheesecloth ghost:
- 3 packages of BlueHawk cheesecloth 3ft x 15 ft. (4 packages may have be better). This was located in the paint department.
- chicken wire
- spray adhesive
- wire
- 1 faux skull
- 1 cup hook
- fishing line
- S-hook (for hanging)
Tools:
- wire cutters
- drill will very small drill bit
Tutorial:
Open the cheesecloth packages. Unravel and unfold cheesecloth.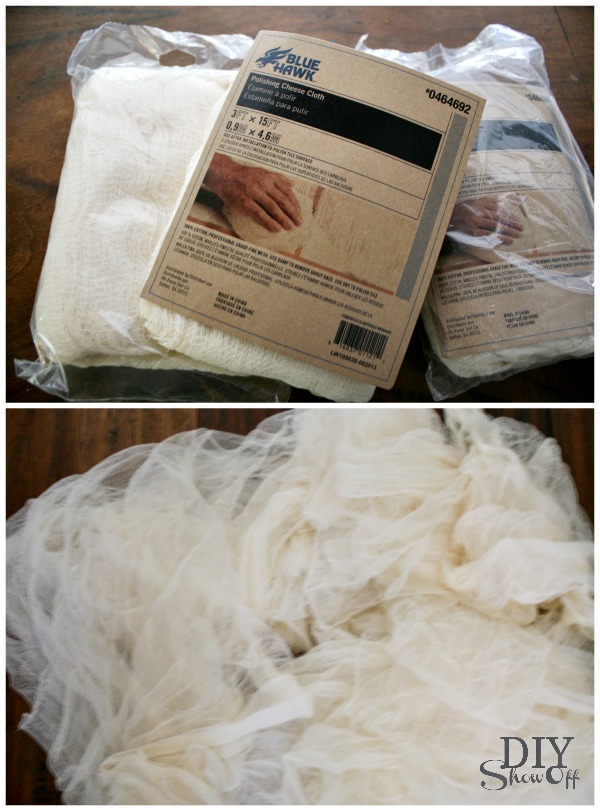
Spray the top of the skull with spray adhesive. Wait a few seconds/fan with your hand a few times. Attach one strip of the center of the cheesecloth to create a “hood” around the skull. Let dry.
Using wire cutters, cut the chicken wire to create a torso and arms. I attached the arms using the cut side pieces of my strip of chicken wire along with extra wire.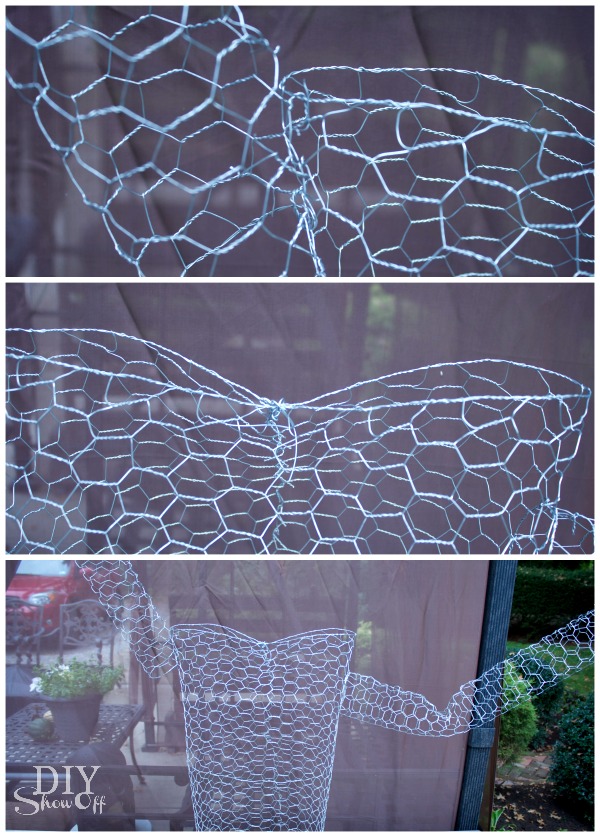
When skull/cheesecloth glue is dry, using a drill bit smaller than the cup hook screw, drill a small hole into the top of the skull, towards the back. Too far towards the front of the skull will have it looking up, more towards the back, the skull will look down when hanging. Screw in the cup hook. (Add a dab of Gorilla Glue if needed and then screw in the cup hook.) 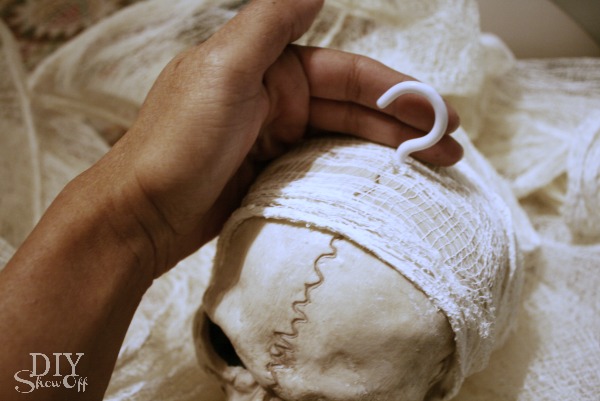
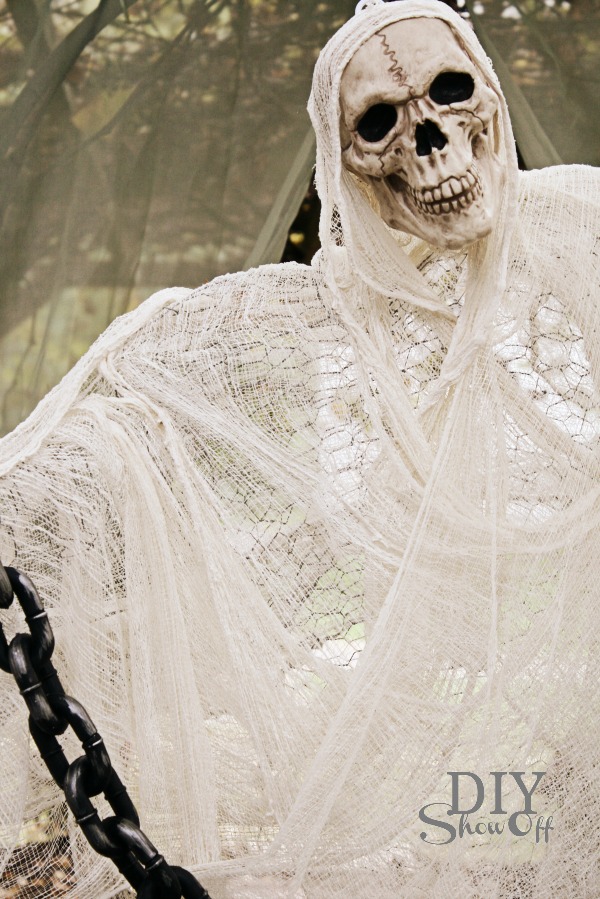
Place the skull onto the chicken wire torso. I used small cut pieces of wire through the cheesecloth hood at the base of the skull like a twist-tie , securing/twisting inside of the chicken wire torso frame to secure the skull into place. Drape more cheesecloth over the arms and torso, covering the chicken wire. Use more wire twist-ties where needed to keep cheesecloth in place.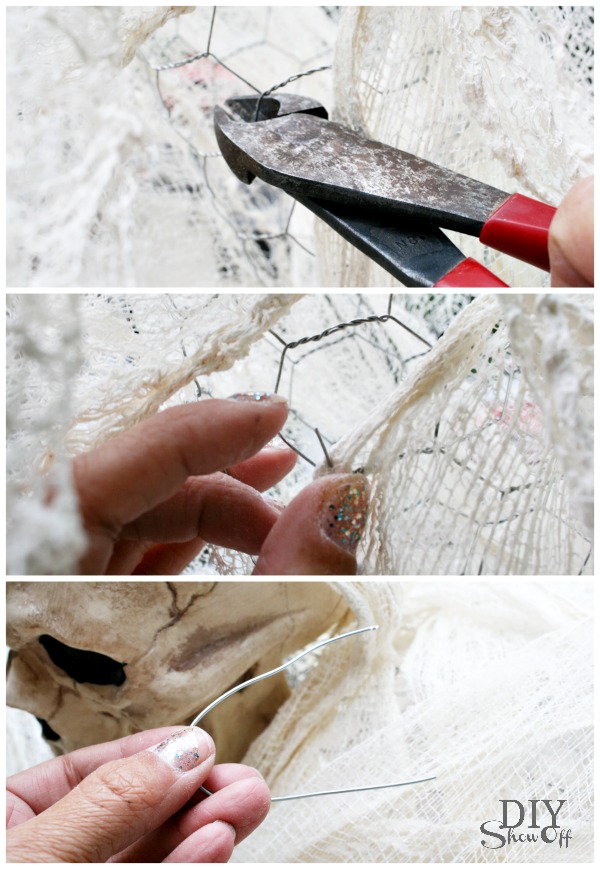
Hang using fishing line and an s-hook. Bend arms and torso if needed after hanging.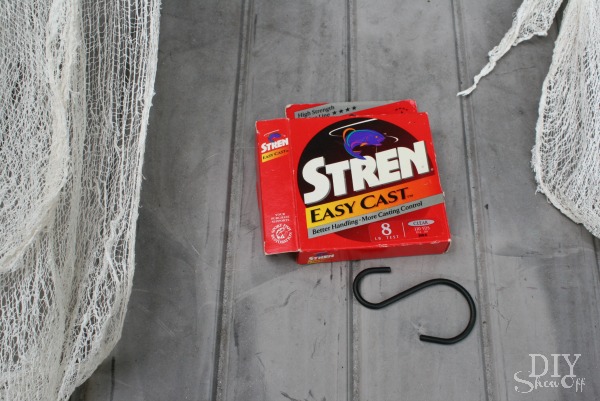
Things I attempted, failed and learned. Optional:
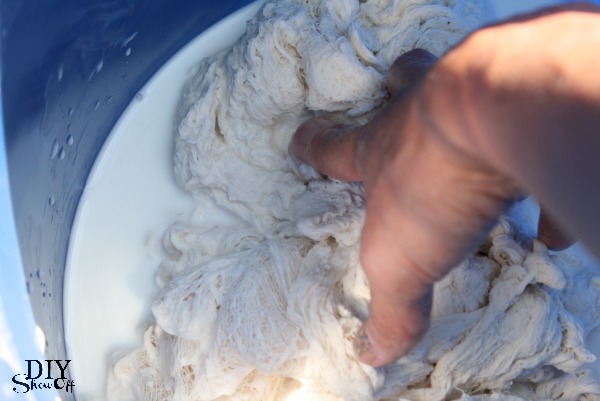
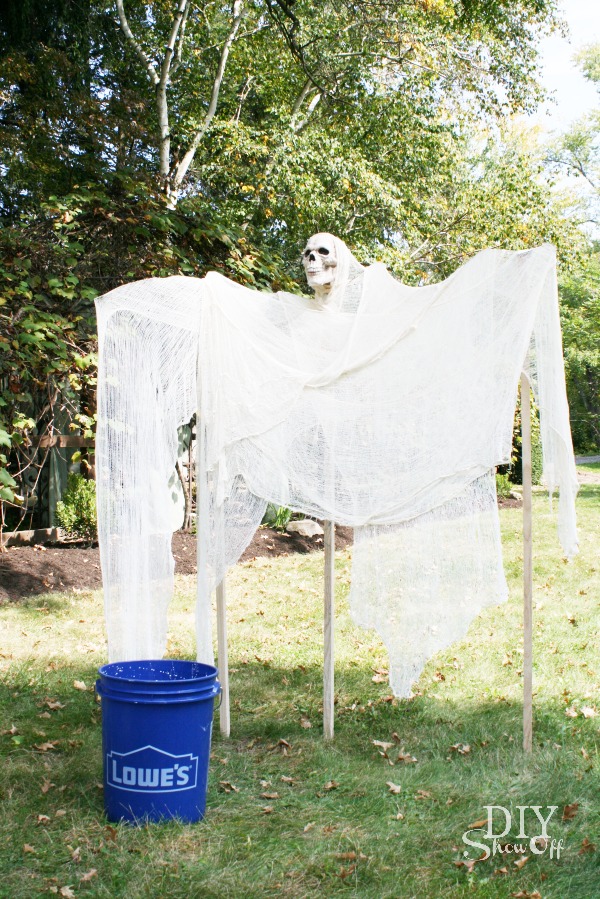
- You can search Google for starch ghost recipes for success in making smaller ghosts. I used 1 1/2 containers of cornstarch and 6 cups of water which did not hold my extra large ghost’s shape when dry. I think less water and making more of a wet paste would have maybe had better results. However, I still would NOT use the starch method if you plan to hang your ghost outdoors. Water (rain/dew/frost) will deactivate the starch and your ghost will lose it’s shape. That’s why the chicken wire frame is a better option. There’s less room for failure.
- Also, I used garden stakes and wire to create a frame for forming/drying the starched cheesecloth. A super heavy gage wire is necessary. Even coat hangers weren’t really strong enough for starch soaked cheesecloth, causing the arms to droop, which is why you’ll notice I had to use more stakes. This still didn’t work for me. My ghost did not hold it’s shape, although my cheesecloth is a little stiffer.
- Rustoleum’s Glow in the Dark spray paint (sold in the Halloween/seasonal dept. at Lowe’s) does show up on mesh/cheesecloth! However, it’s difficult to tell where it’s been sprayed and needs a generous coat. The weather forecast is calling for rain so I’ve brought everything back inside but I will be updating with a better photo once I give it a more thorough spraying.
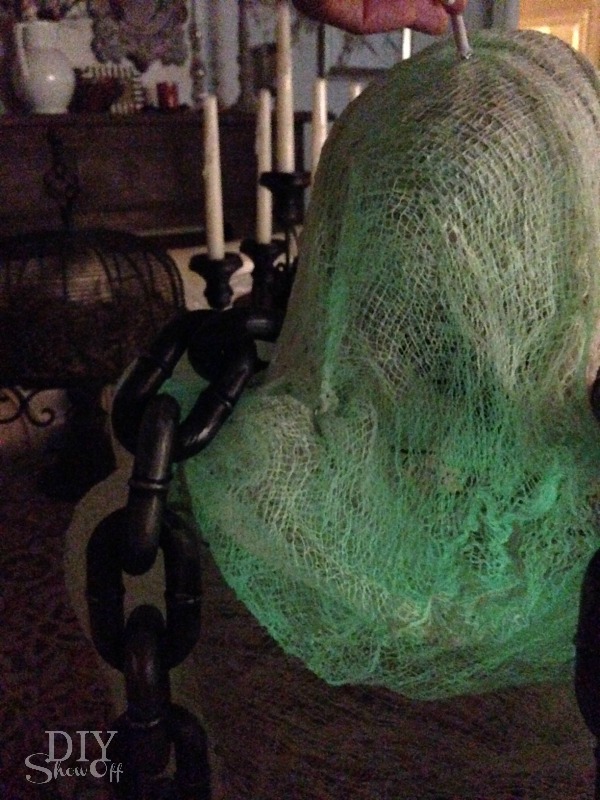
DIY friends, meet phantom of DIYShowOff…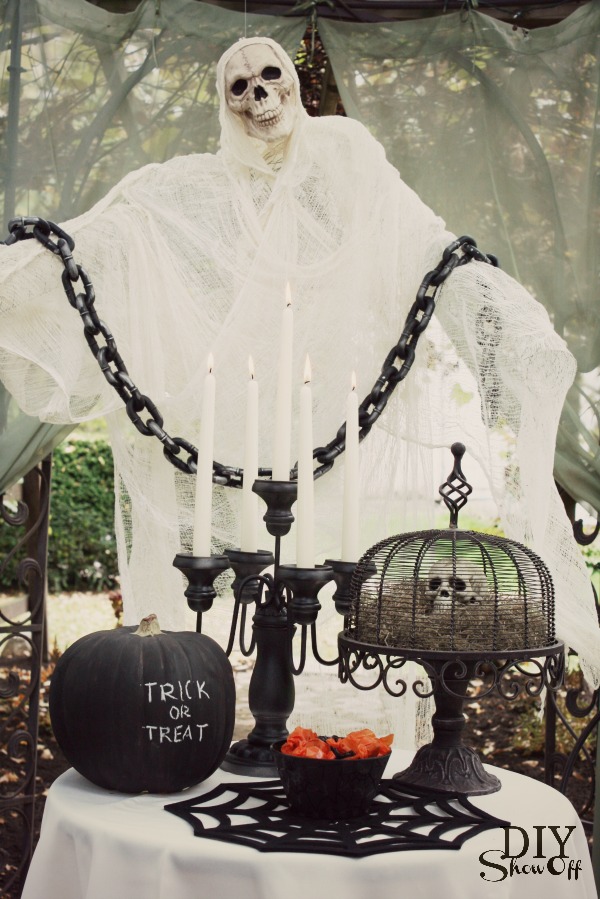
Despite the trial and error, the final result…spooky, right? He’s transparent, blows in the breeze and real-enough-looking. Creepy! 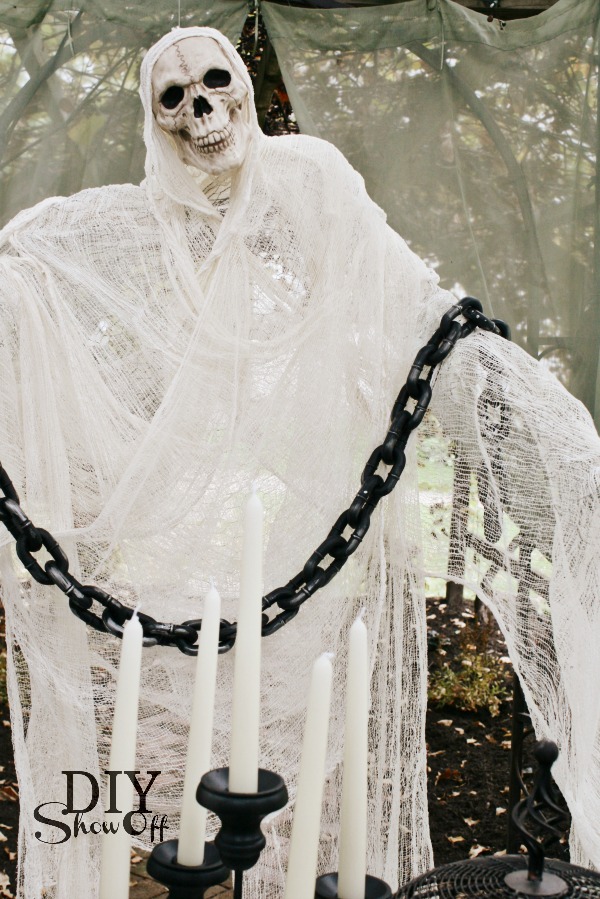
Looks to me like he’s inviting you to have a snack. Service with a smile.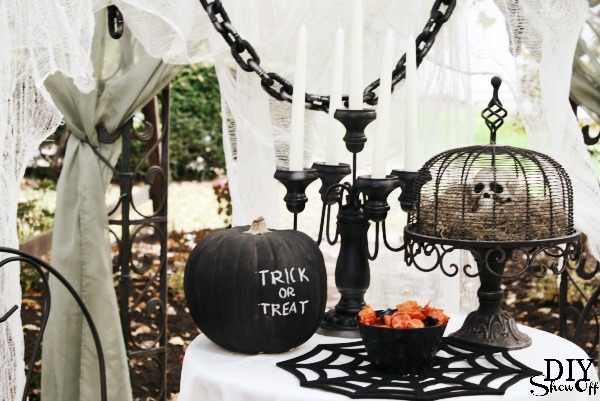
He is smiling. He just wants a hug, I think. YOU GO FIRST!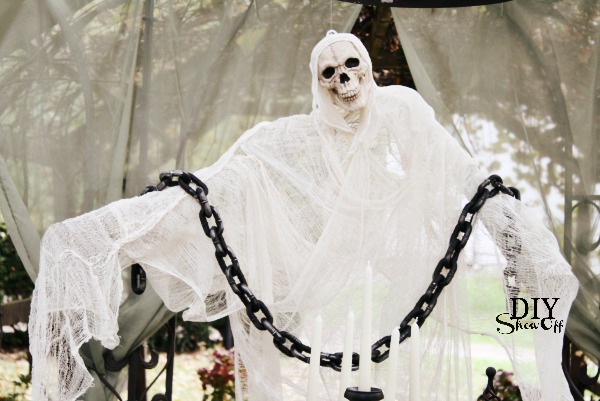
It’s almost too scary for me. Scary Halloween … not my thing. My reaction is to cry. Real tears. And did you ever see a fainting goat? Hilarious! {search youtube videos} That’s so me. Frozen with fear.
How about you? Do you love scary?
And yep! That’s a sneak peek of the finished grape arbor/gazebo with recycled brick patio/path you see – all complete! More on that coming up. So.many.pictures.
Sharing at Centsational Girl.
See more fun DIY ideas at Lowe’s Creative Ideas, follow Lowe’s on Instagram, Pinterest and sign up for the Creative Ideas magazine and app!
*Disclaimer: As a member of the Lowe’s Creative Ideas Creators and Influencers network, I received a Lowe’s gift card to complete this project challenge, however the tutorial images, instructions and opinions are my own.
Love that cake plate too? For those of you who’ve asked, you can buy it here:
Charlotte Footed Cake Plate With Dome {affiliate link}


