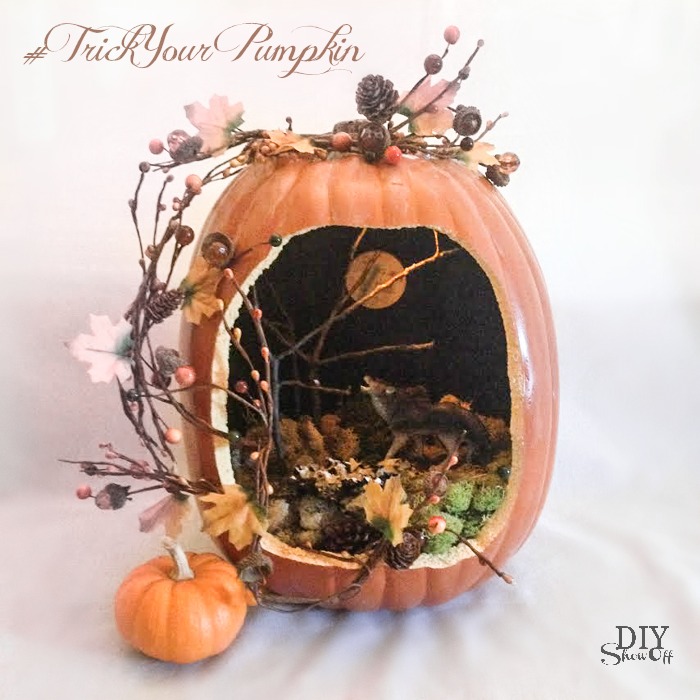
Scenic Pumpkin Jack-o-lantern

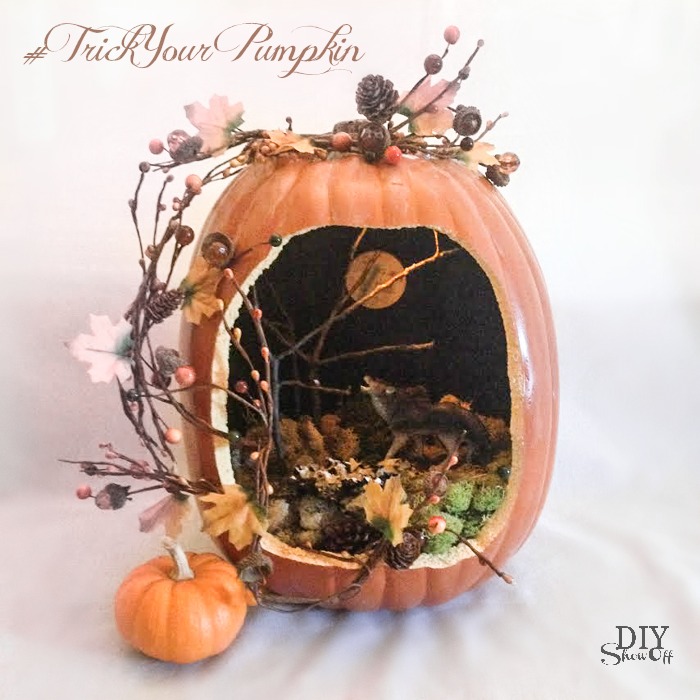
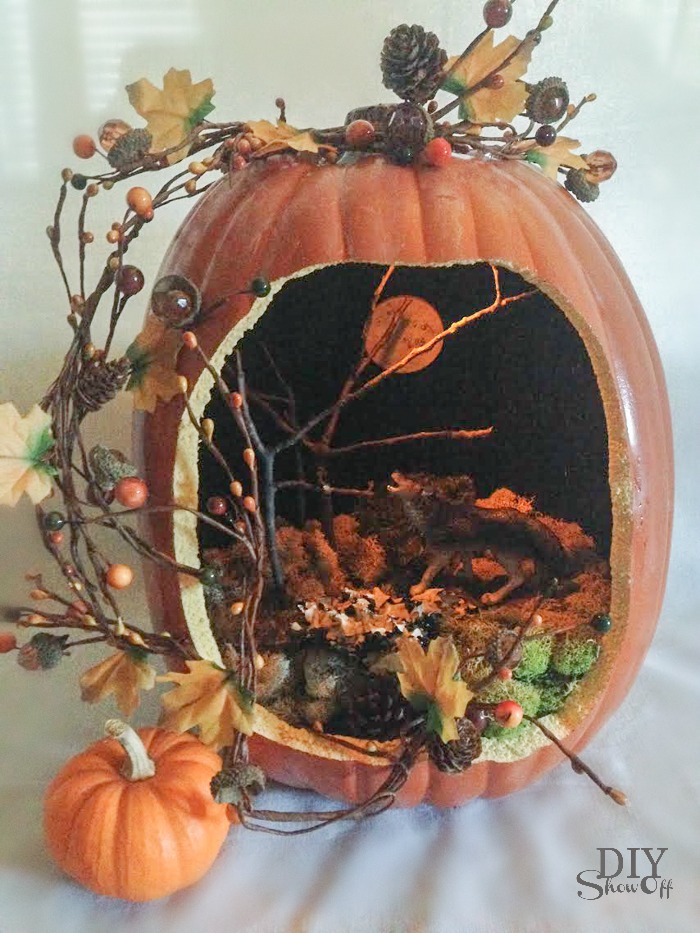
Inspired by a picture of a pumpkin diorama from Country Living that I stumbled across on the Michaels’ Halloween Pinterest Board, I couldn’t resist making up a scenic jack-o-lantern of my own. *This post contains affiliate links. 

scenic faux pumpkin jackolantern tutorial @diyshowoff #trickyourpumpkin

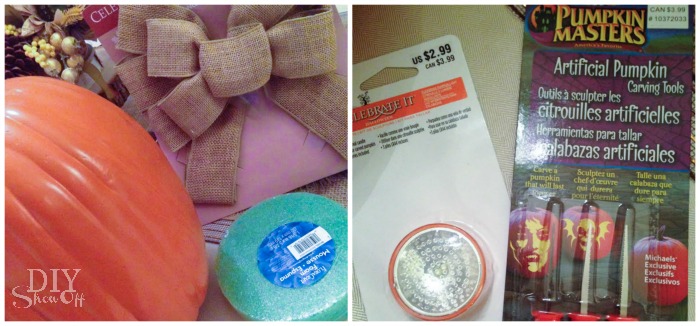
Materials I used (all purchased at Michaels Craft Stores with the exception of stick trees and rocks): 

scenic faux pumpkin jackolantern tutorial @diyshowoff #trickyourpumpkin

  • faux pumpkin
  • carving tools
  • black acrylic craft paint
  • sky blue glitter craft paint
  • 4 small foam paint brushes
  • plastic toy wolf
  • moss
  • styrofoam disk
  • hot glue/gun
  • fall garland
  • tree-like sticks from the yard
  • small rock
  • small wood disk (for full moon)
  • white acrylic craft paint
  • glow in the dark paint
  • tiny faux pumpkin
  • small battery operated light
  • 3M adhesive velcro

Buy Online, Ship to Your Local Store for FREE

What I did:

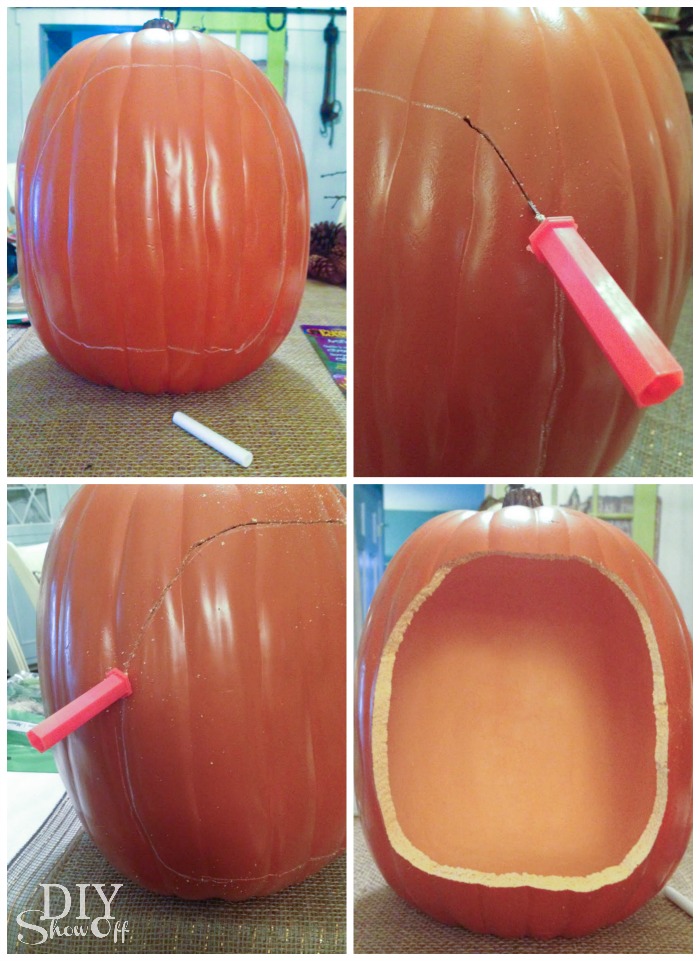
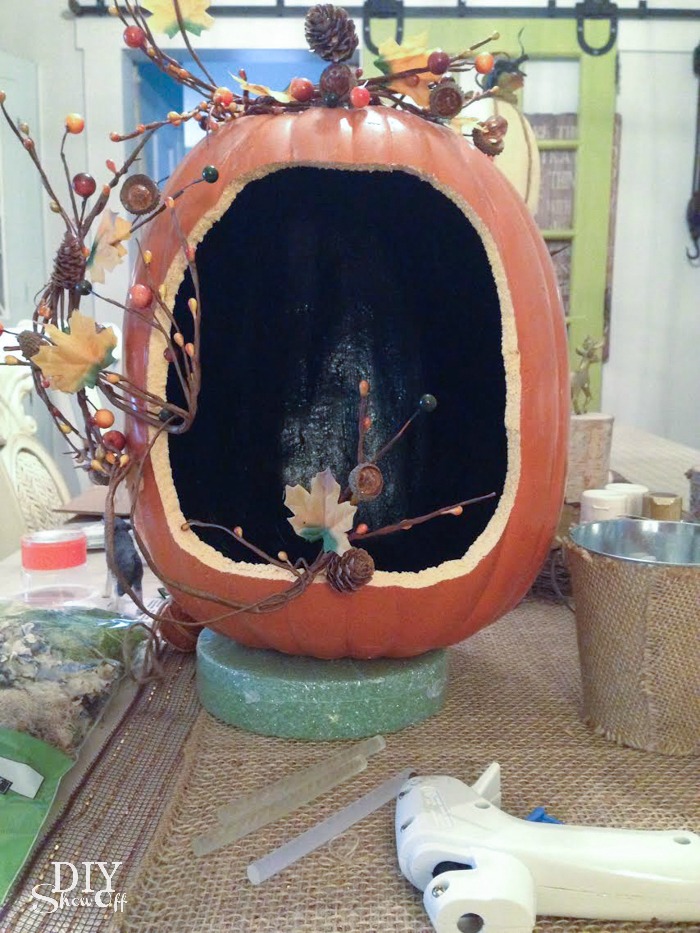
Using chalk, I drew a circular shape onto the front of my faux pumpkin, then cut out the shape using small carving tools. Then I cleaned the dust and pieces out of the pumpkin.

scenic faux pumpkin jackolantern tutorial @diyshowoff #trickyourpumpkin

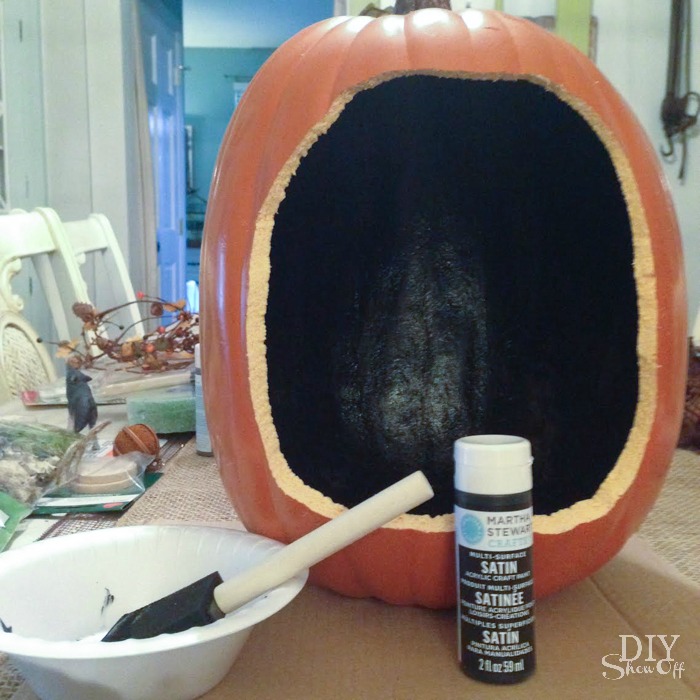
Using a foam paint brush, I painted the inside of my pumpkin black. I brushed on the dark glitter coat over top and let paint dry. 

scenic faux pumpkin jackolantern tutorial @diyshowoff #trickyourpumpkin

While the paint was drying inside, I attached a decorative fall garland with mini leaves and acorns to the outside using hot glue. 

scenic faux pumpkin jackolantern tutorial @diyshowoff #trickyourpumpkin

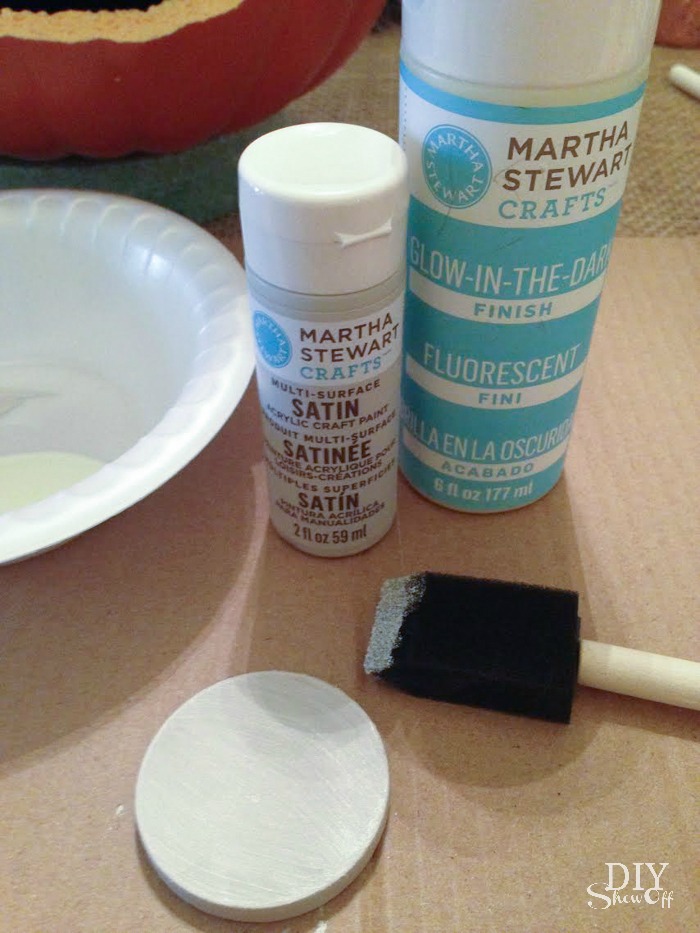
I painted the wooden disk white, followed by a coat of glow in the dark with a few ‘pounces’ of the dark glitter paint using my foam paint brush (not shown). Let dry. 

scenic faux pumpkin jackolantern tutorial @diyshowoff #trickyourpumpkin

I inserted the styrofoam disk into the bottom of the pumpkin. I left the plastic wrap on the styrofoam disk. Optional: I used some mini-pinecones to fill in the gaps along the sides.

scenic faux pumpkin jackolantern tutorial @diyshowoff #trickyourpumpkin

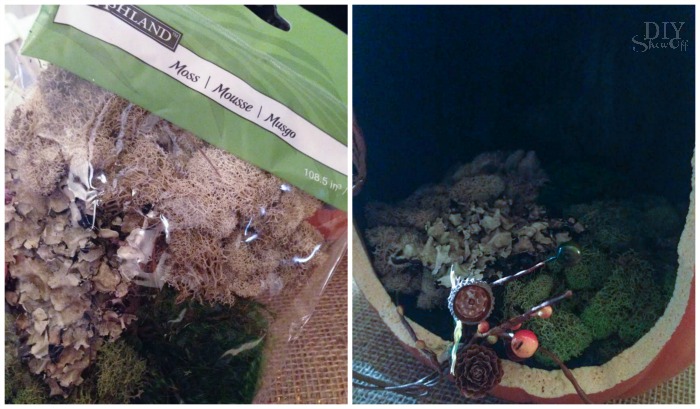
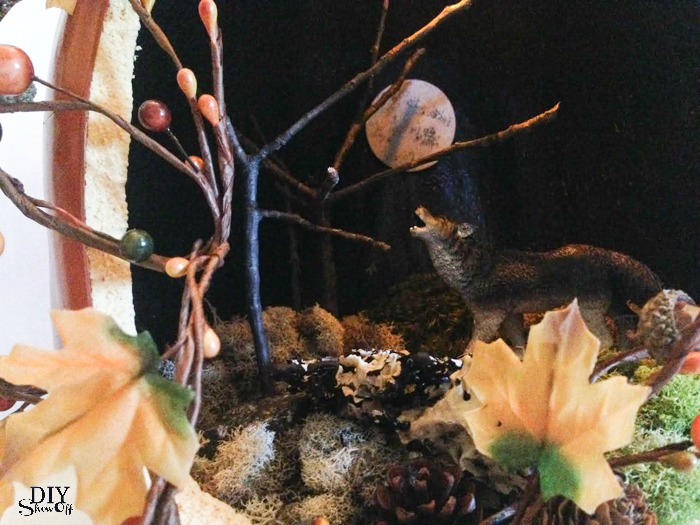
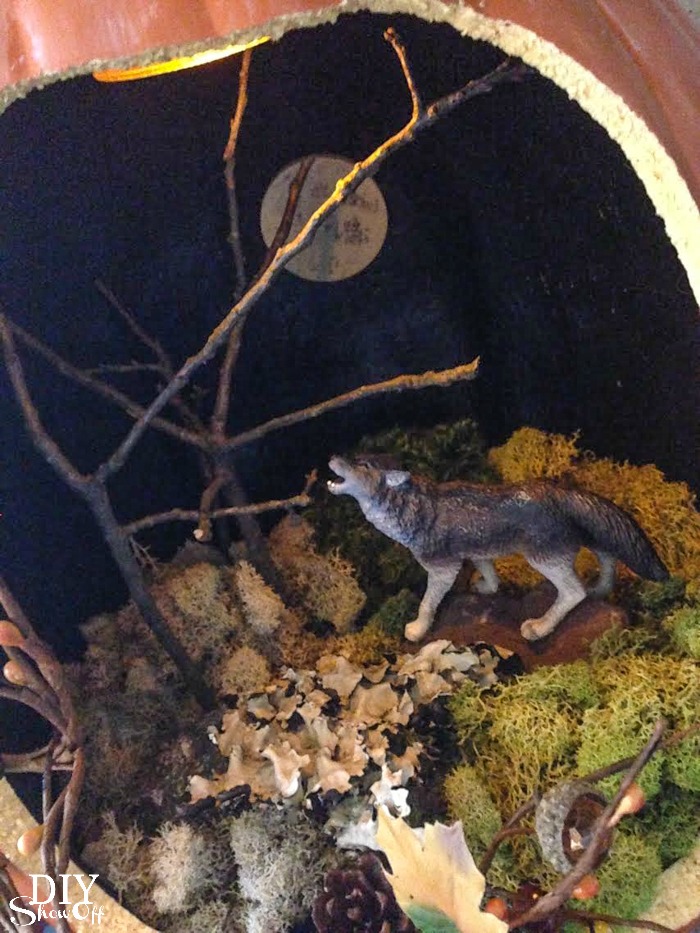
Then I topped it off with moss.  

scenic faux pumpkin jackolantern tutorial @diyshowoff #trickyourpumpkin

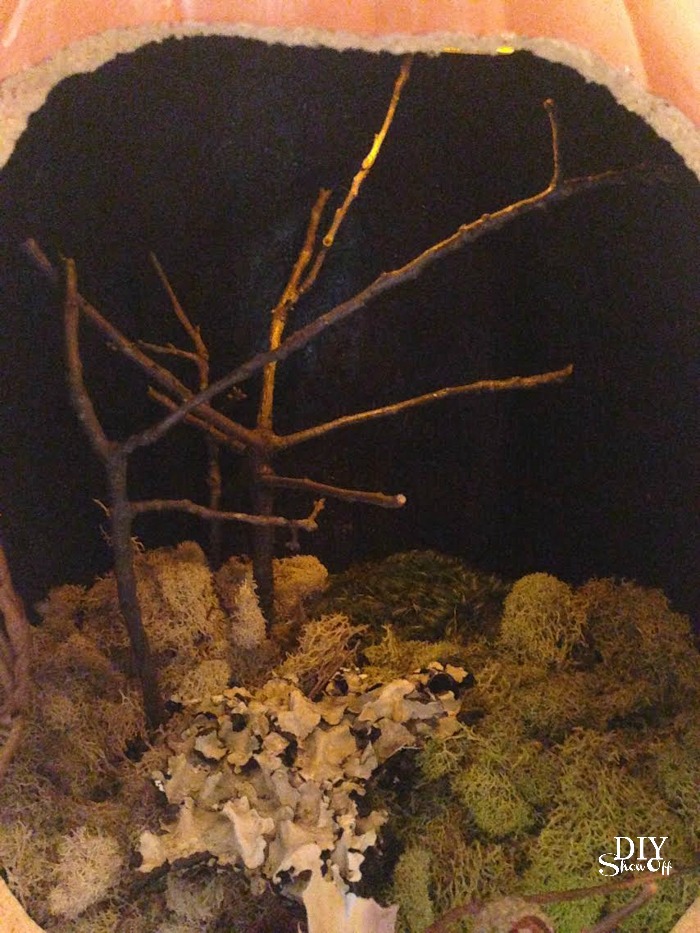
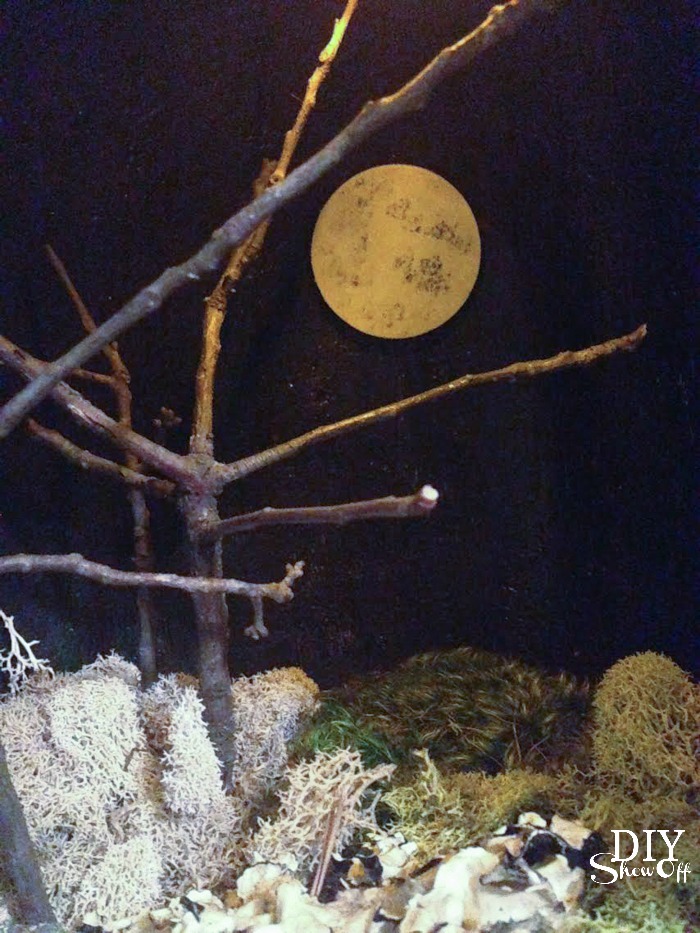
I carefully poked sticks (I found some in the yard that had sort of a ‘tree’ look) through the moss/styrofoam to create “trees”. 

scenic faux pumpkin jackolantern tutorial @diyshowoff #trickyourpumpkin

I then secured full moon to the back using hot glue. You could do this before adding the trees. I waited so I could decide the placement behind the trees.

scenic faux pumpkin jackolantern tutorial @diyshowoff #trickyourpumpkin

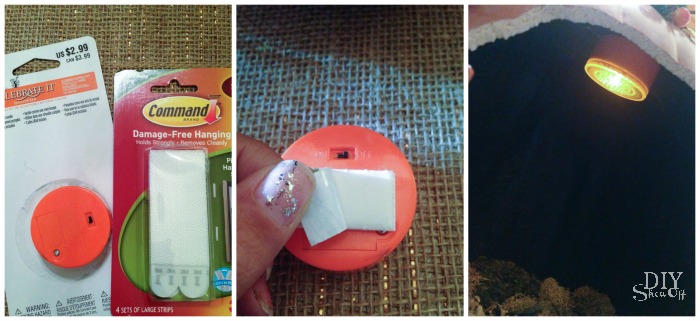
I added a piece of adhesive velcro to the back of the small battery operated light (don’t cover the on/off switch). It’s adhered to the “roof” of the pumpkin. The velcro attachment allows me to remove the light to turn if off and on. 

scenic faux pumpkin jackolantern tutorial @diyshowoff #trickyourpumpkin

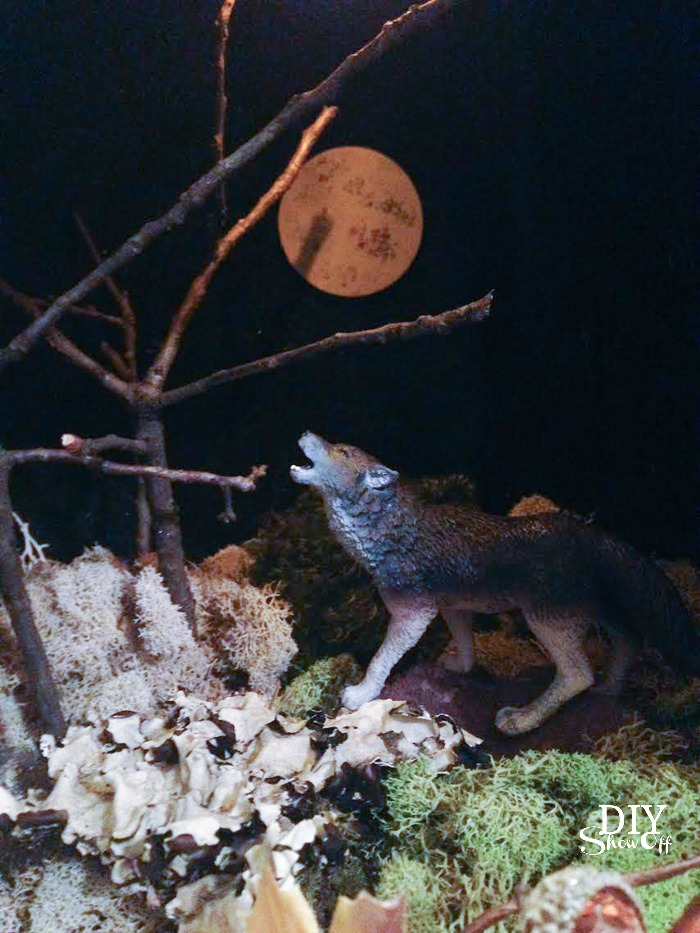
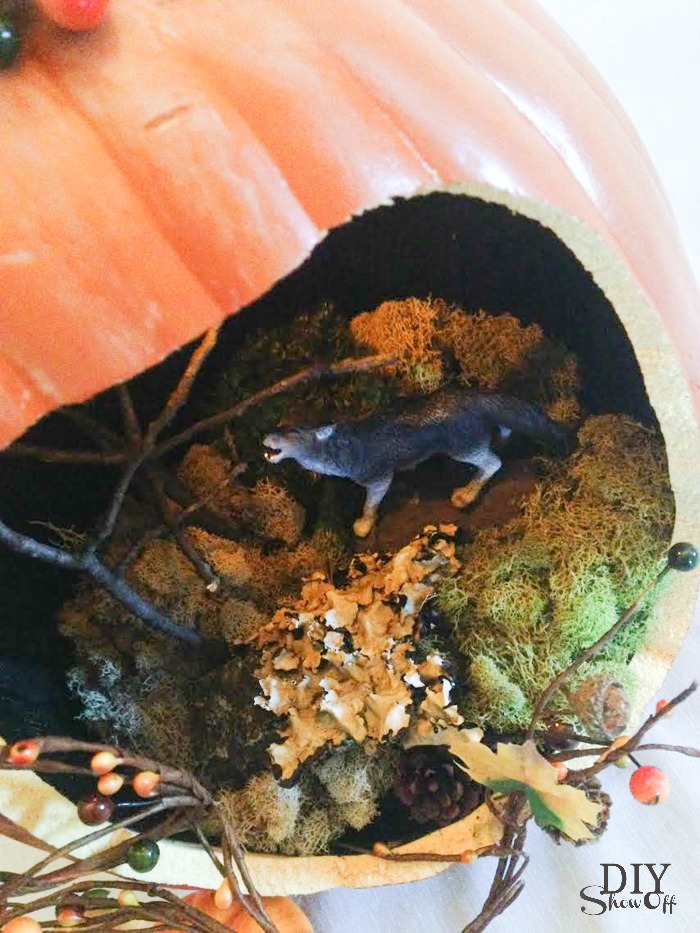
I finished it off by adding rocks and a wolf. 

scenic faux pumpkin jackolantern tutorial @diyshowoff #trickyourpumpkin scenic faux pumpkin jackolantern tutorial @diyshowoff #trickyourpumpkin

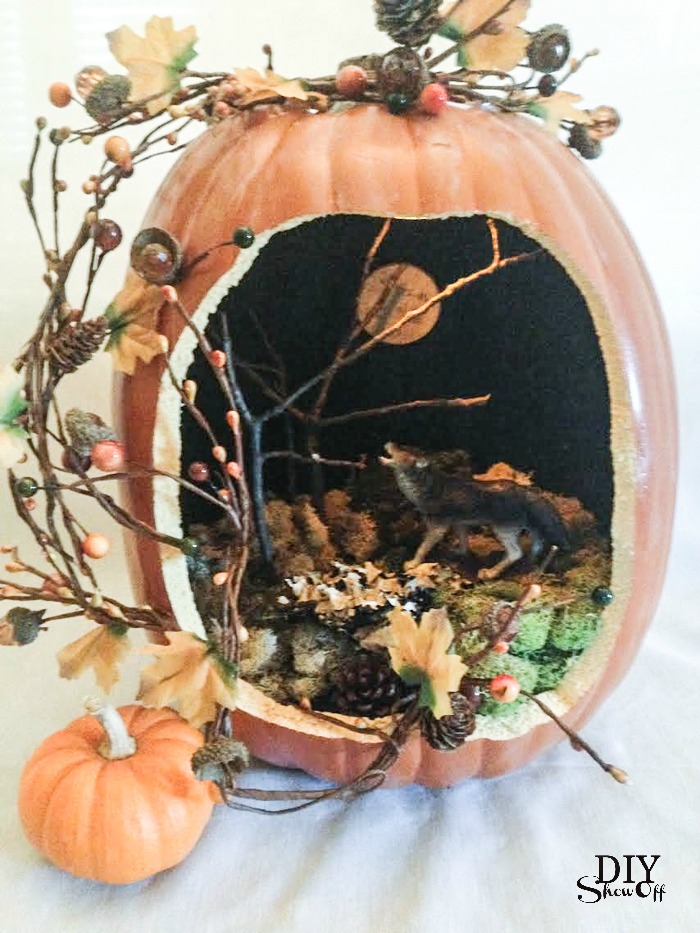
Display! Isn’t it fun? I’m going to raffle this one off at a local event but may just have to make one for myself too…maybe with a different scene: mini hale bales and a scarecrow or a ‘nevermore’ theme with ravens or a graveyard scene with tombstones. What about you? 

scenic faux pumpkin jackolantern tutorial @diyshowoff #trickyourpumpkin scenic faux pumpkin jackolantern tutorial @diyshowoff #trickyourpumpkin scenic faux pumpkin jackolantern tutorial @diyshowoff #trickyourpumpkin scenic faux pumpkin jackolantern tutorial @diyshowoff #trickyourpumpkin scenic faux pumpkin jackolantern tutorial @diyshowoff #trickyourpumpkin

#TrickYourPumpkin Sweepstakes

The Michaels social team is working on a #TrickYourPumpkin sweepstakes. Crafters just submit their pumpkin creations via Instagram any time between Oct. 4th through 31th, 2014 for a chance to win a $250 Michaels gift card and Plaid products each Friday throughout the month of October! What would you do with a $250 Michaels’ shopping spree?

Shop at Michaels

Michaels would love to see your pumpkin creation! Post your pumpkin project on Instagram (using #TrickYourPumpkin #sweepstakes and tagging @MichaelsStores). Simple! Good luck! 

scenic faux pumpkin jackolantern tutorial @diyshowoff #trickyourpumpkin


*I received a Michael’s gift card to complete this project. 

DIY Halloween Witch Hat Candy Dish Decor

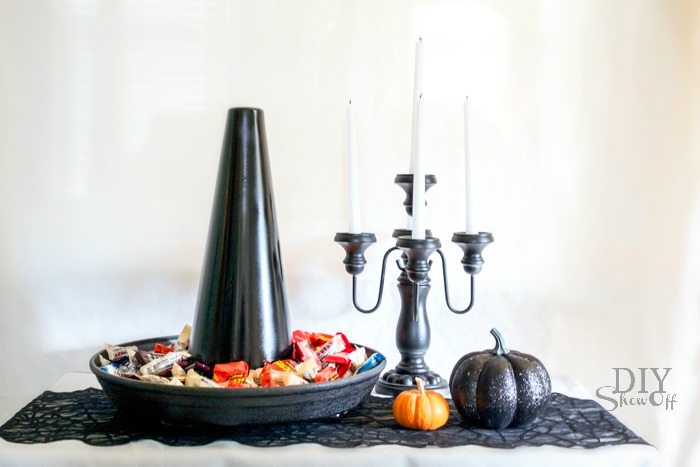
This easy DIY Halloween project for the Lowe’s Creative Ideas October challenge has a few uses so I wasn’t sure what to call it. It’s … versatile. 

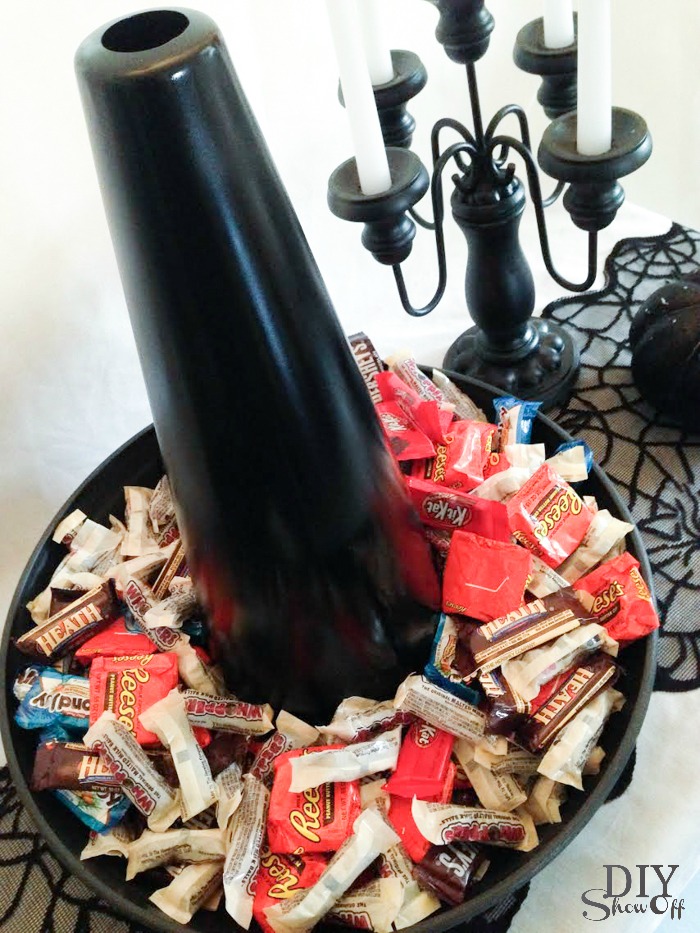
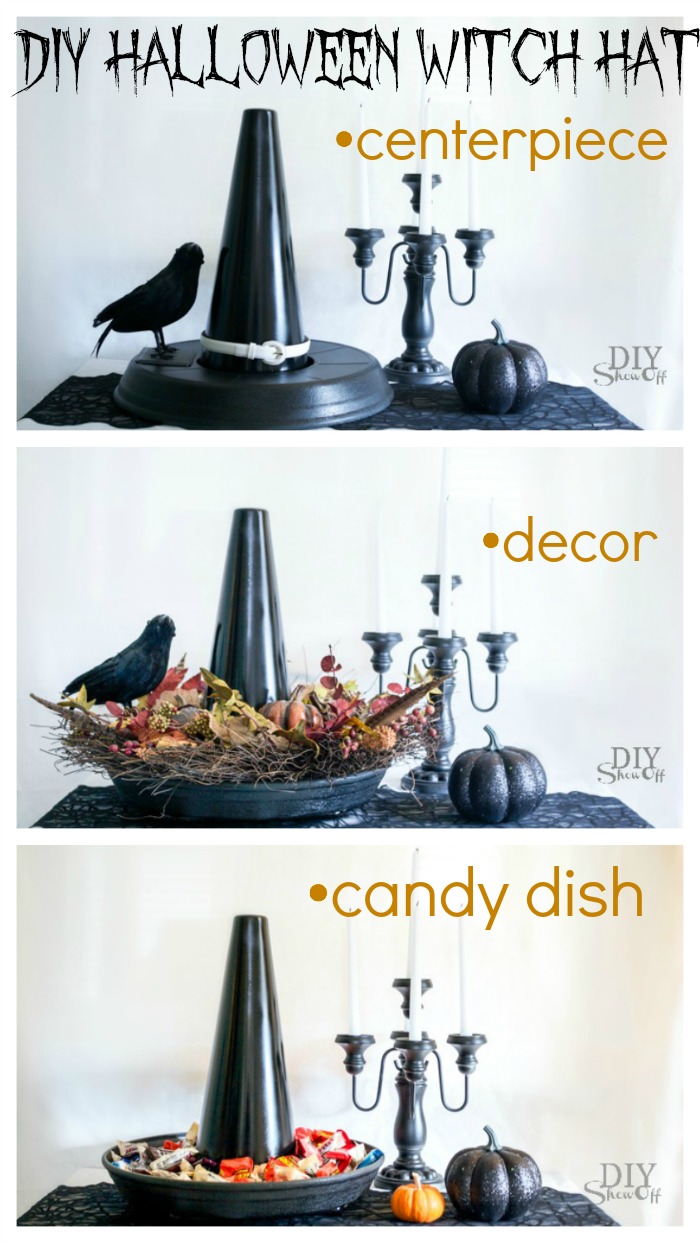
Witch Hat Halloween Candy Dish

DIY Witch Hat candy dish/serving tray tutorial @diyshwoff

or add chips/pretzels to use as a Halloween serving tray.

or add festive cupcakes for Halloween party display.

or add succulents, small fall flowers/plants to create a Halloween planter.

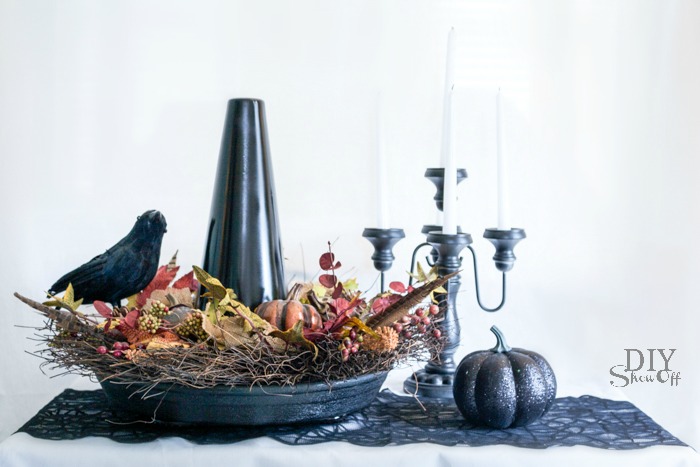
or a floral arrangement (just pop on a fall wreath) for Halloween decor.

DIY witch hat Halloween centerpiece tutorial

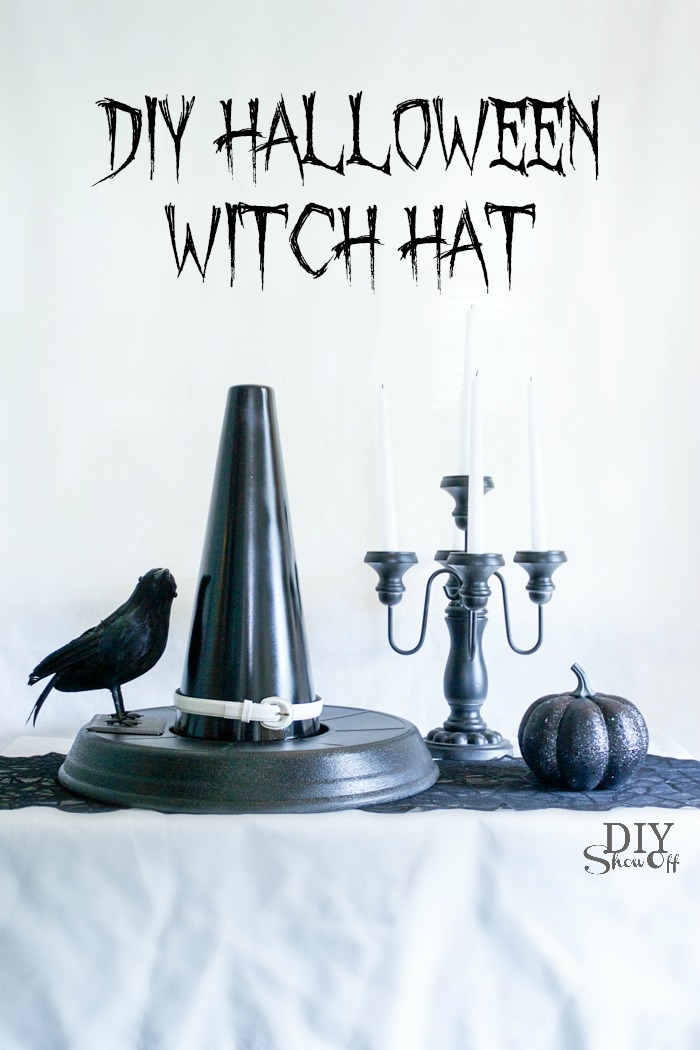
or simply flip the bottom to use as a Halloween Centerpiece

DIY Witch Hat Halloween decor tutorial @diyshwoff

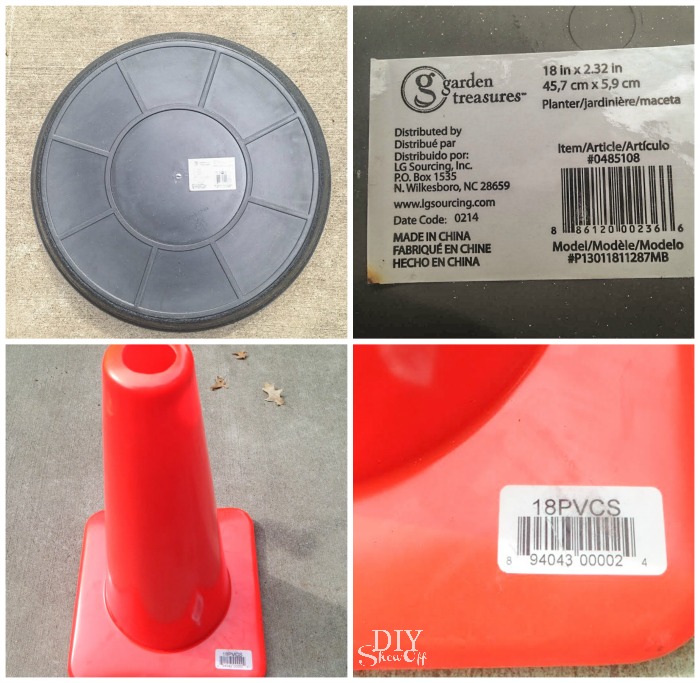
Materials:

DIY Witch Hat candy dish/serving tray tutorial @diyshwoff

EASY tutorial:

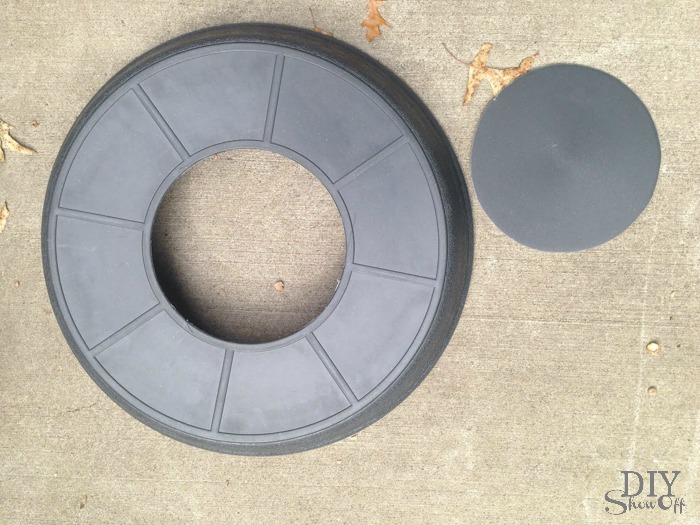
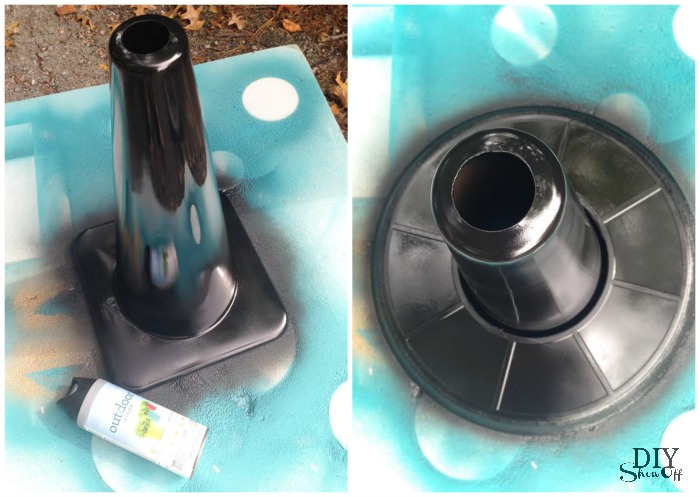
1. Using a kitchen knife, we cut out a hole using the inner circle shown on the bottom of the large plastic plant saucer as guide.

DIY Witch Hat candy dish/serving tray tutorial @diyshwoff

2. Spray paint cone and saucer black. I did two coats on the cone, one coat on the already black plant saucer. Let dry.

DIY Witch Hat candy dish/serving tray tutorial @diyshwoff

That’s it! 

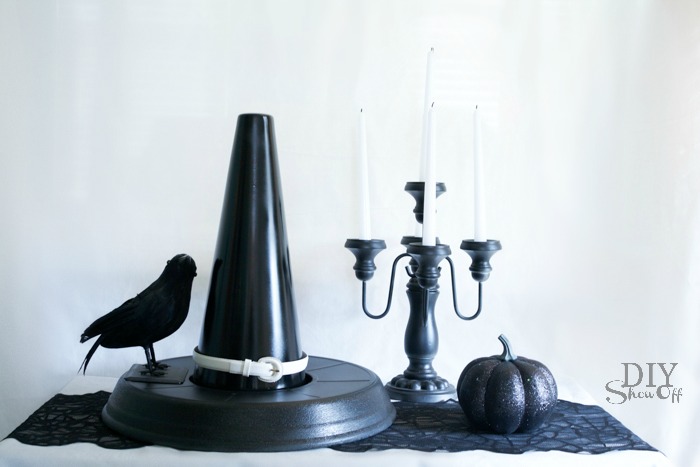
Carefully slide onto the cone. Right side up creates a ‘dish’. 

DIY Witch Hat candy dish/serving tray tutorial @diyshwoffDIY Witch Hat candy dish/serving tray tutorial @diyshwoff

Upside down creates a ‘ledge’. Add an old belt for a decorative touch.

DIY Witch Hat Halloween decor tutorial @diyshwoff


More ideas: attach faux fall flowers, leaves, spiders, etc. to create a Halloween centerpiece. Hide a vase filled with water under the cone and fill with tall flowers. Add succulents and display outside. Get creative!

DIY witch hat Halloween centerpiece tutorial

Fall LCI

I received a Lowe’s gift card to put towards this challenge. Opinion and above idea is 100% my own. More DIY ideas at Lowe’s Creative Ideas or follow Lowe’s on InstagramPinterest and sign up for the Creative Ideas magazine and app.

Halloween DIY @diyshowoff #lowescreator

DIY Halloween Candy Skull Owl Plaque

This post is part of a social shopper marketing insight campaign with Pollinate Media Group™ and Sharpie, but all my opinions are my own. #pmedia #NeonSharpie http://cmp.ly/3/8vNxcO.

I do love my Sharpies so I happily accepted the offer to participate in the Neon Sharpie campaign with a fun colorful Halloween project. I used the coupon link shared below to snag my 5 pack at Target…along with more than that of course…isn’t that always the way in that store?

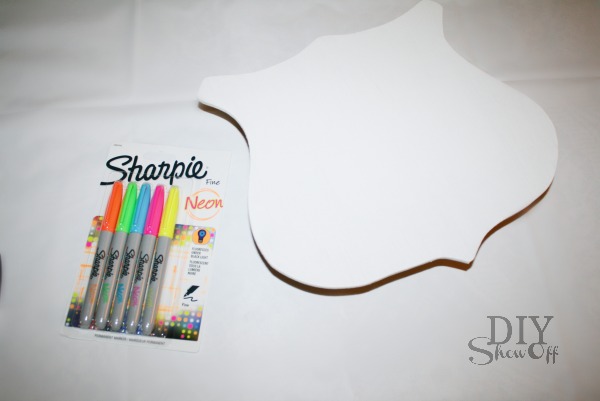
NEW Sharpie Fine Point Neon markers have fun ultra vivid colors in natural light with ink that turns fluorescent in black light.
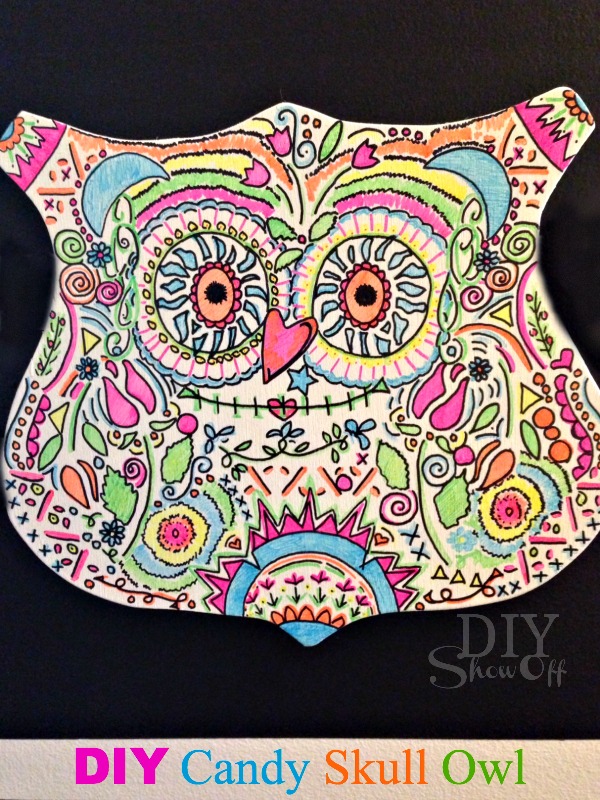
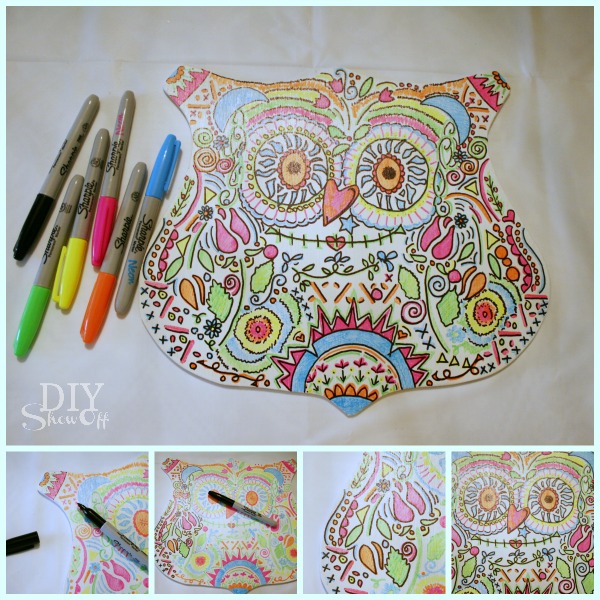
DIY Halloween Candy Skull Owl Plaque

DIY Neon Sharpie Candy Skull Owl Tutorial

Materials: 

  • 5 pack Neon Sharpie Markers
  • Wooden shield or route 66/road plaque (I picked mine up at a yard sale but you could also cut your own from thin plyboard or purchase online or in craft stores)
  • White craft paint
  • Black Sharpie

Tutorial:

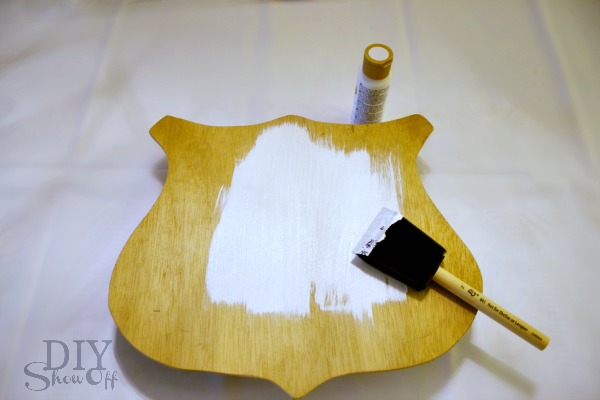
My plaque is a shield/road route shape but doesn’t it look like the shape of an owl too? Perfect for this project! I gave it two coats of white paint and let it dry. candy skull halloween owl
candy skull halloween owl tutorial

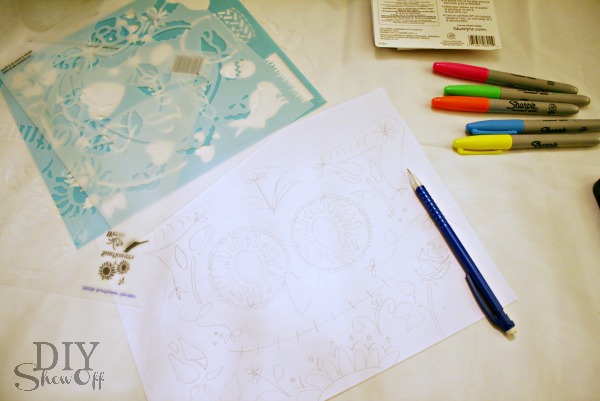
After a quick online image search to get an idea of candy skull designs, I practiced a few design sketches on a piece of paper. candy skull owl tutorial

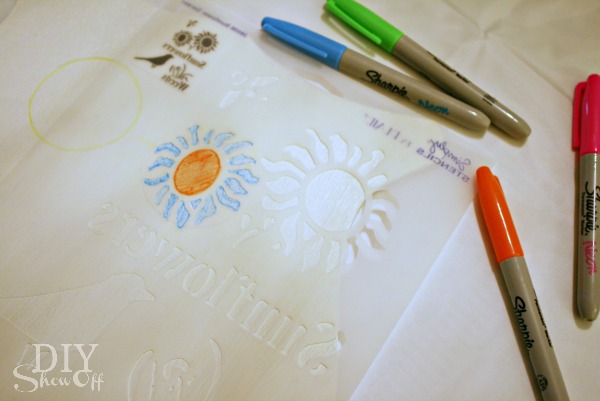
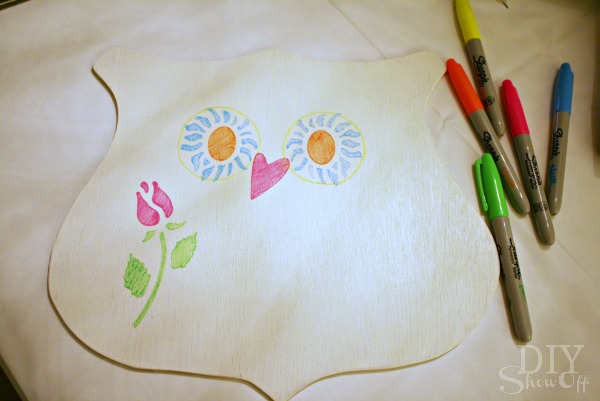
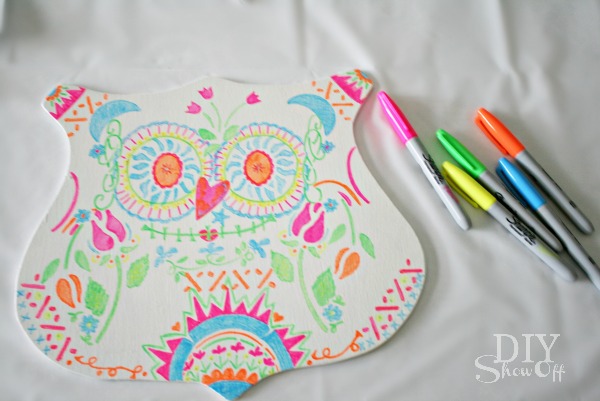
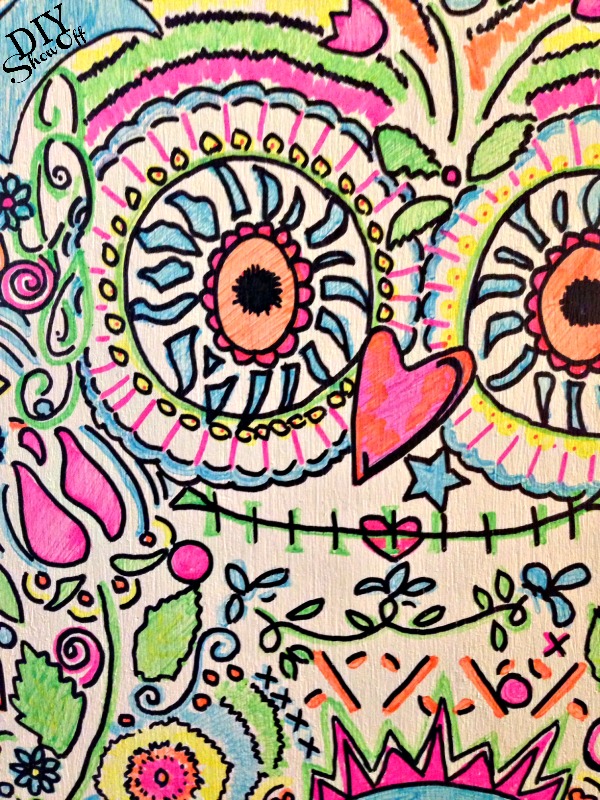
Using a pencil, I traced my camera lens cap for large circle eyes then utilized a few stencils but mostly just doodled with my neon Sharpie markers. I filled in the white surface with designs, shapes, flowers, spirals, etc. candy skull stenciling

and filled in some more…candy skull tutorial

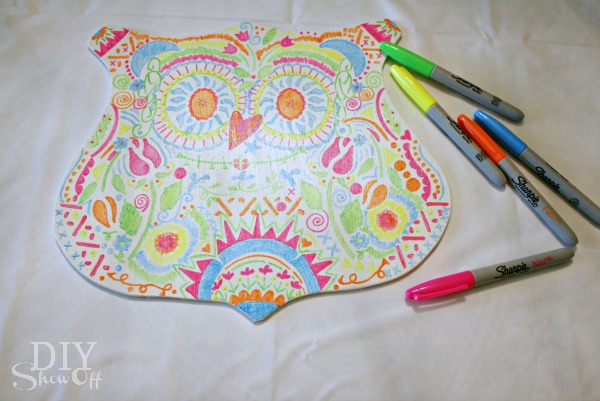
and more. I tried to keep things symmetrical but being an amateur candy skull artist, it’s a bit off. I compensated here and there with design but a part of having hand-drawn charm is the imperfection, right? It doesn’t jump out and say OFF BALANCE. It’s still pretty!diy candy skull halloween owl tutorial

Sometimes, I walked away when interrupted or at a loss of what else to draw then came back with a fresh look and filled in the design some more…DIY candy skull owl

until I was happy with my overall design. I love the bright vivid colors. So fun!

Next I outlined everything using my black Sharpie…Neon Sharpie Candy Skull Owl

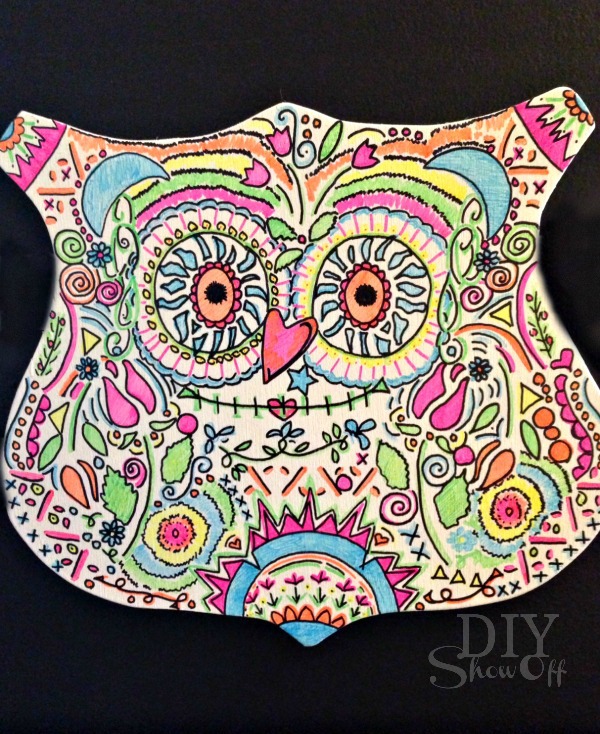
 One of a kind…DIYShowOff Candy Skull Owl

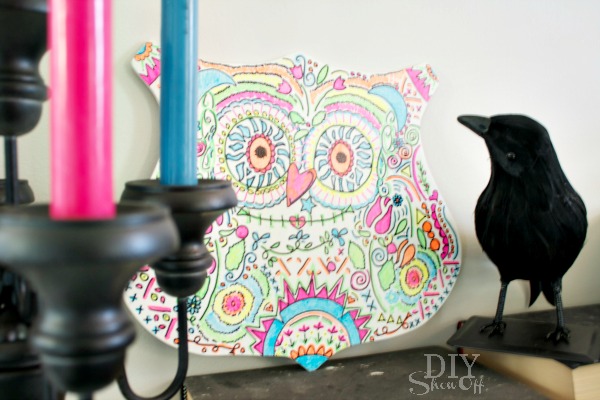
 Isn’t it cute? Perfect for a fun colorful Halloween accent!candy skull owl decor

It’s so cool that the neon marks show fluorescent under a black light too!DIY Neon Sharpie Candy Skull Owl

1$ off coupon (available while supplies last and in select stores) to purchase the 5 pack of Neon Sharpies from Target. Coupon Link: http://coupons.target.com/sharpie-coupons

See more fun Sharpie ideas: