Wood & Turquoise Thrift Store Mirror Makeover

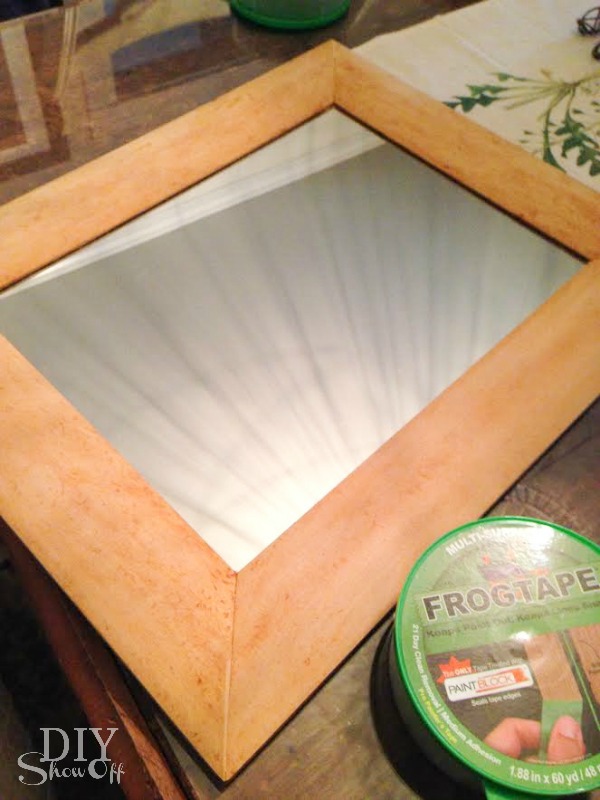
Thrift store jackpot! Well, a great deal, at least! I snagged this mirror at the thrift store for $2.99. Original TJMaxx sticker is marked 19.99. Great price, sort of zzzzz. 

wood and turquoise mirror makeover at diyshowoff.com

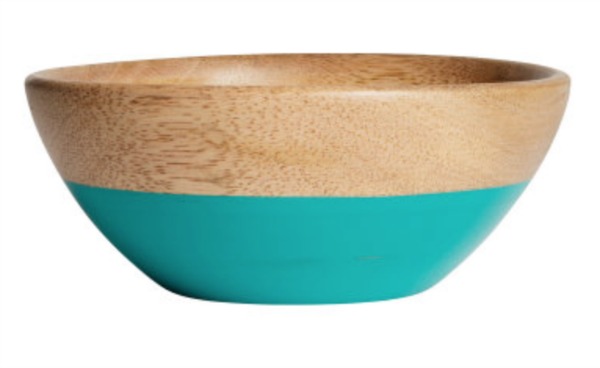
Inspiration comes in many forms. For this mirror and the light wood finish, my inspiration came from this wood and turquoise bowl at H&M: 

H&M turquoise and wood bowl

Materials:

  • Mirror
  • FrogTape® 
  • Paint (I used Maison Blanche Furniture Paint. Color is colette.) 

DIY mirror makeover at diyshowoff.com

Tutorial:

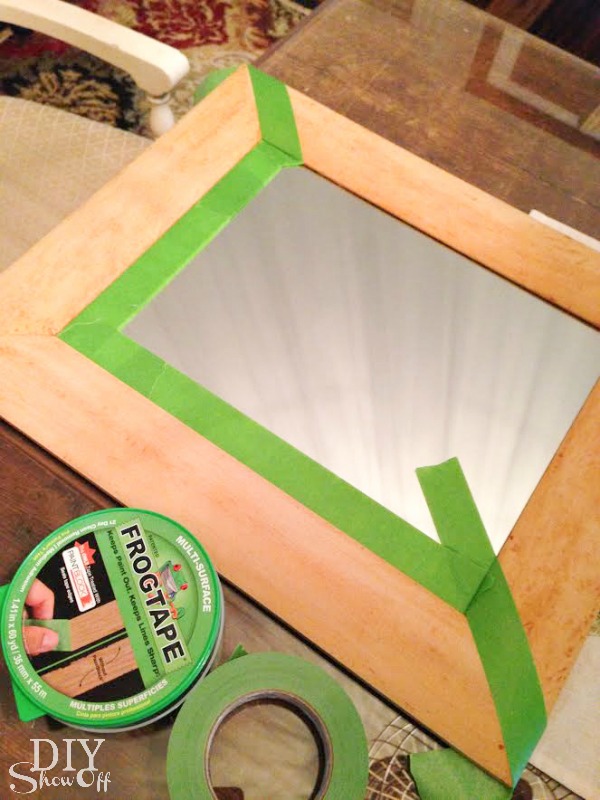
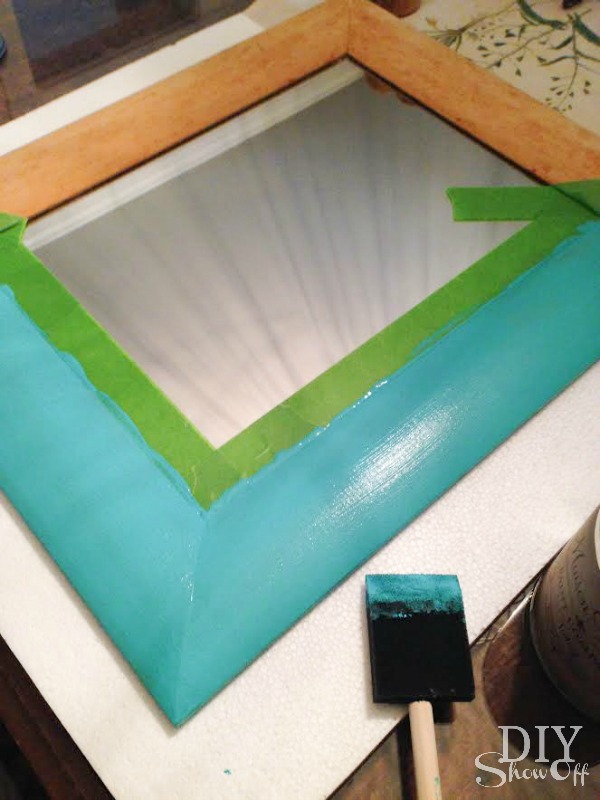
Tape off the mirror. I also taped diagonal at the top right and bottom left mitered joints.

wood and turquoise mirror makeover at diyshowoff.com

Burnish the edges of the tape using thumbnail.

Paint. I used a foam brush to apply two coats.

wood and turquoise mirror makeover at diyshowoff.com

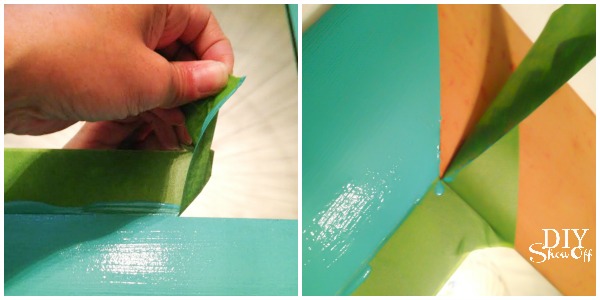
While paint is still wet, remove tape by pulling away from the paint.

wood and turquoise mirror makeover at diyshowoff.com

 Let dry. Ready to hang and display.

Inspiration:

H&M turquoise and wood bowl

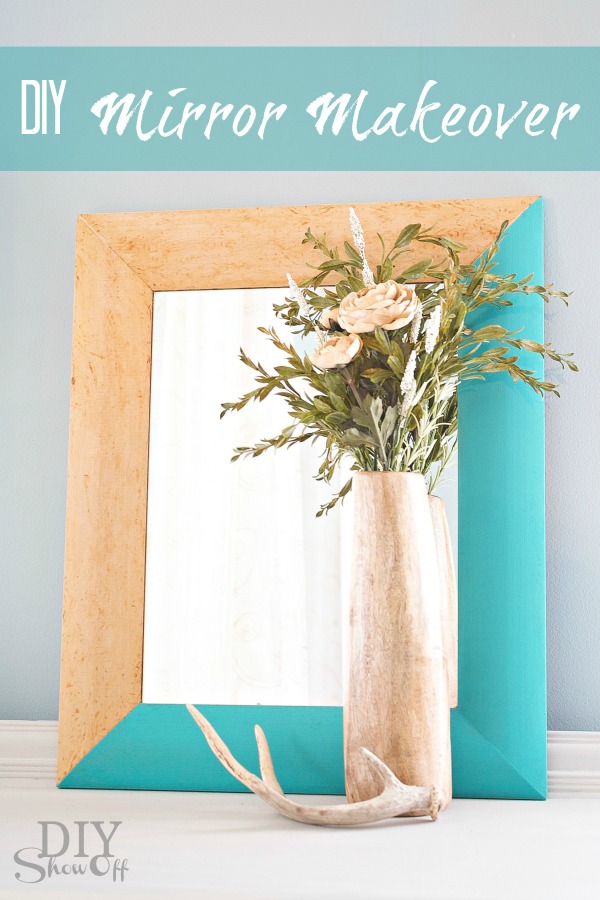
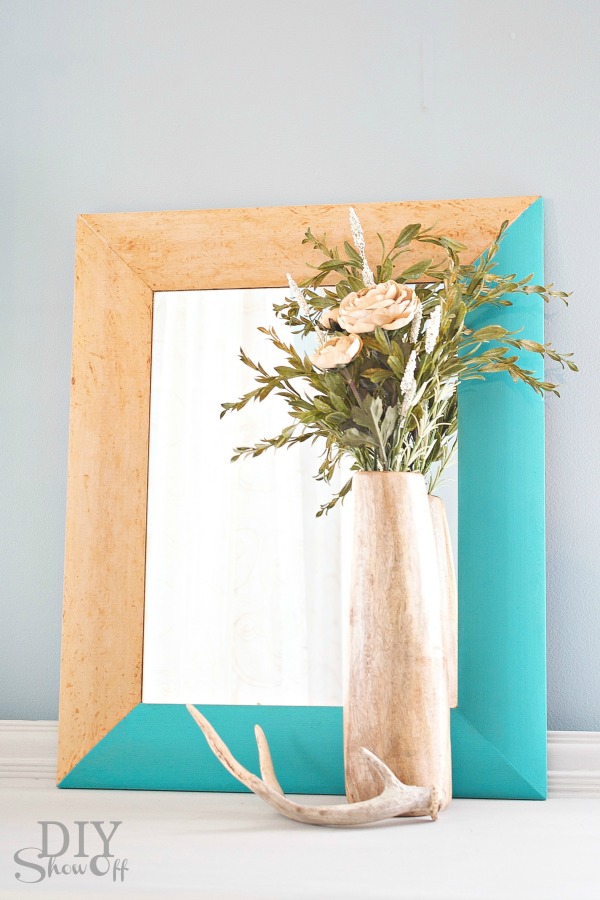
Wood & Turquoise Mirror Makeover:

mirror makeover at diyshowoff.com

Depending on the hanger on the back, it may only hang one direction (unless you add a DIY hanging mechanism for an alternate hanging direction). For display, there are 4 rotation possibilities. One mirror, four ways:

One mirror, four ways at diyshowoff.com


Sharing at Southern Hospitality Thrifty Treasures.

Easy! A little color, a modern touch and a new decorative mirror = thrift store score, don’t you think? Looking for more fun ideas using FrogTape? Click here—-> FrogTape DIY ideas

FrogTape Blog Squad

Disclaimer: As a member of the FrogTape® Blog Squad, I received compensation to complete this project for using FrogTape® products. All opinions, projects and ideas are based on my own experience.


Mismatched Baskets to Matching Spring Collection

Have a bunch of mismatched baskets sitting around? Why not gather them up and create a matching collection just in time for spring organizing or Easter decorating? 

mismatched to cute collection - basket DIY at diyshowoff.com

Materials:

  • baskets (thrift stores or your own stash)
  • spray paint
  • FrogTape® Delicate Surface

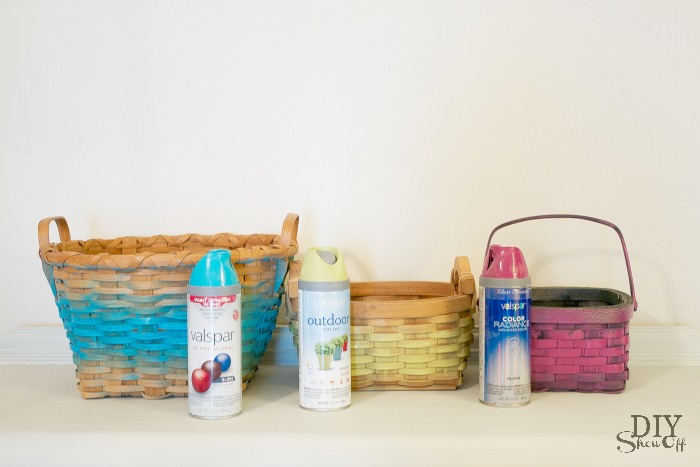
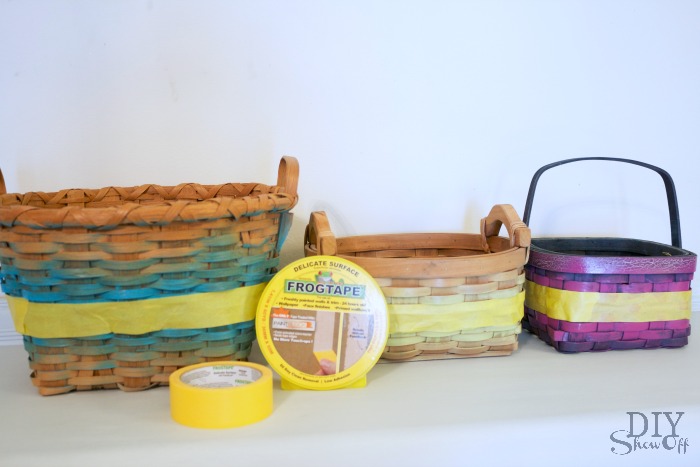
I first cleaned up my baskets since they were a bit dusty. Then sprayed each basket with a different color of spray paint around the middle/outside and let dry. 

DIY painted basket collection

After 24 hours, I used FrogTape® Delicate Surface to create (and protect) a stripe around each basket. 

DIY painted basket collection with FrogTape

Use a thumbnail or credit card to activate the patented PaintBlock® Technology, giving the edges of the tape a good seal the best you can with the woven basket texture. 

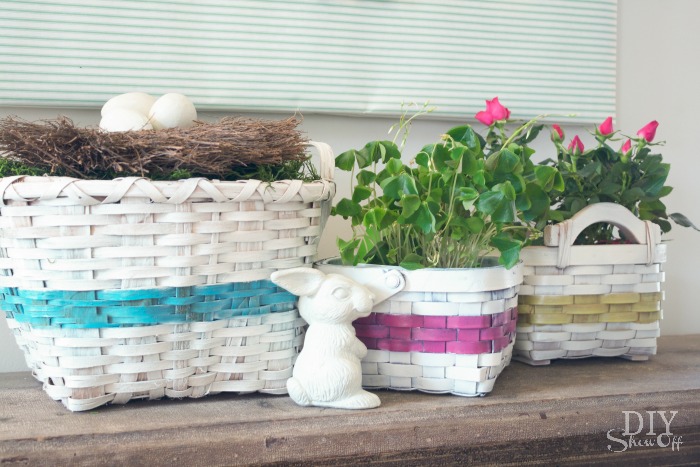
Next I sprayed each basket inside and out with white spray paint. 

You can remove the tape while paint is wet but I forgot and removed it about four days later without any problem.

removing FrogTape

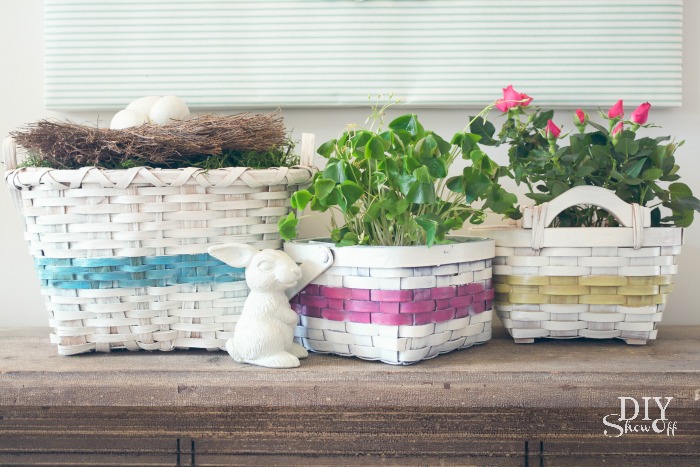
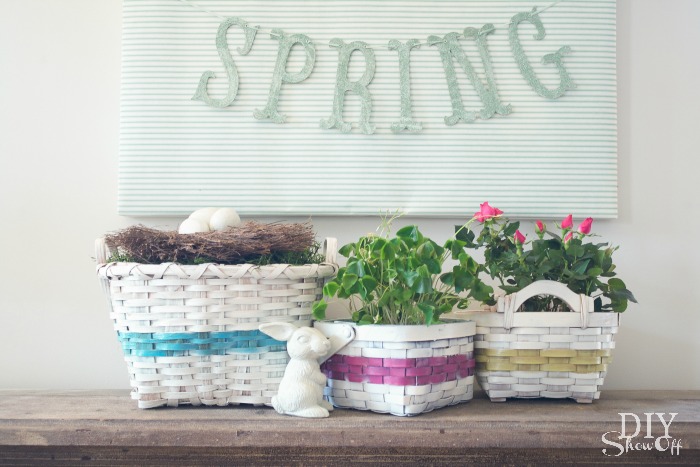
Now instead of 3 junky baskets, I have a set of 3 cute matching baskets all ready for the Easter Bunny…

DIY spray painted basket collection at diyshowoff.comhow to make an easter basket collection at diyshowoff.comspray painted basket collection

FrogTape Blog Squad

Disclaimer: I received compensation to complete this project for using FrogTape® products. All opinions, projects and ideas are based on my own experience.

Baseboard Trim

Yesterday I shared how I installed grouted vinyl floor tiles in the bathroom and today I just wanted to share a little baseboard trim tip. I re-used existing baseboard trim because it’s the old wide original trim in good shape. See how to easily swap out your baseboards here and a little tip for easy decorative trim detail here.  
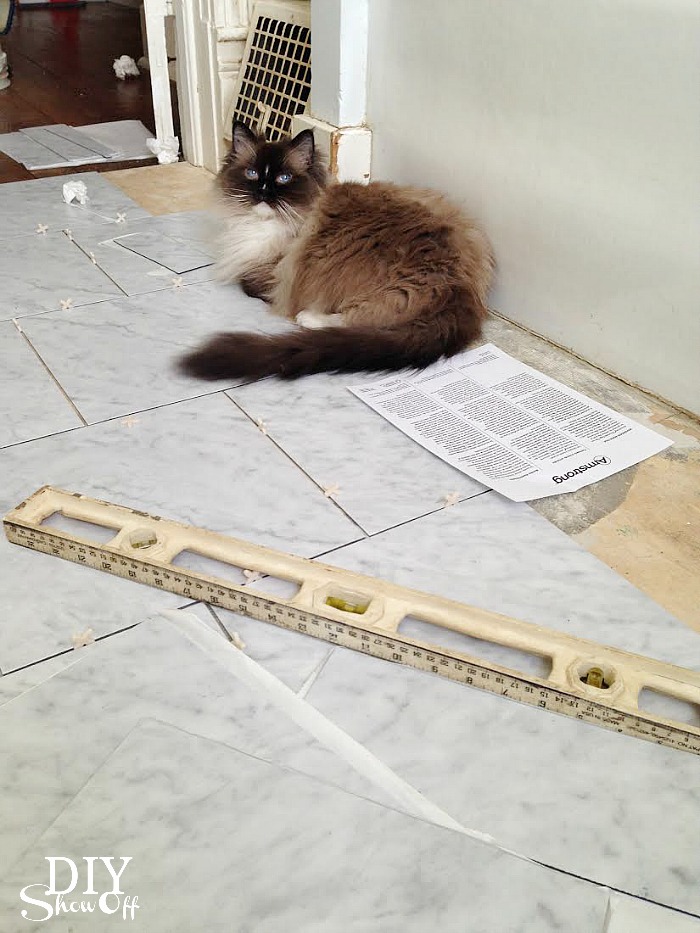
grouted vinyl floor tile tutorial @diyshowoff

I gave it a good scrubbing and a little scuffing with sandpaper.

Then reattached the baseboard trim using my nail gun and brads. Countersink the nails, fill with wood filler and sand. 

Next I sealed all of the seams with caulk – where the trim meets the wall and where the shoe moulding rests against the baseboard. I use DAP paintable caulk for windows/doors/trim.

FrogTape® Mult-Surface tape applied to the wall ensures a nice straight line without caulk smears. Apply the tape horizontally above the baseboard onto the wall. Use your thumbnail or a credit card to activate the PaintBlock® Technology.
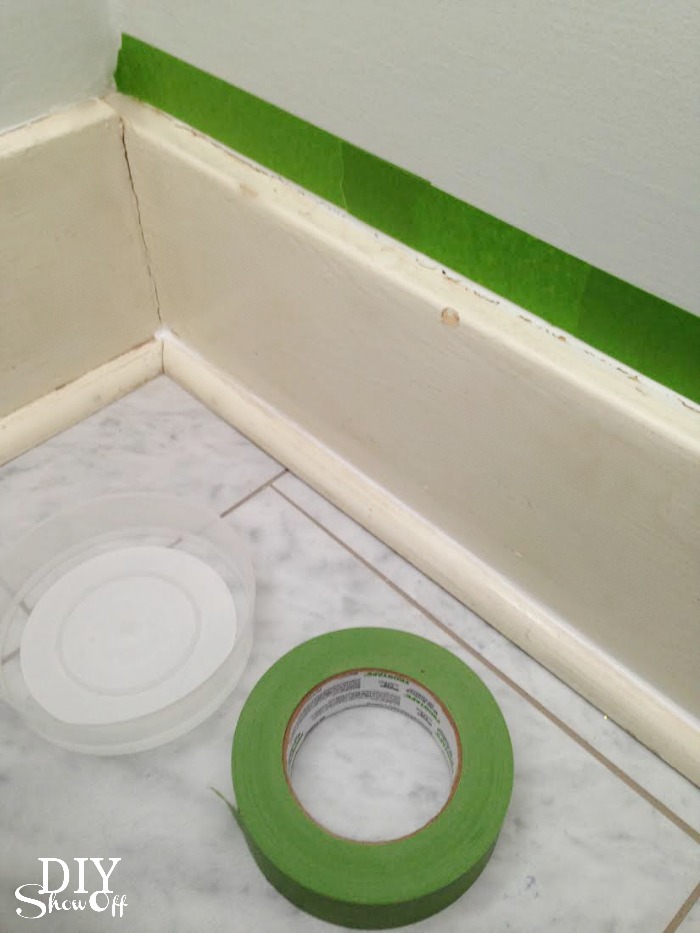
DIY caulking baseboard trim

Cut the tip of the caulk tube at an angle (the larger the hole, the bigger amount of caulk-age, so I prefer to keep the cut on the small side. Holding the caulk gun at an angle so that the flat end of the cut hole faces the seam where the baseboard meets the wall, run a bead of caulk. 
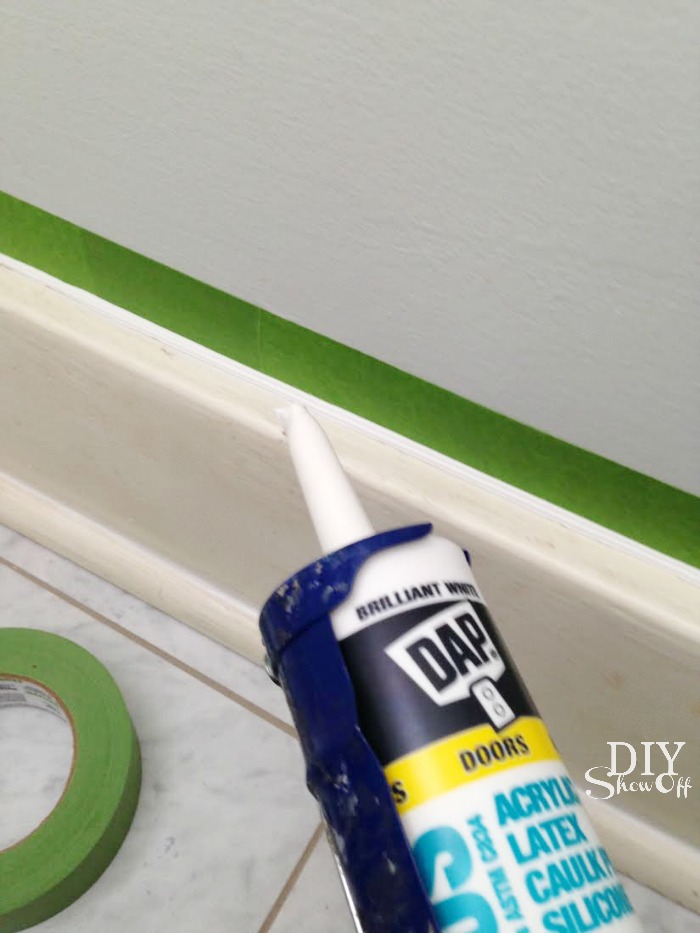
caulking baseboard trim tutorial

I fill my FrogTape container with a little bit of water. With a wet finger, smooth the caulk. I work from left to right and since this is a small space, I worked in an entire section (about 4-5 ft. at most). You’ll have a lot of excess (remember to have those paper towels handy). 
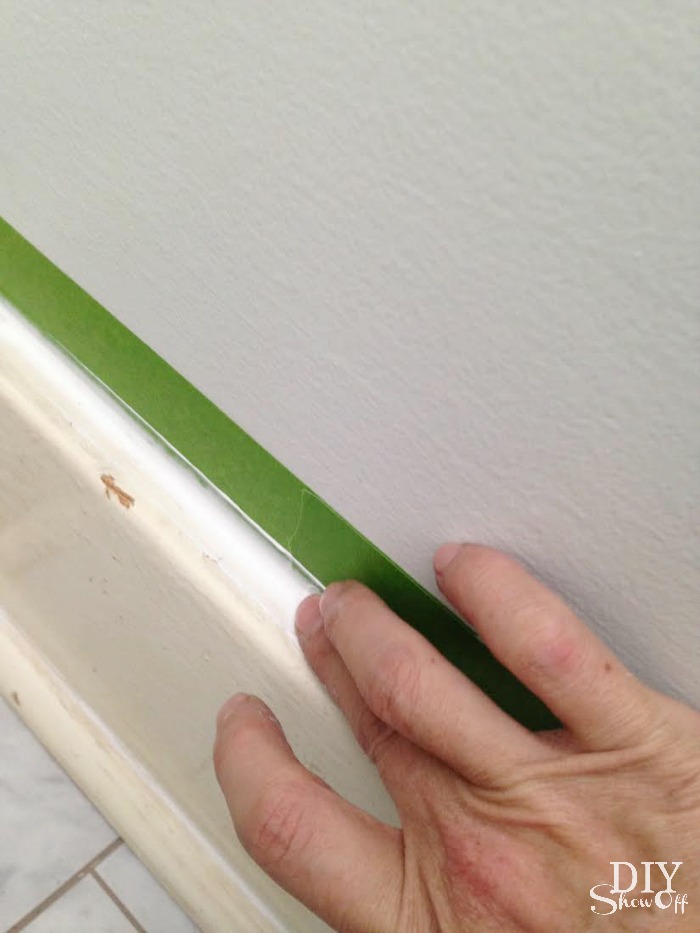
caulking baseboard trim tutorial

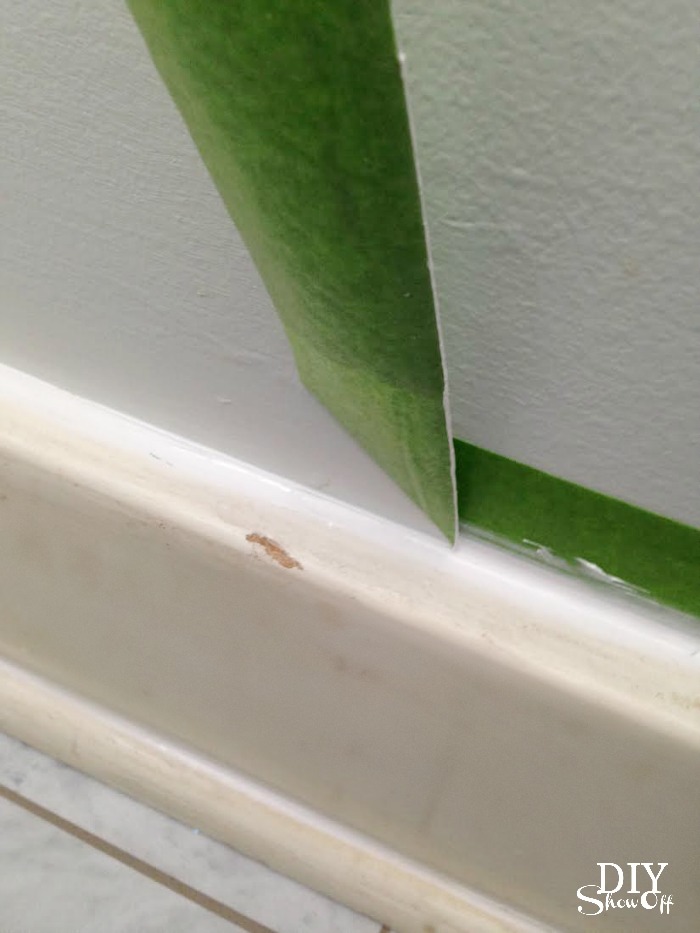
Then peel away the FrogTape starting at a bottom edge and pulling up and away from the caulk. 
caulking baseboard trim tutorial

Nice clean line! Repeat until all top baseboard seams are sealed. 

Now repeat the caulking steps (without the painter’s tape) where the shoe moulding rests agains the baseboards. Once dry (about 30 minutes), it’s time to paint!

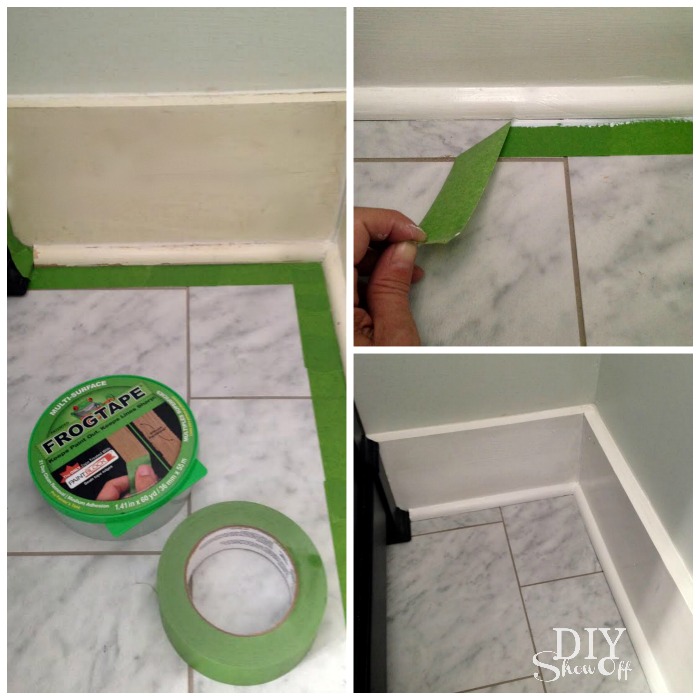
Paint is Dutch Boy’s Cabinet and Trim paint. I used FrogTape where the shoe moulding meets the floor to prevent getting paint on my nice new grouted vinyl tiles. Using my thumbnail, I again activated the Paintblock Technology, then painted my trim. After the second coat of paint, I removed the FrogTape while the paint was still wet. 
painting baseboard trim

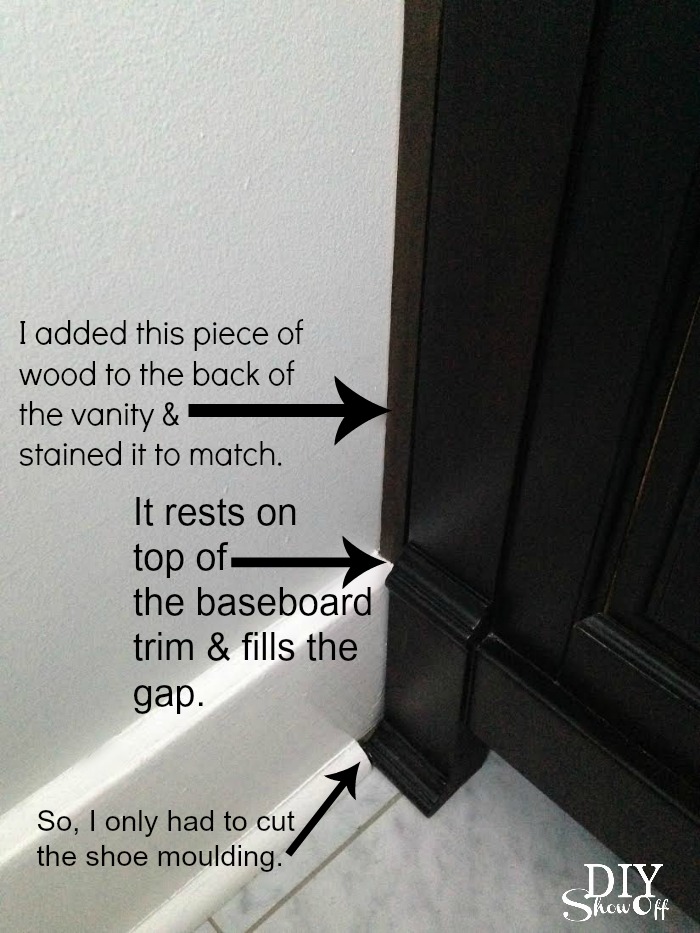
The vanity: I could have cut the baseboard trim so that the vanity sat flush against the wall but since the countertop had a little play (it sat out from the vanity about an inch), I attached scrap (stained) 1x4s cut to size to the back of the vanity, so that it would hide the gap and rest above my baseboard. (Also…one of my baseboards was good and glued as well as nailed to the plaster wall…I feared created a bigger more involved mess with pulling it off.) Now my countertop rests against the wall and is flush with the front of the vanity with no overhang but I don’t believe there’s a law or rule that says the countertop must protrude from the vanity. Is there? It also gave me a little more wiggle room for the tight fit plumbing. 
bathroom vanity and trim fix

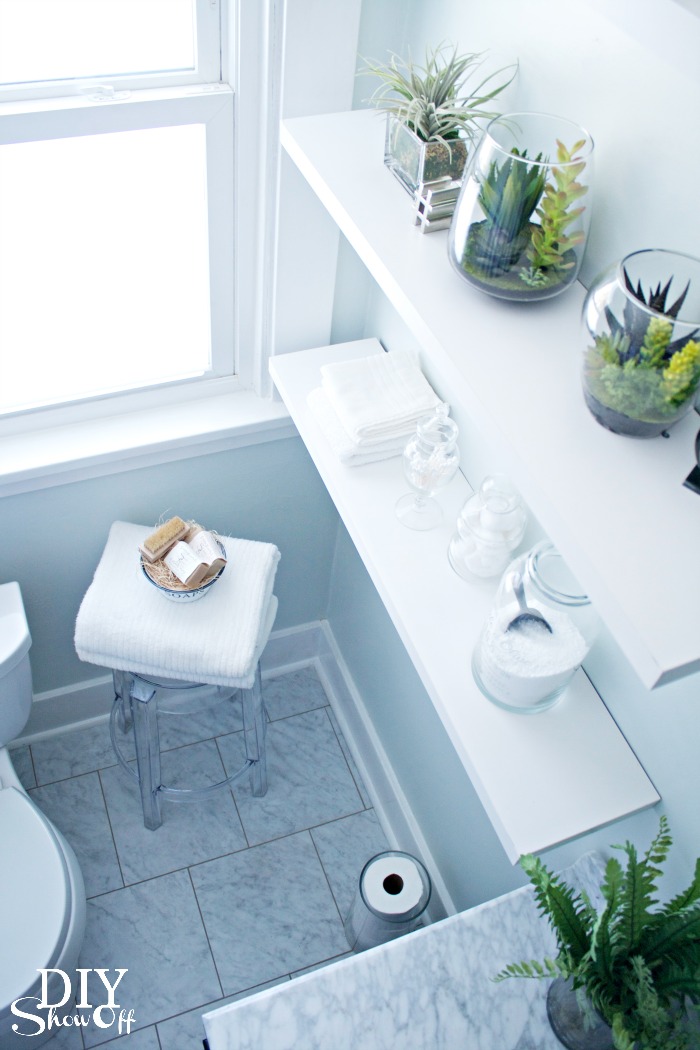
Good as new! I love fresh, clean, white baseboards.
DIYShowOff bathroom accessories


I used my FrogTape along the door frame and window trim too. 
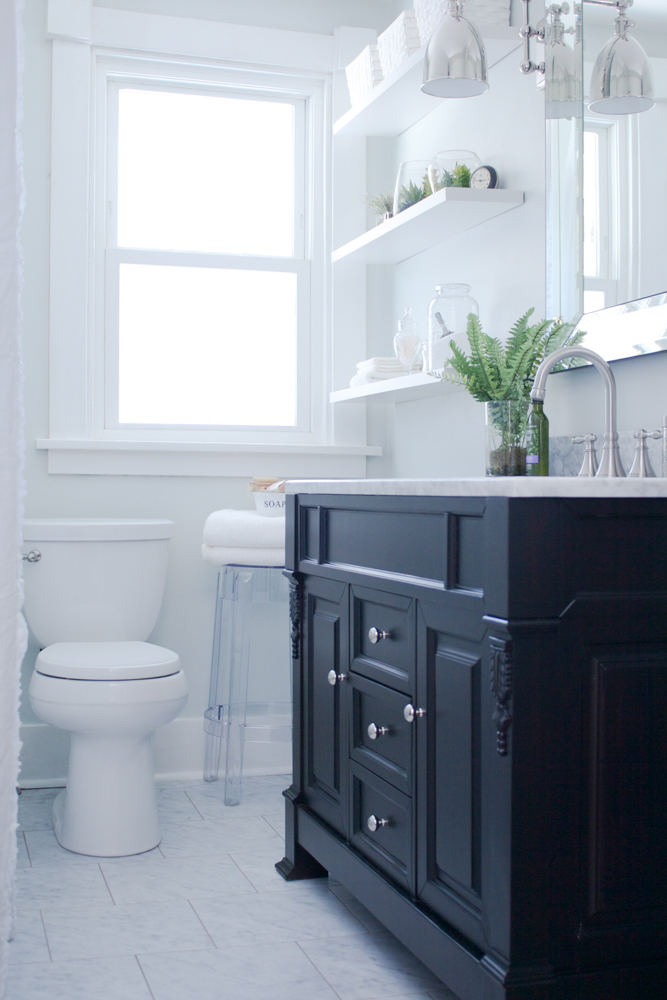
bathroom makeover after


If you missed it, you can see the complete before and after bathroom makeover here

FrogTape Blog Squad

Disclaimer: I received compensation to complete this project for using FrogTape® products. All opinions, projects and ideas are based on my own experience.