Personalized Magnetic Artwork Display


The Michaels’ Makers’ February challenge has an “express yourself” theme with a campaign called Made by Me, A to Z and it’s all about personalization, showcasing projects that take raw materials and transform them into something that’s completely personalized. The new Make Market line includes materials  from galvanized metal to distressed wood, acrylic, fabric and chalkboard! Something for everyone … or even everything for someone. There’s so crafting goodness to choose from, it’s hard to decide!

personalization challenge #michaelsmakers 


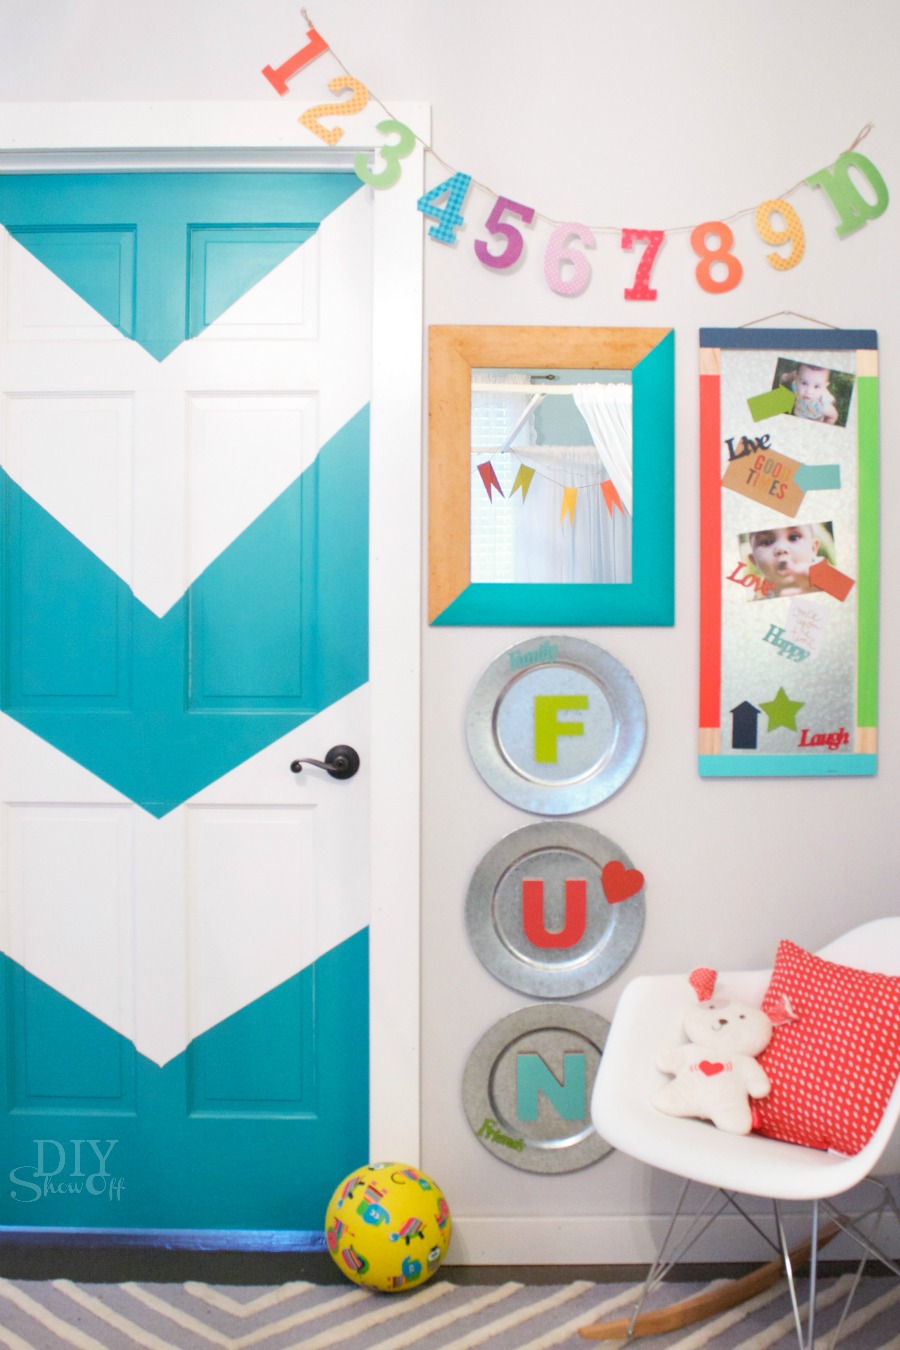
I treasure little one’s creations, artwork and photos so I decided to personalize a space in the nursery for displaying his art work and photos. 

magnetic art display #michaelsmakers @diyshowoff

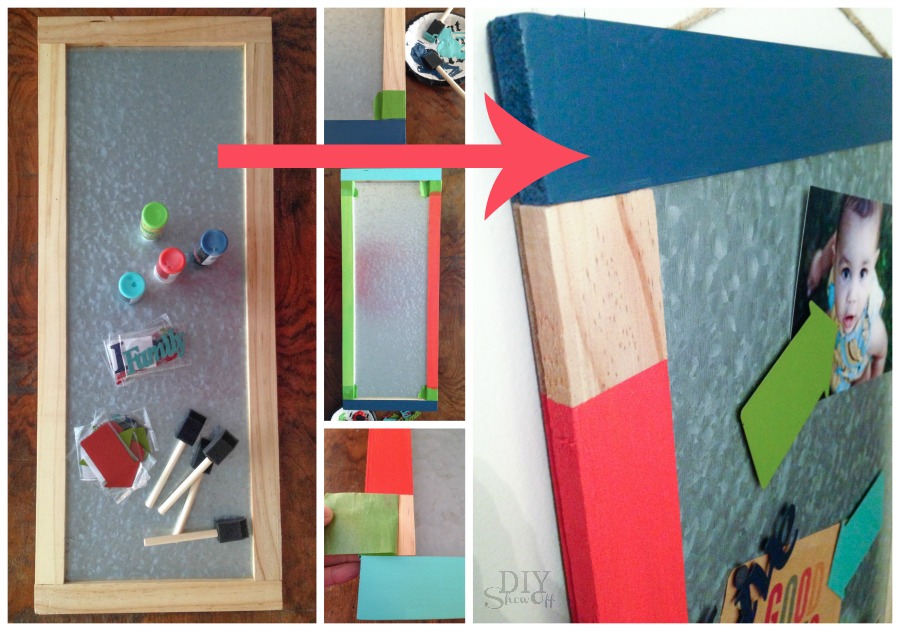
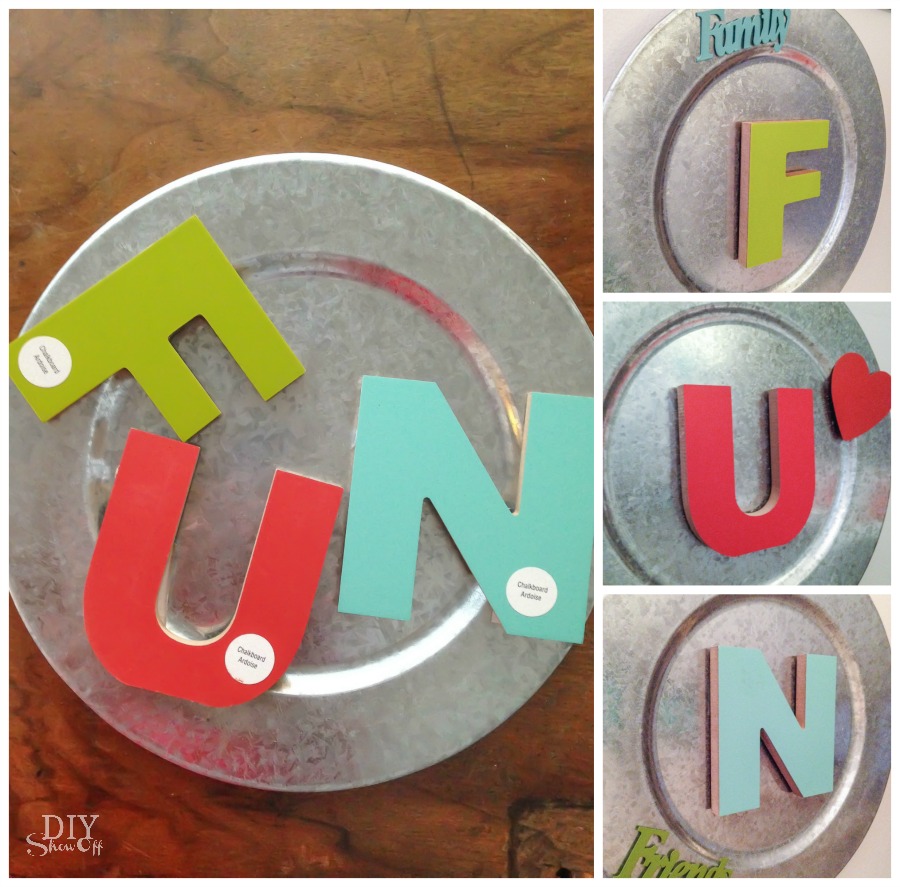
Here’s what I snagged from the Alphabet Soup collection in the Make Market aisle at Michaels:

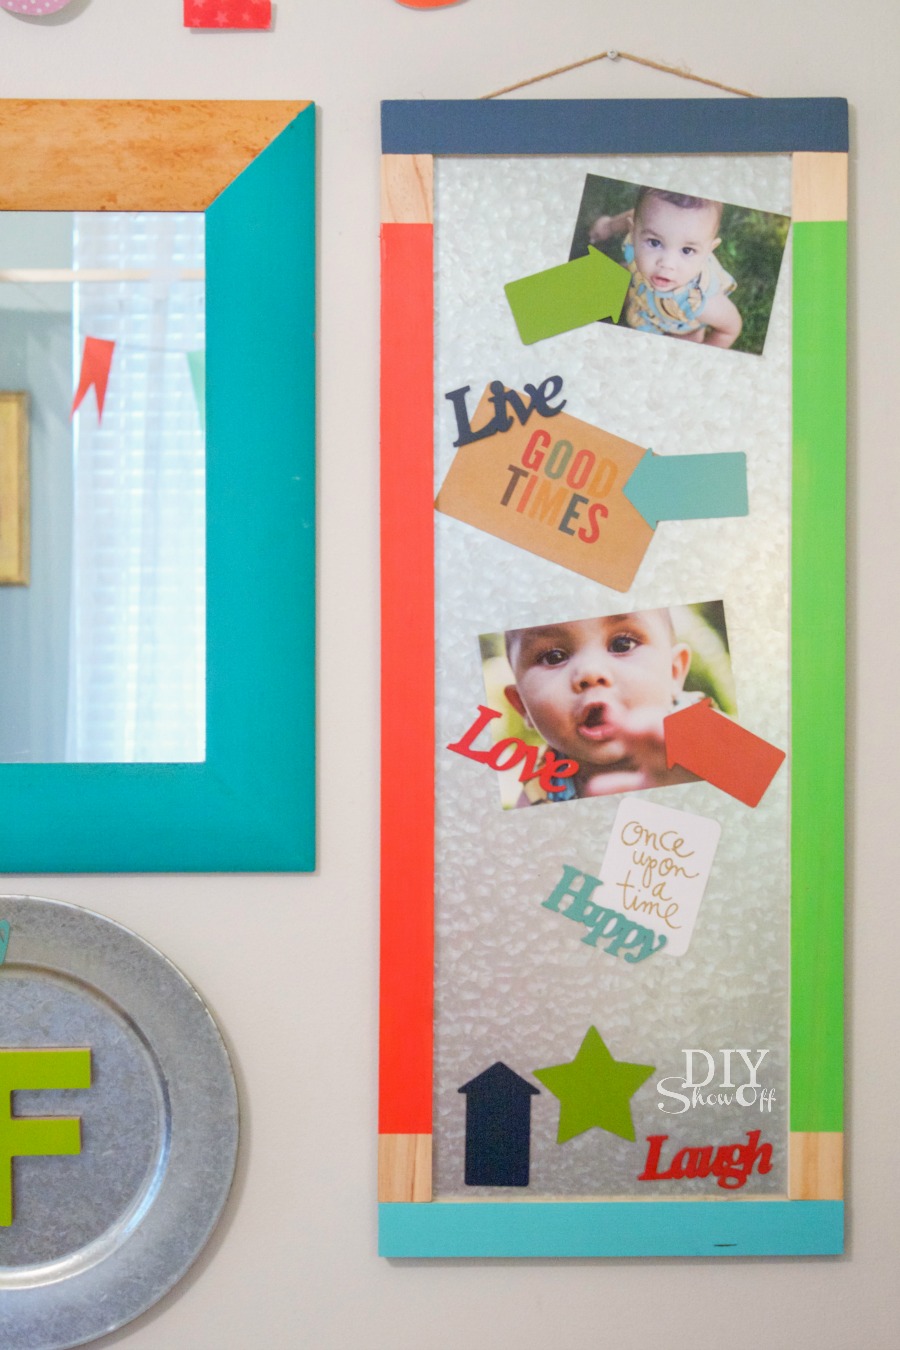
I personalized a galvanized magnetic memo board with vibrant paint colors to match the nursery decor…

magnetic art display #michaelsmakers @diyshowoff

the magnets are so cute!

magnetic art display #michaelsmakers @diyshowoff

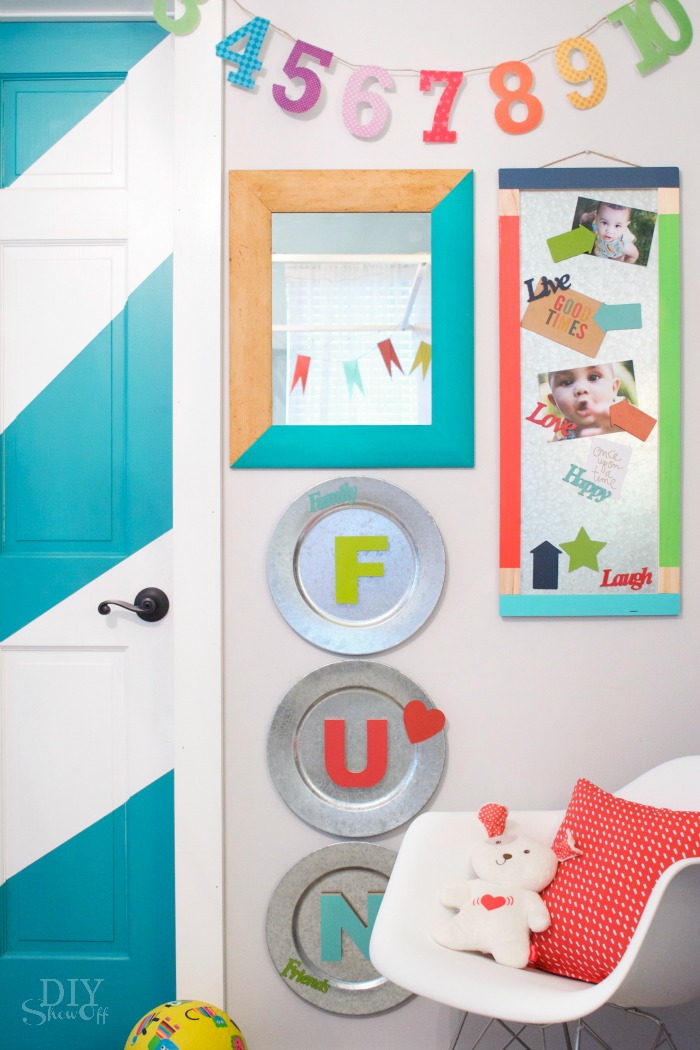
And added magnets to the back of F-U-N chalkboard letters for displaying on galvanized chargers/plates. These will work for magnetic play time in the future too. 

magnetic art display #michaelsmakers @diyshowoff

Cute, colorful, personal and custom to our nursery (future playroom)…

magnetic art display #michaelsmakers @diyshowoff

  • My favorite part about crafting is putting a personalized spin on a project. Whether it’s decorating with marquee lights or crafting an initial that represents your family name, Michaels has made it easy with their new Alphabet Soup by Make Market™ line of products. SO MANY DIFFERENT LETTERS! 
  • This collection of surfaces, letters, frames and more come in modern, eclectic or rustic styles. From natural and finished woods, to a variety of metals, resin and patterned styles, the possibilities are endless.
  • If you don’t know where to begin, you can always take a look at some of the fun projects on Michaels.com or the other 49 Makers’ ideas on The Glue String for to see how they personalized their crafts! Visit these fun projects for more inspiration (starting today at 11 a.m. EST): 
 Loading InLinkz ...

DIY Duck Tape Trick or Treat bag tutorial and SpookDuckular Sweepstakes

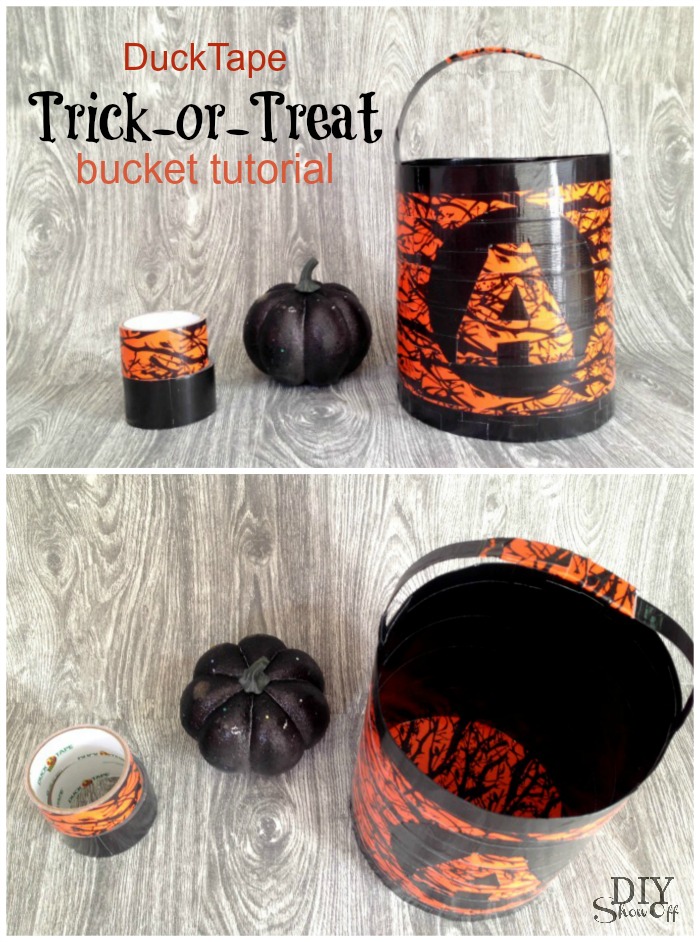
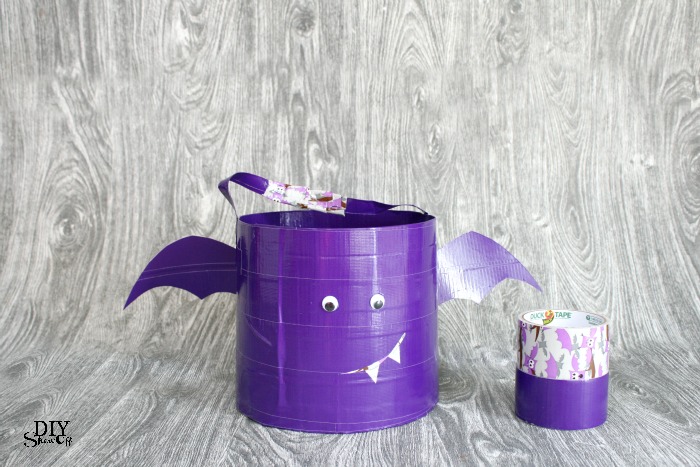
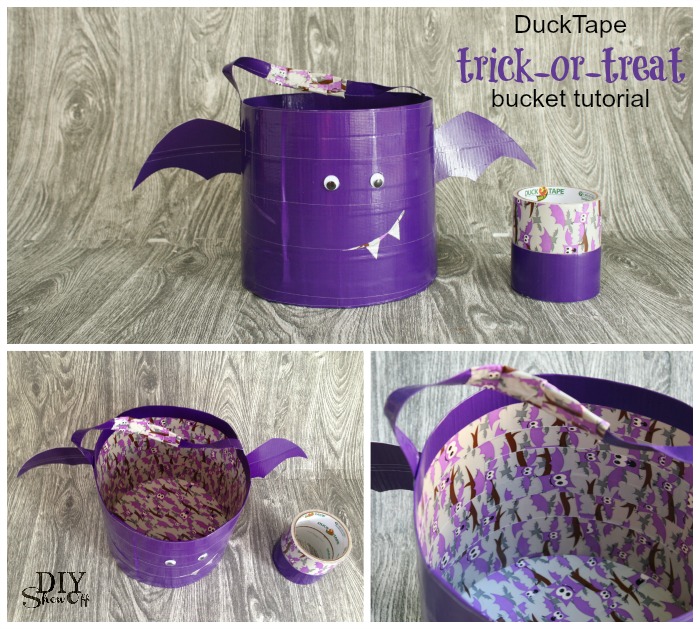
DIY Duck Tape Halloween Trick or Treat Bucket tutorial

DuckTape trick or treat bucket tutorial #halloween @diyshowoff #spookduckular

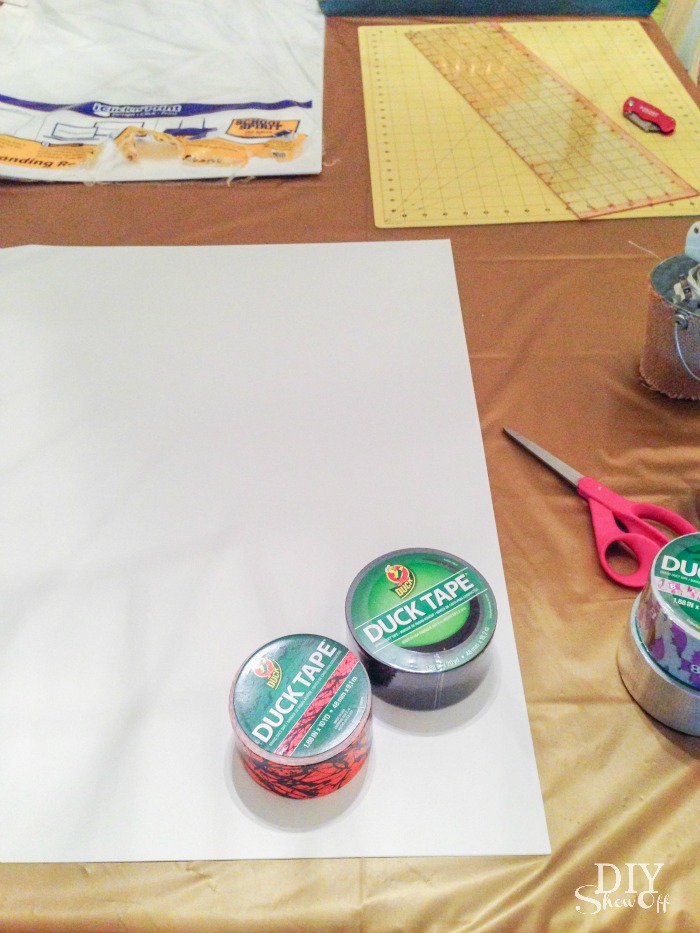
Supplies I used: 

DuckTape Trick or Treat bucket tutorial @diyshowoff  #halloween

  • poster board or light weight card board
  • duct tape – fun check out the Halloween patterns
  • OR…I realized after the fact that the shape resembles a coffee can or paint can (and would provide more durability). This is a fun craft idea but GO grab some fun patterned DuckTape from Michaels and a clean empty paint can from the hardware store! 
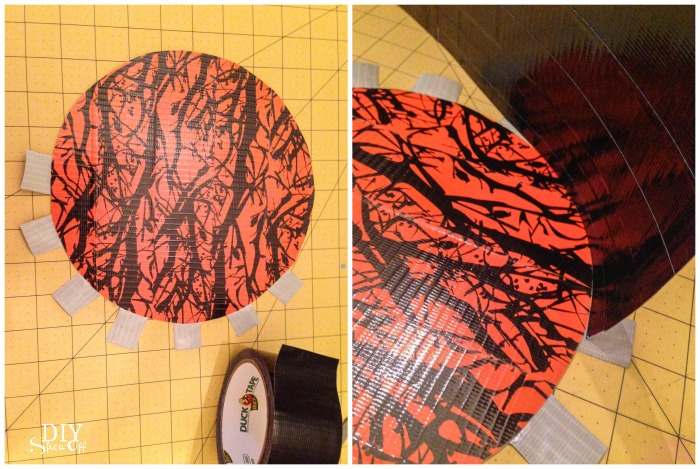
Tools/extras: cutting matt, Xacto knife/box cutter, scissors, plate 

What I did: (this is what I did, but see note & recommendation under “supplies” above!)

DuckTape trick or treat bucket tutorial #halloween @diyshowoff #spookduckular

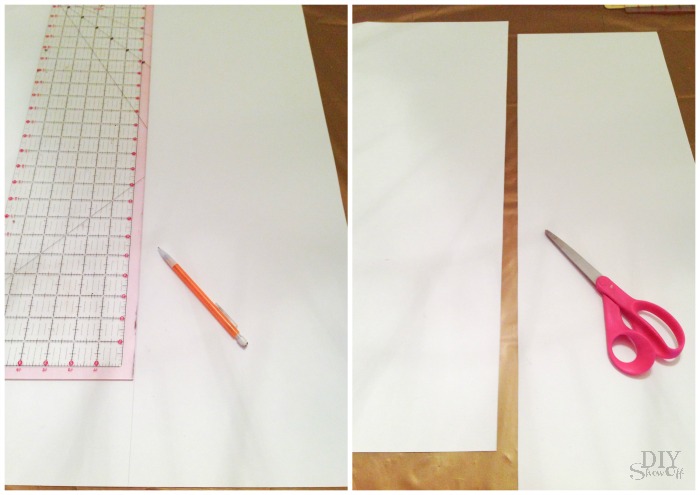
1. Decide depth/height of bucket and cut a strip the length of poster board.  

DuckTape Trick or Treat bucket tutorial @diyshowoff  #halloween

2. Place and overlap strips of duct tape to cover each side of the poster board. 

DuckTape Trick or Treat bucket tutorial @diyshowoff  #halloween

3. I folded over a ‘border’ at the top and bottom.

DuckTape Trick or Treat bucket tutorial @diyshowoff  #halloween


4. Trim short sides. Set aside.

DuckTape Trick or Treat bucket tutorial @diyshowoff  #halloween

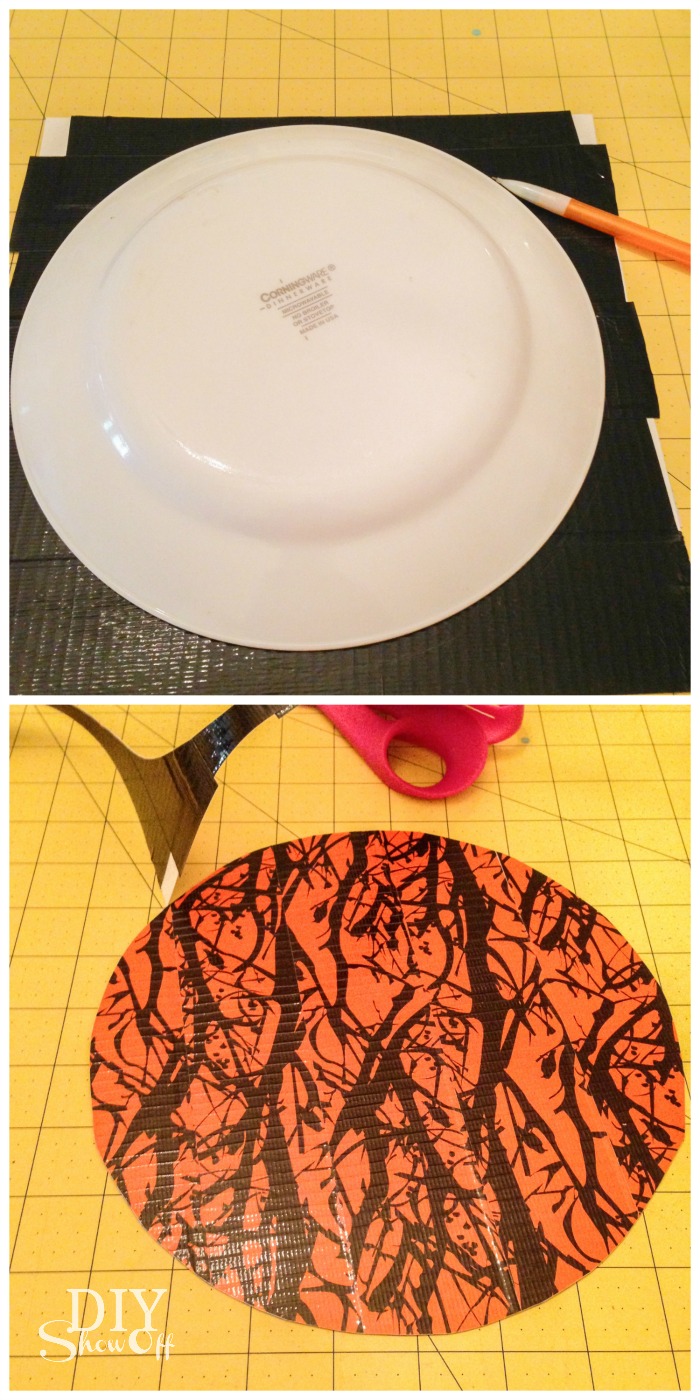
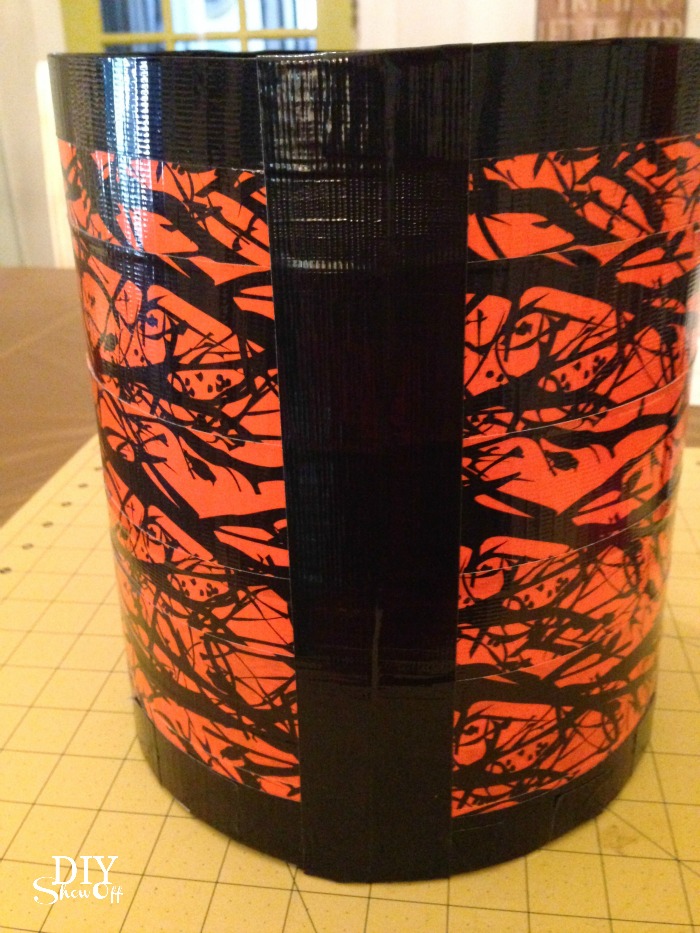
5. I used a salad plate for the size of my bucket. Cut a square of poster board just large enough for tracing the plate. Place and overlap strips of duct tape to each side. 

DuckTape Trick or Treat bucket tutorial @diyshowoff  #halloween

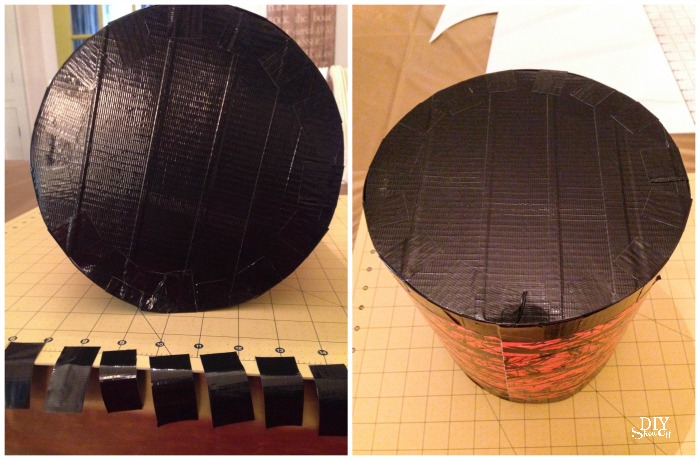
6. Trace plate and cut out circle. This is the bottom of the bucket. 

DuckTape Trick or Treat bucket tutorial @diyshowoff  #halloween

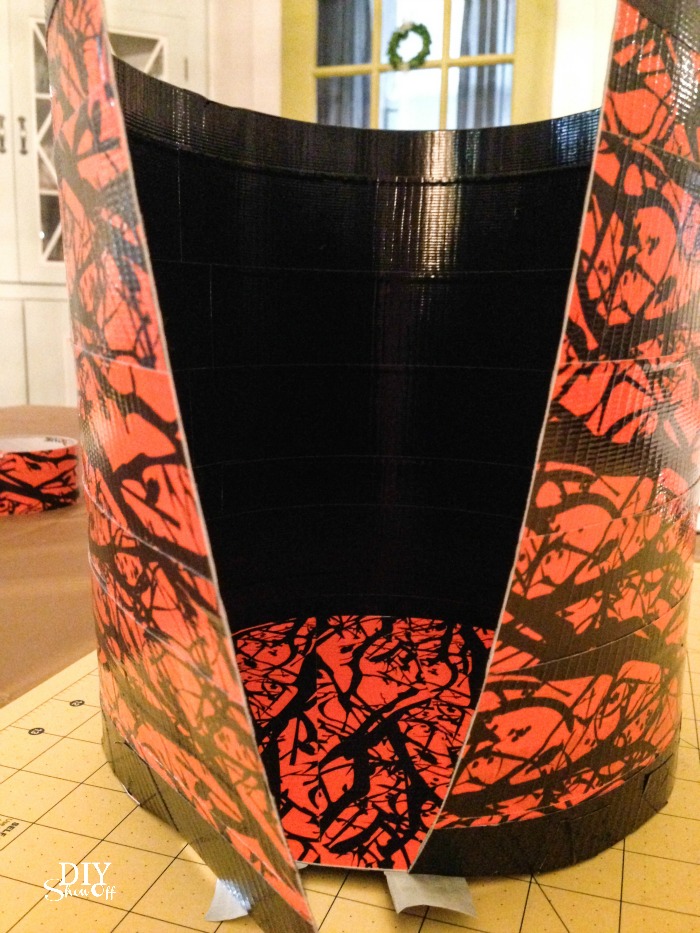
7. Using small pieces of duct tape, attach sides to the bottom.

DuckTape Trick or Treat bucket tutorial @diyshowoff  #halloweenDuckTape Trick or Treat bucket tutorial @diyshowoff  #halloween

8. Use a strip of duct tape to ‘close’ the open side of the bucket. Cover with coordinating duct tape to camouflage seam if you wish. 

DuckTape Trick or Treat bucket tutorial @diyshowoff  #halloween

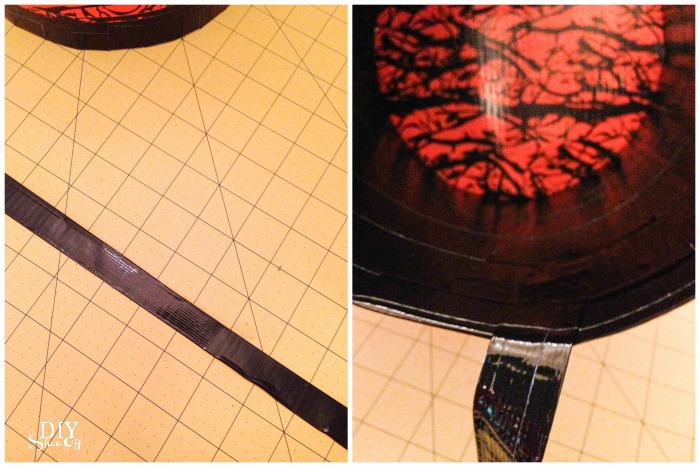
9. Reinforce bottom with more strips of duct tape.

DuckTape Trick or Treat bucket tutorial @diyshowoff  #halloween

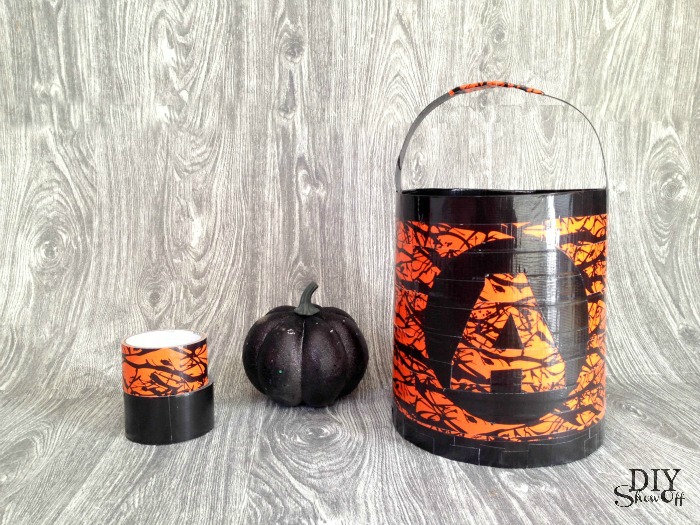
10. Create an embellishment/sticker by overlapping duct tape, placing directly onto cutting matt. Cut out shape, etc. using an Xacto knife. Transfer to front of the bucket.

DuckTape Trick or Treat bucket tutorial @diyshowoff  #halloween

11. Handle is a strip of duct tape folded into thirds and secured with…more duct tape.

DuckTape Trick or Treat bucket tutorial @diyshowoff  #halloween

Ta-da! That was fun! 

DuckTape trick or treat bucket tutorial #halloween @diyshowoff #spookduckular

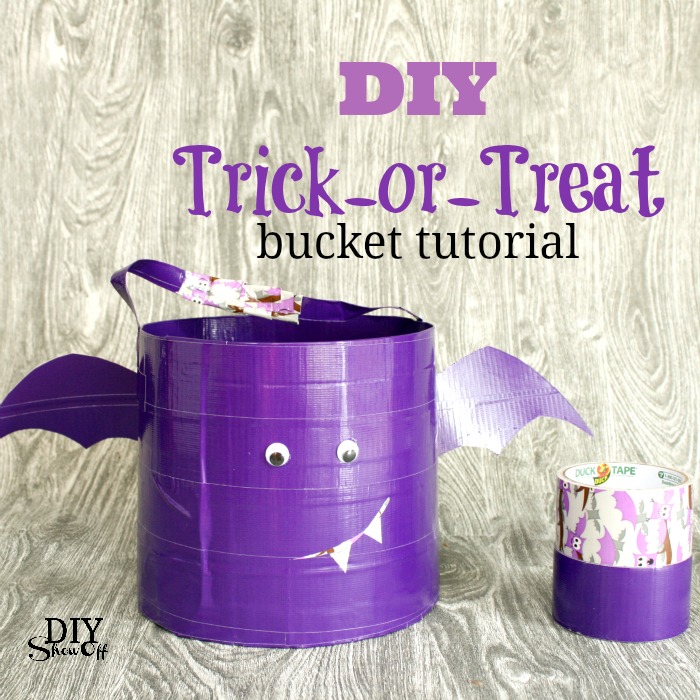
Get creative! Make more than one! My second one is a cute bat with googly eyes and wings. I love the interior Duck Tape design too. Next up on my DIY list is a monster design. So fun! 

DIY Duck Tape Trick or Treat bag tutorial and SpookDuckular Sweepstakes

spookduckular sweepstakes

Enter the SpookDuckular Sweepstakes! 

Decorate your trick-or-treat bag using duct tape, and then add an image of your creation to Pinterest. Submit your pin at SpookDuckular.com for a chance to win! Easy! 

Oh My Gosh! The Prizes: $100 Michaels gift card each week in October, with a Grand Prize drawing happening the last week for one $500 Michaels gift card! Woo hoo! 


Remaining Entry Periods:

  • Week 2: 10/05/15 – 10/11/15
  • Week 3: 10/12/15 – 10/18/15
  • Week 4: 10/19/15 – 10/25/15
  • Grand Prize: 09/28/15 – 10/31/15

Sweepstakes ends Oct, 31 2015. Good luck!!!

spookduckular sweepstakes

*I received compensation to share about this awesome SpookDuckular sweepstakes. Tutorial was optional. All thoughts, project tutorial and images are my own. 

DuckTape trick or treat bucket tutorial #halloween @diyshowoff #spookduckular

DIY Essential Oil Infused Fall Room Spray

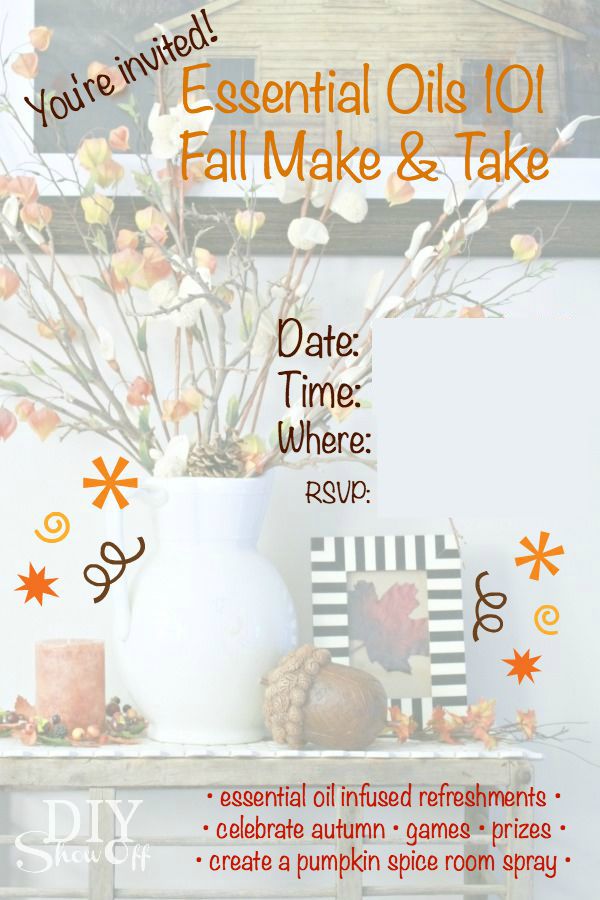
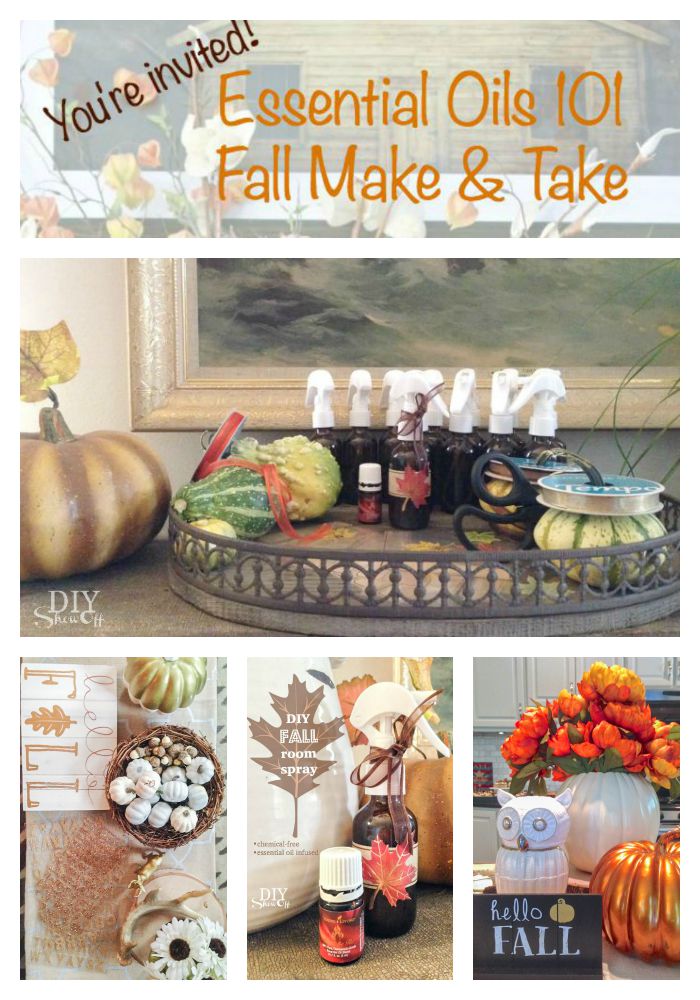
Last week I hosted a fun fall celebration for family and friends in my home and wanted to share a few ideas and recipes (great ideas for a fall essential oils 101 Make & take class). I used one of my own fall decor images to create an invitation for make up a Facebook invitation/event.

fall make & take @diyshowoff

Make & Take: a Make & Take is a term used for hosting an essential oils class where guests have the opportunity to make up an essential oil infused gift to take home with them, to sample the benefits of essential oils. My guests made up a fall room spray. 

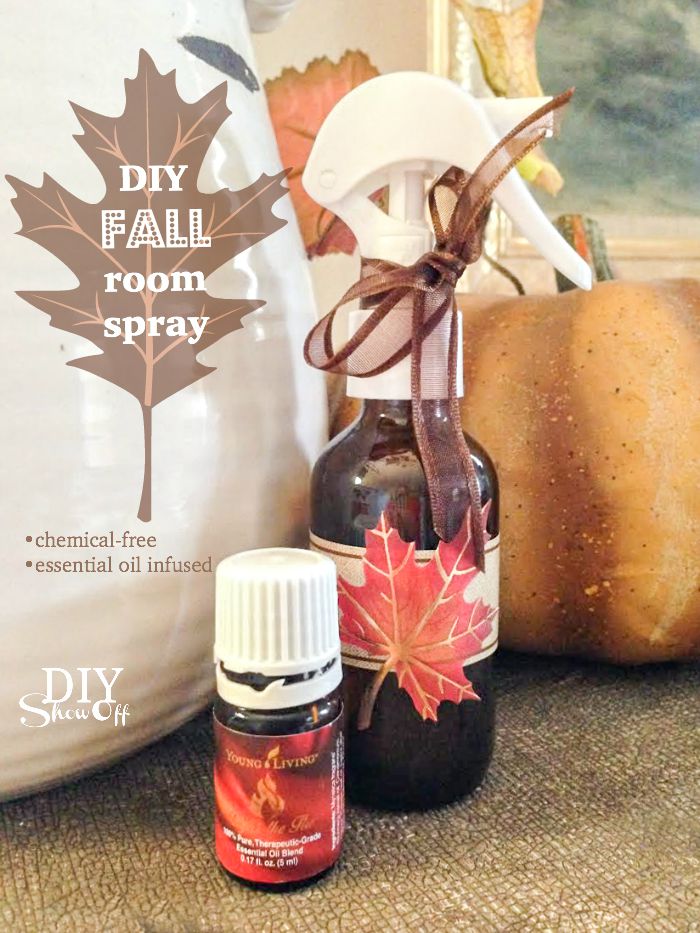
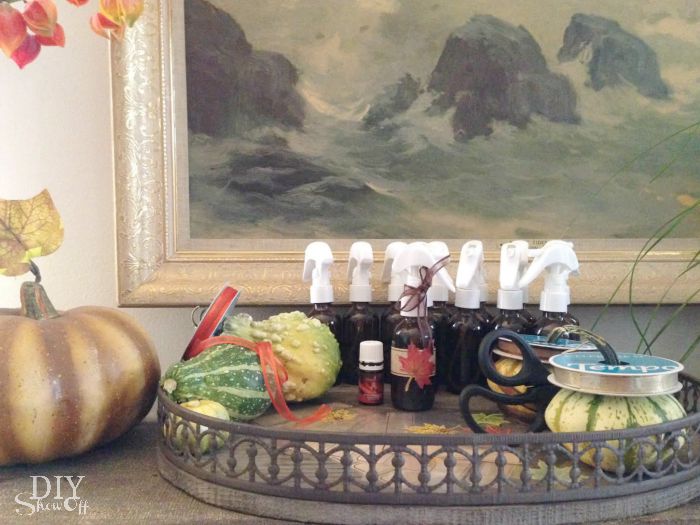
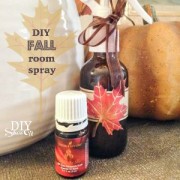
a DIY essential oil infused fall room spray recipe that's chemical free and smells amazing! @diyshowoff
Essential Oil Infused Room Spray

You’ll need:

  • 2 oz. spray bottles (I love THESE (affiliate link) – glass, fine mist and a lock, great price too)
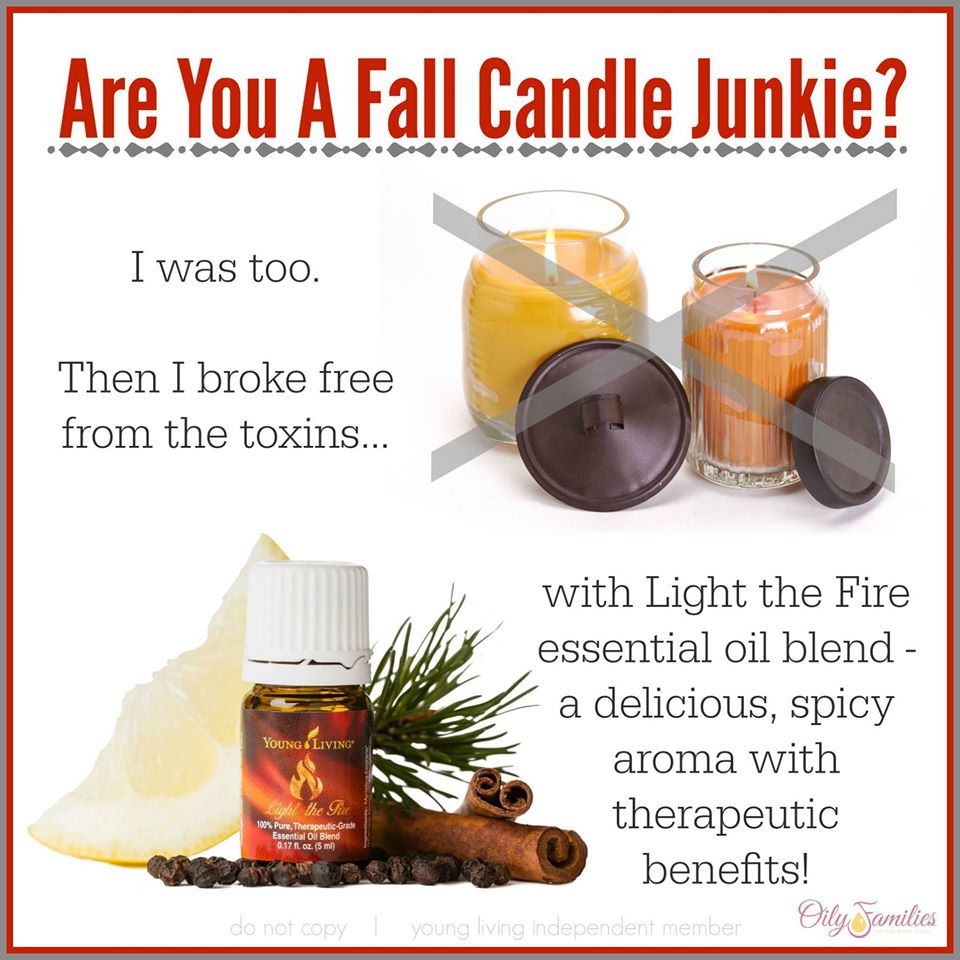
  • Essential Oils (choose oils like Light the Fire essential oil or mix and match essential oils like cinnamon, clove, ginger, nutmeg)
  • epsom salt (helps keep the blend of oil and water mixed)
  • distilled water
  • labels/stickers/ribbon 

Directions:

Fill spray bottle with distilled water (fill to about 1/2 to 1 inch below the top). Add 5-7 drops of essential oil and a pinch of epsom salt. Embellish spray bottle with a label, fall sticker and ribbon, if desired. Easy!  

a DIY essential oil infused fall room spray recipe that's chemical free and smells amazing! @diyshowoff

a DIY essential oil infused fall room spray recipe that's chemical free and smells amazing! @diyshowoff

Light the Fire essential oil

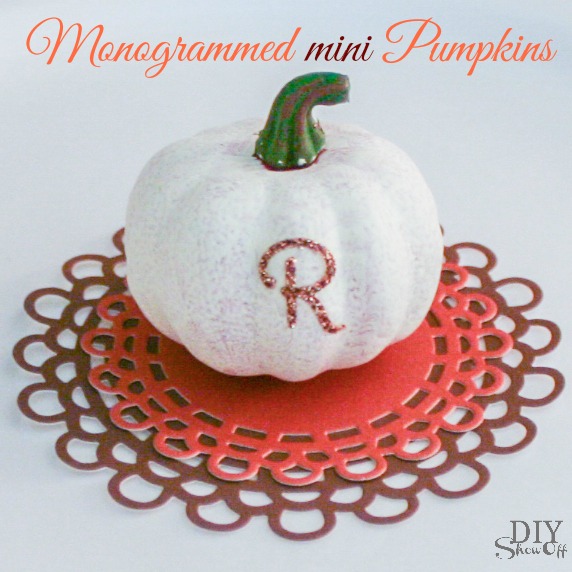
As an extra little something/thank you gift/party favor…we made up these cute easy DIY monogrammed mini pumpkins.

Monogrammed Mini Pumpkins tutorial @diyshowoff

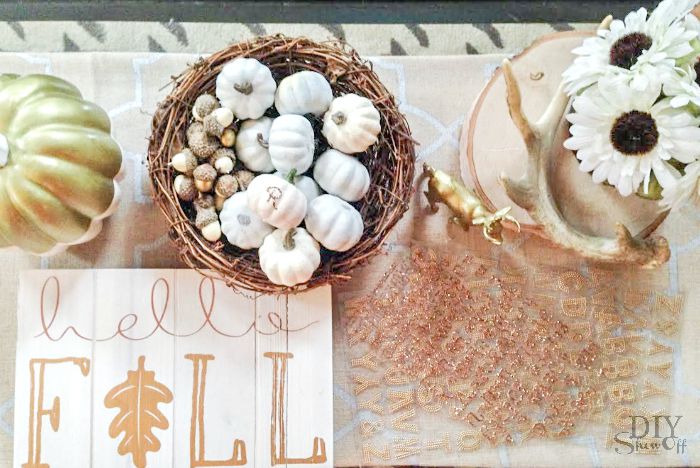
I created a ‘pumpkin patch’ for guests to pick a pumpkin to monogram with metallic stickers. 

monogrammed mini pumpkins favors DIY @diyshowoff

Pin for future reference: 

Fall Essential Oils Make & Take Ideas Part 1 @diyshowoff

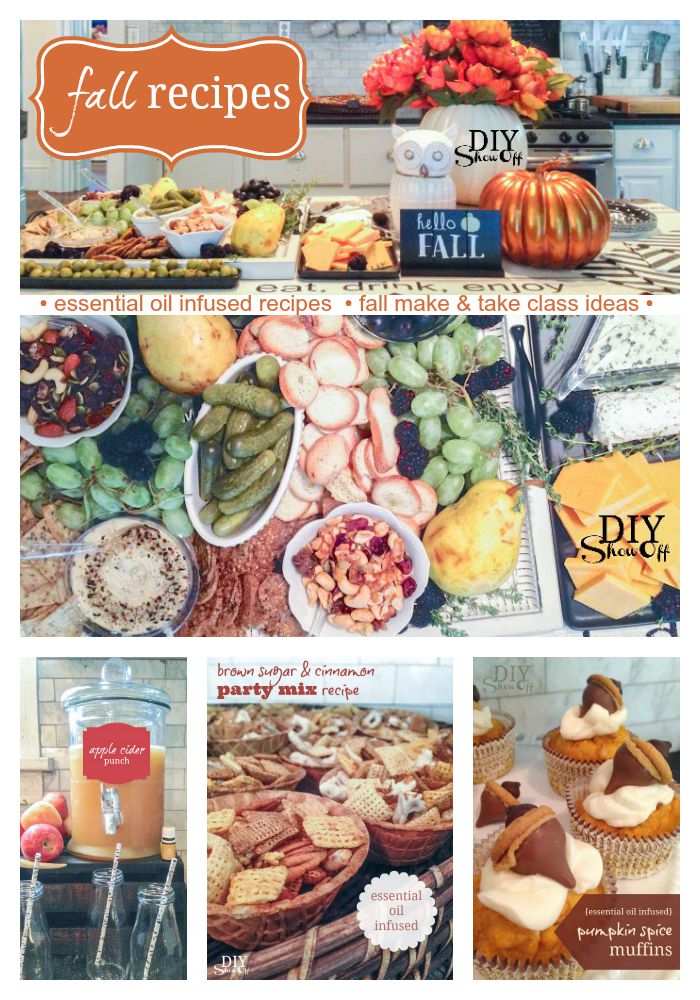
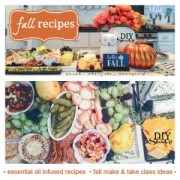
Get some delicious ideas for easy refreshments here:  essential oil infused recipes perfect for celebrating fall! Part 2:

fall recipes - essential oil infused make & take class ideas Part 2 @diyshowoff

Learn more about Young Living essential oils, my story and join me in creating a healthy chemical free home HERE. AND! Get the DIYShowOff welcome bundle for free from me personally! Extra gifts, loads of support. If there is one thing I regret, it’s waiting as long as I did to jump on board. It’s worth the investment as it’s motivated us to truly make healthier choices, sparking a new healthy lifestyle. What are you waiting for? 

diyshowoff young living essential oils member#1836762