DIY Floral Arranging

The Michaels’ Makers’ April Challenge: Attend a class at Michaels craft store. Take a little time to indulge yourself with some “you” time, learn new skills, get some tips, spoil yourself with something handmade with love or whip up a handmade gift. Gather your friends and make it a girls’ night out.

How fun! free craft classes at Michaels #michaelsmakers (DIY floral arranging tips)

Were you aware that Michaels offers craft-themed classes?! There are so many to choose from – from painting to knitting or crocheting to paper crafting to jewelry making, kids’ crafts, floral arranging and more. I found most classes were free, only the cost of supplies. A great way to try a new skill or craft, a fun way to set aside time for yourself or to get together with friends. Productive too – you walk home with something you create! 

How fun! free craft classes at Michaels #michaelsmakers (DIY floral arranging tips)

I simply enrolled online (I chose the project DIY floral arranging) then showed up at the scheduled date and time with my friend, Dana. 

How fun! free craft classes at Michaels #michaelsmakers (DIY floral arranging tips)

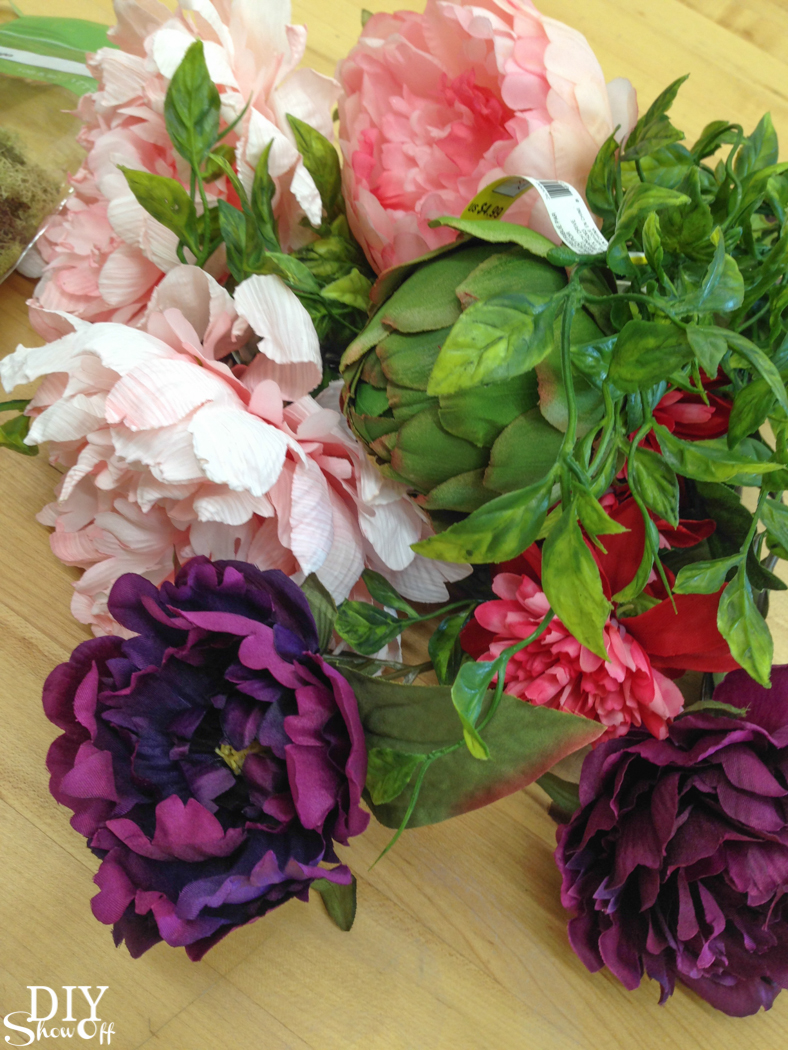
We started with shopping to purchase the materials needed for DIY floral arranging from a printable supply list. The twist: choosing flowers and a container with our own preferences for a custom DIY floral arrangement. Our instructor, Brittney, was close by to answer questions and make suggestions. 

How fun! free craft classes at Michaels #michaelsmakers (DIY floral arranging tips)

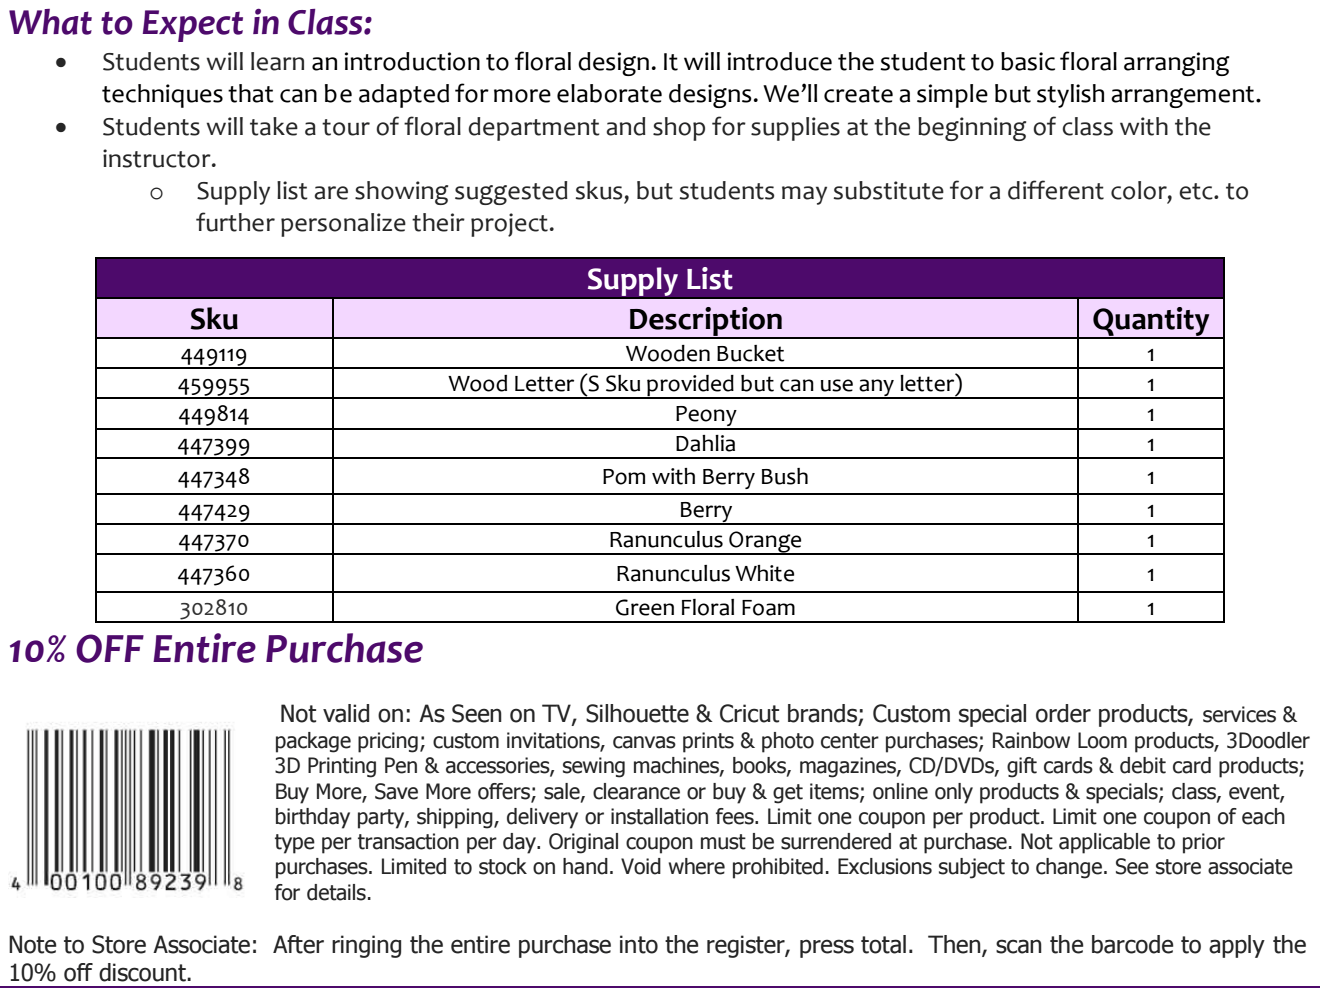
The printable class description and supply list when I signed up online for the class provided me with a coupon too – 10% off our entire purchase. Score!

How fun! free craft classes at Michaels #michaelsmakers (DIY floral arranging)How fun! free craft classes at Michaels #michaelsmakers (DIY floral arranging)

Our class size was 6! So fun and what a joy to see the creations! Because of the shopping, we sort of worked in two groups of three, our group getting an early start so I did miss out on seeing the other groups’ finished projects but from what I could tell, they choose some pretty unique supplies too (a tall glass cylinder with burlap and neutrals, a birdcage with ivy and a glass lantern with sea shells)…so fun that you have the option to choose what appeals to you personally. I was there at 6 p.m. and home by 8 p.m., a small time frame and a little indulgence…me time!

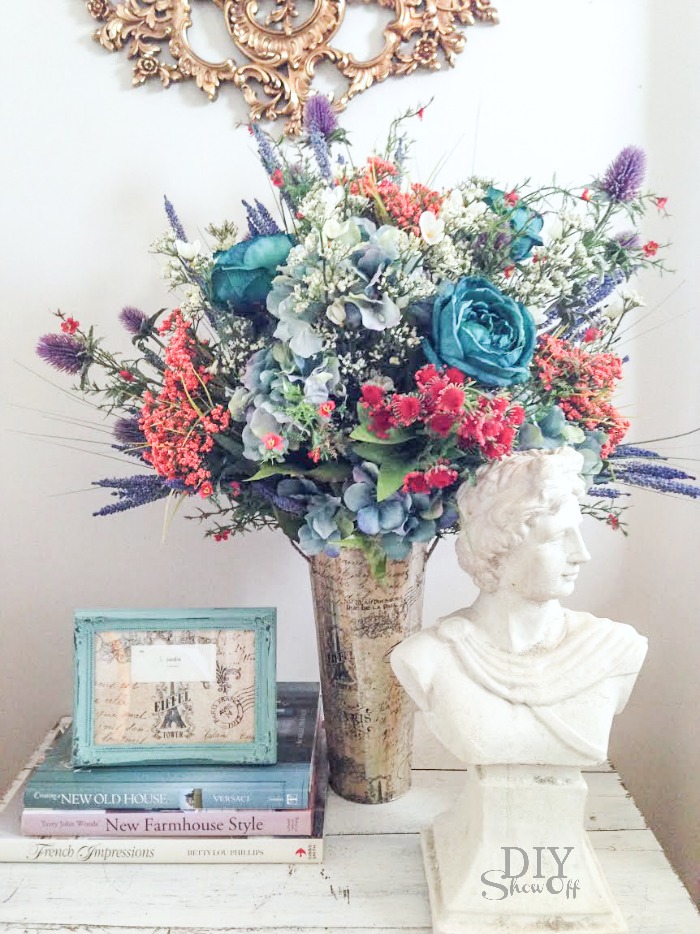
When I’ve done floral arrangements in the past, my techniques have varied: 1) buy a pretty bundle of silk florals/bouquet, place it in a vase and call it a day to 2) snip the stems with wire cutters and haphazardly, errr..’artfully’ arrange them in a container. The “handpicked bouquet” technique (haha), kind of like this one last spring:

decoupage vase @diyshowoff #SpringTimeinParis #michaelsmakers

So, getting some ‘professional’ tips was a welcome help!

DIY floral arranging tips I picked up at the class:

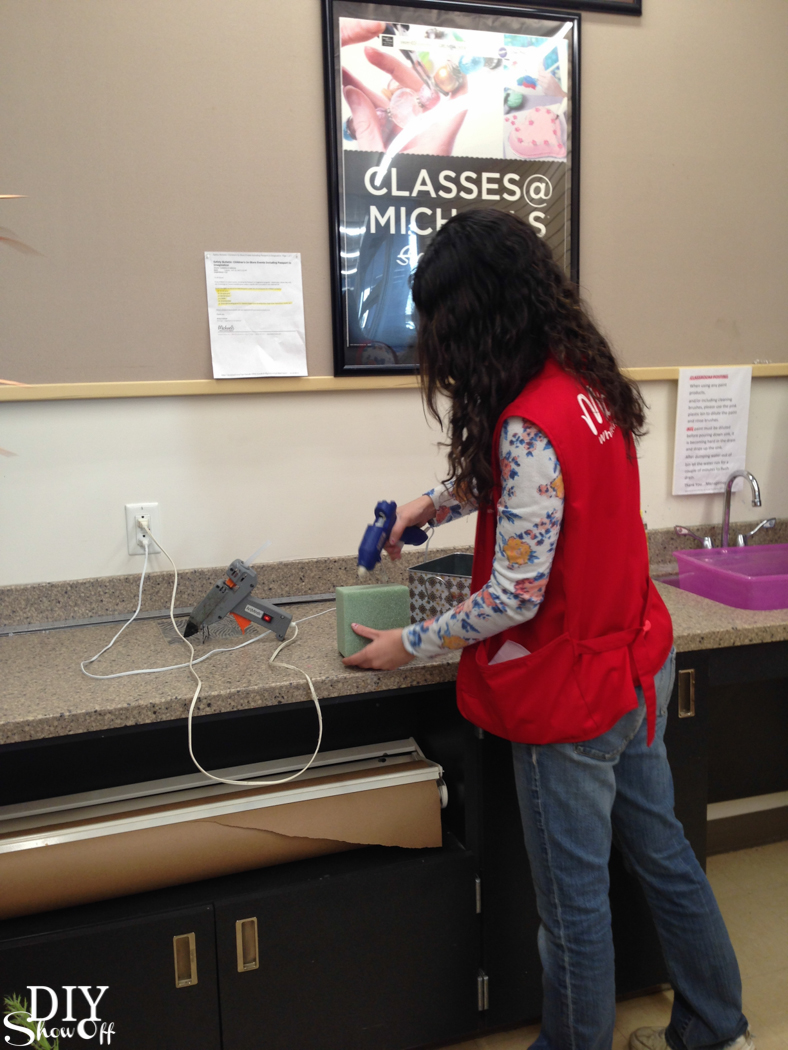
  • Secure floral foam to the bottom of a vase/basket/container using hot glue/glue gun to keep the arrangement secure. How fun! free craft classes at Michaels #michaelsmakers (DIY floral arranging tips)
  • Separate stems using wire cutters to desired height. 
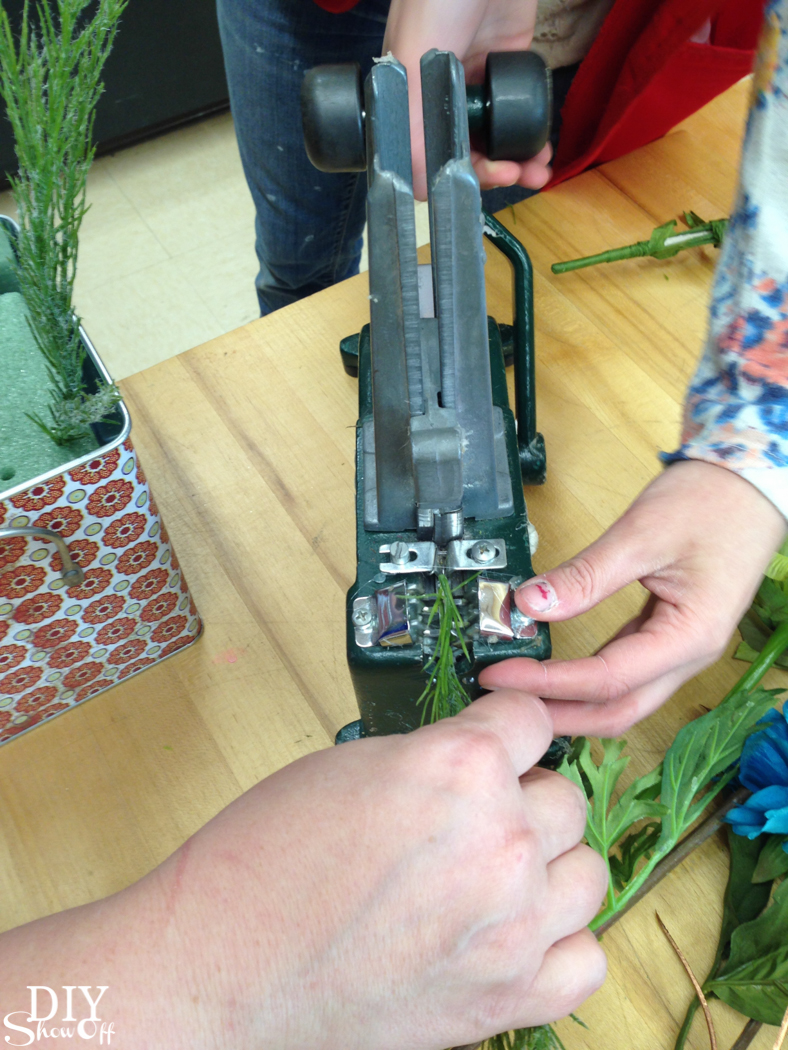
  • Michaels’ has a “pick machine” which gives floppy wireless stems a pointy edge to place in foam. So cool! How fun! free craft classes at Michaels #michaelsmakers (DIY floral arranging tips)
  • Starting with the center, poke a stem into the floral foam then work in “triangle” placements (threes) around each stem. How fun! free craft classes at Michaels #michaelsmakers (DIY floral arranging tips)
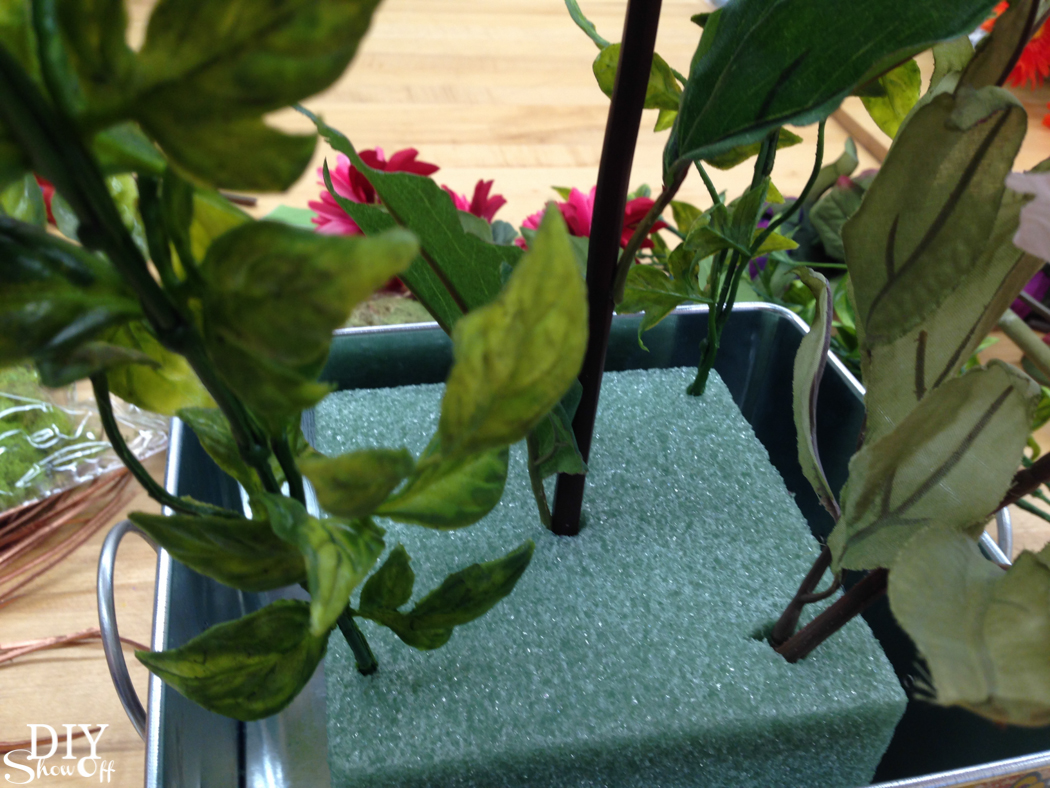
  • Slightly bend wire stems to give flowers a more life-like look. Real blooms are heavy and droop, faux florals have strong wire stems. Give it some “life” by ‘curving’ the wire stem.
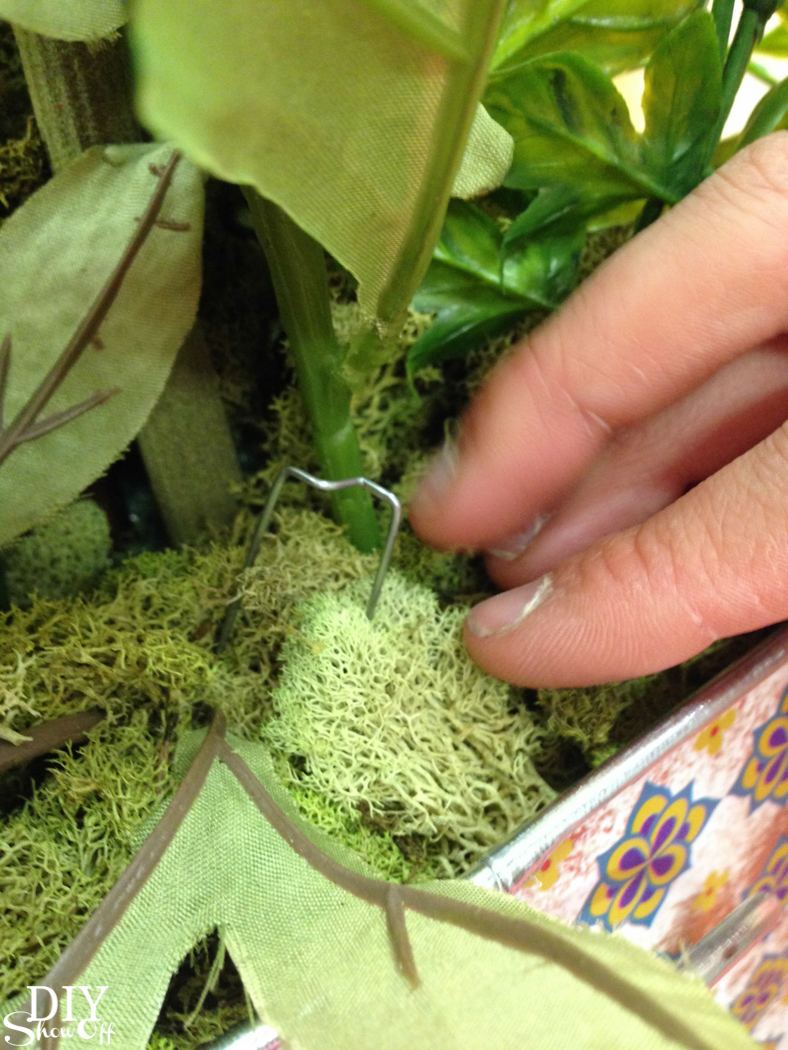
  • Camouflage foam with moss or stones. Use picks to secure moss. How fun! free craft classes at Michaels #michaelsmakers (DIY floral arranging tips)
I really enjoyed the friendly atmosphere, making acquaintances with new people too. And I now I’m excited to display a pretty centerpiece perfect for spring. 

Have you attended a local class at Michaels? Did you even know about them? What would interest you most? I plan on attending more for sure, opening a whole new world for making local friends who share my passion for DIY and taking a couple of hours on occasion to improve my crafting skills or trying something new. 

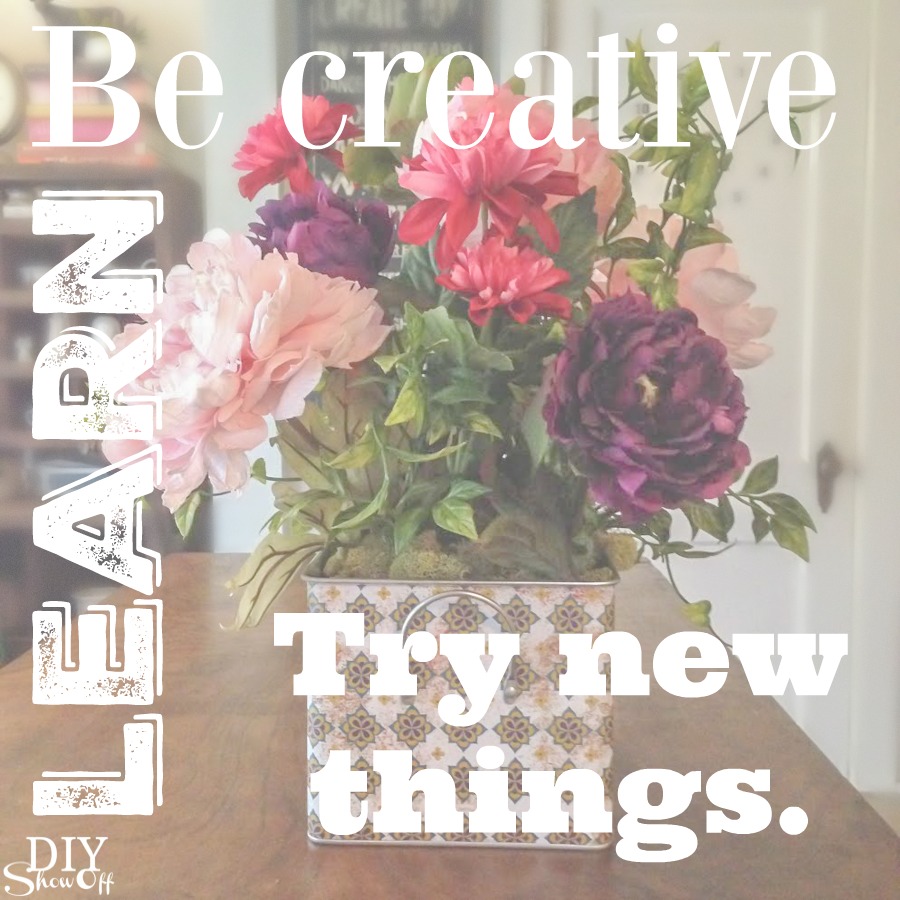
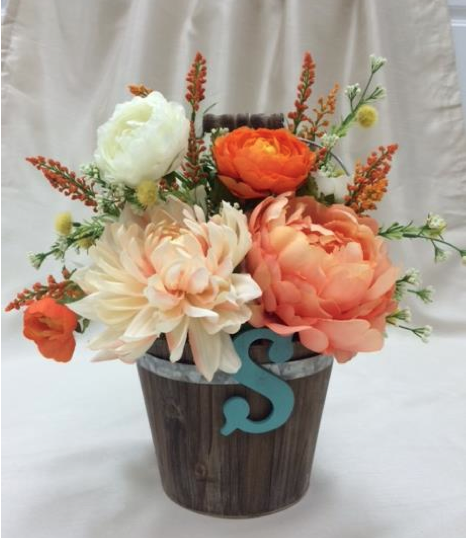
Here are a few floral arrangements from class. Pretty, right? 

Our inspiration from Michaels: 

How fun! free craft classes at Michaels #michaelsmakers

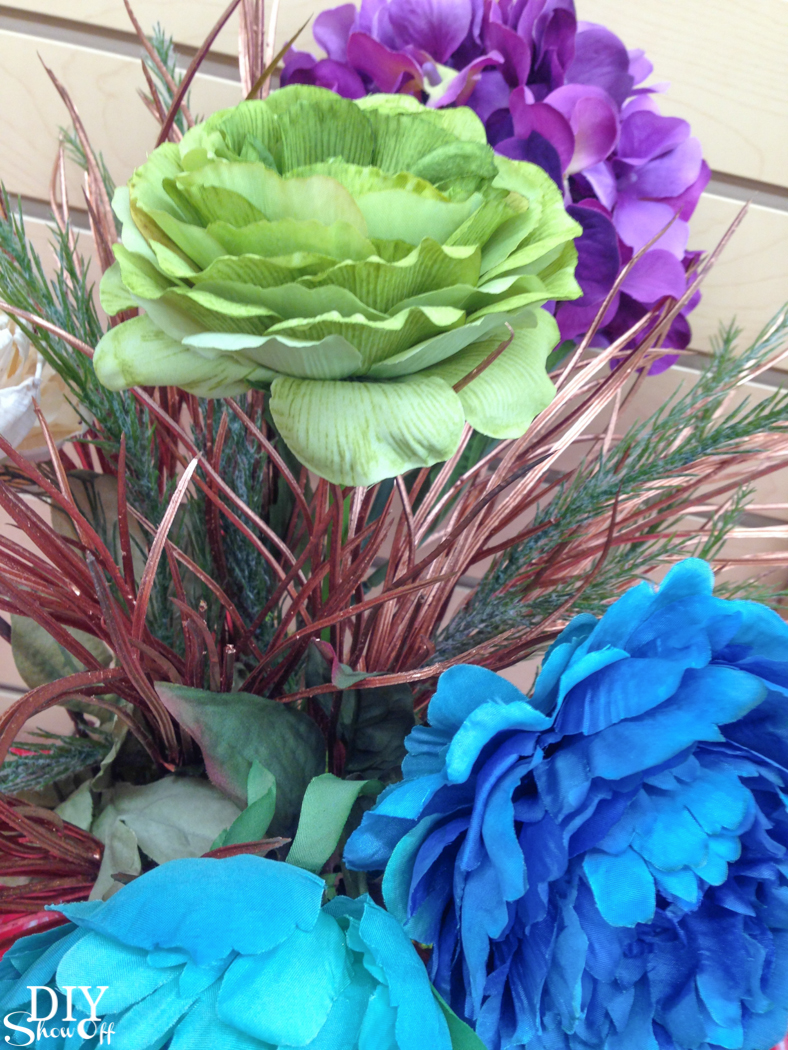
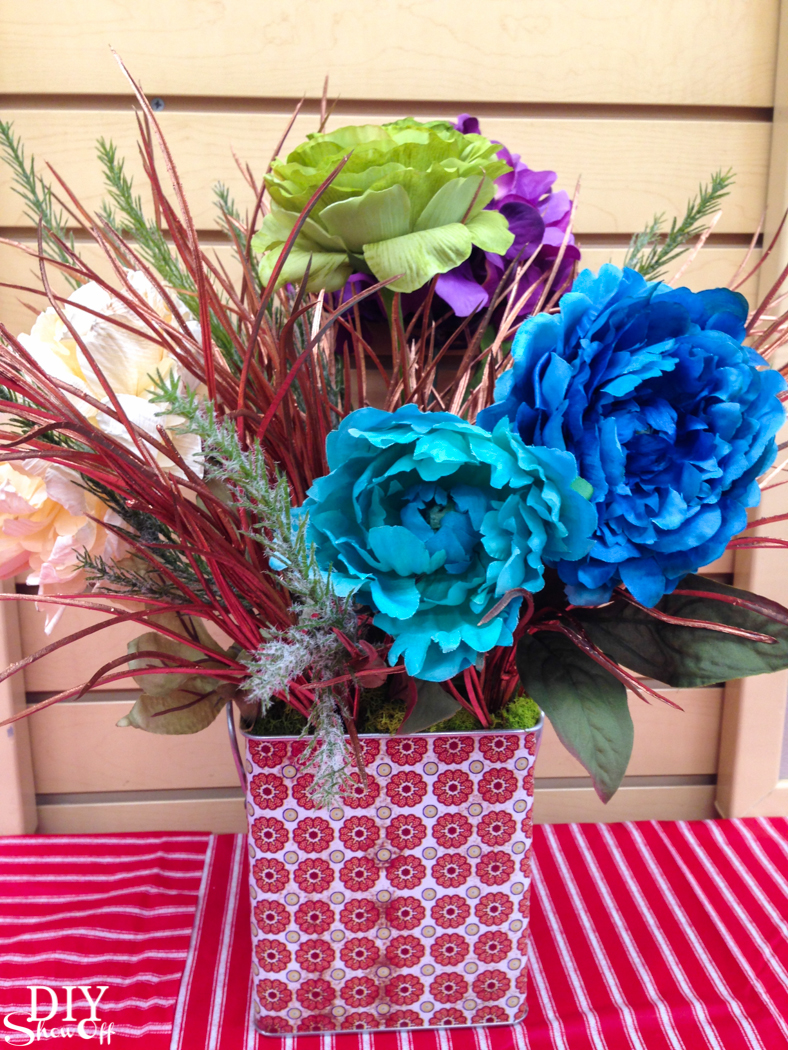
Dana’s: I love the copper accent with turquoise, purple and green!  

How fun! free craft classes at Michaels #michaelsmakers (DIY floral arranging tips)How fun! free craft classes at Michaels #michaelsmakers (DIY floral arranging tips)

A pretty spring collection from Maggie…

How fun! free craft classes at Michaels #michaelsmakers (DIY floral arranging tips)How fun! free craft classes at Michaels #michaelsmakers (DIY floral arranging tips)

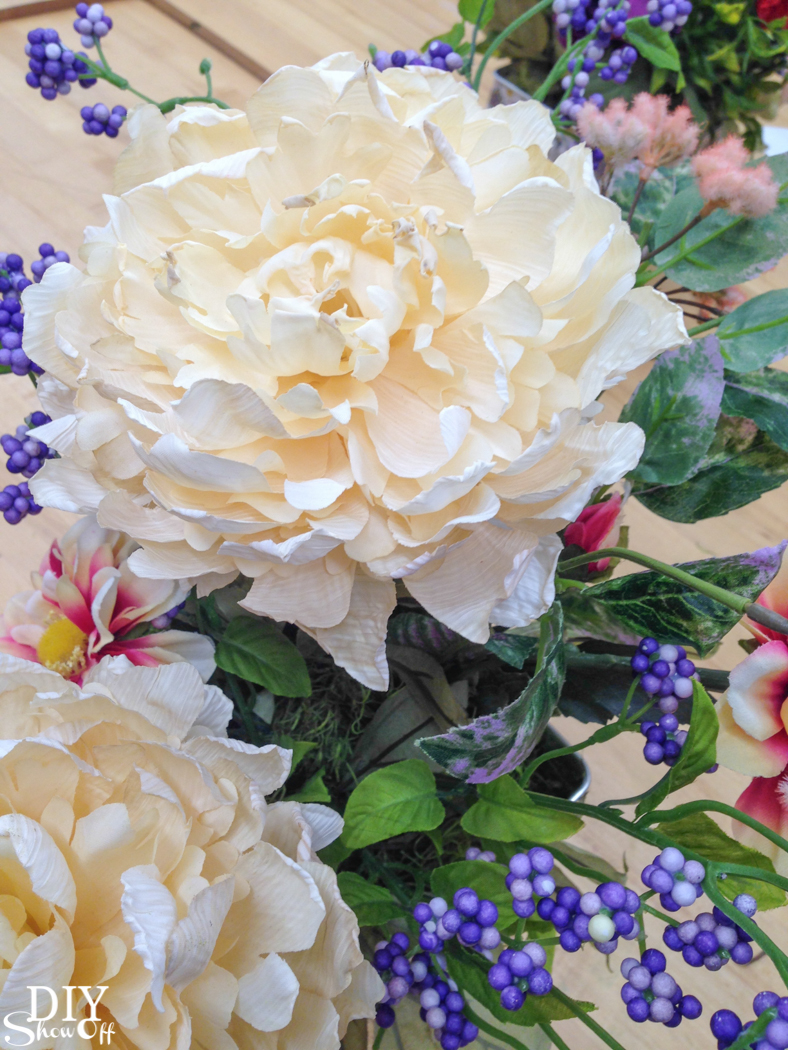
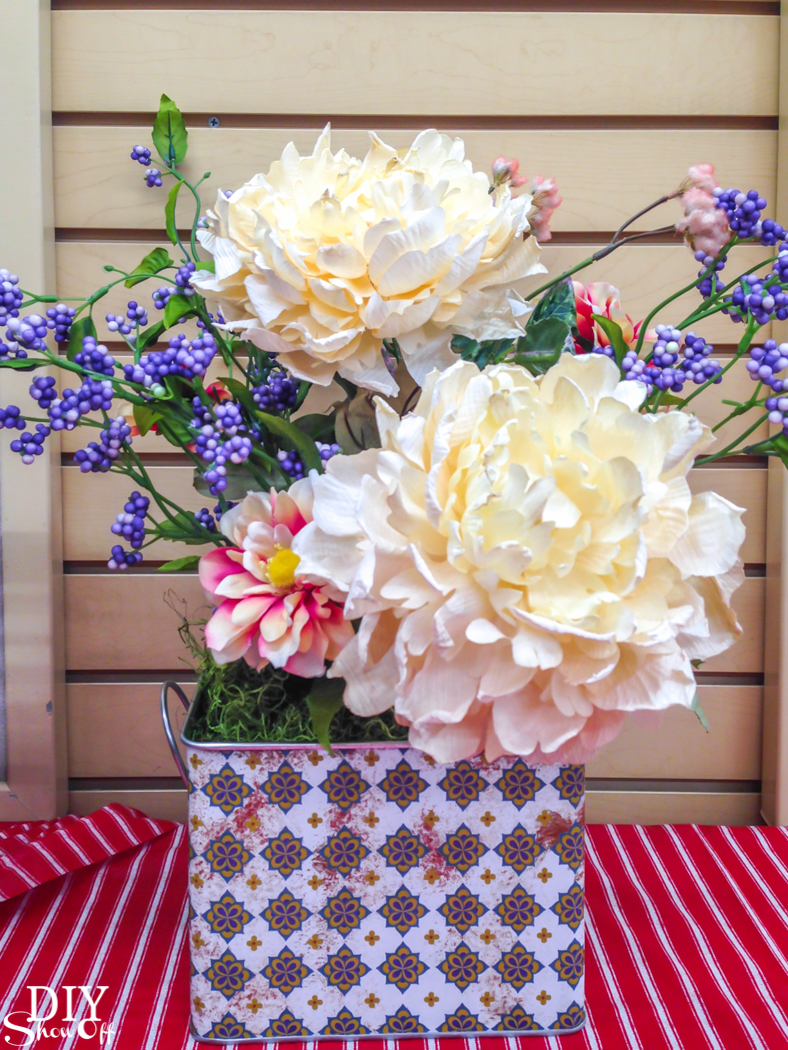
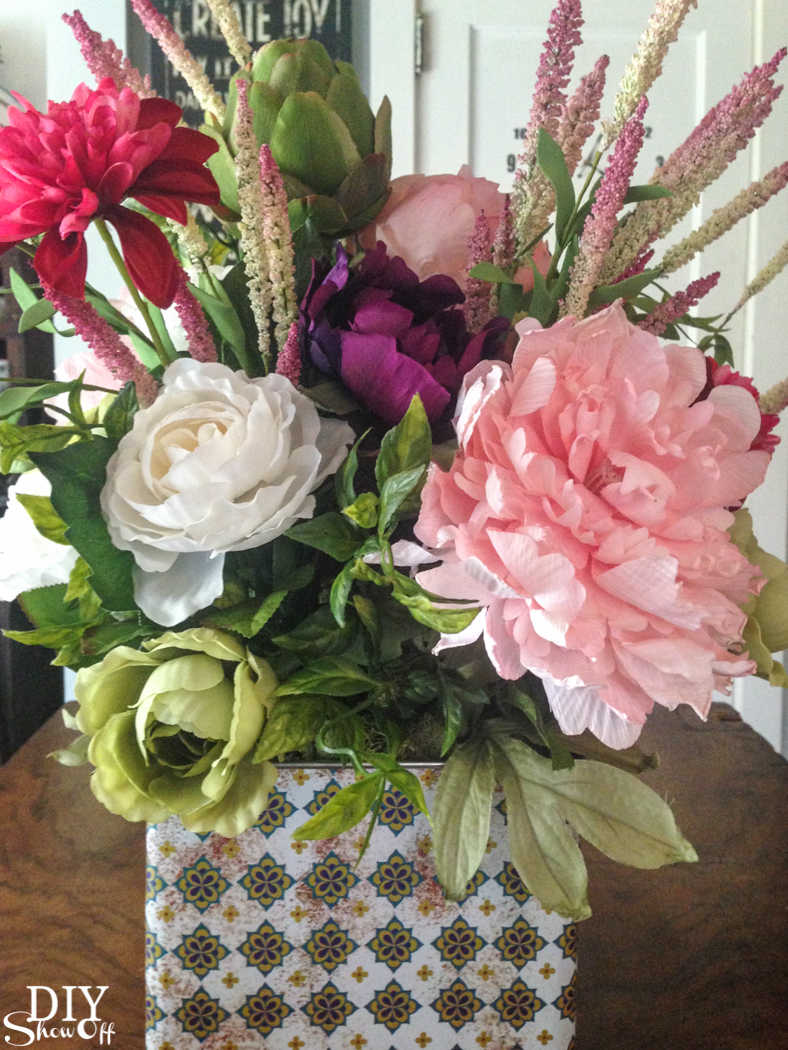
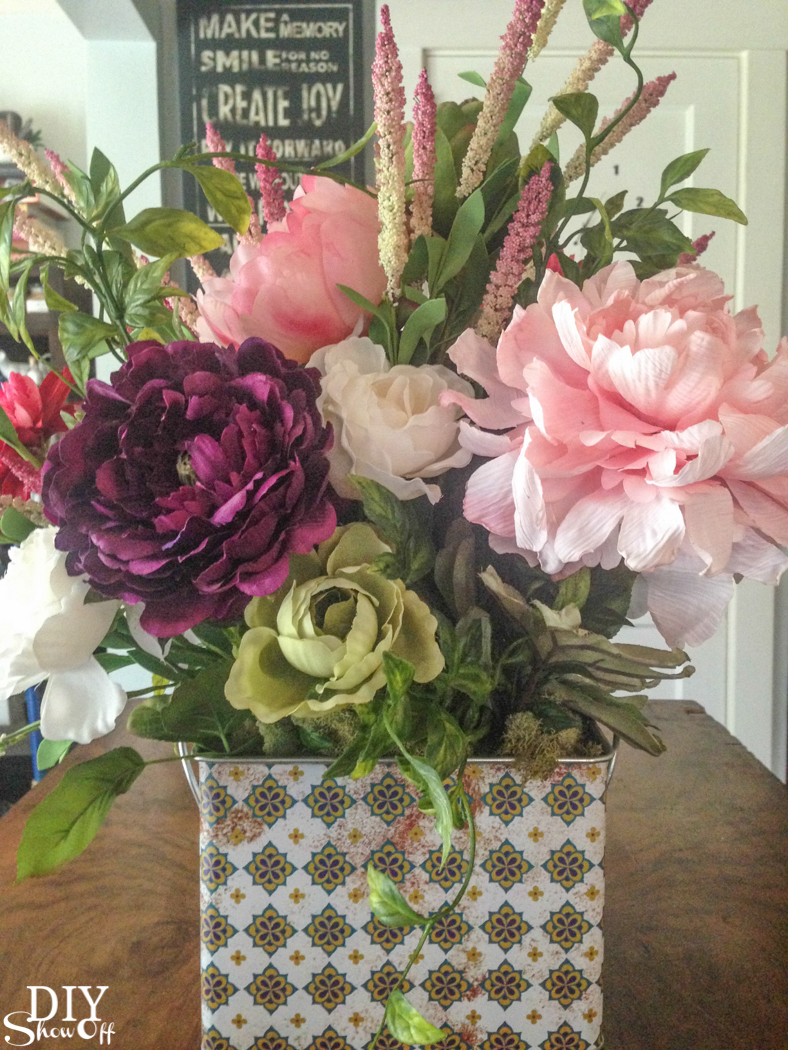
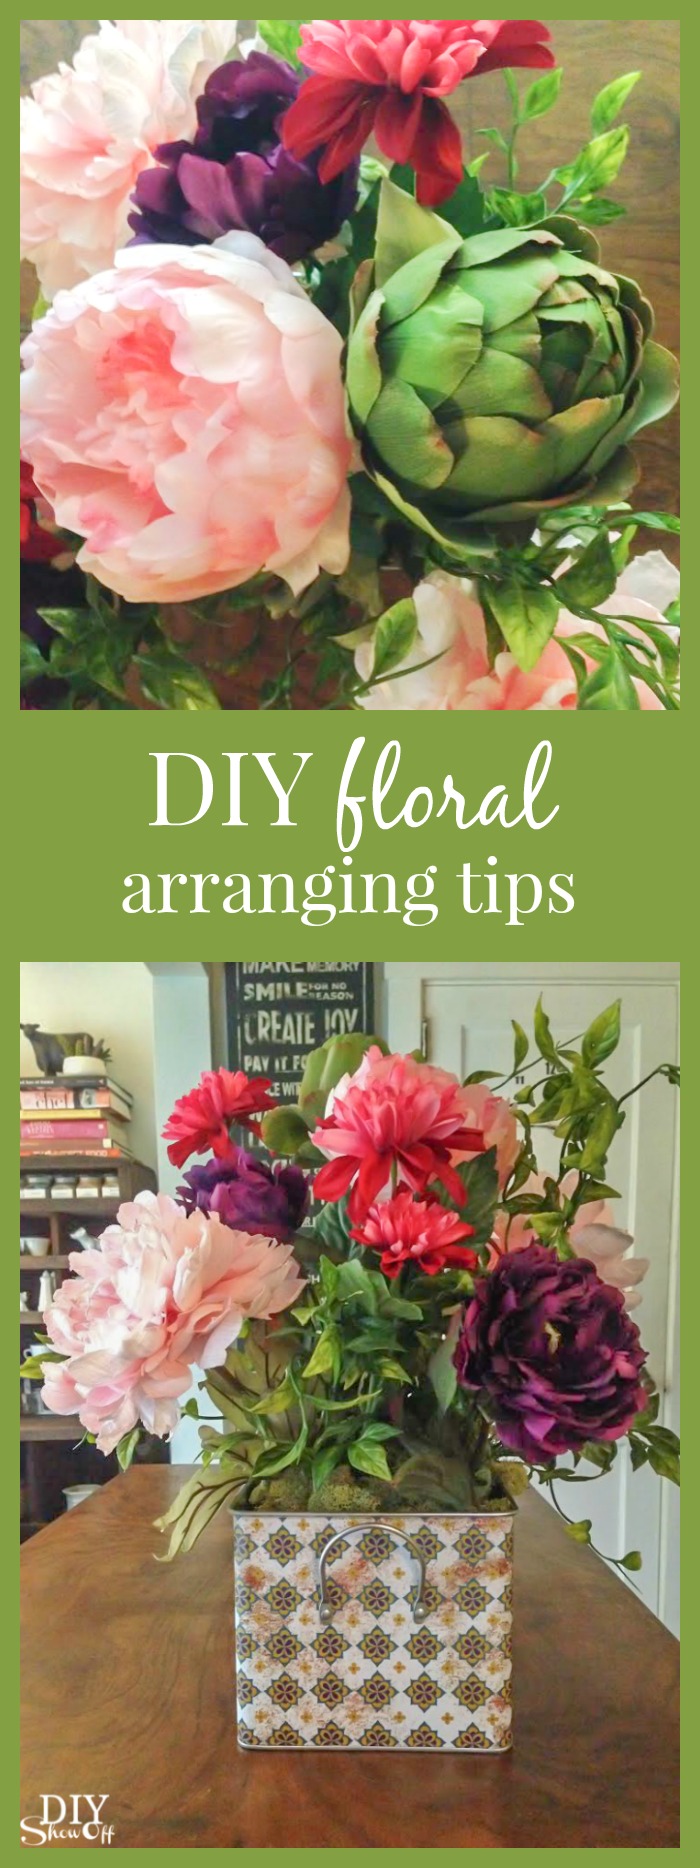
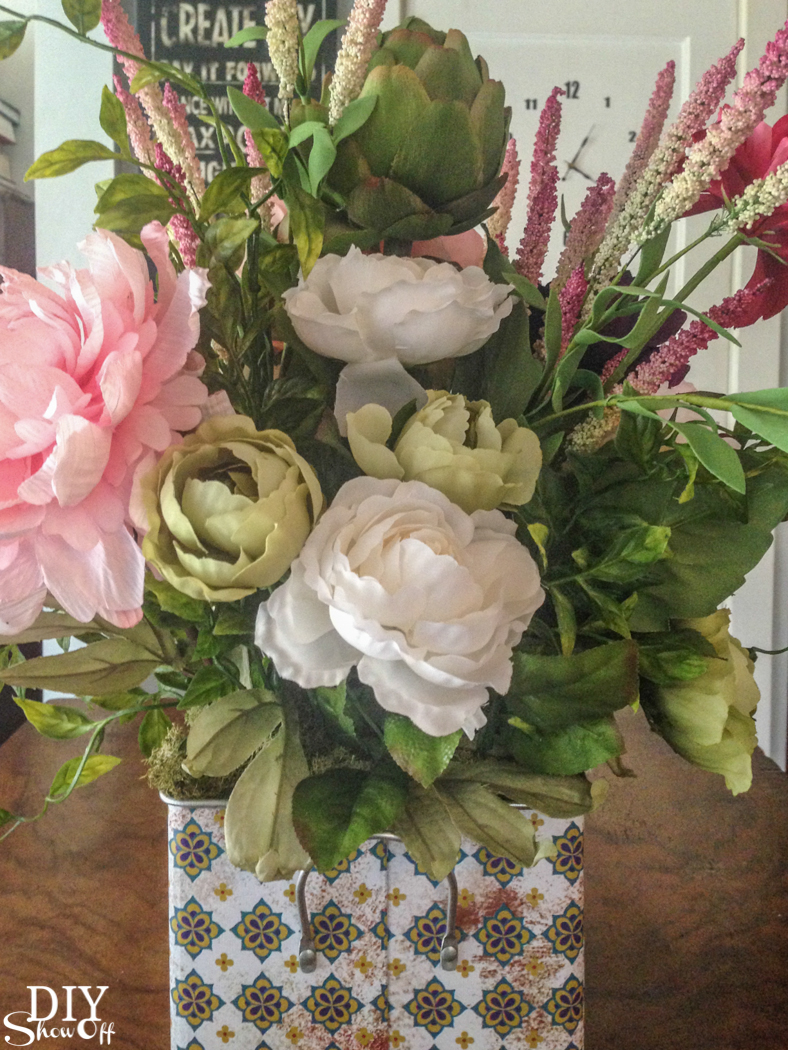
Mine: I’m in love! I’m inspired to add a few more spring buds.

spring floral arrangement @diyshowoff #michaelsmakers (DIY floral arranging tips) spring floral arrangement @diyshowoff #michaelsmakers (DIY floral arranging tips) spring floral arrangement @diyshowoff #michaelsmakers (DIY floral arranging tips) spring floral arrangement @diyshowoff #michaelsmakers (DIY floral arranging tips)


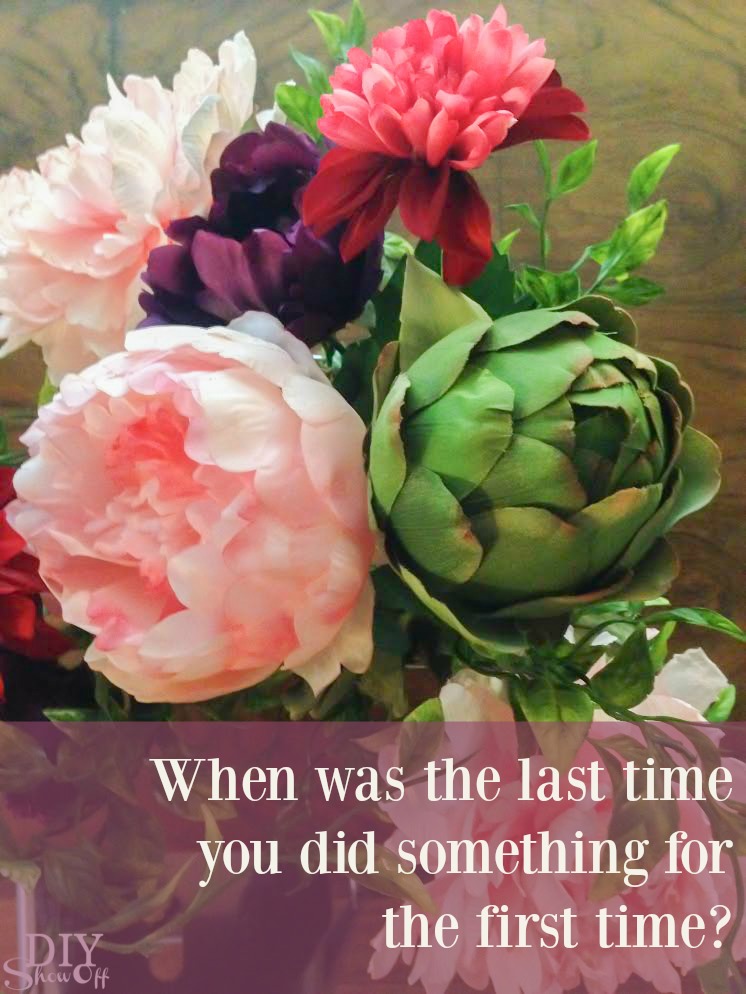
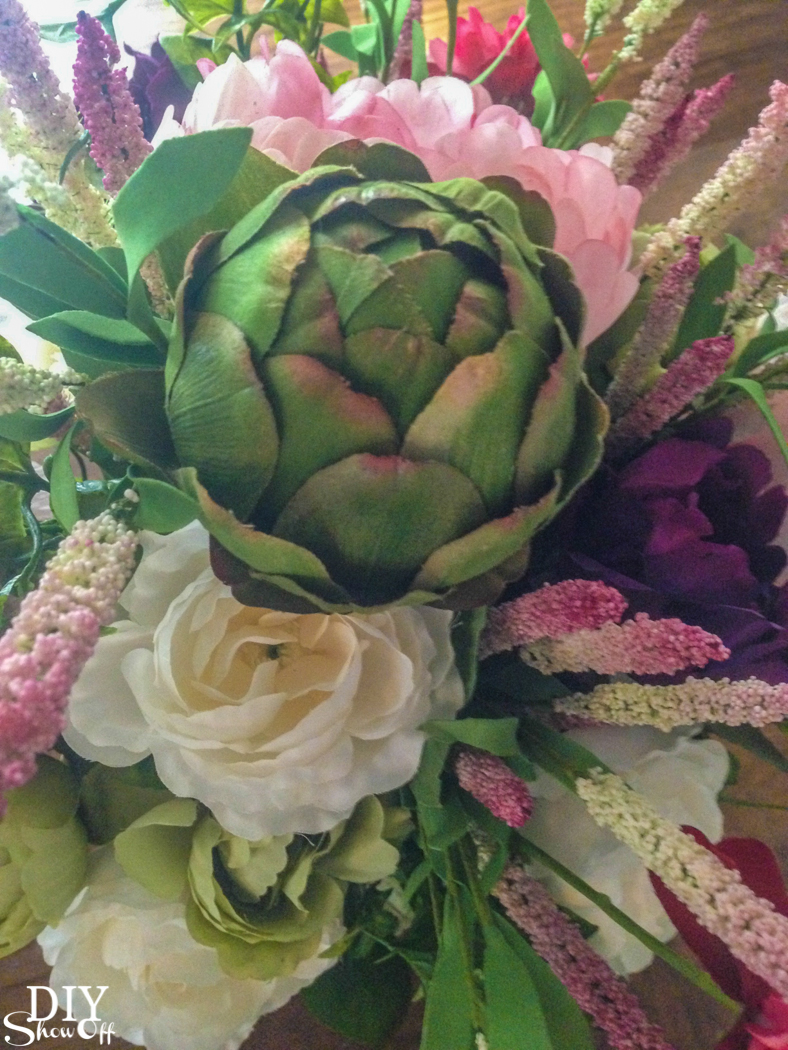
And that artichoke! ::swoon::

How fun! free craft classes at Michaels #michaelsmakers (DIY floral arranging tips)

Michaels offers free classes in their stores! You can try out a new craft skill for just the cost of supplies. Another great way to explore your creativity is by trying out a craft kit. Michaels has everything from sewing kits to art kits and everything in between.

How fun! free craft classes at Michaels #michaelsmakers (DIY floral arranging tips)

See more Michaels’ class experiences from these blog friends:

 Loading InLinkz ...

How fun! free craft classes at Michaels #michaelsmakers (DIY floral arranging tips)

DIY Keepsake Mother’s Day Gift

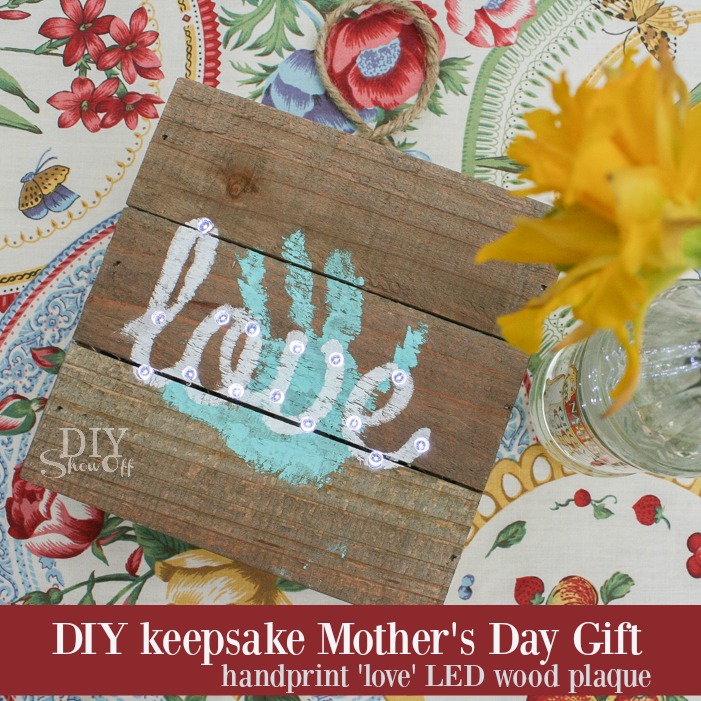
The Michaels’ Makers’ April Challenge is all about Mother’s Day and this project will be for celebrating my daughter who’s now a mom too (Ali, don’t look! lol). I couldn’t resist scooping up this opportunity to get creative and practice a little DIY influence on the littlest one in our family by making up a DIY keepsake Mother’s Day gift.

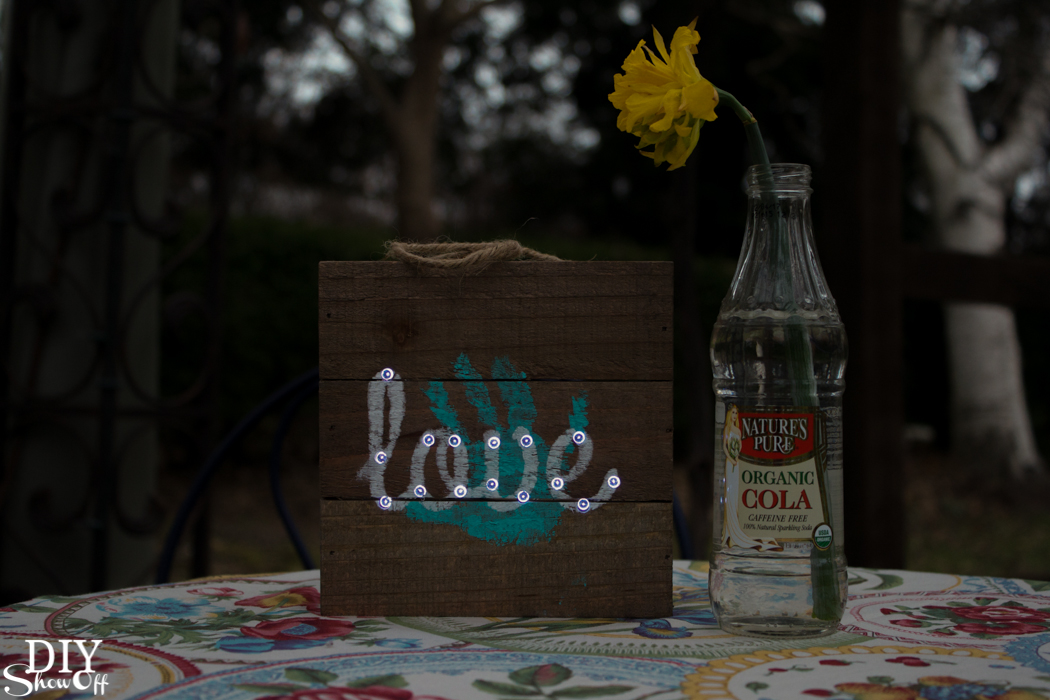
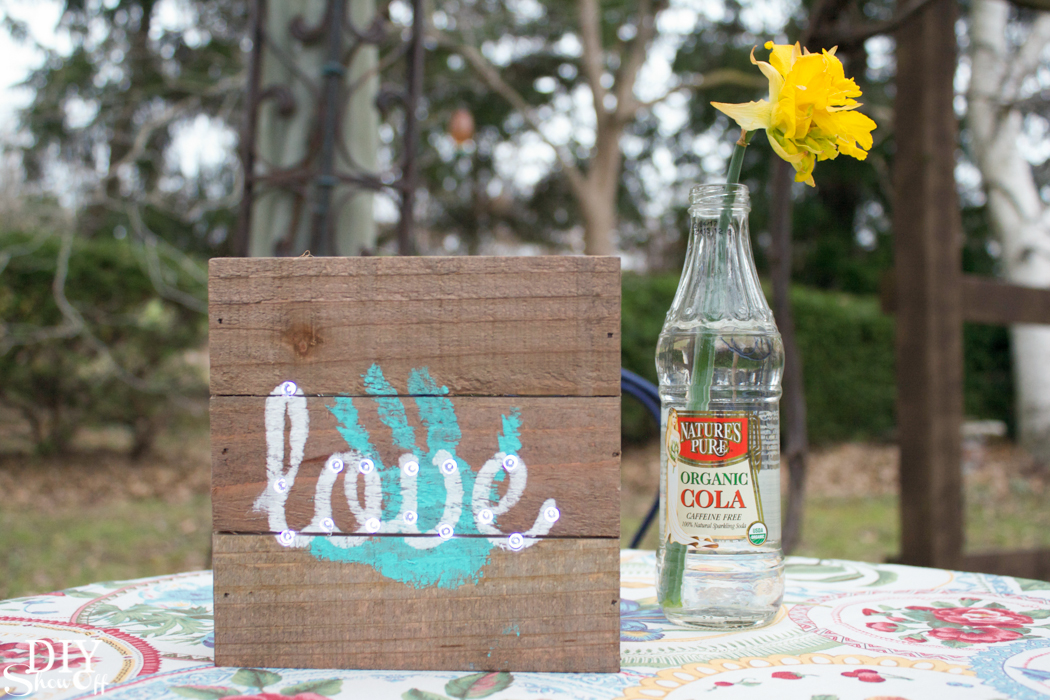
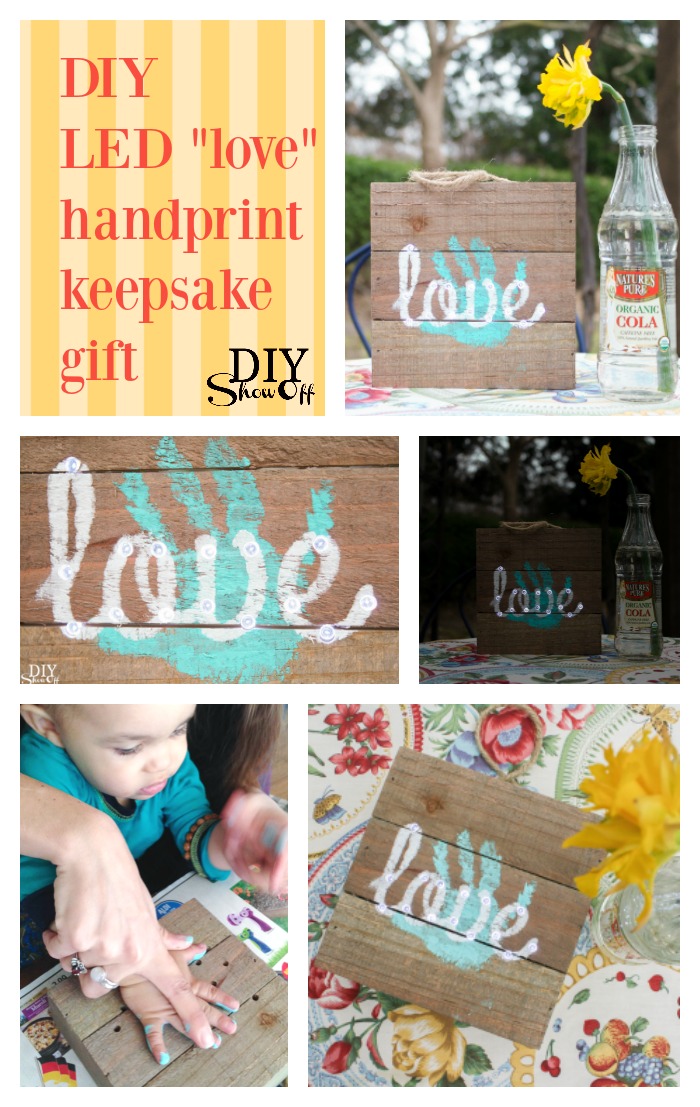
Awe! A cute DIY keepsake handprint Mother's Day gift (LED 'love' wood plaque) tutorial @diyshowoff #michaelsmakersAwe! A cute DIY keepsake handprint Mother's Day gift (LED 'love' wood plaque) tutorial @diyshowoff #michaelsmakers

Materials we used:

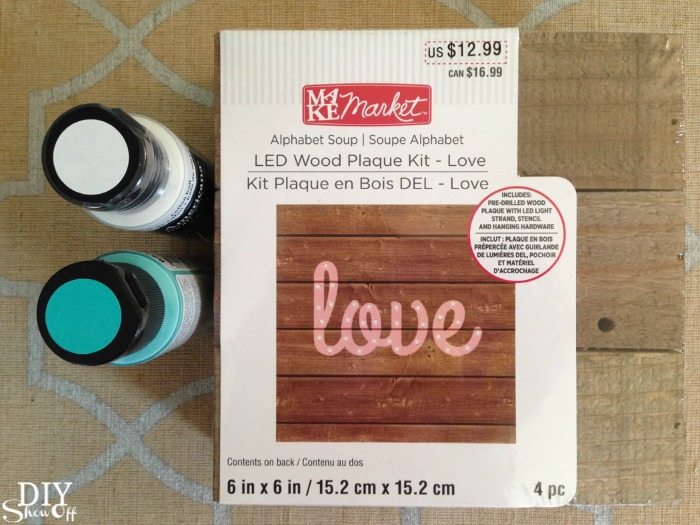
  • MAKE Market LED wood plaque kit – LOVE (Alphabet Soup Collection) available at Michaels’ Craft Store
  • 2 colors of paint and 2 foam brushes (or sponges)
  • painter’s tape

Awe! A cute DIY keepsake handprint Mother's Day gift (LED 'love' wood plaque) tutorial @diyshowoff #michaelsmakers

What we spent: Under $15

Time we invested: Less than an hour (+ paint drying time)

What we did:

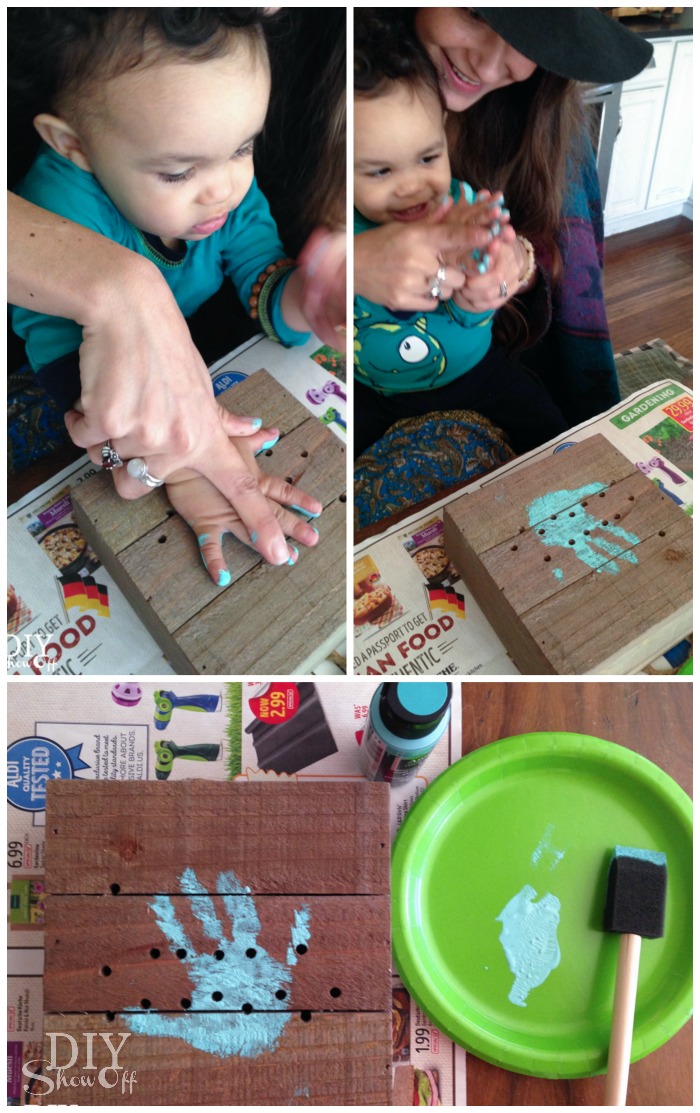
1. We protected our work surface and applied a thin coat of paint to his little hand then carefully pressed it to the wood plaque. We washed his hands immediately and let painted handprinted plaque dry. 

Awe! A cute DIY keepsake handprint Mother's Day gift (LED 'love' wood plaque) tutorial @diyshowoff #michaelsmakers

2. Using painter’s tape, we secured the stencil to the plank sign, lining up the word “love” so we could see the drilled holes in the empty stencil space. 

Awe! A cute DIY keepsake handprint Mother's Day gift (LED 'love' wood plaque) tutorial @diyshowoff #michaelsmakers

3. Next, with a foam brush we applied paint to the stencil (using a sponge technique using a little paint…don’t glop it on or it will seep under the stencil) to paint on the word “love”. We removed the stencil, filled in any spaces and let the paint dry. 

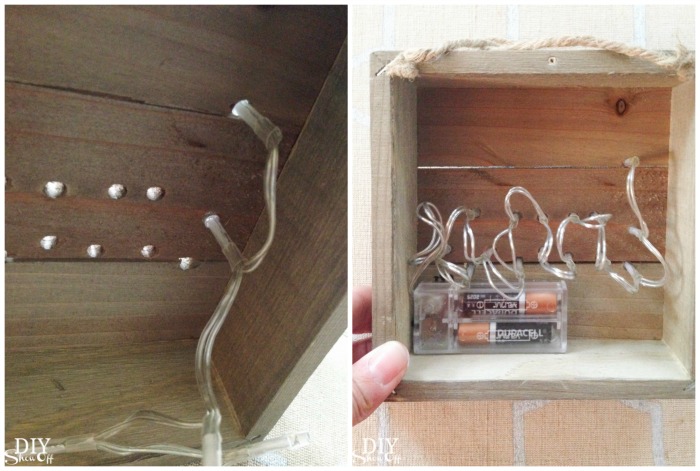
4. Last, we pushed the string of LED lights through the drilled holes from the back side and added 2 AA batteries. 

Awe! A cute DIY keepsake handprint Mother's Day gift (LED 'love' wood plaque) tutorial @diyshowoff #michaelsmakersAwe! A cute DIY keepsake handprint Mother's Day gift (LED 'love' wood plaque) tutorial @diyshowoff #michaelsmakers

5. The kit comes with hanging hardware and foam/felt for protecting the wall. Attach according to packaged instructions. 

Awe! A cute DIY keepsake handprint Mother's Day gift (LED 'love' wood plaque) tutorial @diyshowoff #michaelsmakers

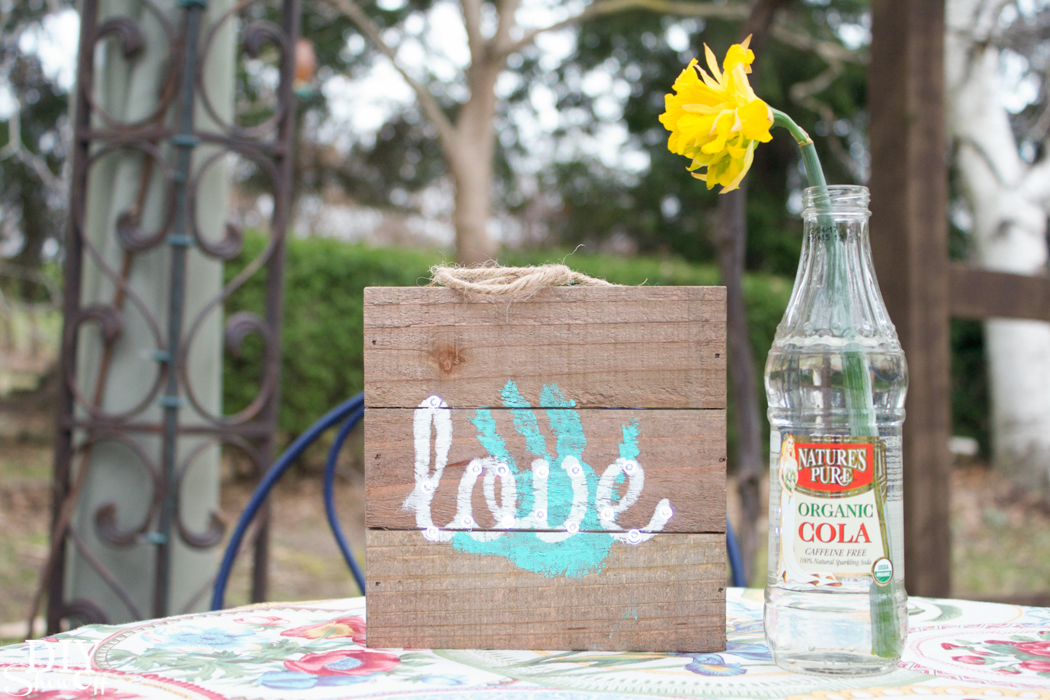
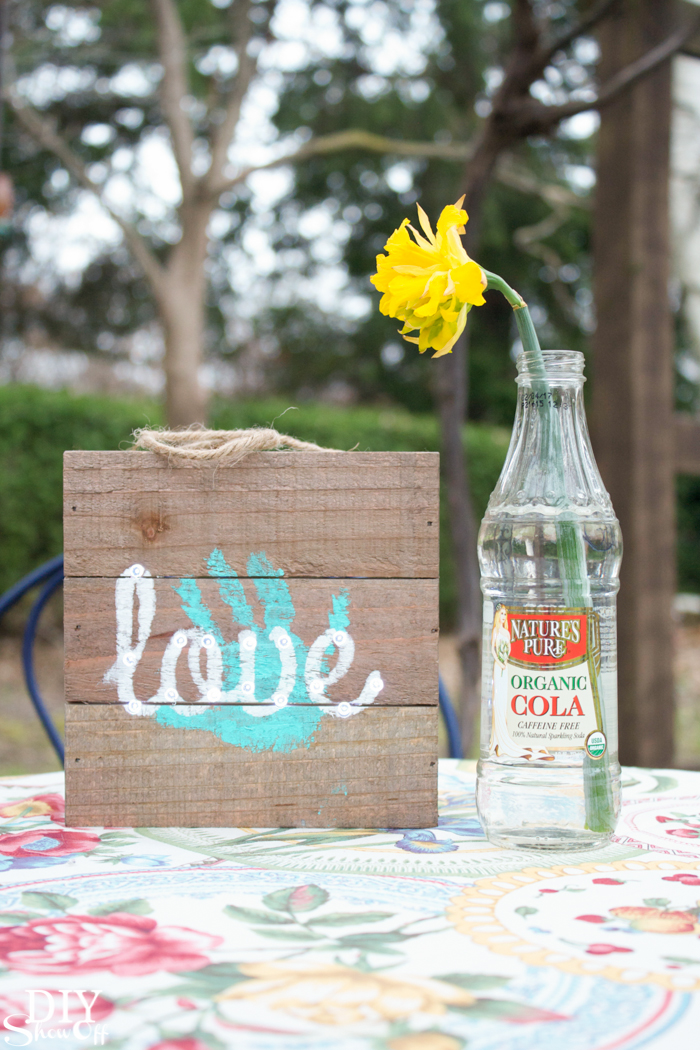
Very simple. Very cute. And a special keepsake from baby to mom. Display on a shelf or add to a gallery wall. So sweet! 

Awe! A cute DIY keepsake handprint Mother's Day gift (LED 'love' wood plaque) tutorial @diyshowoff #michaelsmakers

Those little LED lights provide a powerful glow in the dark!Awe! A cute DIY keepsake handprint Mother's Day gift (LED 'love' wood plaque) tutorial @diyshowoff #michaelsmakersAwe! A cute DIY keepsake handprint Mother's Day gift (LED 'love' wood plaque) tutorial @diyshowoff #michaelsmakers

mothers day challenge #michaelsmakersMichaels has everything you need to craft the perfect handmade gift that will make Mom’s day! Grab your coupon, shop and get creative. Handmade gifts are my favorite for Mother’s Day!

If you don’t know where to begin, you can always take a look at some of the fun projects on Michaels.com or the other 49 Makers’ ideas on The Glue String for to see how they personalized their crafts starting at 10 a.m. EST April 1, 2016:  

 Loading InLinkz ...

Awe! A cute DIY keepsake handprint Mother's Day gift (LED 'love' wood plaque) tutorial @diyshowoff #michaelsmakers

Spring Succulents Arrangement

Spring is right around the corner (so they say) and I couldn’t be cheering any louder! BRING IT ON! …with a spring succulents arrangement!

spring refresh challenge #michaelsmakers

Michaels’ Makers’ March Challenge is all about spring floral and decor and you know Michaels’ has everything you need to fill your home touches of succulent spring decor! I wanted to pack up the entire spring floral department to create a flower market. Prettiest peonies that I cannot kill. For.real. And a new line of fab boho decor to boot! Go! Arm yourself with coupons!
This trip I simply settled for succulents and a few spring accents but I see another shopping trip in my near future. After the gloom of winter, I’m ready for happy spring buds and bouquets and freshening up each room with some happiness and color. How about you?

Okay, on to the spring succulents arrangement tutorial and pretty decorative accents, eh?

Freshen up your home with spring decor! DIY tutorial for spring succulents arrangement! #michaelsmaker

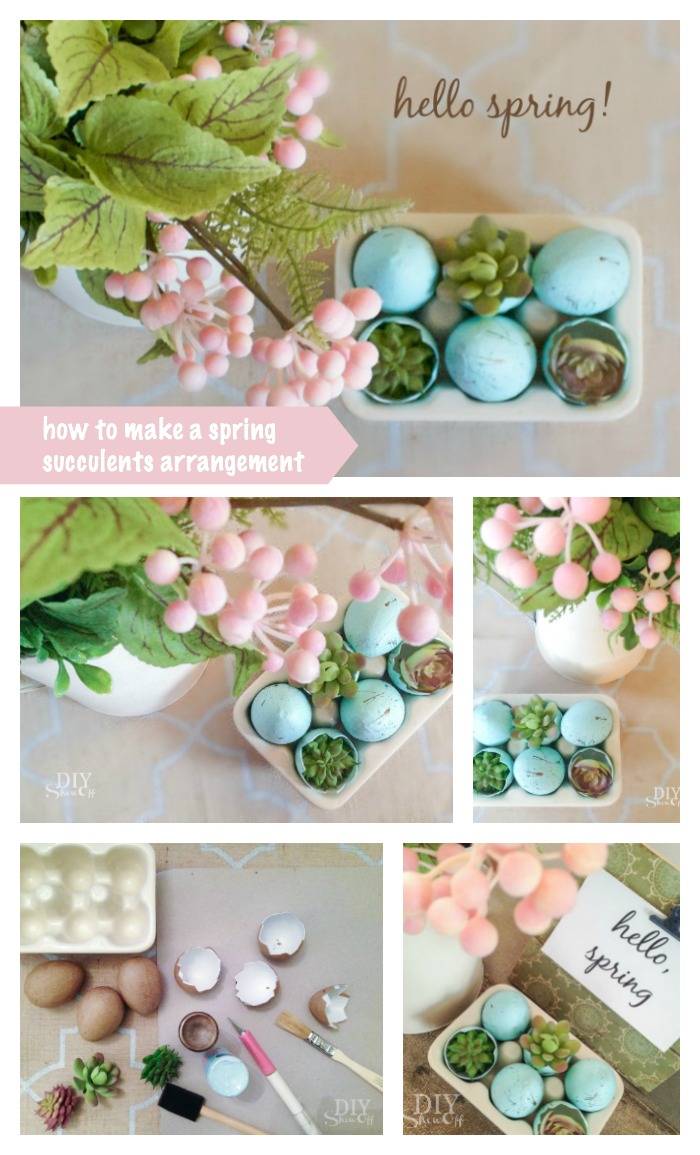
spring succulents arrangement

(or succulent robin’s eggs and no, that’s not a recipe for breakfast)

Freshen up your home with spring decor! DIY tutorial for spring succulents arrangement! #michaelsmaker

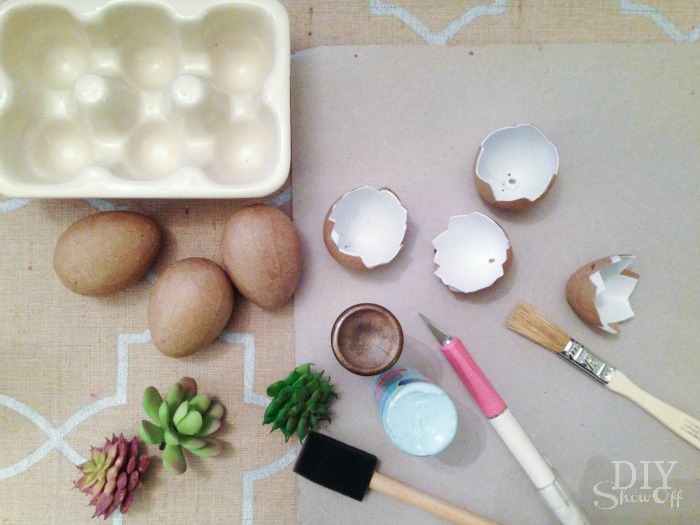
What I used:

  • paper mache´eggs
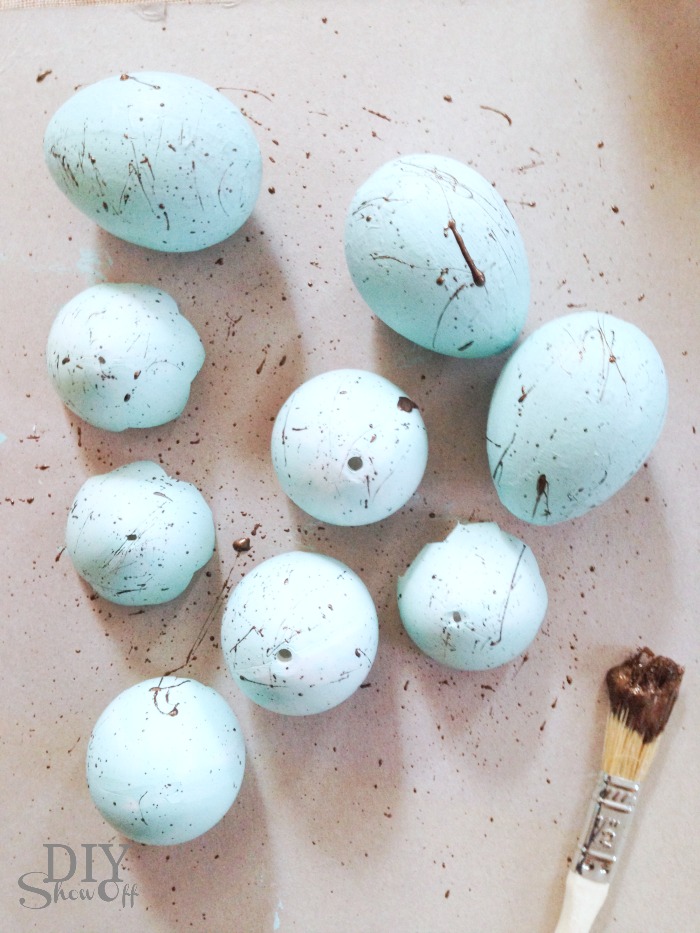
  • acrylic craft paint (robin’s egg blue and something dark like espresso brown)
  • paint brushes (one with short bristles)
  • X-acto knife/utility knife
  • faux mini-succulents
  • optional: hot glue
  • decorative accessories: ceramic egg crate, pitcher/vase, your choice of gorgeous blooms from the floral dept.

What I did:

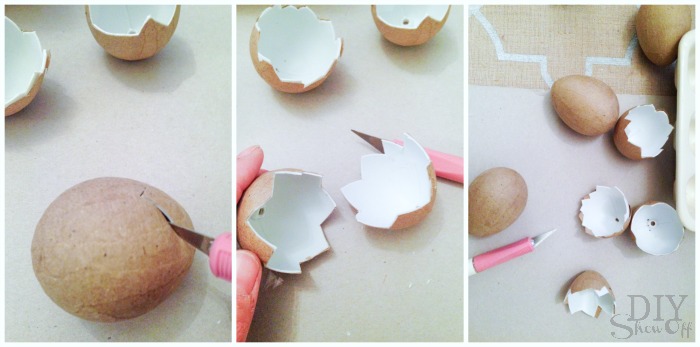
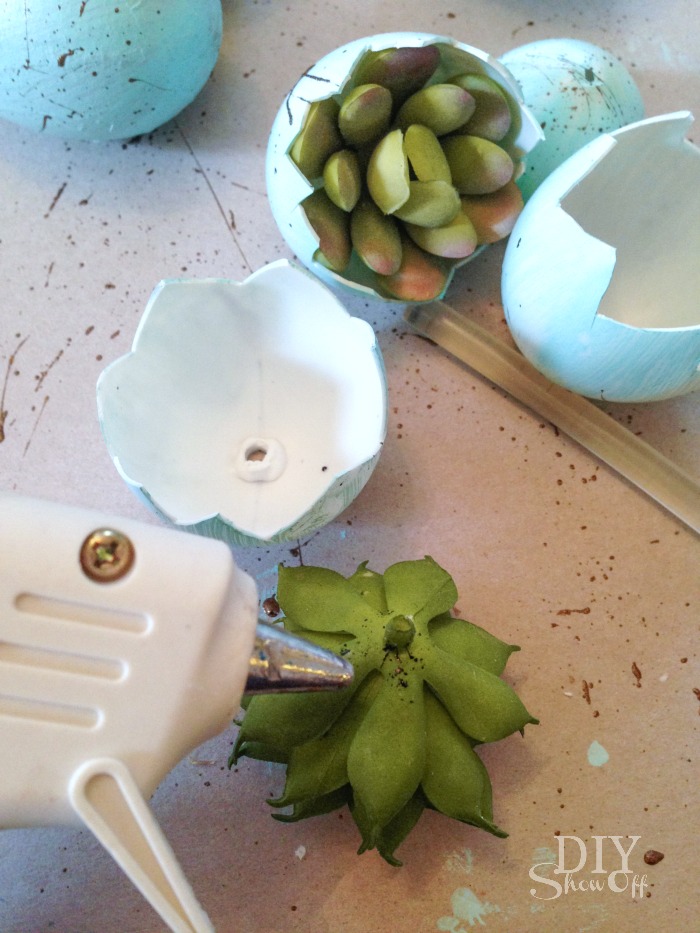
I ‘cracked’ my paper mache´ eggs using an X-acto knife, cutting them in half with a zigzag pattern. 

Freshen up your home with spring decor! DIY tutorial for spring succulents arrangement! #michaelsmaker

I pulled them apart. If the paper pulls away, great! If it stays attached, great! Go with the flow. Mine pulled off. I used the plastic layer instead.

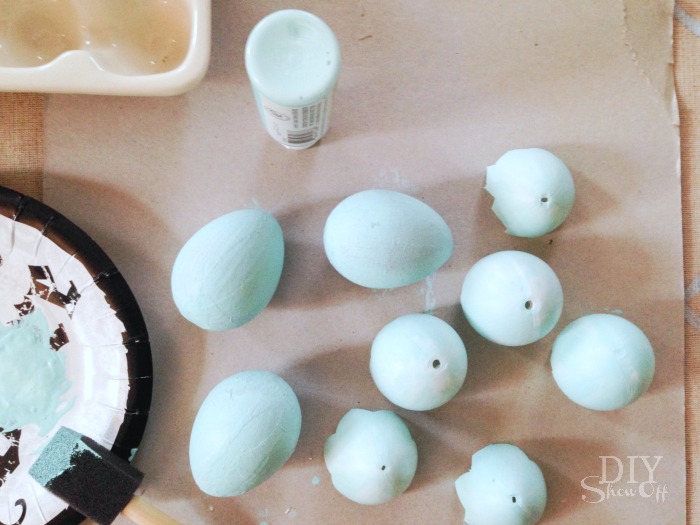
Color the outside of the eggshells with paint and let dry. 

Freshen up your home with spring decor! DIY tutorial for spring succulents arrangement! #michaelsmaker

This next step is messy. Apply dark paint to a short bristled paint brush. Using your finger to fan the bristles, splatter dark paint onto the outside of the eggshells. My brush had longer bristles, so I got more of a 1980’s splattered paint look but it’s okay! And again, you’ll make a mess. Brown paint isn’t pretty under your fingernails either. But it does wash off. Let paint speckles/splatters dry.

Freshen up your home with spring decor! DIY tutorial for spring succulents arrangement! #michaelsmaker

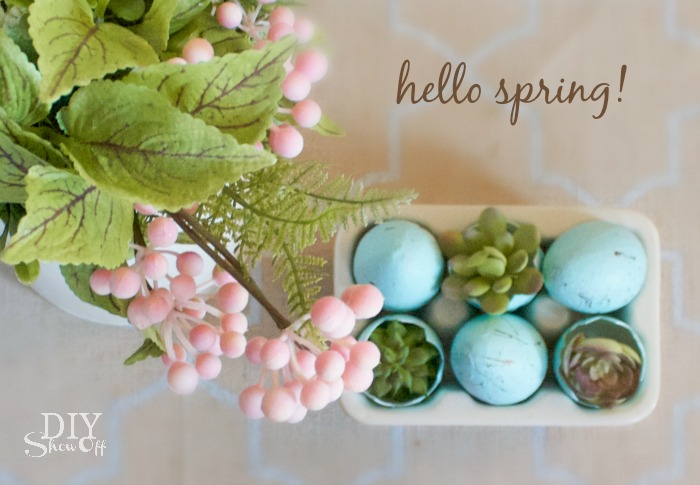
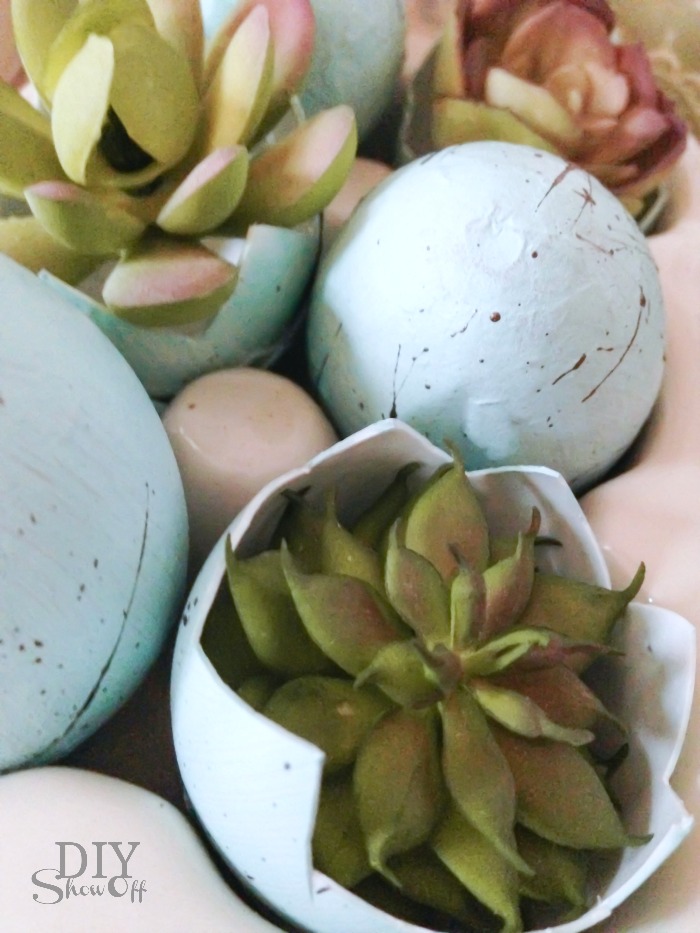
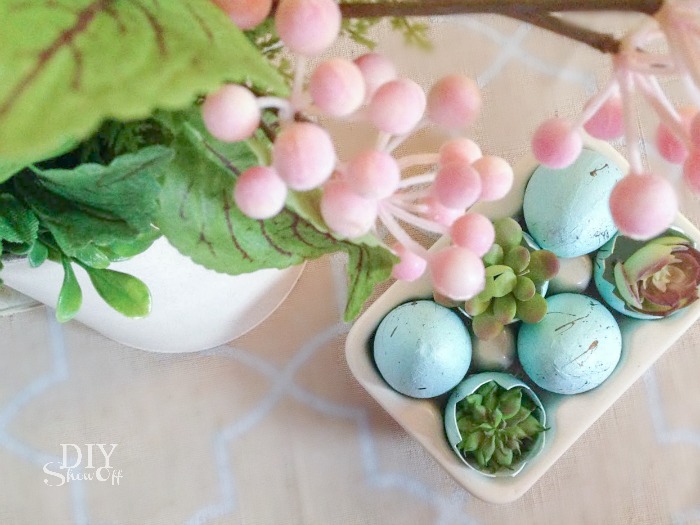
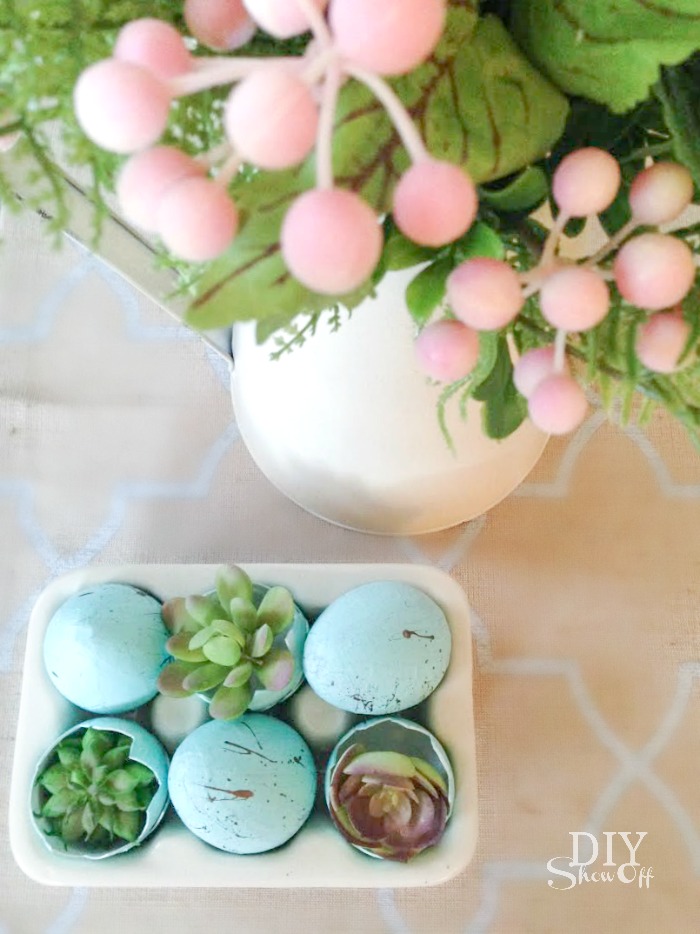
Then fill eggshells with succulents. Hot glue if desired. Place into the pretty ceramic egg crate or a nest. Tuck them in floral arrangements. Decorate for spring! So cute! 

Freshen up your home with spring decor! DIY tutorial for spring succulents arrangement! #michaelsmaker

Awe, look…newly hatched spring succulents! So proud!

Freshen up your home with spring decor! DIY tutorial for spring succulents arrangement! #michaelsmaker

Are you ready for spring? Time to freshen up your decor with spring florals and some new decorative accents! 

Freshen up your home with spring decor! DIY tutorial for spring succulents arrangement! #michaelsmakerFreshen up your home with spring decor! DIY tutorial for spring succulents arrangement! #michaelsmaker

Looking for more inspiration? Visit Michaels’ new Floral Market! It has over 500 new blooms (FIVE HUNDRED!) and freshly picked projects make this the prettiest spring ever! Swap out a few decor pieces, add a lovely floral arrangement. Completely transform your home for the fresh, new season.

Freshen up your home with spring decor! DIY tutorial for spring succulents arrangement! #michaelsmaker

Not sure where to begin? Take a look at some of the fun projects on Michaels.com or the other 49 Makers’ ideas on The Glue String for to see how they personalized their crafts by visiting the talented bloggers below:

 Loading InLinkz ...