Styrofoam Convex Mirror Tutorial

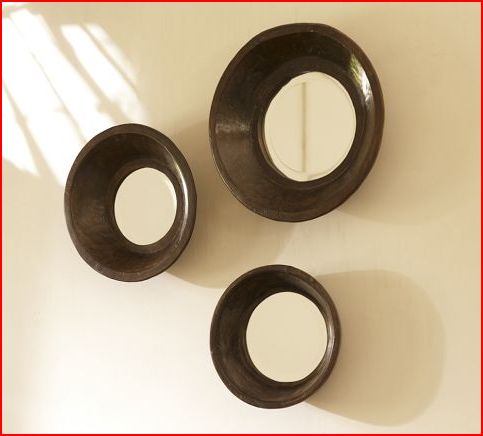
I got crafty at the DIY Club recently. Loving most things Pottery Barn, these PB Found Parat Mirrors were on my birthday wish list but that day came and went and besides…

parat mirrors

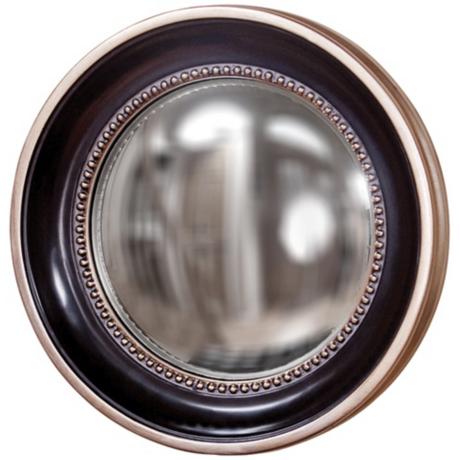
they aren’t convex mirrors and the price tag of $79/each isn’t something I’d really want to spend. Lamps Plus has this LARGE convex beauty for $104. Definitely not in my budget.

convex wall mirror

I’ve always wanted to do something with convex mirrors so I decided to create a DIY version.

Materials:

  • Styrofoam 12″ wreath forms (I used 3)
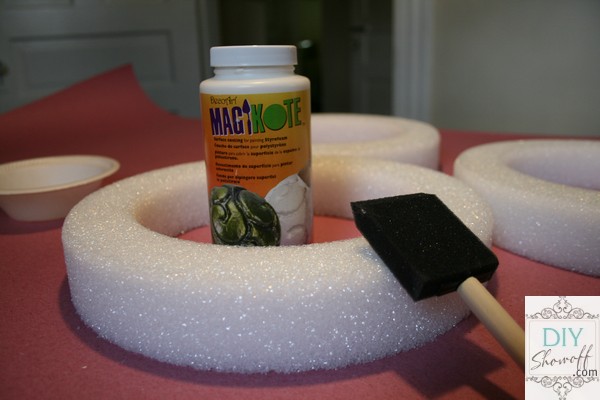
  • DecoArt MagiKote
  • Dark brown spray paint
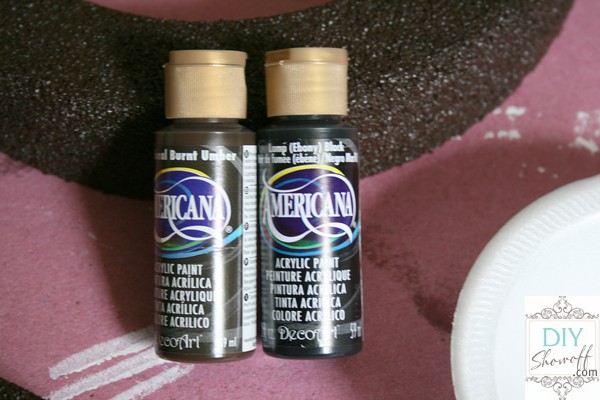
  • DecoArt Americana paints (Ebony and Traditional Burnt Umber)
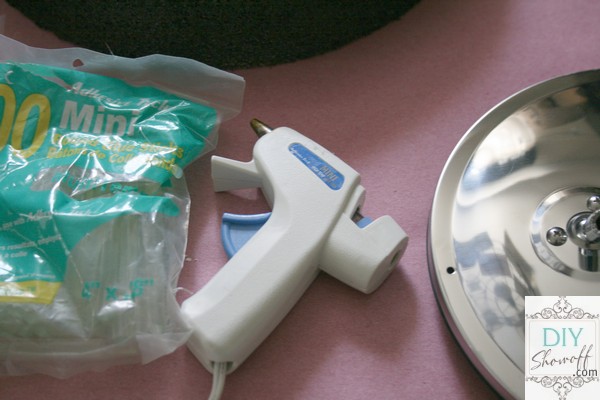
  • Hot glue
  • 8 1/2″ Convex mirror (x3) affiliate link:
DIY convex mirror tutorial

Tutorial:

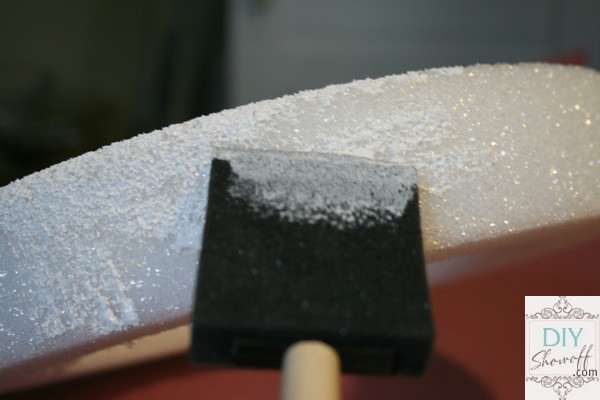
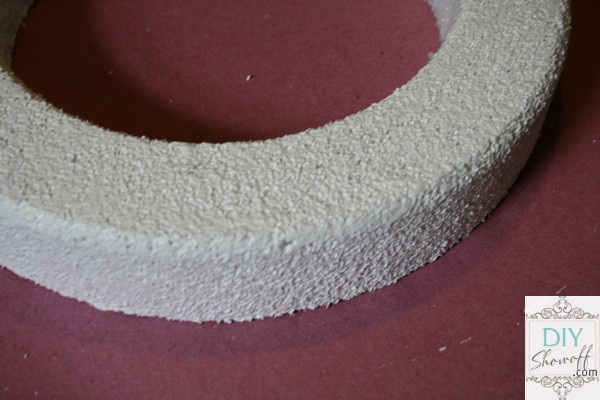
1. Using a foam brush, coat the top and sides of Styrofoam wreath form and let dry.

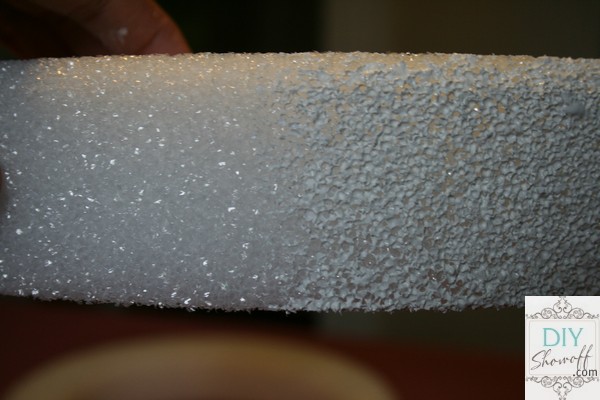
The DecoArt MagiKote seals the Styrofoam, creating a paintable surface.

Without on the left, MagiKote on the right…

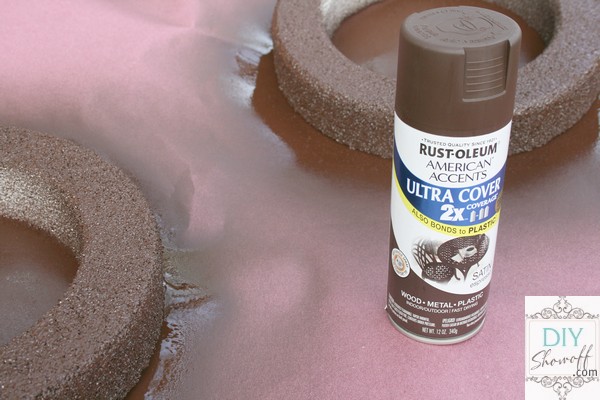
2. Give each Styrofoam wreath form 2 coats of spray paint (dry between coats).

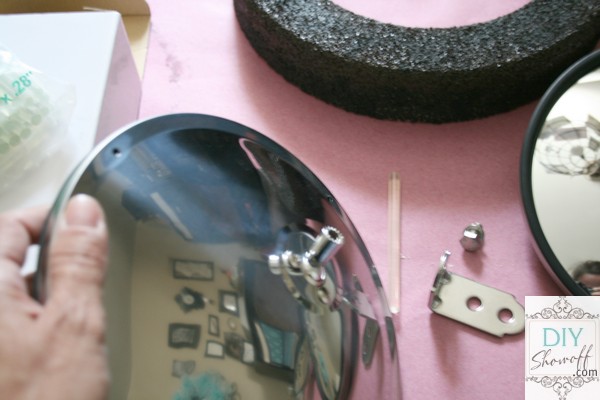
3. Remove brackets from back of convex mirrors.

4. Attach convex mirrors to center of wreath with hot glue. I used hot glue on the back of each mirror. Once in applied to the Styrofoam in the center, I used hot glue around the perimeter of each mirror too.

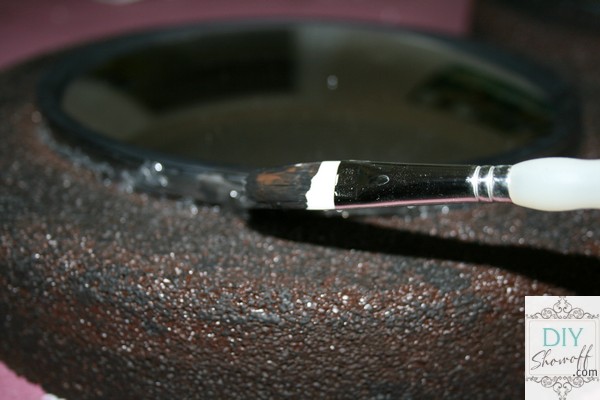
5. Touch up with Americana paints.

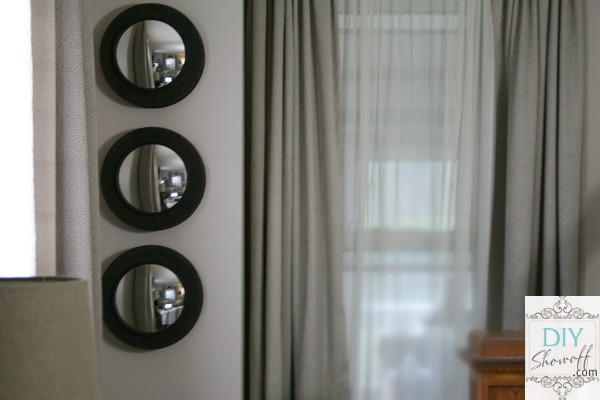
6. Let dry and hang using Command velcro strips.

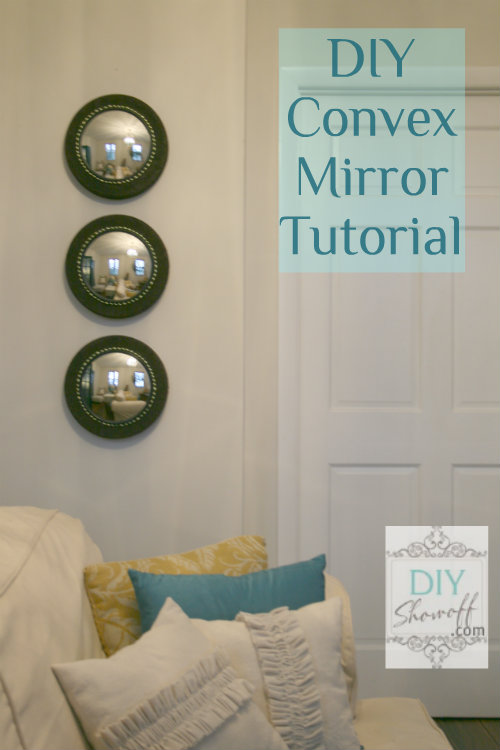
What do you think?  {besides the fact that the top one is a little off?!} It’s okay. They’ve since been moved and are now aligned.

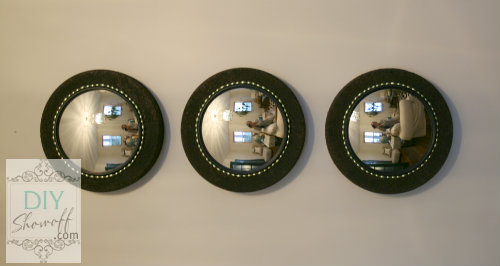
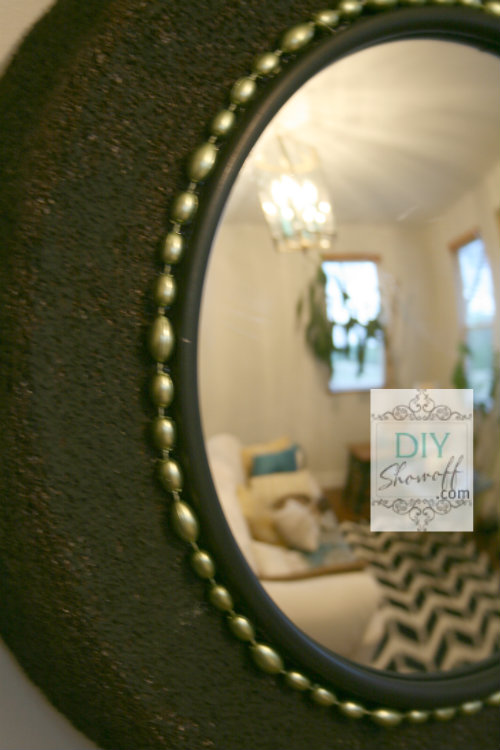
I love them as they were but I can never leave well enough alone so I’ve done a little embellishing using beaded garland (attached with hot glue)…

beaded detail on DIY convex mirror

My convex mirrors are hanging using Command Velco Strips.

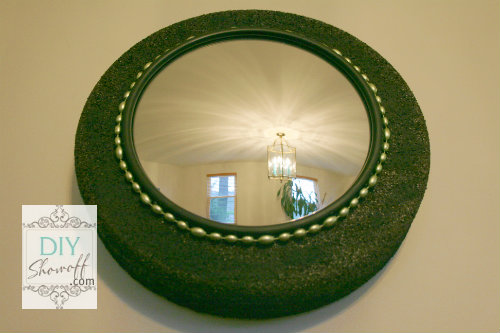
DIY convex mirror

These will go in our master bedroom makeover but for now I’m liking them here, in the family room

DIY convex mirror tutorial

…until next week when you’re likely to see them moved again. It’s a sickness. I just love rearranging. You know you do that too right? . . .

They’d look fab horizontally displayed too!

DIY convex mirror project

Like this project? I’d love for you to share! 

DIY Show Off - FacebookDIY Show Off - TwitterDIY Show Off - PinterestDIY Show Off - Feed


DIY Club

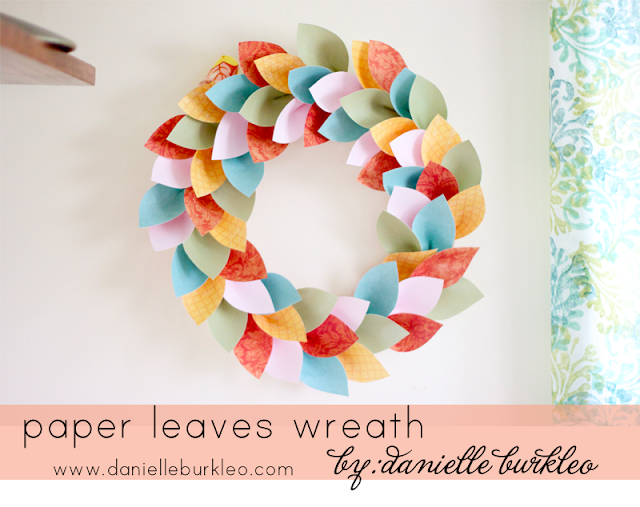
Take Heart – DIY paper leaves wreath tutorial

Hi DIY friends! I’d like to introduce you to Danielle from

take heart.

Danielle’s blog is filled with her every day, musings on motherhood, DIYs, style, design, and a little bit of everything else. Today she’s sharing steps to create a beautiful paper leaves wreath…

Let’s get started, shall we?
You can also make a ring from made cardboard, a paper plate even…whatever you have laying around.
step 1: Make a leaf template and trace it onto your scrap book paper. Danielle made about 60 leaves.
2. Cut out the leaves.
3. Pinch the bottom of your leaf together, causing the sides to curve in, and staple.
4. Repeat sixty times. {no pain no gain no wreath}
5. Hot glue your leaves onto your wreath base. {If you are using a cardboard ring, paper plate, etc. you can staple your leaves on.}
6. Continue placing your leaves, all in the same direction (Danielle developed a pattern to prevent the same colors from being placed side by side.)
…carry on.
…so on and so forth.
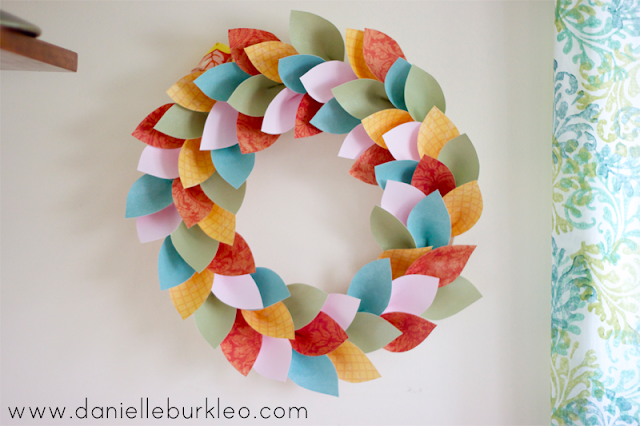
7. Voila! Add some ribbon to the back or just hang it up as is.
and there you have it.
Happy crafting!
Super cute and you probably even have the supplies already on hand just waiting for a creative idea. Sounds easy enough, looks amazing enough.
Thanks for sharing, Danielle! I love it! A great project for all of that pretty scrapbook paper I can’t seem to stop collecting.
See more DIY from Danielle at Take Heart.

DIY Show Off - FacebookDIY Show Off - TwitterDIY Show Off - PinterestDIY Show Off - Feed


Rustic DIY and Enamel Tag Tutorial

  • Beautiful reclaimed barnwood
  • Lovely painted distressed furniture
  • Numbers!

I love each of those things, don’t you? Meet: Kimberly from

serendipity blog

Kimberly is a professional home stager and decorator and a nature at decorating and do-it-yourself projects. Here are some of my favorites:

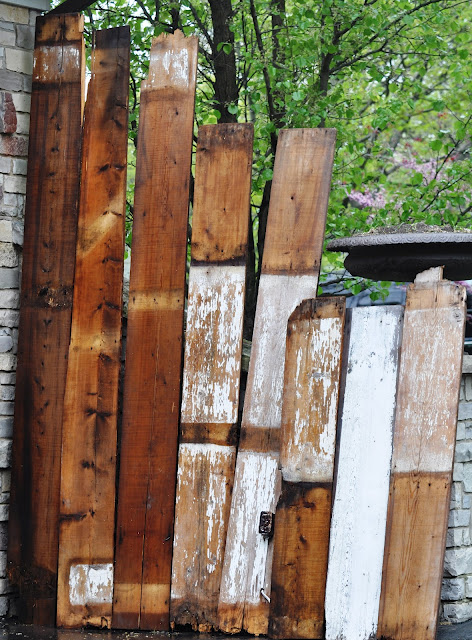
100 year old reclaimed barnwood before:

reclaimed barnwood

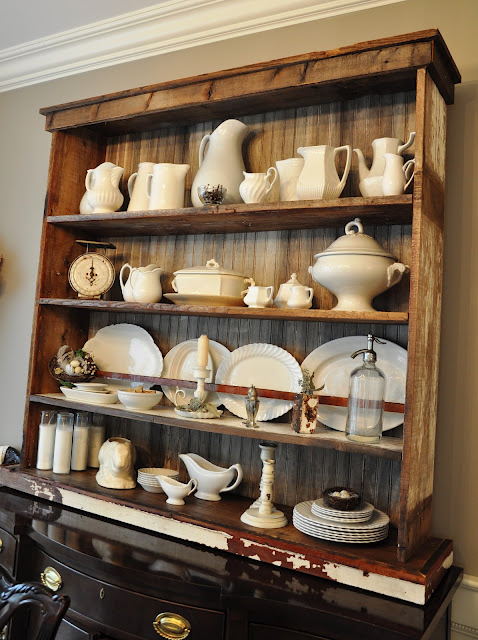
Now: Reclaimed Barnwood Hutch

DIY barnwood hutch

Love!

Dresser Before and After

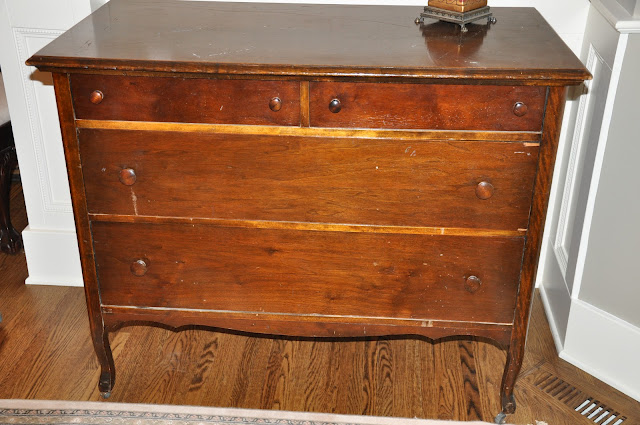
And a tired old dresser before…

wood dresser before

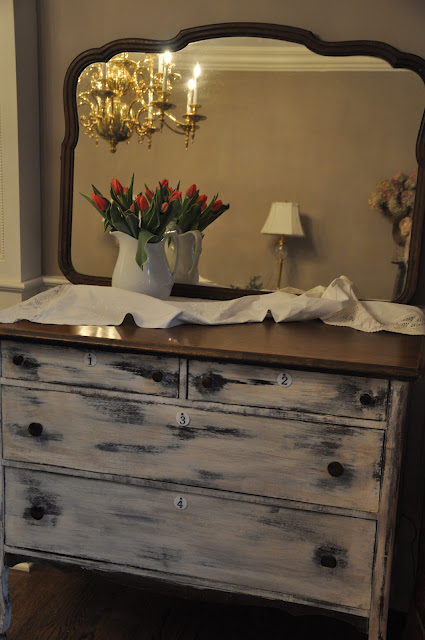
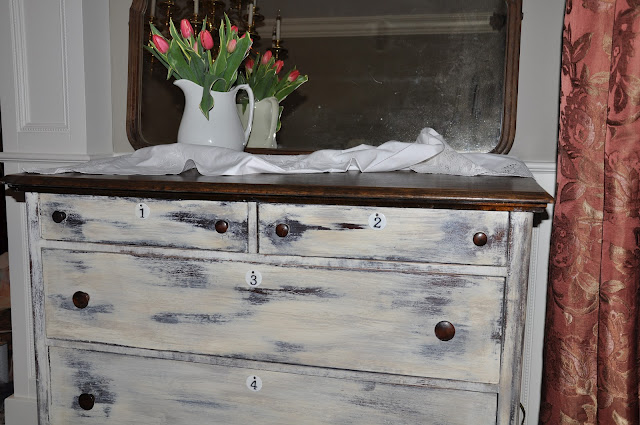
gets a new distressed paint technique and a new purpose in the dining room… oh-la-la!

painted distressed dresser

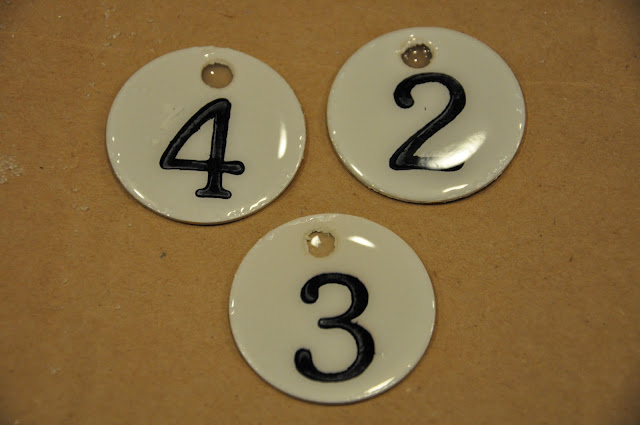
See those pretty number tags too? I don’t know what it is about numbers but I love the charm it adds to decor, don’t you? Kimberly shares how to make these sweet little charms…

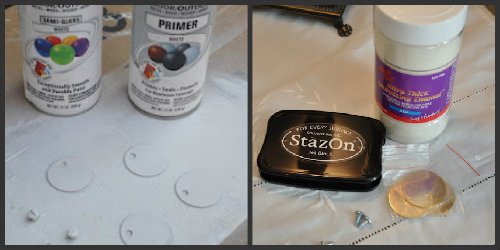
Here’s what you need:

  • Key tag blanks. (I got mine from Ace Hardware, they are steel with a brass finish and are about 1 and 1/2″ across)
  • Paint and primer (white..but I’m considering doing some blue  or dark green ones with white numbers)
  • StazOn Stamp Ink (and number stamps)
  • Embossing Enamel (clear)
DIY enamel tag supplies
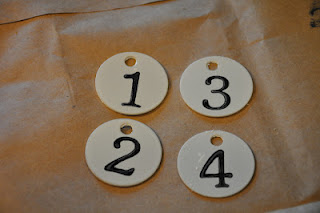
Prime and paint the tags. Once dry, stamp the numbers using StazOn.
number tag tutorial
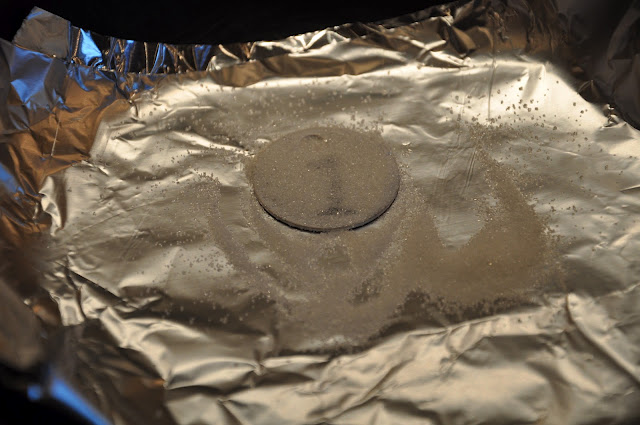
Line a skillet (frying pan) with foil. (or use an electric skillet). Place the tag on the foil and sprinkle with the embossing powder.
DIY enamel tags
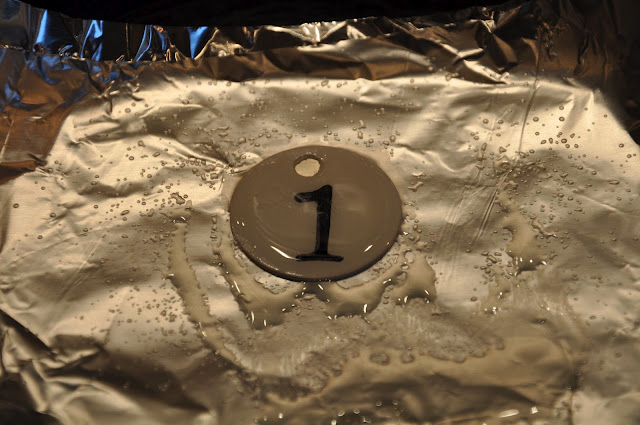
Turn the heat to medium and watch as the embossing powder turns to liquid.
enamel tag tutorial
When the embossing powder is completely smooth and transparent, gently remove the foil (with the tag on it) from the pan and place it on a rack to cool.
enamel number tag tutorial
When the tag is partly cool, but before it is completely cool, gently peel the foil from the tag. and return the tag to the rack until it is completely cool. I also used a nail to remove the powder which had filled the hole while the tag was still warm.
So cool!
dresser after
To pin from original sources and to see more creative DIY and decorating from Kimberly, visit Serendipity.

For more information on enamel tags, see the original inspiration at Can’t Stop Making Things.