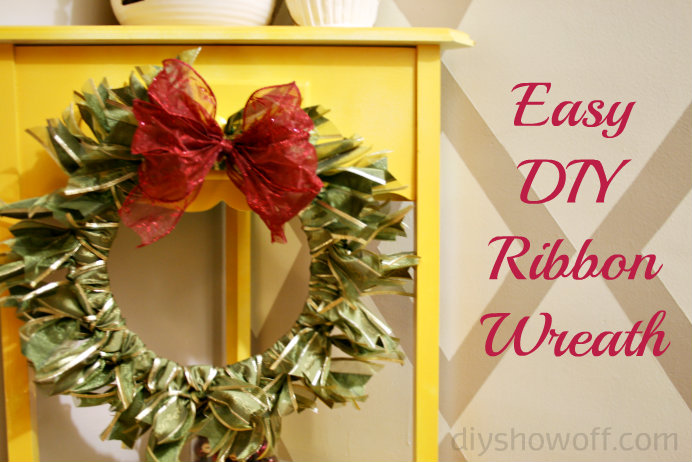
Super easy DIY ribbon wreath {last minute decorating}


Quick, easy DIY Christmas ribbon wreath
Easy DIY ribbon wreath tutorial

I made this DIY ribbon wreath a few years ago and I still use it today. It’s a great last minute idea {you may even have supplies on hand} and as I unpacked it to decorate, I thought I’d share it again. Here are my pictures from that time, I think 2009 {more 2012 pictures below!}…  Time: About 1 hour Materials:

  • stiff or wired ribbon (I used about 35 feet, thick wired ribbon works best and will save you time)
  • cardboard
  • coordinating decorative pick/bow
Tools:
  • scissors
  • Xacto-knife,

Instructions & tips: Trace a dinner plate (or your preferred circle for wreath size) on a piece of cardboard with an Xacto knife. You can also trace and cut out with scissors, but that’s a little more difficult. Trace a smaller sized salad plate inside the bigger one:

You should have a cardboard circle like this. I also saved the inside circle and made another wreath from it (below).

Now, cut ribbon into pieces. I cut about 33 – 12″ strips. You can use any width/length of ribbon. I used 2 1/2 in. Tip: The wider the ribbon, the less work covering the cardboard. I also used wired ribbon so that I could fluff and manipulate the pieces better. Next, you don’t have to notch the ends of your ribbon, but I think it give it more of a wreath-y look. Tip: Don’t be a perfectionist! Layer ends and cut several notches at once to save time! Now the fun part! Tie the ribbon around the cardboard ring, knots on the outer edge. I did 1 tie not a double knot since my ribbon is wired and stayed. Continue this step until the entire ring is covered. Note: There will still be cardboard showing but we’ll address that in the next step. Tip: For a fuller look, use more ribbon and slide pieces close together. Next, start another layer filling in the bare spots. This time tie the ribbons in between the first layer to cover up the cardboard. I knotted this layer and place the knot in between the outer and inner edge of the cardboard ring, facing you. Almost done! Fluff and manipulate the wire ribbon to get a nice shape and to cover all of the cardboard wreath. Add a bow or the coordinating happy stuff you’ve chosen like holly, pinecones, Christmas ornaments, candy, etc. Here’s an easy to make bow:

Choose a different color wired ribbon. Wrap around 3-4 times into a loop and pinch together in the center.

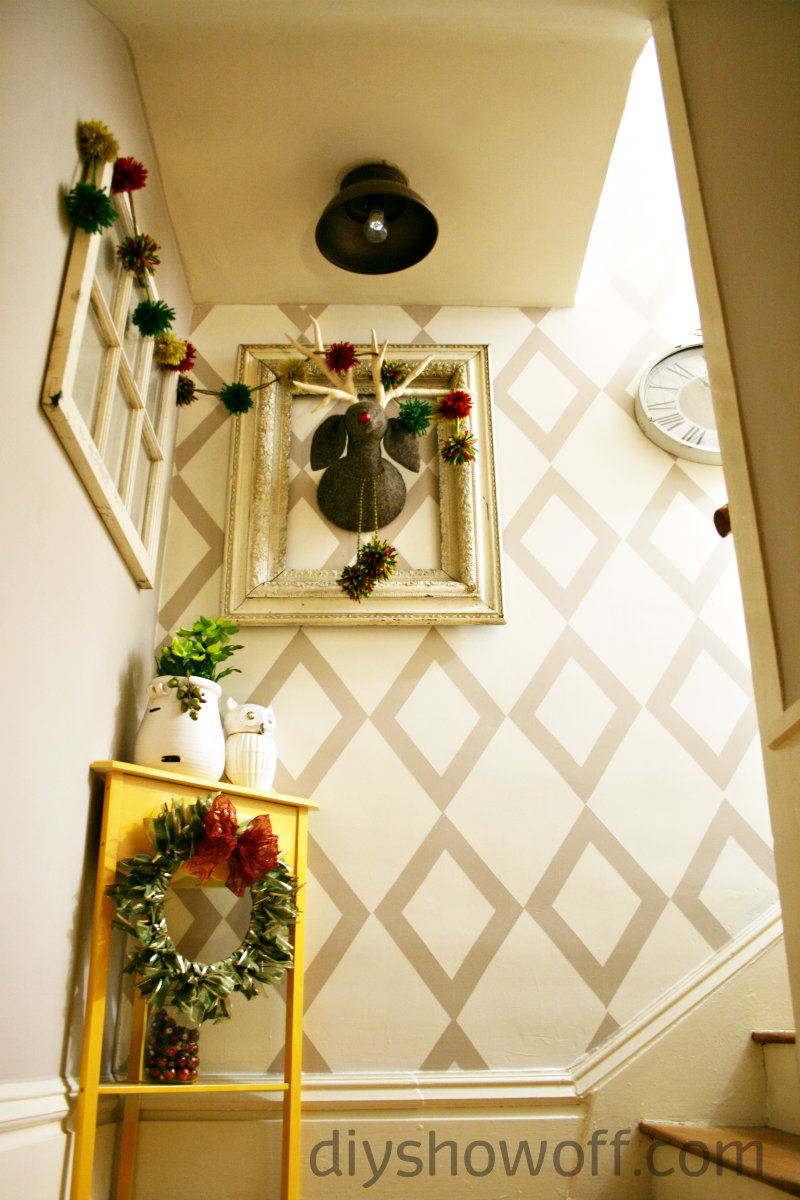
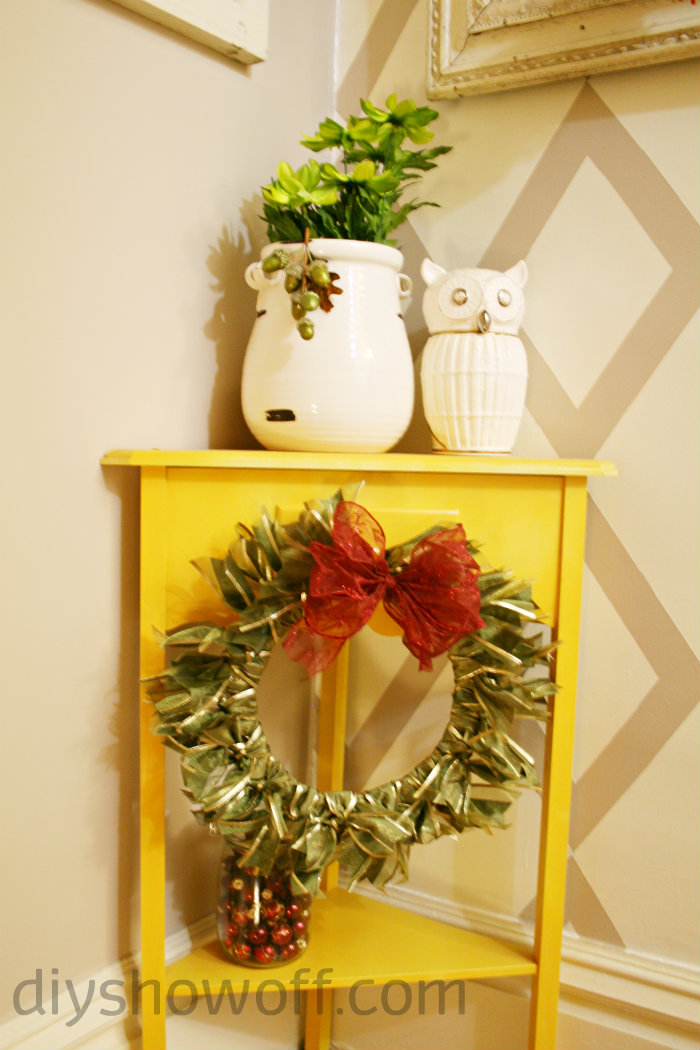
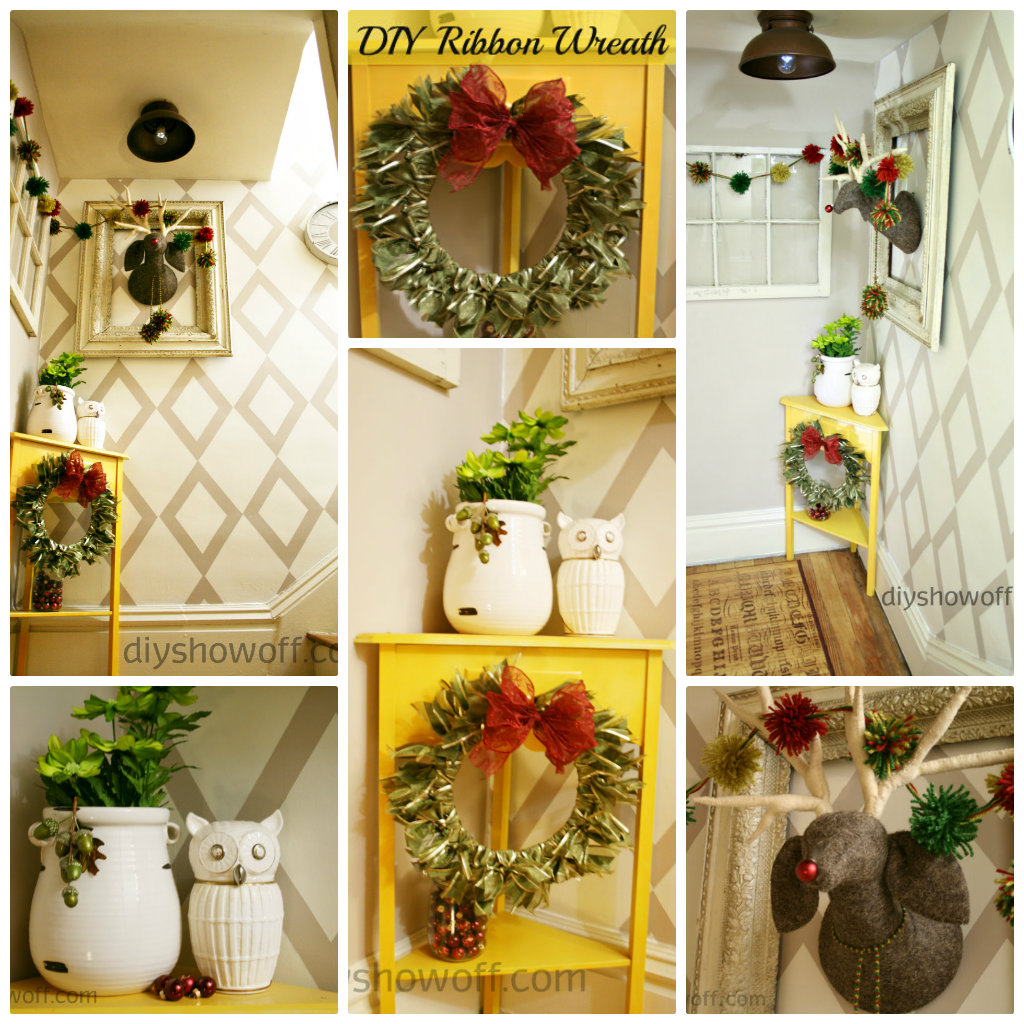
Tie center with a twist tie. Use a large piece of ribbon to tie around the center (hiding the twist tie) and cut desired length of bow “tails”. Fluff! TA-DA! A beautiful handmade ribbon wreath created with love by your own two hands! Easy! Here are more pictures of it this year decorating the landing at the top of the stairs…

stair landing Christmas time

ribbon wreath

I think it all works with my eclectic style and that cheerful corner table, don’t you?

eclectic Christmas decor

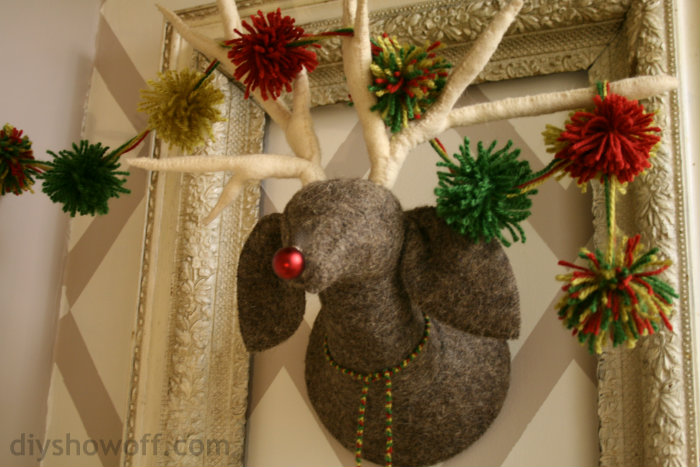
and this guy has a red ornament nose just for the occasion. Isn’t he sweet?

framed reindeer

DIY Show Off DIY Holiday Highlights

DIY Christmas Card Tree {card display/holder}

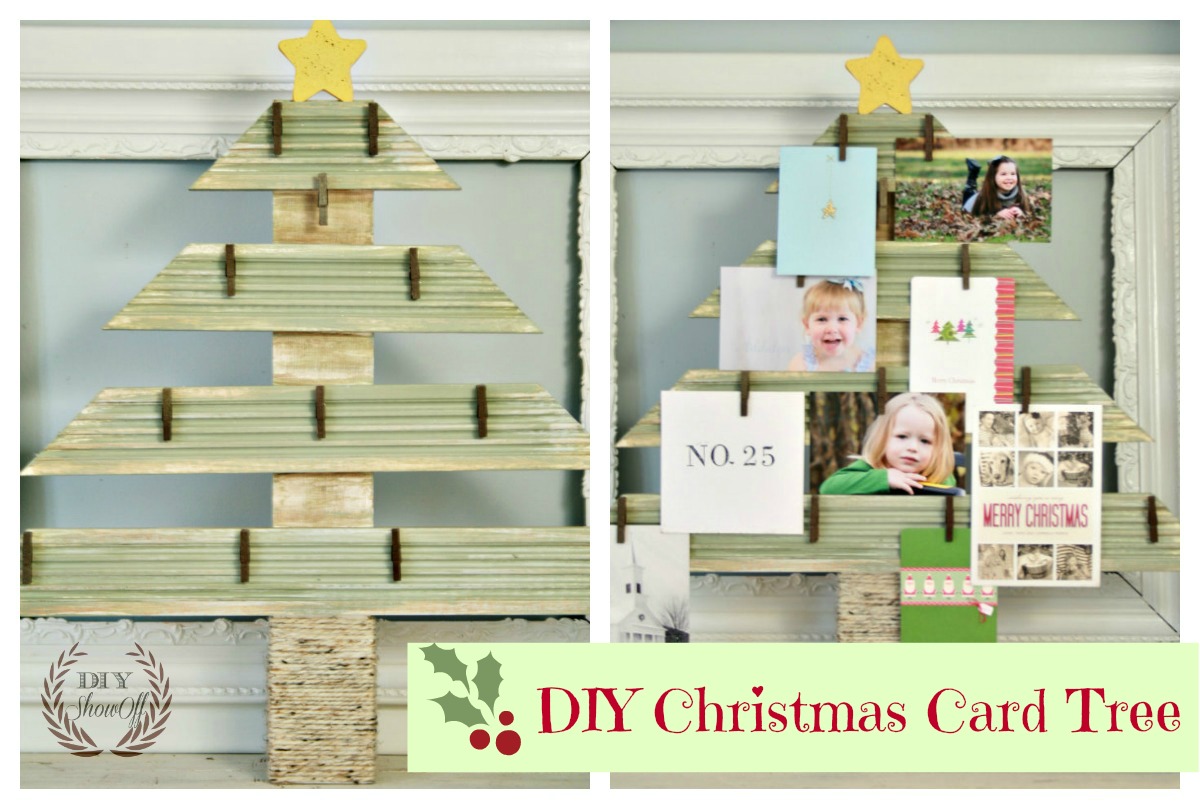
Christmas cards have been arriving in the mail! It’s the best time of the year for checking the mail. Walking to the mailbox in cold temps, anticipating ‘good tidings’ and walking back into the house with a warm heart. Thoughtfulness and “Merry Christmas” delivered to our mail box. It’s just one more part of Christmas giving that makes my days merry and bright! We have two ways for displaying Christmas wishes. One is something I put together using scrap wood and trim pieces: 

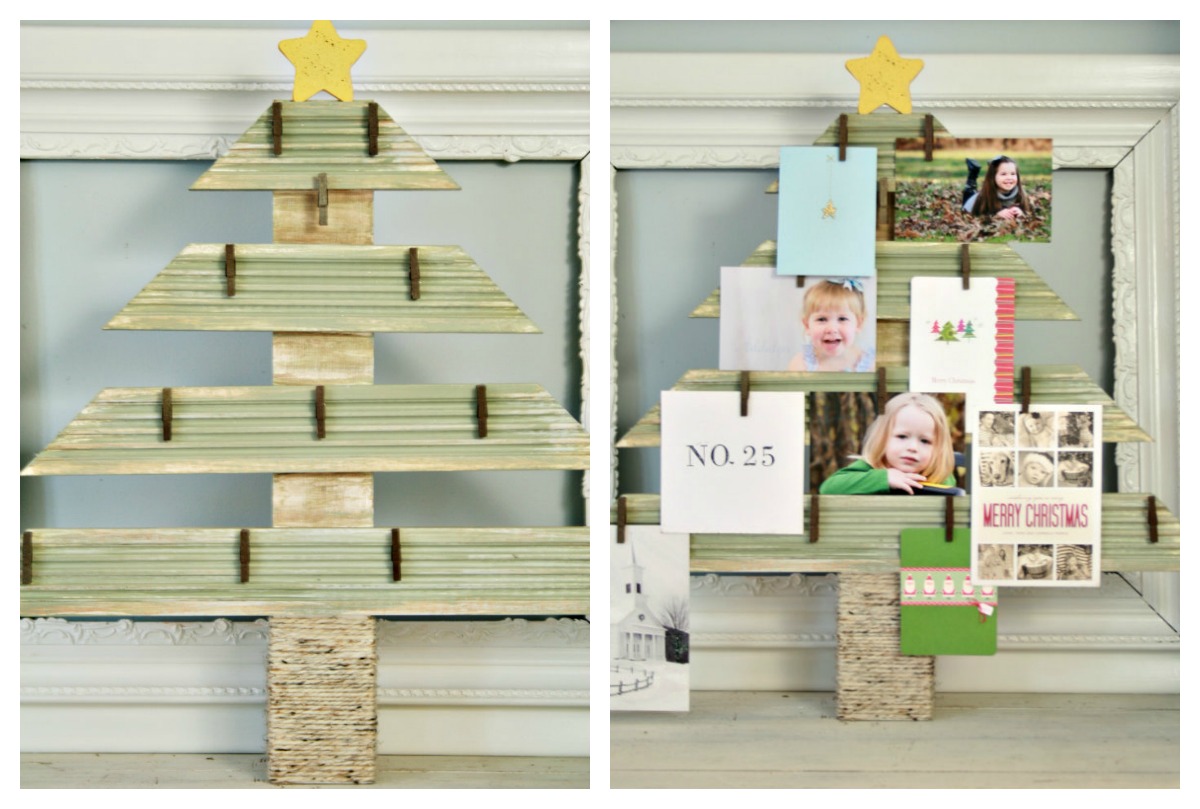
DIY Christmas Card Tree

How I made it:

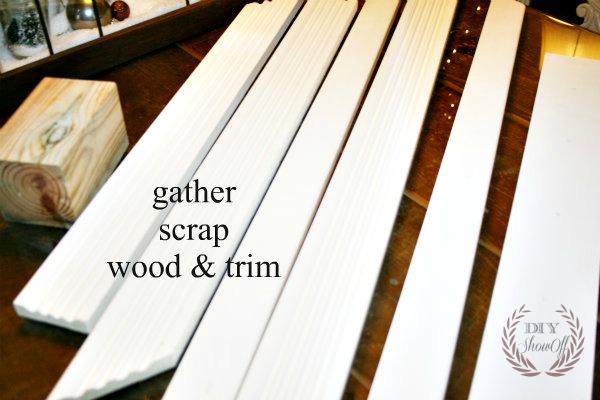
I gathered the scraps of moulding we had lying around, a 1×3.5 and a 4×4 scrap block. My 1×3.5 is about 21 inches long, the 4×4 is about 6 inches long. Adjust measurements for what fits your scrap wood.

DIY Christmas Card Holder

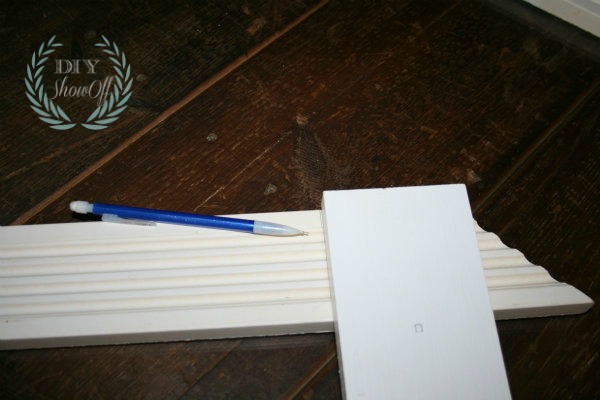
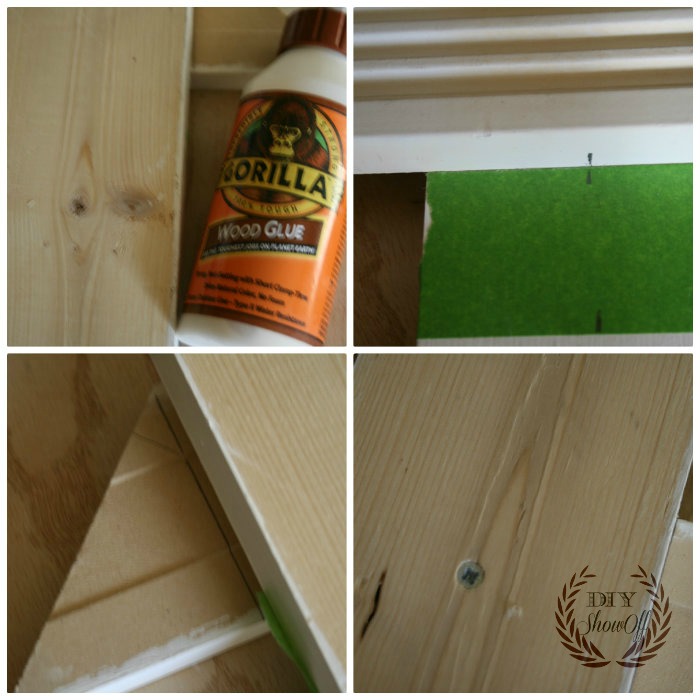
I placed pieces on my 1×3.5 to get an idea of where things would go. I often use FrogTape as a measuring tool and in this case, I used it to evenly space my trim pieces by using them as a guide between trim pieces. I used the 1.88 in. width. I also left a small space above the “top” trim piece to allow room for gluing on a star.

DIY Christmas Card Holder

I measured my trim to fit the 1×3.5 piece for the top of my “tree”.

DIY Christmas Card Holder

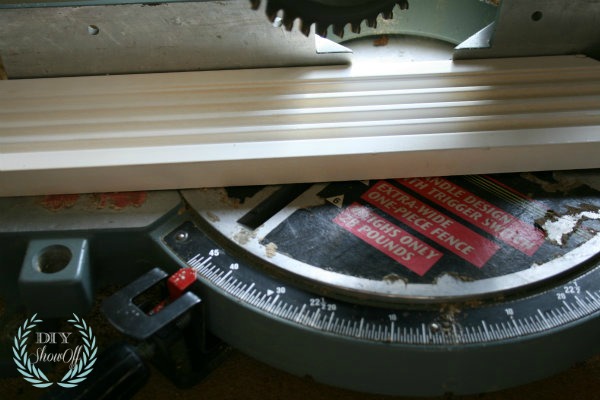
I cut my pieces at a 45 degree angle.

DIY Christmas Card Holder

And lined up each piece for cutting…

DIY Christmas Card Holder

and cut each piece at a 45 degree angle.

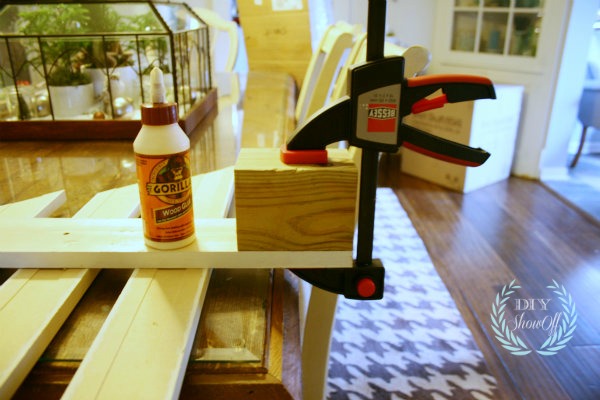
All pieces are glued using Gorilla Wood Glue and clamped as well as screwed into place.

DIY Christmas Card Holder

The 4×4 was glued and clamped  to the bottom {back} and serves to make the Christmas card display free standing.

DIY Christmas Card Holder

Everything got a coat of milk paint (General Finishes “basil”) and glaze with a dry brush with a spritz of Krylon Glitter Blast. {front and back} FrogTape was used to keep the 4×4 block of wood from being painted (I considered staining the wood block but see instructions below for my change in plans).

I spray painted small clothes pins and a wooden star.

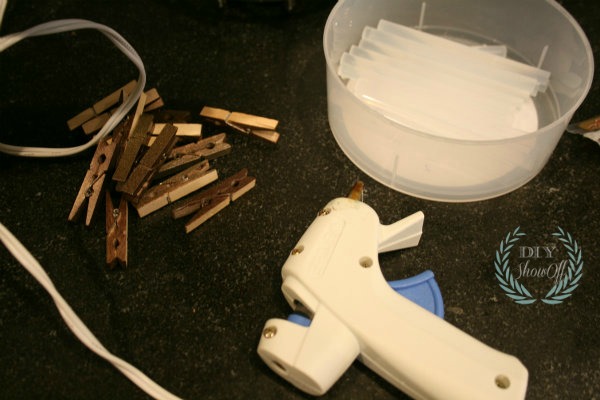
Next I hot glued the clothes pins into place, staggering so cards won’t overlap by too much when displayed {FrogTape containers are great for storing glue sticks and keeping craft supplies organized}…

DIY Christmas Card Holder

and the star on top.

DIY Christmas Card Holder

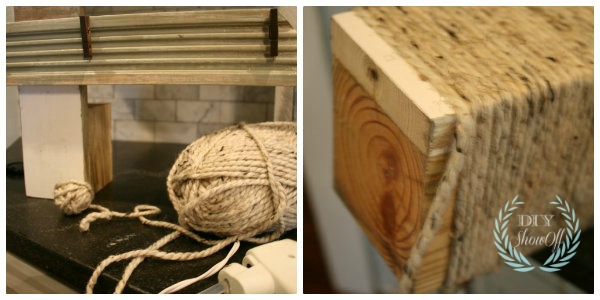
My plan was to wrap the base using jute twine. But I’ve misplaced it, so I used a pretty wool yarn I had on hand, securing with hot glue.

DIY Christmas Card Holder

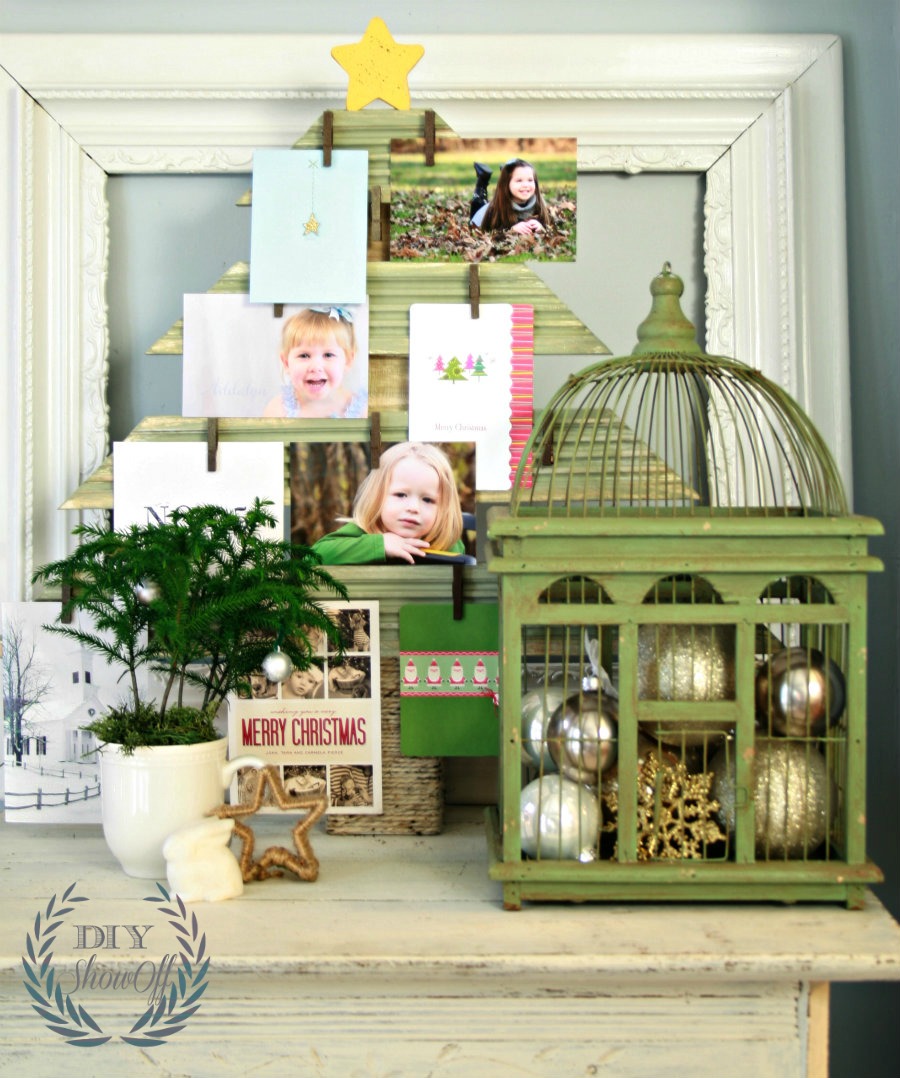
It’s such a cute way to display Christmas cards and pictures of my nieces and nephew:

DIY Christmas Card Display

a little Christmas card vignette display…

DIY Christmas Card Holder

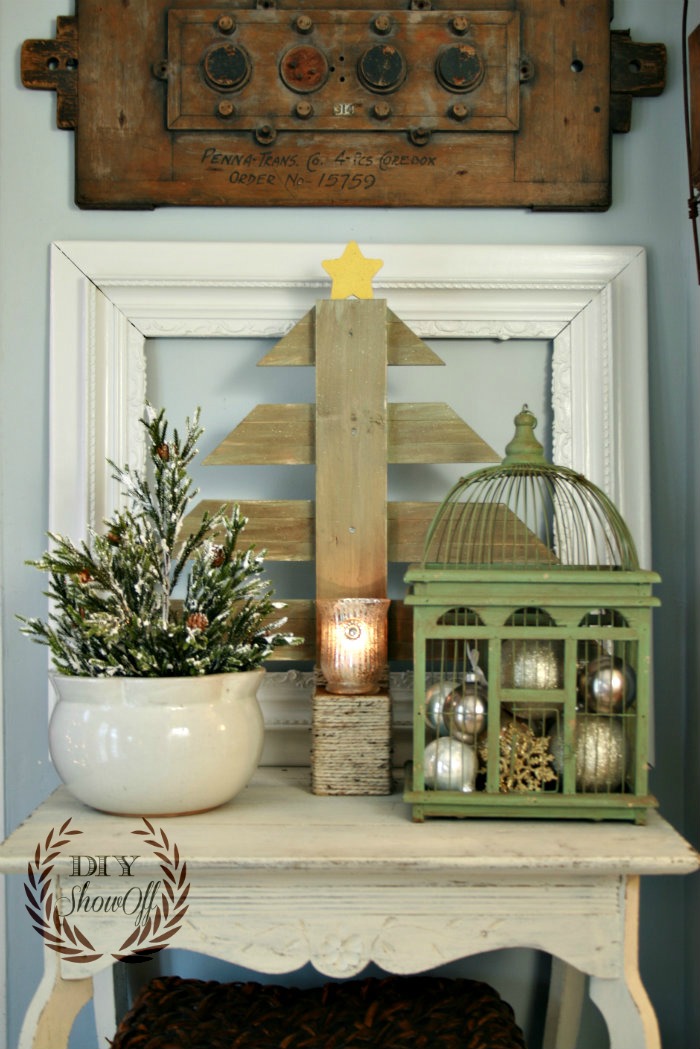
Doubles as a candle holder: When I don’t have anything to display, I can flip it to the back side, add a votive holder and candle…

DIY Christmas Card Holder

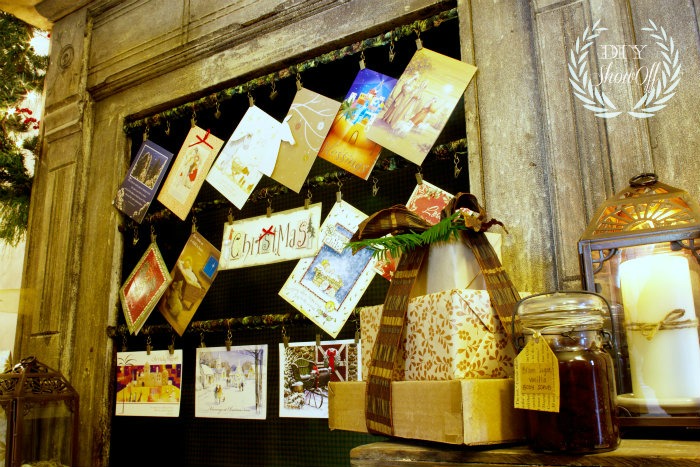
Quick and Easy DIY Christmas card/photo display: Our other Christmas card/photo display is a tension rod. I simply sewed a sleeve, added curtain rings with clips. It’s been displayed in our window frame, on a small book case and in a (non working) fireplace opening. Here’s a picture from last year:

DIY Christmas Card Holder

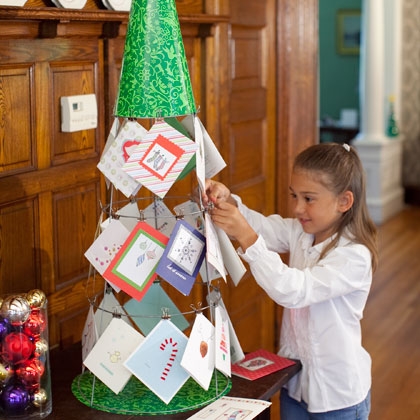
I love this idea from Family Fun too – a tomato cage Christmas card holder…

tomato cage Christmas card holder

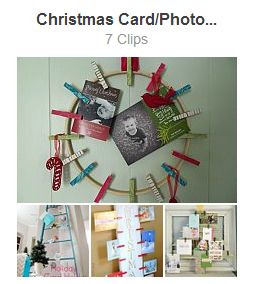
for more creative ideas, see my HomeTalk Christmas Card Display clipboard

HomeTalk christmas card photo display clipboard

Which do you prefer? How do you display your Christmas cards? If you have a do-it-yourself Christmas card holder, feel free to leave a link in the comments {and I’ll add you to my HomeTalk clipboard}. 🙂
Sharing here:

Home Stories A2Z

*This is a sponsored post brought to you by FrogTape. The opinions are completely my own based on my experience. Results may vary. 

FrogTape Blog Squad

Halloween Crafts from Lilacs & Longhorns

Hi everyone, my name is Julie and I write a little ol’ blog called, ”

I am so excited to be guest posting here for Roeshel at the DIY Showoff!

Thanks to my kiddos, I’ve got Halloween on the brain, so today I’m going to show you how to decorate for Halloween the DIY and thrifty way.

Here are my super simple projects:

Quick Craft #1 – Spooky Skulls

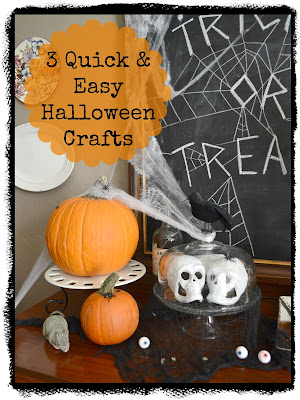
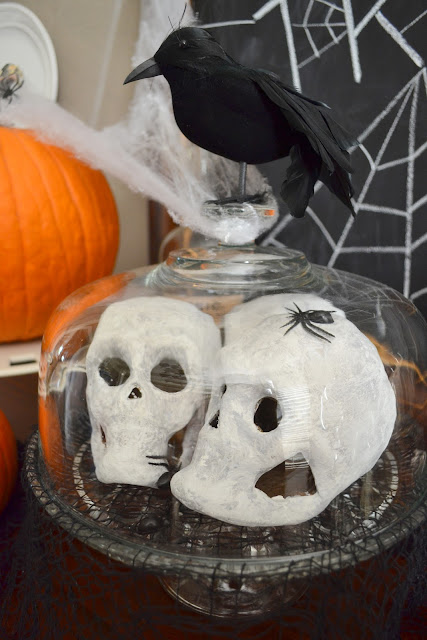
We love crafting at our house so I like to get my kids involved whenever I can.  We made the cute little paper mache skulls you see on the cake plate above.  They were so easy and inexpensive!

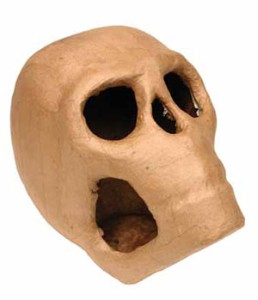
I bought little brown paper mache skulls from Michaels for about 99 cents each.

Then we used white, grey and black craft paint here and there all over the skull — we painted rather sloppily to create an old and aged look.  I don’t have pictures of the actual technique, but trust me, there isn’t much of one — my kids did this!!
If we were to do it over again I would probably add a little brown or yellow to make it look even more aged and not so white, but they still look good, I think.
When we were done, they looked like this.  This only took us less than 20 minutes and it was easy and fun for my kids.

When they dried, I put them on this glass cake stand surrounded by spooky rats, crows, plastic spiders and spider webs all purchased at the Dollar Tree.

My kids love it!

Quick Craft #2 – Poison Bottle

This craft is even easier and it only takes a few minutes.

I found this cute little  for free (I am in love with free printables!)

I feel almost silly telling you how to do this it’s so easy!  I printed the label from The Graphics Fairy, cut it out and used Mod Podge to glue it to an old wine bottle I saved.  The end.

I think it looks so great and fun!

Quick Craft #3:

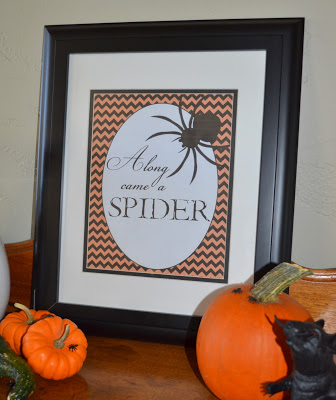
Finally, my other easy peasy project is another printable.  If you’ve been browsing blogs for awhile, you’ll know there are a lot of great freebies out there.  I found this one last year at The Diary of Dave’s Wife.

Halloween spider printable

I printed the sign out in high resolution and then put it into a frame I already had. Easy and free!

(Probably can’t call this last one a “craft”…”project” maybe?!)

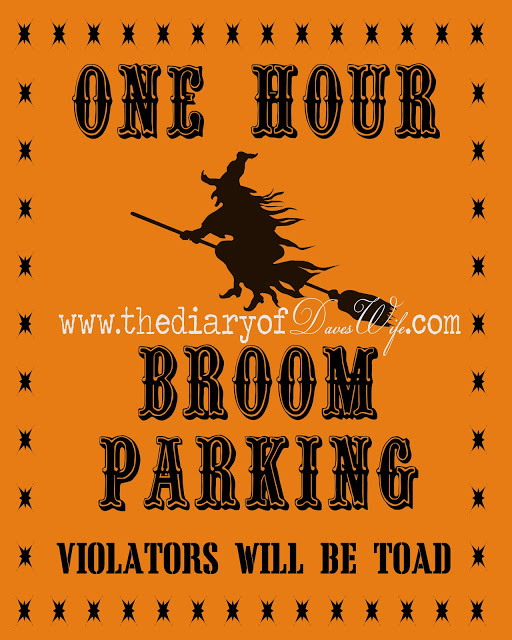
By the way, she’s got another cute printable available this year…isn’t it fun?!

broom parking free printable


Really, there are so many great resources on the web that you can find just about anything that suits
your tastes.  I personally love free printables and am currently compiling a big list of them to be
posted on my blog soon.

I hope you’ve enjoyed my quick and fun little Halloween projects today.  It’s been fun being a guest DIY Show Off and I’m grateful you’ve taken the time to read my post!

Please stop by and see me sometime at Lilacs
and Longhorns
— I love new visitors!

Thanks so much to Julie for sharing her fun Halloween DIY! Super cute! Head over to Lilacs & Longhorns to see more awesome projects from Julie and check out her Fall Favorites Friday feature (so inspiring!).