DIY Holiday Highlights Party #2

HAPPY THANKSGIVING!

I’m a few days early for Thanksgiving and hosting the party a day early, but with having a busy week, I wanted to tell you…I’m thankful for you. Thank you for your visit, sharing your DIY, your support and encouragement. I am so blessed by your friendship.

I’ve never been the type to have my Christmas shopping done in August. In fact, because my youngest daughter’s birthday is always the same week as Thanksgiving, I’ve never really planned for Christmas until after we’ve celebrated her birthday and had Thanksgiving dinner. So, I also don’t decorate until the weekend after Thanksgiving {this weekend!}. However, I will share my first DIY Christmas decor project on Friday!

There were some beautiful inspiring Christmas related links last week. Here are a few WHITE CHRISTMAS favorites…

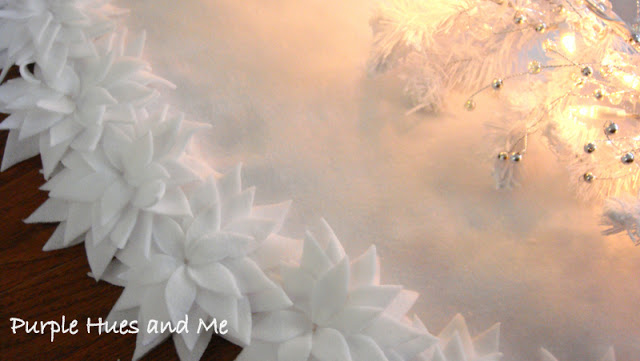
I am so in love with Gail’s stunning DIY white poinsettia tree skirt. She shares her great tutorial at Purple Hues and me. I can’t wait to make one. Isn’t it gorgeous?  

DIY White Poinsettia Tree Skirt - Purple Hues and Me

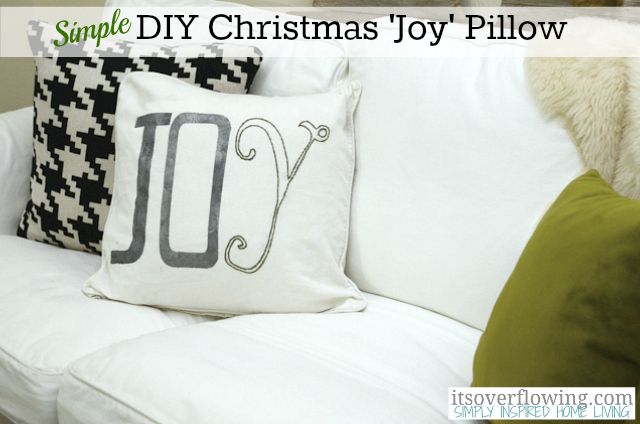
Aimee from It’s Overflowing is super woman. This girl always has something amazing to share. I love her simple DIY Christmas JOY pillow tutorial {with link to the free printable monogram fonts}. How-to-Make-a-Christmas-Joy-Pillow-ItsOverflowing
My Christmas centerpiece used faux snow in a glass hurricane and I’m loving the DIY Christmas Tree Jars and Snowy Luminaries from Val at Hand Made Modern. DIY time is about 1 hour…perfect quick, easy, cute!

christmas tree jars - Home Made Modern

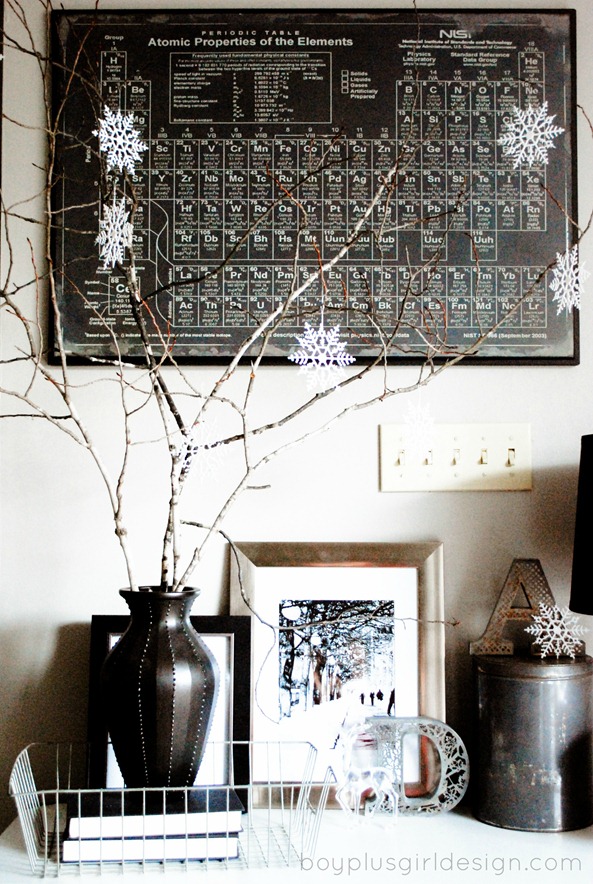
Diana from Boy + Girl Design shares a peek of her winter decorating but nothing chilly about it. Simple. Pretty.

Winter-Decorations Boy+Girl Design

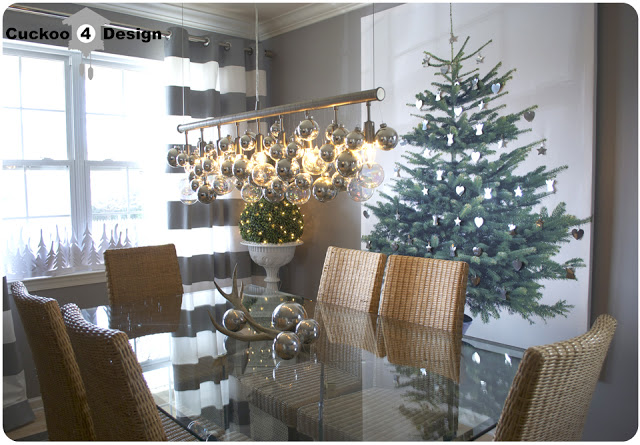
How about a big white canvas with a Christmas tree? Julia from Cuckoo 4 Design shares her Christmas tree canvas (Ikea Margareta fabric). She stretched/mounted the canvas and added some ornaments. What a great idea! It’d be perfect for an apartment. I love that it doesn’t take up any floor space and it’s a beautiful HUGE focal point in her gorgeous dining room. While you’re there, check out her decorated chandelier. SO pretty!

Ikea Margareta Cellua Christmas - Cuckoo 4 Design

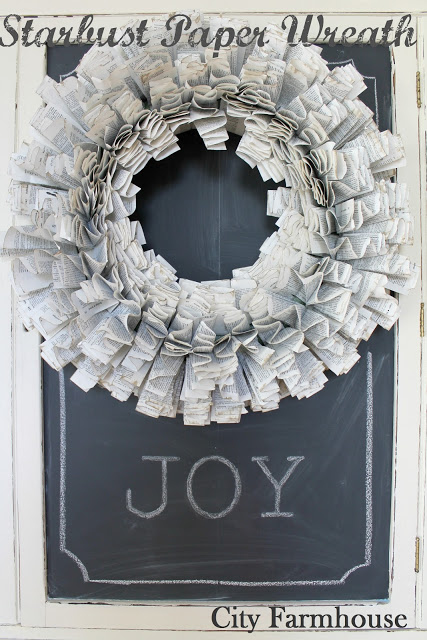
Book page wreaths…swoon. I have yet to make one but I’m really loving the one Jen from City Farmhouse put together and she shares her instructions to put together a beautiful paper starburst wreath. I spied some double sided wrapping paper at Sam’s club. How pretty would that be too?!

DIY starburst paper wreath - City Farmhouse

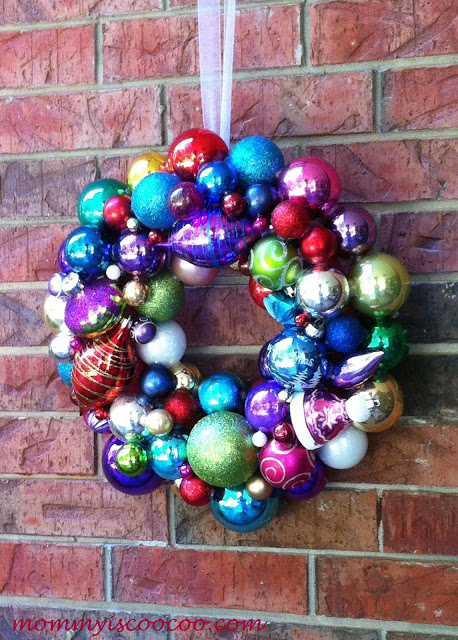
VIBRANT FESTIVE COLOR! Amanda from Mommy Is CooCoo is giving away one of her beautiful DIY ornament wreaths. I won last year and I have to tell you – it’s gorgeous! You’ll be seeing it in my Christmas decorating this year.

ORNAMENT WREATH GIVEAWAY

Christmas ornament wreath giveaway at Mommy is Coocoo


  • Link YOUR NEW Holiday DIY projects only please! If linking an old project, please reintroduce in a 2012 post to share.
  • Please link back to this party in some way {permalink or the grab the button html from the side bar}.
  • By linking up you give permission to be a favorite holiday feature {with a link back your site}.
  • I will share links to your post on Facebook, Twitter, G+ and Pinterest. Feel free to do the same! Thanks!


Have you entered to win a Silhouette? Details here.

Silhouette Portrait giveaway

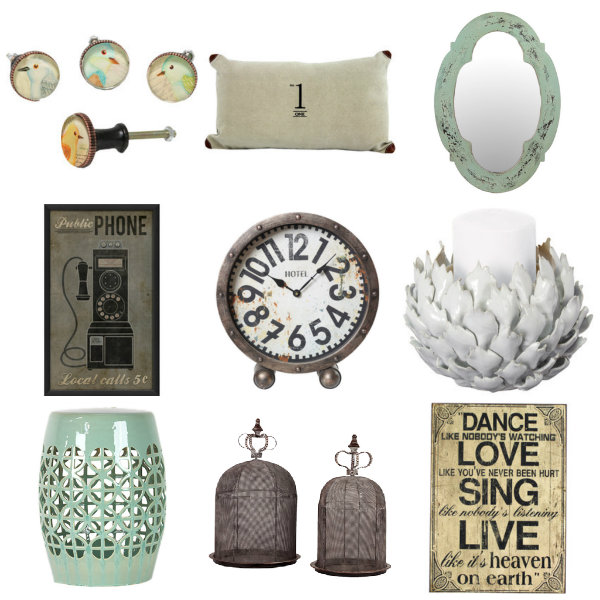
Starting your holiday shopping or creating your wish list? I thought you might like to see the great items being offered for sale exclusively on Joss and Main. Access is restricted to members only but the sales are awesome and you can earn money on referrals! More details at Joss & Main.

Joss & Main wish list

DIY Styrofoam Wood Chip Tree Tutorial

Wood Chip Tree Tutorial


Materials:

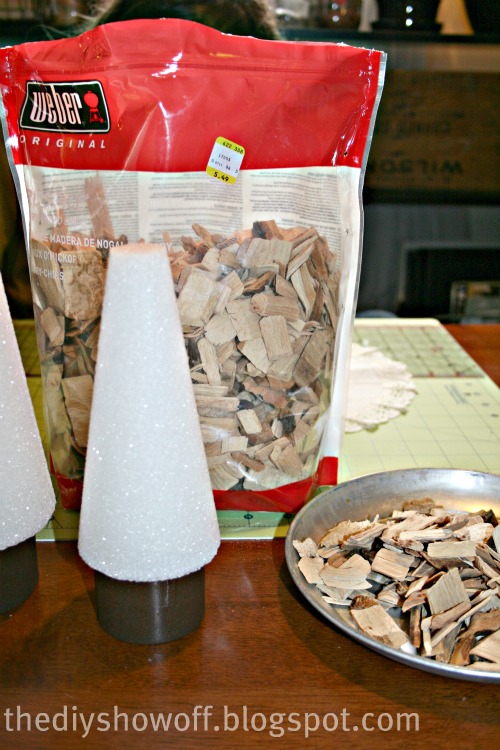
  • 2 Styrofoam Cones, two different sizes
  • Hot Glue
  • Wood Chips (Grilling section at True Value)
  • PVC pipe fittings, 2 different sizes
  • Krylon Fusion for Plastic spray paint (sparkly brown)
  • Paint, stain or dye
  • Small Star (holiday pick from craft store)
Tutorial:

1. Spray PVC pipe fittings. Let dry.

2. Attach pipe fittings to bottom of styrofoam cones with hot glue.

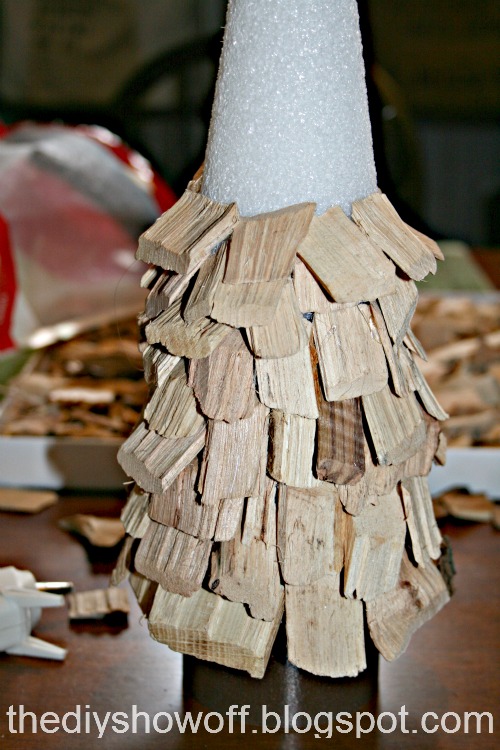
3. Using hot glue and starting at the bottom, glue wood chips around the Styrofoam cone.


4. Continue working upwards in layers.  Find the right pieces is like putting together a puzzle. I liked using pieces with bark for texture.

 
Note:  The Weber wood chips were cut on an angle. Gluing the angle and attaching to the cone, made the chip stand out a little.
 
Note: Thin wood chips can be snapped which is helpful for placing on curved surface.
 
5. Paint or stain the wood chips and let dry.


6. Add star to top by poking wire into Styrofoam or secure with hot glue. Embellish if desired.


My inspiration was the West Elm seagrass tree but due to a shortage of sea grass in western PA, mine turned out different but not in a bad way…


Simple. Pretty. Natural.


*~*~*~*~*~*~*~*~*~*~*~*~*~*~*~*~*~*~*~
 
I was one of the bloggers selected by True Value to work on the DIY Squad. I have been compensated for my time commitment to the program as well as my writing about my experience. I have also been compensated for the materials needed for my DIY project. However, my opinions are entirely my own and I have not been paid to publish positive comments.
~*~*~*~*~


Funky Junk's Sat Nite Special

DIY Project Parade and DIY Holiday Centerpieces

I was going back through previous Holiday Highlights parties and wanted to bring my centerpiece from 2009 back to life for those of you who might be new because I still love this simple DIY centerpiece…


I wanted a rustic/natural looking winter centerpiece for my new barn wood trestle table.

Materials are mostly things I already had:
  • Pine Wreath or pine clippings (I use a faux wreath and add real pine cuttings)
  • Candle
  • Glass vase or mason jar
  • Faux snow (the only thing I purchased but you could use epsom salts too)
  • Optional:  ornaments

I put together a centerpiece that turned out to be exactly what I was looking for.


To give the centerpiece a little more Christmas spirit. I added some ornaments and a mix of pine and juniper clippings to fill the room with a Christmas-pine scent. 🙂 Lots of pictures. I just love it.

1.


I‘m thinking of doing this again this year. I love the simplicity and natural elements. 

But I love 2. last year’s antique chicken feeder centerpiece too utilizing pine cuttings, candles, pinecones and an antique chicken feeder…(but it does serve a new purpose as a cook book library shelf).
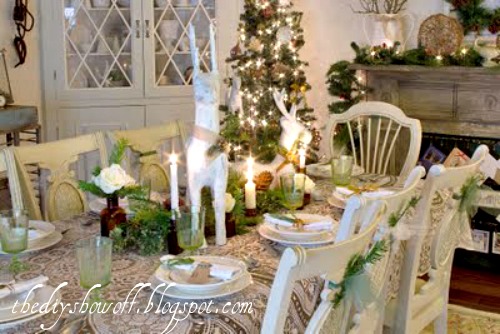
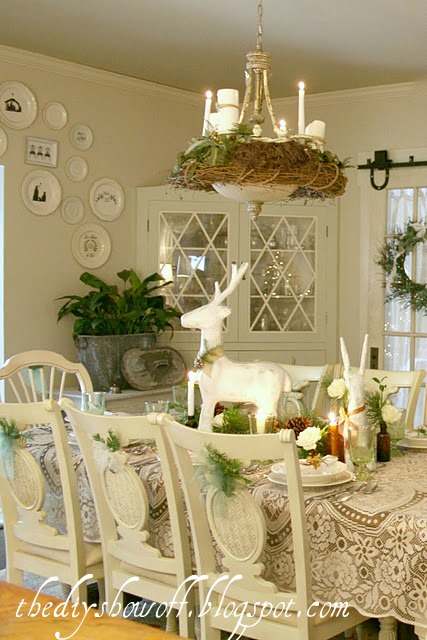
3. There’s also this creation from earlier this year when my Christmas centerpiece included reindeer on a bed of a mix of fresh/faux pines, candles and fresh roses in brown glass…

or 
4. Create something new!
What do you think?
Favorite DIY Centerpiece?

Let’s see what you’ve been up to!


The DIY Show Off

1. You must use the button above (ADD BUTTON HTML CODE FROM SIDE BAR TO YOUR POST) and link to this post to share the linky love. You post must be recent, shared at one DIY Project Parade only (not continuously) and be DIY related.

2.Include your name or blog name and project title. Add your permalink (not your blog url, but your DIY project post url). Feel free to link a Past Post, just invite your readers in a current post with a quick note.

3.Or email your link to thediyshowoff@gmail.com and I will add it for you.

4.If you notice your link has disappeared -please add the link back to The DIY Show Off to your post today, a button or a quick note to your readers about the party and try again! I love when everyone participates and readers check out everyone’s links, but I think the return favor of linking back is the nice thing to do so everyone plays fair and enjoys all of the projects and links. Also – this blog party is for DIY projects only. Links not related to DIY will be deleted. Please share your link one week only. 

5.  If reading this in an email, pop over to http://thediyshowoff.blogspot.com to see the inspiring DIY projects linked up!

6. If you have a Holiday link to share, feel free to link up to here too!

7.  NOW you can “like” the links!  What a fun idea!  Most liked links may be included in a post of DIY Project Parade highlights later in the week.

8.  Visit a few other links to make some new friends, get some creative ideas and feel free to leave me a comment. I’m likely sitting here on the computer and could use a happy distraction! 


Pin It

Joining the party here:

Songbird & Cottage Magpie

christmas-linky-parade-button-songbird