DIY Tomato Cage Christmas Tree

Bringing back an oldie but goody.
{scroll down to see all 4 of my Christmas trees}
A couple of years ago, I made a lighted tomato cage tree – a DIY Christmas tree using lighted garland and a tomato cage. I was able to find everything I needed at my local True Value Hardware.
DIY Tomato Cage Christmas tree
Materials: 
  • Tomato cage.  Ask a store associate.  They should have them in the warehouse/storeroom since it’s not garden season.I got the largest they had.
  • 3 – 9ft. lighted garland
  • Thick rubber band
To make the tree:
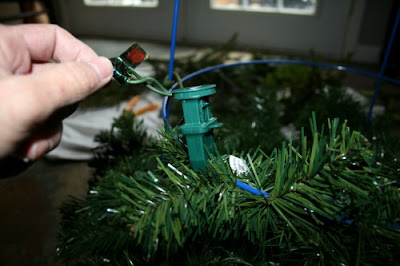
Using a rubber band, gather the “stakes” to make a tee-pee top and secure together (sorry for the bad picture! I didn’t check it before going to the next step…too late now!).
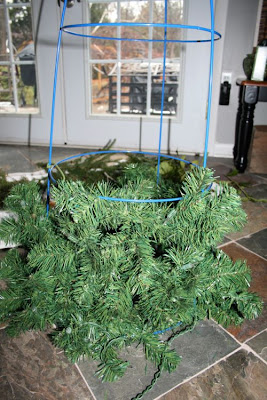
Starting at the bottom (with the plug end of the garland), start to wrap the bottom wire circle with the garland. Wrap a few branches here and there around the wire frame to secure.
Working around the frame, continue wrapping.
When one garland ends, plug in another and continue wrapping to the top.
Fluff.  If there are gaps, fill in by twisting branches around the frame or fluff branches to fill ‘holes’.
All done! We don’t have a live tree and I love the smell of pine. So I headed out to the backyard and clipped small pieces of different real pine.
Just tuck them in open areas for a fuller ‘real’ look with pine scent! (Mine are only tucked but you can use floral wire to make things more secure if needed.) I do this closer to the holiday since there’s no way to water the fresh sprigs or add only when entertaining.
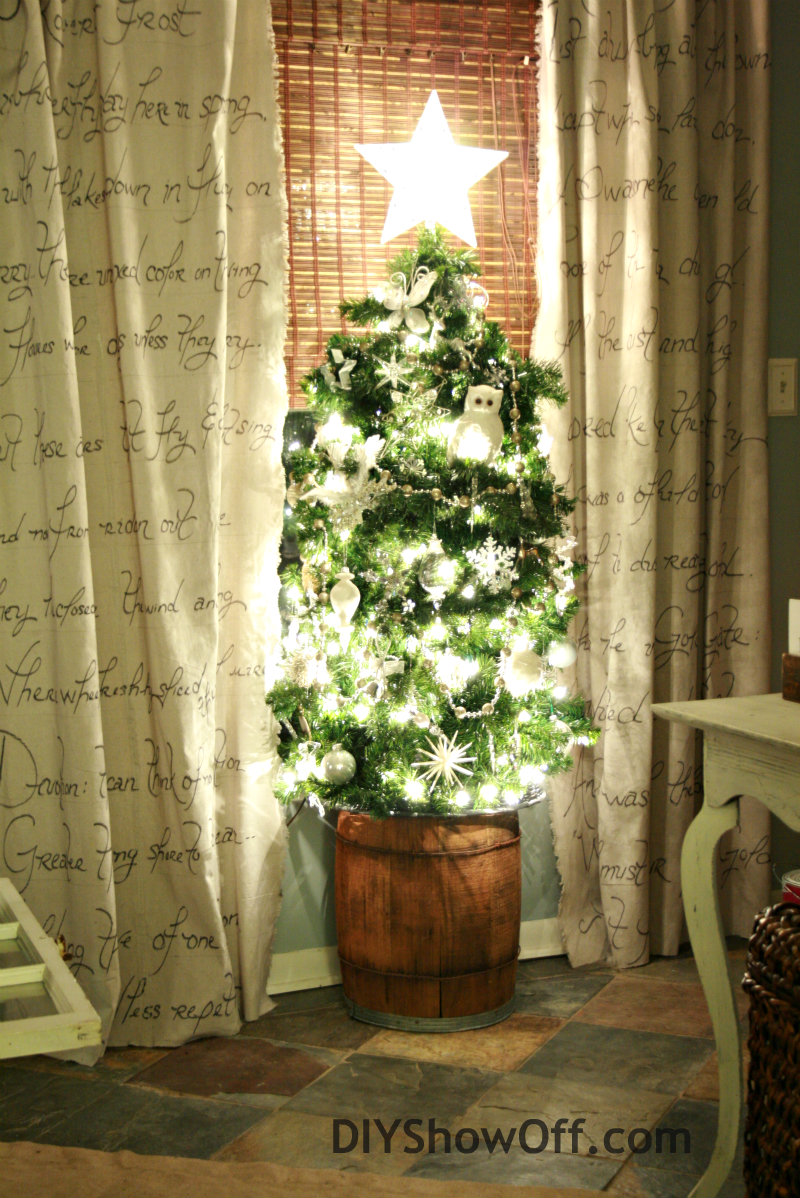
Need more height?  {This year I used an old small barrel}
DIY tomato cage Christmas tree tutorial
Or this also works great for a base:
  • 5 gallon bucket
  • fabric
  • large rubber band
Take the handle off of the bucket.
Stretch a rubber band around the top of the bucket.
Sit bucket in the center of a piece of fabric and tuck under the rubber band.
It’ll look like this:
 Add a round tray (aluminum cookie tray or rattan works) and it’s the perfect base to add height to your tomato cage tree.  If you have an out of the way spot, it can just rest on top. Otherwise attach with wire into the holes were the handles were removed.
You could also paint the bucket instead and fill with stones for weight to use outdoors.  The base was a little to high for my purposes so I didn’t end up using it…oops!
My tomato cage Christmas tree in 2010:
 This year…
 DIY tomato cage Christmas tree tutorial
Have you assembled your own tomato cage Christmas tree? They’re beautiful for outdoor entryways too!
3 more OF MY CHRISTMAS TREES
 colorful eclectic Christmas
DIYShowOff Christmas Tree
{tips for decorating your Christmas tree – can you tell lights are strung vertically? I create a faux root ball to give our 7.5′ tree another foot of height.}
vintage natural Christmas

For even MORE Christmas tree inspiration…

Christmas Tree Contestimage

We were chosen by True Value to be one of the members of the 2012 DIY Squad. I have been compensated for the materials needed for my DIY projects. However, the thoughts and opinions expressed are completely honest and my own. I have not been paid to publish positive comments and no one has twisted my arm to participate. 


Facebook
DIY Show Off - FacebookDIY Show Off - TwitterDIY Show Off - PinterestDIY Show Off - FeedDIY Show Off - HomeTalkDIY Show Off - G+

DIY Holiday Highlights #3

“It’s the most wonderful time of the year…”

I love Christmas carols! Happy half way through the week! How was your Thanksgiving? I hope it was filled with love, family, friends, many blessings, special memories and lots of food!


Once my daughter’s birthday and Thanksgiving are complete, I get into full Christmas spirit mode! Scene: Furniture has been re-arranged to make way for the Christmas tree. Boxes are piled in the dining room, living room and family room spilling decorations, ornaments and lights. Christmas music fills the air. There are even snow flurries here in western PA. Most of my DIY and decorating posts for the next couple of weeks will include Christmas projects, crafts, do-it-yourself and holiday features.

I’m currently finishing up decorating the dining room. I love that it’s a little more um…Natural? Cottage? Farmhouse? Rustic? lol…you’ll soon see.

I got our main tree up over the weekend. I shared some tips for decorating a Christmas tree the other day including stringing lights vertically, giving an artificial tree height, my favorite Christmas scent, etc. To create a fuller tree, I love using silk poinsettias and glittery leaves before adding ornaments.

decorating a Christmas tree

Our living room is more traditional, so our tree is decorated in golds and dark reds.

DIYShowOff Christmas TreeBut the family room is going to be non-traditional colors for Christmas. Merry and bright, right?!

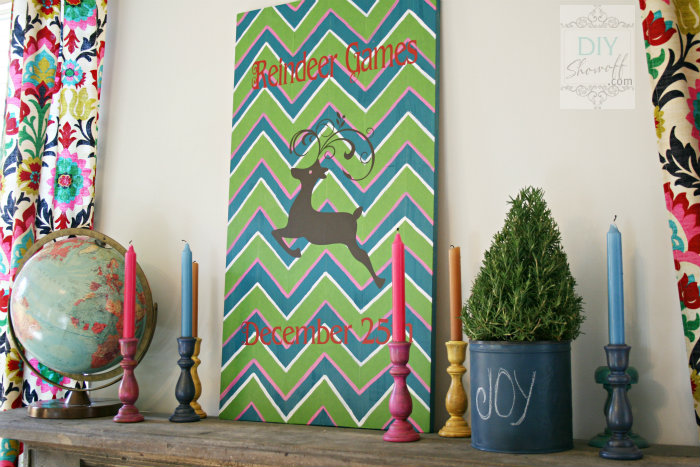
Reindeer Games mantel

Last week, I shared a DIY reindeer games sign tutorial with a chevron pattern for a family room that I’ve never decorated in the 7 Christmases we’ve spent in this house. I’m so excited! I still have projects to complete that I haven’t started for the family room but for now, it’s at least functioning as a family room and is “decorate-able”! AND it’s a mix of eclectic and fun colors coordinating with the beautiful curtains I’m sewing…{more information coming}.

VIBRANT FESTIVE COLOR! Amanda from Mommy Is CooCoo is giving away one of her beautiful DIY ornament wreaths. I won the one shown last year and I have to tell you – it’s gorgeous! Just a few days left to enter to win!

ORNAMENT WREATH GIVEAWAY

Christmas ornament wreath

I know you have some holiday posts to share and I can’t wait! And if not, then take a look at the links for some inspiration!

Make sure to visit a few of the links to make some new friends for the holidays. Comments, pinning and sharing links this time of year are one of the best blog gifts!


  • Link YOUR NEW Holiday DIY projects only please! If linking an old project, please reintroduce in a 2012 post to share.
  • Please link back to this party in some way {permalink or the grab the button html from the side bar}.
  • By linking up you give permission to be a favorite holiday feature {with a link back your site}.
  • I will share links to your post on Facebook, Twitter, G+ and Pinterest. Feel free to do the same! Thanks!


News:

1. Have you entered the $100 True Value gift card giveaway? A $100 shopping spree for holiday decorations, home improvements, DIY materials, paint, tools or give it as a gift!

2. There’s still time to get the Black Friday specials at Silhouette (through Friday 11/30). Use promo code SHOWOFF to get great deals!

6 Tips for decorating a Christmas tree {DIY Project Parade}

Decorating the Christmas Tree

This is the weekend that we {I} decorate for Christmas! Yesterday and today {probably tomorrow too}, Christmas decorations have exploded in the living room, family room and dining room. There are boxes everywhere. Is it like that for you too? {I apologize for the poor quality pics…but it wasn’t a priority. Not like getting great “after” decorating pictures will be!}
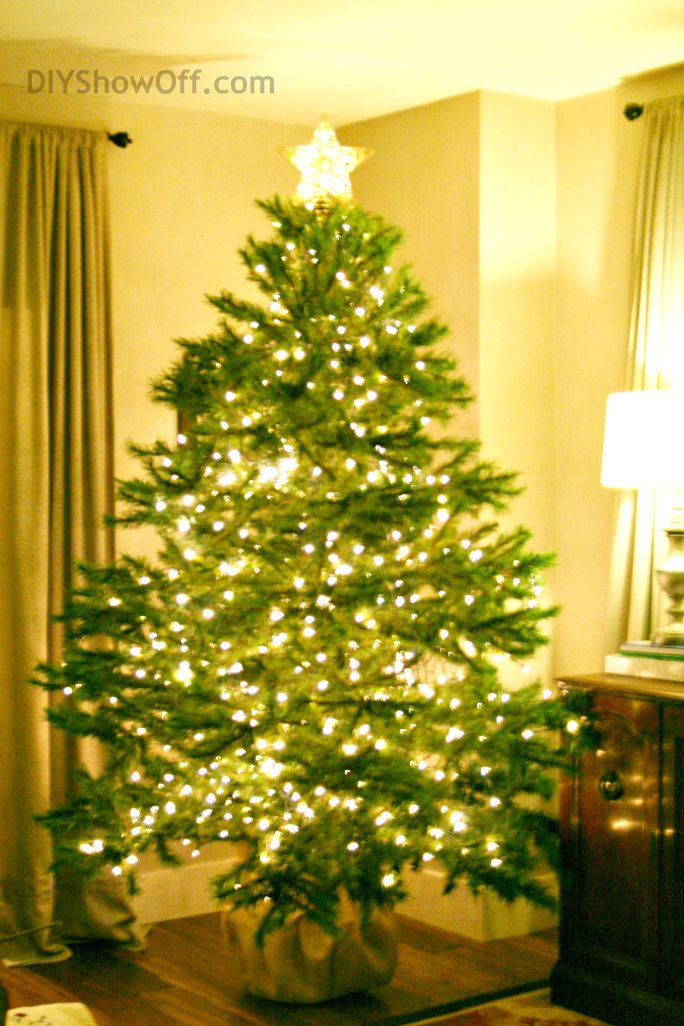
artificial Christmas tree decorating tips

Today I wanted to share a few tips for setting up and decorating an artificial tree, some that help make it look more ‘real’ and full. For our living room, we have a rather nice artificial tree. It’s always mistaken for being real but there are some things I do to make the best of having a fake tree:

Pine Scent

Tip #1: I do burn a Yankee Balsam and Cedar candle to create a real pine smell. Love it! Pretty pine scent without smelling like a pine tree car air freshener.
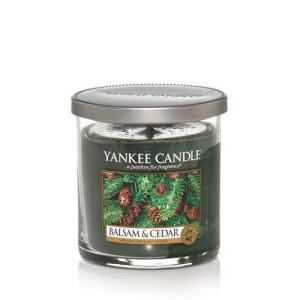
Yankee Balsam and Cedar candle

Faux Root Ball {and adding height}

Tip #2+3: Rather than a skirt for this tree (our main one where Santa leaves the gifts), we create a faux root ball and giving the tree more height. First, make sure you have room to lift your tree about a foot higher! I set a galvanized tub in the center of a circle of burlap. We add weights to the tub {25 lbs.}. Then I set the stand of our tree onto the tub. I use twist ties to secure two of the feet of the stand to the handles of the tub. I gather up the burlap and tie it around the tub and stand and secure with twine at the “trunk”.

directions: Christmas tree faux root ball

Pull the top of the burlap to make sure it’s over the tied twine. Fluff a little. Lots of room underneath as it lifts our 7.5′ tree about a foot higher. I love that about doing this too!
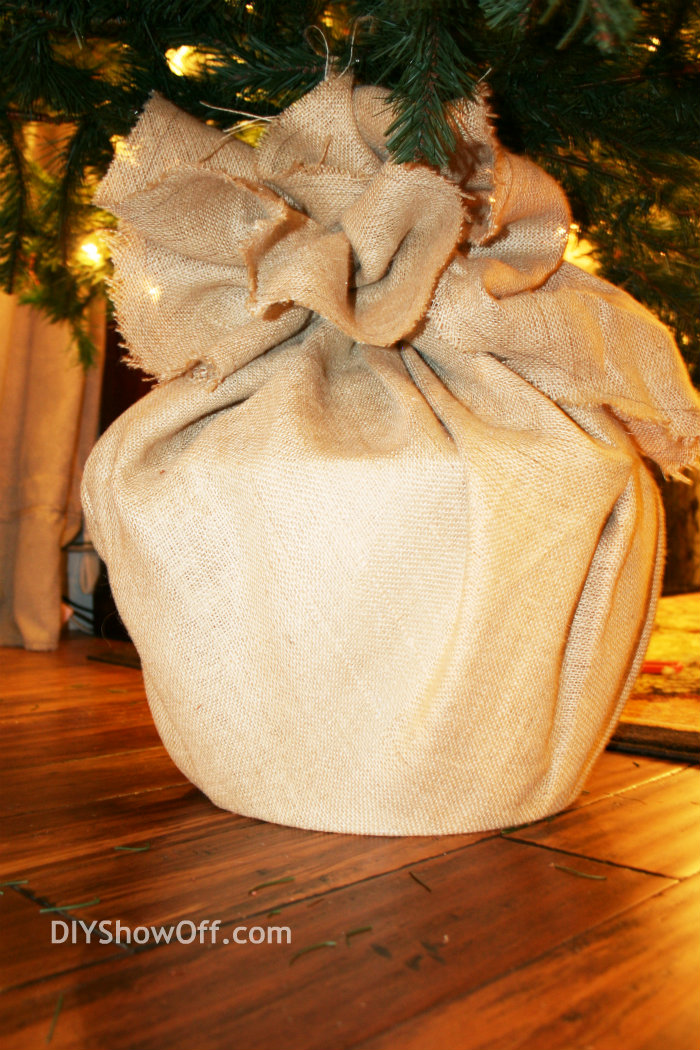
artificial Christmas tree faux root ball

Tip #4: I also use a 9 outlet Christmas tree extension cord. I like that the outlets are spaced along the extension cord. One plug into the wall outlet and an off/on switch for the Christmas lights. I found mine at True Value Hardware along with lots of lights and decorations!

Christmas tree extension cord

String lights vertically

Tip #5: I was surprised that not many Facebook fans knew this tip, so I’ll share here too: I add my lights to the tree vertically {up and down} rather than around. I can’t tell the difference and when the tree is in a corner like it is in our home, it’s a lot easier than trying to get around it’s width, pulling it out and pushing it back into the corner, moving a ladder all around while trying to “lasso” the tree with strings of lights.

Christmas tree with lights Filling in the tree

Tip #6: If your artificial tree isn’t as full as you’d like it to be, add faux pine garland or silk flower bunches to fill in the gaps {large faux poinsettias help to fill in space and look pretty too}. Even dollar store green garland pushed near the center of the tree will help hide seeing the “pole” through sparse branches. Try larger ornaments and use wide ribbon or tulle as a garland to help fill the empty spaces.

I only have the lights on at the time of writing this post but will share it all decorated soon. I do a traditional tree in our living room with red and gold. Dining room gets a more rustic decorated smaller tree and I can’t wait to do something fun in the family room this year {to go with our eclectic colorful decor}.

Sharing at Beth’s party:Home Stories A2Z

Now, let’s get this party started! Remember, there’s the DIY Show Off Holiday Highlights party every Wed., but you’re welcome to link up holiday related posts today as well.

DIY Show Off DIY Holiday Highlights

Show off your latest DIY project! I’ll be showing off your links all week, follow along:

DIY Show Off - FacebookDIY Show Off - TwitterDIY Show Off - Pinterest DIY Show Off - HomeTalkDIY Show Off - G+

DIY Show Off

{grab the html button code here}

1. Please use the button above or text and link to this post to share the linky love. Here is the link: https://diyshowoff.com/category/other/diy-project-parade/. I’d love for you to share a link on your FB or by tweeting too if you have the time. Thanks!

2. This blog linky party is for DIY projects only. Links not related to DIY will be deleted. Please share your link one week only.  Please do not link recipes, giveaways, linky parties, promotions or a collection of inspiration. 

3. By joining the party, you give permission for your project to be featured and ‘shown off’ via blog highlight, Twitter, Facebook, Pinterest, G+, etc.


Getting ready for Cyber Monday! How about you?

We were chosen by True Value to be one of the members of the 2012 DIY Squad. I have been compensated for the materials needed for my DIY projects. However, the thoughts and opinions expressed are completely honest and my own. I have not been paid to publish positive comments and no one has twisted my arm to participate.