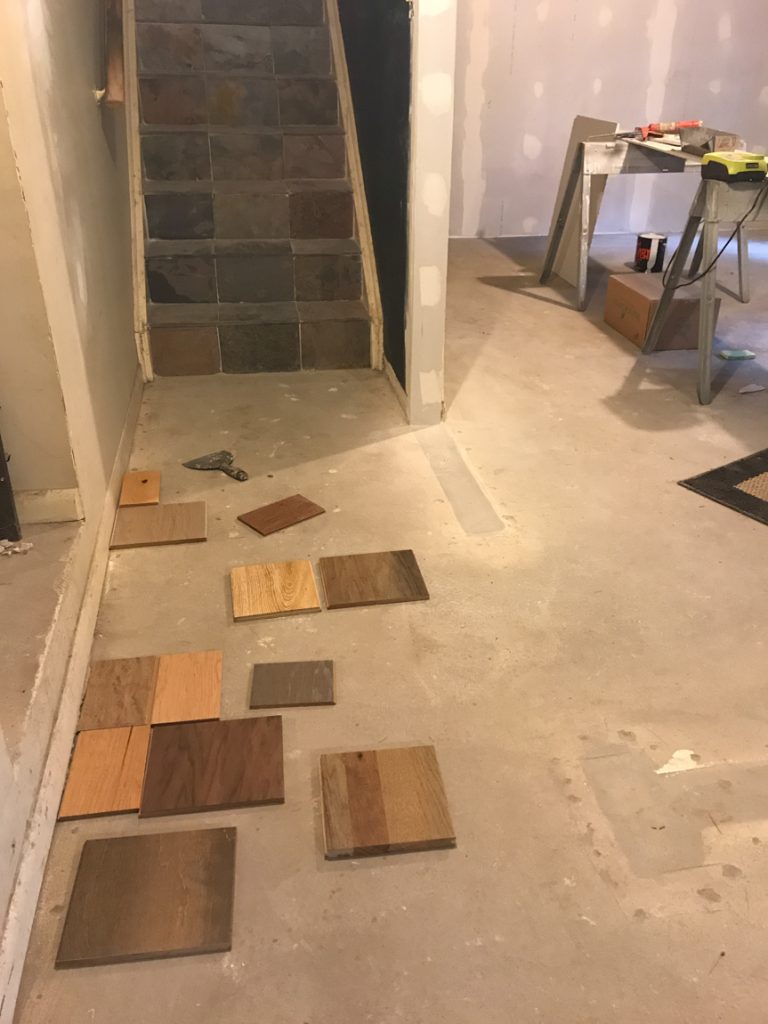
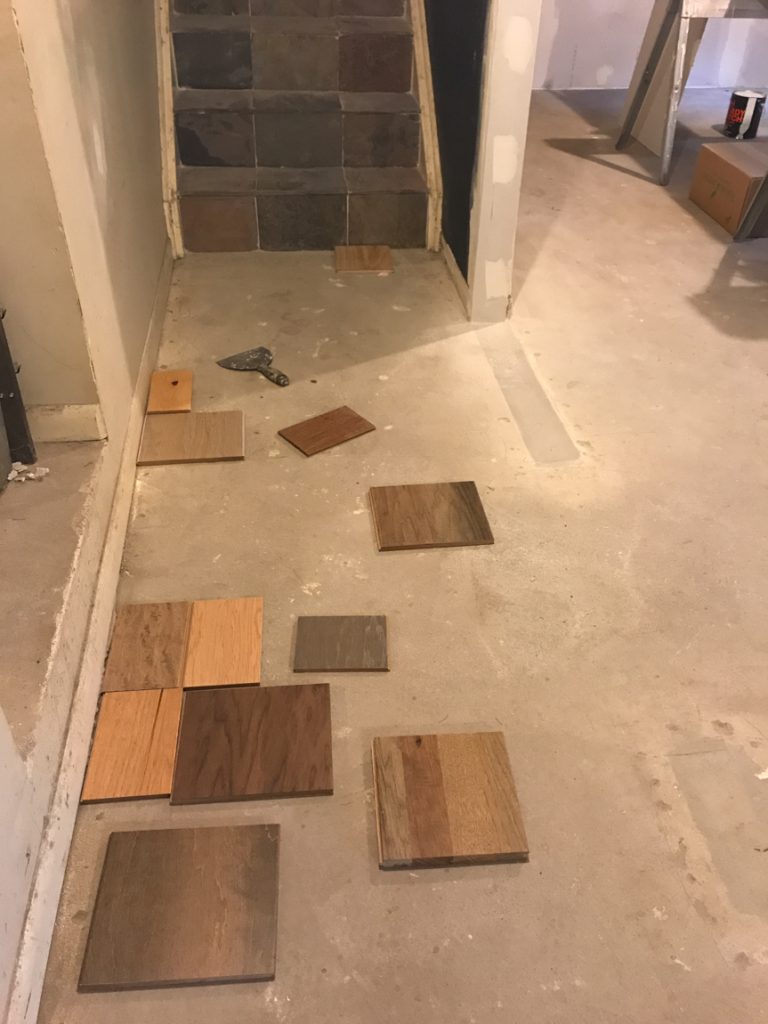
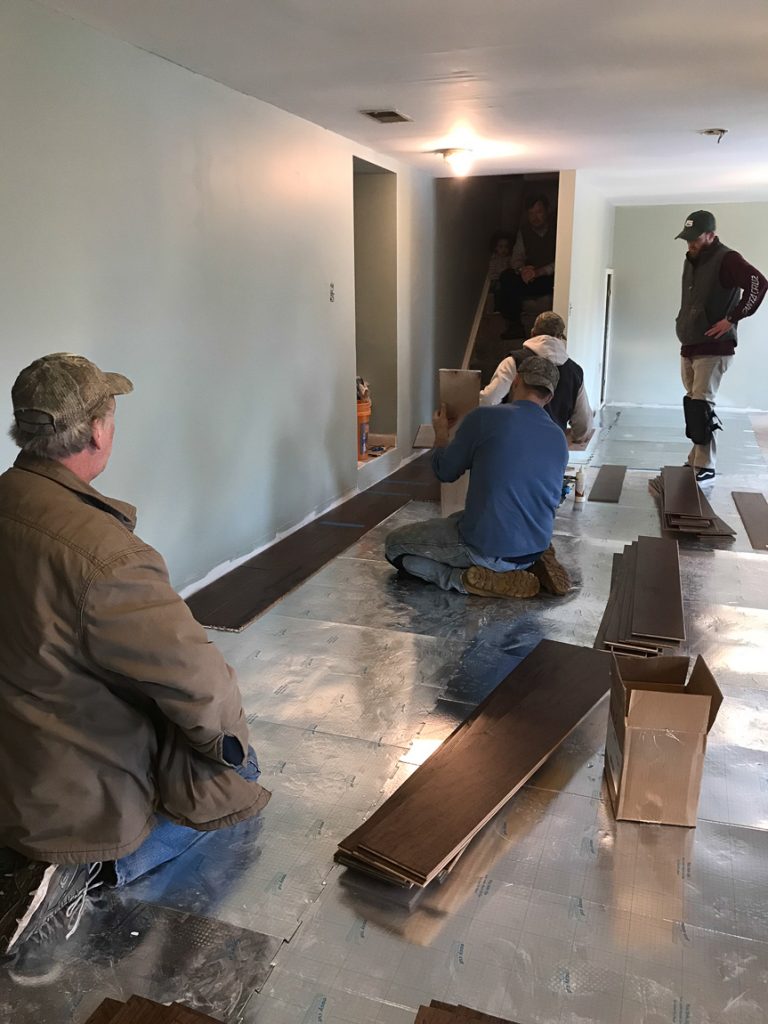
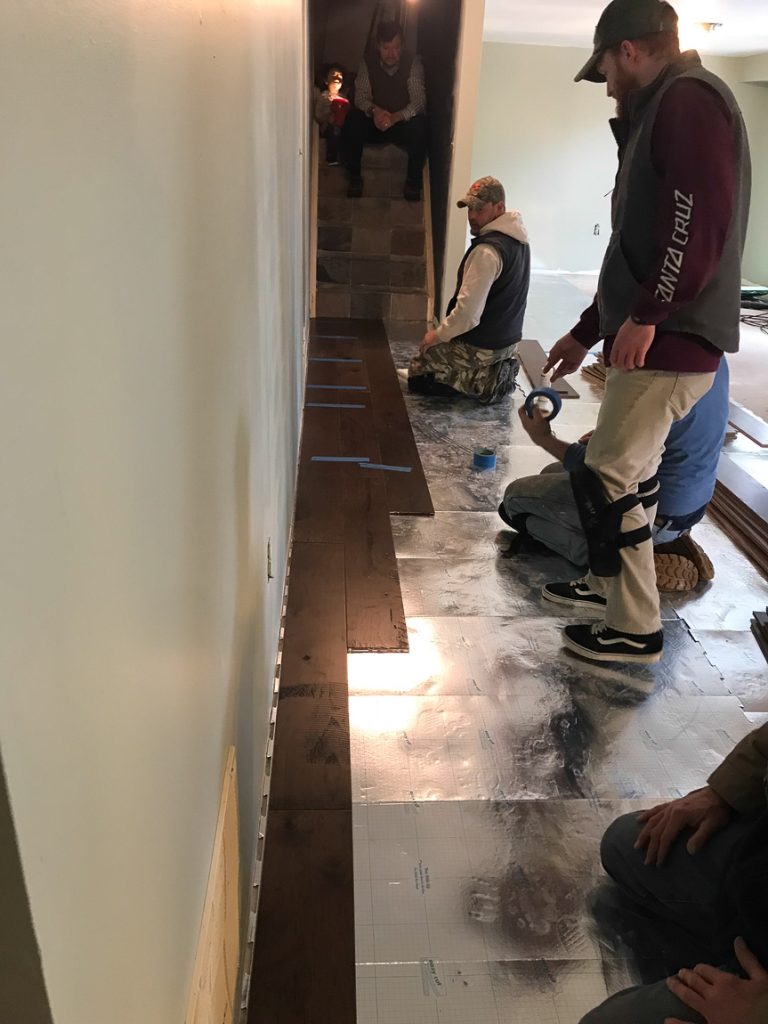
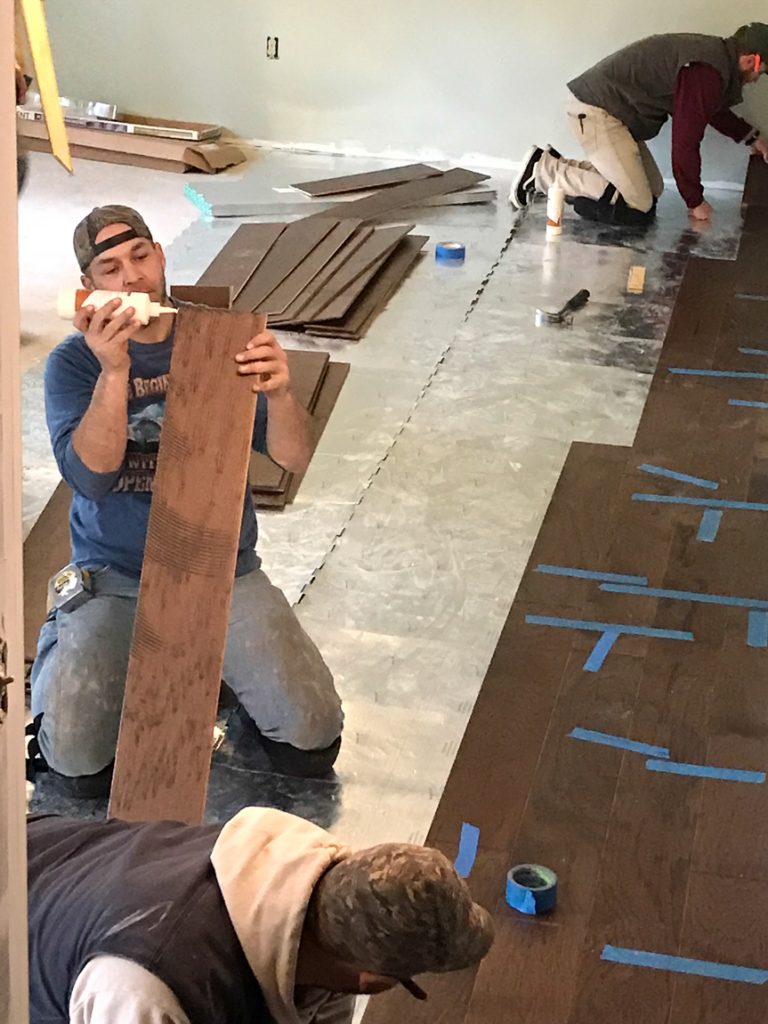
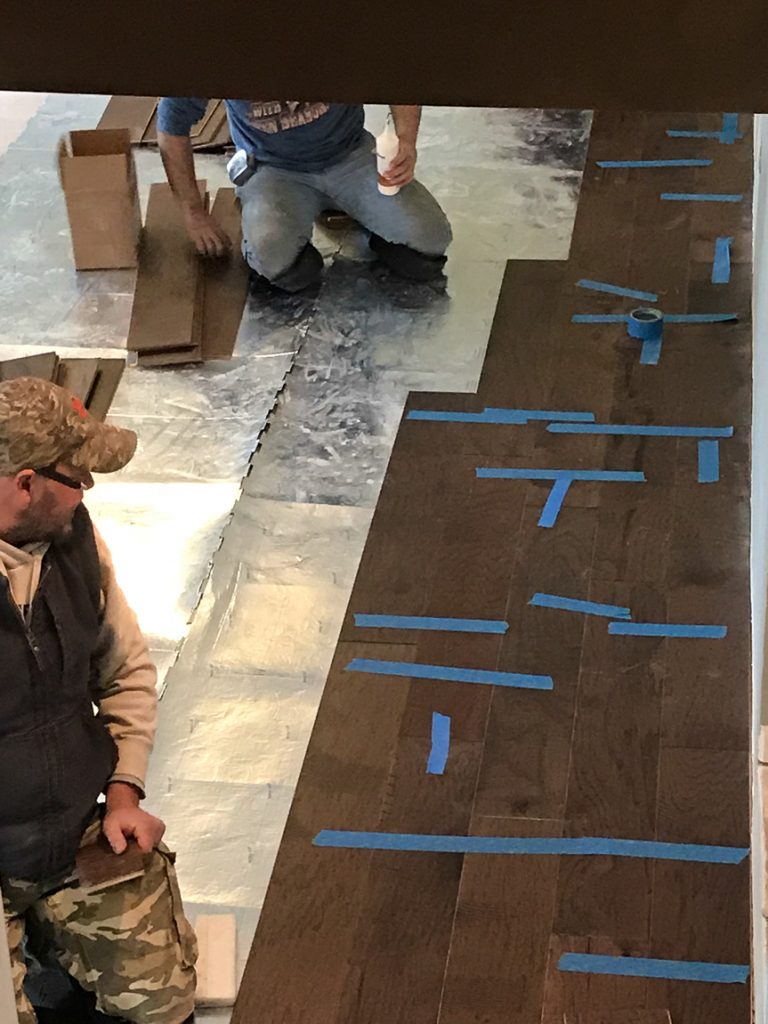
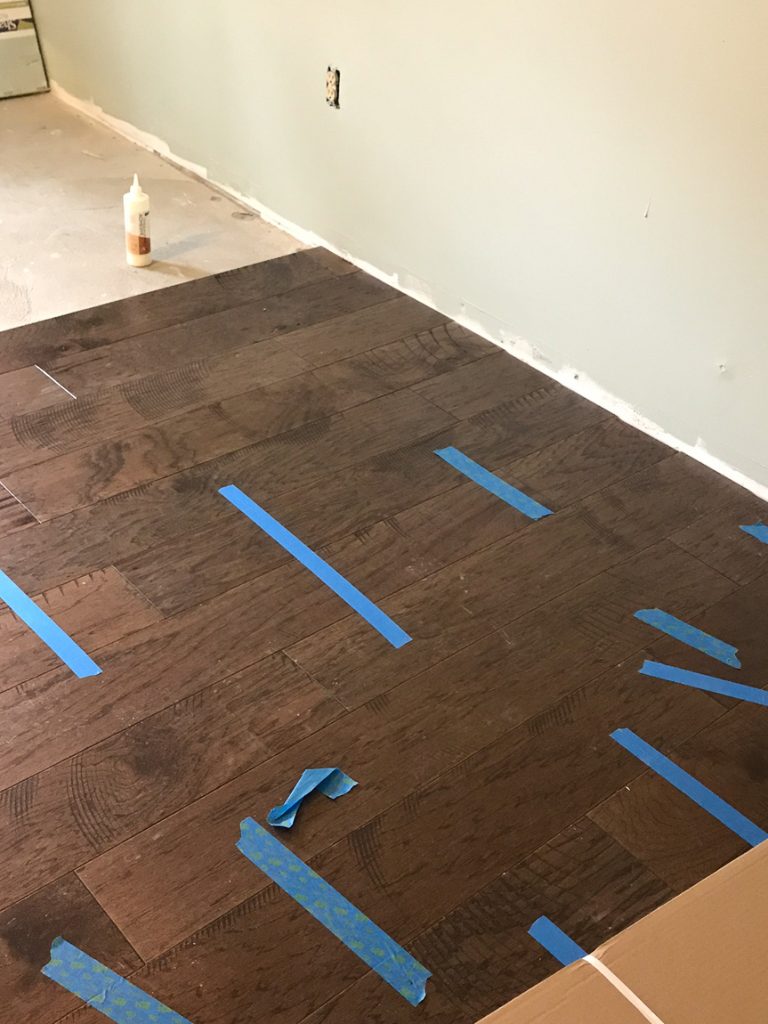
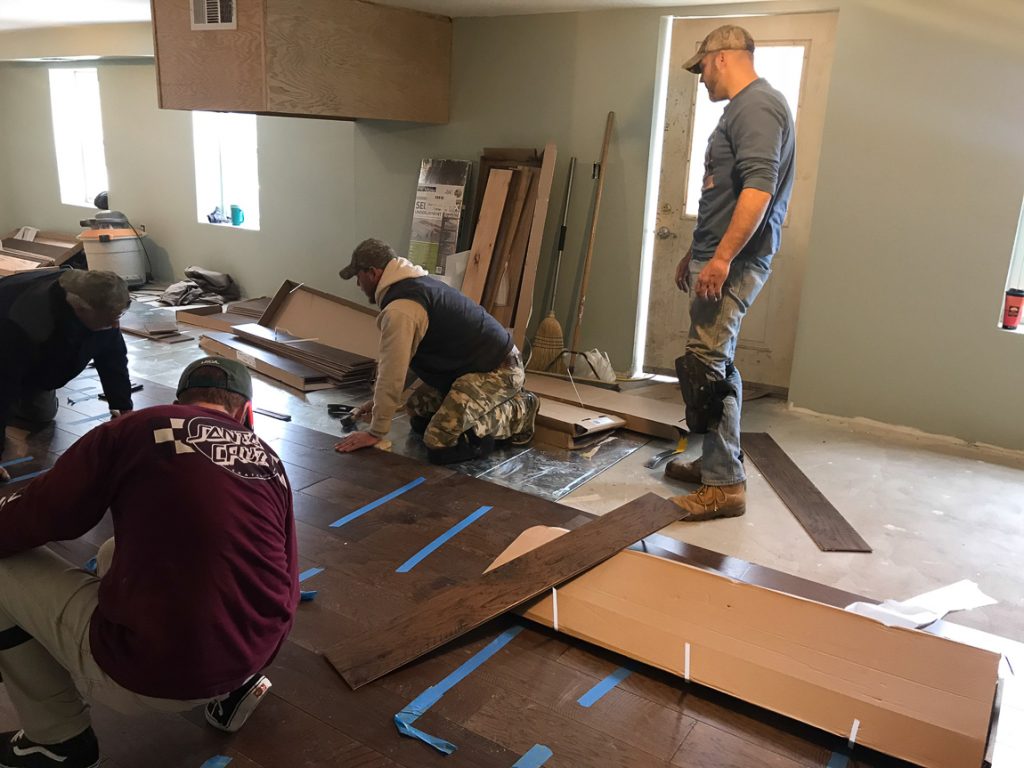
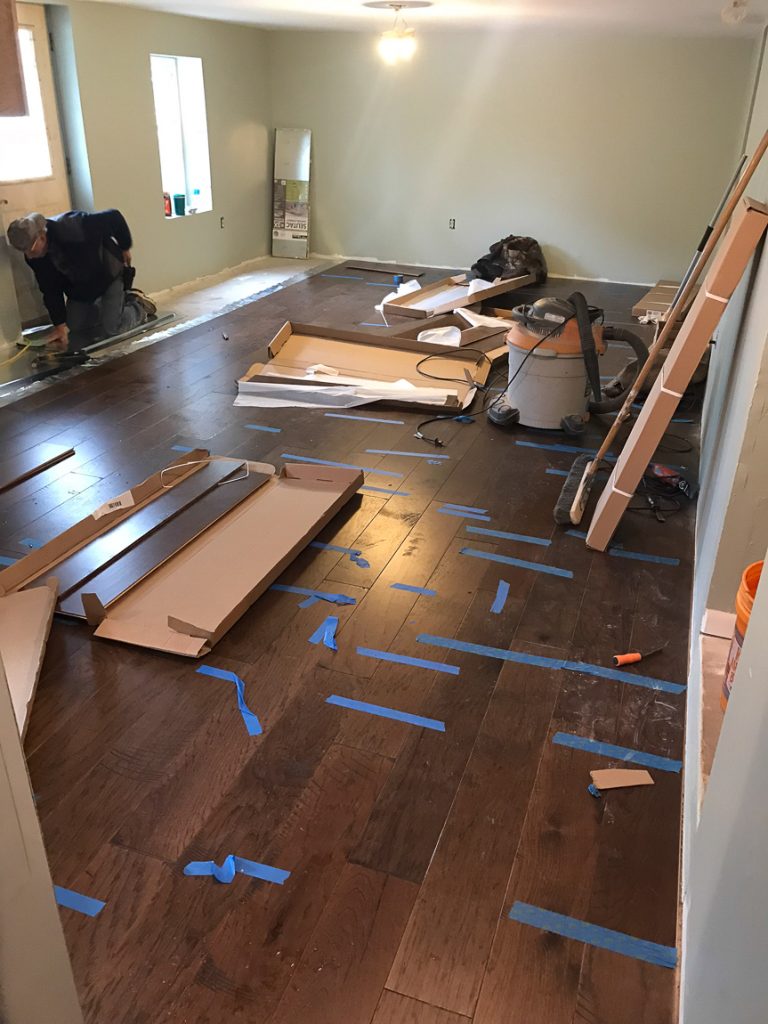
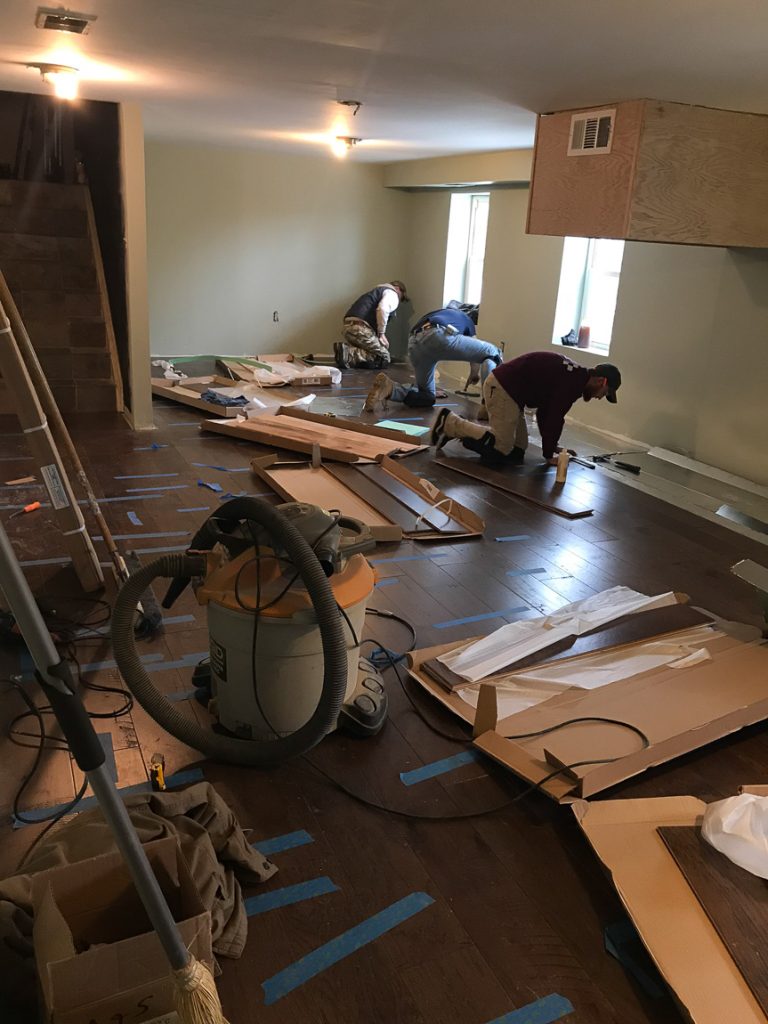
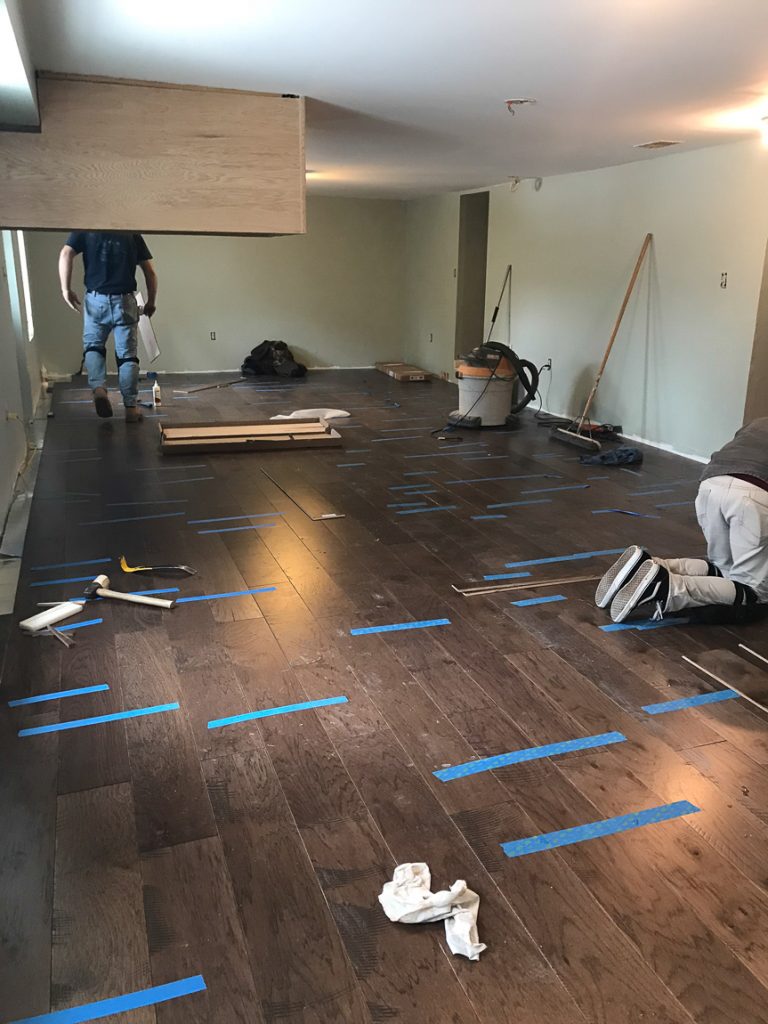
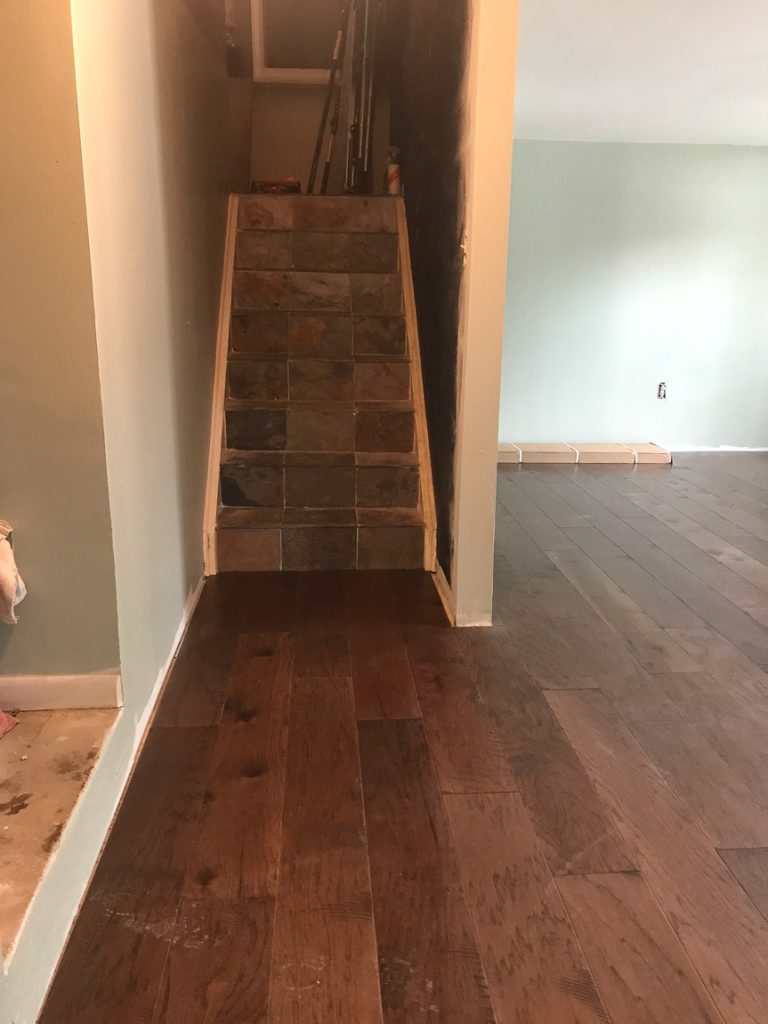
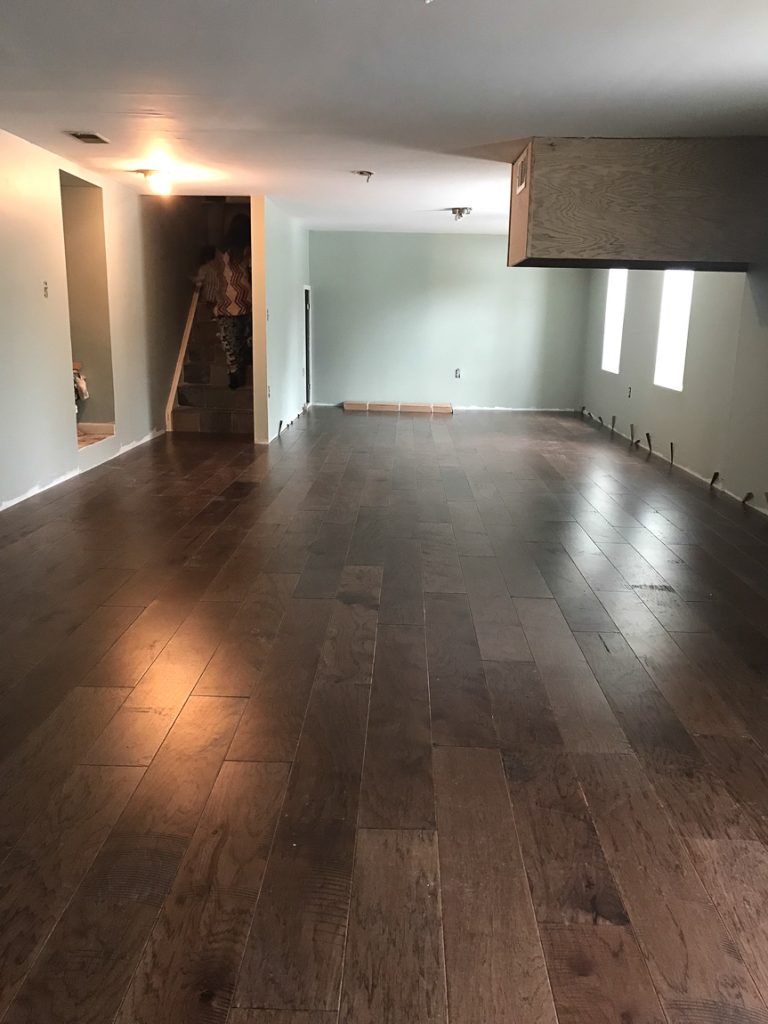
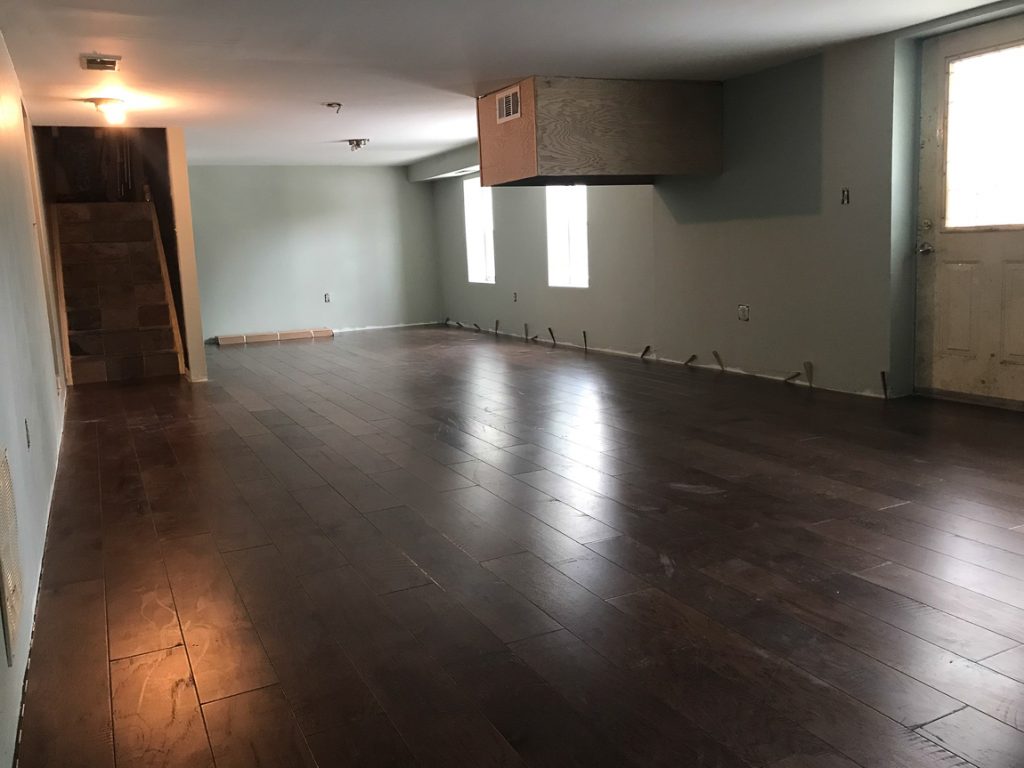
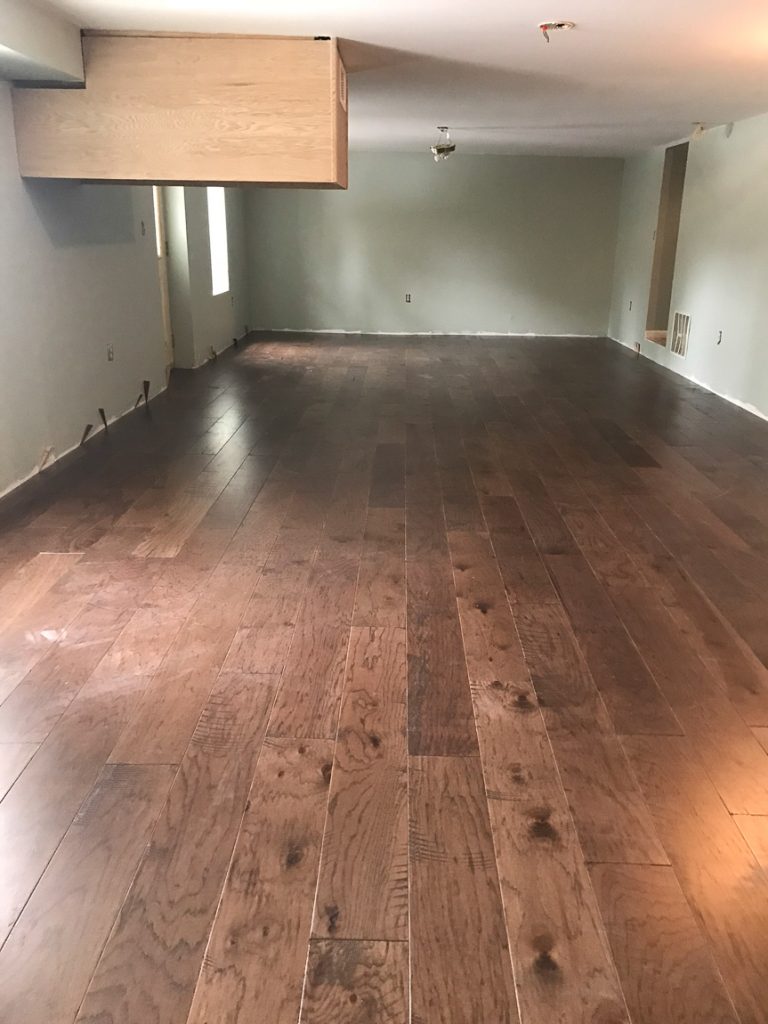
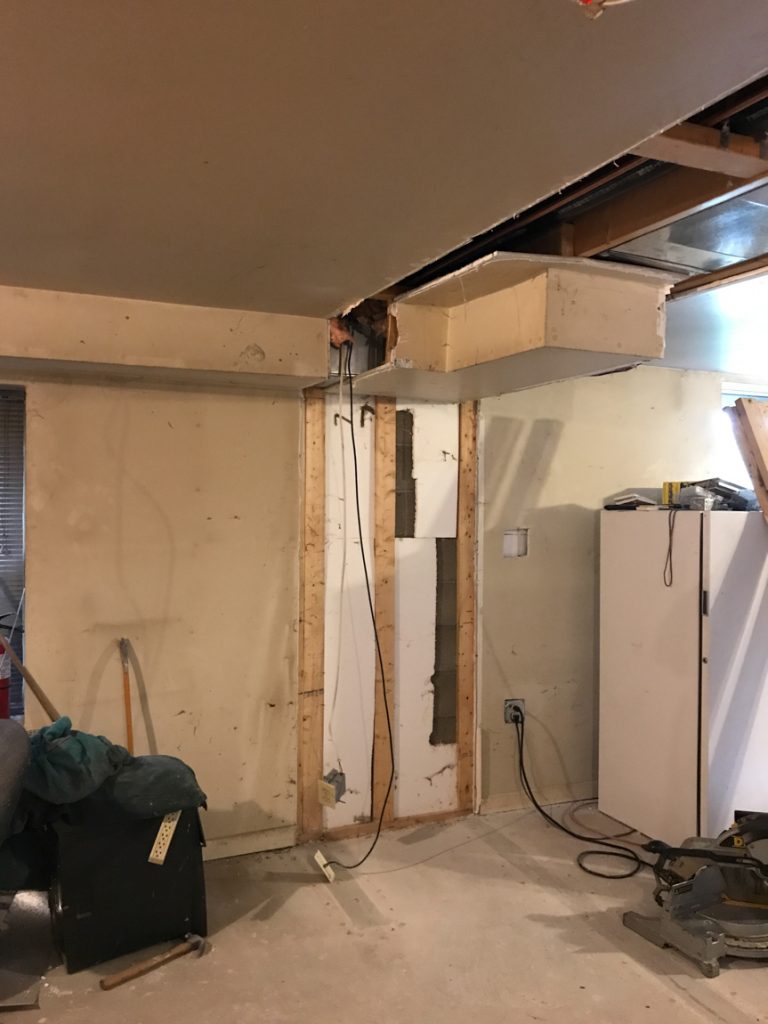
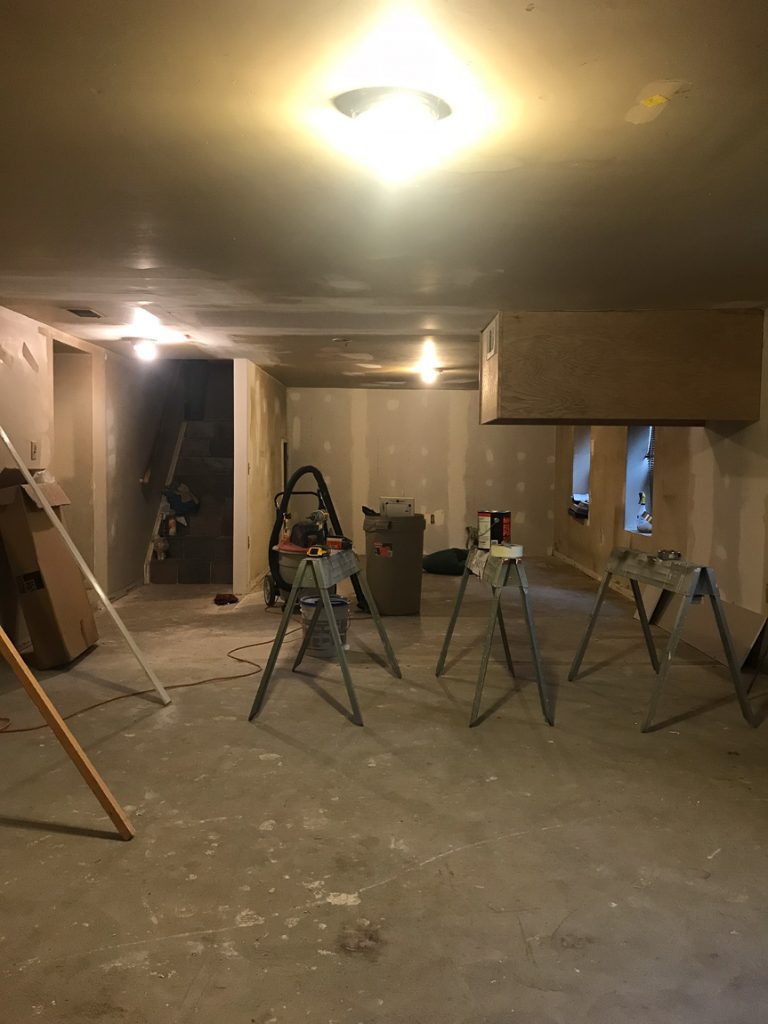
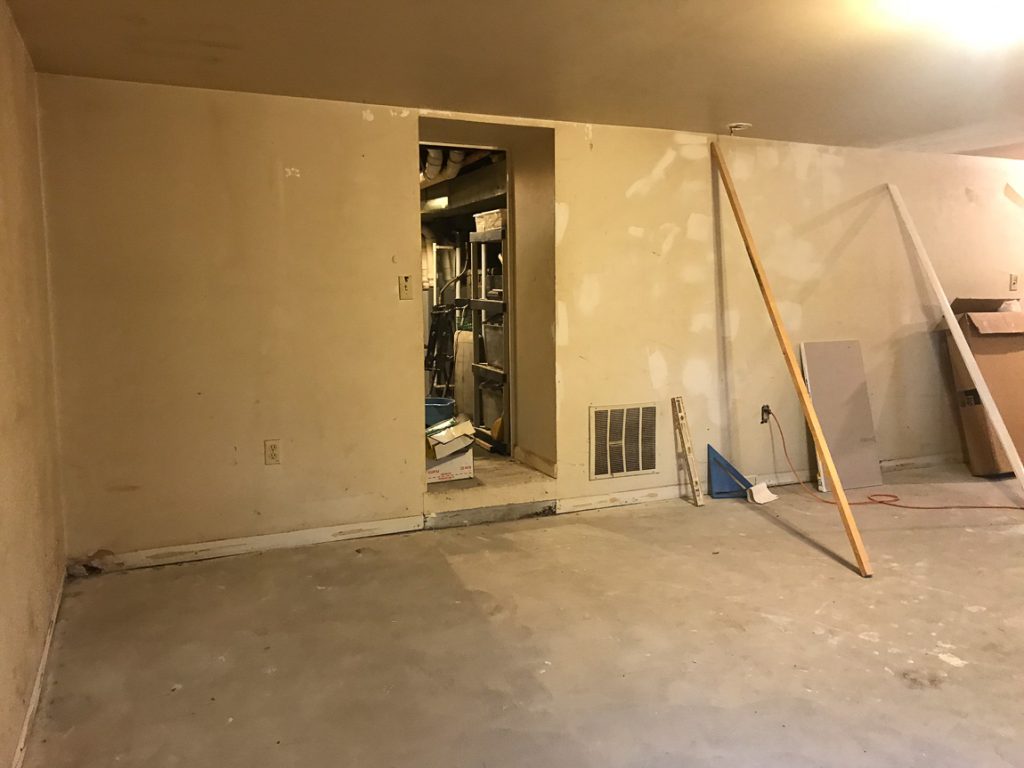
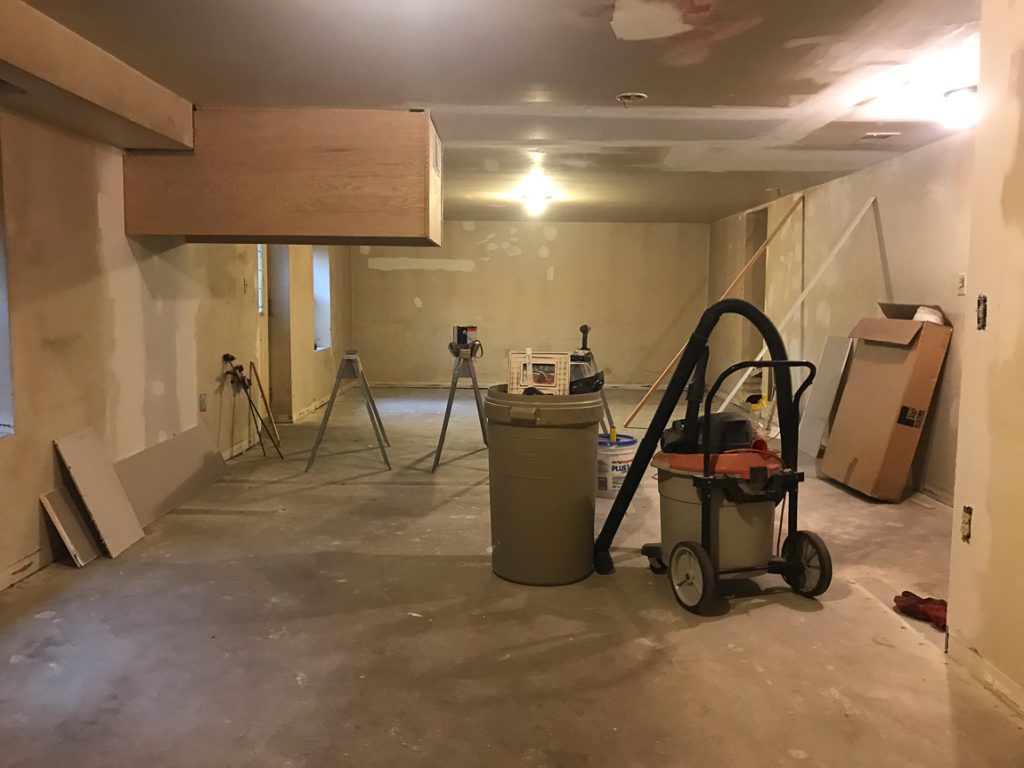
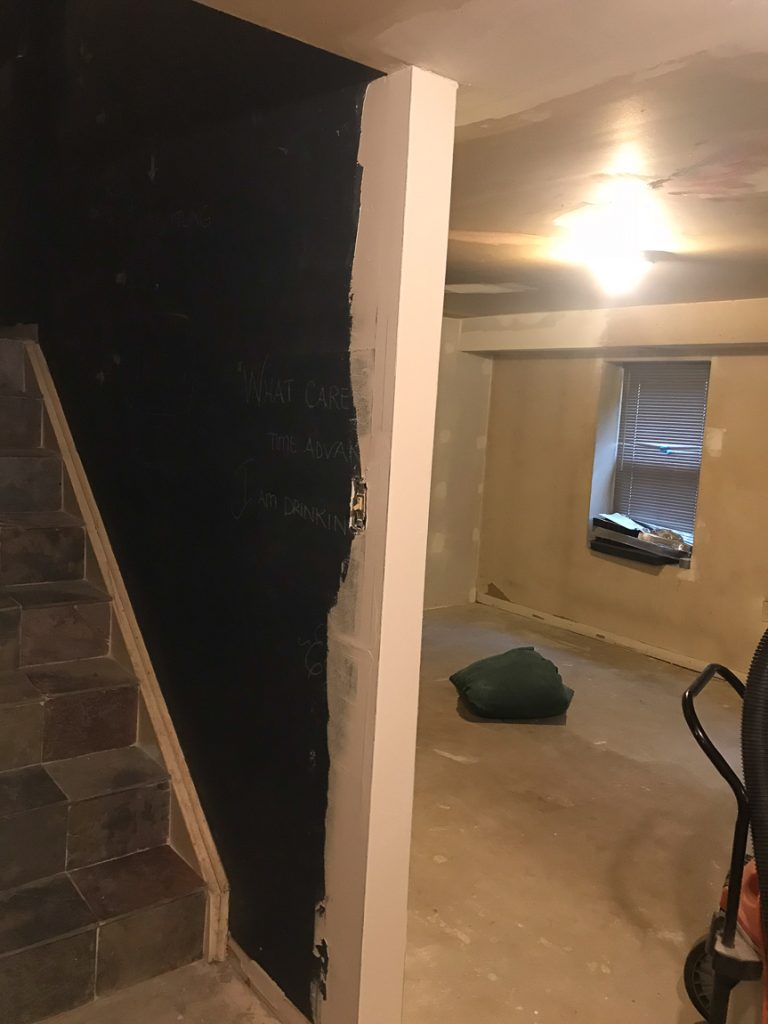
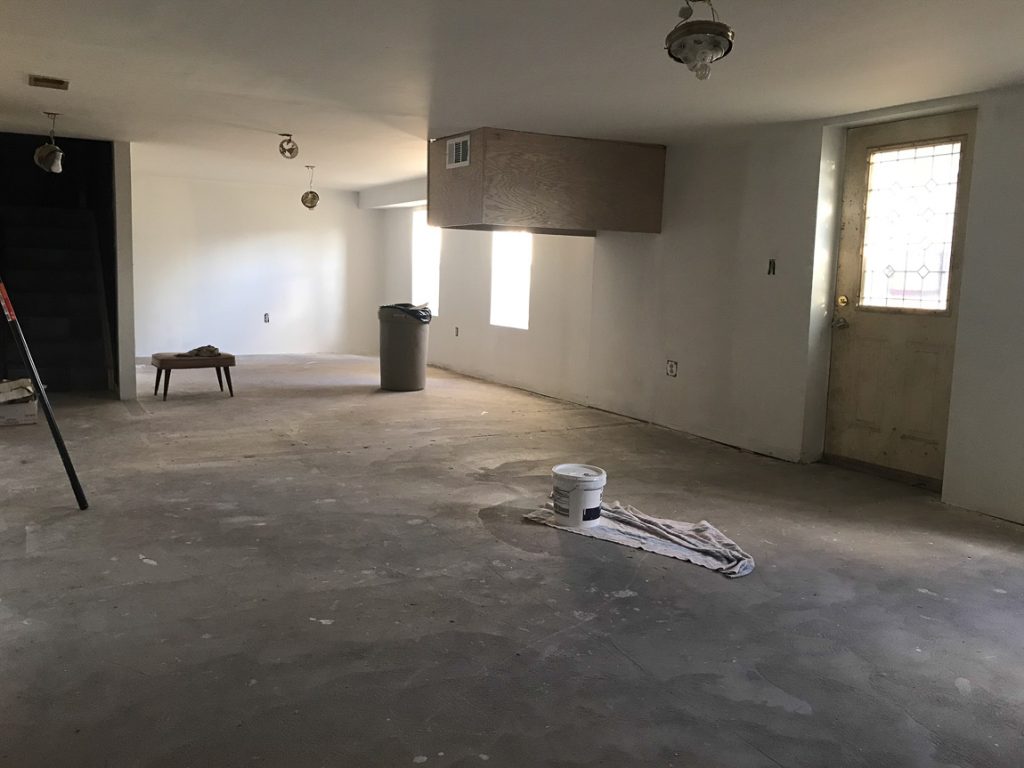
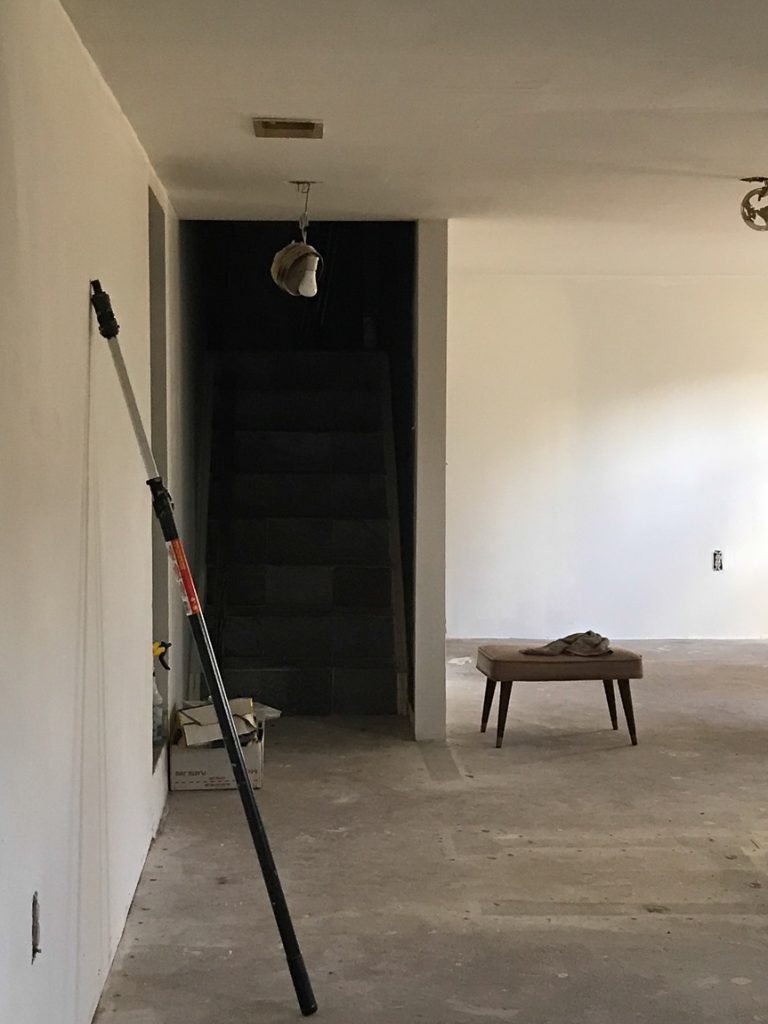
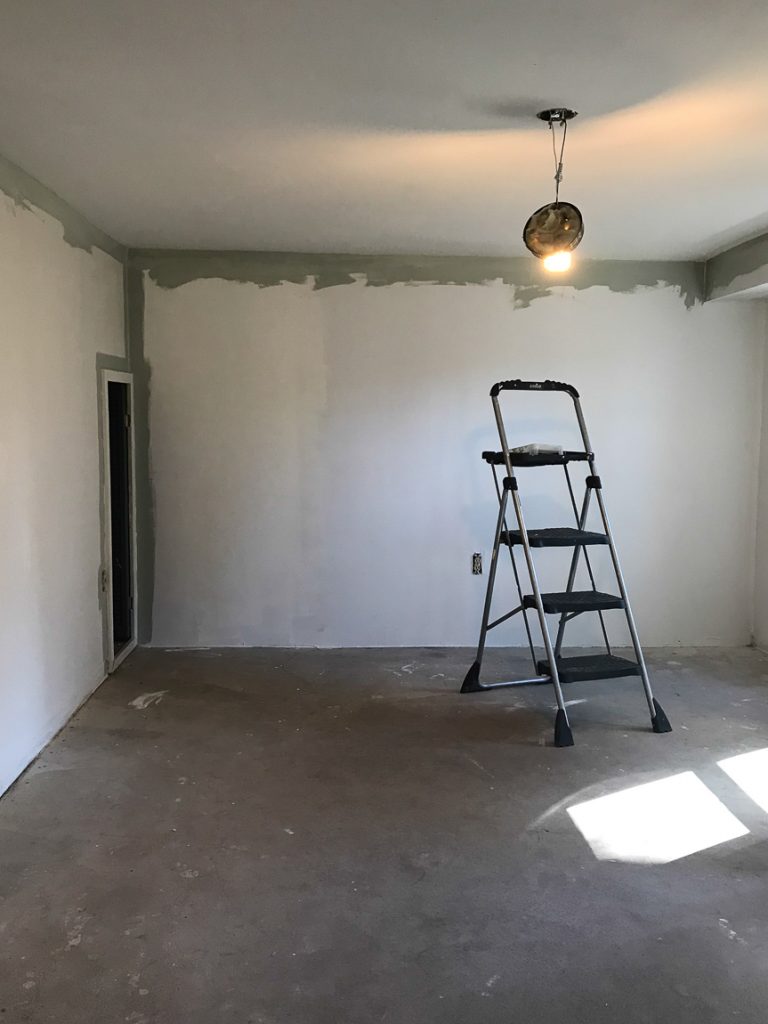
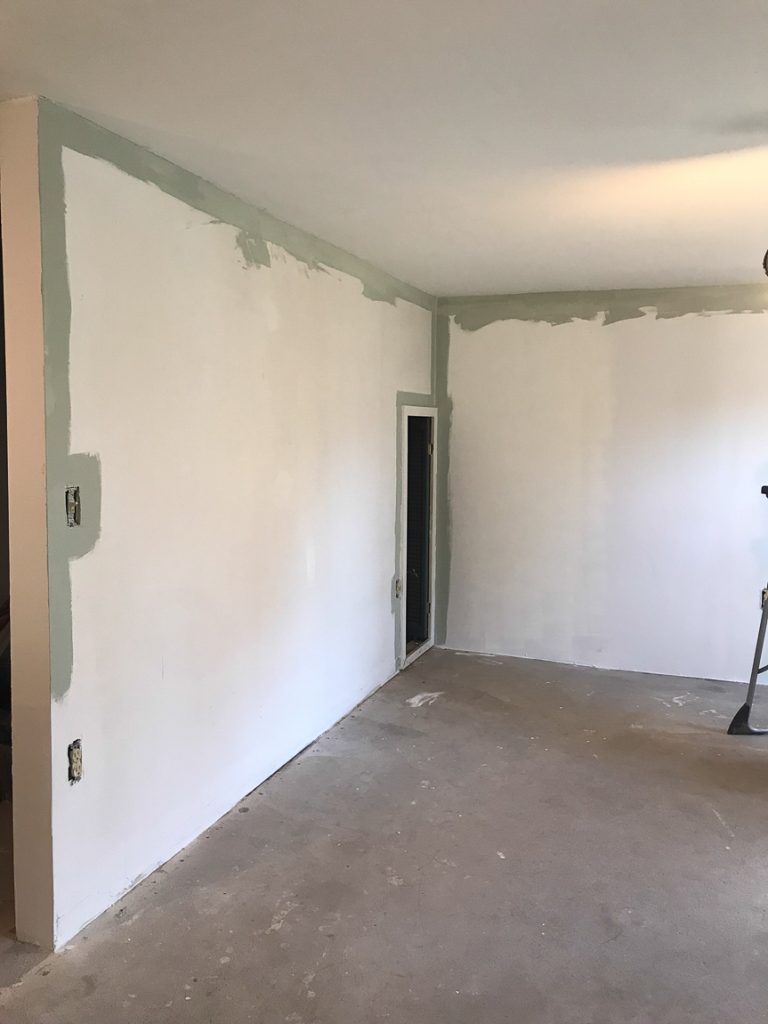
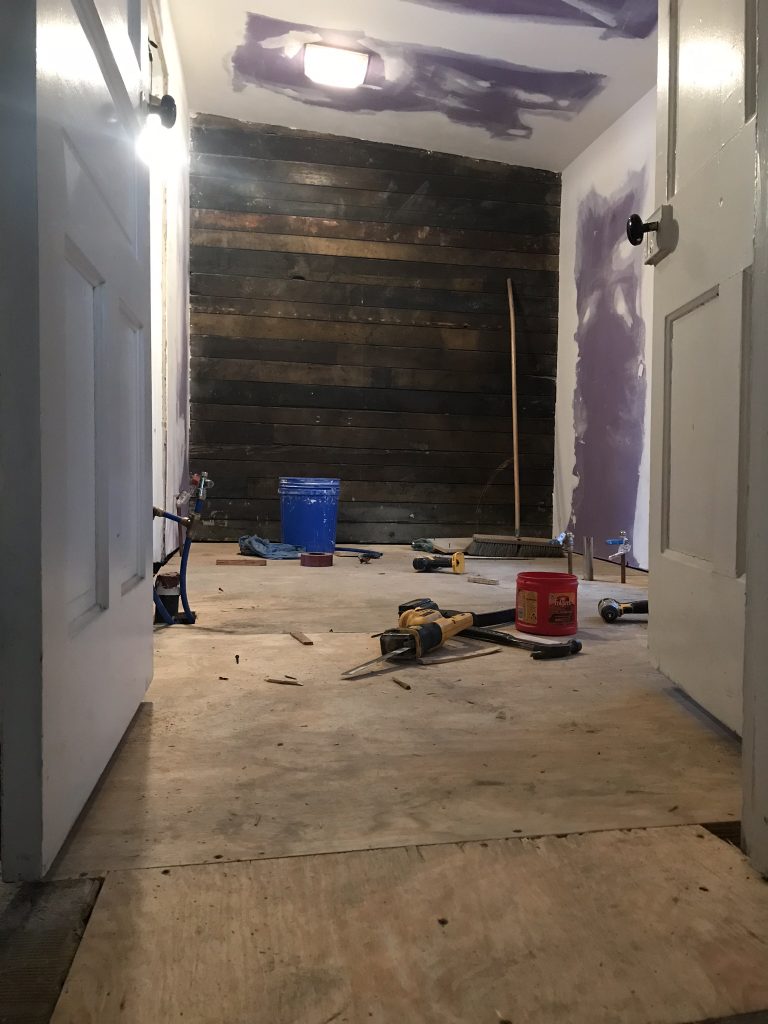
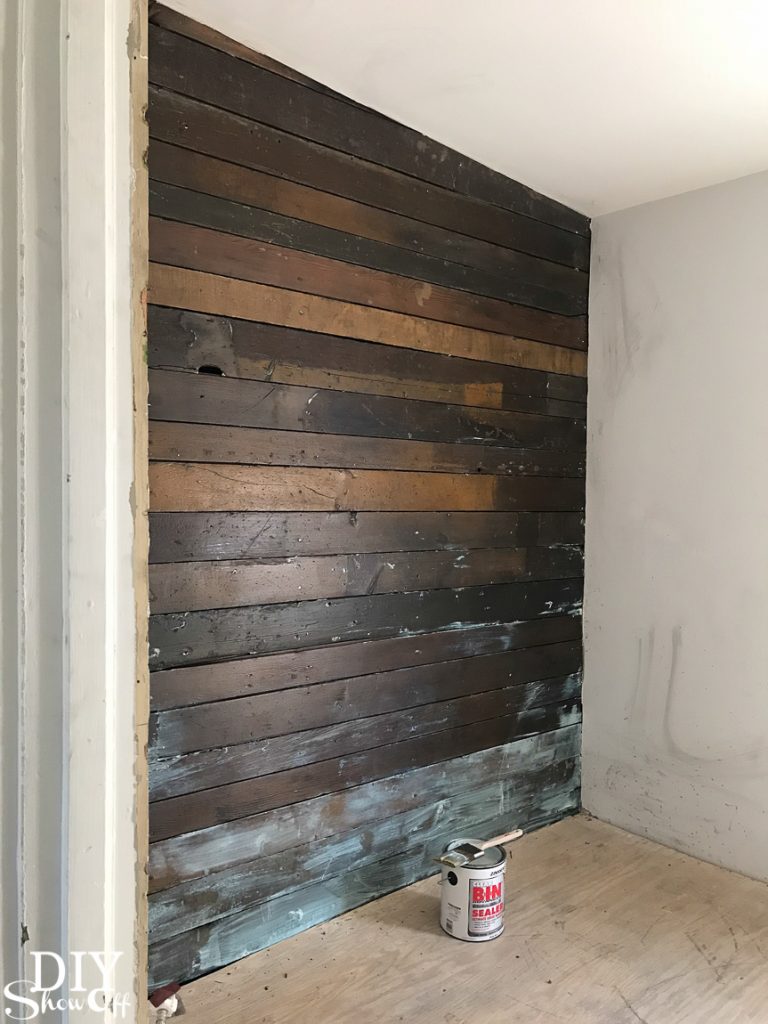
::Snooze:: Okay, not much to report as work and progress on the studio renovation has been slow the past month. The renovation has sort of been on hold for a few weeks while we await our turn on a possible tile installation schedule after we leveled the floor (as you can kind of see in the progress photos below). In the meantime, I sealed the wood plank shiplap wall.
Bathroom before:
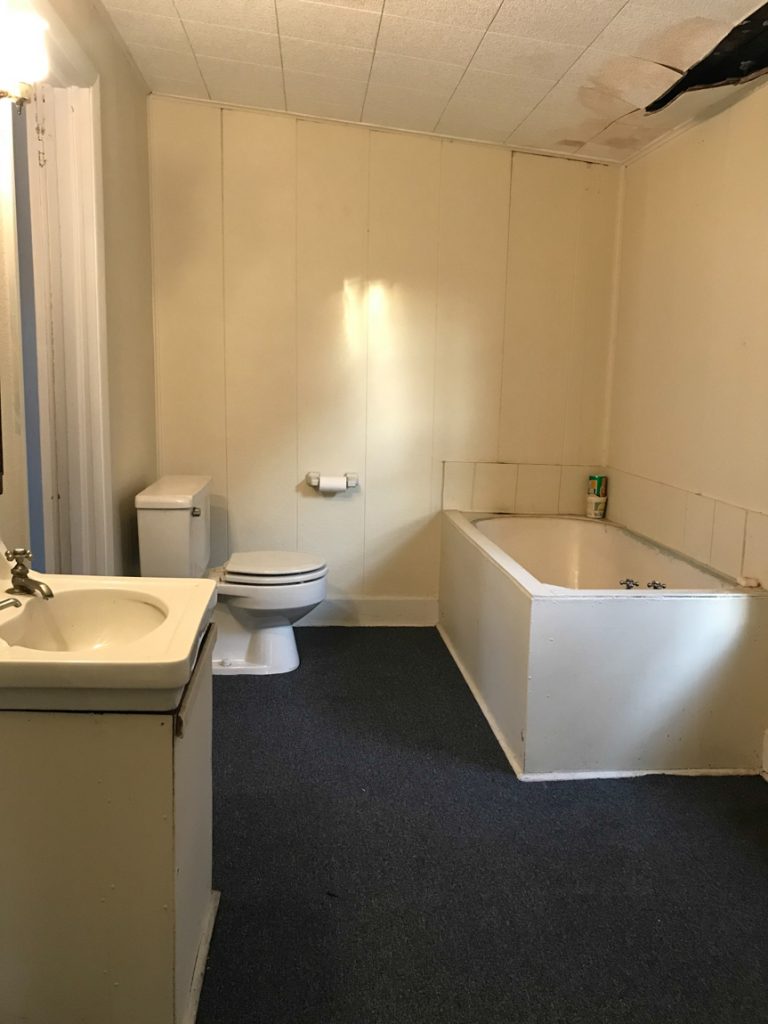
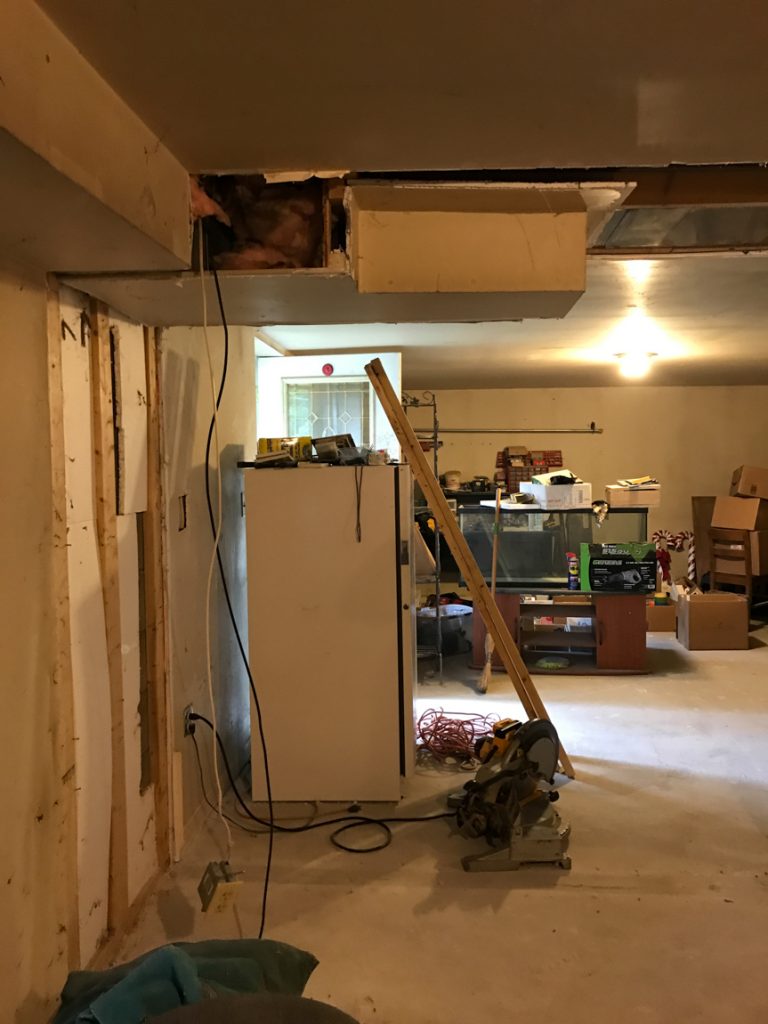
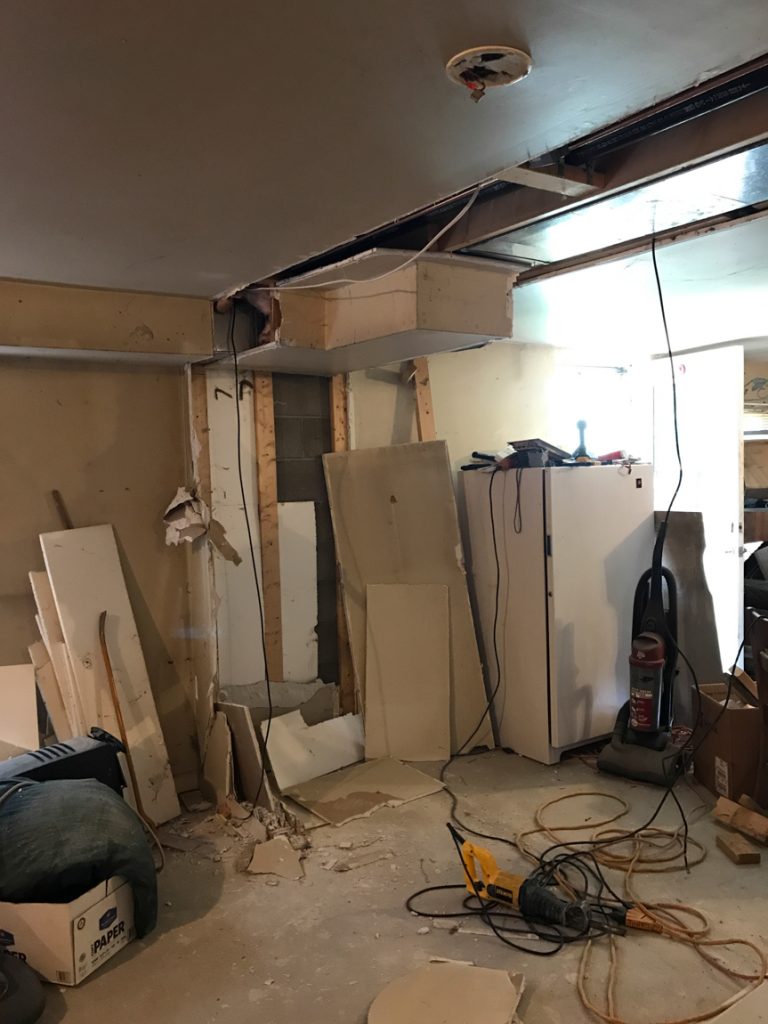
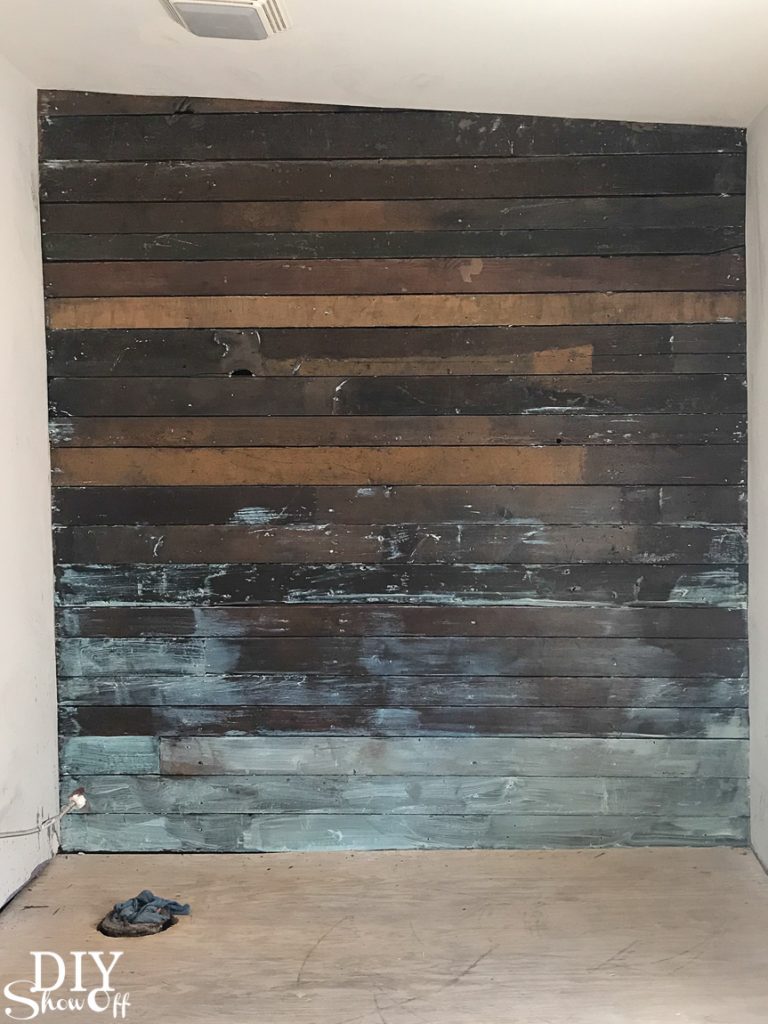
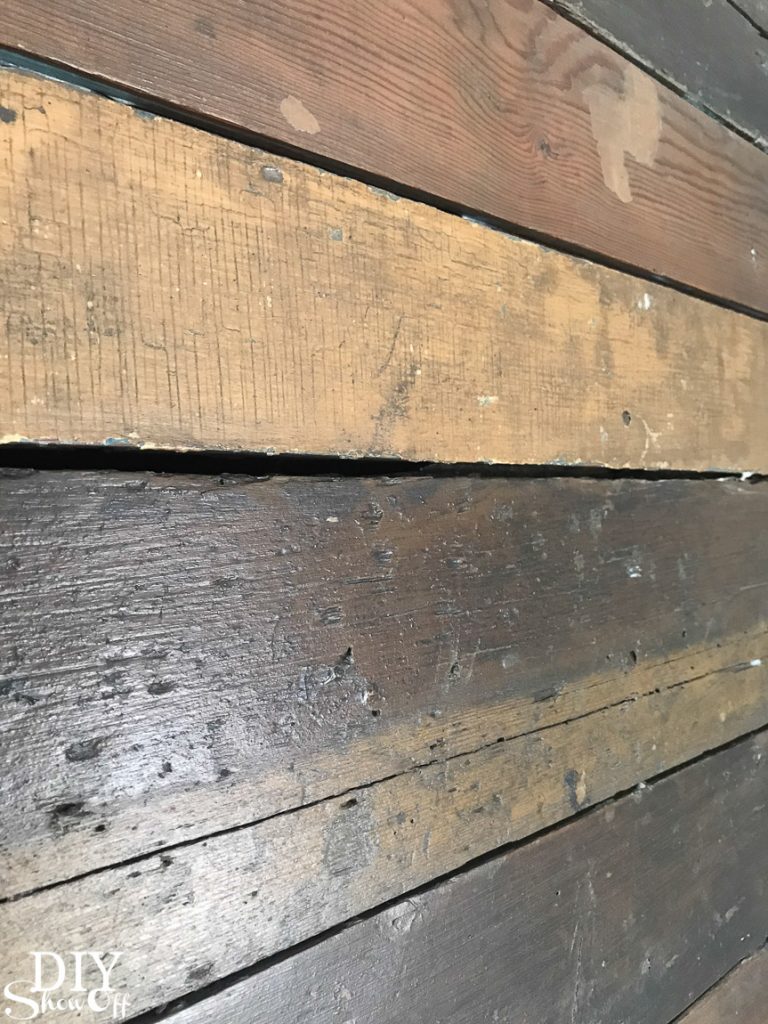
Once we removed all of the wall panels (something that was kind of like paneling without the fake wood look), we revealed the original shiplap.
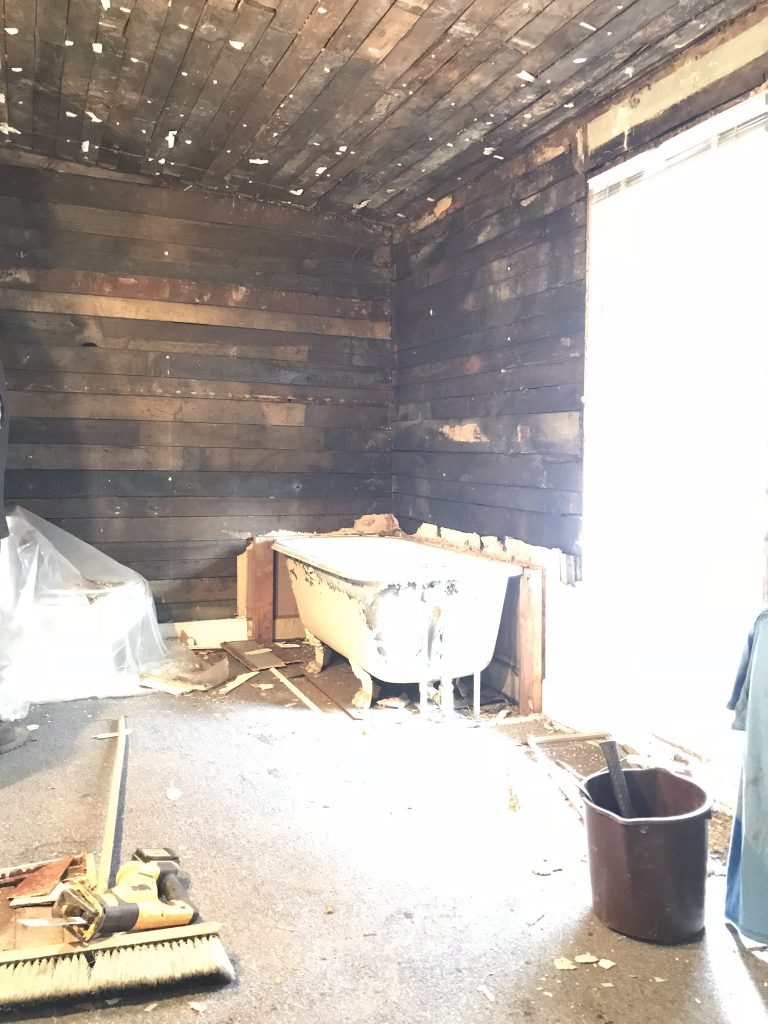

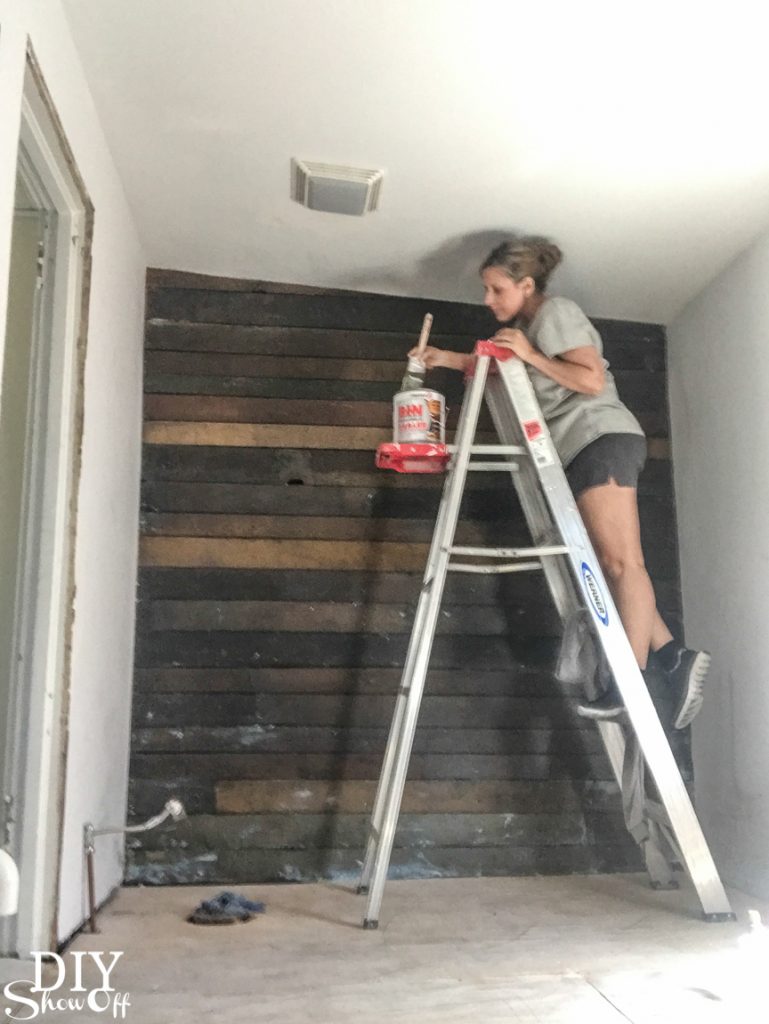
Most of which was recovered with drywall but you guys! I couldn’t bear to cover up the original beauty of the back wall. Look at that beautiful wood and all of it’s pretty shades.
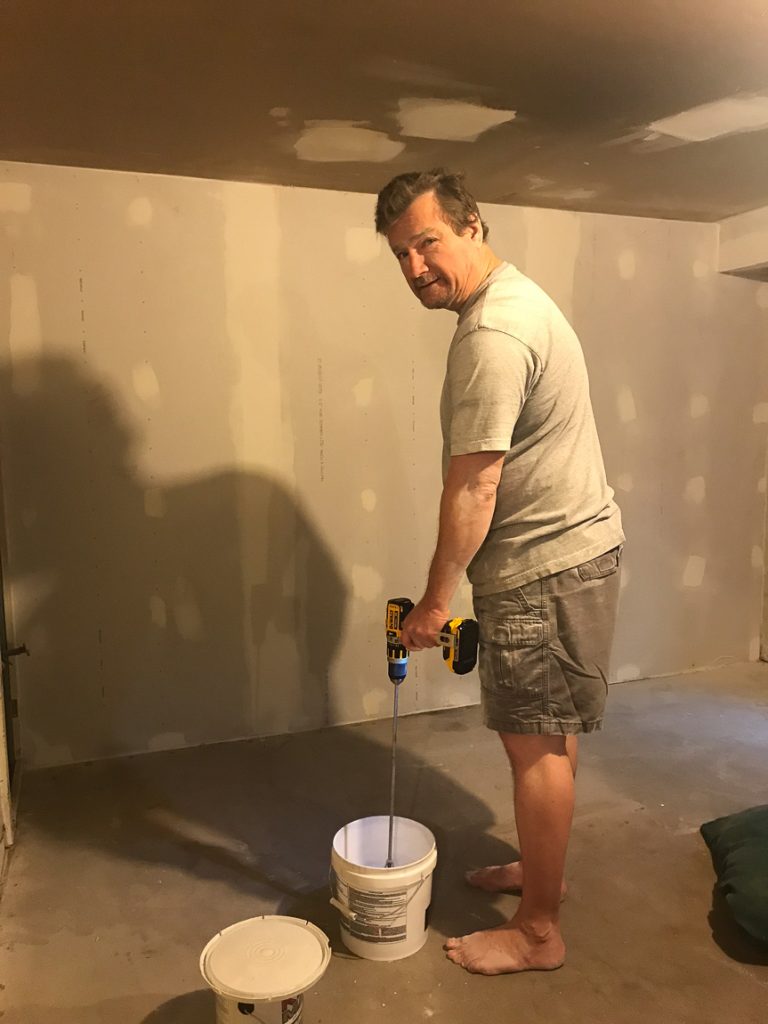
And it’s filthy! It got a REALLY good scrubbing with SEVERAL buckets of water!
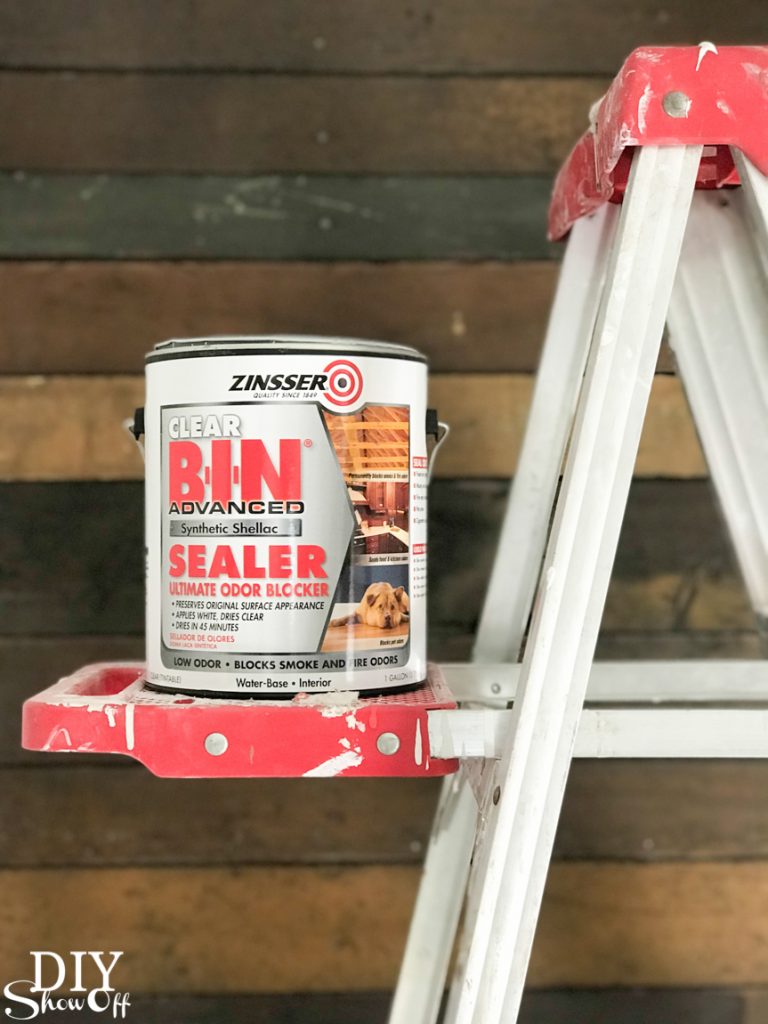
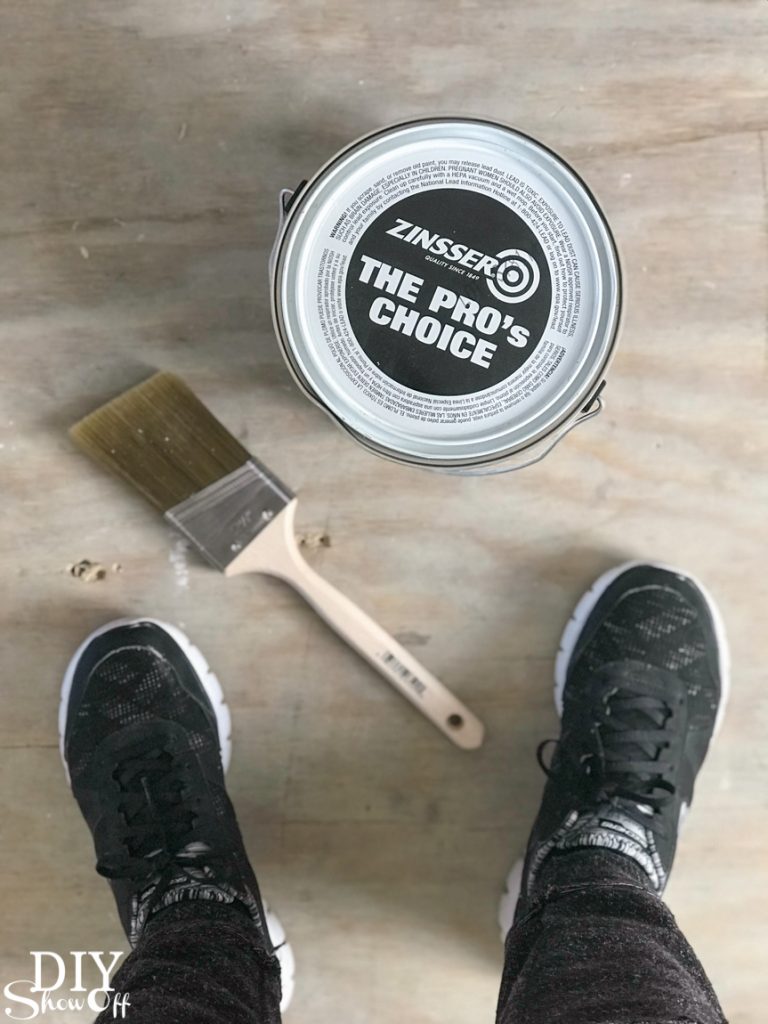
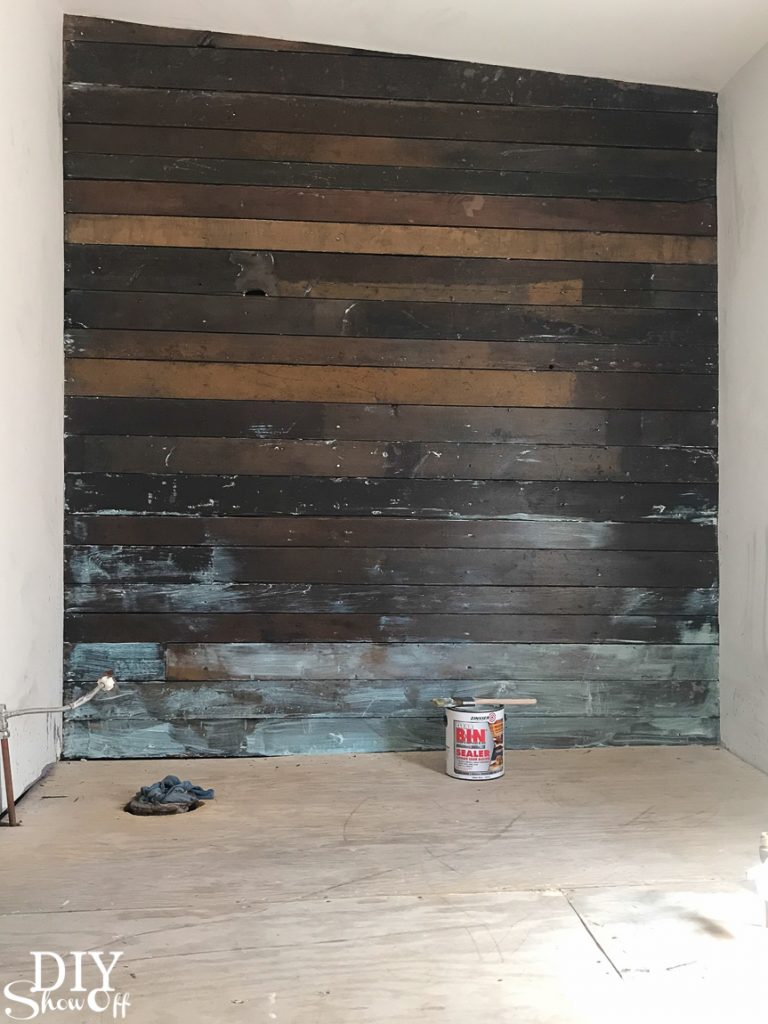
I consulted my friends at Rust-Oleum who recommended sealing with Zinsser BIN Clear Coat Shellac and sent me a can to give it a go. So it after drying from the thorough scrubbing, I simply applied the shellac with a brush.
Time lapse just for fun!
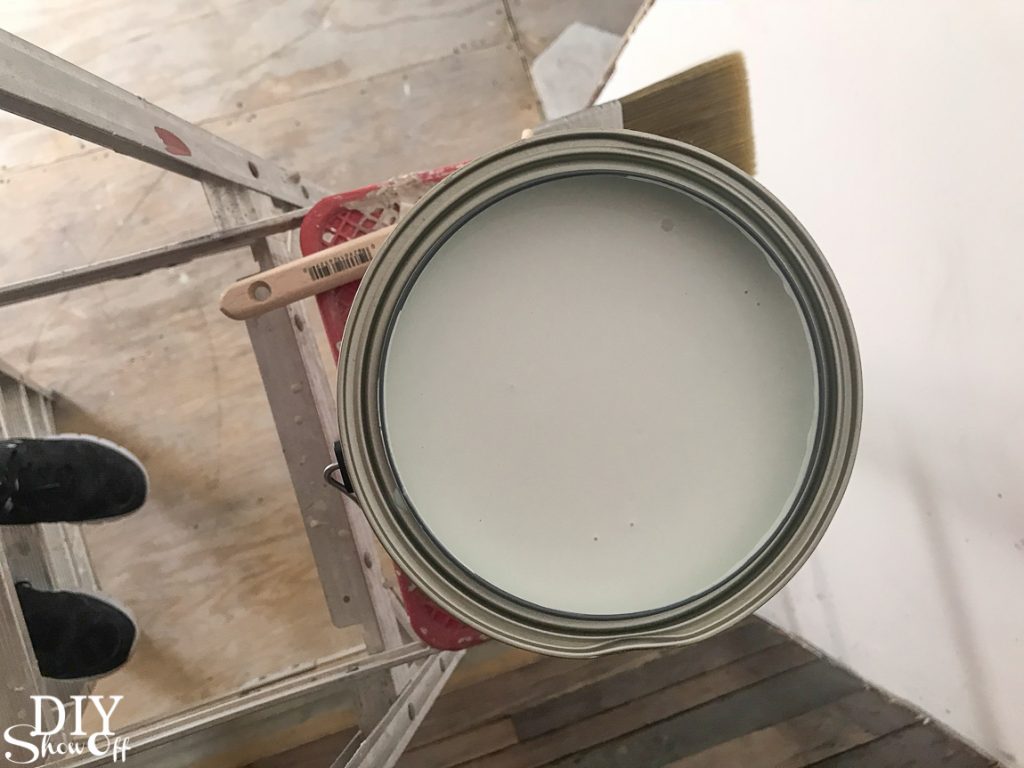
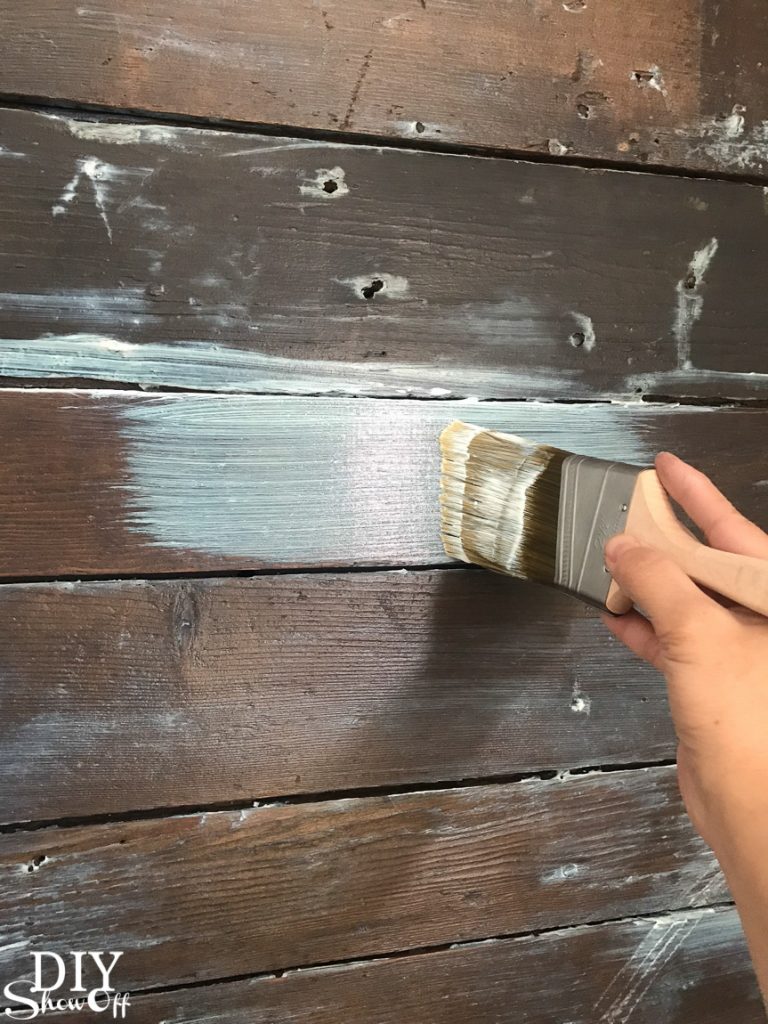
It goes on with a blue/white color but dries to a pretty clear coat.
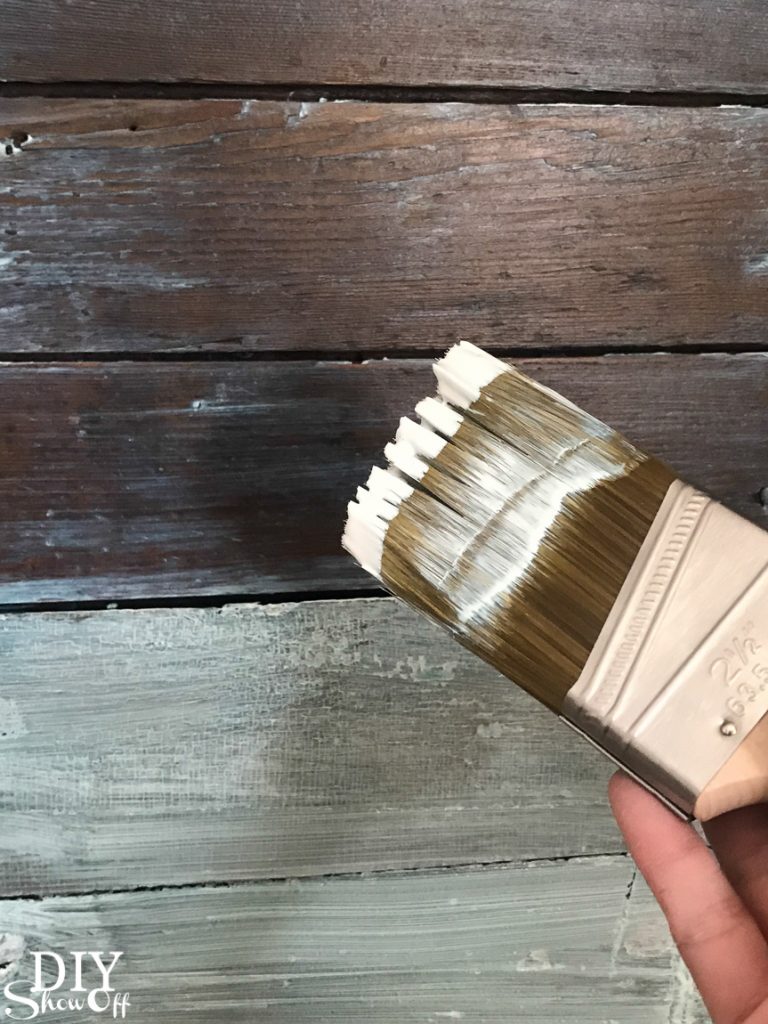
I always thought shellac had a high gloss look which I didn’t want. This finish has a very subtle sheen with very little shine, enough to seal the wood wall for the bathroom and to make it easy to clean.
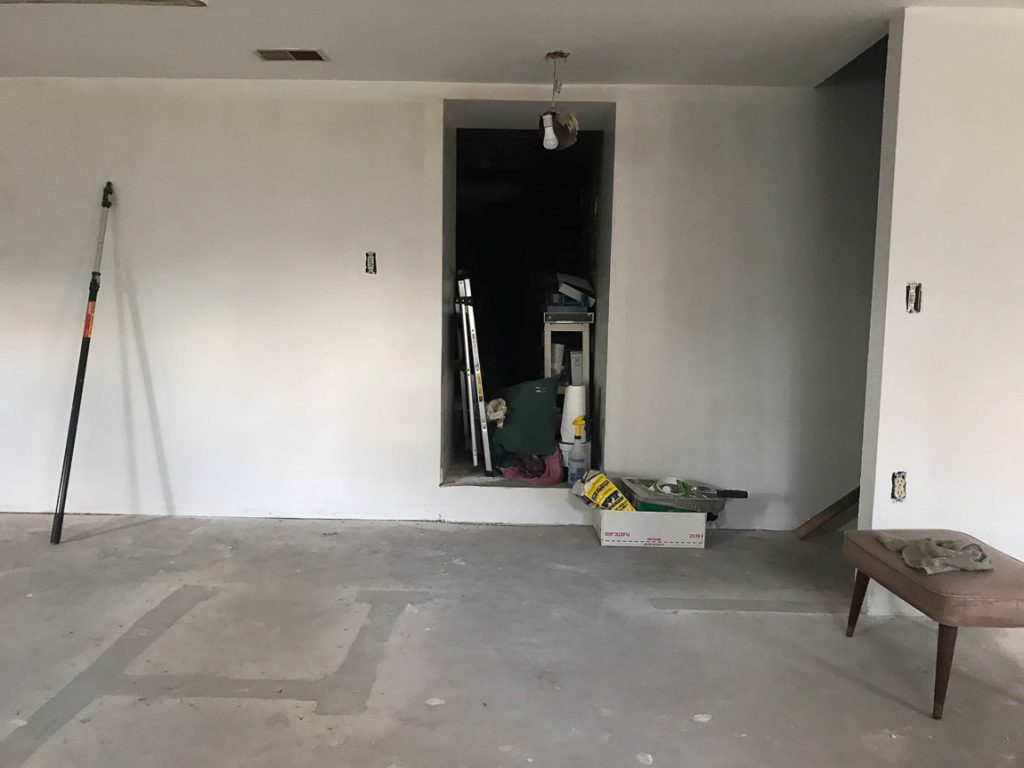
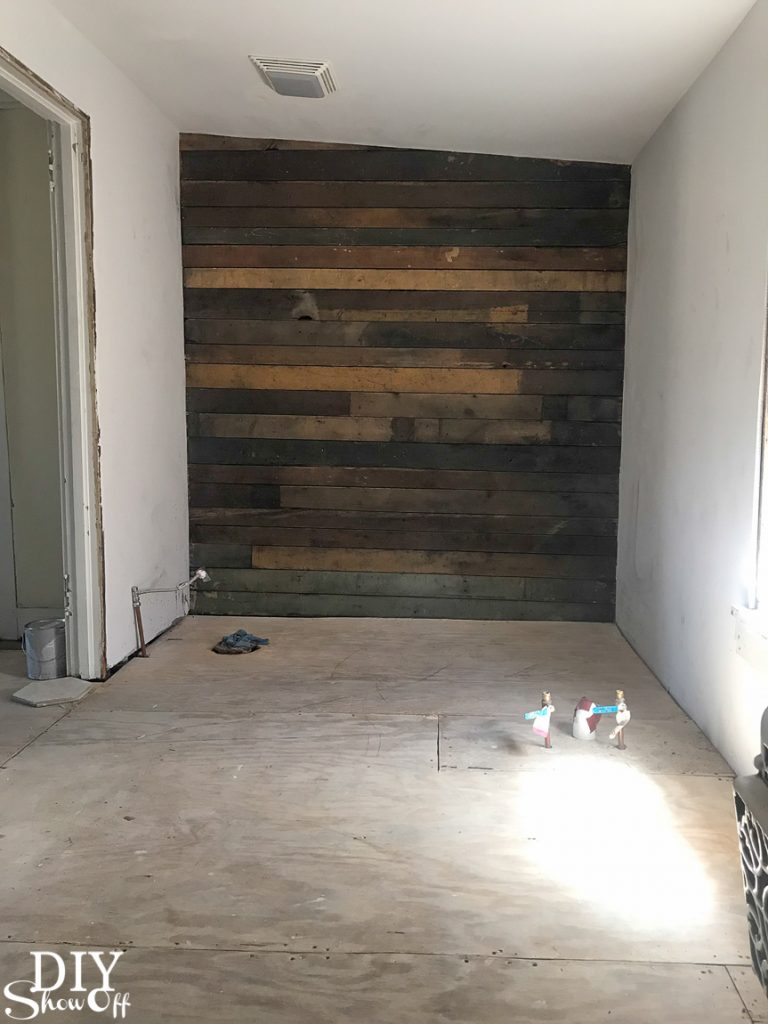
Before: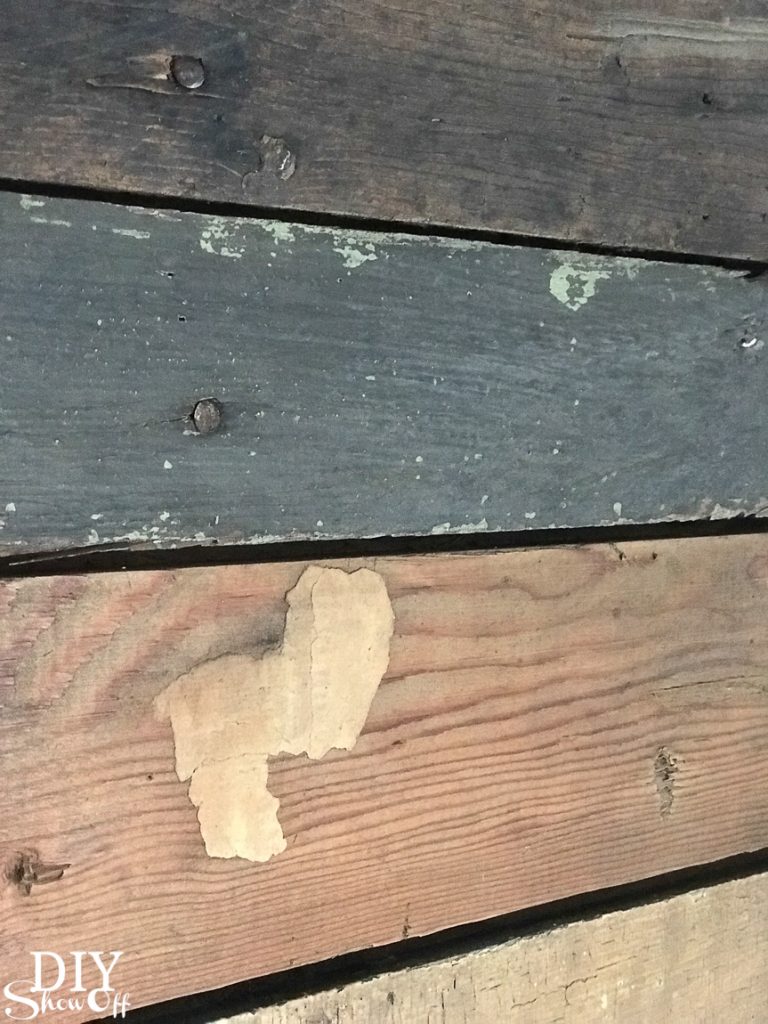
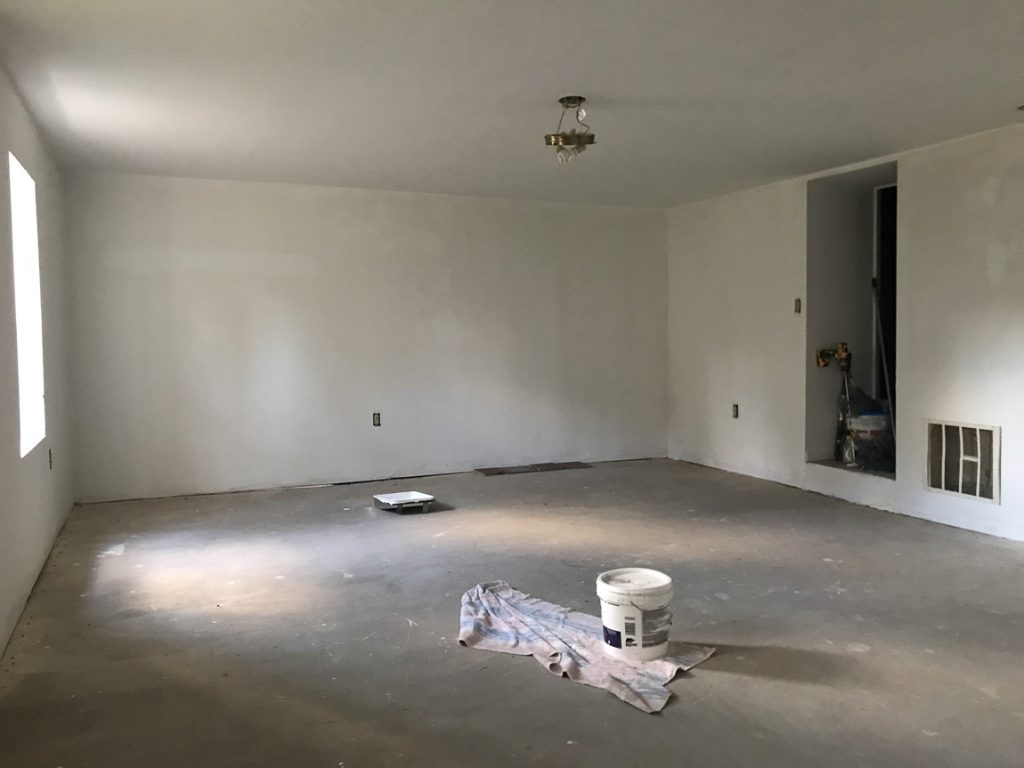
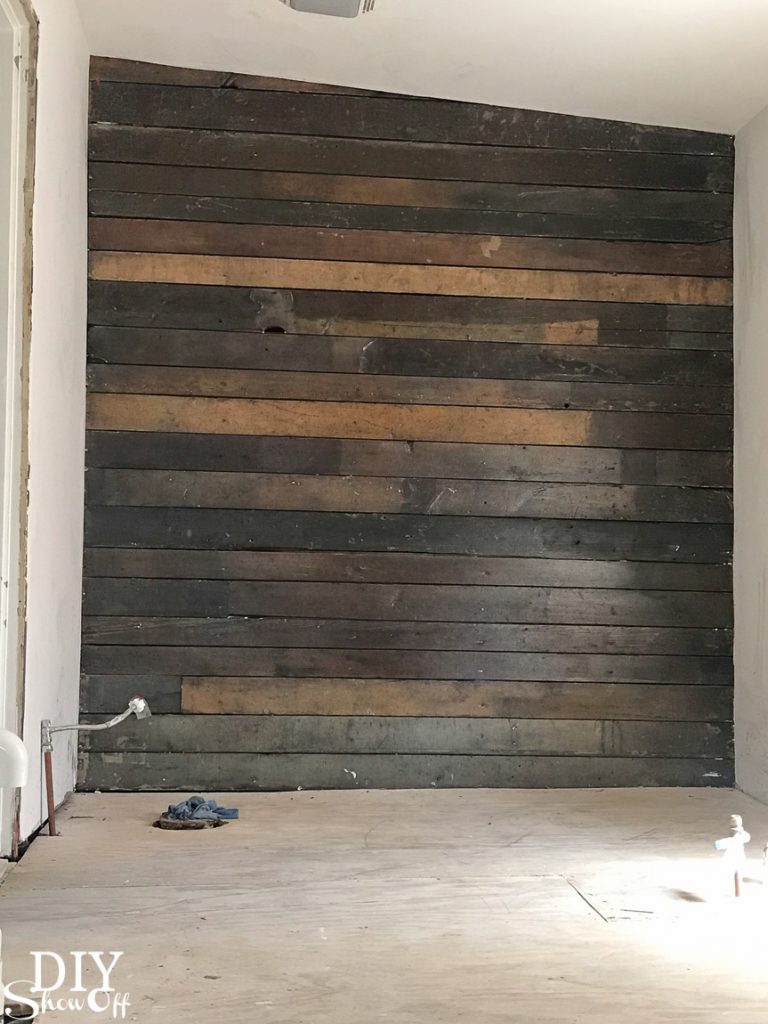
After:
Beautiful!
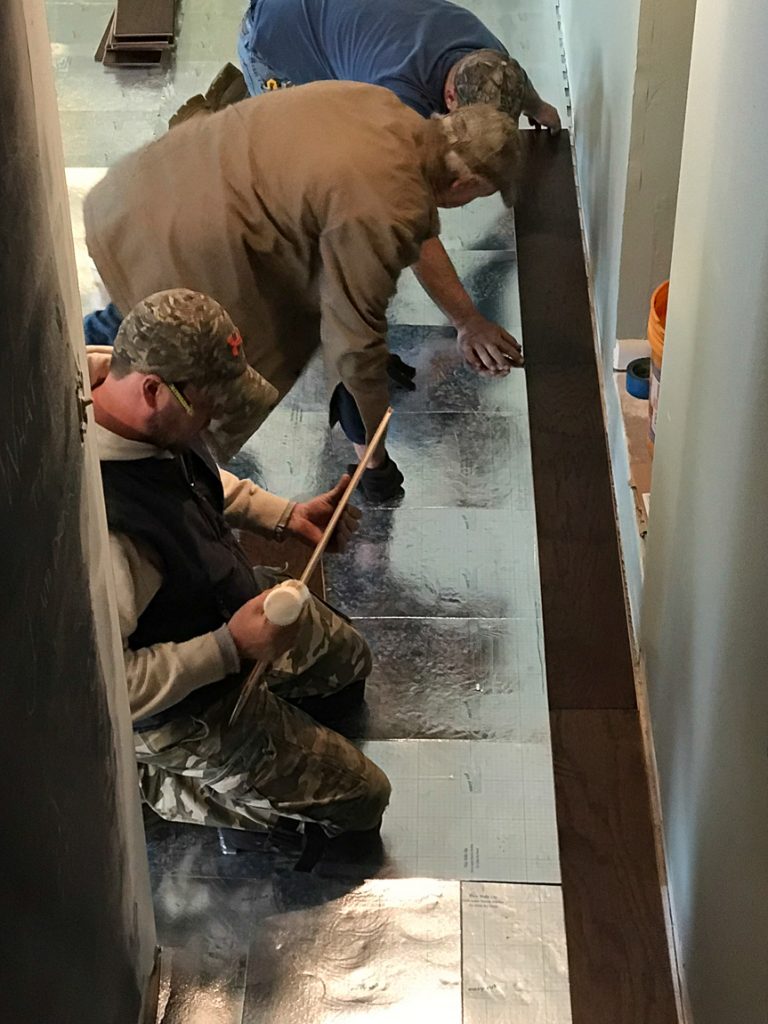
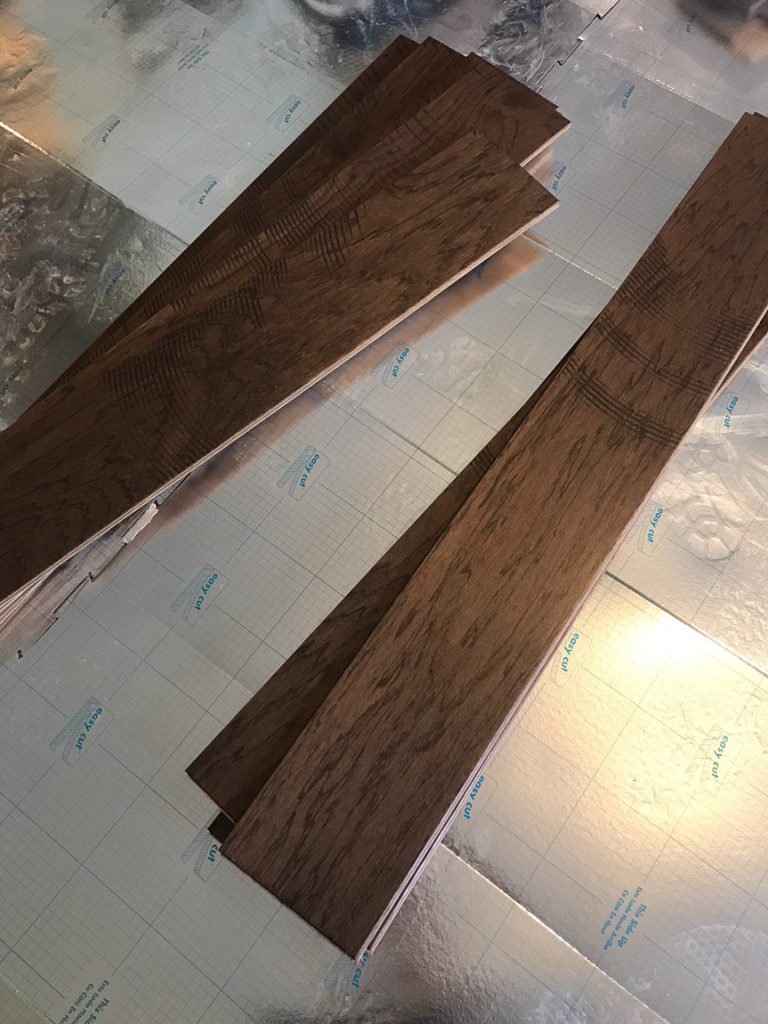
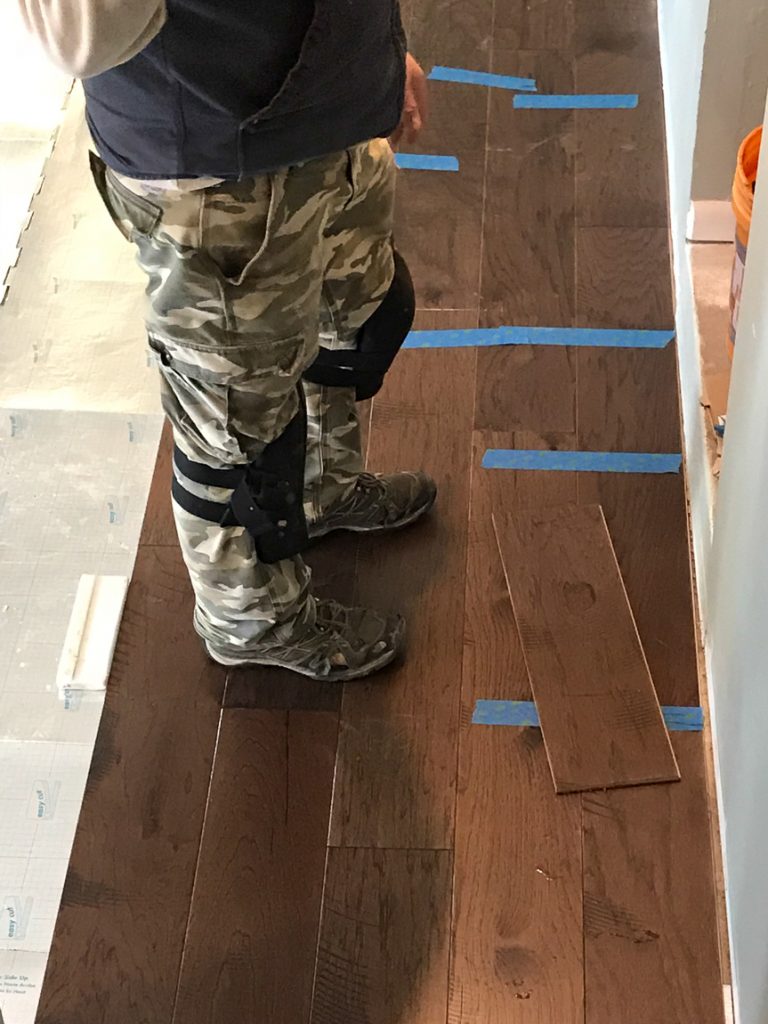
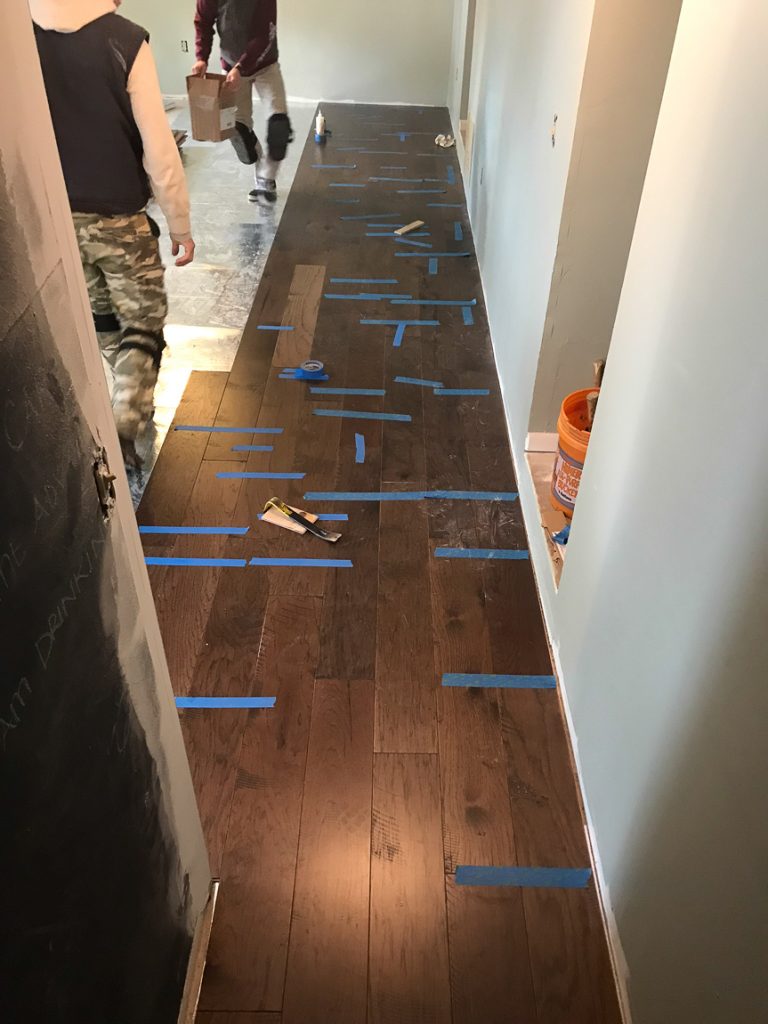
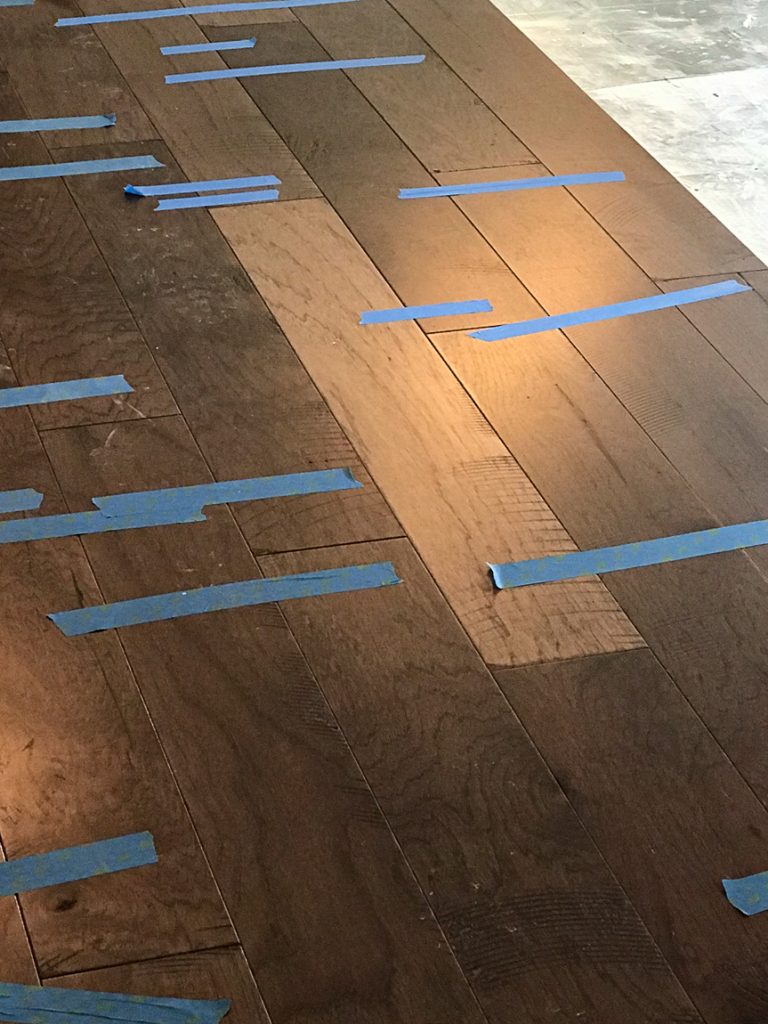
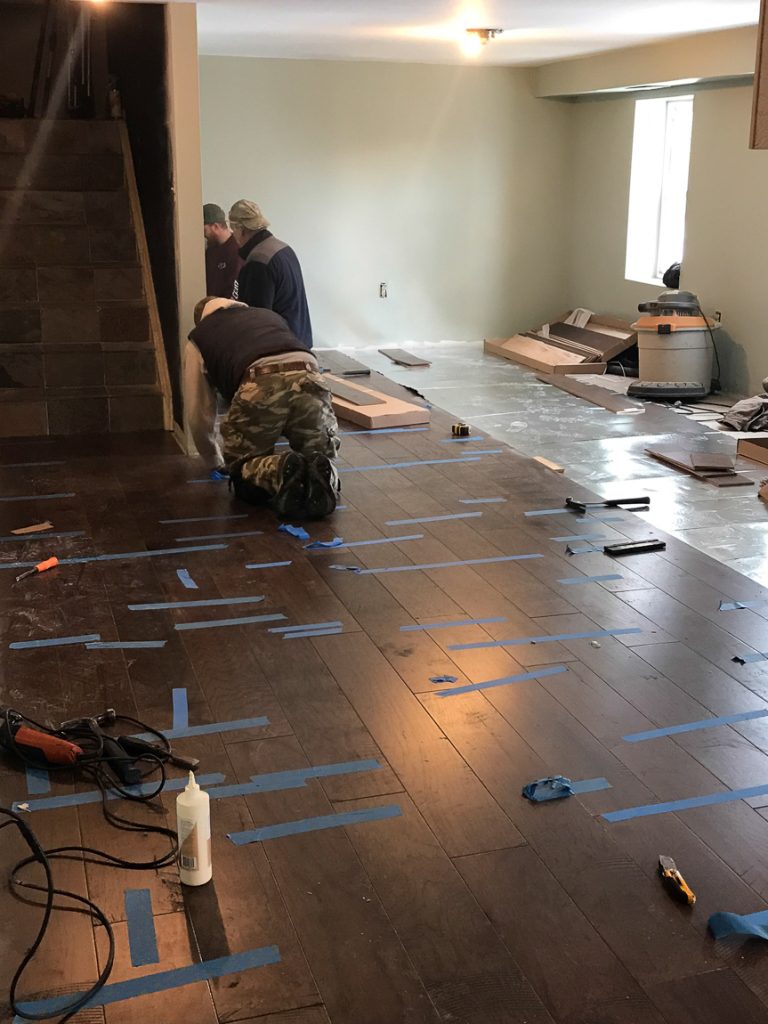
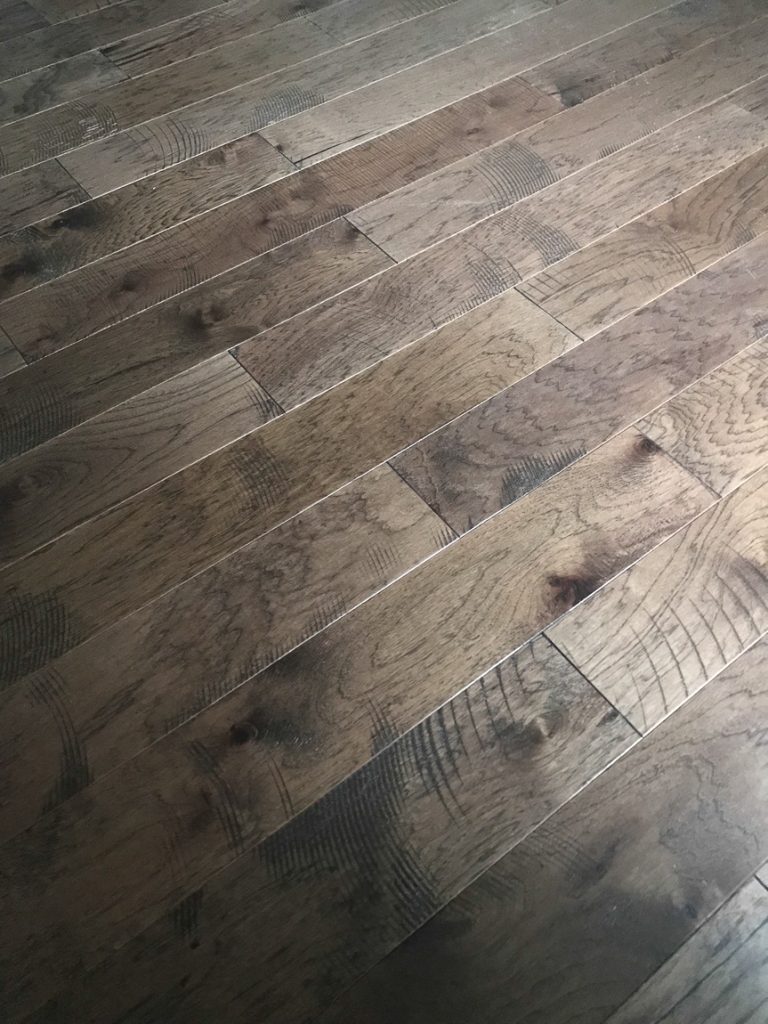
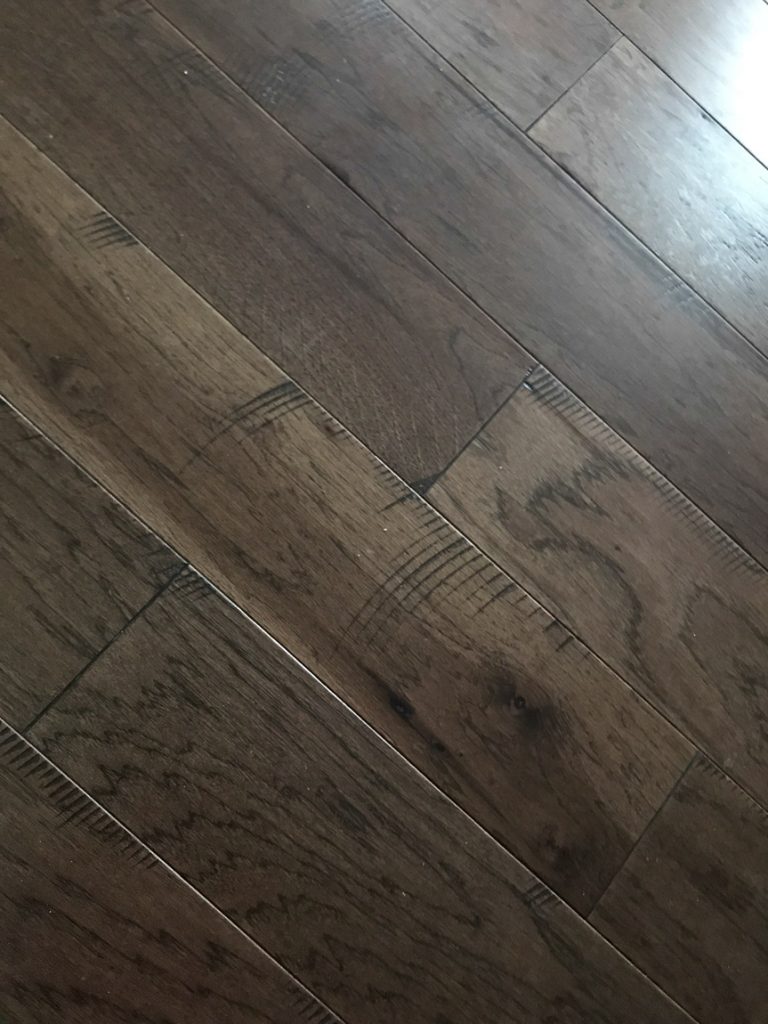
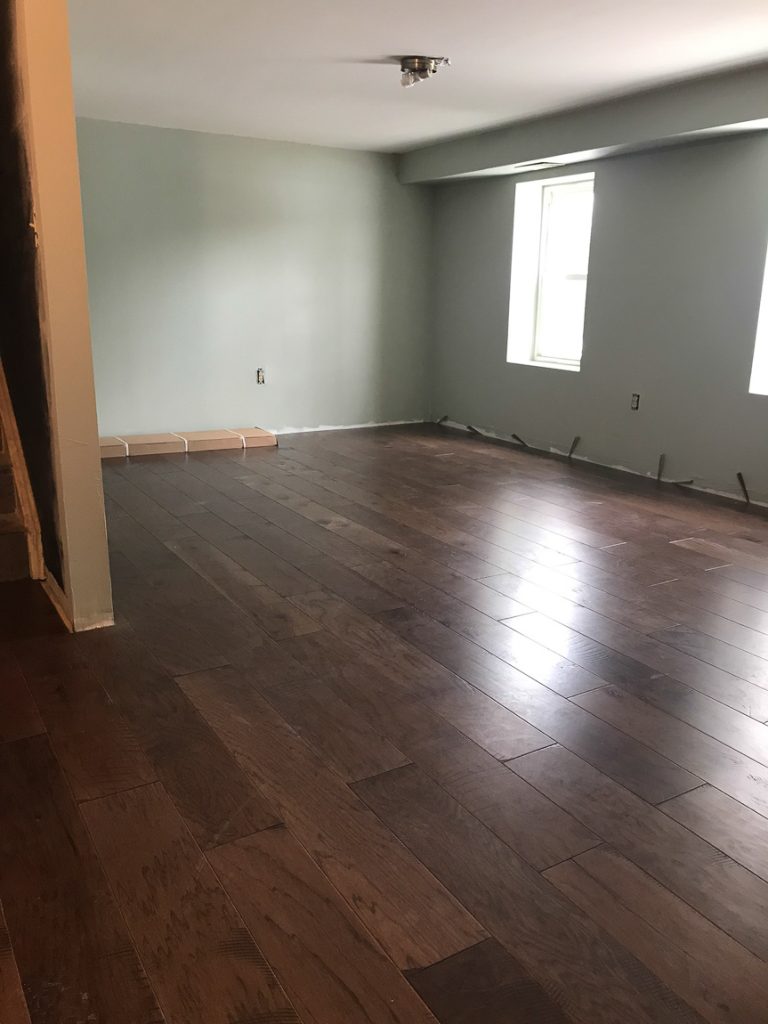
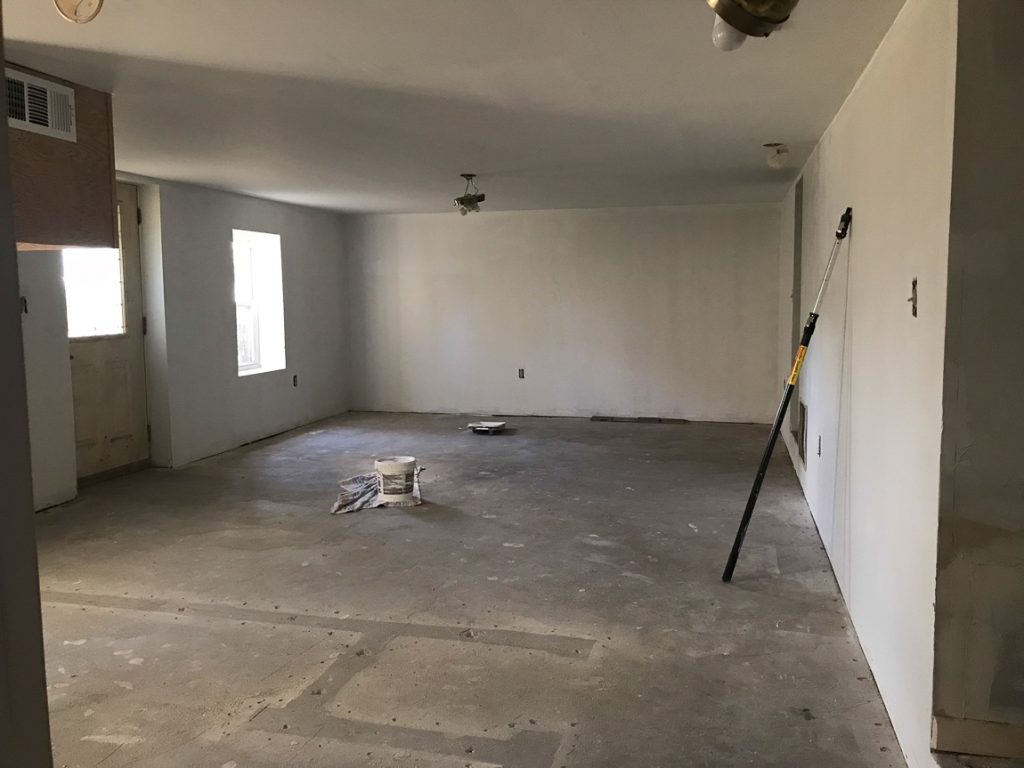
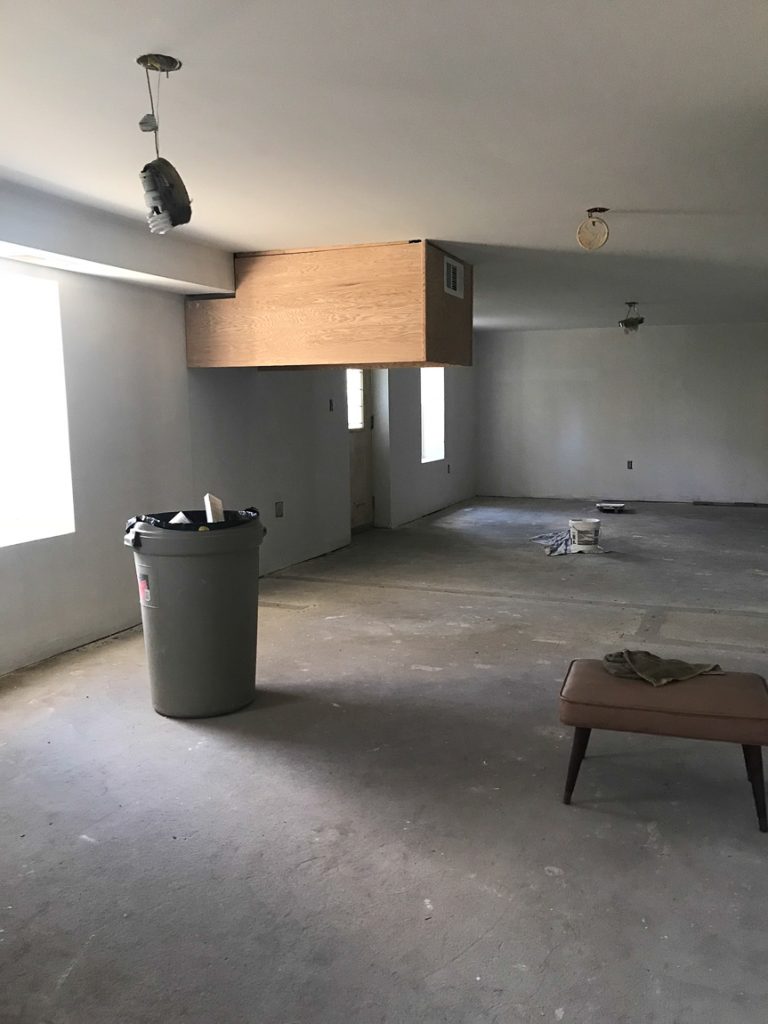
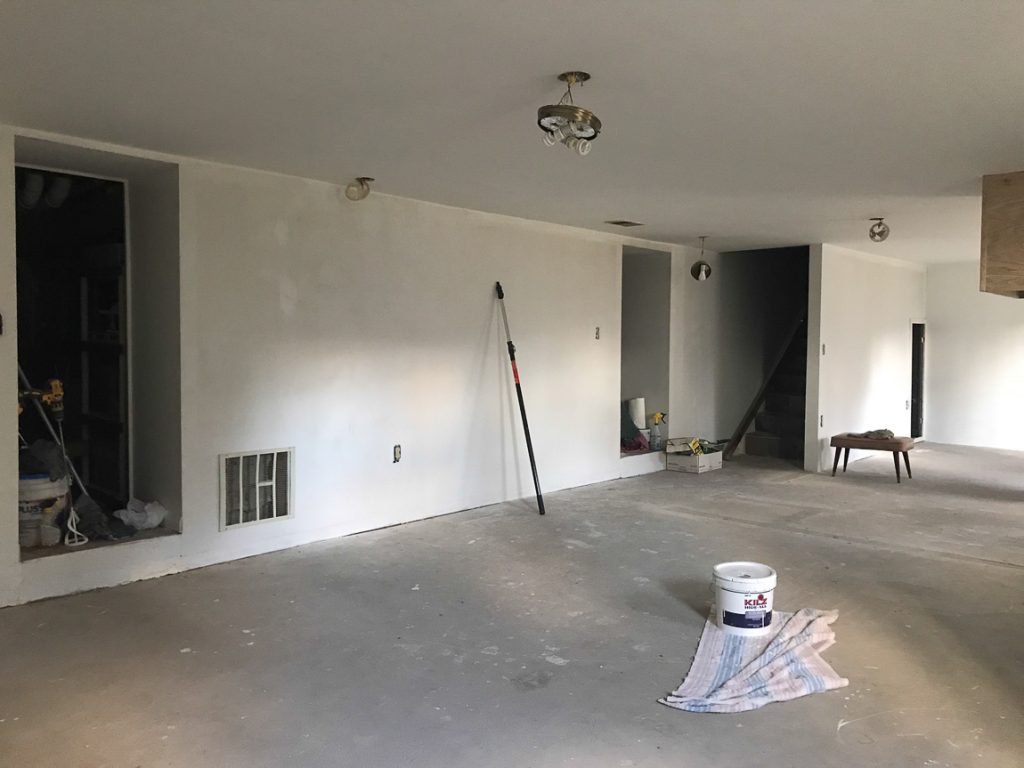
Progress!
Before:
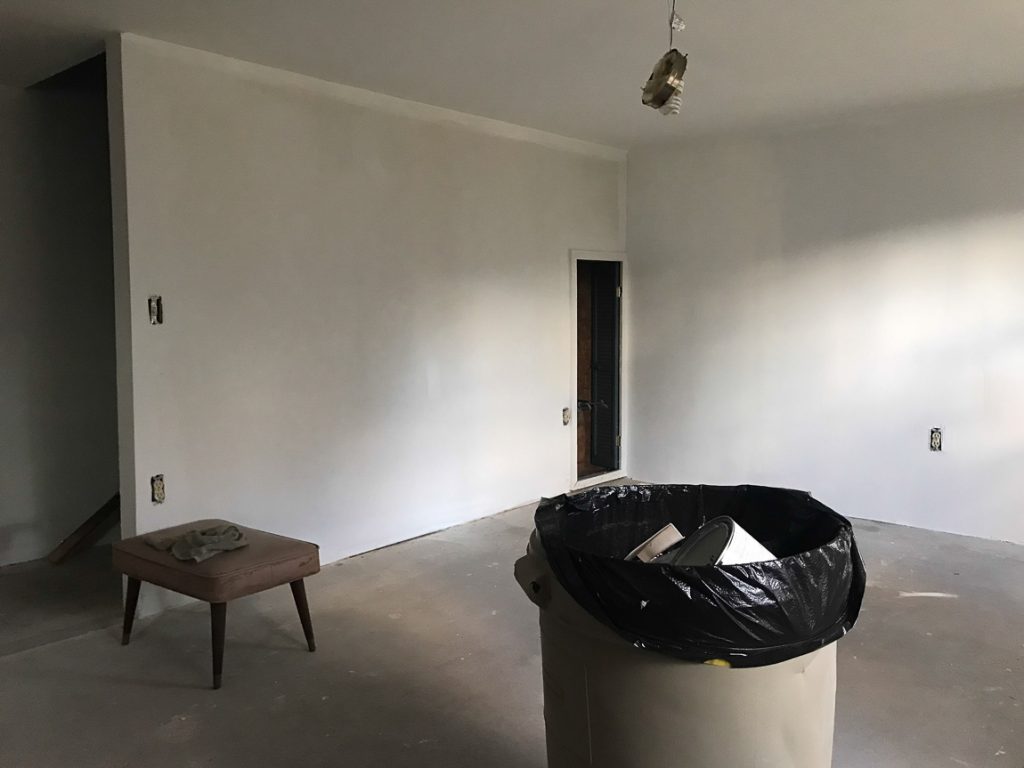
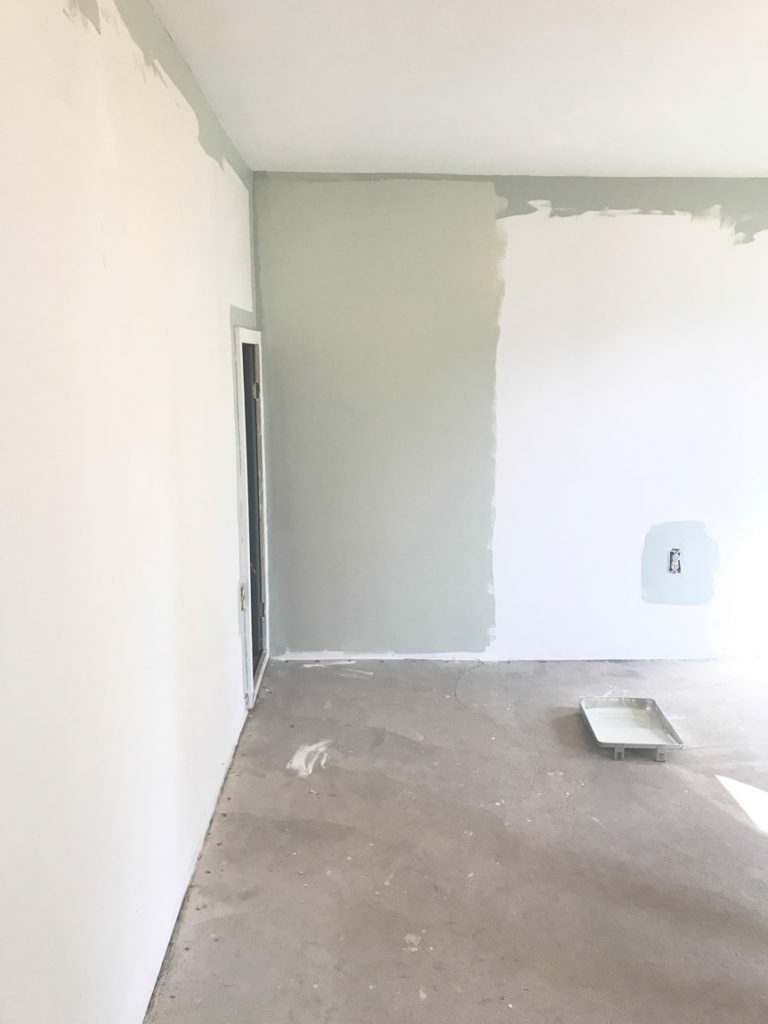
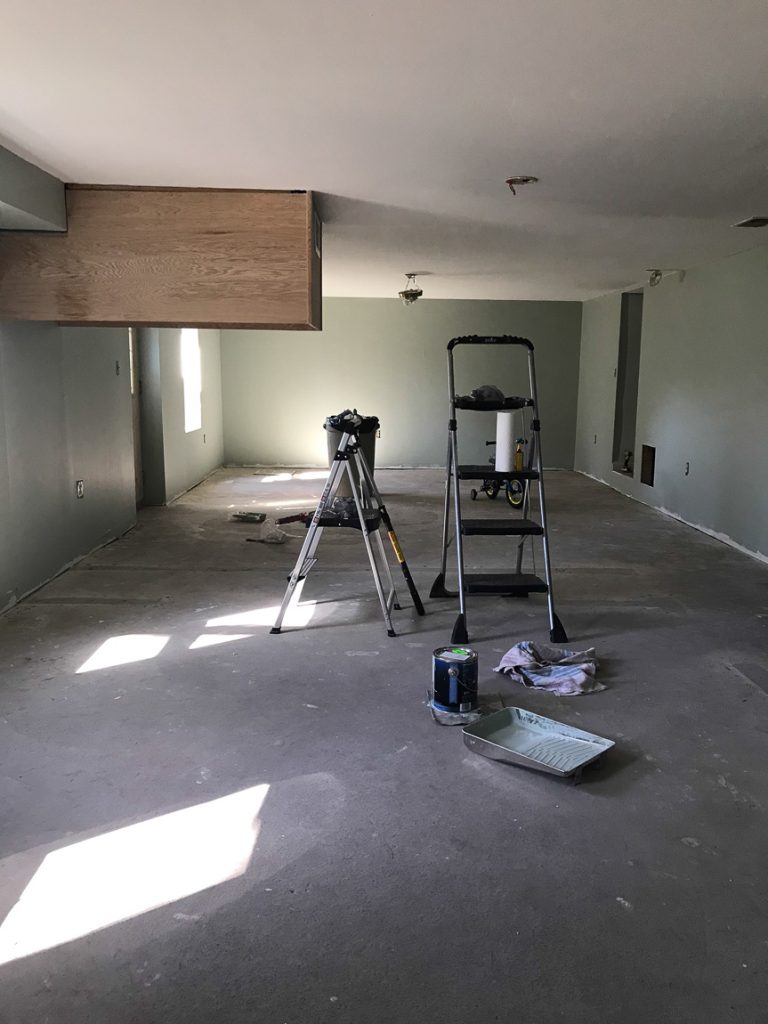
After:
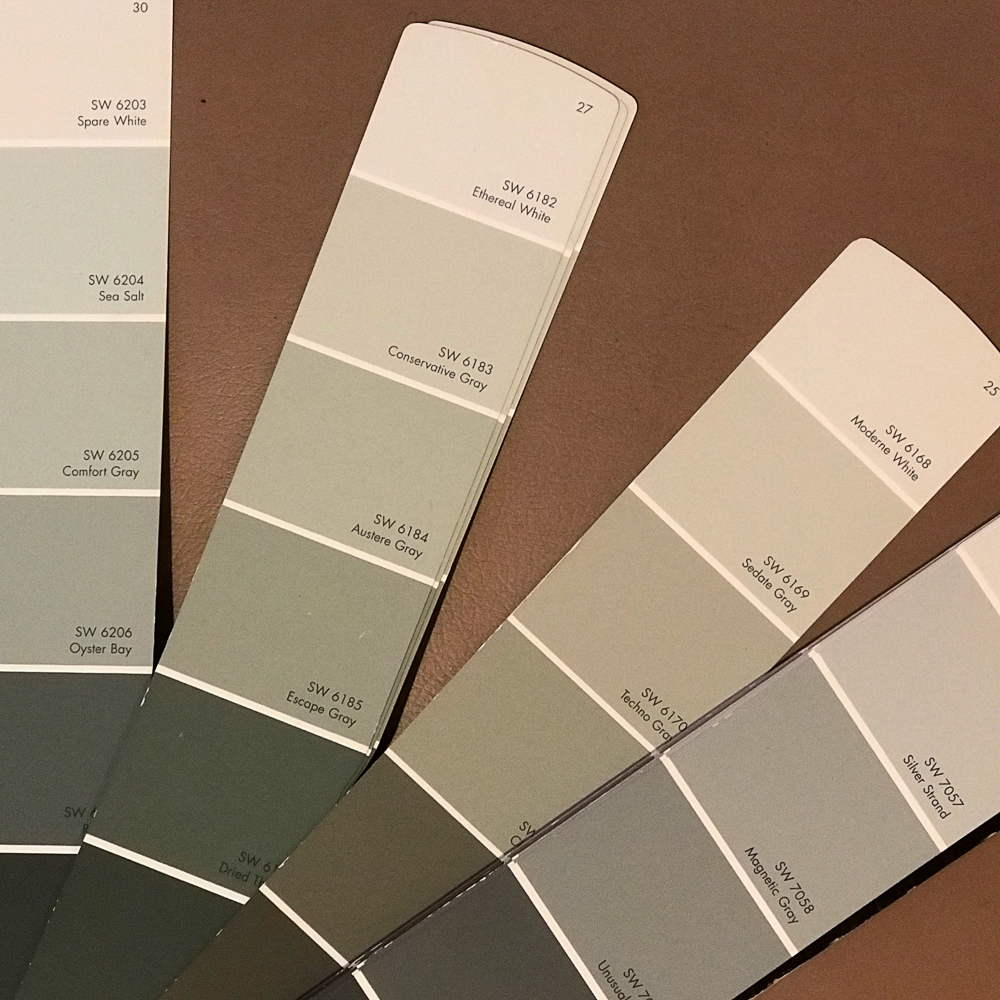
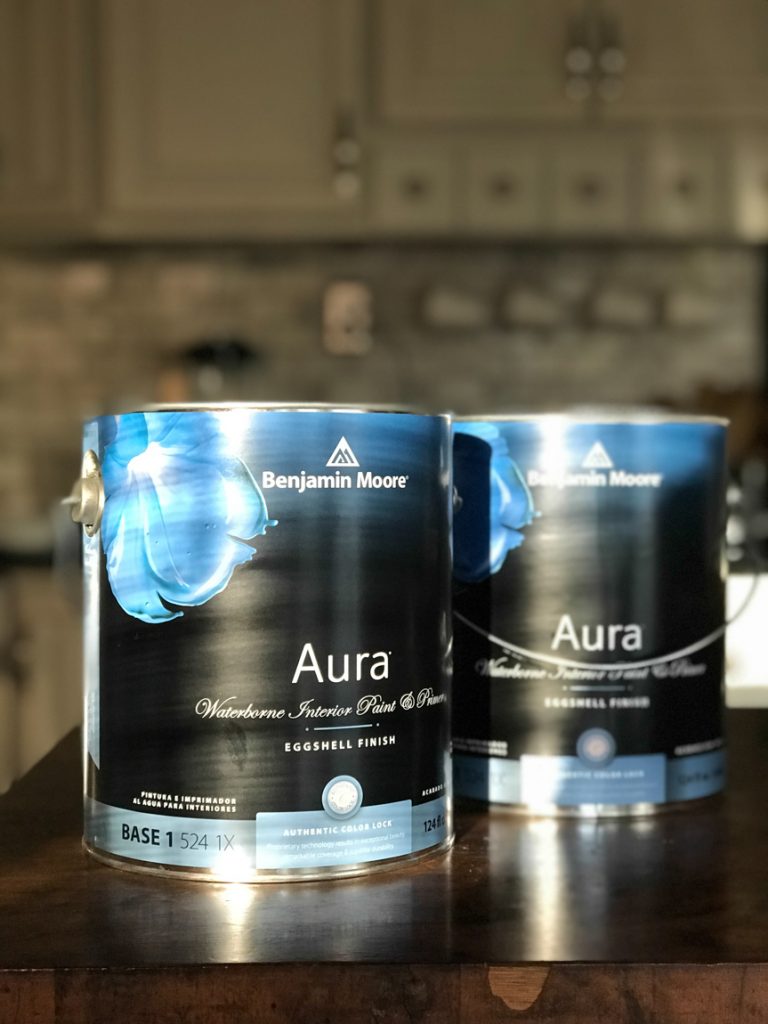
Next up – ceiling and wall paint! And hopefully tile soon! Stay tuned!
The building has so much historical charm. It’s about one block from our town’s Main Street. The bus stop is literally steps away. There are breweries, the YMCA, shops, restaurants, salons, florists, candy/coffee shop, holiday parades and festivals within walking distance. So fun! If renovation from blah to ahhhhh is your thing, stay tuned!
So subscribe and be reminded of updates as the renovations progress! I’ll share before and after photos, projects underway and updates, plans and design boards, sources and links as they relate as well as fun events going on in and around the downtown area. I’ll be using a specific hashtag on social media to keep things all neat and tidy and organized.
#helloredreno
I welcome your thoughts and ideas! And as always, thanks for your encouragement and support and for sharing in my joy and vision! Watch for #helloredreno !