DIY Ombre Balusters

Ever think about those boring stair balusters?

Martha Stewart

Meet: Angie from

Angie's Roost

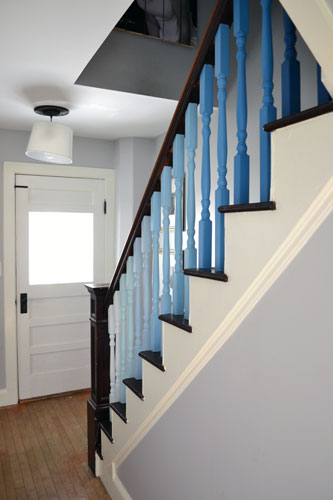
Angie and her husband bought a 100+ year old home in desperate need of some love and blog about the misadventures in DIY home improvement.  Angie’s project was the Pinterest-Martha-Stewart-inspired image above and here is her DIY result:

Gorgeous! When Angie first started this project, she hadn’t intended to use the same blue color scheme as in the Martha Pin-spiration photo but after color searching, a blue palette was the obvious choice for a home filled with many blues and sea foamy colors.

Her pictures are just as inspiring. But Angie does warn: this project is HARD for her 100+ year old, un-square, un-level home.

First step, choosing the colors:

Angie’s tips for choosing colors: So many blues! I’m addicted to the Valspar color options at Lowes, so I started the color selection process by selecting one section of the blues and bringing home ALL the chips in that section. I then chopped them up so I could “play paint chips”. And I played, and I played and I played some more. I originally thought I wanted to choose 16 different colors, one color for each of our balusters. But choosing 16 blues and putting them in ombre order proved way too difficult. Choosing 8 colors was hard enough. In the end, I chose two sets of three chips (you know…the paint chips come with 3 different colors on them with their own little ombre-ness to them). Then I just found two more colors, one really dark one and one really light one, to round out the field of 8.

It doesn’t take much paint. Paint samples (Valspar $2.94/each) are perfect for this project.

Angie didn’t want brush strokes to show up on the finish and used 1″ foam brushes to apply the paint. Three coats each.

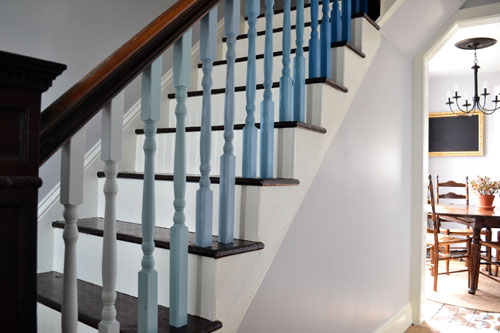
So pretty! Next step was installation. The balusters did get a little scuffed up by the table saw and during installation, but it is far easier to touch up a little paint here and there afterwards than to paint them in their entirety after installing.

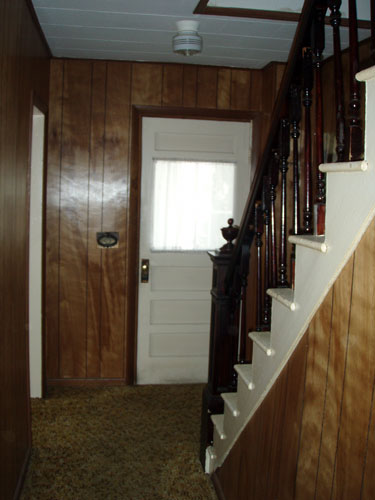
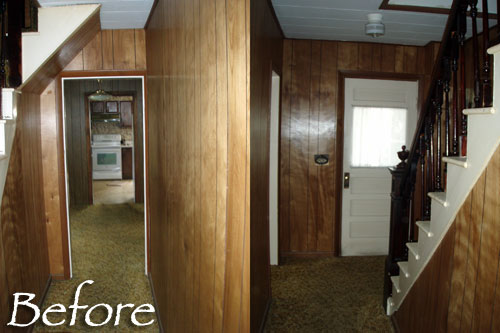
Before:
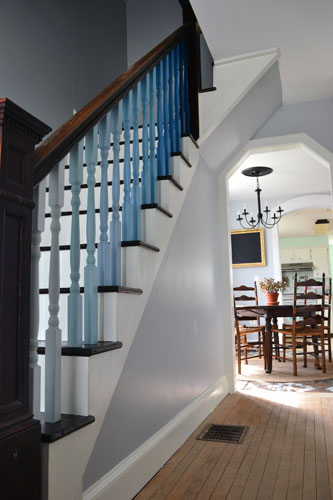
Amazing after:

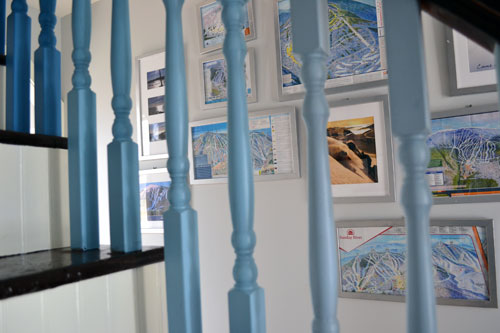
The balusters are a great complement to DIY ski map art and pictures on the entry gallery wall.

Again, before (old homes have so much character but they generally do look like this at one point in their history)…

And the beautiful, fresh and light after…


Want to see more DIY (home + wedding) from Angie? Pop over, introduce yourself and take a look around at Angie’s Roost.
DIY Show Off - FacebookDIY Show Off - TwitterDIY Show Off - PinterestDIY Show Off - Feed


Living & Dining Room before and after

Hi Blog Friends! I’d like to introduce you to Maggie from

The Reformed Ranch

A couple of years ago Maggie and her husband purchased a 1951 ranch in Texas that needed a lot of work. They knew it would require a lot of commitment, but they both love do-it-yourself projects {who doesn’t?!} and knew that they could tackle it on their own.

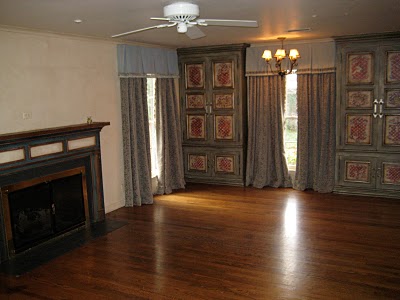
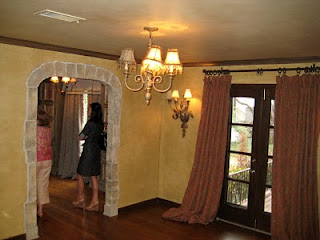
living room before

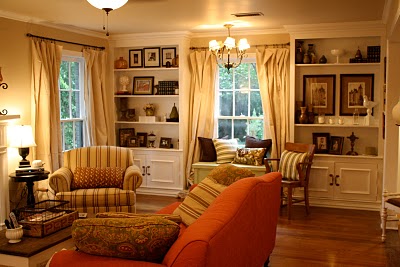
The room that needed the most help was their living room, which looked more like an Italian restaurant than a cozy country cottage. The amazing after…

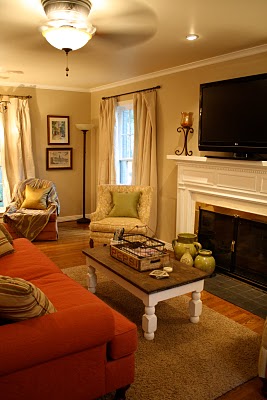
living room after

Their goal was for the space to feel organic, like it had been collected over time. Maggie found that by purchasing only the things that they love, the space, in turn, feels more cozy than if they were to go to one store and buy a lot of coordinating items.

DIY living room

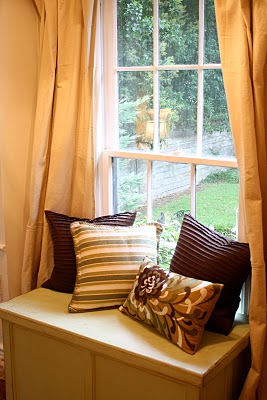
window seat

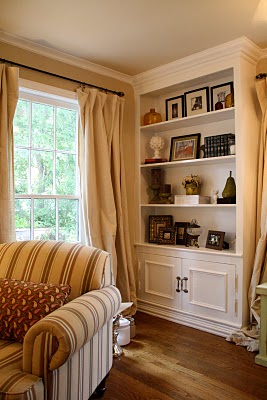
built in book case

Here are some more tidbits about the makeover:

  • The wall color is Olympic “Toasted Almond” in flat and the color on the trim, built-ins, and fireplace is Olympic “Ultra White” in semi-gloss
  • The decorations are from a variety of discounted home stores including TJ Max, HomeGoods, Tuesday Morning, Target, and even Walmart. They also found a lot of great things at resale and antique shops. {Sounds just like my own decorating plan of action!}
  • The curtains are actually painter’s drop-clothes from Lowe’s. Maggie wanted something light and airy, but also didn’t want to spend a ton of money since they needed 8 curtain panels. They fit perfect in the room, and the $9.99 price tag wasn’t too shabby either.
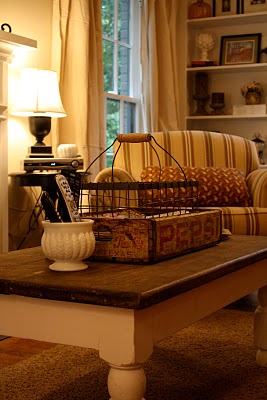
rustic charm
I love the rustic/vintage details.
~*~*~*~*~
The dining room was also in desperate need of some help. The walls were also faux finished and the room was just dark and dingy.
dining room before
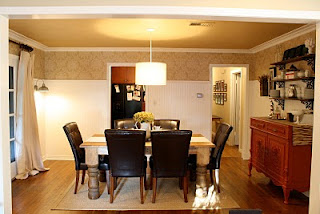
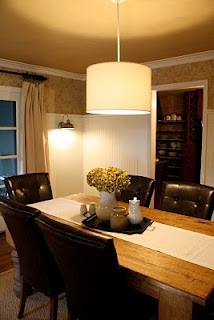
Maggie and her husband installed beadboard for some cottage charm. They installed wallpaper on the top portion of the wall which gave the room the elegance it deserved as a dining room.
dining room after
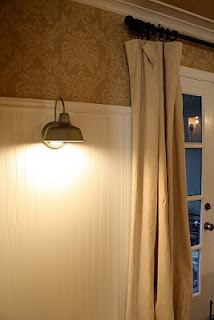
Because they’re fans of an industrial farmhouse look, they installed two industrial outdoor light fixtures on the wall.
farmhouse sconce lighting
The chandelier is a DIY West Elm inspired knock off.  $10 price tag by using an old lampshade and a lamp kit.
diy drum chandelier
They purchased the buffet from an antique store and painted it a coral shade of red to coordinate with the couch that is in the adjoining living room.
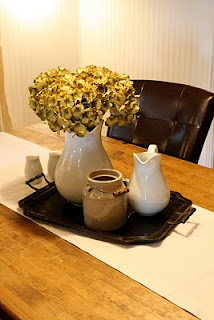
charming centerpiece
~*~*~*~*~
Beautiful transformations! See more DIY from Maggie at
The Reformed Ranch

DIY Show Off - FacebookDIY Show Off - TwitterDIY Show Off - PinterestDIY Show Off - Feed


Dining Room Plate Wall

I love the look of plate walls – a great way to fill a wall with so many options to fit your own personal style.

Meet: Hilary from My So-Called Home.

dining room before

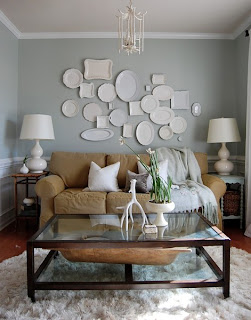
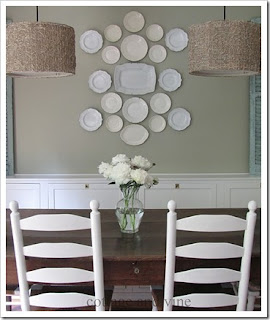
Hilary shares my issues with indecision. What to put on the walls? She finally realized it would be better to put something there and change her mind later on than to do nothing at all. And of course, lots of Pinterest browsing helped, specifically these two lovely rooms:

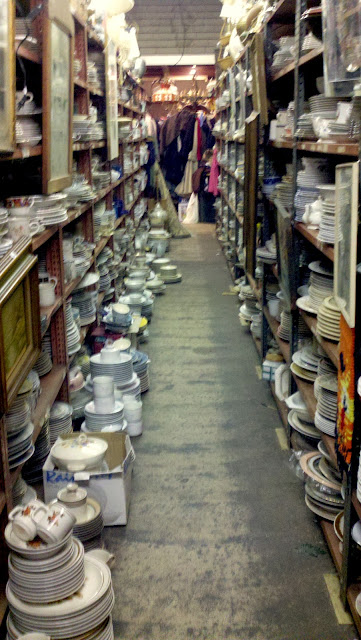
Then her idea became a reality. Now all she needed was a whole mess of random plates and she knew exactly where to get them– the same place she scored her awesome campaign dresser. This place has more dishes so many dishes (how dreamy!) Most of the dishes Hilary got were about 50¢ each.

Hilary washed and dried and numbered (masking tape) her plates.

Secret: One of her plates is not actually ceramic but this sweet little incredibly tarnished silver dish that took a couple coats of primer and white paint to fit in with the rest.
 

Hilary found adhesive cloth hook hangers in the “hooks and hangers” section at Lowe’s.
Hilary used paper plates and paper patterns to create a template.

Before:

And After!


Who knew that a few thrift store plates could create such a big fun impact?

Hilary is also happy to report that three moons have passed since these plates went up and they’re all holding strong.

I love Hilary’s collection of plates. I also love every other dining room detail. A beautiful appetizing dining area.

Do you have a plate wall?

I have a dining room plate wall too. Let me clean up in there and I’ll share an update in the near future. Hilary, thanks for sharing your beautiful dining room, inspiring plate wall and tips for a hanging! Pop over to see more budget friendly LOVELY DIY at My So Called Home.
DIY Show Off - FacebookDIY Show Off - TwitterDIY Show Off - PinterestDIY Show Off - Feed