A Multi-tasking, DIY'ing Super Grandma

As usual, I’m so impressed with your DIY projects.  Sometimes I wonder if YOU all should be writing my blog.  I received this note in my inbox.  It made me smile. It made my day.  Notes like this get me every time.  
I just love your blog and it inspires me. I have done several posts of things I have done and I would like to share. Please take a look at my blog and see if there is anything you like. Thanks, Janis
Of course I clicked the link and

HOLY COW!  DIY heaven!
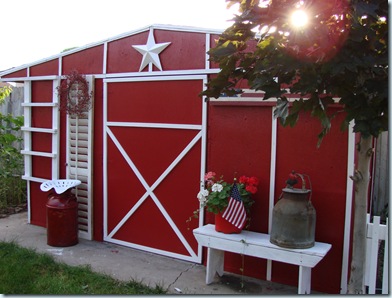
So, what did I do?  I did what any curious DIY’er would do.  I took a gander at her blog , went through the whole she-bang (back to the beginning of ’09 anyway) and I’m showing off a few of my favorite projects for “Grams”.  Click the links for more details. Oh – and her writing will make you “lol”.  I loved reading about her family and adorable grandchildren.
DSC05093
Before:


IMG_0892

Beautiful After:

DSC05052

Before:

DSCF2259-1

Amazing After:

DSC05020

DSC04901
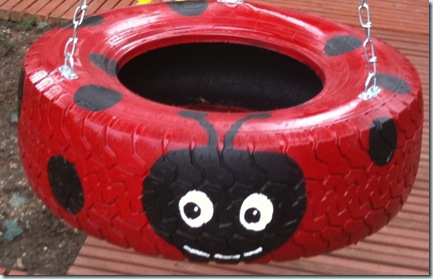
How fun is this swing?  Brings back childhood memories although the one I rode was just a plain ole’ tire.

IMG_0679

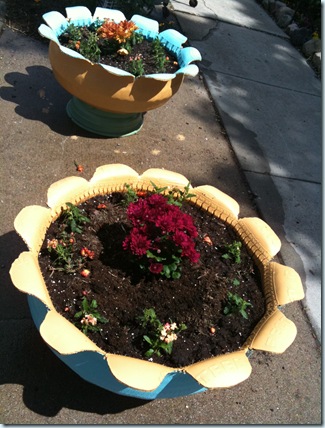
And speaking of tires, check out these tire planters!  
IMG_0653
She’s also SEW talented!  

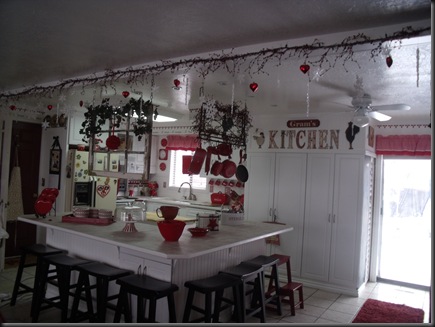
And I love her red and white kitchen:
DSCF2691
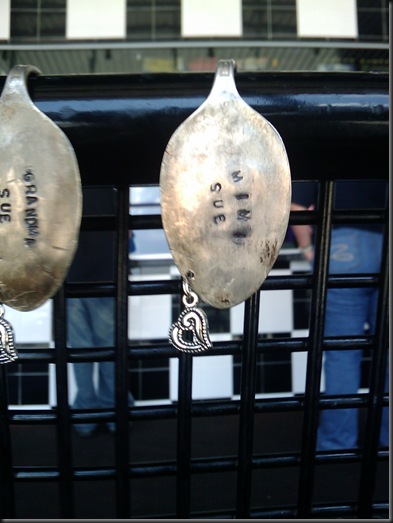
Spoon Bracelets!

2009-08-14 13.25.47

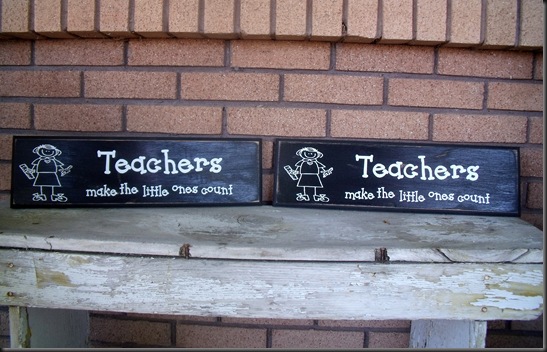
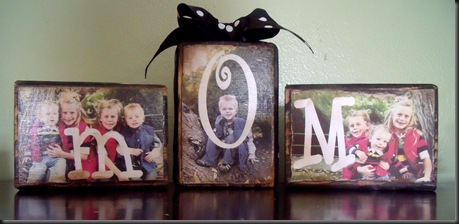
She makes these awesome gifts and more too!

DSCF1845

DSCF1557


Well?  What do you think?  Pretty amazing stuff, huh?
Thanks for sharing your creativity and stories, Janis!  🙂

Don’t forget to enter the Gorilla Glue Giveaway!
All you have to do is be a follower and comment!
If you love to DIY – I know you’ll LOVE this prize pack!
More details HERE as well as info on an upcoming DIY Club Inc. party!

Kitchen Makeover at Adventures in Creating

While I’m trying to get Mr. DIY on board for doing a temp fix up in our ugly kitchen until the day we have enough money in the budget for our ‘dream’ kitchen, I thought I’d share this beautiful kitchen makeover from Rachelle (isn’t that a great name? lol!) at Adventures in Creating.  Here is her post:

Blast From The Past: Kitchen Redo

I started this blog only a few months ago, but there I’ve done other DIY projects in the past. One of the biggest was our kitchen. We live in a cute little 1930’s cottage in San Antonio. We love the house’s vintage charm but the kitchen was hard to deal with. It looked ok but wasn’t very functional.


This was the only counter in the whole kitchen. It was only 1′-4″ deep, your counters are probably 2′. We only had 4′ of actually counter space, and very little storage. I did make that colander light above the sink, I was sorry to see it go but it had to in the name of function! That door you see in the background lead to our bedroom. Good for the occasional midnight snack but not good when you smell garlic all night long in your bed. And there was no dishwasher by the way…
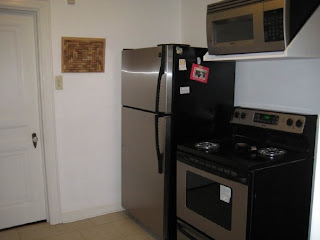
This is the other side of the kitchen. There was no counter space for me to put pots or ingredients when I cooked on the stove. So I would have to walk back and forth to the counter constantly. And the microwave was mounted really high up. Seriously? How did people in the 1930’s do it? They cooked all the time and didn’t go out to eat like we do. I love to cook but it was tough in this kitchen. So after about a year of this we decided to take the plunge and renovate.


The first thing we was close up the door to the bedroom and center the stove on that wall instead. The plan was to create a U-Shaped configuration of cabinets to make the kitchen more functional.

We created a “cubby” hole for the fridge to slide into, this way it wouldn’t take up as much space in the actual kitchen.

We tore out the cabinets and this is what was behind them! Wow! Yes our walls are made of wood. It makes hanging stuff easy because you never need to find a stud but difficult as well because the wood is so hard! (Petrified from years of San Antonio heat I guess.) We had an electrician come and rewire everything. It was also interested washing all our dishes in the bathroom sink.


Cabinets going in! We found these at the ReStore (after many weeks of searching).

Things are coming together! During this time we ate a lot of food that I had cooked beforehand and frozen, this way I wouldn’t have to worry about cooking and we didn’t need to eat out all the time.


Counter tops and sink! And a dishwasher! I didn’t realize how much I would miss having a dishwasher until I didn’t have one for a year.


We got an awesome deal on the glass tile for the backsplash, it wa leftovers returned from another job. Since our kitchen is small we didn’t need that much. We installed it ourselves to save even more money. I was pregnant at the time so I think this would have been an easier task if I didn’t have a big belly in the way while leaning over the counter. Oh ya P.S.- this might be common knowledge for most people but I didn’t know. Wipe off your grout in sections, don’t wait until you have half the wall done. It will be almost dry and almost impossible to get off! My pain your gain!


Check out our faucet! It’s one of those single handle ones!


We kept the original floor, it was in decent shape and by keeping it we saved a lot of money.


We installed the microwave ourselves as well. It was a chore, of course we had no idea what we were doing so maybe that’s why.


The fact that our kitchen is small also helped keep costs down!


So- we went from a practically unuseable kitchen to one that is totally functional and fabulous! I hope you enjoyed reliving our kitchen reno with me.
Gorgeous, huh?  I’m so amazed by all of the DIY talent in the blogging community.  Thank you for sharing your hard work, Rachelle!  I’m inspired.  
Visit Rachelle to see more of her amazing DIY projects! 

Have you remodeled your kitchen?  How was it living with chaos or being unable to cook during the process?  Mr. DIY is my own personal iron chef so he’s a little hesitant for me to start tearing things apart but really – it’s such an eyesore in this old farmhouse and looking at ugly linoleum and blue counter tops and orangy-oak cabinets is depressing. Any advice?  

Jones Design Company

Emily from Jones Design Company is a sort of new blogger and you’re going to get your DIY/decor fix when you meet her.  Her entire home is gorgeous and I’m so honored to share a peek with you but then you have to head over to her blog to check out more of her DIY and decorating talent.  Be prepared for lots of pictures, i.e. eye candy but I just couldn’t pare things down. 

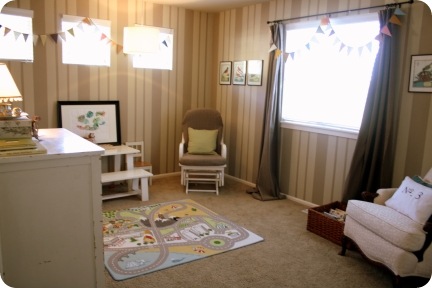
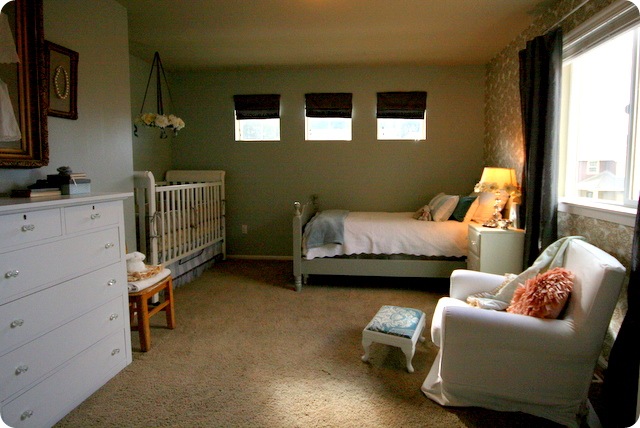
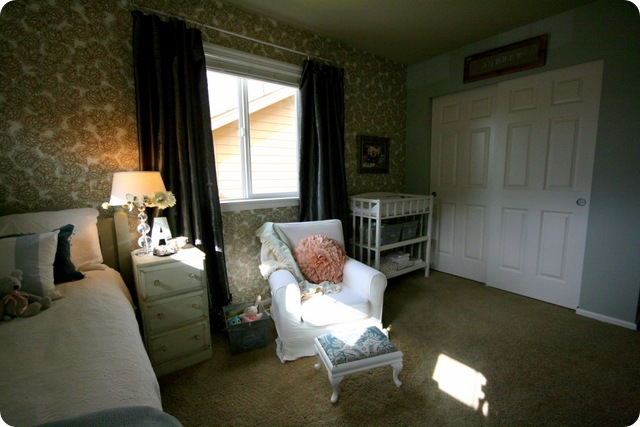
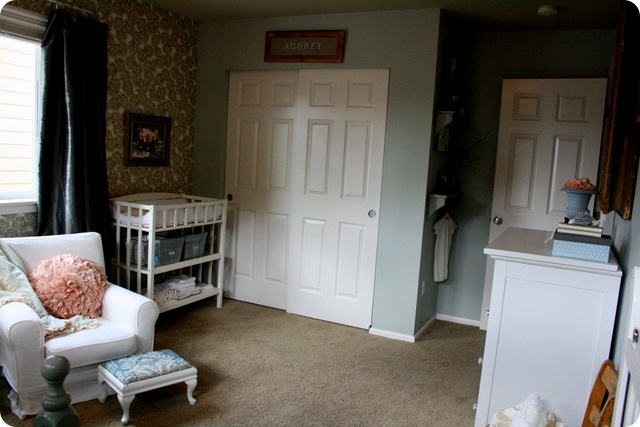
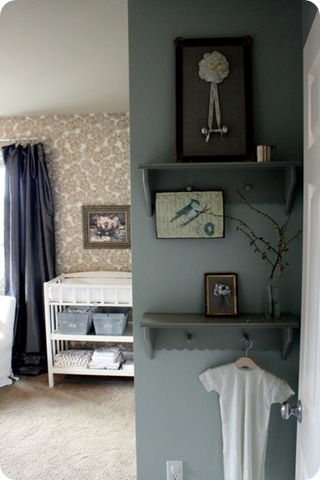
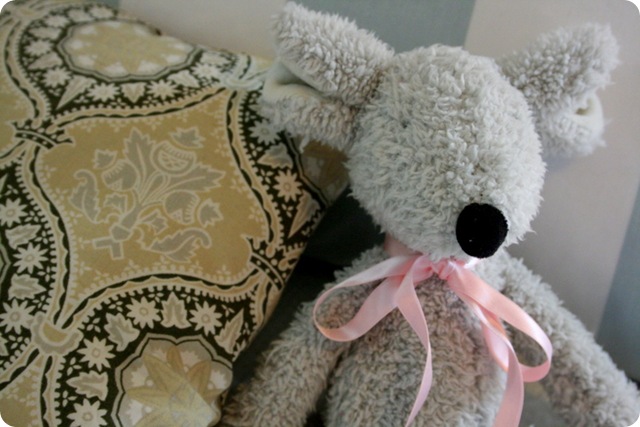
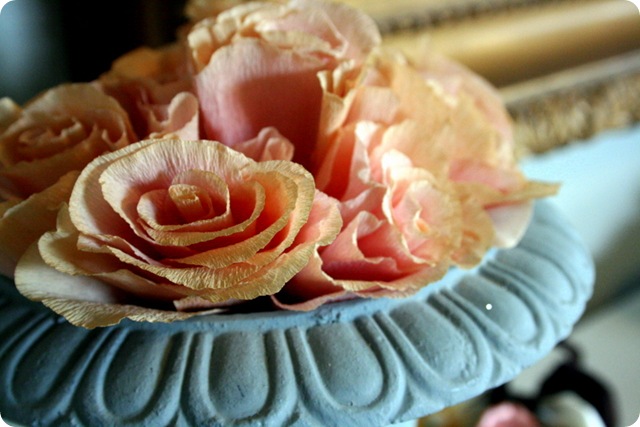
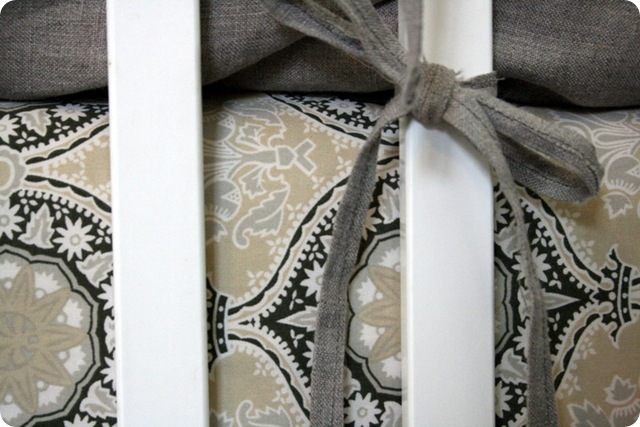
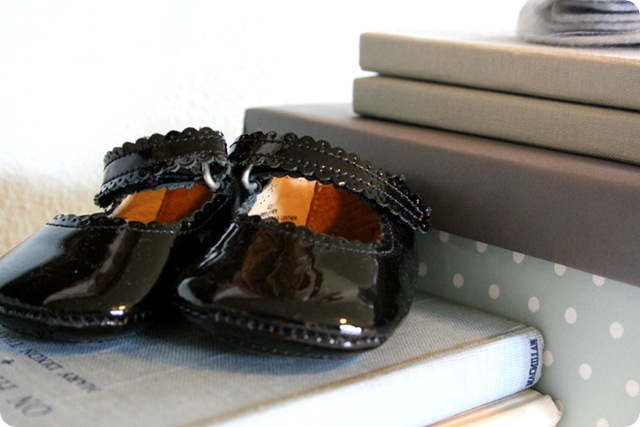
Here is her daughter’s nursery.  Love the soothing muted color scheme.  It’s so pretty and so comforting. And the vintage details make me want to live in this room.
My heart is happy every time I walk past Audrey’s nursery. The colors, the patterns, the fact that it is the girliest place in our house.  At first, when Ryan saw the color I was asking him to paint, he questioned me. Why blue? It was my one chance to go pink, and I chose blue.  I guess I’m just not as crazy about pink as I am blue. I’ve realized as I’ve spent time in her room, that if I could decorate my home any way I wished {without considering the four males that reside with me} it would look very much like our sweet Audrey’s room.
So let me welcome you to the nursery {beware, there are many photos!}
First, the before.
IMG_6006  windows
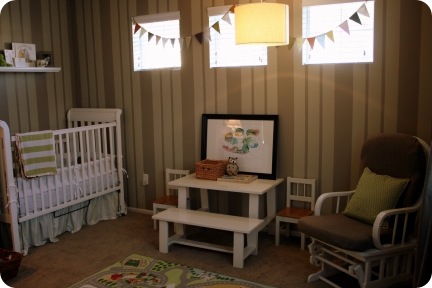
This was previously a boy’s nursery {go figure} and I loved the stripes. I originally wanted to use our guest room as the new nursery and us this room as the guest room so that I wouldn’t have to paint over the stripes, but that didn’t happen. So goodbye stripes.
And here it is now:
 IMG_1234
IMG_1287
IMG_1243  
IMG_1286
IMG_1289
 IMG_1284    IMG_1283   IMG_1293IMG_1296 IMG_1297IMG_1299IMG_1303
IMG_1290
IMG_1314IMG_1304
 IMG_1307IMG_1271IMG_1306  IMG_1328IMG_1308IMG_1310 IMG_1313  IMG_1316   IMG_1322  IMG_1326
We’re still missing a few key elements {a chandelier – I just haven’t found the right one; a large sheepskin rug; a canvas painted with her scripture verse on it; a few more pillows}, but it is as good as it will get for today. The rest will happen over time. I’m learning to be okay with that …
Some of my favorite things:
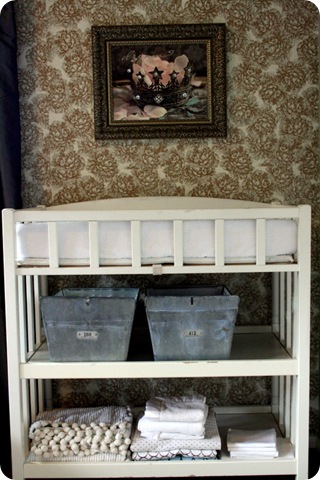
:: the wallpaper {actually flat sheets of gift wrap that I have adored for a long time}
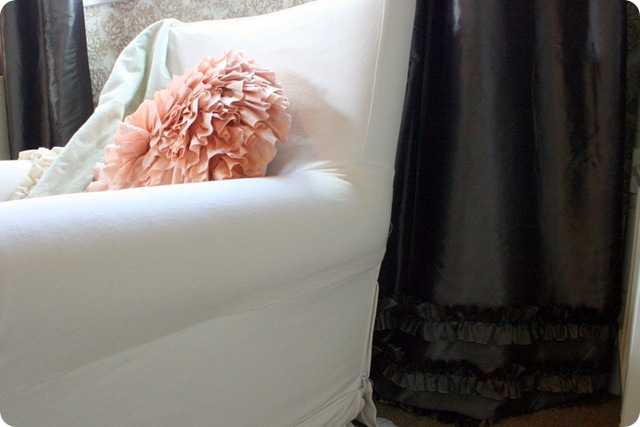
:: the ruffles on the curtains
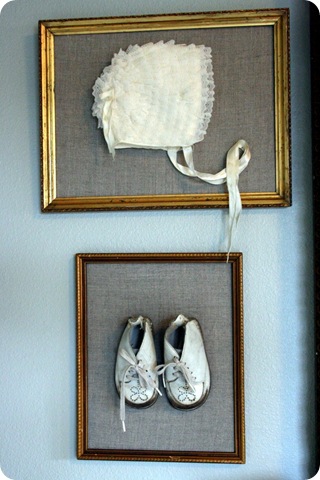
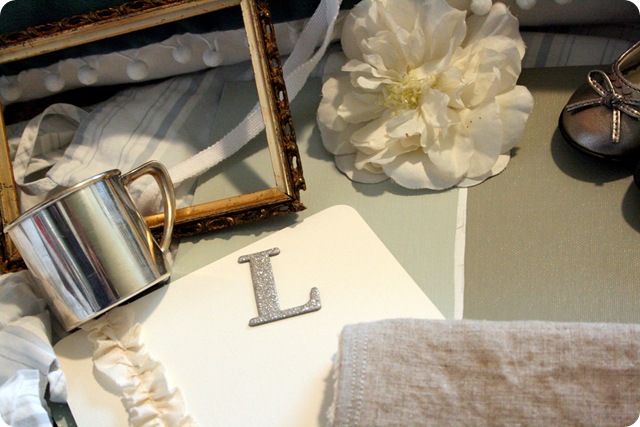
:: the old gold frames {from my grandparents’ collection. They passed before I really knew them, but I think we would have gotten along beautifully. Both were actors and artists – my grandfather did set designs for theater, my grandma taught acting classes to Judy Garland. My mom mentions often that I would have loved her home growing up – glamorous and eclectic at the same time.}
:: the vintage little dresses {I bought one before I was even married and the other was my mom’s}
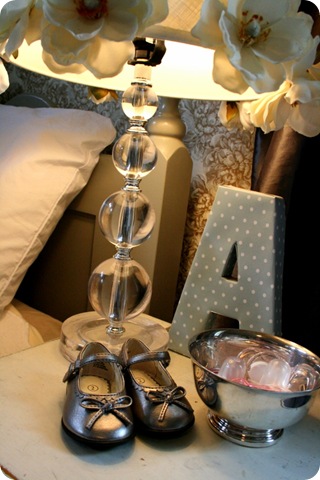
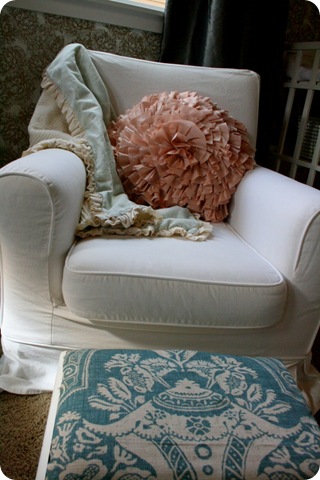
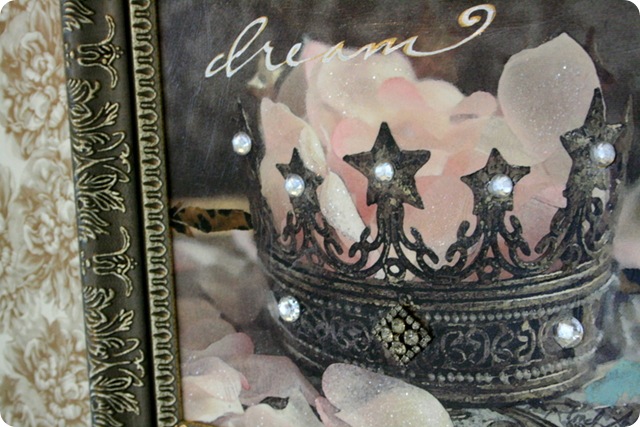
:: the pink ruffle pillow {I was not planning on putting pink into the room, but I found the pillow and then my mom gave me the crown artwork and it just came together.}
I really love all of the room. I was concerned that I had a vision that I wasn’t going to be able to translate into real life, but I think I got it pretty close.
IMG_0090

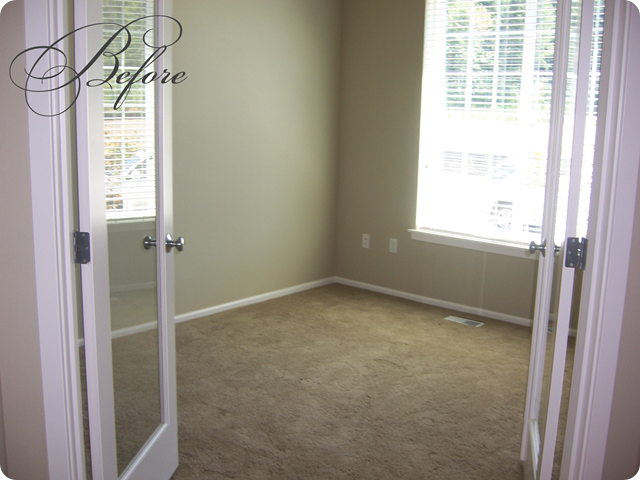
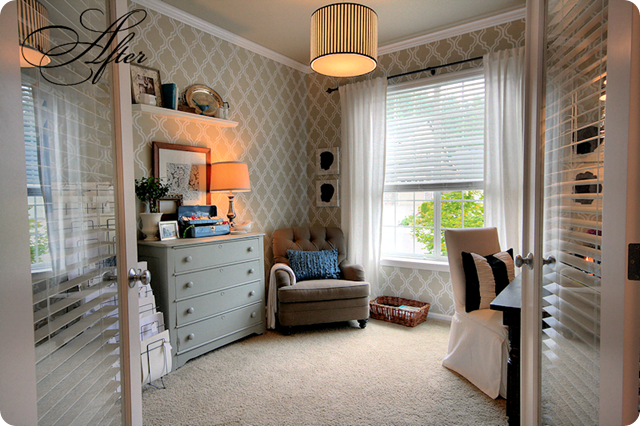
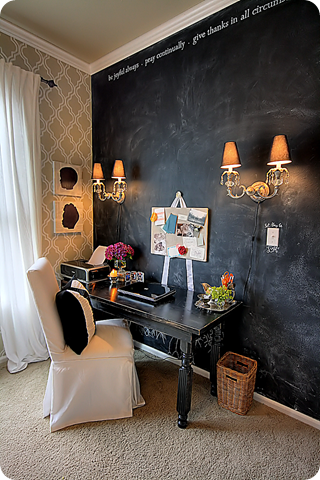
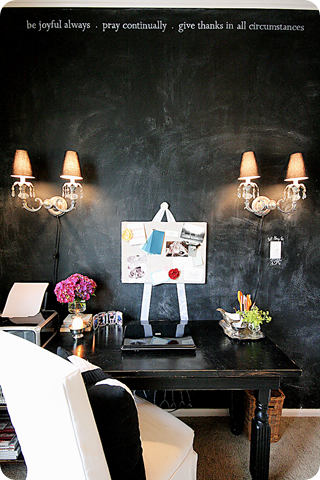
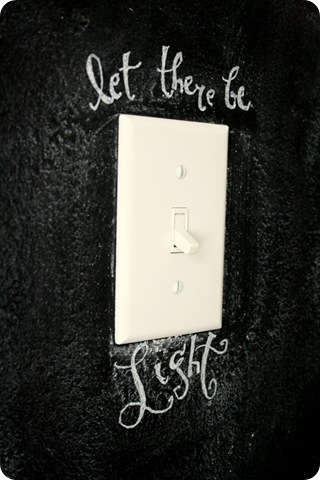
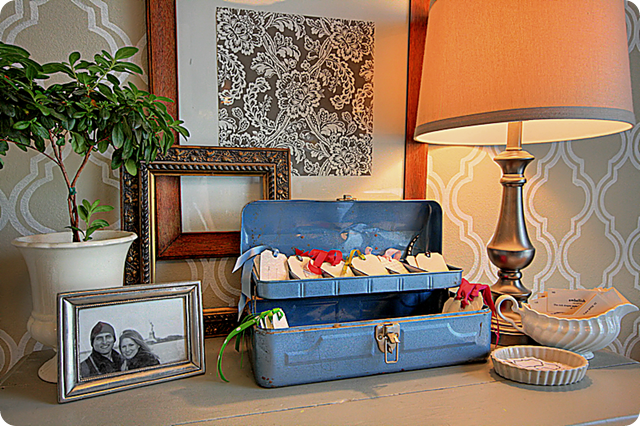
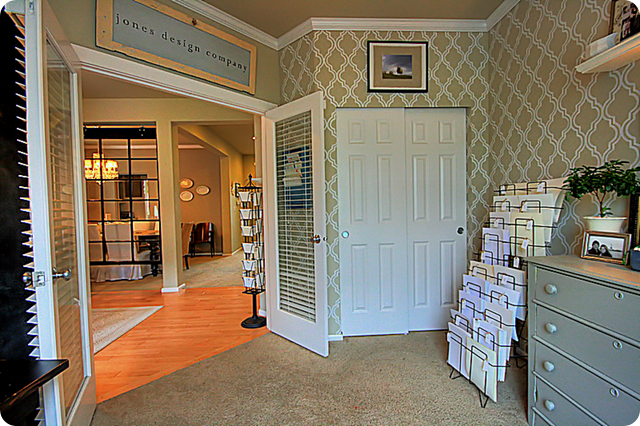
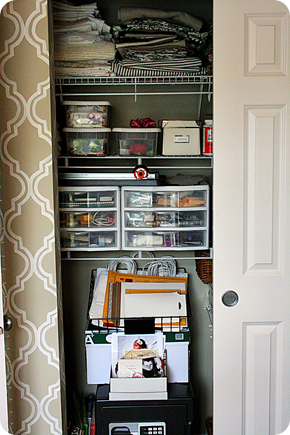
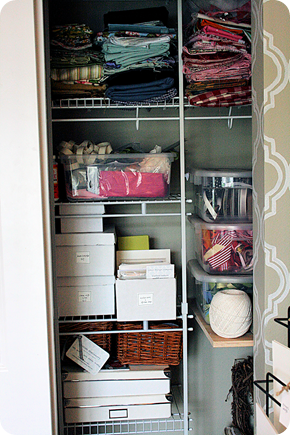
So, I wanted to live in the nursery but then I saw her amazing office transformation.  I just love Emily’s style.  Pretty, feminine details and the ‘painted wallpaper’ is stunning (tutorial HERE) and my office needs a chalkboard wall.
When you walk in the front of our home, to the right is this room.  It started as my office, then we switched it to be Ryan’s office, then a sitting room and now back to my office {can you tell we’re a little fickle about decorating?} 
Anyway, here is the room when we first moved into our home.
office before     
And, after hours of painting and a little fluffing, here it is now.
officeentrynew
I wrote about the start of the project here & about the chalkboard wall here.
officedesk
desk
boysphoto
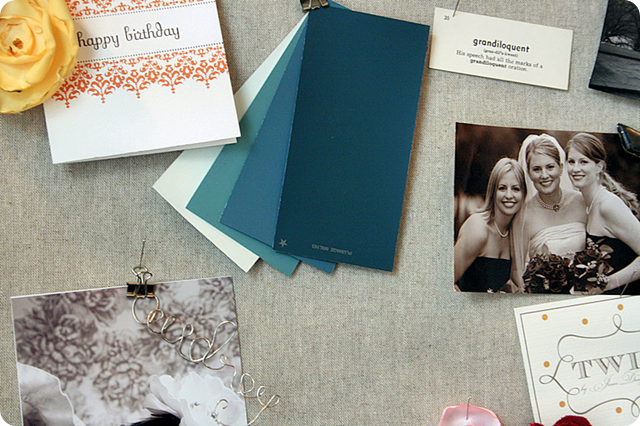
officebulletinboard
IMG_2436
wall
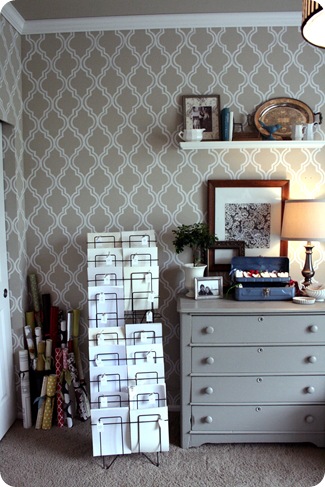
 dresser         
closet
closetleft   closetyourotherleft 
   IMG_4461 
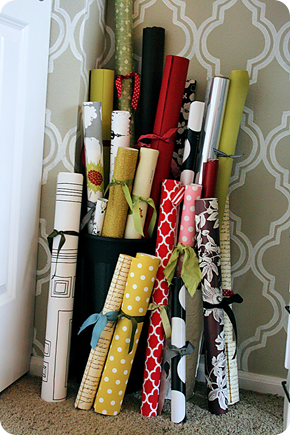
paperrolls  IMG_4454
The self-induced motivation seemed to do the trick {albeit a few hours late}.
One more then you’ll have to visit her at her blog for more decor magazine worthy living.  Her dining room is by far one of
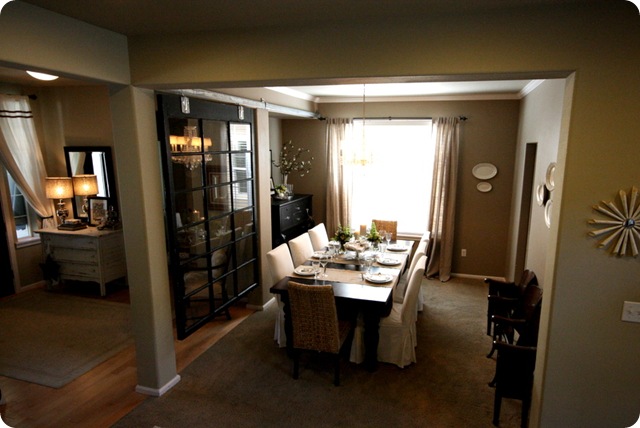
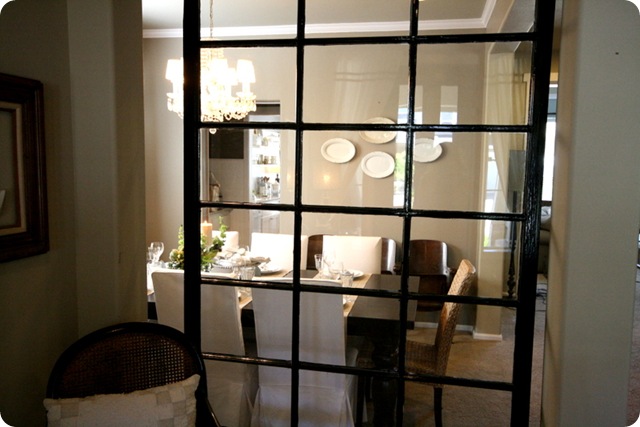
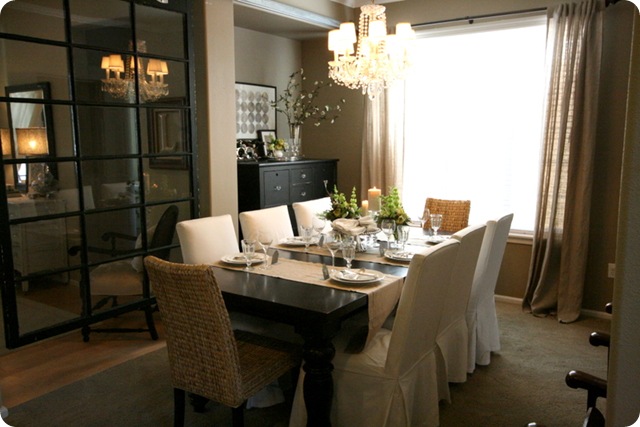
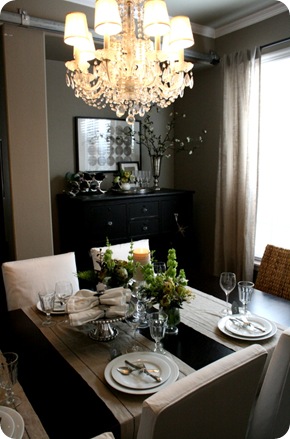
my favorites.  I agree with her.  Barn door tracks are so cool and we plan on using one for a French door in our dining room that leads to our office but now she has inspired me.  We have the perfect spot for a big beautiful window too.  I love the glam-country atmosphere in here:
The first room you see when you walk in our front door is the dining room.
IMG_3413
While we don’t use it often, it is such a luxury to have when we’re hosting a big party or holiday meal {in fact, my mom got engaged around this table at our Thanksgiving dinner last year!}
We had been wanting to do something to separate the space from the entry and when we saw this window at our favorite salvage shop, we knew it would be perfect {if not totally impractical}.
IMG_3418
Ryan hung it from barn door tracks so that we can slide it open if we need to {but mostly just because barn door tracks are cool}.
IMG_3416
Fortunately the boys have not paid much attention to the gigantic hanging single-paned window because old window + three rambunctious boys will never equal anything good.
 IMG_3396
IMG_3397
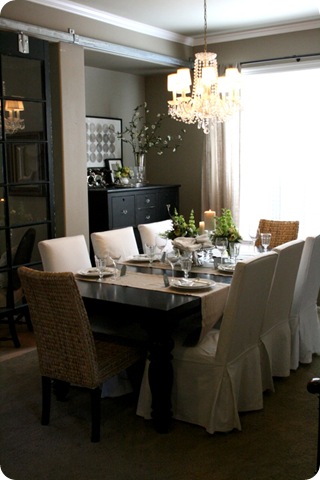
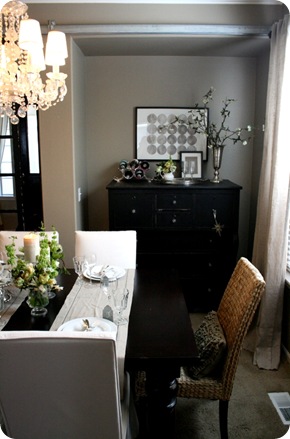
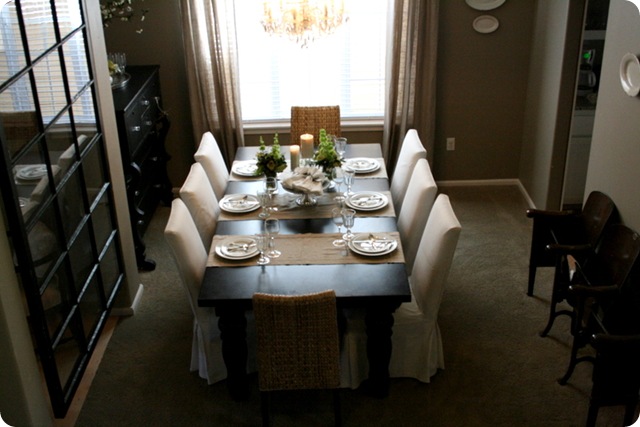
Our massive table {shown here without the leaves} is from Restoration Hardware {bought at the outlet store for a bargain}, the chairs are slipcovered Parsons from Ballard Designs and the seagrass chairs are from IKEA {although I don’t see them on the website so maybe they are discontinued}.
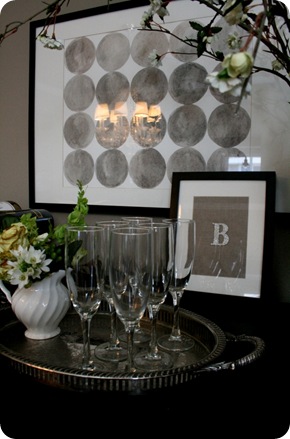
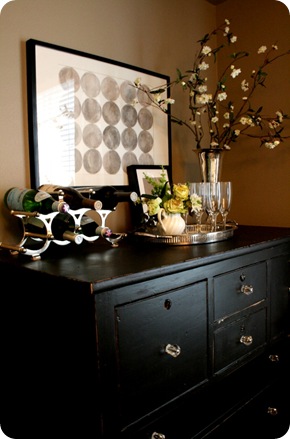
The big dresser {affectionately called ‘the black thing’} in the corner is one of my favorite pieces we have. It swallows our linens, napkins and serving pieces.
IMG_3392   IMG_3403
The chandelier is also one of my favorite things … crystally, sparkly and old. We took it from our old house and guess it is from the 1950’s {although now that I think about it, we really have no reason to think that. Regardless, it is great}.
IMG_3402   IMG_3407   
IMG_3391    IMG_3405 
IMG_3408   
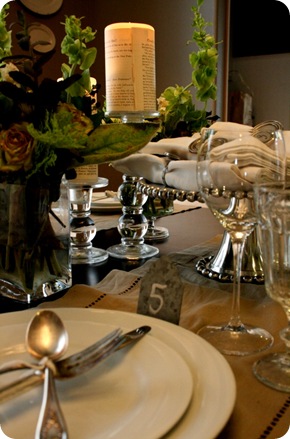
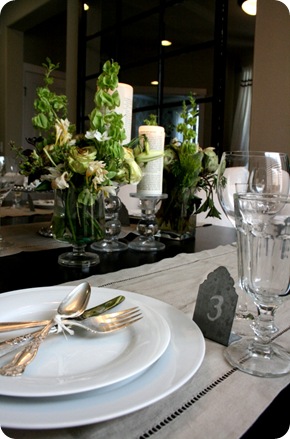
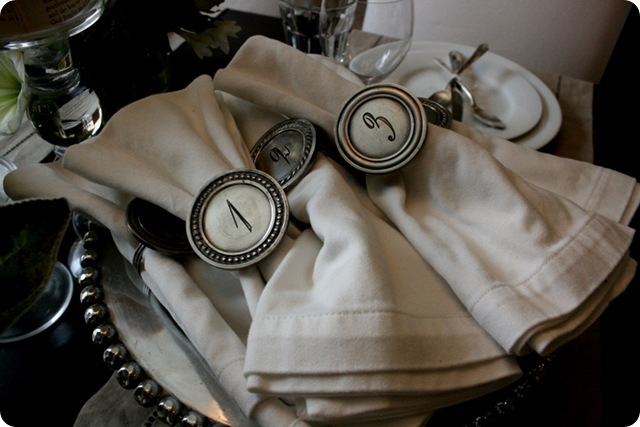
The table is all set … I think we need to have a party!

I almost don’t want to share this with you because it lessens my chances but she is having one amazing giveaway! 

Thanks Emily for sharing your gorgeous home!  I have to tell you that I am so inspired.  Your decorating talent is simply beautiful.