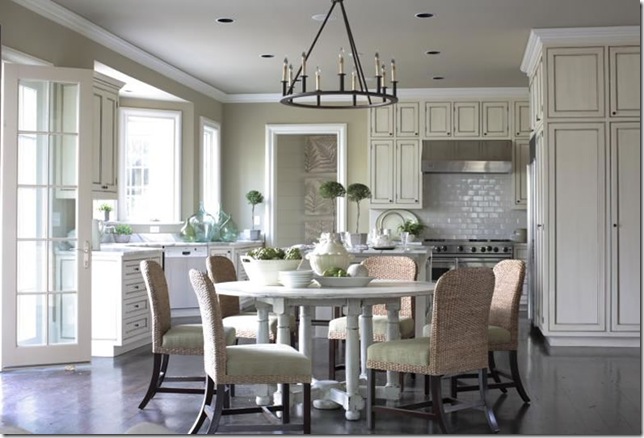
So, I set about looking for some eat-in kitchen inspiration. Here is what I came up with:


So, I set about looking for some eat-in kitchen inspiration. Here is what I came up with:


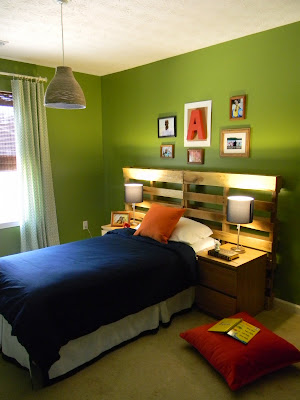
 The shipping palettes were a must in the design of the space! I think that is what made the Serena and Lily room so unique! I got such a kick out of my husbands response when I called him outside to help me unload them from the truck:-)
 This light fixture turned out really nice, if I may say so myself! It’s the Melodi pendant light from Ikea. I have a tutorial coming up later this week on how I “hacked it”!

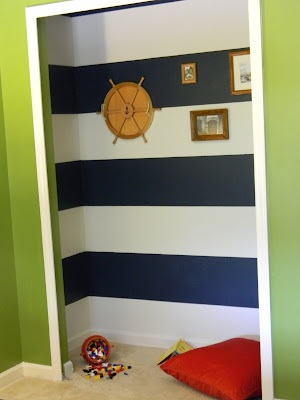
 Do you notice the closet?! You can’t have a nautical themed room without stripes! Taking note from the inspiration room again, I knew that I had to bring in the stripes. But, the price tag of the duvet didn’t work with the amount I had to spend on one;-) So with $20 and a little sweat, I think that the look was acheived and you can’t tell this was my first attempt at painting stripes (can you?)!
 I haven’t decided if I want the storage cubes to remain in the closet or on this wall below

Seriously, what sailor doesn’t need a place to read “One Fish, Two Fish, Red Fish, Blue Fish”?!
 Mrs. Limestones photography is the best!
 Isn’t this the cutest hermit crab?!
Great room, isn’t it? It’s like waking up to vacation every day!
Before:
After:
They gave the old wet bar a new look to match:
Well, it definitely got a facelift.
The most important task was replacing that dated green countertop with the matching countertop we got for the bar.
Unfortunately, pre-made countertops are one of the few things hardware stores will not cut (because of possible splintering), so this was a project Brent got to freehand. Yes, freehand.
So, he set up a cutting station using my other Craigslist dresser and a trash can, and went to work:
Brent did 3 practice cuts on the extra material before starting on the cut. To help prevent splintering, he placed masking tape down the center of the cut.
Before:
After:
I think it turned out great. And the best part? We only spent $60 on this update – and that was for the countertop. The mirror is one I bought on clearance at TJ Maxx 4 years ago, and could never find a home for, and I already had the black paint.
We still have to get a mini fridge for underneath, since the former one was sacrificed for the kegorator. We have some Best Buy gift cards left over from the holidays, so hopefully we’ll find something we like there.
Well, it found a new home behind the bar as a buffet.
I’m not positive for many wine corks I used, but I would say it’s in the 800+ range.
At first I started out using a hot glue gun, but I was having issues with all of the corks properly sticking – so at Brent’s suggestion I switched to liquid nails and those suckers aren’t going anywhere now. Once the glue was done, I did 2 coats of poly over everything.