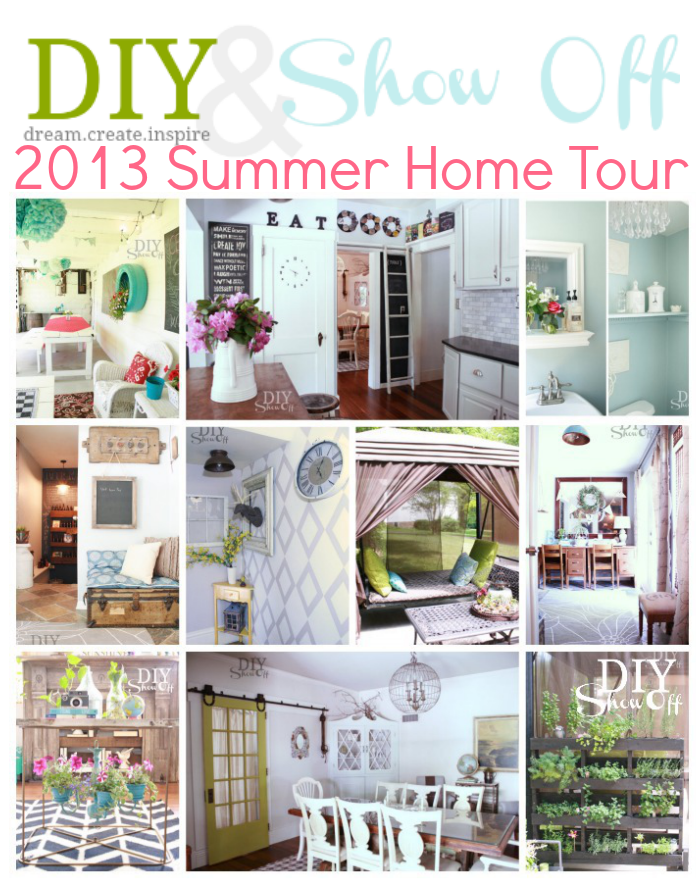
Welcome to the Summer Tour of Homes Day 2! If you’re following along and just popped over from visiting Emily’s gorgeous home at Decor Chick, welcome guests!

I’m so excited to participate in Day 2 of the Summer Tour of Homes hosted by Gina at the Shabby Creek Cottage. It’s my favorite time of year! Longer days for productivity and lots of DIY.
Are you ready for LOTS of pictures? I hope so! 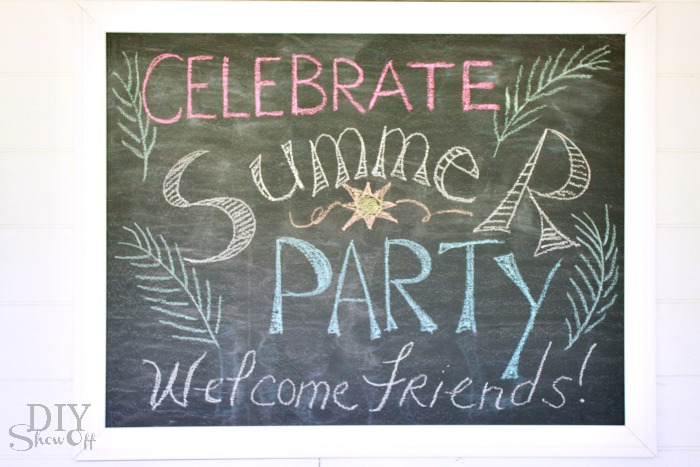
Most of our summer is spent outdoors. We do a lot of summer entertaining, hosting BBQs and family cook-outs. So making our outdoor areas pretty is where our tour begins…
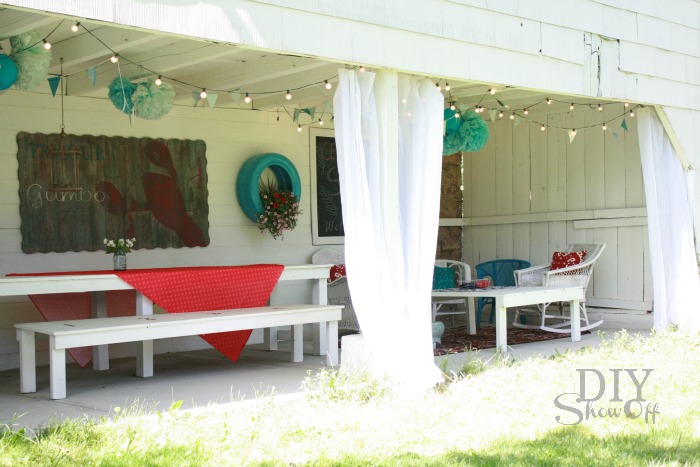
We have a bank barn which we use for storage (much like a huge garage), but the bottom part opens up into our BIG party gathering space in the summer where we can set up volley ball in the yard and sit around a bon fire.
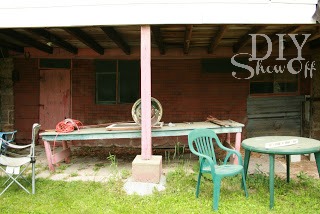
teeny tiny scary before picture…
The barn patio area provides a covered space for setting up a picnic buffet for entertaining or a quiet place for relaxing. Improvements are still on the DIY ‘to-do’ list but you can see it’s a big improvement already. This area has been a great location for grad parties, a co-ed baby shower BBQ, a fashion photo shoot, family reunions, picnics and cook outs.
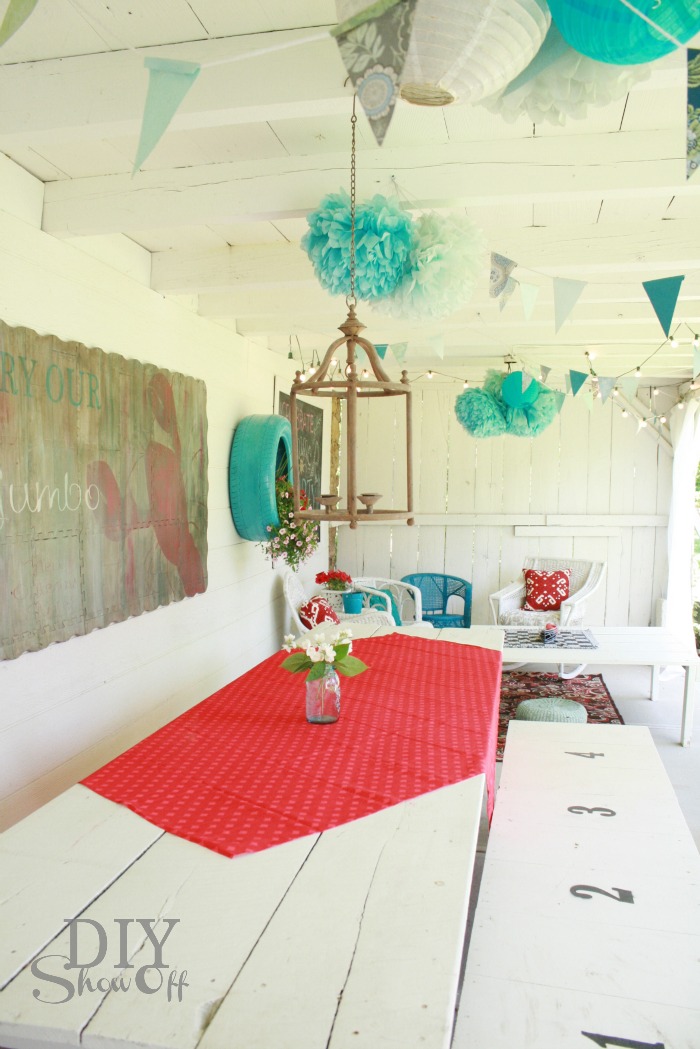
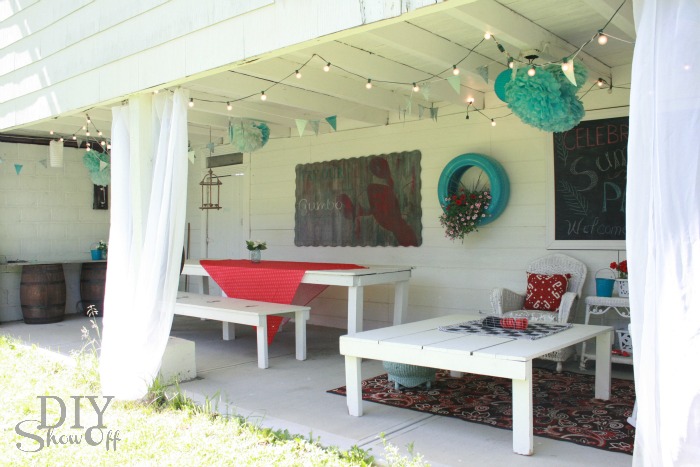
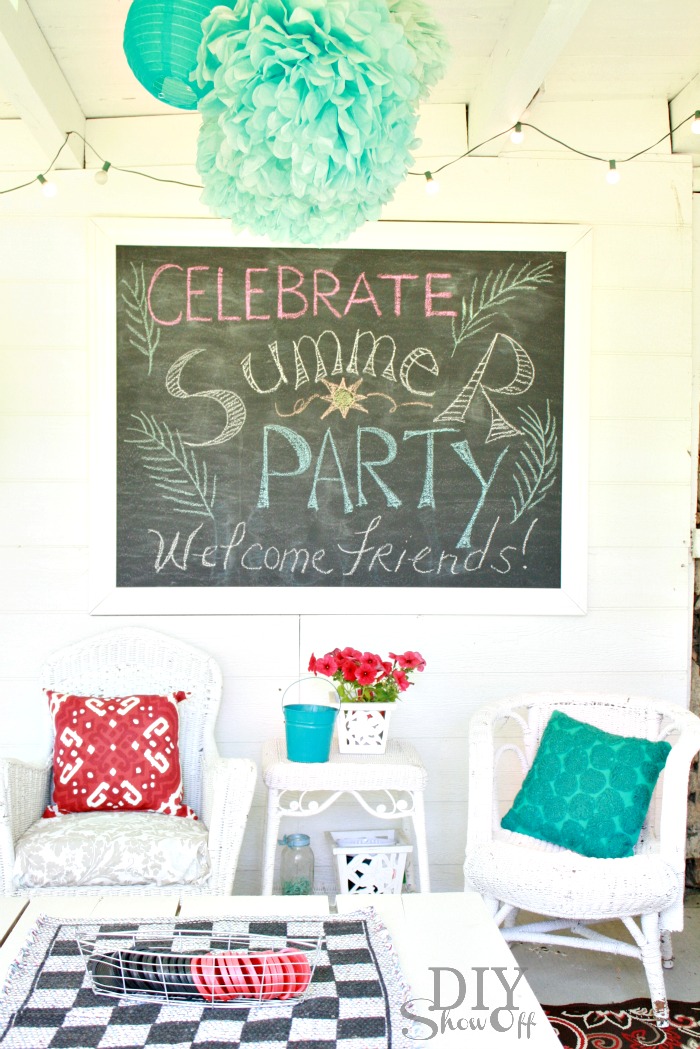

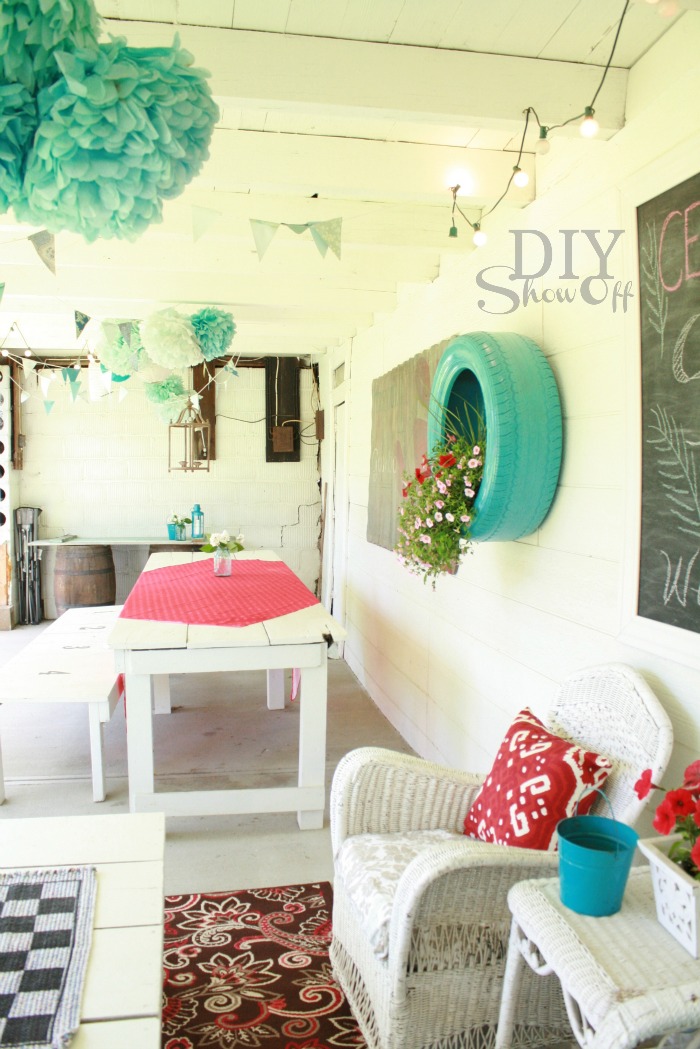
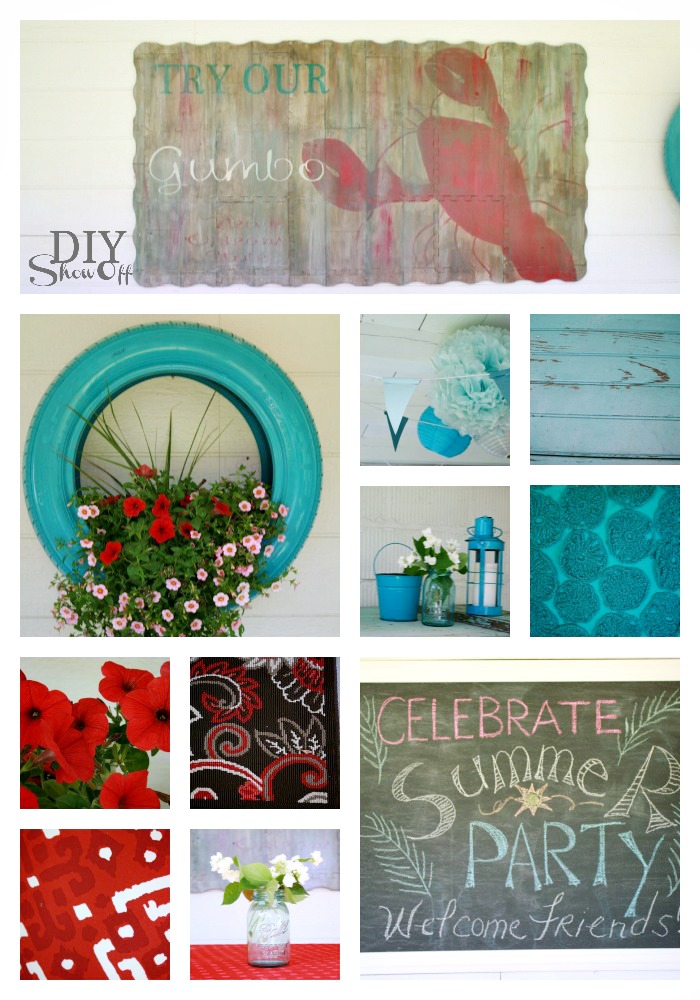
Sources: DIY painted foam playmat art tutorial, tire planter tutorial coming soon, DIY tissue paper poufs and banner, old weathered door/barrel buffet, spray-painted accessories (Rustoleum Lagoon), turquoise crocheted accent pillow (Target), red petunias, outdoor area rug (Better Homes & Gardens, WalMart), red accent pillows (Target), blue mason jar vase, red outdoor fabric table cloth (Kmart), DIY framed chalkboard.
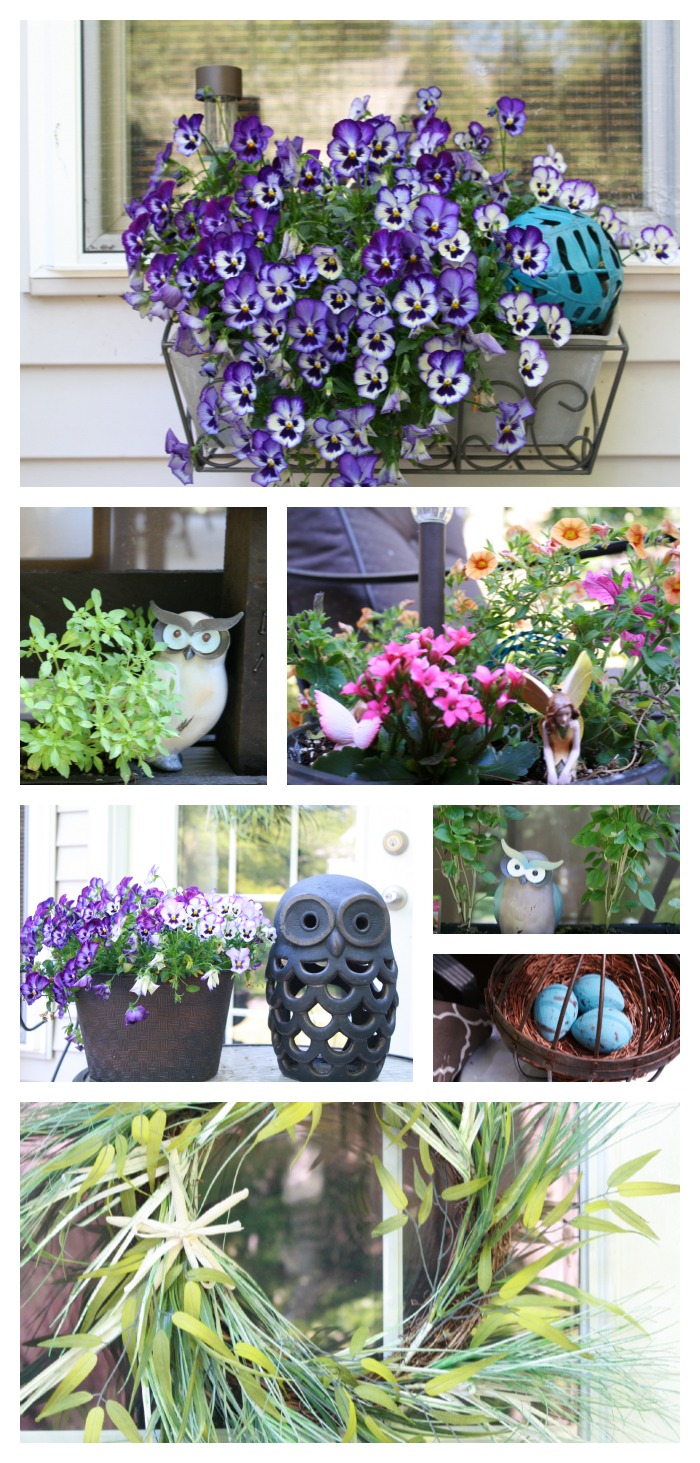
The patio off the back of our home also got a mini-makeover last month with some cleaning, refreshening accents with some spray paint, some re-arranging, flowers and a few new decorative touches…
(see the before the patio and installation)
before
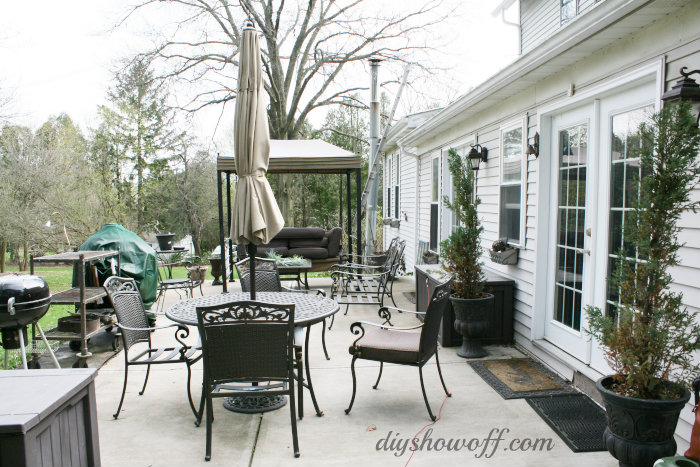
patio makeover
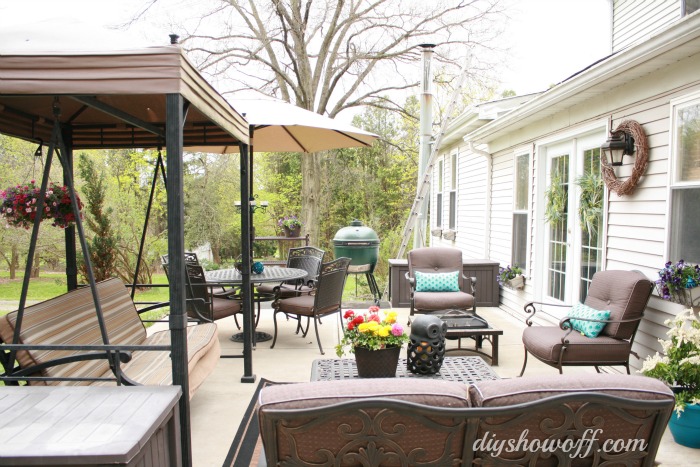
The patio swing was looking a little tired and inspired an outdoor swing/daybed makeover… 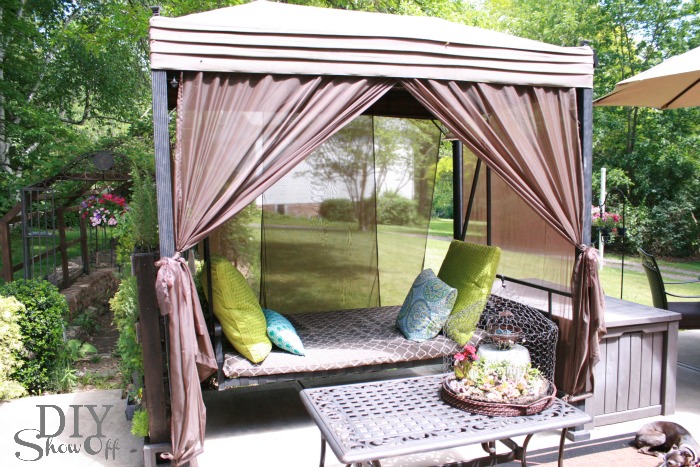
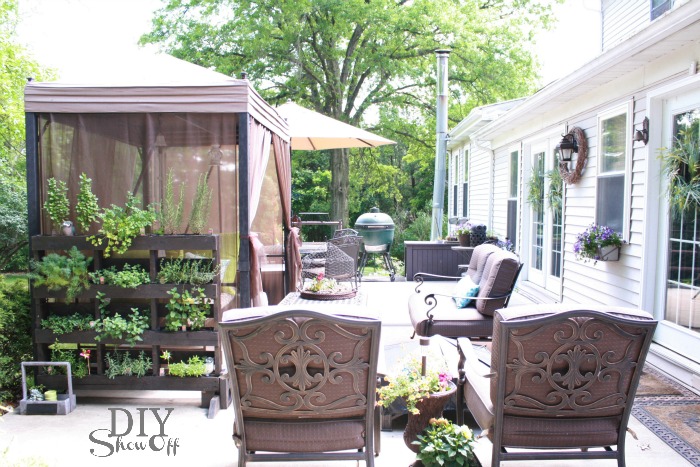
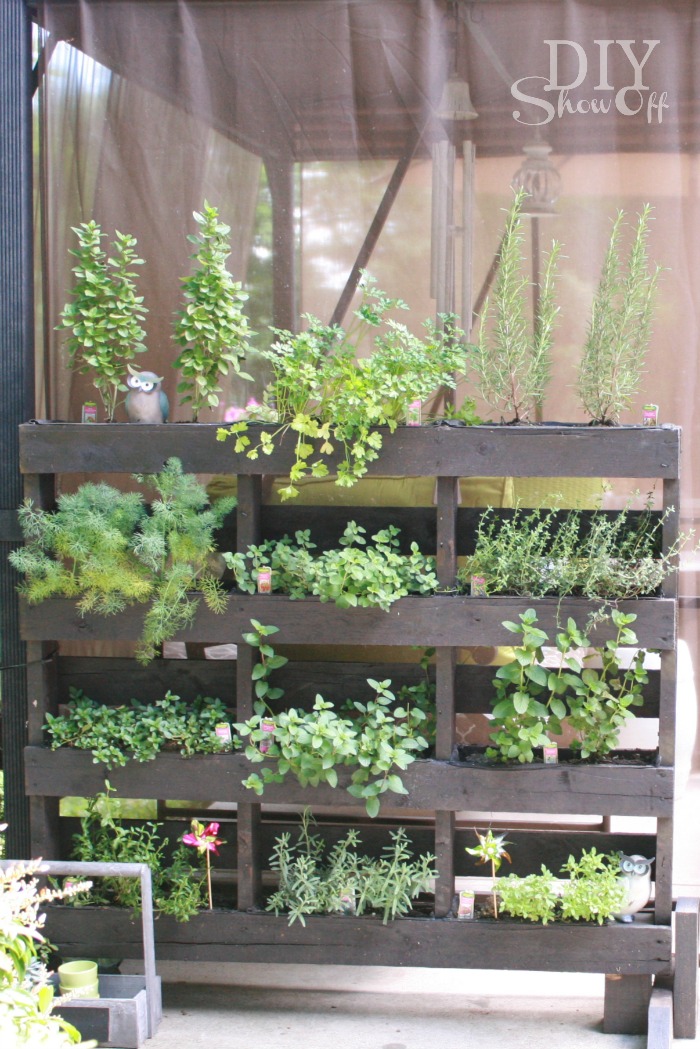
My hubby’s favorite hobby is cooking and having fresh herbs near the French doors to the kitchen is convenient. Decorative and functional with our free standing pallet herb garden…
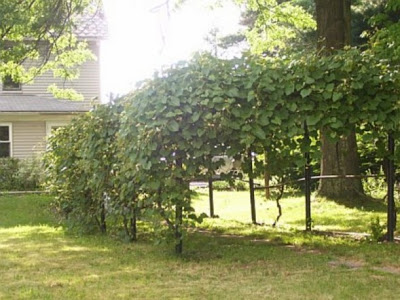
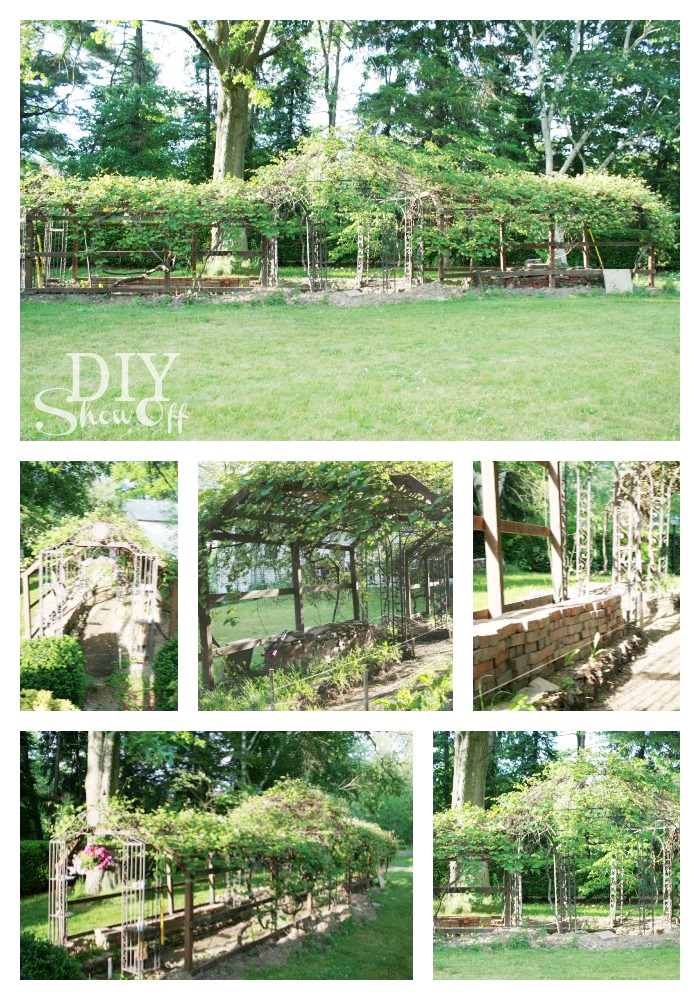
One of the things I loved about the property when we purchased our home was the mature huge grape arbor. It was very rickety but the grapes were plentiful…
before
We rebuilt the framing and added a gazebo to the center…
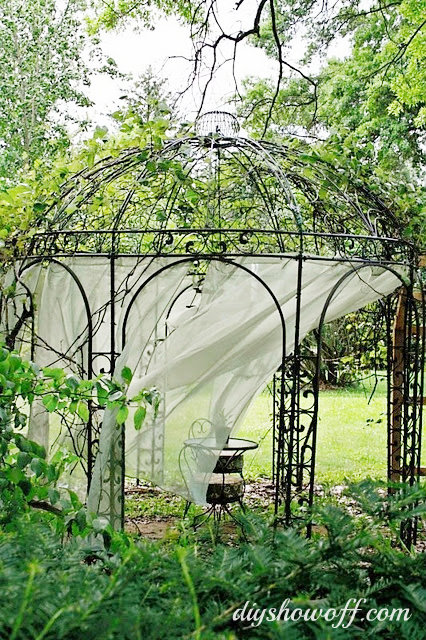
This year we’re recycling a pile of old bricks for a paved walkway and seating area underneath the gazebo (more on that coming up this summer). Again, a work currently in progress, but check out those vines! LOVE!
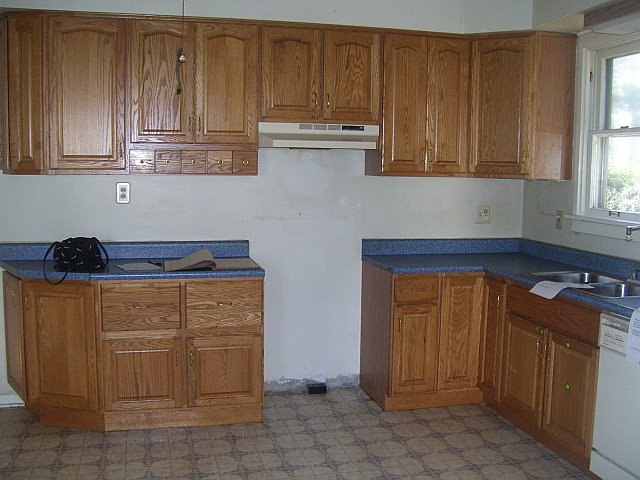
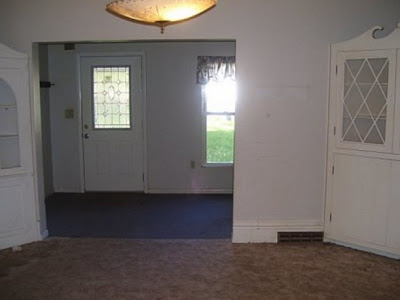
It’s been a while since I’ve done a home tour. Things are mostly the same with some rearranging but here are some most recent pictures. Our house before was down right disgusting and scary but we saw past that to the potential…location, charm, character, size. But definitely a true fixer upper.
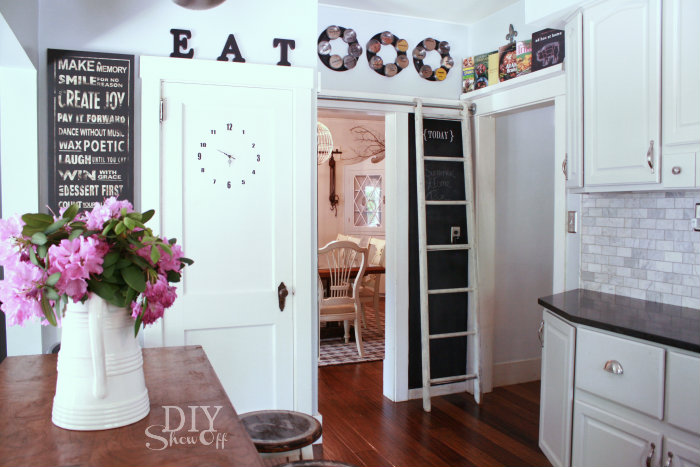
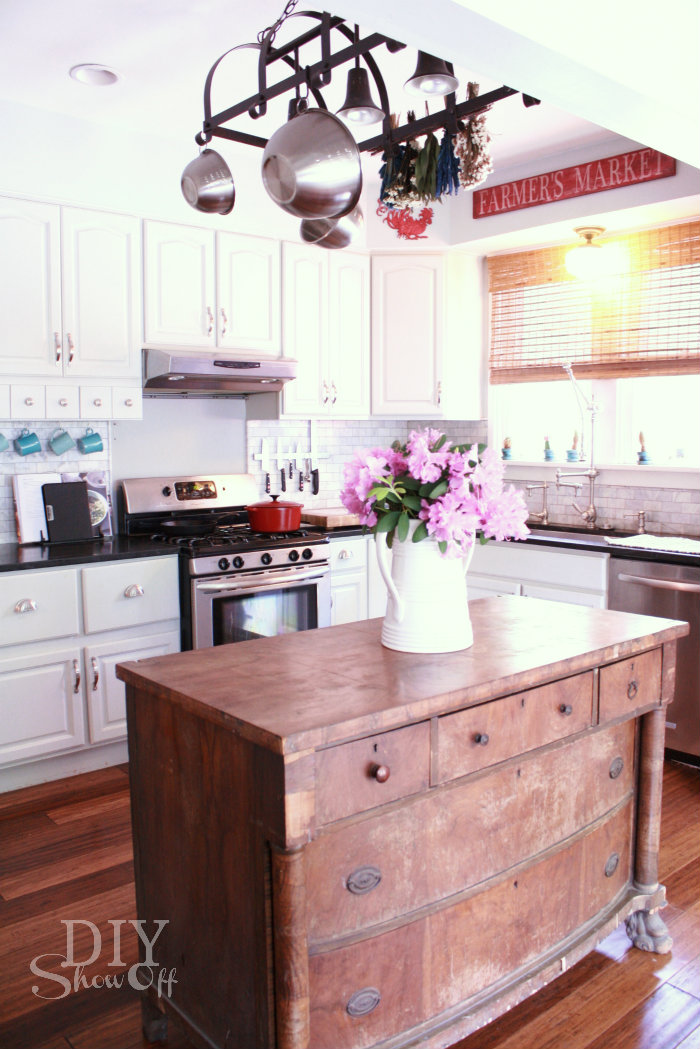
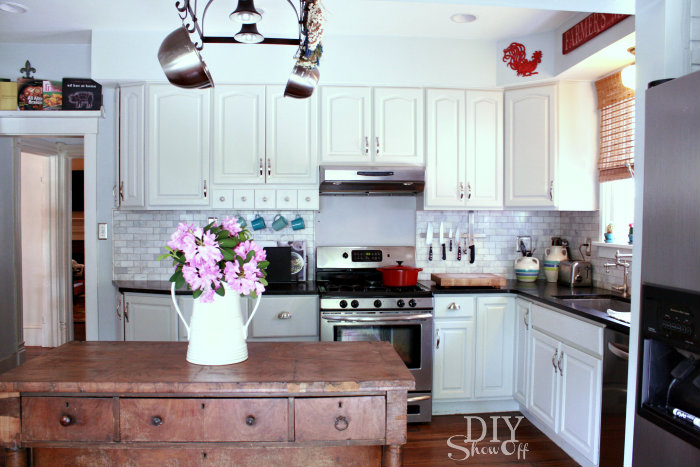
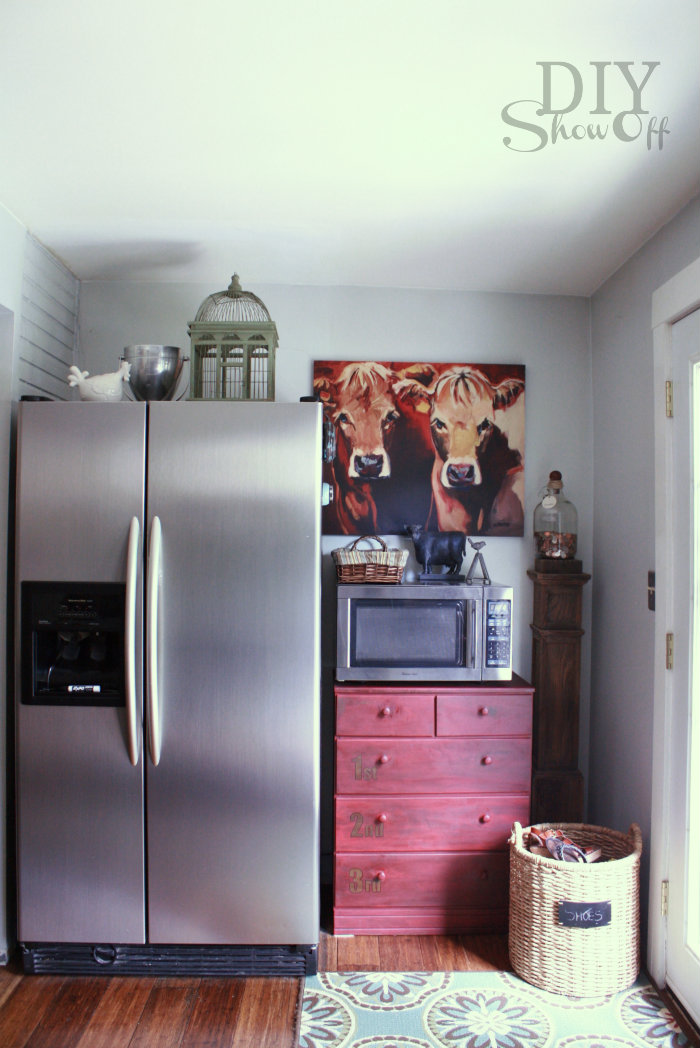
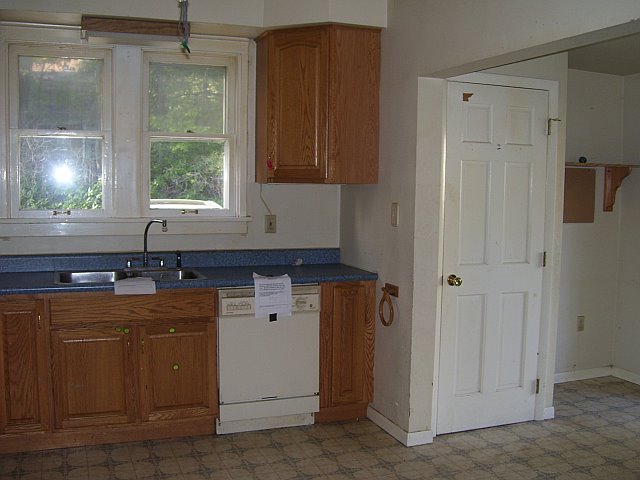
kitchen (links to kitchen before/after, more pictures, DIY door clock tutorial, spice loft, sliding ladder, marble subway tiled backsplash how-to, painting cabinets, cook book library, etc.)
before
after…
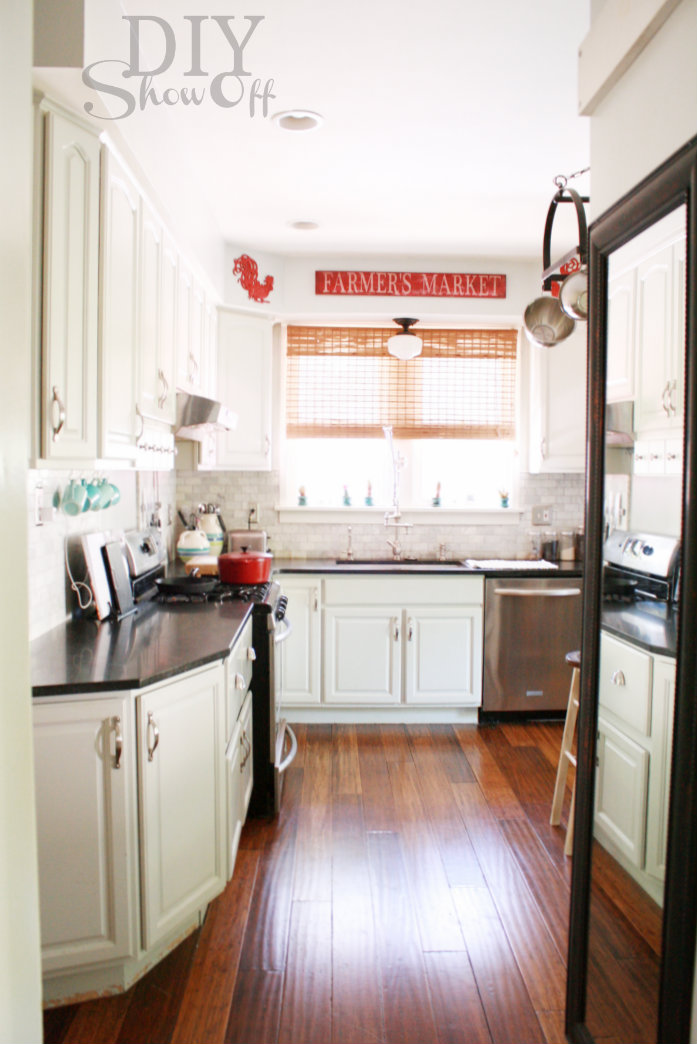
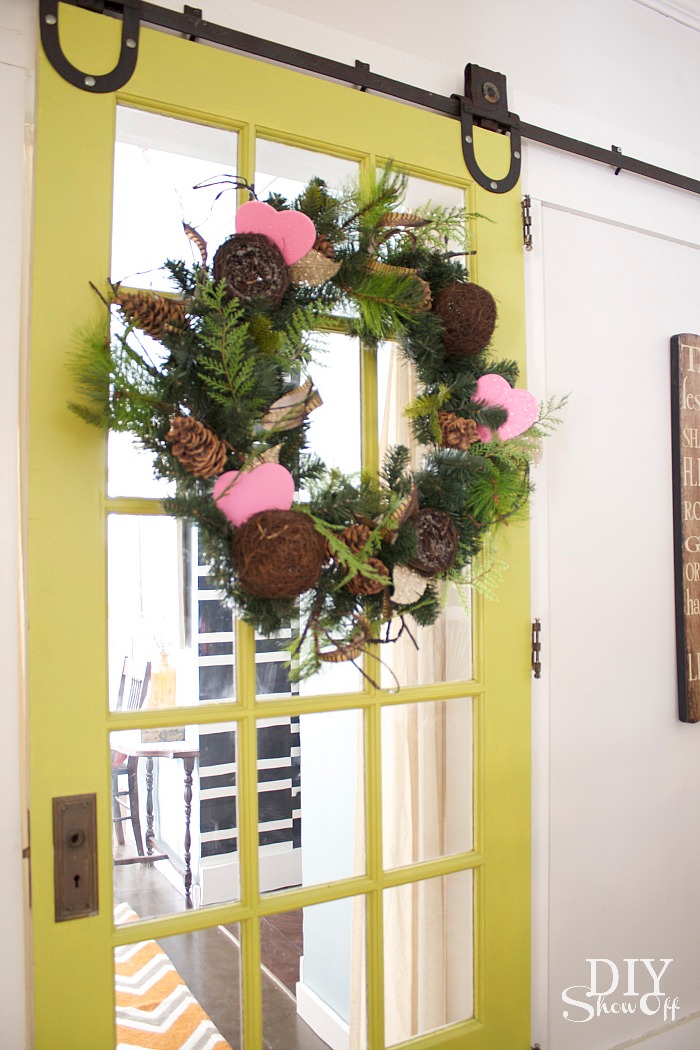
The French doors lead right to our patio. It’s so convenient for entertaining and hosting BBQs. The sun sets on the other side of the house so evenings are shaded and comfortable. Perfect for alfresco summer dining.
before…
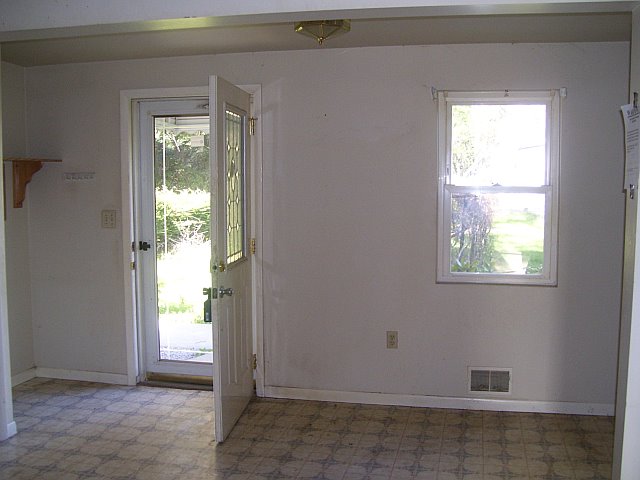
now…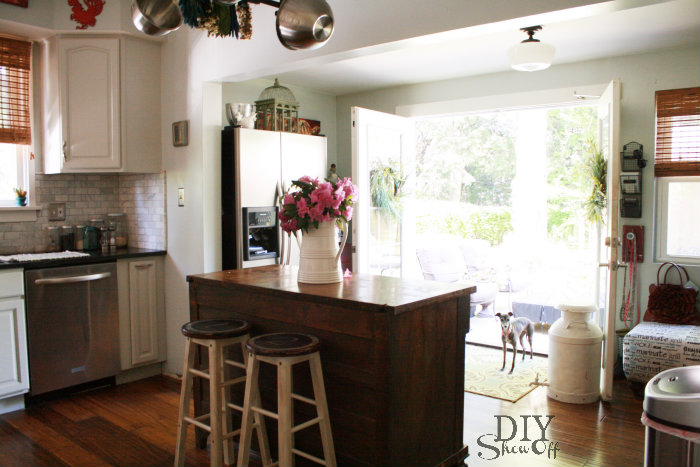
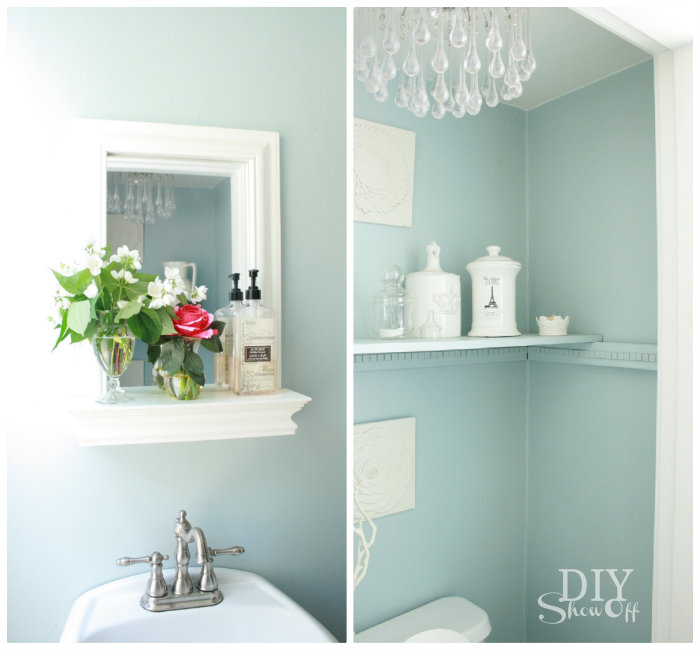
powder room before and after
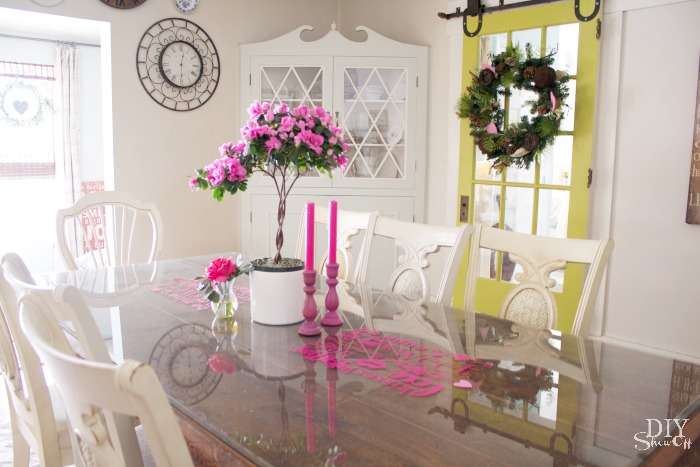
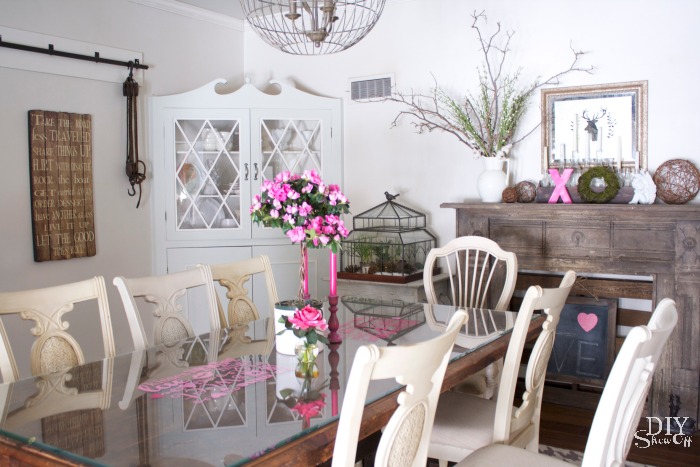
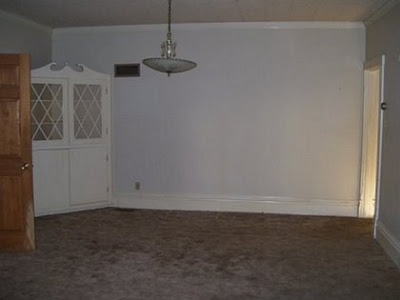
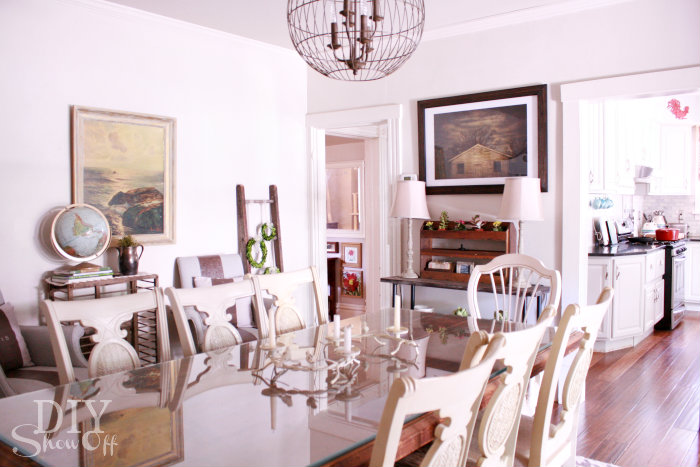
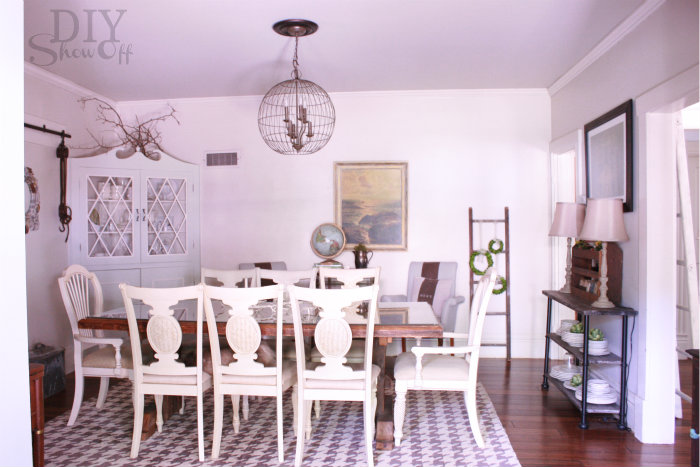
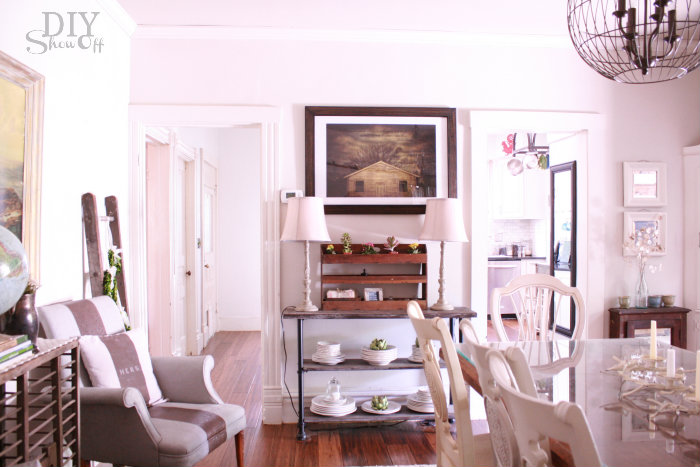
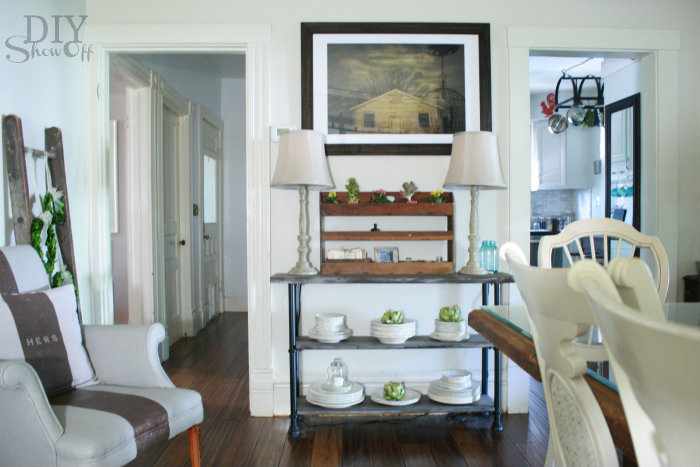
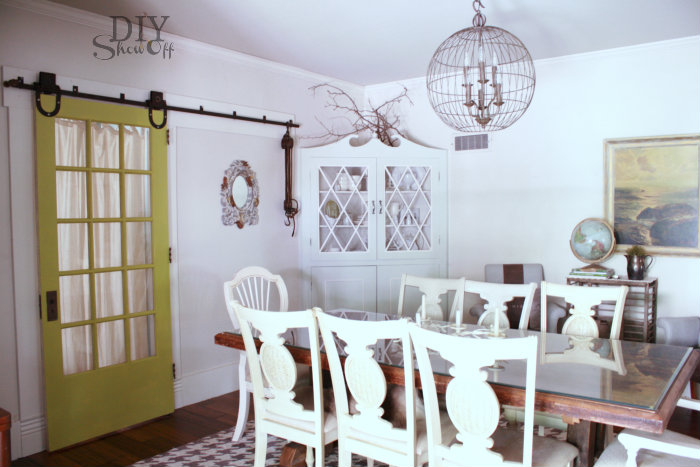
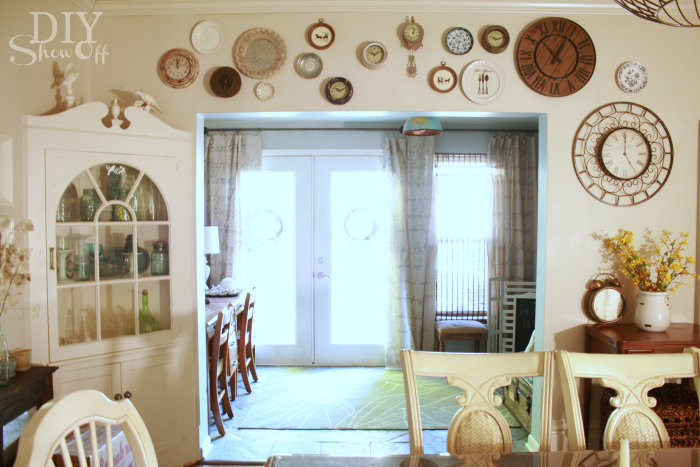
dining room
before
now…
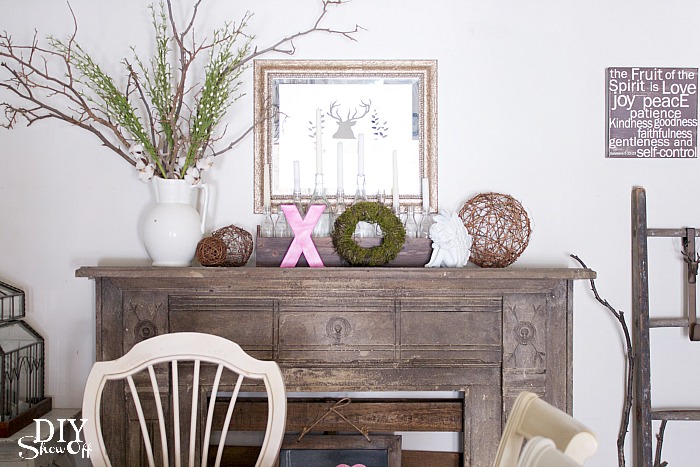
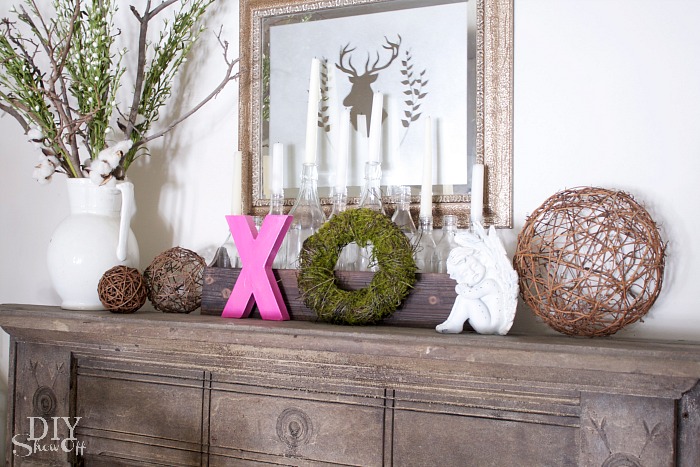
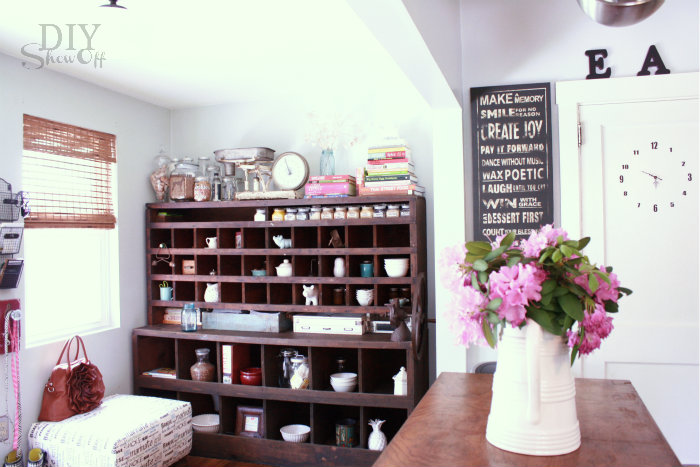
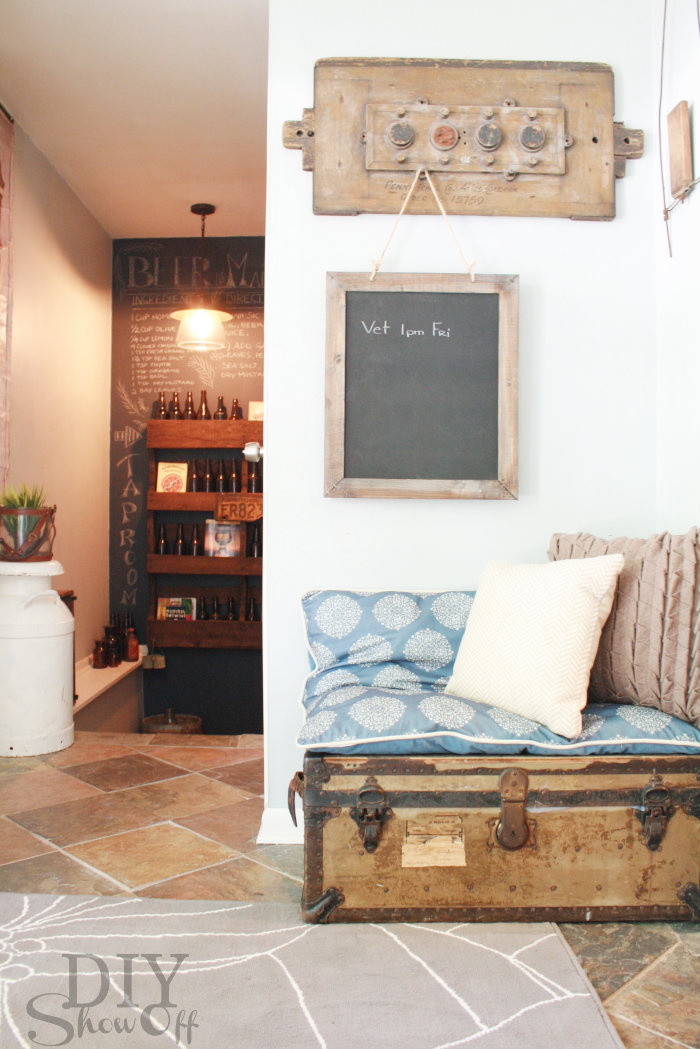
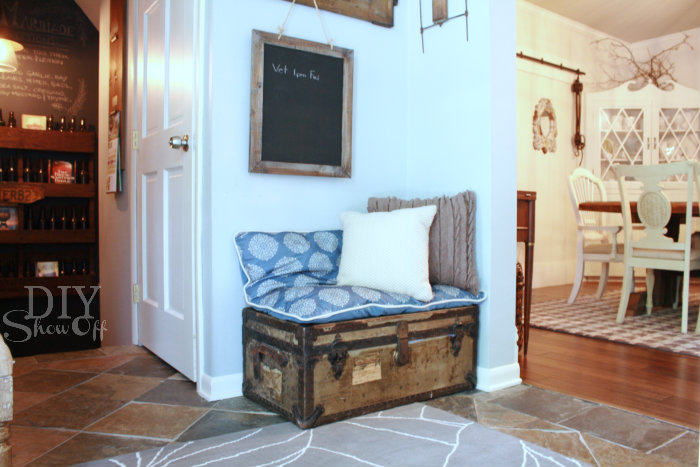
I’m always re-arranging the sitting room. It’s gets a makeover about once a month. It’s an ever changing multi-functional space. Sometimes it’s a sitting room, sometimes a dining area or mudroom.
before
This month, it’s a small office/work space…
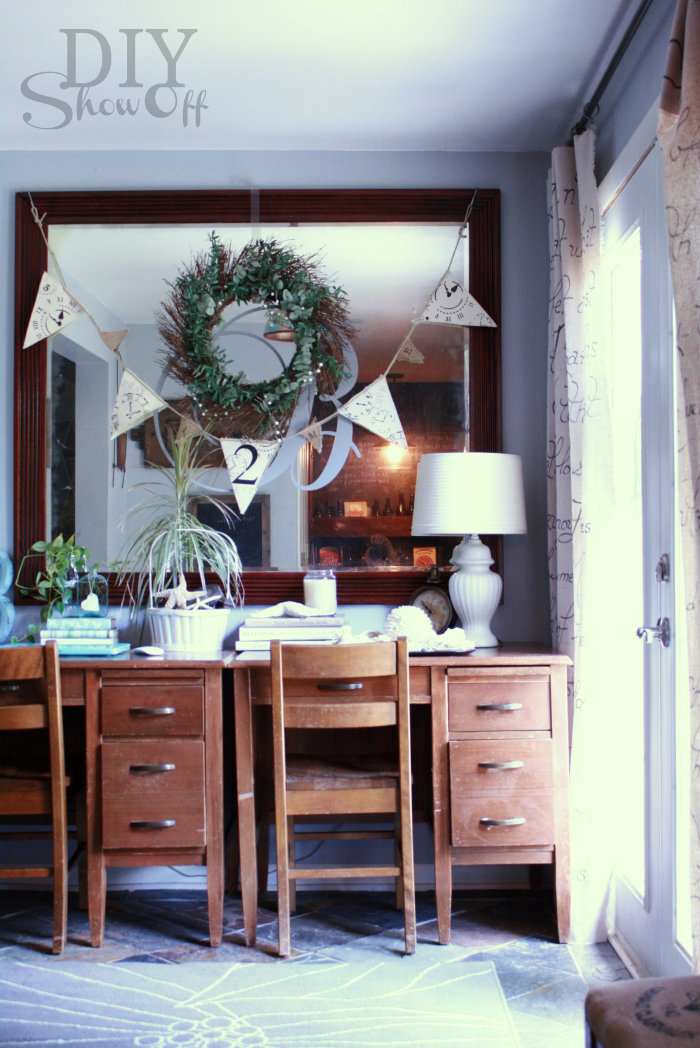
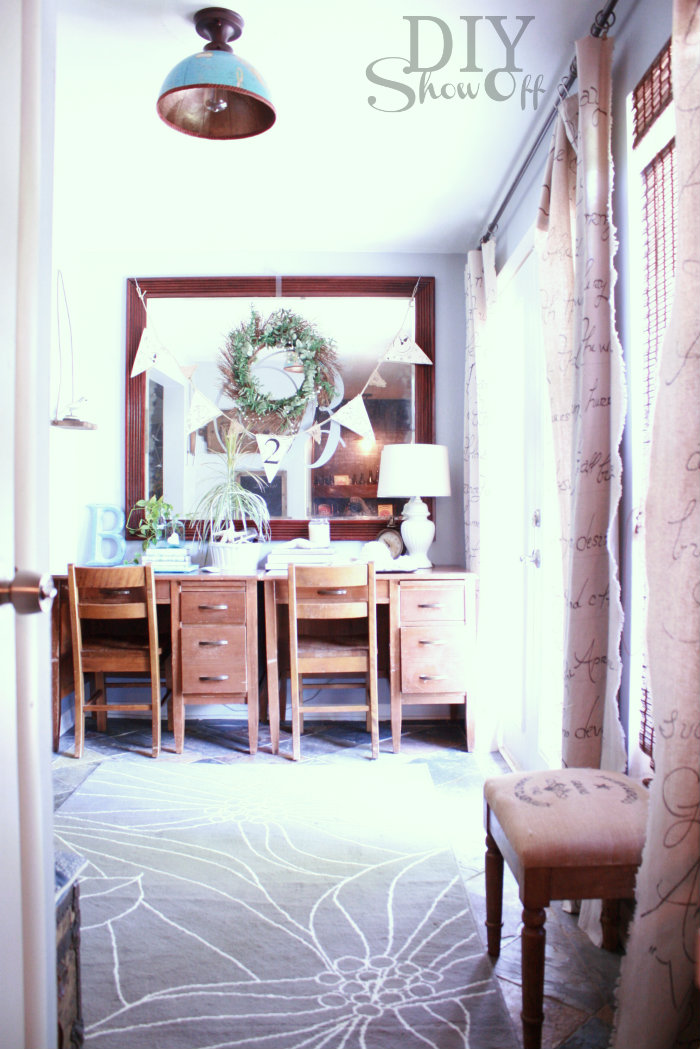
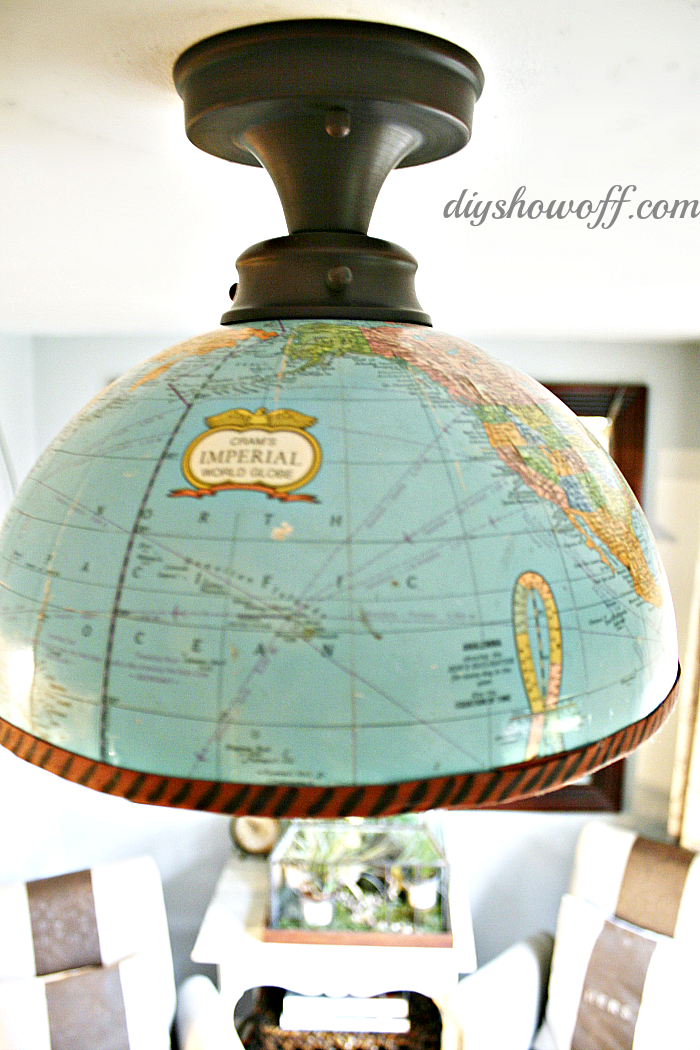
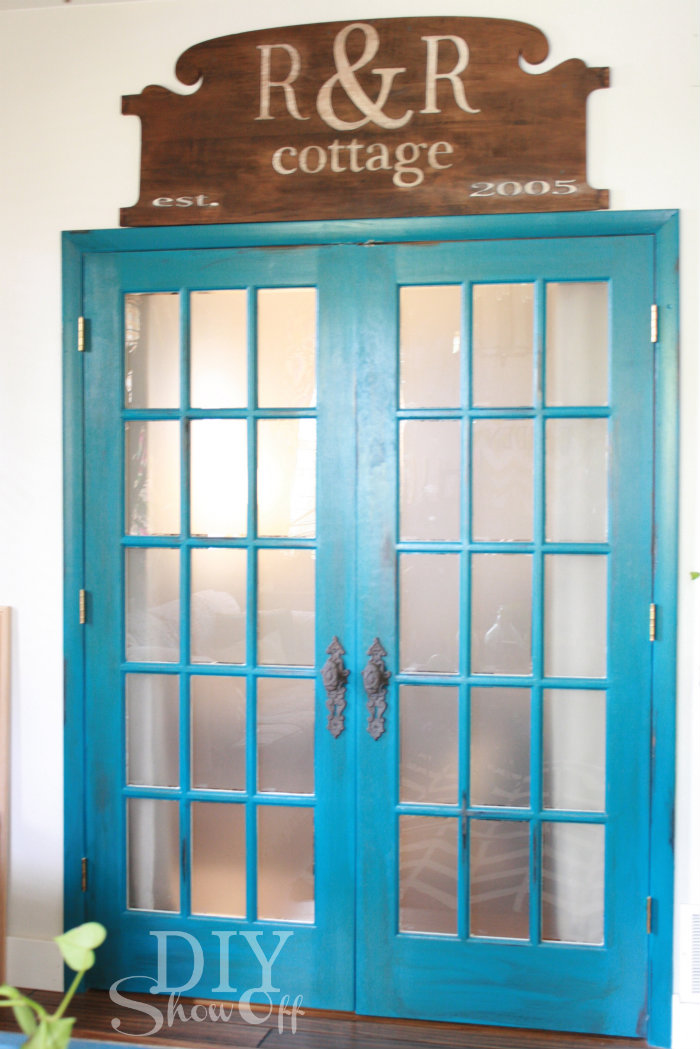
DIY: no sew script drop cloth curtains, wall mounted pallet shelf, French doors, slate floors, pet gate, globe light fixture cover.
Our stairway landing hasn’t changed at all. I just love it the way it is. For now.
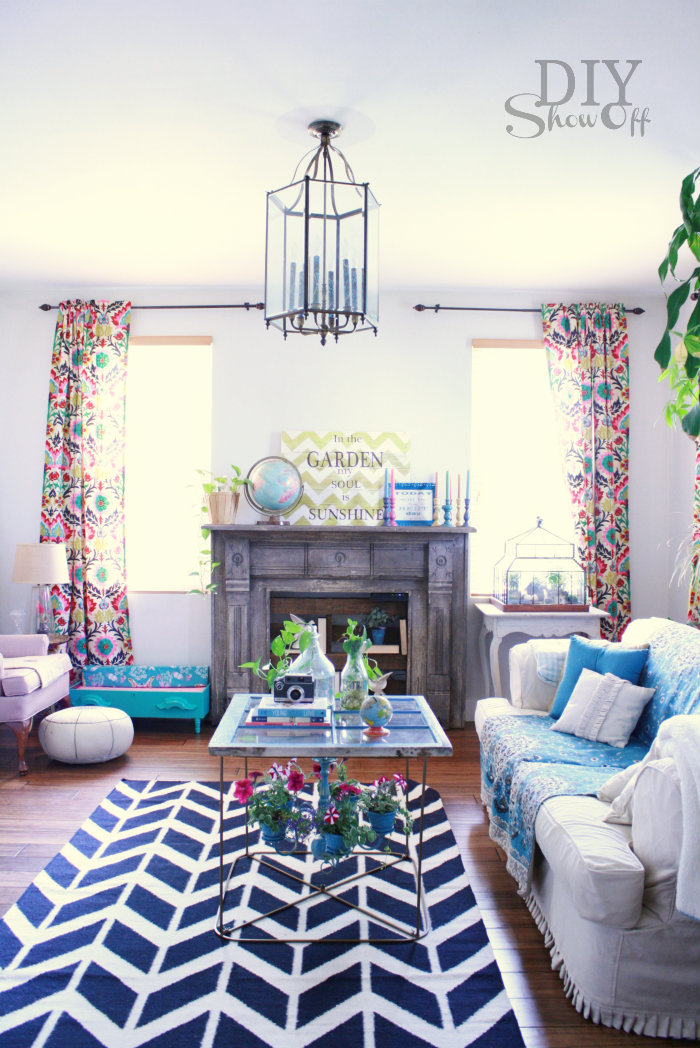
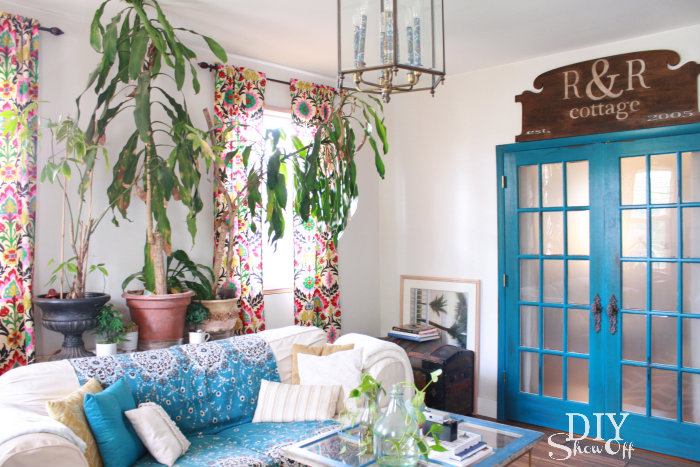
And the family room is still a work in progress so these are a bit of a reveal since I haven’t shared little things in this room before, but fun DIY art and lots of color adds a touch of summer…
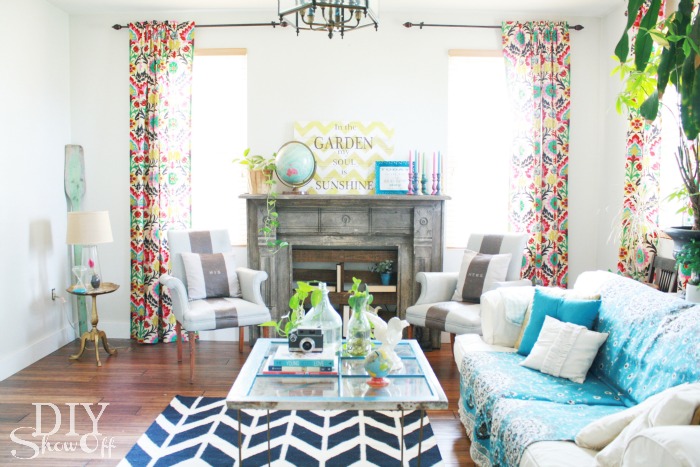
Still a lot of DIY planned for this room!
headboard door pediment tutorial
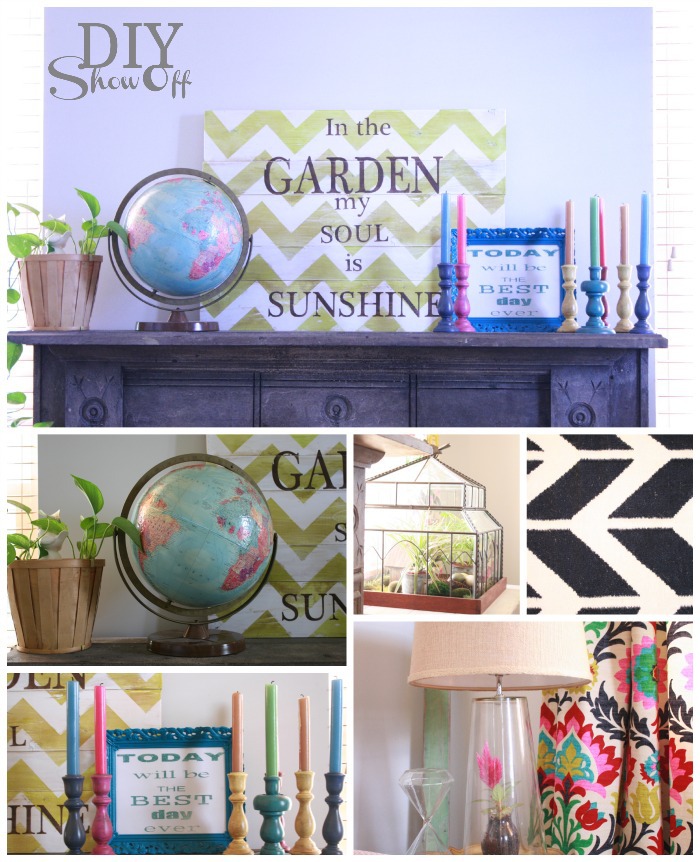
DIY chevron garden sign, painted thrift store candlesticks, Today will be the Best Day sign, DIY curtains (fabric is Waverly Santa Maria Desert Flower), window/chandelier coffee table, and a DIY chandelier planter tutorial coming soon.
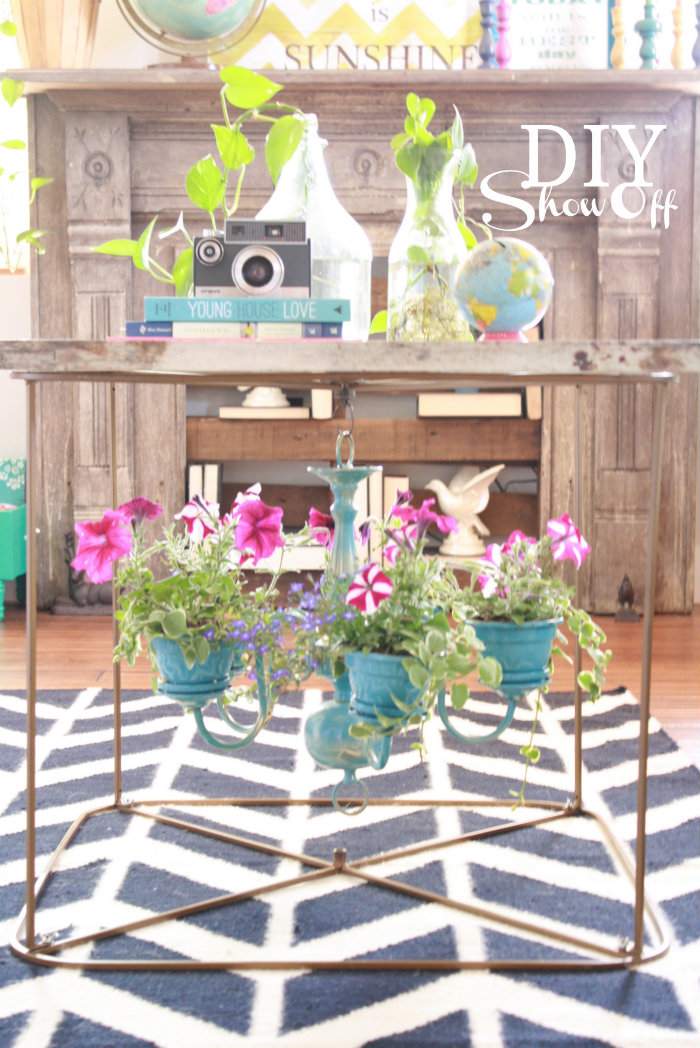

free standing fireplace surround with pallet shelving 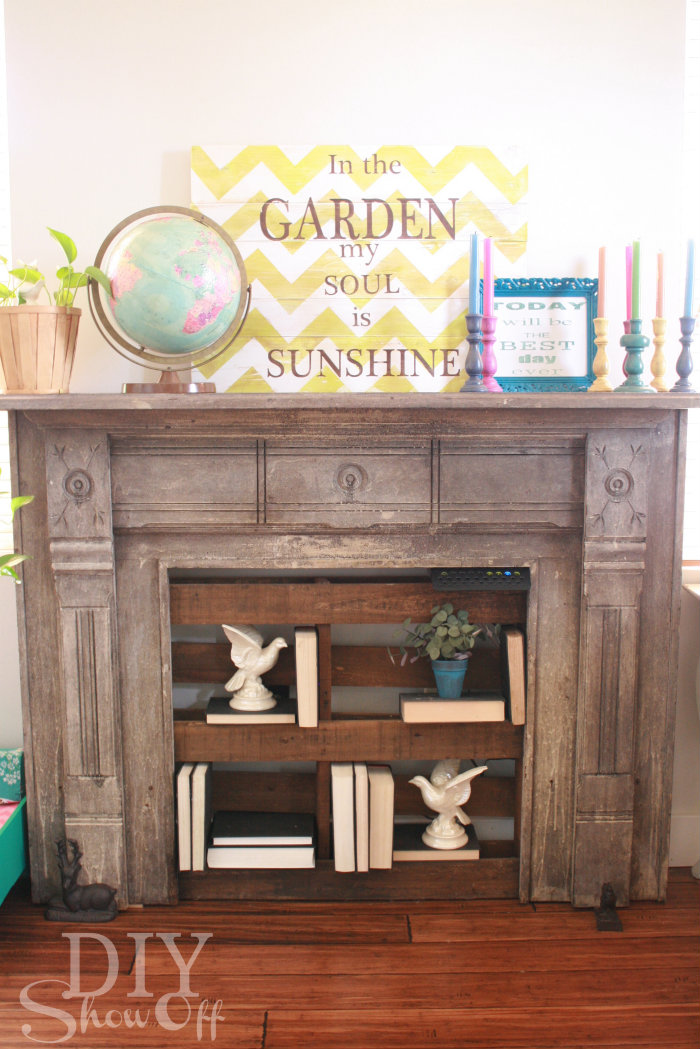
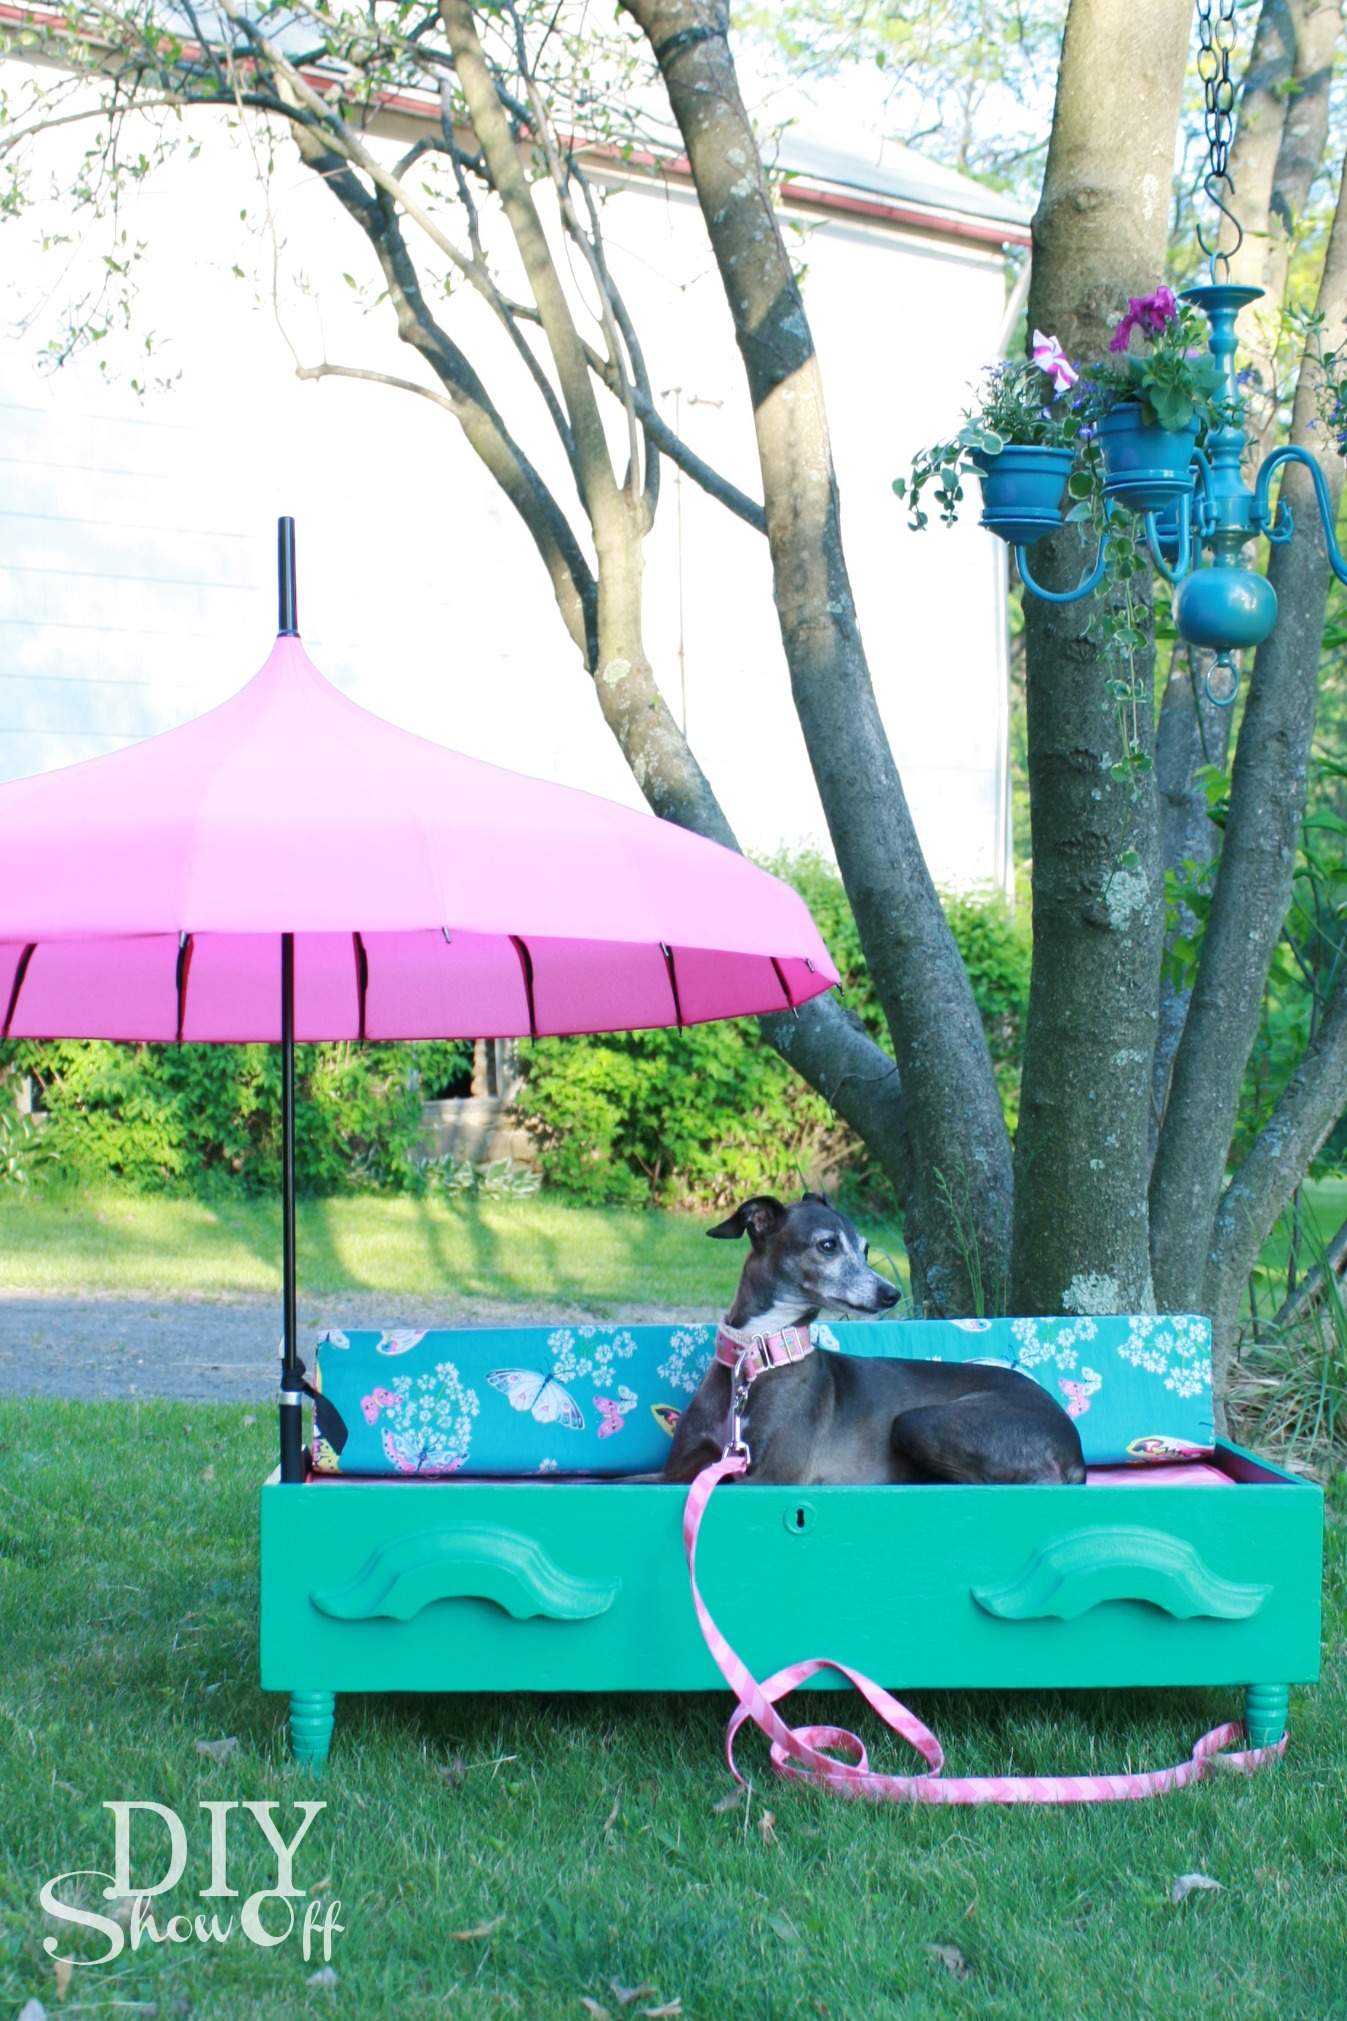
Last but not least, even CocoRosie, our Italian Greyhound, enjoys the summer weather with her shaded dog bed…
Whew! Lots to see, right? Thanks for sticking around if you made it through it all! You can see more room by room before/after and DIY at the DIY Show Off Home Tour.
Are you all set for summer? Don’t forget to link up your summer home tour on Friday, June 7th at the Shabby Creek Cottage. 
DAY 2 (June 4th)
DAY 3 (June 5th)
DAY 4 (June 6th)
1- Rhoda @ Southern Hospitality
2- Traci @ Beneath My Heart
3-Stacy @ Not Just a Housewife
4-Jen @ Jennifer Rizzo
5-Lindsay @ Makely Home
6-Sandra @ Sawdust Girl