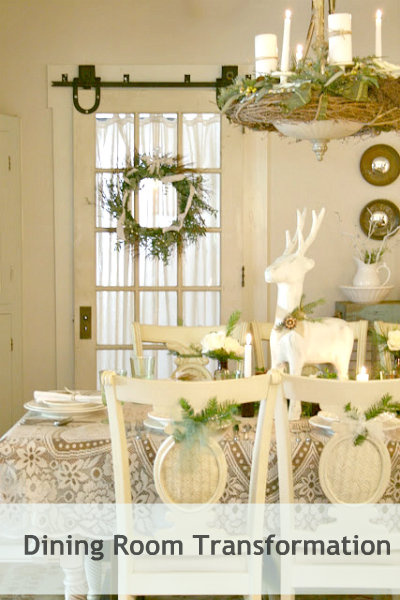
A Chartreuse Door

Mini-makeover…

When we first installed the sliding door, I embraced it’s original old paint.

interior sliding door

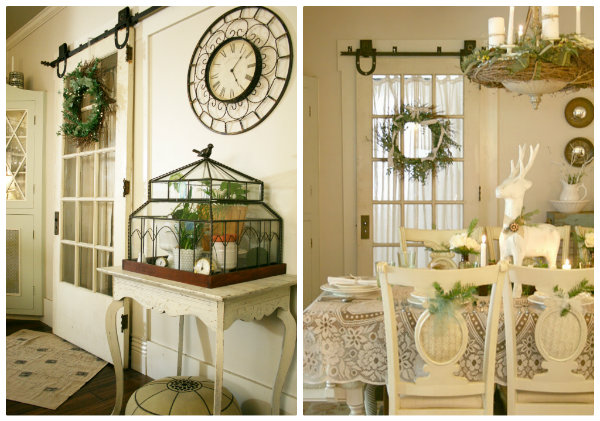
But over the past year, it did feel more “dirty” even after a good scrubbing than “charming”. It just reminded me of the cold weather and dirty snow…blah. You can’t tell from the pictures. But it did have that dirty old worn finish.

Remember how my brain sometimes works with DIY? It’s usually a spur of the moment decision that wasn’t in my plan for the day or ever. That happened with painting the sliding door in our dining room.

And remember when I painted the door in the apartment renovation

apartment door

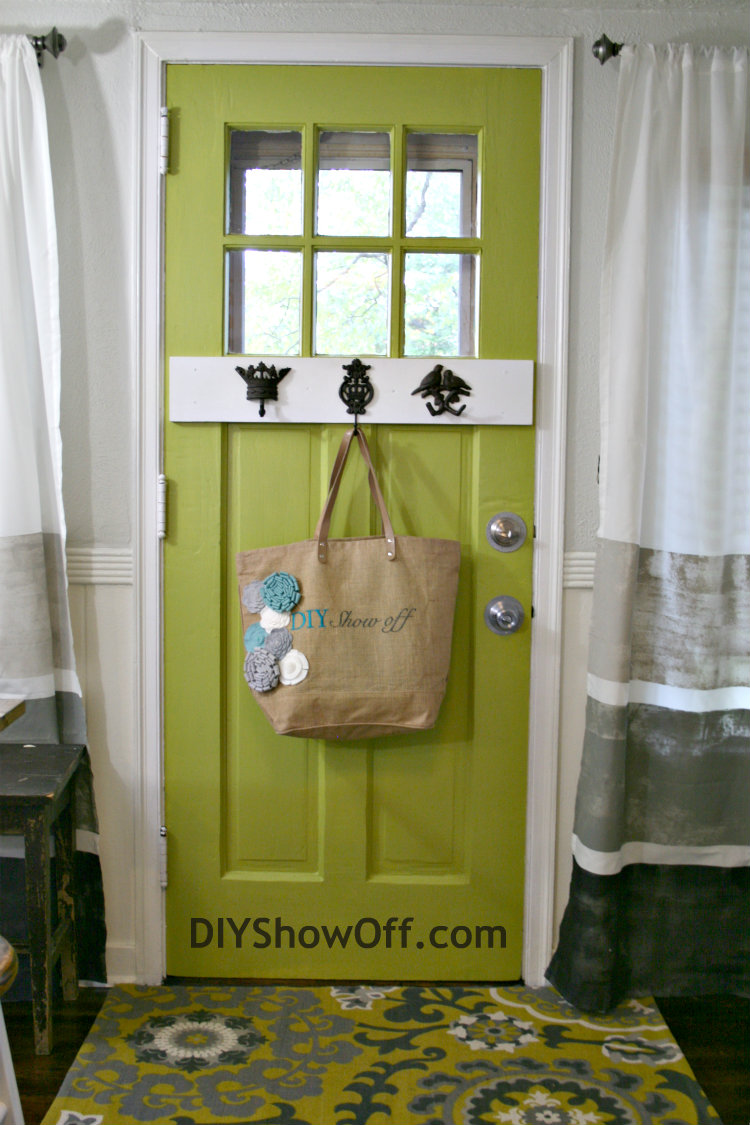
I fell in looooove with that color. A beautiful happy shade of green.

The beginning of the new year consisted of cleaning and organizing the basement somewhat. I stumbled across packed boxes of supplies and tools from the apartment renovation…still not unpacked since November. While putting things away, looky what I found:

Valspar Gilded Pesto

chartreuse green

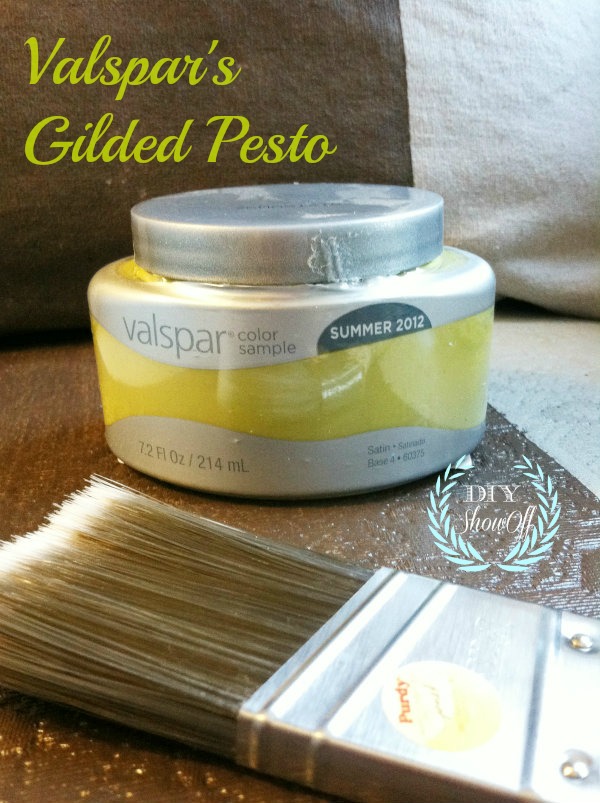
And just like that, in that five minute time span, I decided to paint the sliding door in the dining room, to add some “spring” color to the dingy, dirty, neutral white. No wonder it takes me FOREVER to clean. Distractions get me every time.

FrogTape

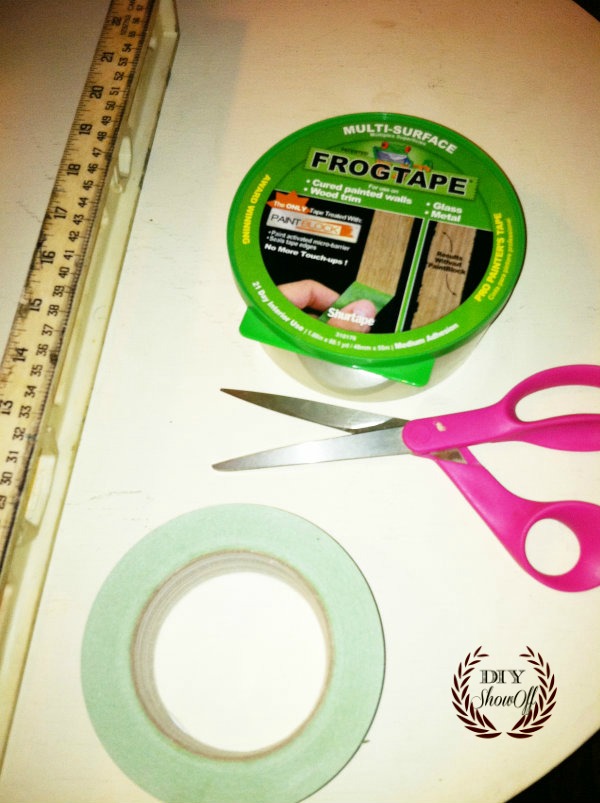
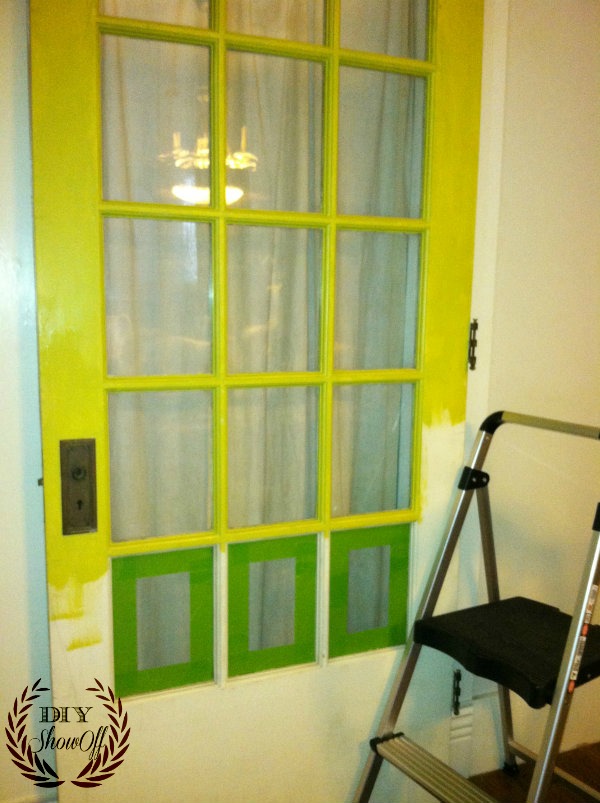
I started by taping off the glass around the mullions with my favorite stash of FrogTape, making sure the edge of the tape was flush against the corner where wood met glass. It doesn’t leave a sticky residue when removed…and I’m all for making a last minute DIY easier.

{you can see the dirty original paint job better in this picture}

FrogTape on glass

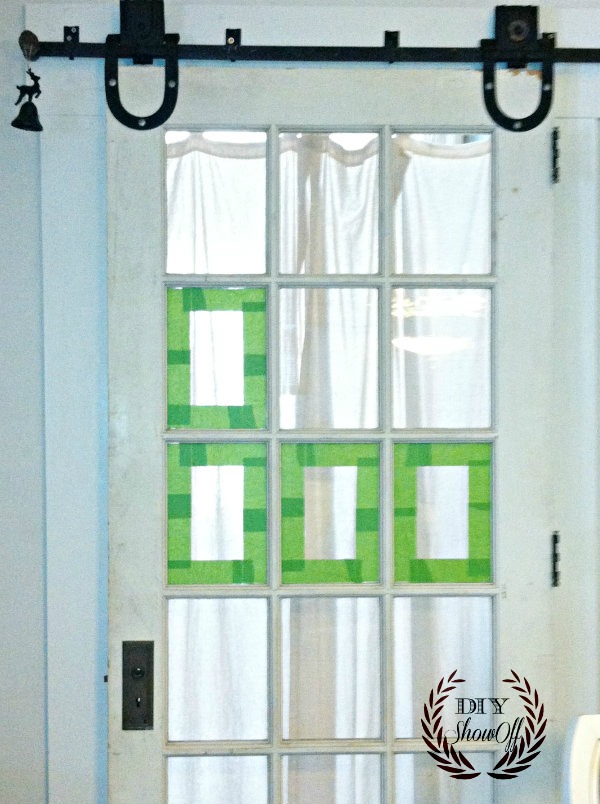
{curtain is for privacy in the guest room or maybe hiding junk in what’s become a storage room…ummm, I’m not telling}

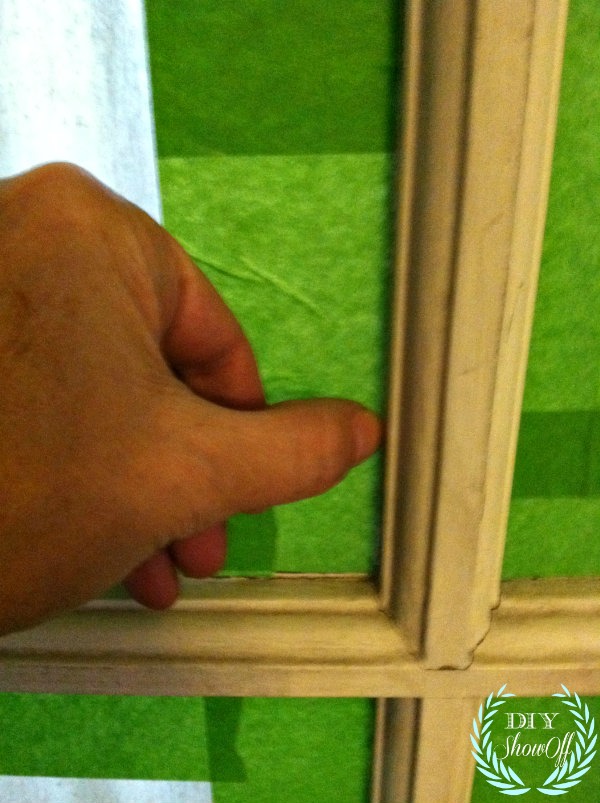
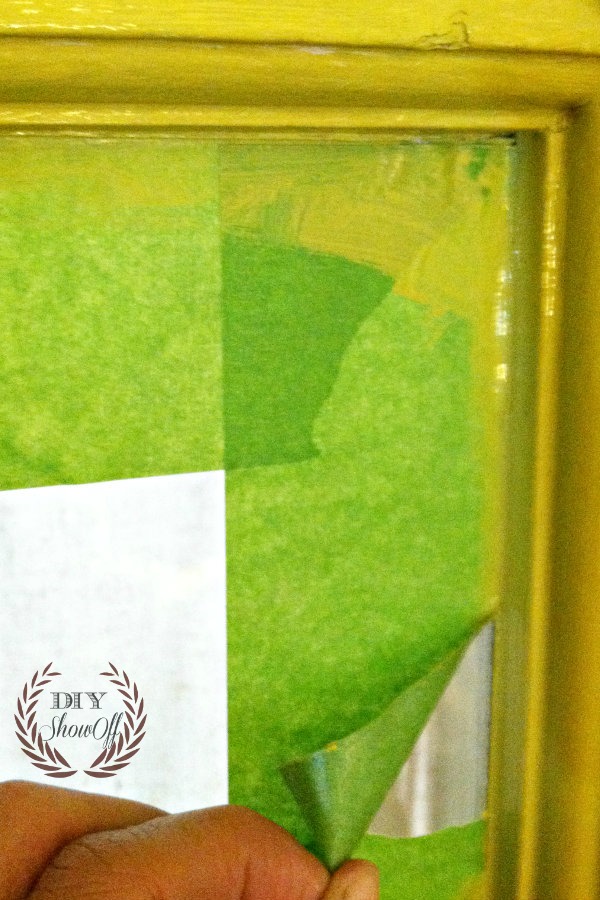
I used my thumb to burnish the edges of the Frogtape to prevent paint from seeping underneath.

burnishing the tape

Then applied two coats of my sample container of paint.

painting door


{oops…One coat looked great while wet so I removed tape. I did a second coat on the flat parts after coat 1 was dry}

I removed the tape immediately after the second coat, pulling away from the wood.
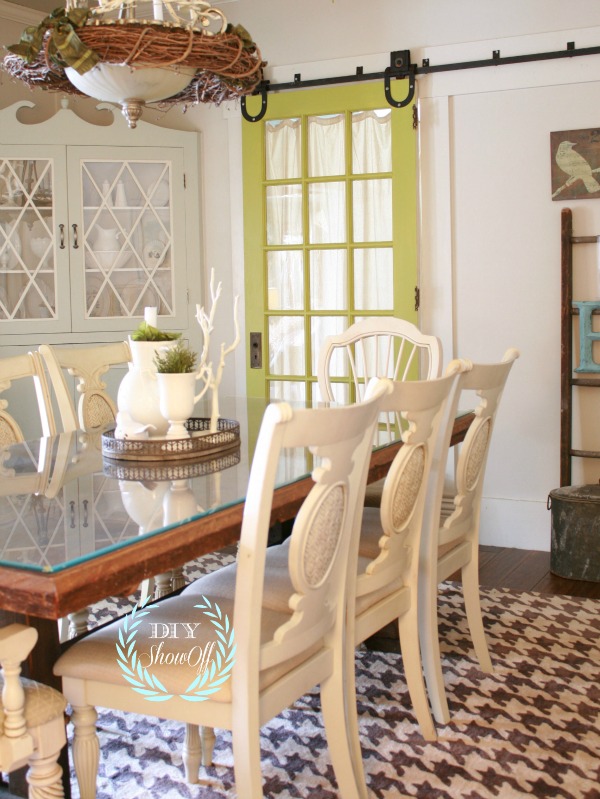
removing tape

Ta-da…the after:

painted door after


again…here’s the before:

shabby chic dining room

What do you think? Do the seasons aid in changing your decor? How finding inspiration and materials that you forgot you had when cleaning and organizing? Either way…I’m loving the new pop of color!

chartreuse paint

  • paint the built ins and add hardware to the bottom doors
  • swap out the light fixture (wait ’til you see the new one!!!)

*This is a sponsored post brought to you by FrogTape. The opinions are completely my own based on my experience. Results may vary. 

FrogTape Blog Squad

Sharing at:

Beneath My Heart’s Best DIY Projects of January

FJI’s Saturday Night Special

Thrifty Decor Chick Before and After party

Christmas ~ Dining Room

Gifts are wrapped. Shopping is done.  The last of my Christmas decorating is complete.

The dining room lighting and arrangement has made pictures a challenge, but here it is. As you can see, some pictures are a little different. I’ve been snapping pictures almost every day for a weeks to try to get it right and during that time, a little rearranging happened. Does that happen to you too?

View from the kitchen…

Christmas dining room

I love this view.

Christmas dining room

What do you think of the new area rug? I love adding in a modern element. But hey, hounds-tooth is classic.  Someone loves it…

houndstooth area rug

A little shabby. A little rustic. A little country. A little natural. A touch of vintage…our cozy farmhouse.

DIYShowOff Christmas dining room

Clean dishes within easy reach for entertaining…

Christmas dish display

Christmas chalkboard…

Christmas dining room vignette

farmhouse Christmas dining room

A big coincidence with other blog friends, but I added vinyl lettering to my big mirror too, along with a thrift store sunburst mirror.

Christmas mirror

The tree is decorated with burlap ribbon, thrift store finds including a sweet bird cage, eating utensils with wooden handles, pine cones, gold and brown ornaments and topped with a grapevine star…

vintage natural Christmas

nestled in an old crate, atop an old steamer trunk to give it some height.

rustic Christmas tree

Christmas centerpiece this year is a winter wonderland terrarium. A little Christmas-y greenhouse…

Christmas winter wonderland terrarium

{photographing glass is not easy!}

Christmas terrarium centerpiece

Right off of the dining room is the sitting room

Christmas dining room

I love the flow from the dining room into the sitting room…all neutral, warm, full of charm. More seating for entertaining too. 🙂

Merry Christmas

Thanksgiving decorating {thrift store art print becomes Thanksgiving reminder}…

We don’t host Thanksgiving dinner. We’re lucky to be guests. So, Thanksgiving decor is minimal at the DIY Show Off home but I did want to share how I turned a $4 print called “Nostalgic Autumn” by Eric Sloane into something I love hanging in our home this time of the year. Our thrift stores have huge framed outdated prints in “fair” condition on occasion. It’s not something I’d normally choose, but the the colors and autumn farm theme is perfect for our dining room. I decided that adding the words “Give Thanks” ensures that once a year, I will hang this print. And every time I look at the words “give thanks”, I take a moment to thank God for our many blessings.

Give Thanks vignette

What I did:

easy DIY Thanksgiving wall art

  1. Old framed print {thrift store}. Mine wasn’t in the best of shape. There were scratches on the print, etc. but we embrace imperfection around here, therefore it’s “perfect”. {You may want to check to see if your print has value before altering it.}
  2. Decide where lettering will be placed using a level or ruler.
  3. Apply a piece of FrogTape Delicate Surface. It works on freshly painted surfaces (24 hours) so it’s a good option for sticking lightly to an old art print. I did not rub the tape to adhere since I’m not painting. I’m using it as a guide/straight line.
  4. Write quote or words with chalk or use a stencil.
  5. Go over chalk words with a Sharpie/permanent marker. Be care of smudging with your hand, work from left to right {or I guess if you’re left handed, it might make sense to work from right to left…which ever way your hand won’t smudge the area you’re working on}.
  6. Carefully peel away FrogTape. Continue drawing letters that fall below the level line, wipe away chalk.

farmhouse Thanksgiving dining room

I love the every day reminder to “give Thanks”, especially this time of year. What do you think? Have you seen large art prints at the thrift store or yard sales that with a little DIY touch or accent would work for your seasonal decor?

DIY Thanksgiving wall artThis is a sponsored post brought to you by FrogTape. The opinions are completely my own based on my own experience. 

 FrogTape Blog Squad