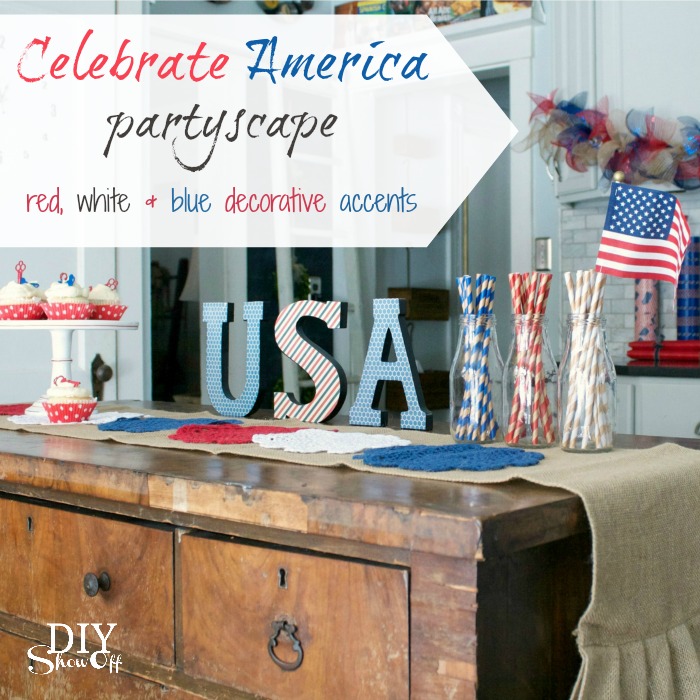
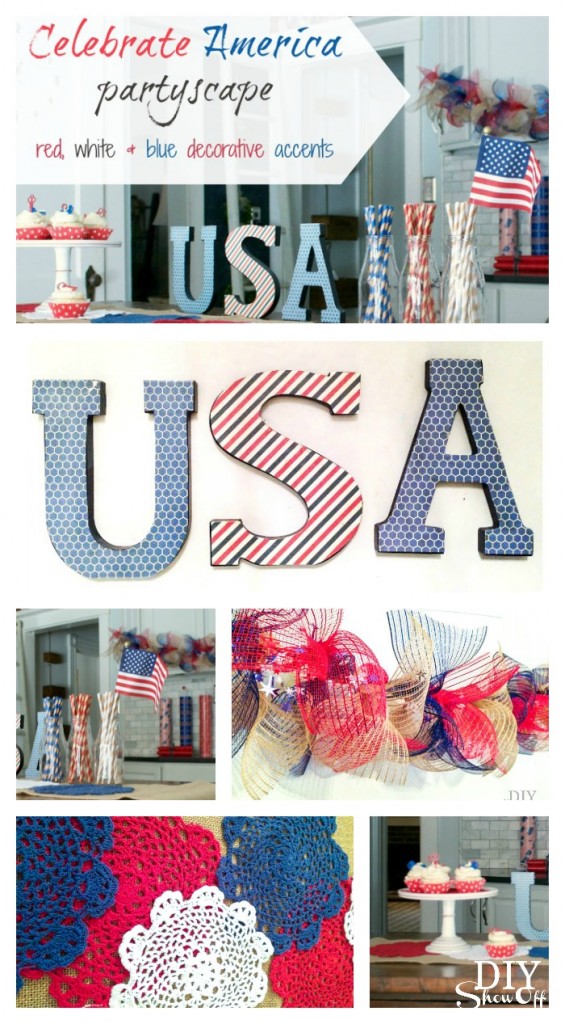
Celebrate America Partyscape

 Celebrations Challenge #MichaelsMakers

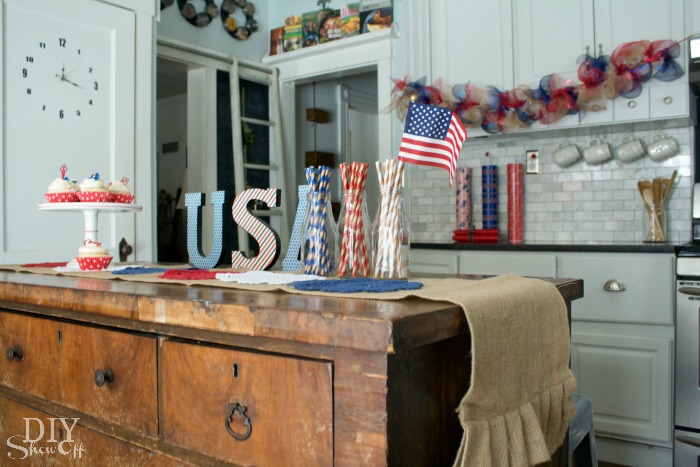
It’s not often I’m way ahead of the game but when I am, it’s by more than three months. haha! As a part of the Michael’s Makers team, my final assignment came with a “Celebrate America” theme from the Celebrations campaign. Due in April. Yes, quite a bit early and especially since photos were actually due in March while there was still snow on the patio but it wouldn’t be a “challenge” otherwise, right? I had a blast decorating our dresser turned kitchen island in red, white & blue for a festive party. And hey, I’m happy to celebrate America any time of the year.  

red white and blue decorative accents @diyshowoff @michaelsmakers

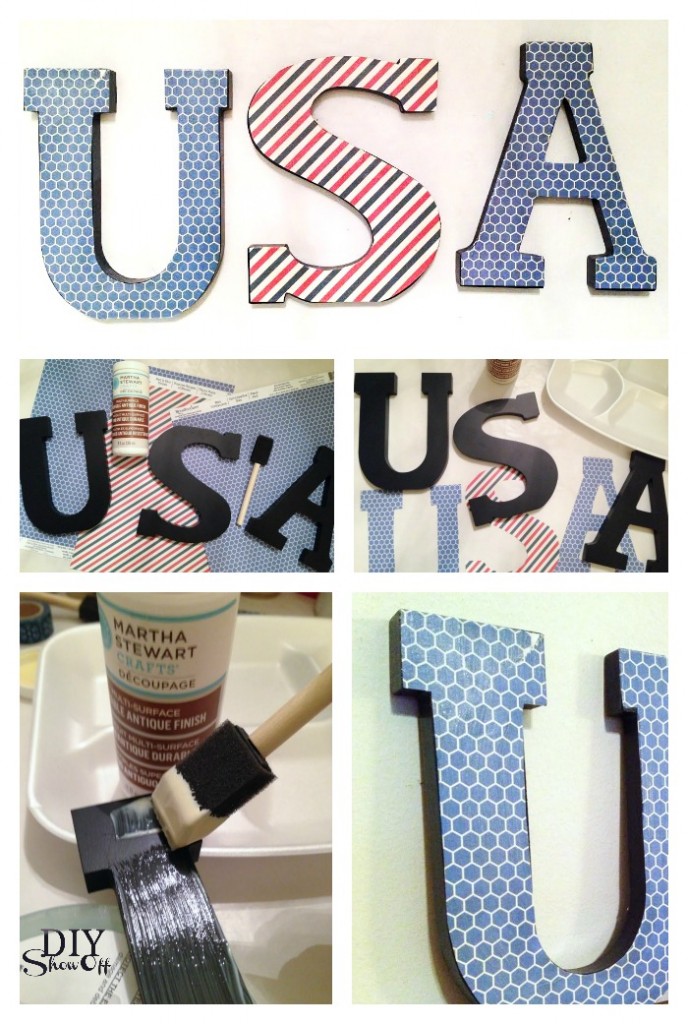
Decoupaged USA letters

Supplies: Shop Home Decor and Floral at Michaels

  • wooden letters U, S, A
  • decoupage
  • red, white, blue designed scrapbook paper

red white and blue decorative accents @diyshowoff Celebrations Challenge #MichaelsMakers

What I did: Trace letters onto scrap book paper. Cut out scrap book paper shapes. Apply decoupage to wooden letter (works like a glue). Carefully line up scrapbook paper. Apply another layer of decoupage over top of the scrapbook paper to seal. Let dry and display. 

red white and blue decorative accents @diyshowoff @michaelsmakers

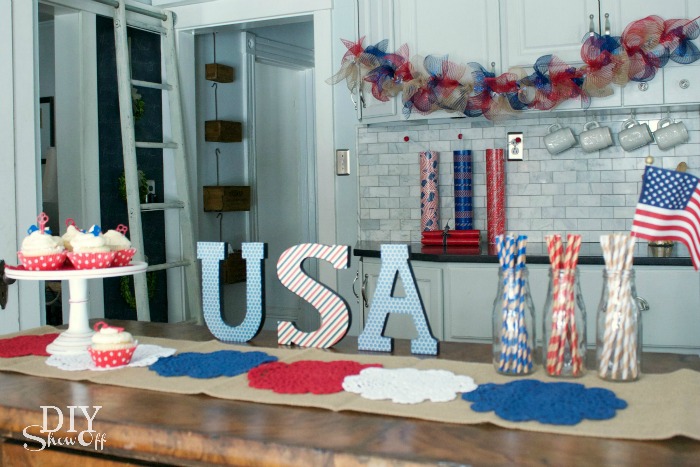
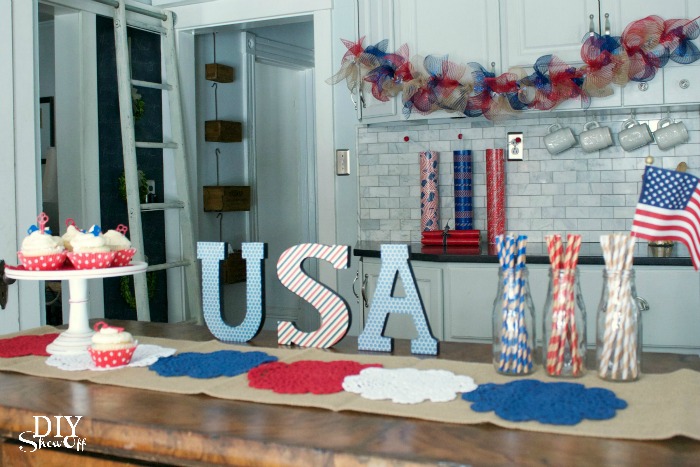
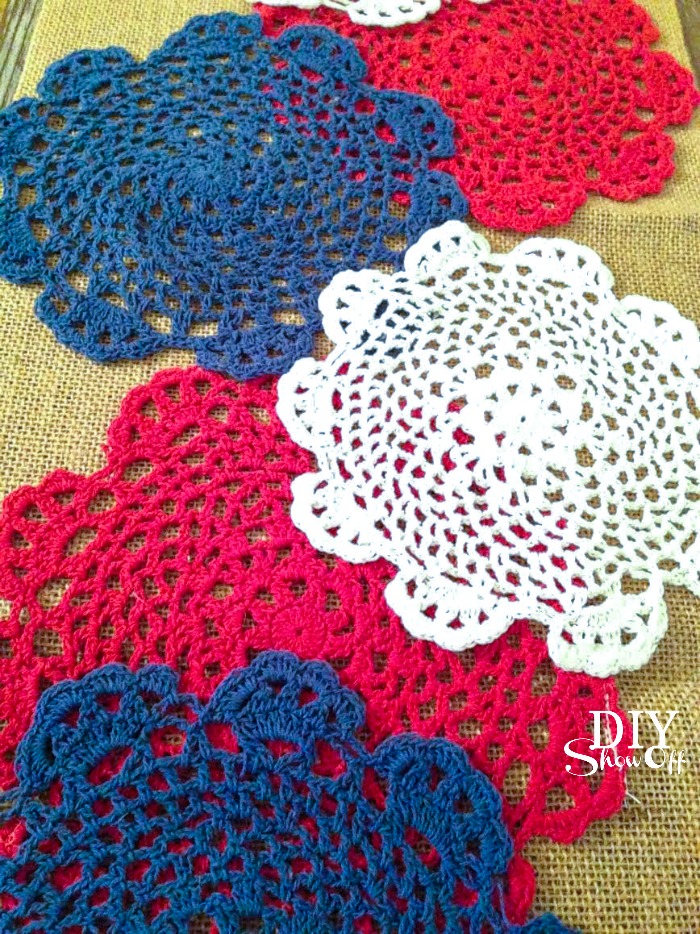
Add a few red, white and blue doilies to a burlap table runner for an inspired ‘firework’s look.

red white and blue decorative accents @diyshowoff @michaelsmakers

Red, white and blue straws and red and white polka dot cupcake liners add to the patriotic color theme. There are little American flags near the cash register. Add a red/blue topper to the cupcakes (I found red and blue keys). 

red white and blue decorative accents @diyshowoff @michaelsmakers

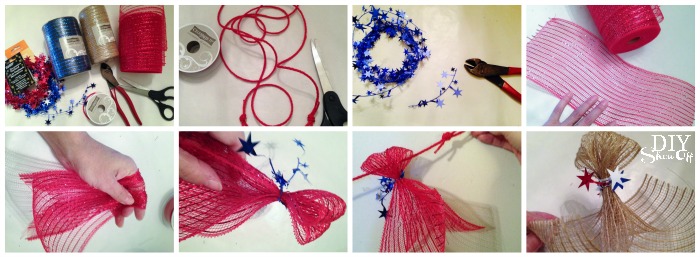
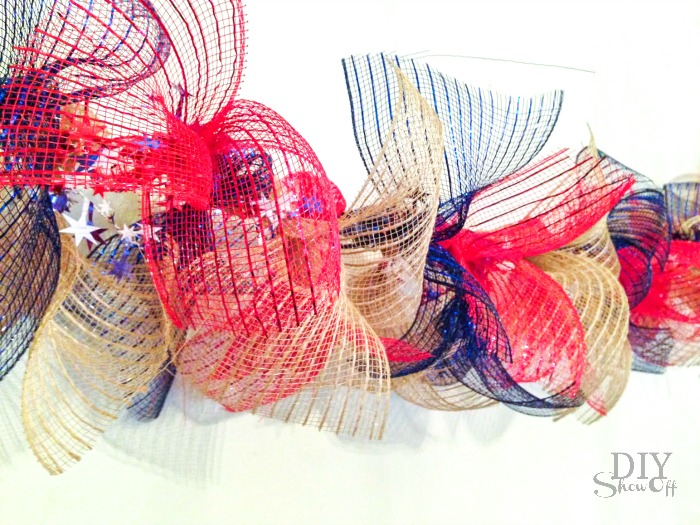
Red, white and blue star & mesh banner

Supplies:

  • red, burlap, blue wide mesh ribbon
  • star wire garland
  • twine or yarn

red white and blue decorative accents @diyshowoff @michaelsmakers

Tutorial:

  1. Cut a piece of twine the length you’d like your banner to be. Tie loops on the ends for hanging.
  2. Cut pieces of mesh to tie onto the twine. 
  3. Secure mesh with snips of star wire garland.
  4. Thread onto twine. 
  5. Repeat until your banner is full. Fluff and display.

red white and blue decorative accents @diyshowoff @michaelsmakers

Time to Celebrate! 

red white and blue decorative accents @diyshowoff @michaelsmakers

See more Celebrations posts from these Michaels Maker’s friends starting today at 11 a.m. EST:

Celebrations Challenge #MichaelsMakers

 Loading InLinkz ...

Michaels is celebrating every occasion this summer with gifts for Moms, Dads and teachers, and parties to celebrate birthdays, graduation, and the 4th of July!

·         As a toast to the last Michaels Makers post of the season, we created gifts, baked treats and threw parties for each of the six holidays this summer.

·         It’s never too early to get started on your next party or celebration – Michaels.com has more project ideas and instructions for you and your kids to make this year – check out projects for Mother’s Day Father’s Daygraduationbirthday and even summer. Let’s celebrate!   

red white and blue decorative accents @diyshowoff Celebrations Challenge #MichaelsMakers

Disclaimer: As a member of the Michael’s Makers blog team, I received a Michael’s gift card to complete this craft challenge. 

DIY Halloween Witch Hat Candy Dish Decor

This easy DIY Halloween project for the Lowe’s Creative Ideas October challenge has a few uses so I wasn’t sure what to call it. It’s … versatile. 

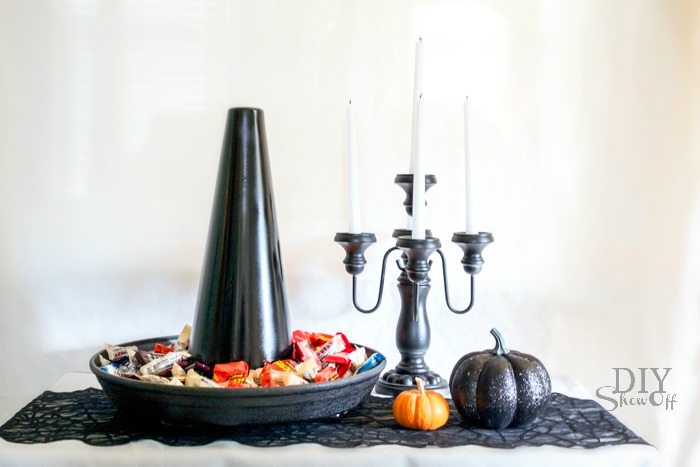
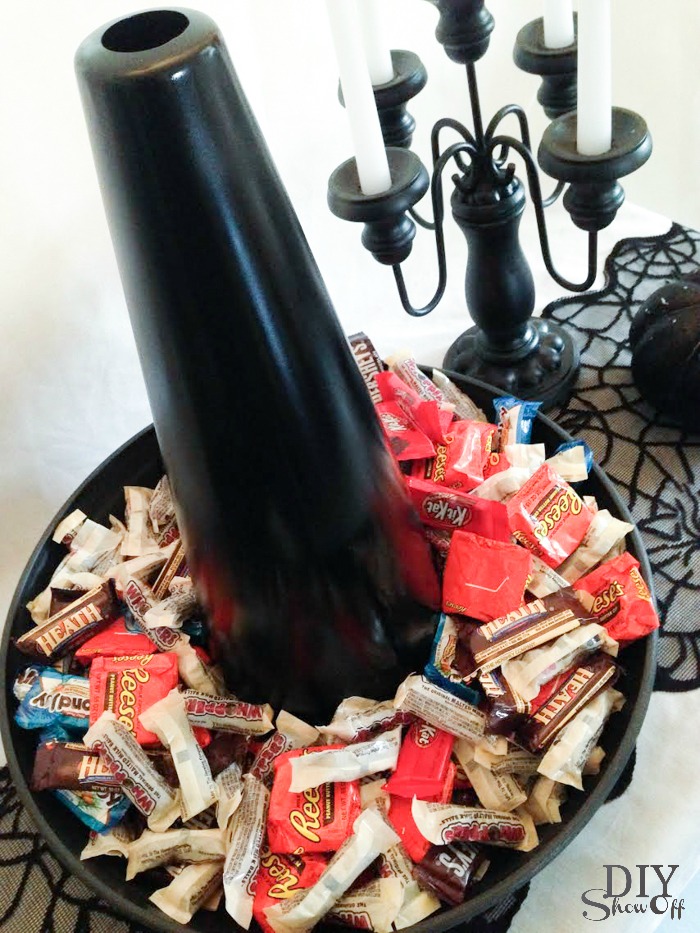
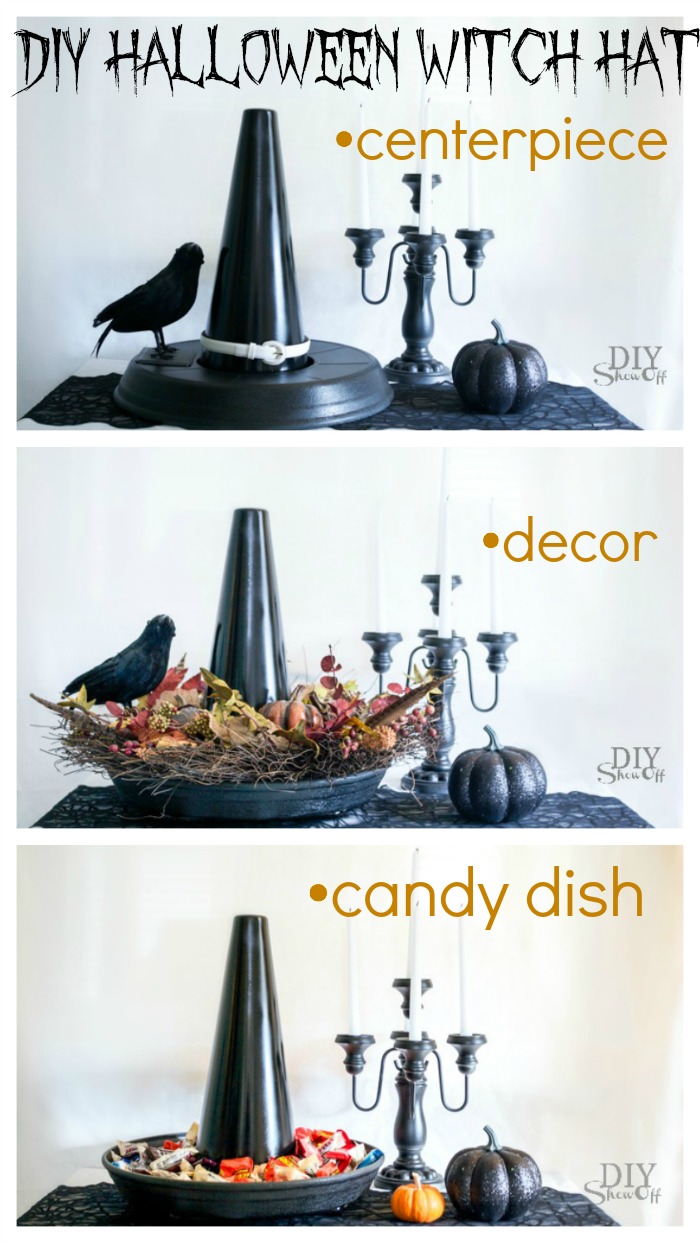
Witch Hat Halloween Candy Dish

DIY Witch Hat candy dish/serving tray tutorial @diyshwoff

or add chips/pretzels to use as a Halloween serving tray.

or add festive cupcakes for Halloween party display.

or add succulents, small fall flowers/plants to create a Halloween planter.

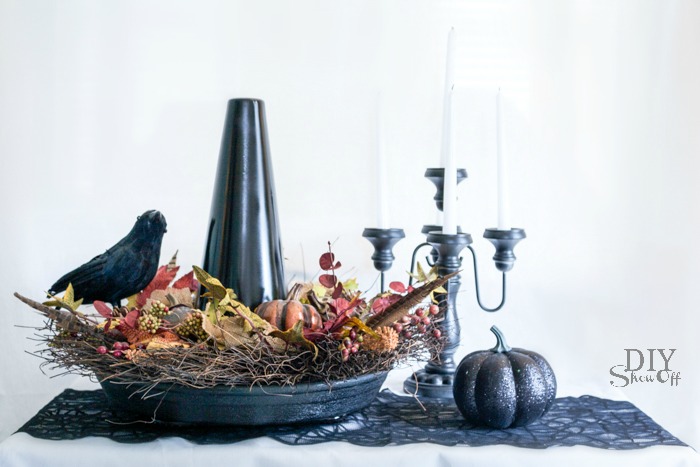
or a floral arrangement (just pop on a fall wreath) for Halloween decor.

DIY witch hat Halloween centerpiece tutorial

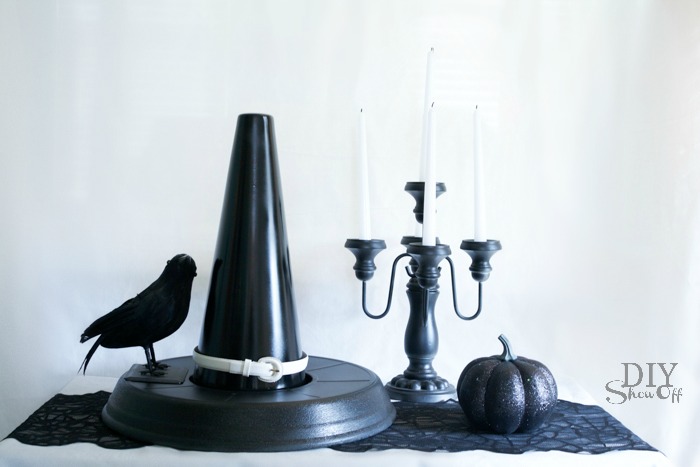
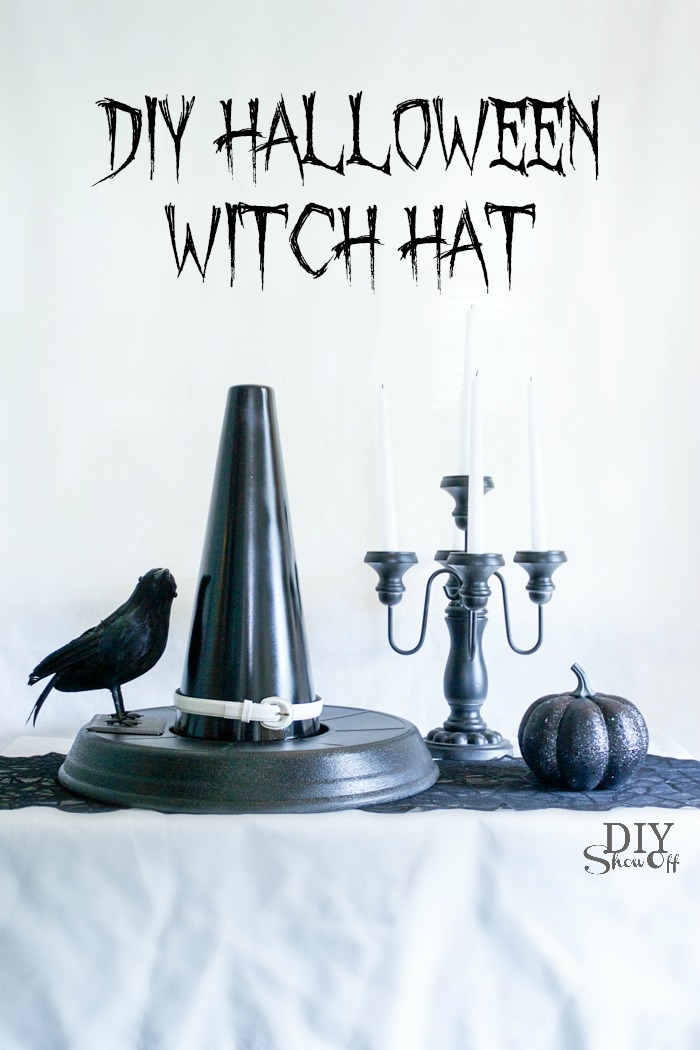
or simply flip the bottom to use as a Halloween Centerpiece

DIY Witch Hat Halloween decor tutorial @diyshwoff

Materials:

DIY Witch Hat candy dish/serving tray tutorial @diyshwoff

EASY tutorial:

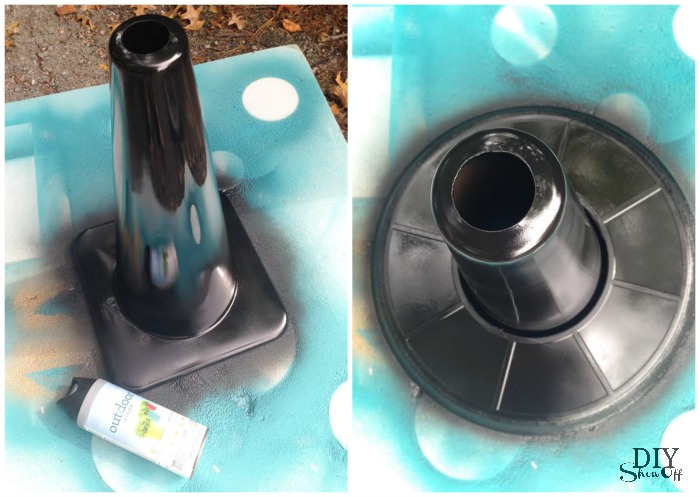
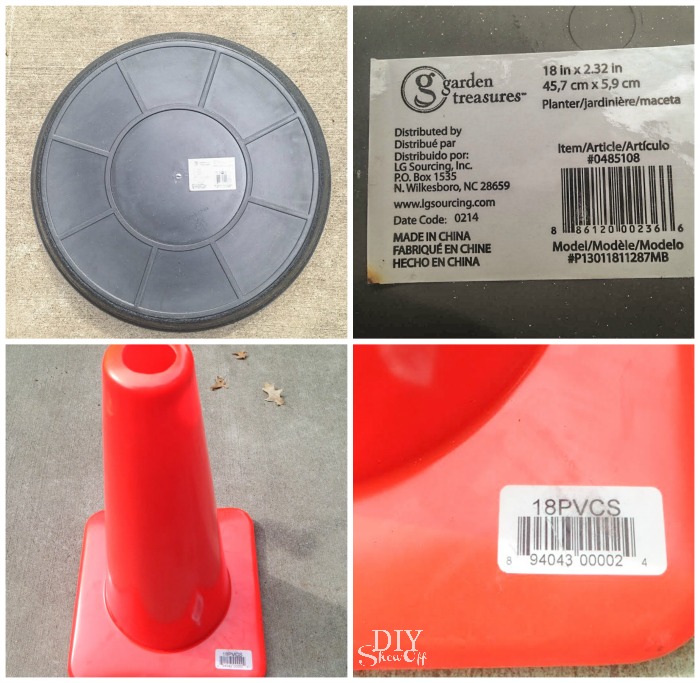
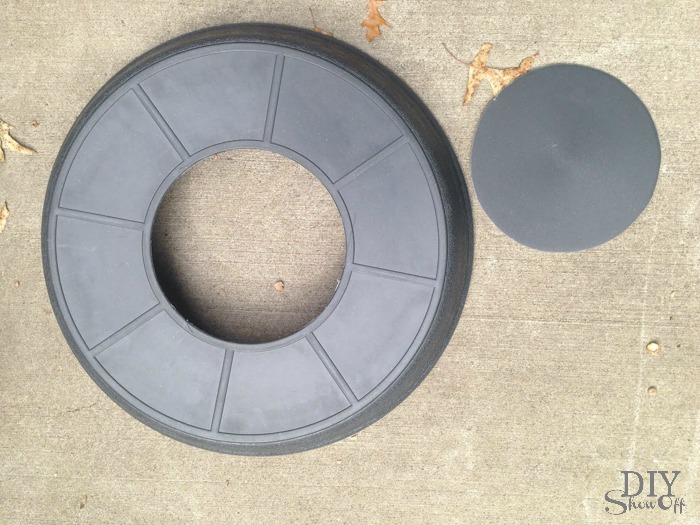
1. Using a kitchen knife, we cut out a hole using the inner circle shown on the bottom of the large plastic plant saucer as guide.

DIY Witch Hat candy dish/serving tray tutorial @diyshwoff

2. Spray paint cone and saucer black. I did two coats on the cone, one coat on the already black plant saucer. Let dry.

DIY Witch Hat candy dish/serving tray tutorial @diyshwoff

That’s it! 

Carefully slide onto the cone. Right side up creates a ‘dish’. 

DIY Witch Hat candy dish/serving tray tutorial @diyshwoffDIY Witch Hat candy dish/serving tray tutorial @diyshwoff

Upside down creates a ‘ledge’. Add an old belt for a decorative touch.

DIY Witch Hat Halloween decor tutorial @diyshwoff


More ideas: attach faux fall flowers, leaves, spiders, etc. to create a Halloween centerpiece. Hide a vase filled with water under the cone and fill with tall flowers. Add succulents and display outside. Get creative!

DIY witch hat Halloween centerpiece tutorial

Fall LCI

I received a Lowe’s gift card to put towards this challenge. Opinion and above idea is 100% my own. More DIY ideas at Lowe’s Creative Ideas or follow Lowe’s on InstagramPinterest and sign up for the Creative Ideas magazine and app.
Halloween DIY @diyshowoff #lowescreator

Homemade Lemonade with Essential Oil

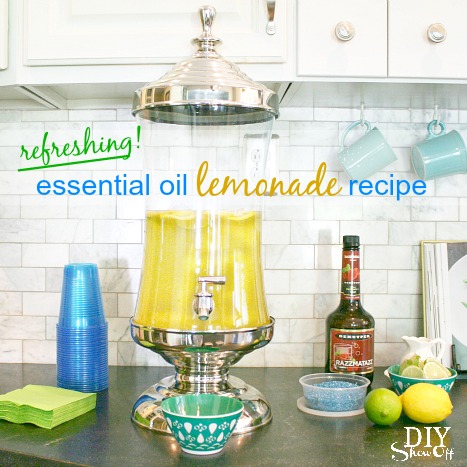
refreshing lemonade using Young Living lemon essential oil at diyshowoff.com

There are several essential oil lemonade recipes but after some trial and error, this one is my favorite. I made it for a recent Young Living Essential Oils class and since a few have asked for it, here it is!
Young Living Essential Oils at diyshowoff.com

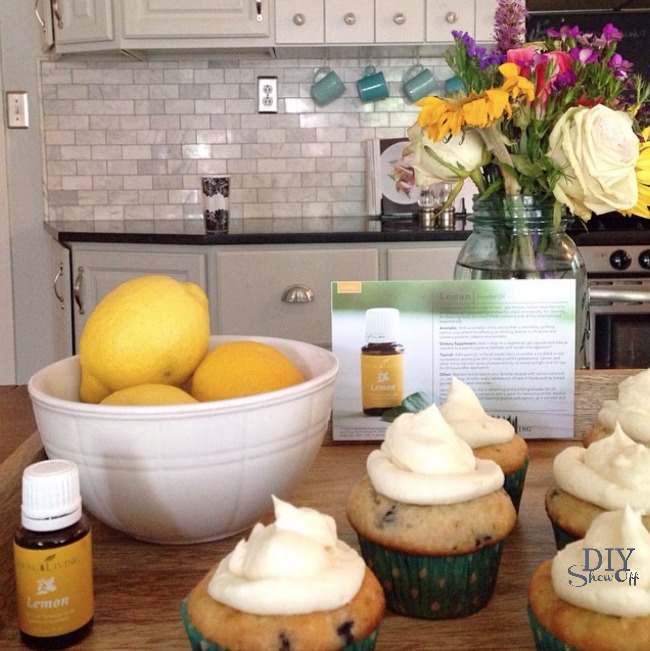
{blueberry lemon muffins with lemon cream cheese frosting recipe}

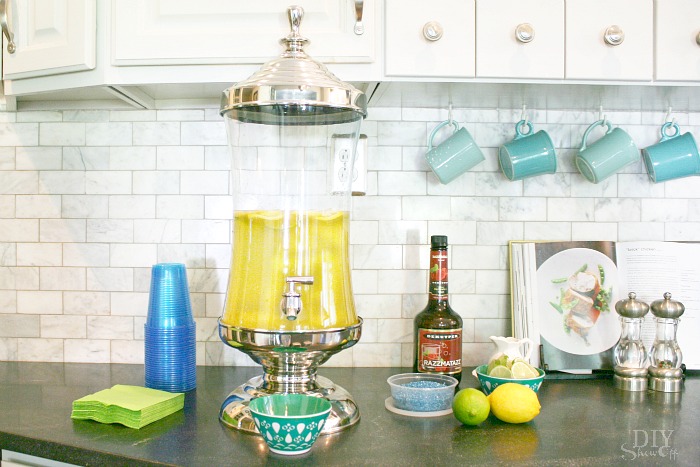
And the entire thing disappeared! Refreshing, fresh squeezed without the fake mix taste. Color is darker due to the blue agave.
Young Living essential oil lemonade recipe at diyshowoff.com

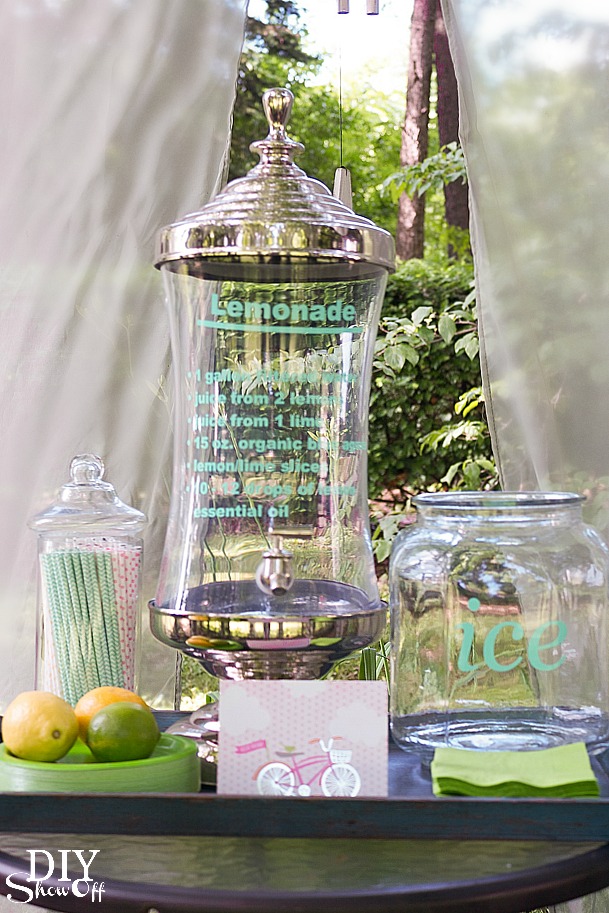
Young Living Lemon Essential Oil Lemonade Recipe

  • 1 gal. of filtered water
  • juice of two organic lemons
  • juice of one organic lime
  • about 15 oz. of organic blue agave (test as you go to adjust the sweetness to your liking)
  • 10-12 drops of Young Living lemon essential oil
  • lemon and lime slices for garnish

Serve in glass with ice. Rather than add ice directly to the lemonade which waters it down, I serve ice in a separate container.

DIY beverage container vinyl label at diyshowoff.com 

{lemonade vinyl decal tutorial}

Optional: I also served it up with lime garnish for glasses (rub lime around glass rim and dip in colored sugar). Offer a small bit of blueberry juice or raspberry liquor for guests to create their own summer cooler.

What the heck is lemon essential oil? Just one of the amazing oils from Young Living essential oils! I am bursting with excitement over how these are changing our life…all it takes is trying one of the oils, seeing amazing results and you’ll be hooked. Get more info, get the link to get started HERE

young living essential oils @diyshowoff