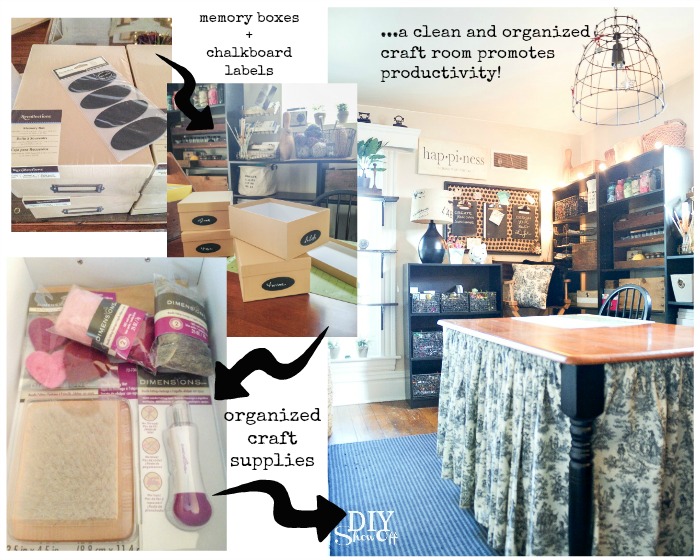
I’m taking a few days off from DIY. ::gasp!:: I know. lol Well, to be honest, de-cluttering and cleaning is do-it-yourself when you haven’t hired someone for the task but there’s nothing glamorous about dust, spiders and junk. We’re in the long tedious process of cleaning out the basement. KEEP • TRASH • DONATE/SELL is the mantra. Anyway… here are a few favorite things I’m loving in the meantime because I’m experiencing a bit of blogging withdrawal.
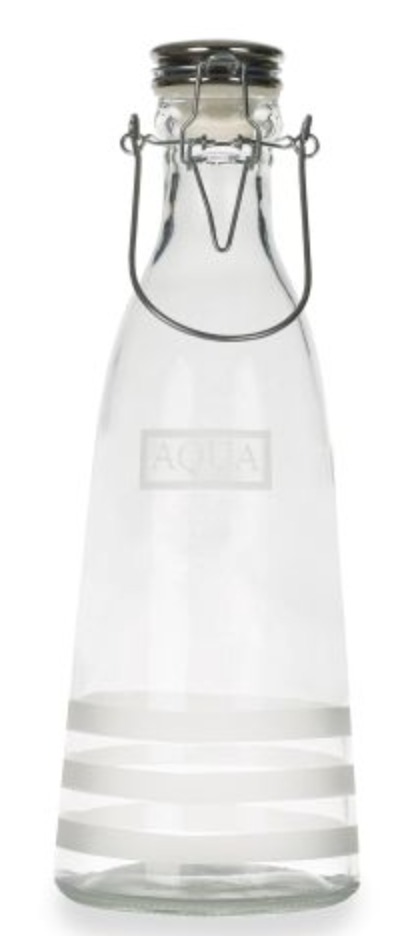
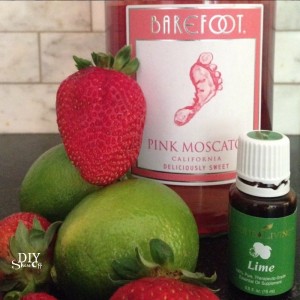
1. This decanter/glass bottle. Served up a little lime/berry sangria (and may or may not have refilled it about 4 times). Cute, isn’t it? And I forgot to take a picture of it “in use” because I was entertaining and believe it or not, not one of the 4 of us touched our cell phones (i.e. camera) the entire 3-ish hours. Sweet!
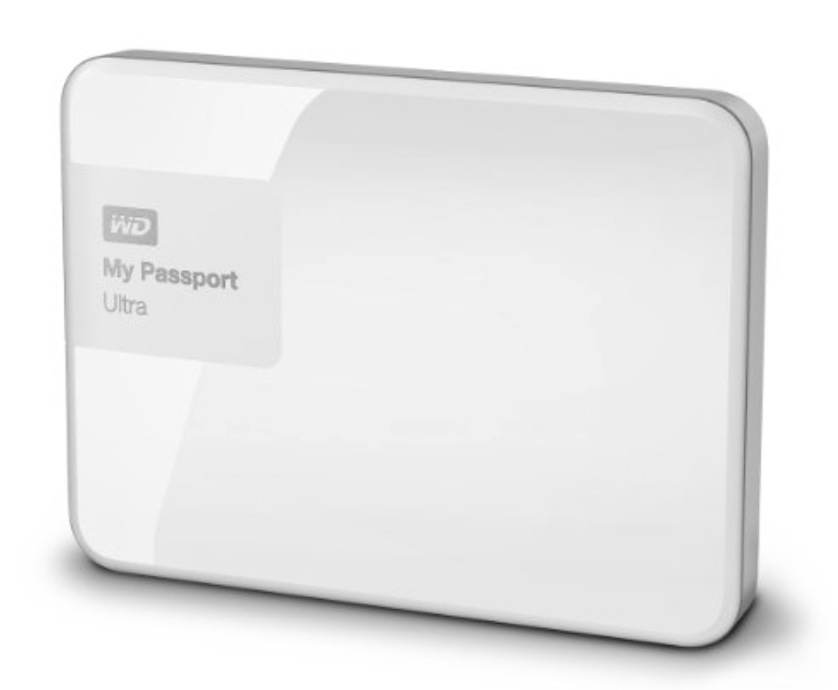
2. Purge is the word of the week. Yes, the basement but my laptop has been leaving not so subtle pop ups that my disk is full and throwing wonky tantrums. :/ Time to transfer some of the 43,323 photos. This is the external hard drive {<— that one is an affiliate link} that’s new to me. Sleek, isn’t it? 2 terabytes, you guys! I think I’m good for another good long while, let’s hope!
3. THIS obsession. Not healthy but I.can’t.stop.myself. Triple chocolate brownie. Need I elaborate? Didn’t think so.

4. I looooove this top. Crochet and t-shirt? Comfy combo and pretty too. However, I am still waiting to hear back regarding 2 missing items and exchanging 1 wrong size from my order. Not such a happy first impression. Online shopping is sometimes risky, huh? Great prices so hopefully the company responds to my ‘support ticket’ soon. I’ll edit my post with an update.
Update: My two missing items were shipped separately (although it didn’t show that way on my tracking). Also, I ordered two pairs of sandals and did heed the chart converting Chinese size. One pair is correct, the more expensive pair is 2 sizes to large (I was sent a size 6 and size 8). Exchanging is a hassle. I’d have to pay for the return shipping. So, I’m just out the $32+ dollars for the sandals (hopefully I can find a friend who wears a size 8). I don’t recommend ordering shoes. Another thing to note is the sizing conversation. Since I placed a large order, I am pleased with most of what I received. However, 1 bikini is too tight, one romper (and the 1 pair of sandals) too large. Therefore, I feel the inexpensive items are just brought up to normal pricing with the the loss of things I can’t wear. Make sense?

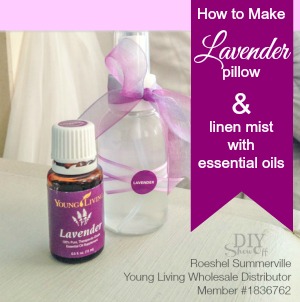
5. Lime essential oil (Don’t have any yet? What are you waiting for?! Learn how essential oils can benefit you. Experience wellness. Go get yourself some…NOW! It’s part of the DIYShowOff wellness promo HERE)…
6. Okay, this favorite IS fun DIY related: This blog crush…and I happen to have the pleasure of knowing Susan from Oh My! Creative in real life. She’s sweet, smart and crafty. Love her blog, love the creative crafts, love her fresh new blog design! ::inspiring:: Pop on over, check things out, pin some fun ideas and say ‘hello’.

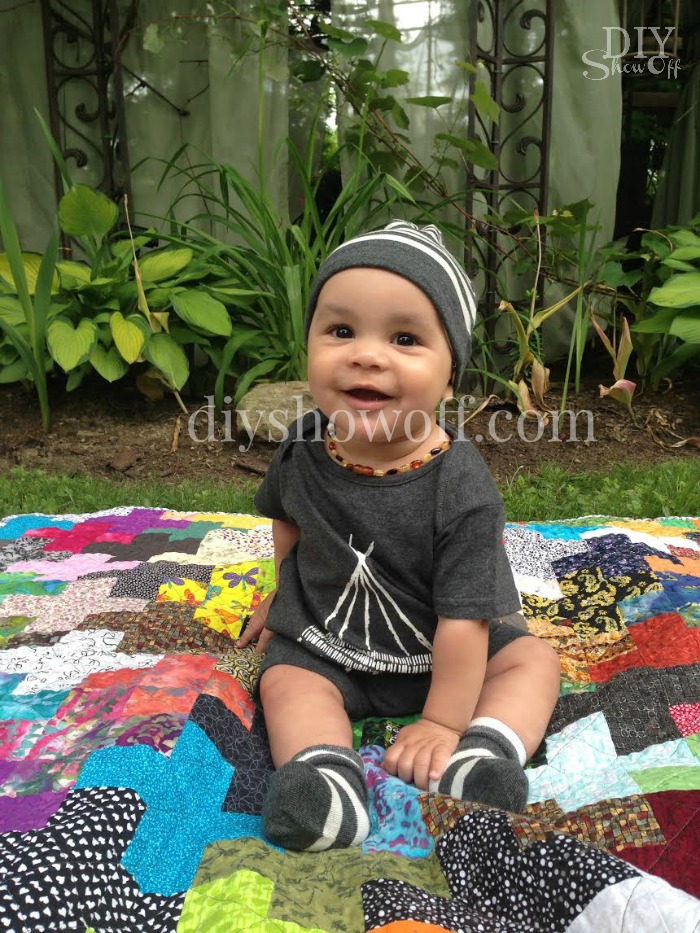
7. This cutie (no affiliate link available)…but the adorable outfit he’s wearing is from here. I can’t get enough of that cute face!
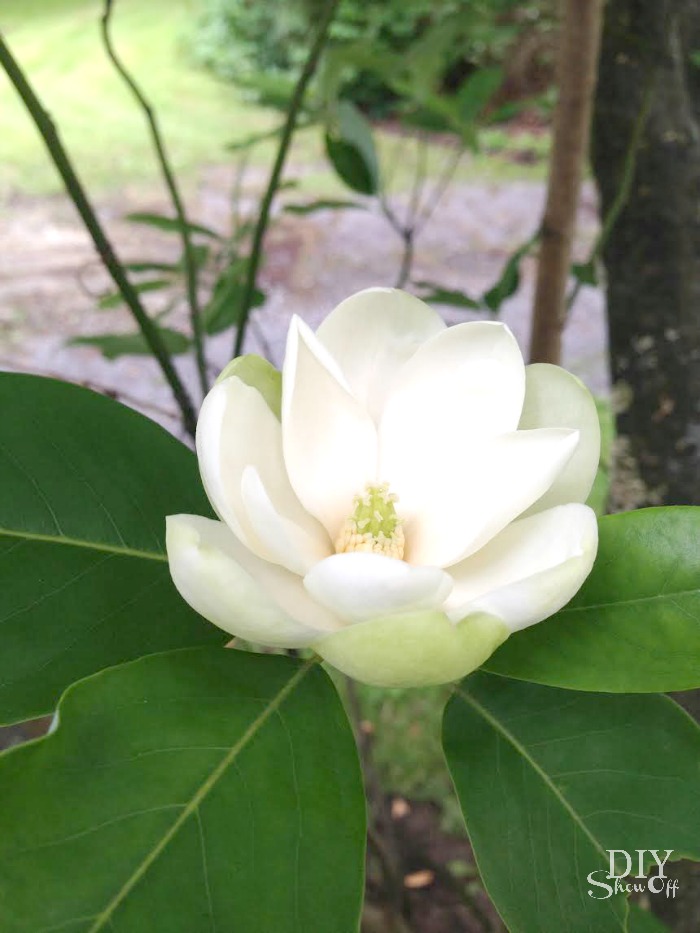
8. Magnolia blooms are filling the air with heavenly perfume…
Enjoy the rest of the week! See you Sunday for That DIY Party (there is still time to link up this week AND browse the links already shared for inspiration) – you can show off your creativity, rub it in my face, stick out your tongue and make me all envious that all I’m sort of accomplishing is creating chaos into piles at some attempt to achieve peace & harmony and a bare basement/clean slate up for remodeling…finally. Maybe. Fingers crossed.
What are you loving lately? Care to share?