DIY {dresser drawer} Dog Bed

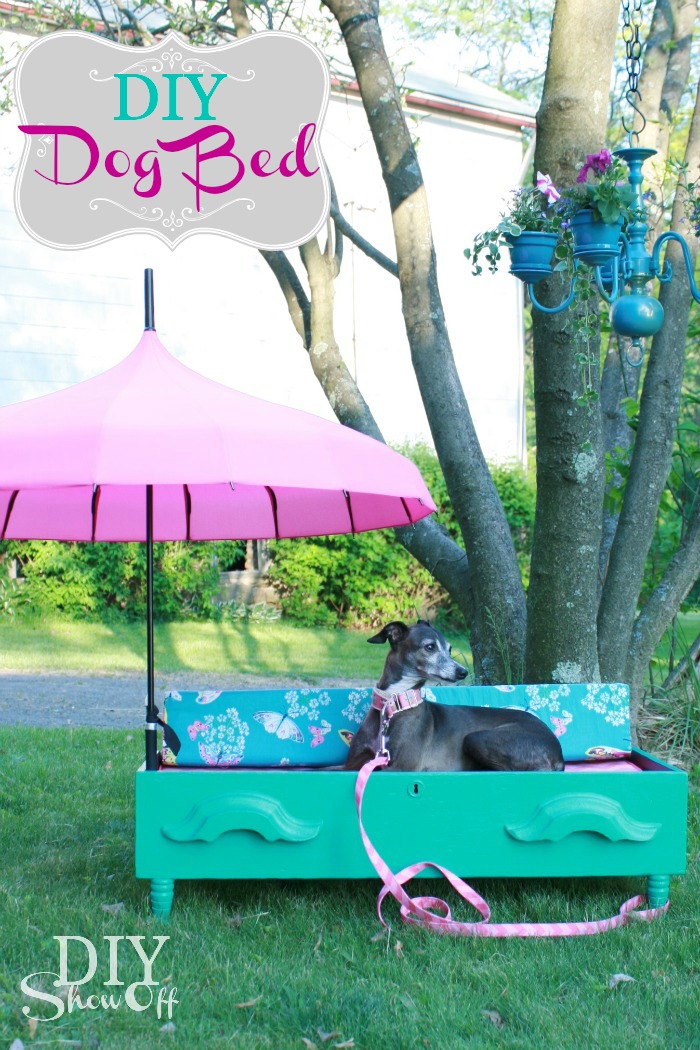
As a part of the Lowe’s Creative Ideas team, I was excited that the May Challenge revealed using Pantone’s 2013 Color of the Year…emerald! I knew it’d be the perfect fun color for the new dog bed I planned to make for Rosie. Pantone’s Emerald is one of those colors that would look amazing paired with navy, yellow, tangerine, coral, raspberry, fuchsia or pink. I decided to go girly for our new female furry family member.

DIY Dog Bed

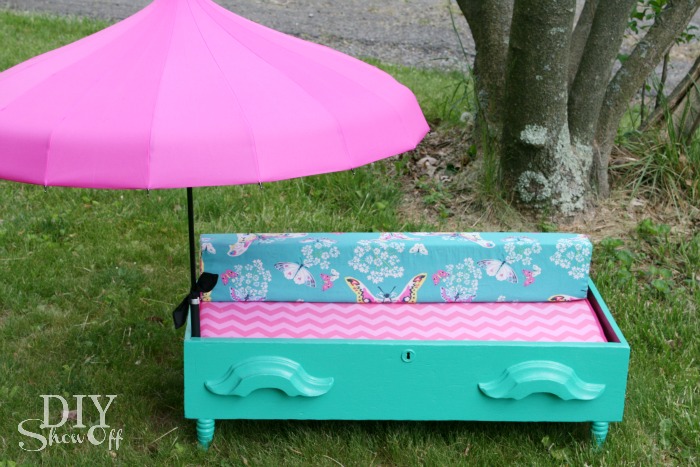
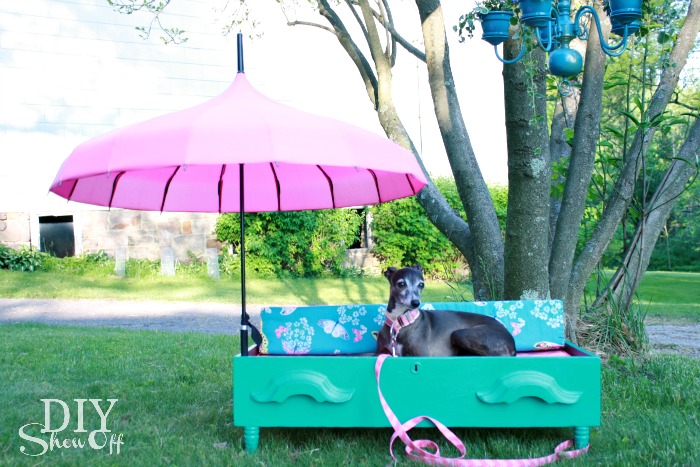
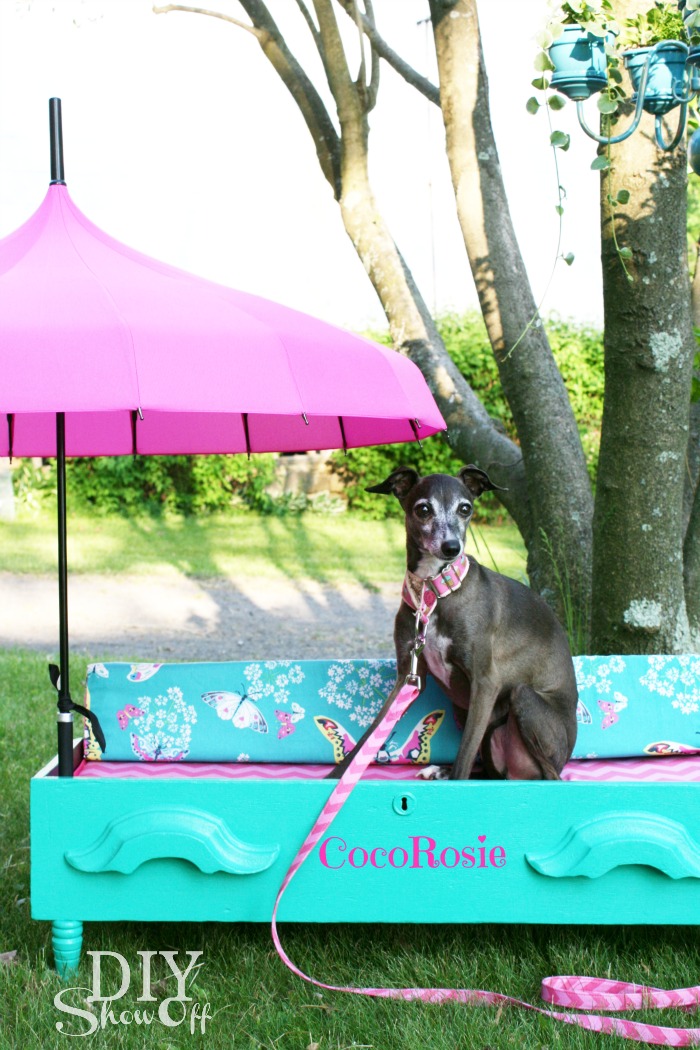
She loves to lounge around outside, especially since we utilize our patio a lot during nice weather. Sunbathing is one of her favorite past times although there are occasions when she seeks shade and Italian Greyhounds are prone to sunburn because of the short fur. The hot pink parasol provides a bit of shade and a ton of cute-ness paired with Emerald and coordinating fabrics.
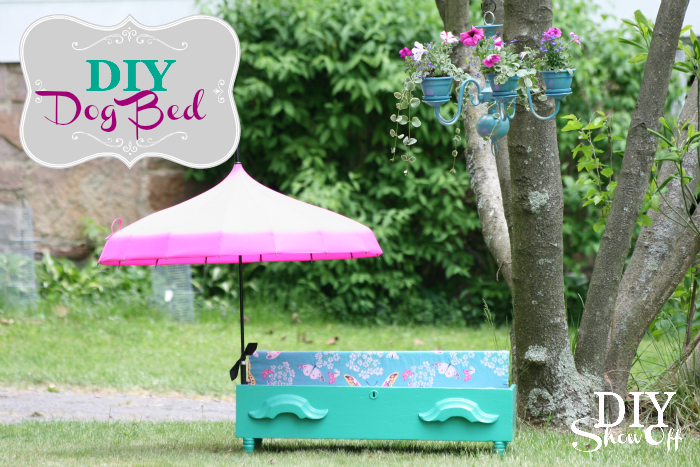
diy-dog-bed-tutorial

Materials I used:

What I did: 

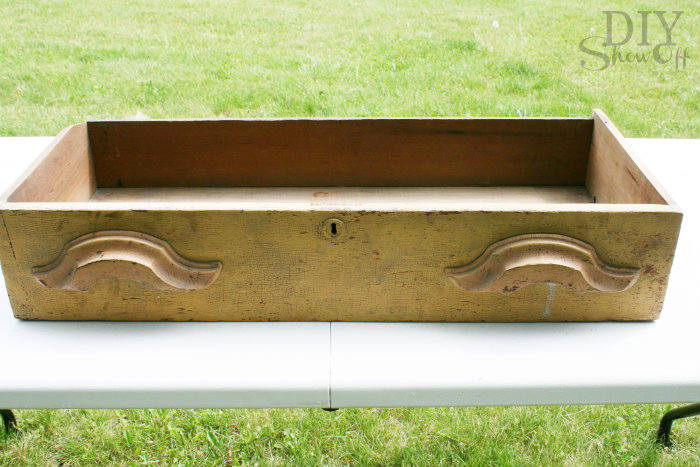
1. An old free/found dresser supplied the drawer. I gave it a good scrubbing. You may also want to sand your dresser drawer face board if needed or remove drawer handles for painting and replace when finished.

dresser drawer dog bed

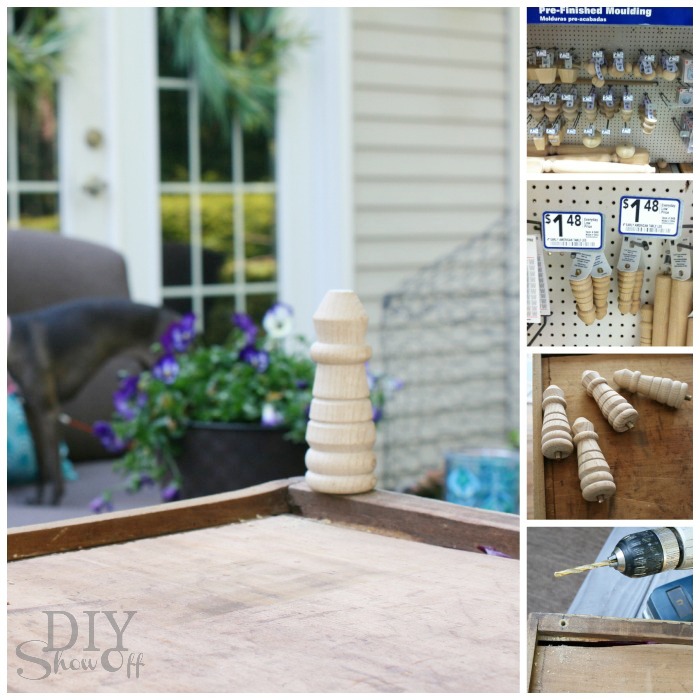
2. I simply drilled pilot holes in the wider dresser front and back bottom boards then screwed in the feet.

legs for a DIY dresser drawer dog bed

CocoRosie is only 10 lbs. and this worked for us. There is also hardware (table leg plates) for furniture legs sold in the same aisle at Lowe’s for a sturdier option  (located near the decorative wood moulding).

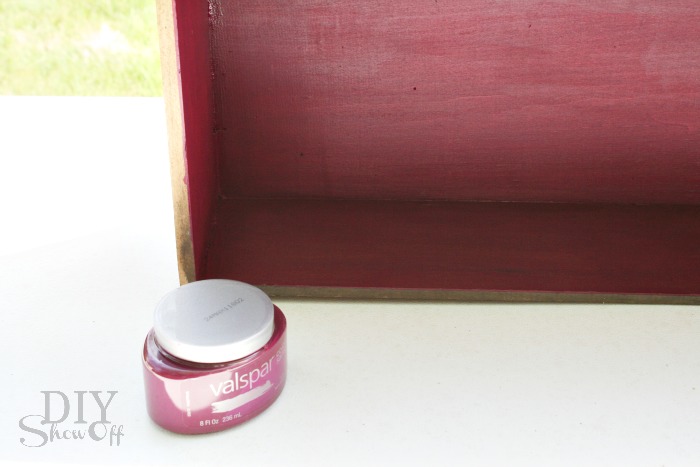
3. The inside got a coat of Valspar’s Berry Brown.

valspar berry brown

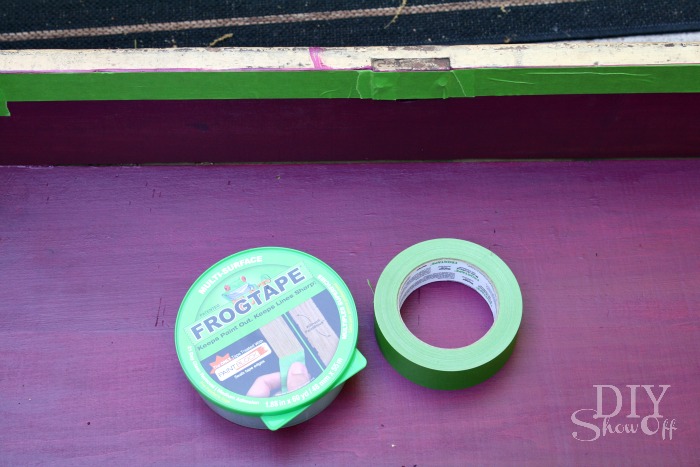
4. Once dry, I taped off the inside using FrogTape, making sure the edges were sealed to activate the PaintBlock technology.

FrogTape

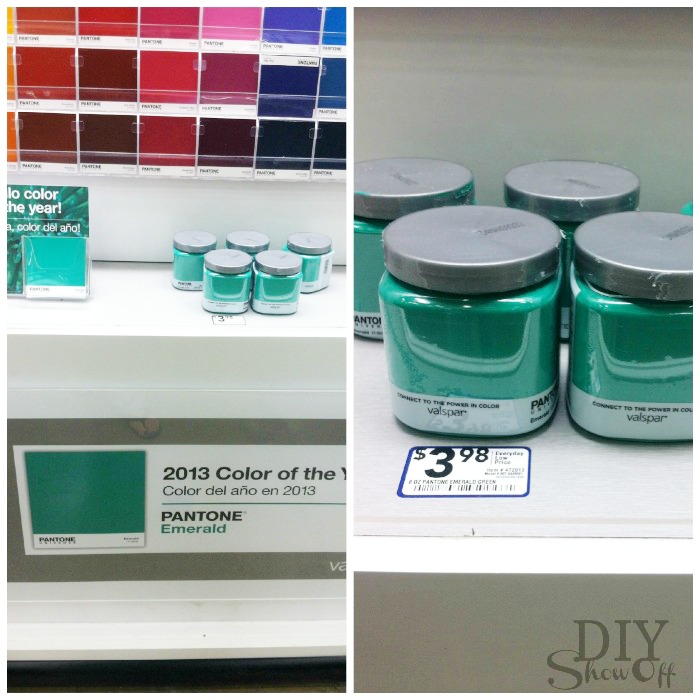
5. Next up, painting the outside two coats of the beautiful Pantone’s 2013 Emerald exclusively at Lowe’s.

Valspar Pantone Emerald

I love the consistency of Valspar’s Signature line.
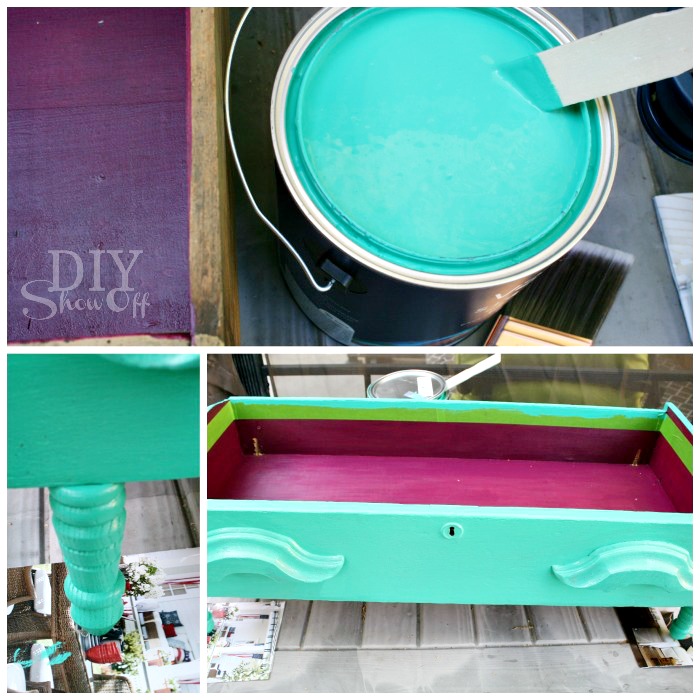
painting dog bed

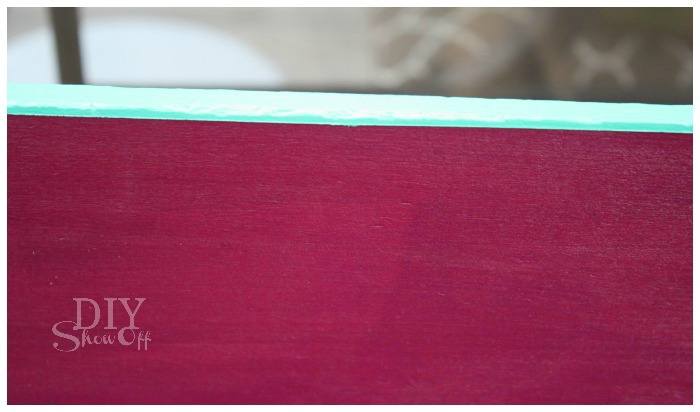
I removed the FrogTape immediately after the second coat…

FrogTape results

then let it dry overnight while I worked on a DIY box cushion…

DIY dog bed

6. Secure the parasol handle to the inside of the drawer using a hose clamp or pipe strap (however the box cushion I made has a snug fit and holds the parasol handle in place). I found that having the parasol positioned in the front of the drawer helps to be able to push it almost-flush against walls on the back side.

7. Pop in a pillow or cushion.

dresser drawer dog bed

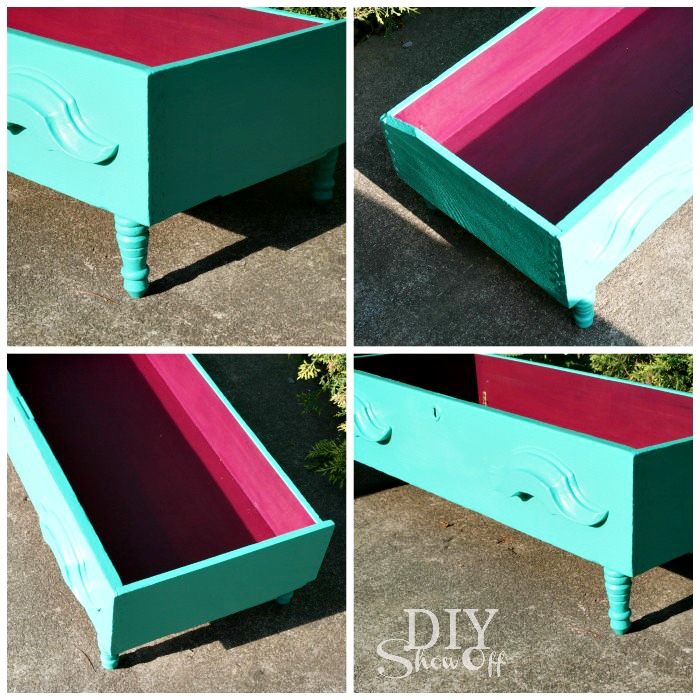
Seven or less steps. Easy as pie. A yummy  (Pantone) Emerald and Raspberry indoor/outdoor dog bed.

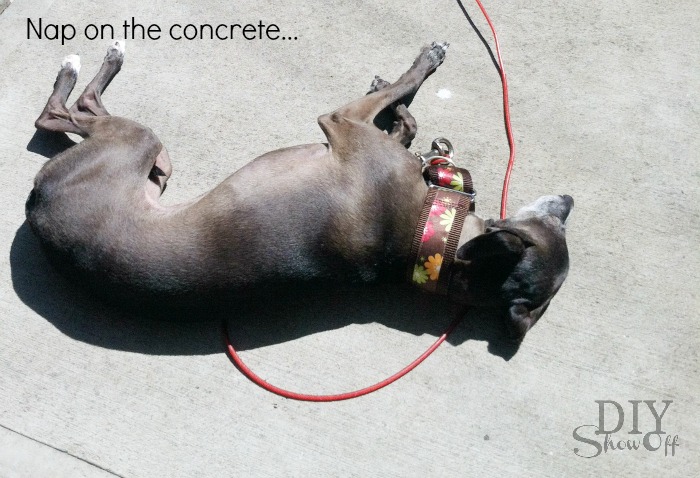
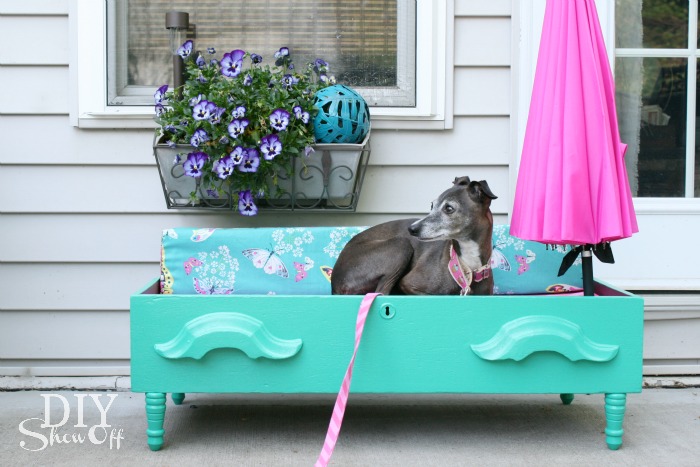
BeforeDon’t feel too bad, she does have access to patio furniture too. You’ve seen her on that patio daybed!

rosie-before

Now:

Up for providing shade…

dresser drawer dog bed how-to

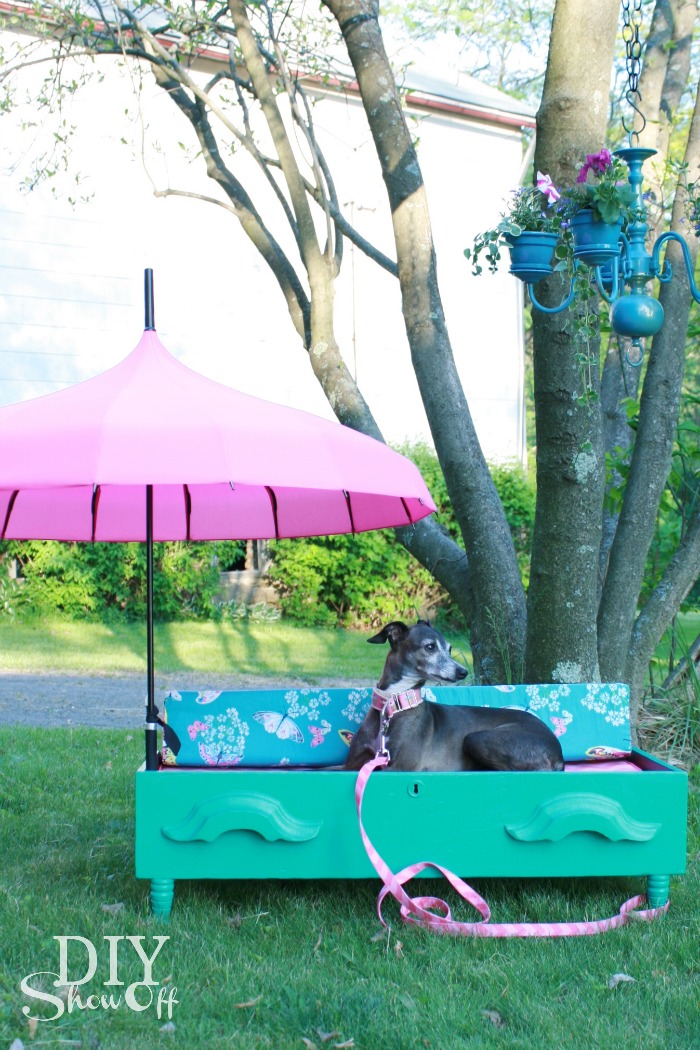
Down for getting sun/overcast days…

DIY dresser drawer pet bed

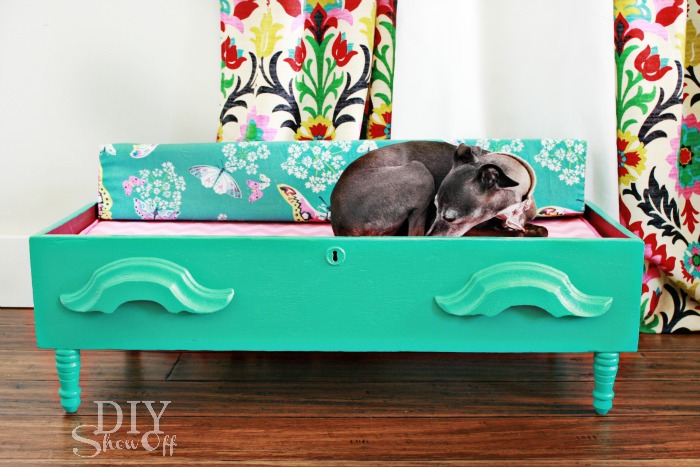
No parasol for indoors…

DIY pet bed

I’m even thinking of personalizing it for her…

CocoRosie dog bed

Result is a pampered pooch. Maybe now I’ll have the patio daybed to myself! How do you spoil your pets?

Pantone Emerald pet bed

Of note: 

*I do not leave the dog bed outside in the rain.

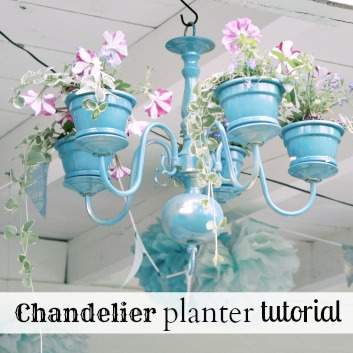
Notice the chandelier flower planter hanging in the tree? See the DIY Chandelier Planter Tutorial for more details. 

DIY Chandelier Planter

*See more fun DIY ideas at Lowe’s Creative Ideas, follow Lowe’s on InstagramPinterest and sign up for the Creative Ideas magazine and app!

Spring 13 Blogger Badge Subscribe Banner Version

*Disclaimer: As a member of the Lowe’s Creative Ideas Creators and Influencers network, I received a Lowe’s gift card to complete this project for using Pantone’s Emerald in Valspar’s Signature paint challenge, however the tutorial images, instructions and opinions are my own. Your dog’s behavior may vary. DIY results may vary.

Patio Season {small updates}

I love that the weather is warming up! We have a patio off of the back of the house which we utilize as an outdoor room in the spring, summer and fall. We spend a lot of time in this space, weather permitting. It’s not a pretty sight by the time winter ends. Blah! The Lowe’s Creative Ideas challenge this month is outdoor mini-makeovers. Perfect timing!

patio update

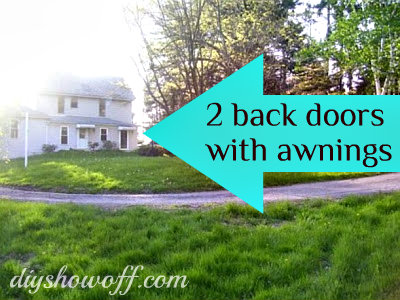
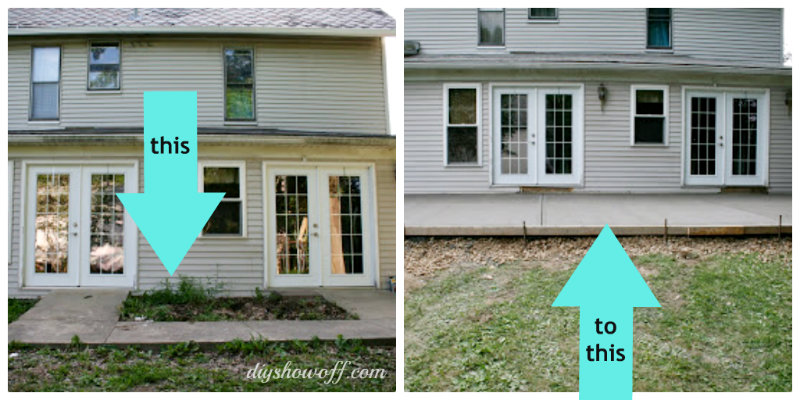
Trip down memory lane: When we purchased this house, we installed two sets of French doors. There were concrete sidewalks with ramps to the old ‘single’ doors. When we bought the house:

house-before

A few years ago, we installed a concrete patio

concrete-before-after

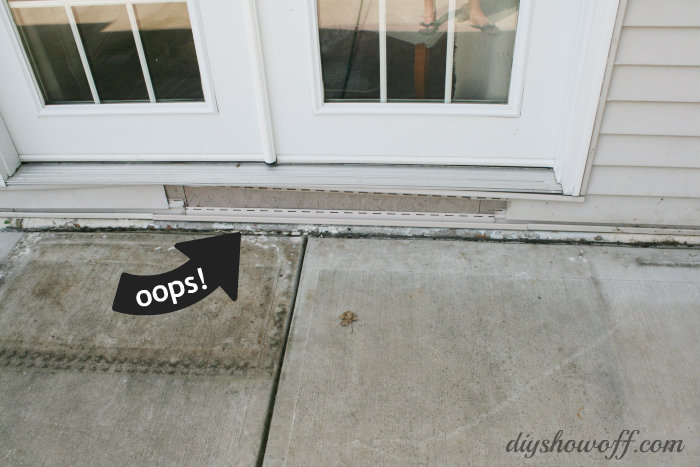
but we never replaced the siding where the old ramps were located. (I also address the dirty concrete. Keep reading!)

missing-siding

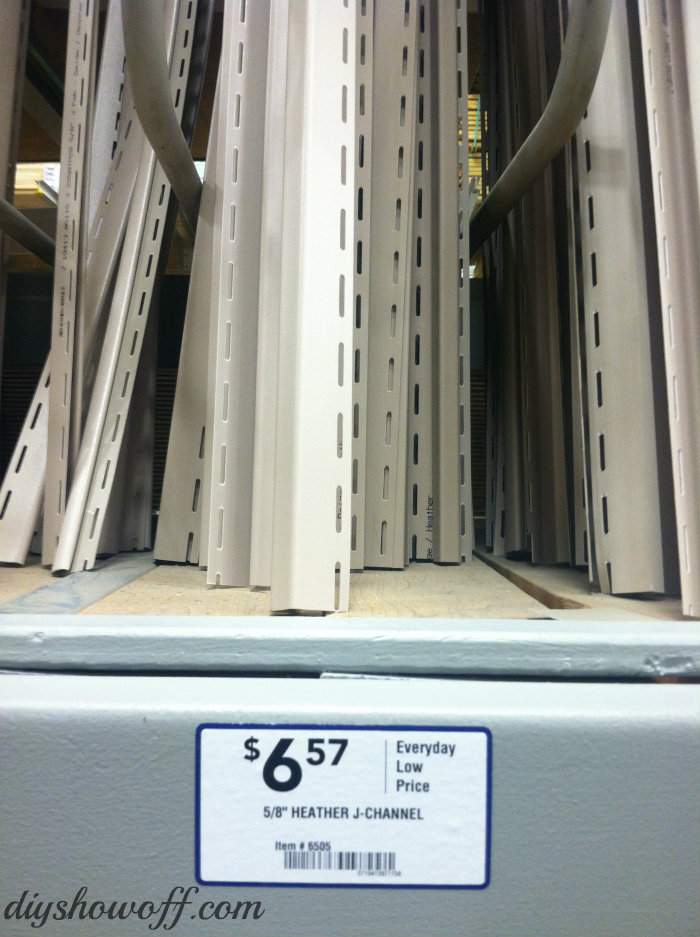
I headed to Lowe’s with iphone pictures and measurements. The Lowe’s associates were super helpful in directing me to the siding supplies, advising what I’d need: a “J-channel” to match up/attach the vinyl siding. They even provided tin snips and a tape measure so I could cut it to fit in my vehicle.

j-channel

Installing the J-channels was easy, just nail into place. Then we just  a close-matching piece of vinyl siding (“heather”, also available at Lowe’s) and snapped it into place.

installing-vinyl-siding

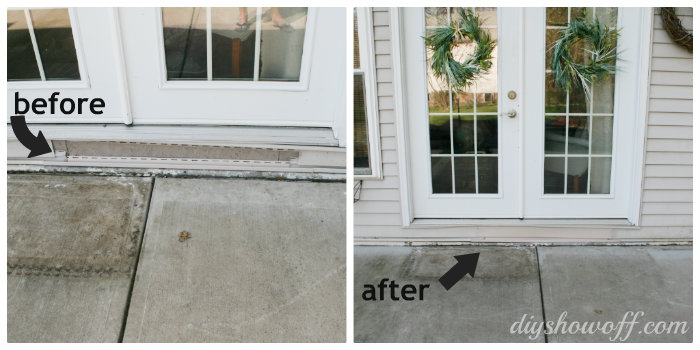
Finally! No more embarrassing eye sore of missing siding…it’s those little things that really bother the home owner more than anyone else, ya know and one that is so surprisingly easy and cheap, I’m wondering why we put it off. Hopefully with some age, it will blend in even better.

before-after-siding-fix

I moved all of the furniture and gave the concrete a good scrubbing (water + Krud Kutter). It cleaned off the surface dirt and mildew but not rust or grease. However, it looks a much brighter!

scrubbing-patio

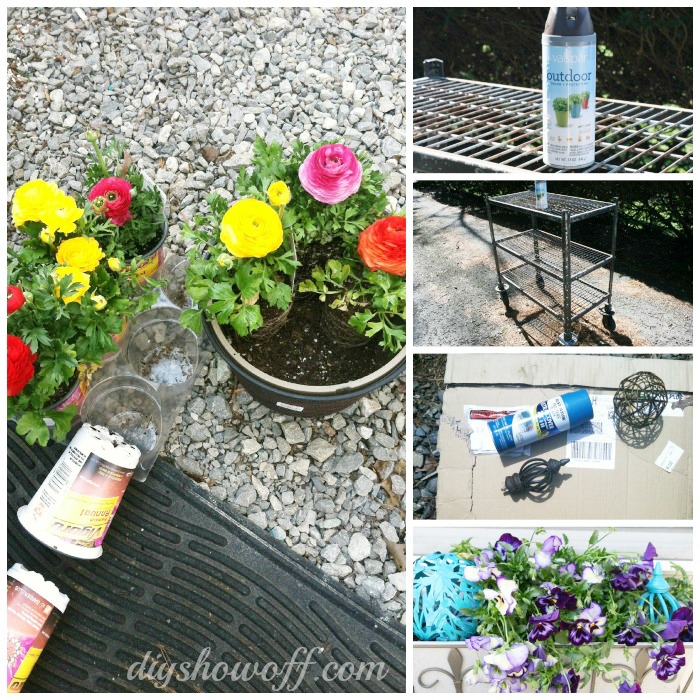
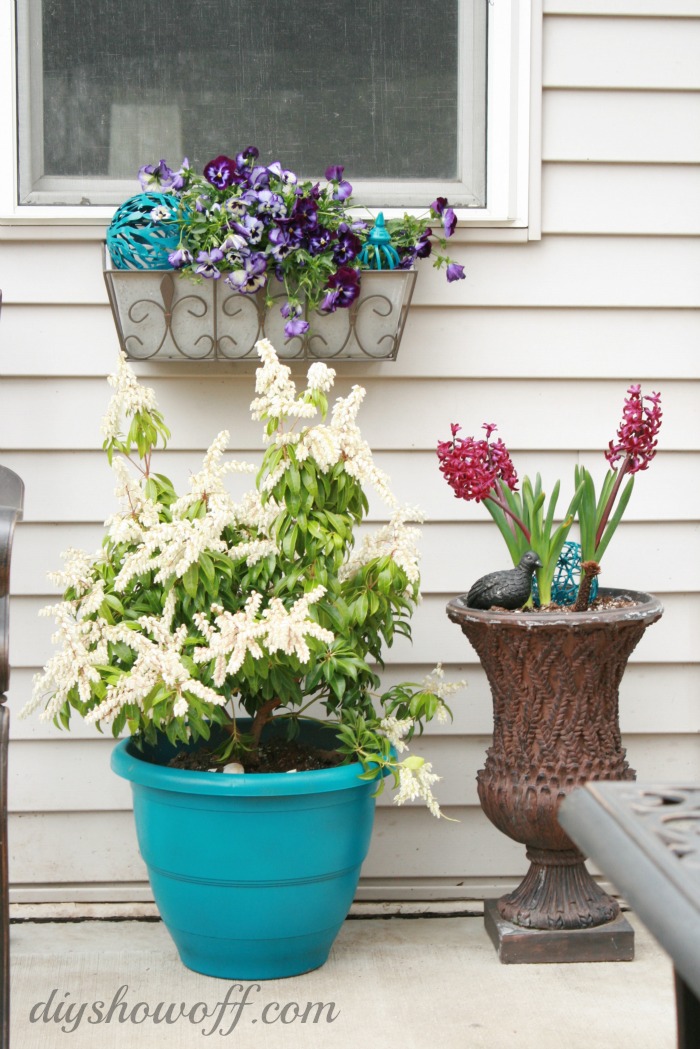
I used spray paint to freshen up some existing decorative accents, planters and a ‘grill cart’ and added some colorful flowers to planters and window boxes.

patio-accessory-update

Some new things available at Lowe’s:

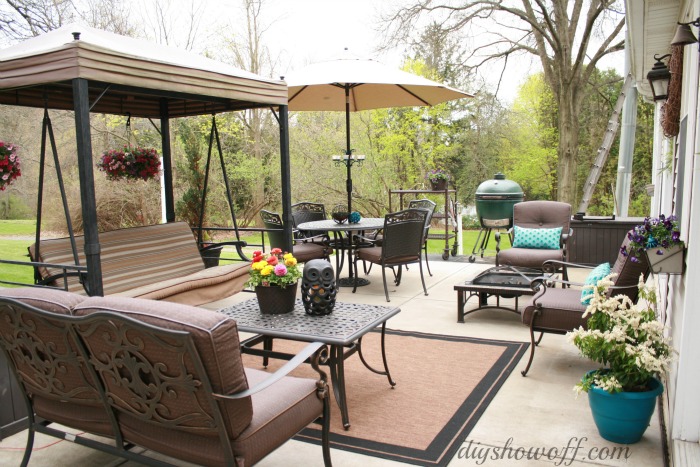
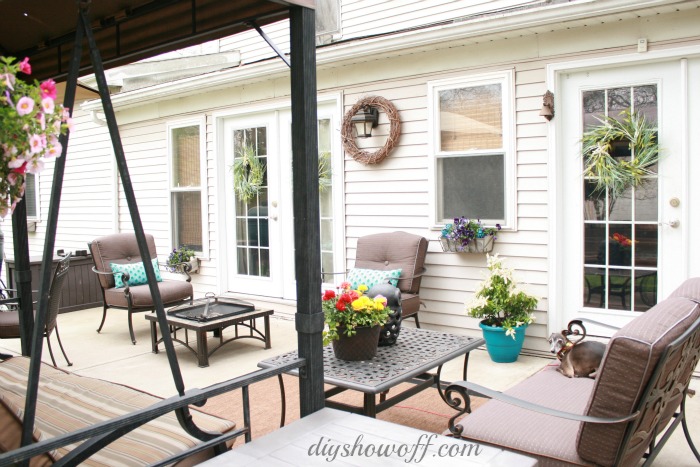
Outdoor area rug defines the cozy seating area…

patio-makeover

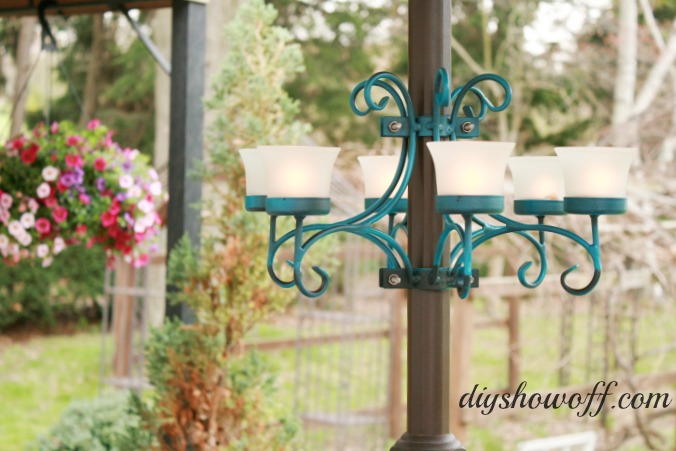
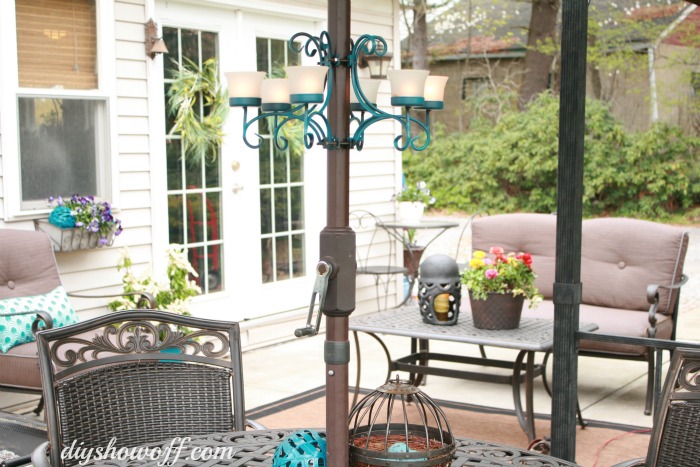
Love this umbrella candelabra (misted with Rustoleum’s “Lagoon” spray paint to match other accents) and beautiful fat hanging flower baskets…

umbrella-candle-holder

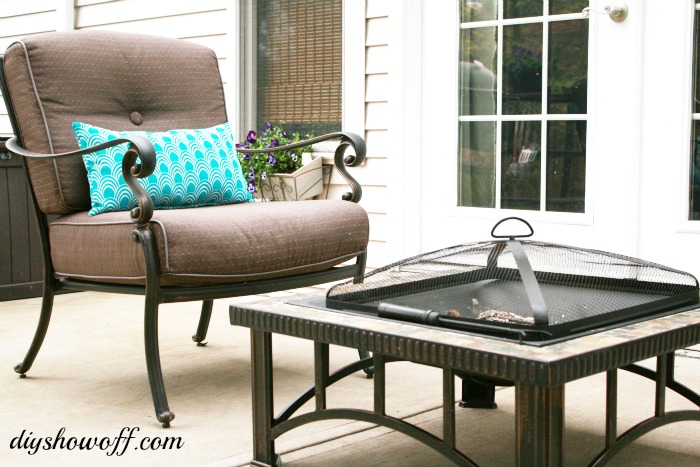
The sun sets on the other side of the house. Sometimes evenings are chilly. This wood burning firepit is perfect for a little heat (and roasting marshmallows)…

firepit


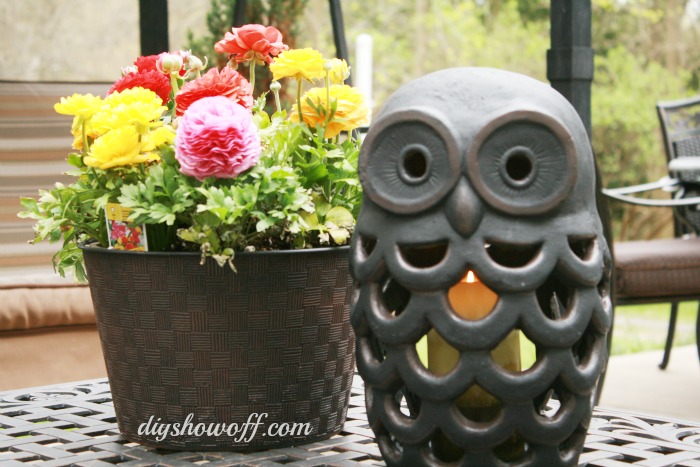
Cutest decorative owl candle holder…

owl-candle-holder

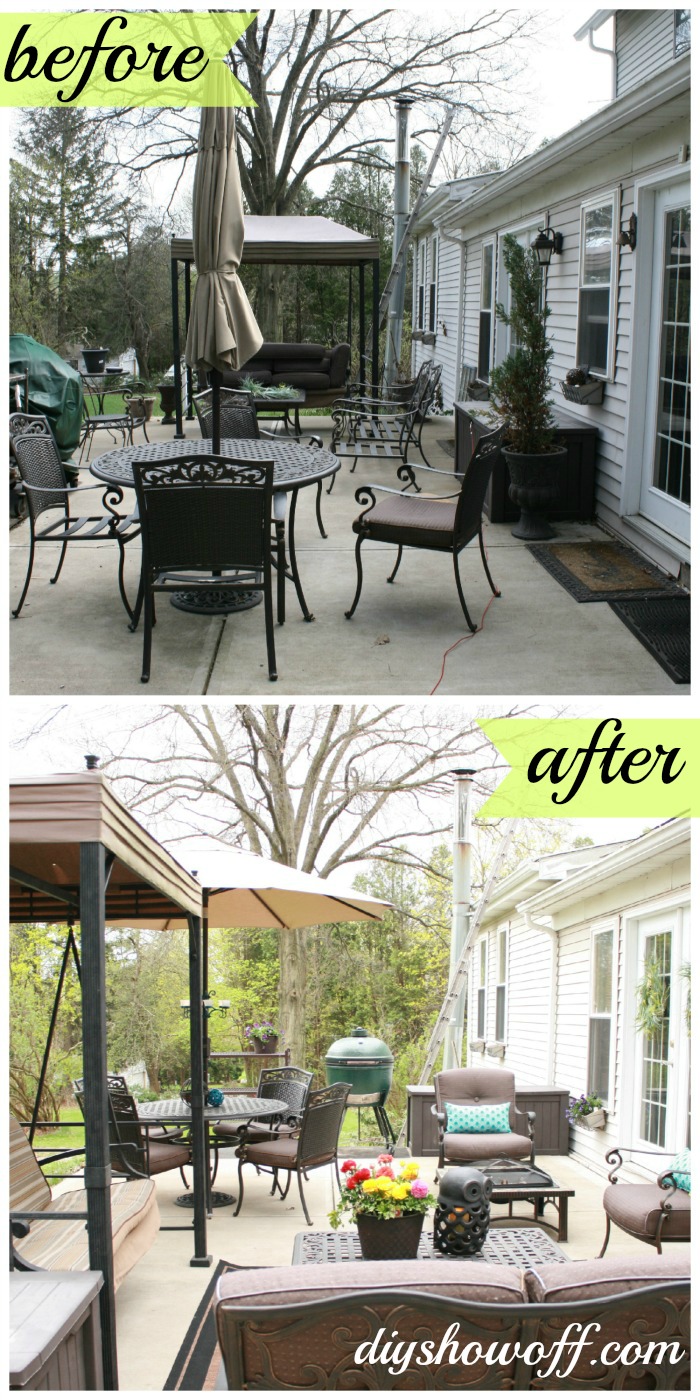
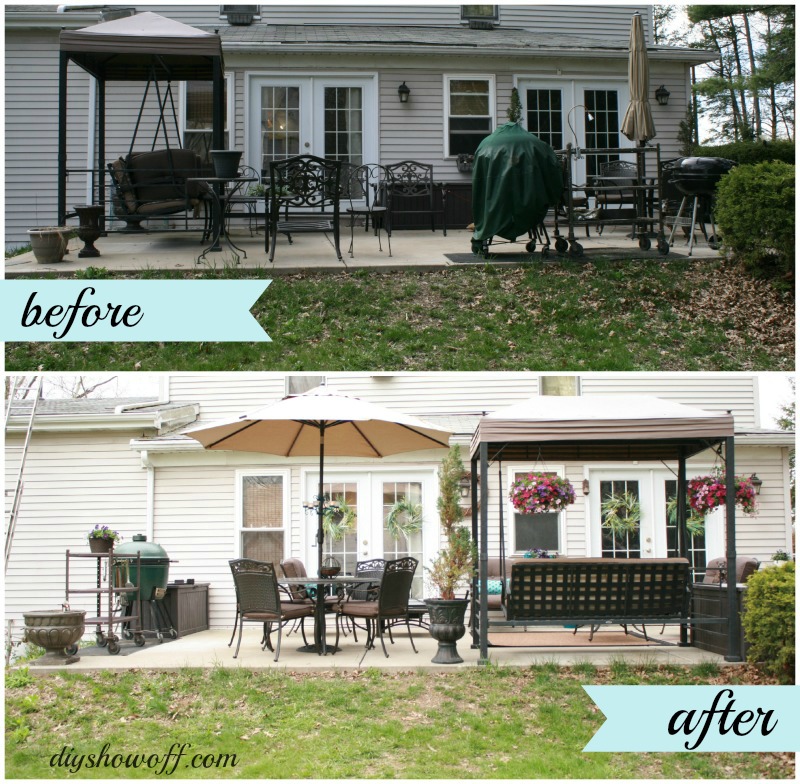
When it’s warm and not raining, I start my day with a cup of tea here. When we entertain small groups and it’s warm, this is the party location…lots of family dinners/cookouts and since it’s right off the kitchen, hosting and clean up are super convenient. It’s also where we enter the house. Now it’s visitor-worthy, pretty and relaxing. C’mon over!

patio-before-after


BEFORE

patio-before

AFTER

patio-makeover

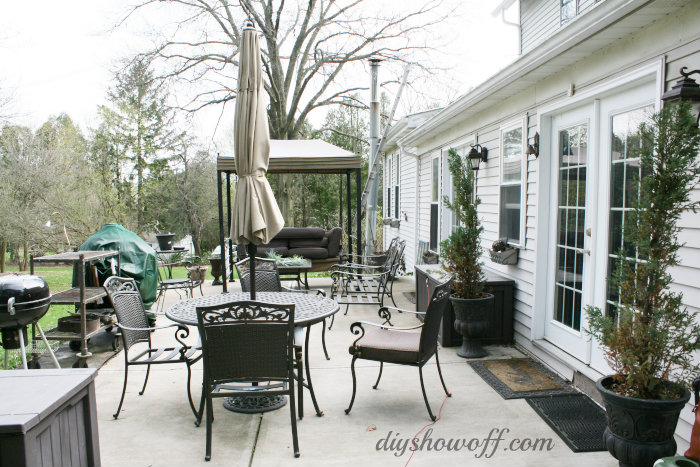
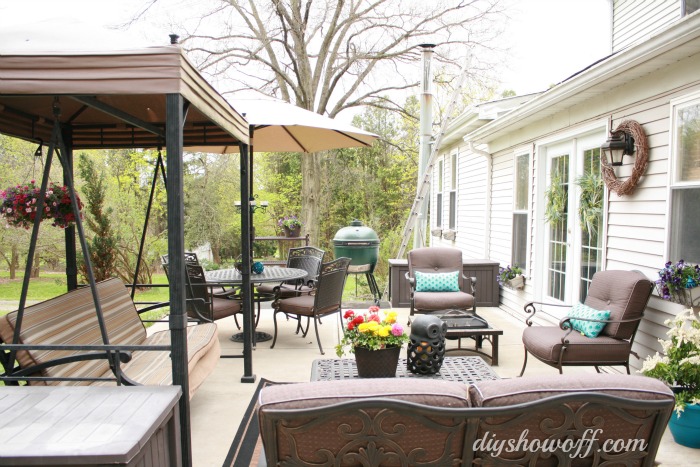
More pics…

patio-flowers

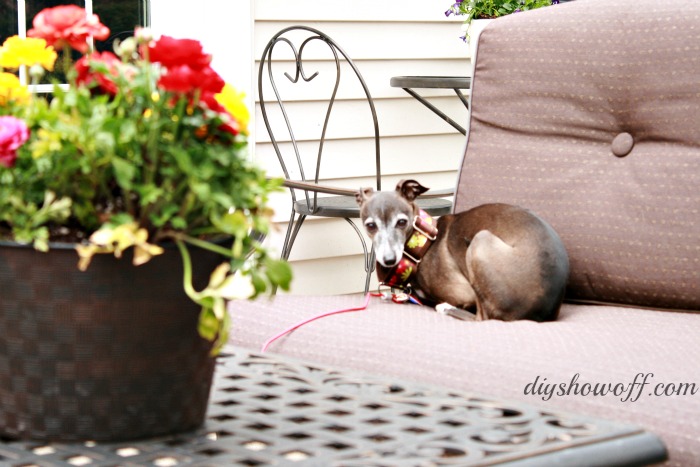
cocorosie


patio-makeover

patio-makeover

Next up for this space:

  • rearranging some of the furniture another time or two
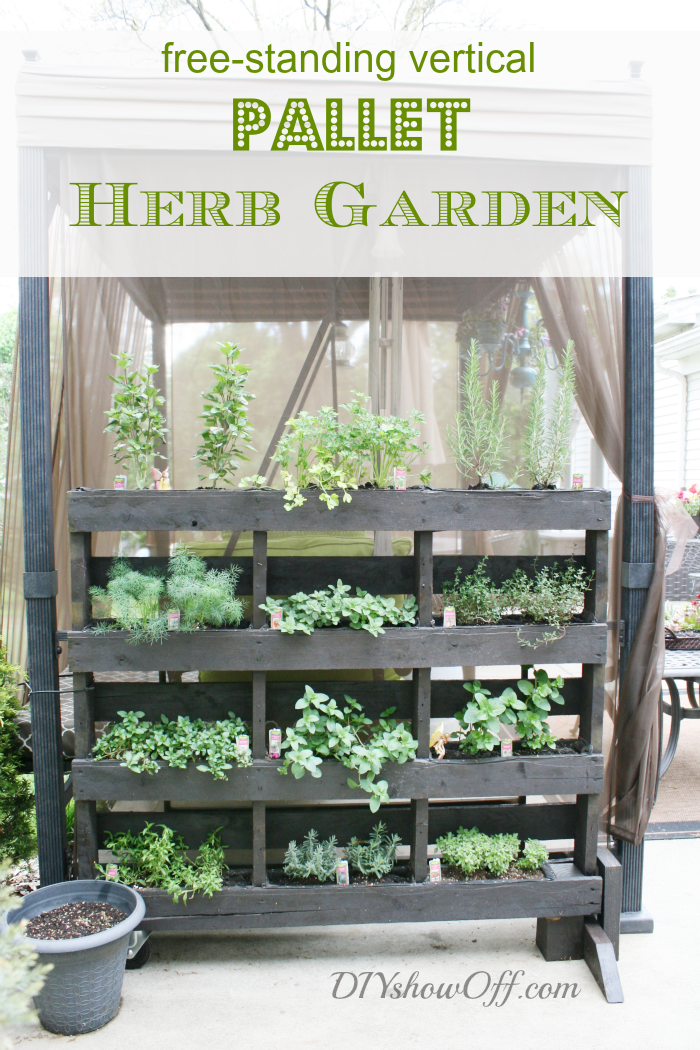
  • pallet herb garden
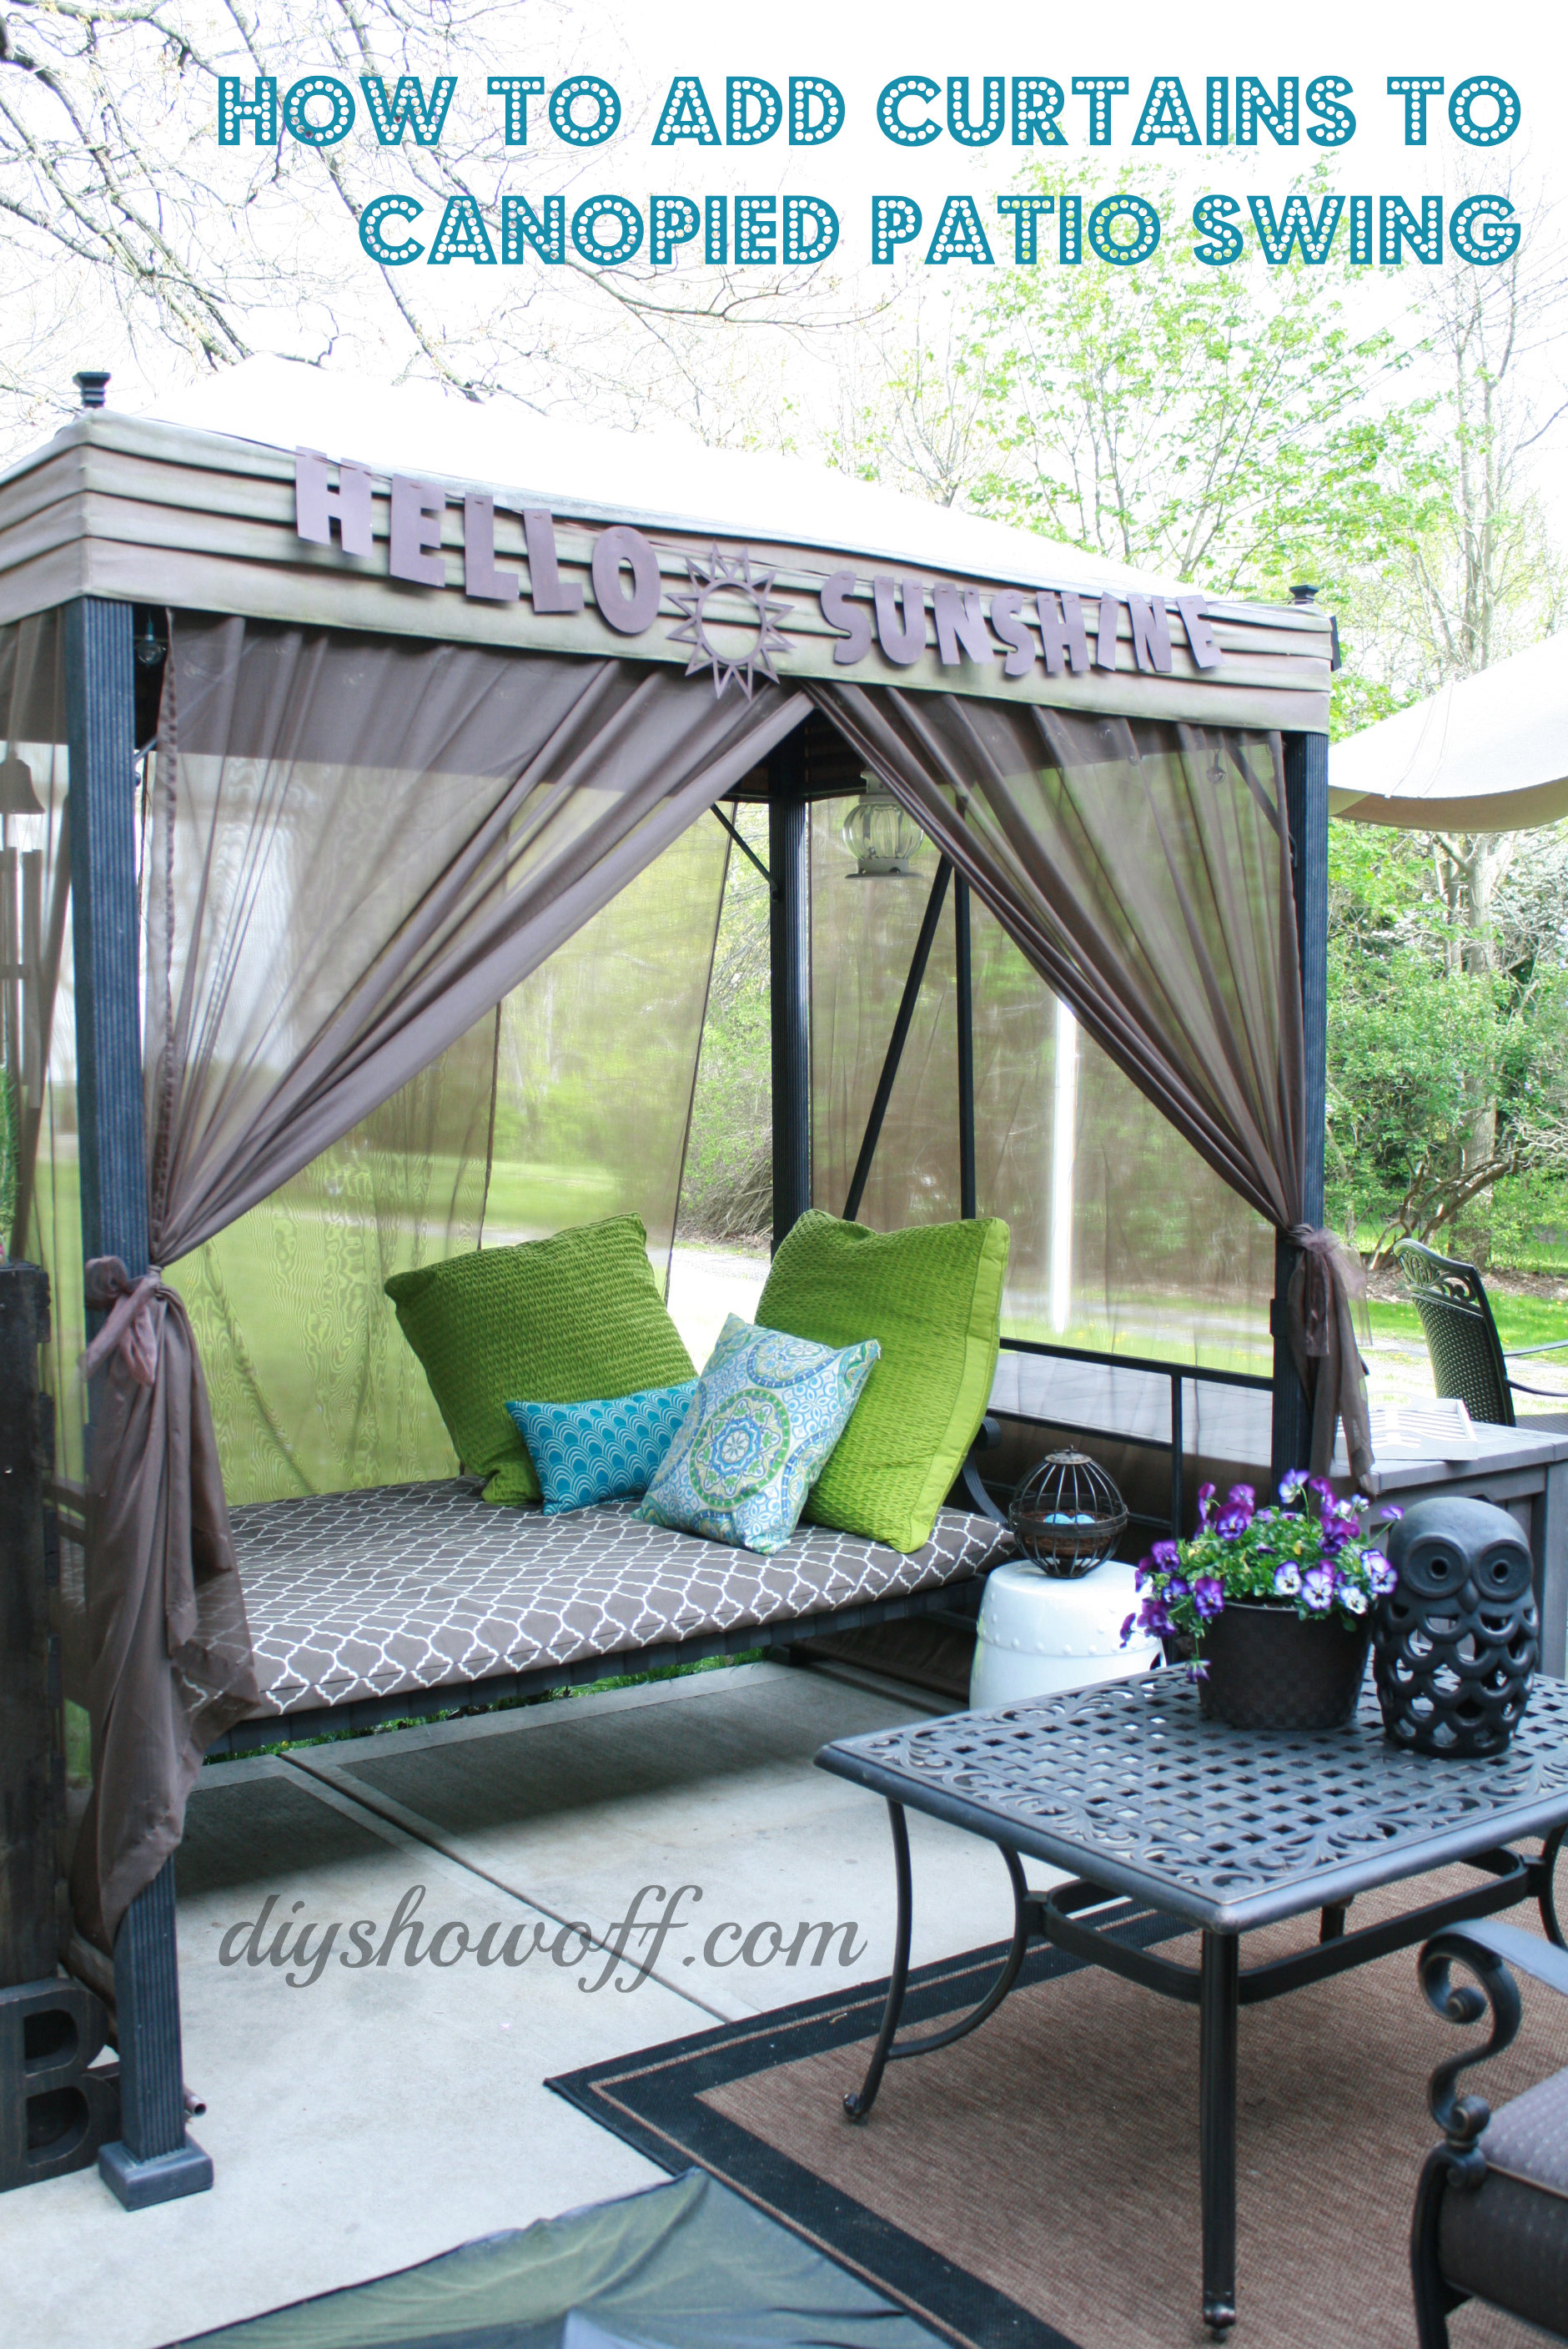
  • canopied swing bling
  • patio pet bed
  • raised flower bed
  • grape arbor/gazebo path/patio is on the DIY list again (maybe this year?!)

Free Standing Pallet Herb Garden:

free-standing-vertical-pallet-herb-garden

Patio Swing Makeover:

how to add curtains to a patio swing


Sharing at Project Inspired.

See more fun DIY ideas at Lowe’s Creative Ideas, follow Lowe’s on Instagram, Pinterest and sign up for the Creative Ideas magazine and app!

Spring 13 Blogger Badge Subscribe Banner Version

*Disclaimer: As a member of the Lowe’s Creative Ideas Creators and Influencers network, I received a Lowe’s gift card to complete this project for a mini outdoor makeover challenge, however the tutorial images, instructions and opinions are my own. 

DIY {wall mounted} Pallet Shelf

Mr. DIY’s hobby isn’t DIY {it’s mainly mine and I take full advantage of his muscle power}. He does have several hobbies including cooking (lucky me!), grilling on his Big Green Egg (lucky me again!) and home-brewing. Not my thing…but I do think being a ‘beer-chemist’ is kinda cool and he enjoys it. Hey, those hobbies are DIY in a way.

homebrew

The problem: Supplies and materials are often scattered in the basement, hiding in built-ins in the dining room, sitting around in the kitchen driving me crazy or just ‘lost’ sparking a lot of temper tantrums and wasting precious free time on the hunt for supplies. And when he finally has a free weekend to cook up a recipe, he’s often searching for empty bottles, caps, hops, grains, what-nots and tools-of-the-trade. Or more often, “I” become detective in the search because I’ve probably stowed something away where it doesn’t below in an effort to de-clutter. Oops!

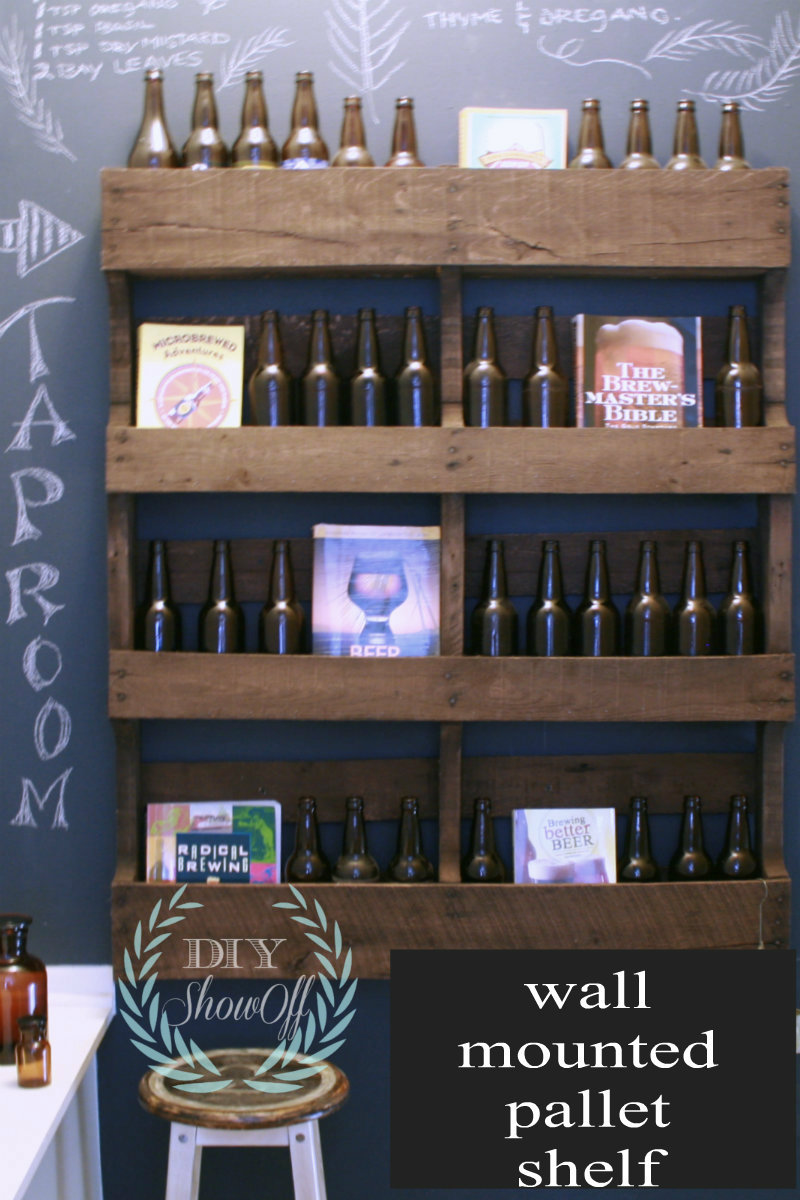
The solution: Making the space in the open basement stairwell an organized home brew supply station, library, storage area with a fun rustic/industrial vibe. Everything in it’s place, easy to find.

We’re starting with a wall-mounted pallet shelf for holding an empty bottle collection. The bonus: {I love that this project is all about making his hobby more enjoyable and it inspired us to work together as a team, a date night or two at Lowe’s.}

diy-wall-mounted-pallet-shelf

Materials:

  • Pallet 
  • Three 1 x 3 x 4 pine wood planks
  • Rustoleum’s Ultimate Wood Stain (color: Kona)
  • Rustoleum Polyurethane (matte finish)
  • 2 Purdy 2.5 inch angled paint brush for stain/poly
  • Rags
  • Hanging Hardware (wall anchors, screws, toggle bolts)

Tools we used:

  • Crow bar
  • Hammer
  • Nail gun (finishing nails)
  • Saw
  • Dremel Multi-Max (sanding)
  • Drill (hanging)

DIY Pallet Shelf Tutorial

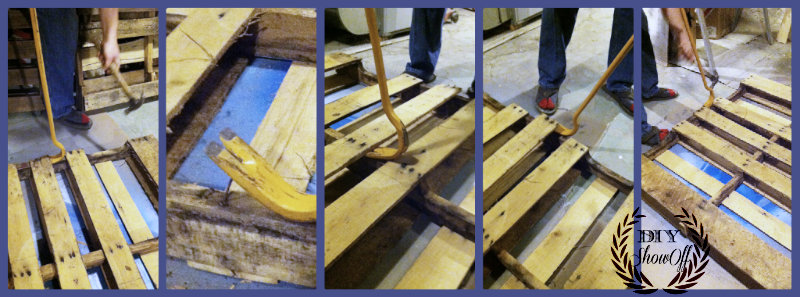
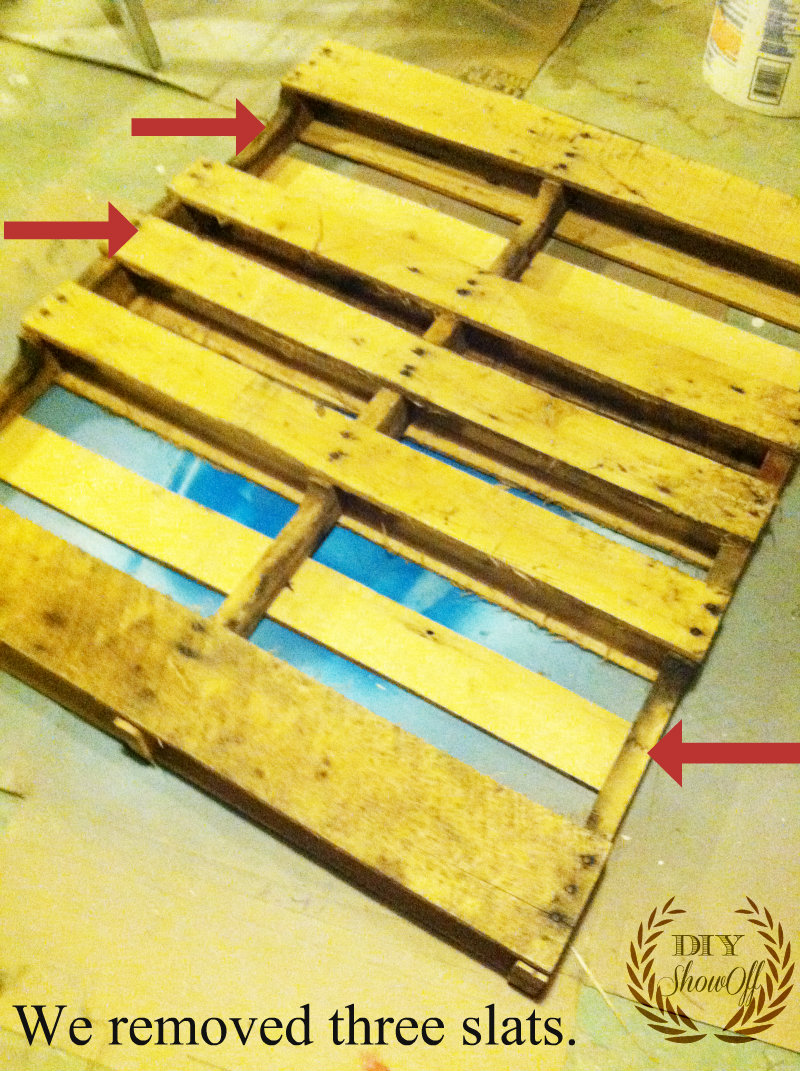
1. After we found the perfect pallet (tips about working with pallet wood from Funky Junk Interiors), we decided to use the back of the pallet as the front of the shelf and removed 1 plank using a crow bar and hammer. {How about those wool socks with flip flops? He’s all mine, ladies!}

prying-pallet-wood

pallet-before

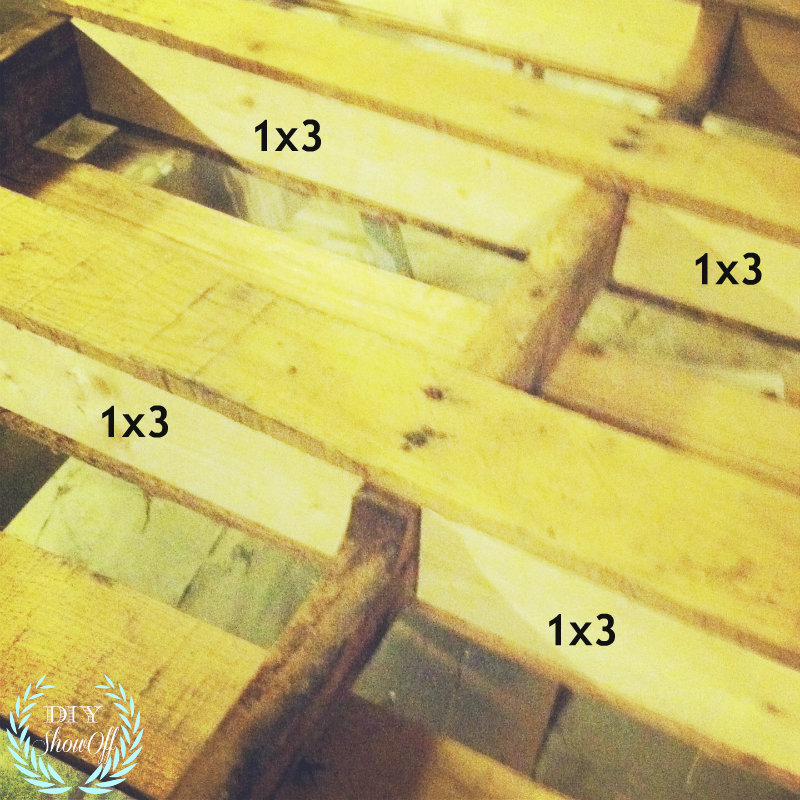
2. Measure and cut the 1 x 3 x 4’s to fit between the front and back pallet planks to create “shelves”.

diy-pallet-shelf

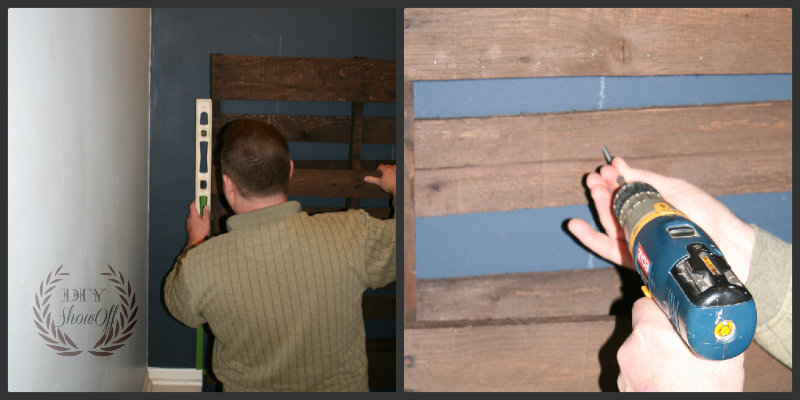
3. Position the 1 x 3 shelf bottom into place. We used a level to ensure shelf bases weren’t crooked. Some places were a little tricky and needed hammering into place or lifting the old pallet plank a tad with a crow bar, while positioning the 1 x 3 into place.

pallet-shelves

4. A finishing nail gun (and a good eye for lining up the nails in the 1 inch area) secures the shelf bottom to the sides of the individual shelves. {Forgot pictures of the nail gun step…it’s just so much fun!}

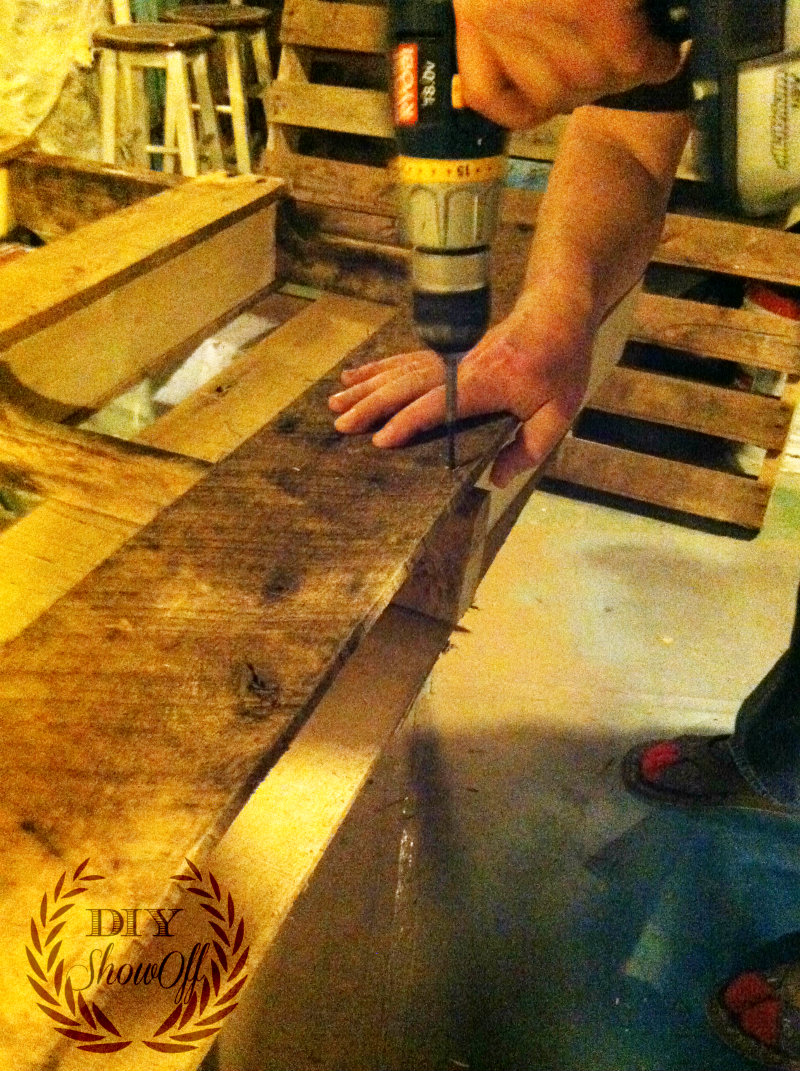
We added a few screws to some of the pallet face-boards to tighten things up.

diy-pallet-shelf

5. Sand all sides and splinters.

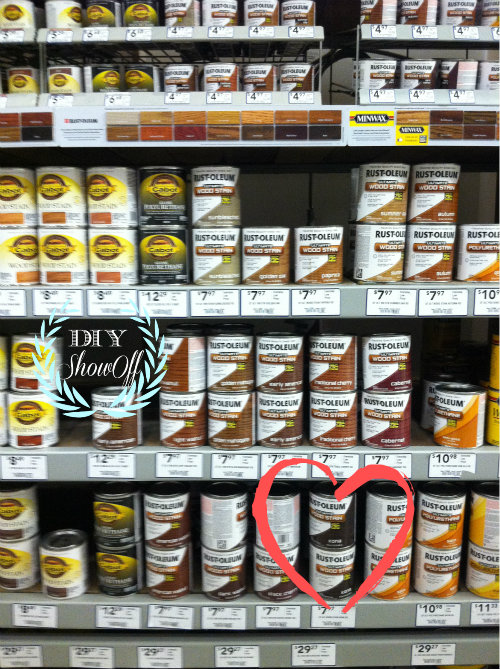
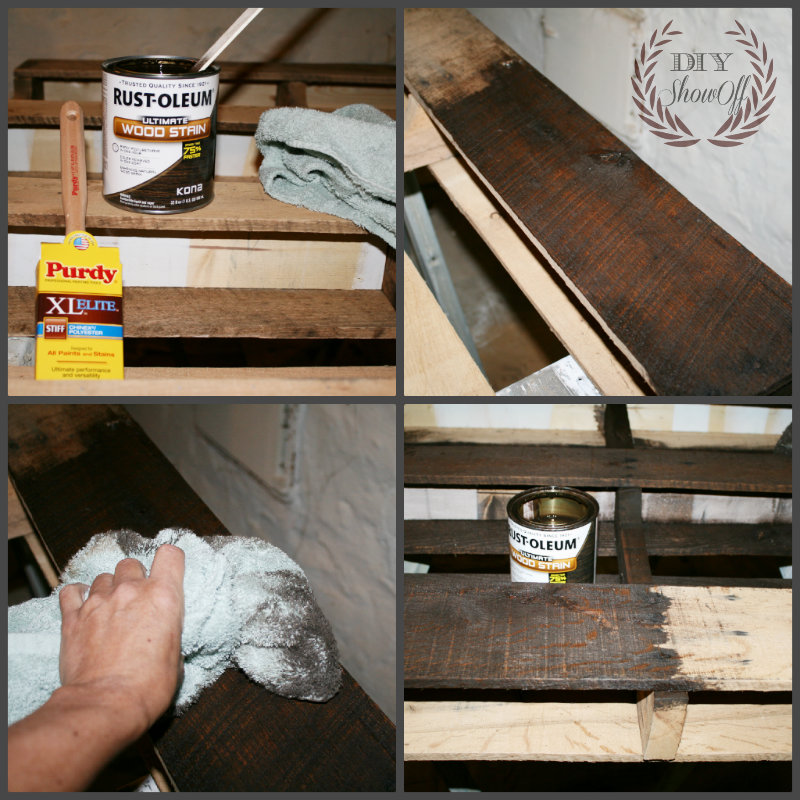
6. Stain. I used Rustoleum’s Ultimate Wood Stain.

rustoleum-ultimate-wood-stain

Brush on in the direction of the wood grain. Wipe away in the same direction with a rag. Rustoleum Wood Stain dries fast! {Not shown: I did wear latex gloves to avoid stained hands.} Isn’t this rich dark brown gorgeous? It’s called “Kona”. Love it!

staining-pallet-shelf

7. About an hour later, I was ready to seal the stained wood. Using the same technique, I applied Rustoleum’s Polyurethane and let it dry for 24 hours.

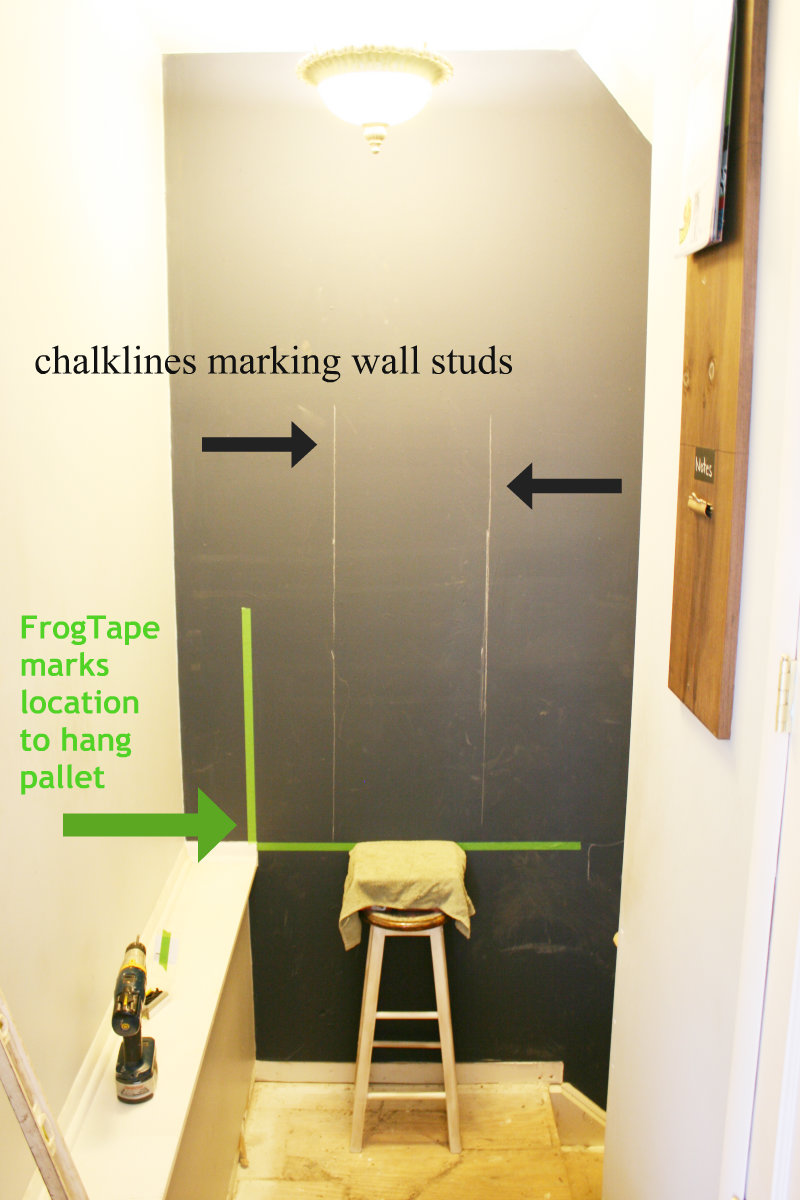
8. Hang! I used FrogTape for marking the area we wanted the pallet shelf to hang.

hanging-pallet-shelf

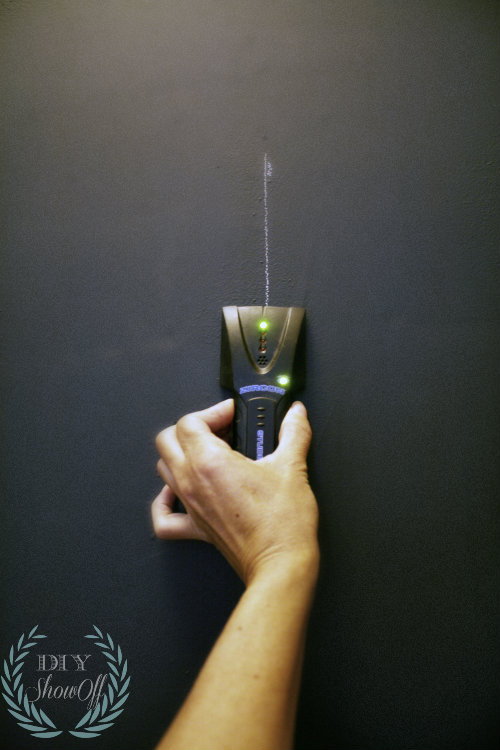
I marked the studs with a chalk line.

finding-wall-stud

Wall color: homemade chalkboard paint using Benjamin Moore Hale Navy.

We used 6 drywall screws {screwed into the wall studs} to secure our pallet shelf to the wall.

hanging-diy-pallet-shelf

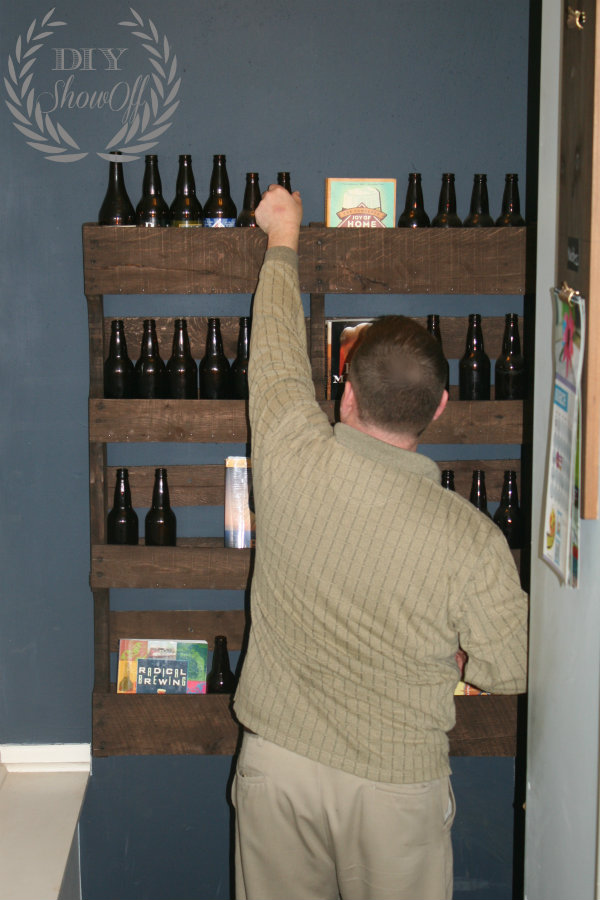
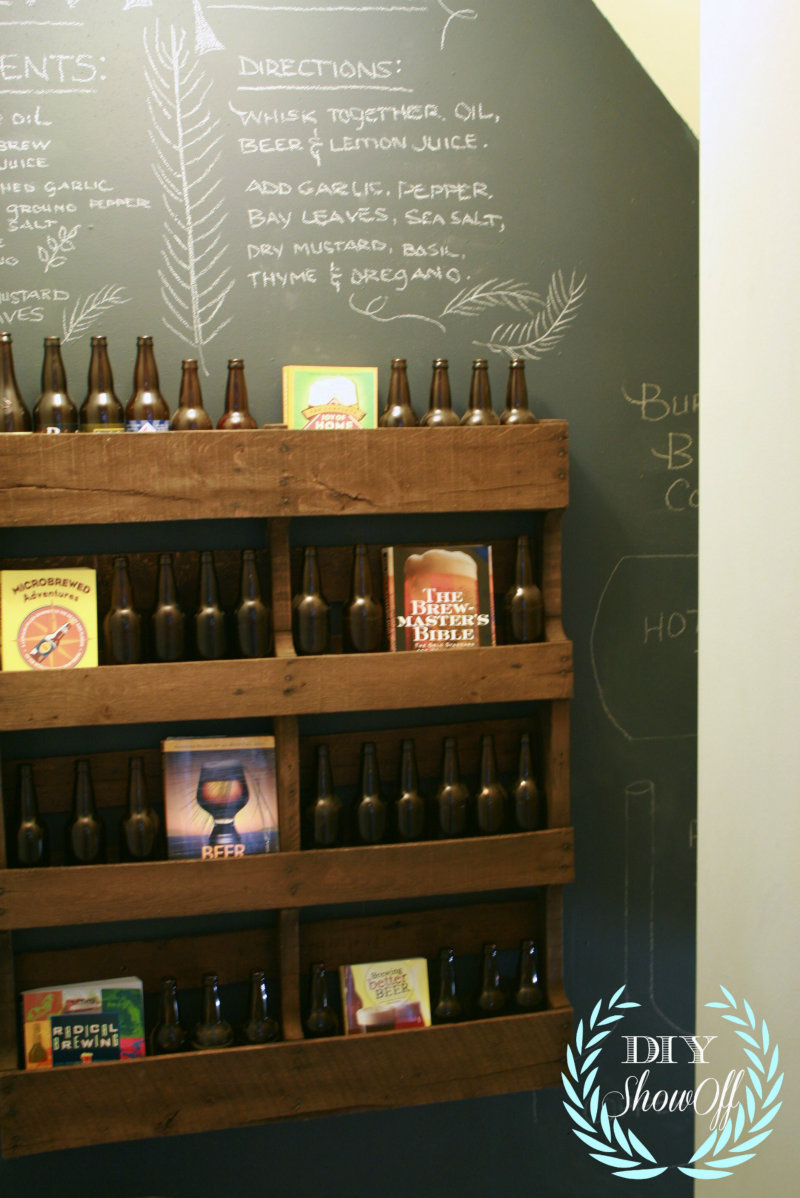
I have to say, he doesn’t always see my vision, but once things are put into action and start coming together, he loves it! He spent about 30 minutes styling his new pallet shelf, stepping back and re-arranging it over and over. Success! And just like completing one DIY project leads to more, this little pallet shelf inspired a lot more creative ideas for his home brew supply space/beer library. Keeping things organized so stay tuned!
styling-diy-pallet-shelf

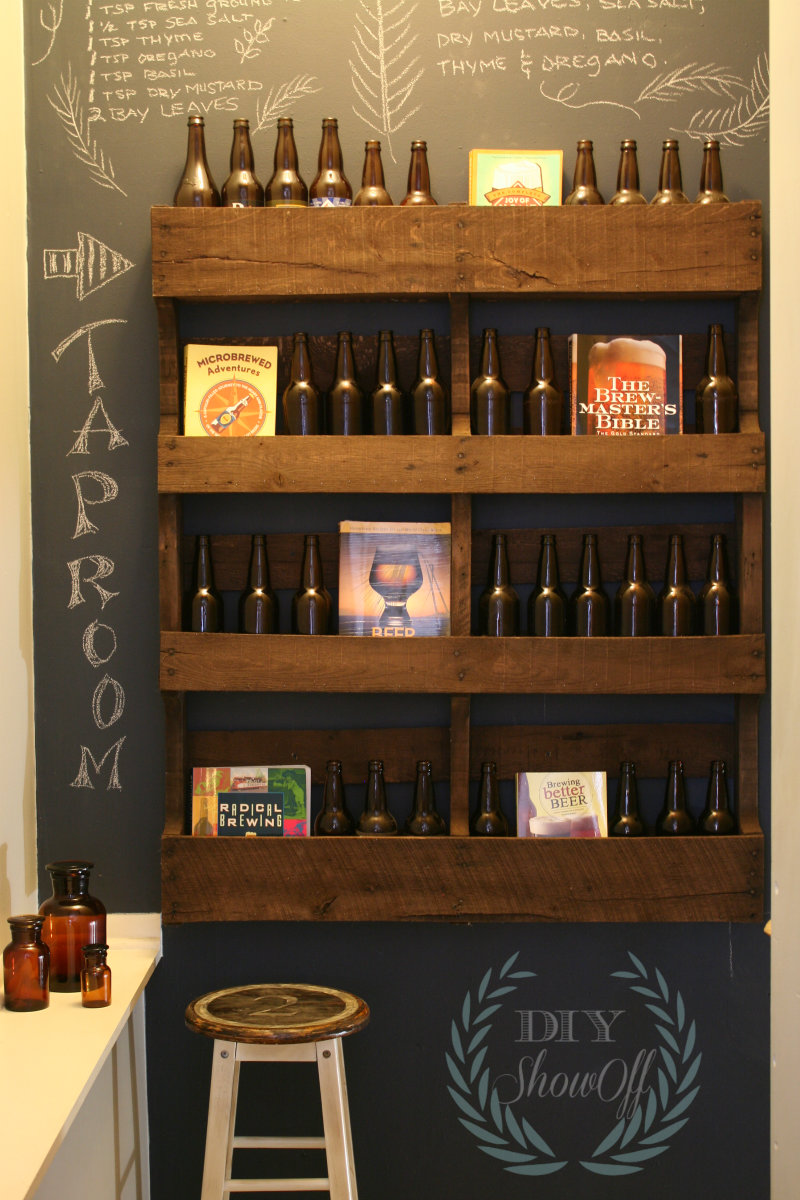
Organized, right? What do you think?

diy-pallet-shelf

The plan: A place for everything and more DIY:

  • A DIY light fixture.
  • Built-in shelves on the wall above the ledge for supplies.
  • Ladder for reaching high shelves.
  • Slate tiled stairs and landing.
  • More inspiration: laboratory/brewery/library Pinterest board.

homebrew-organization

Ps. DIY dates inspire daydreaming and communication (sometimes the occasional fight with the opportunity to make up too!). Do you enjoy working on DIY projects with your spouse? Do little projects inspire bigger dreams?

Linking up to Thrifty Decor Chick’s Before/After party and Project Inspired.

Spring 13 Blogger Badge Subscribe Banner Version

*Disclaimer: I’m a new member of the Lowe’s Creative Ideas Creators and Influencers network! I received a Lowe’s gift card to complete this project for a spring cleaning/organization challenge. Each month I’ll have the opportunity to participate in a themed DIY challenge however the tutorial images, instructions and opinions are my own. 

*This is a sponsored post brought to you by FrogTape. The opinions are completely my own based on my own experience.

 FrogTape Blog Squad