Personalized Clip Board Gift

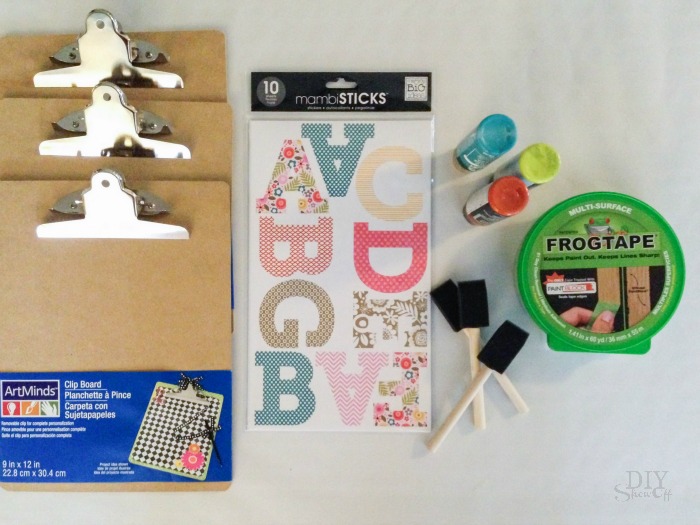
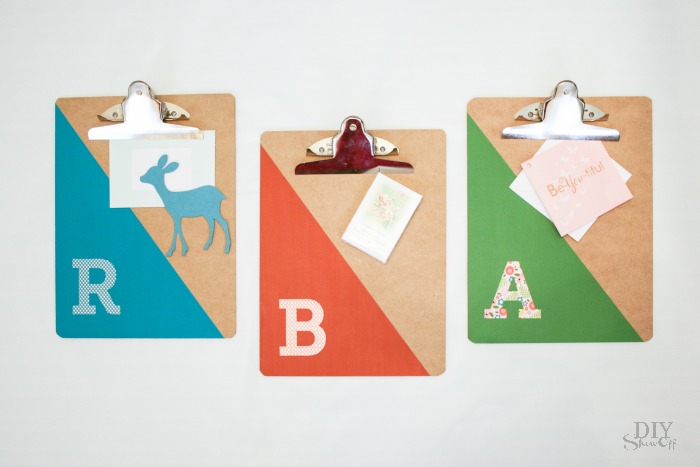
Most parties are behind us but I wanted to share this easy DIY hostess gift. Make up a custom and personalized clipboard using these supplies:

easy DIY clipboard gift idea @diyshowoff

• clipboard
FrogTape®
• craft paint and paint brush
• large monogram stickers

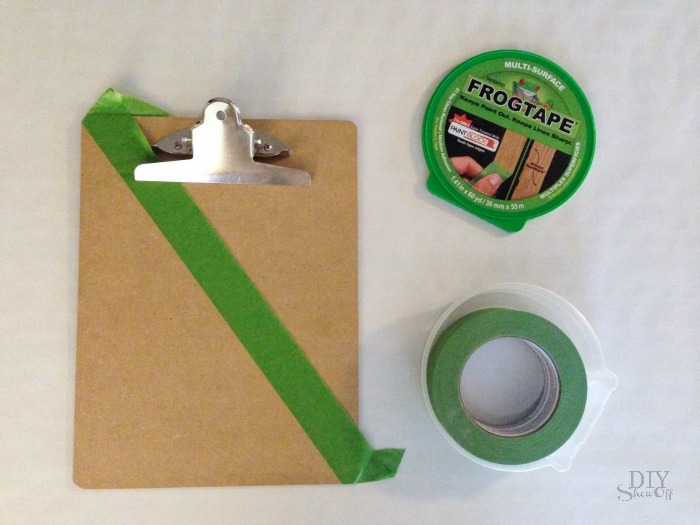
I created a simple design using FrogTape. I did a simple diagonal. Get creative!

easy DIY clipboard gift idea @diyshowoff

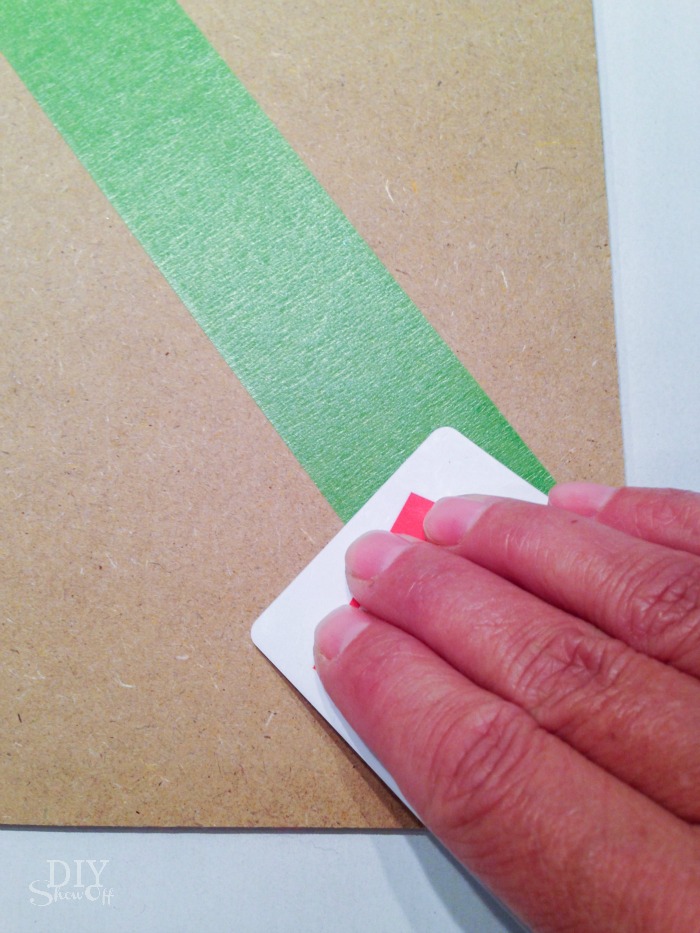
I burnished the edges of FrogTape where tape will meet paint using a credit card (or my thumbnail) to activate the Paintblock® Technology for crisp clean lines. easy DIY clipboard gift idea @diyshowoff
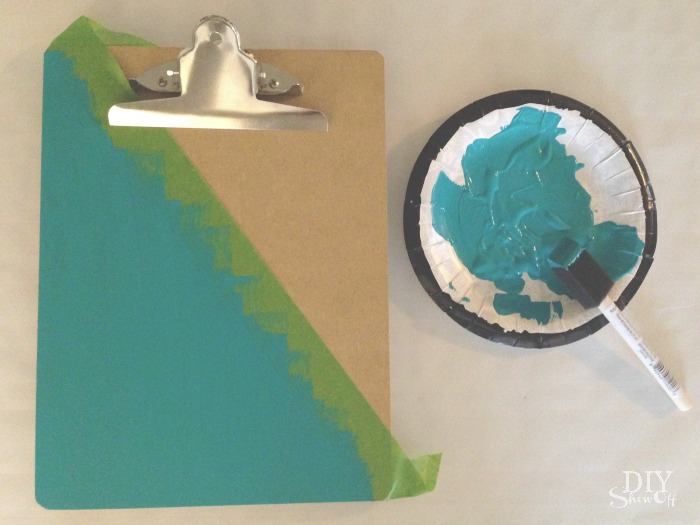
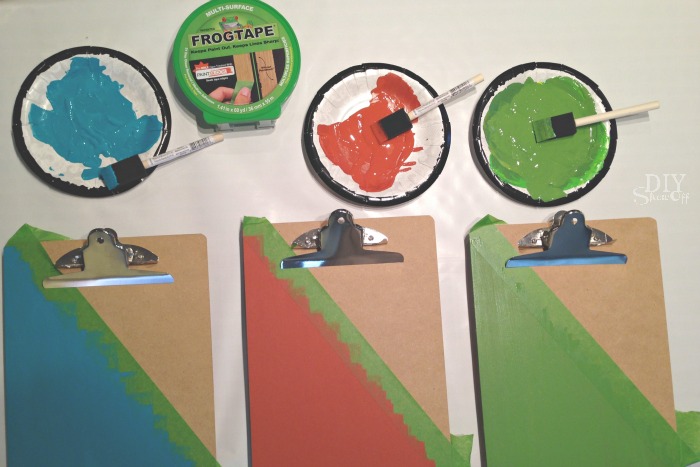
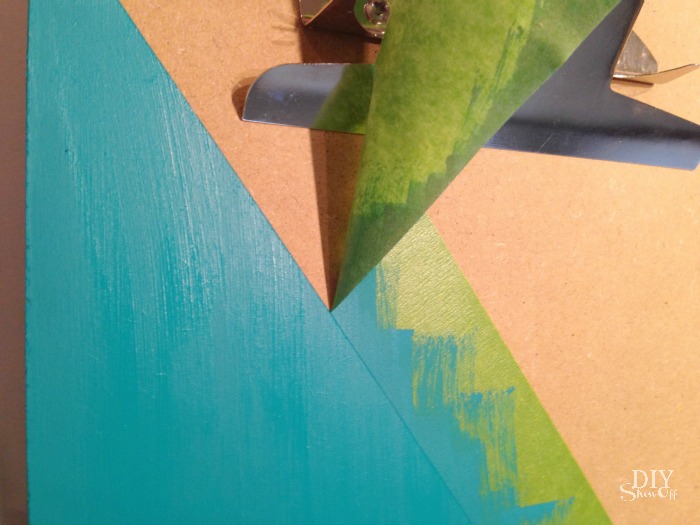
Next I applied two coats of paint to the clipboard on the bottom side of the tape.

easy DIY clipboard gift idea @diyshowoff easy DIY clipboard gift idea @diyshowoff

While the second coat of paint was still wet, I carefully removed the FrogTape.

easy DIY clipboard gift idea @diyshowoff 

Then I let the paint dry.

Once paint is dry, add fun monogram stickers to personalize.easy DIY clipboard gift idea @diyshowoff 
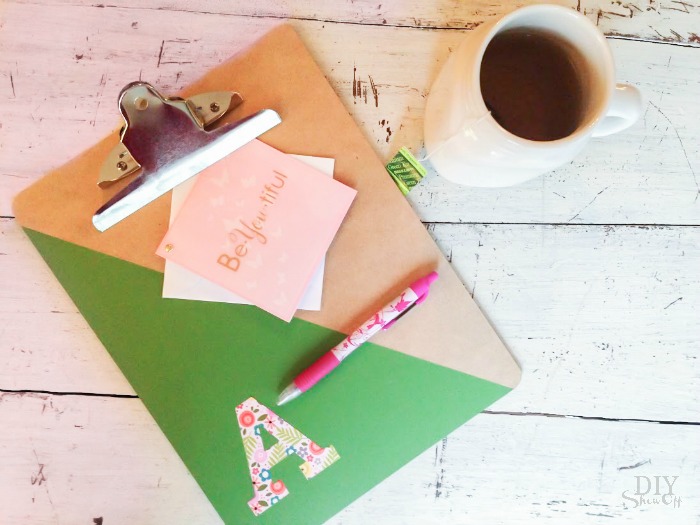
Attach a gift card/greeting card for a birthday or a calendar or agenda for a new year’s eve party hostess gift. Make one for yourself to keep important papers organized or search online for free printables to fit the occasion or theme. easy DIY clipboard gift idea @diyshowoff
*I received compensation to complete this project for using FrogTape® products. All opinions, projects and ideas are based on my own experience.

 FrogTape Blog Squad

DIY Thanks Sign Tutorial

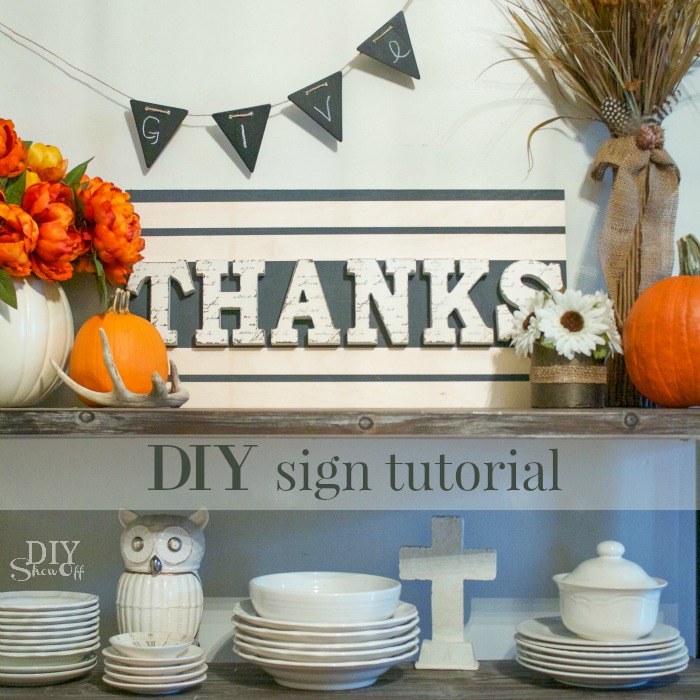
Happy Thanksgiving, friends! Hosting Thanksgiving dinner? It’s a bit late for this tutorial but there’s always filing it away for next year. Make up this easy sign to add the finishing touches on your Thanksgiving decor. 

easy Thanksgiving sign tutorial @diyshowoff

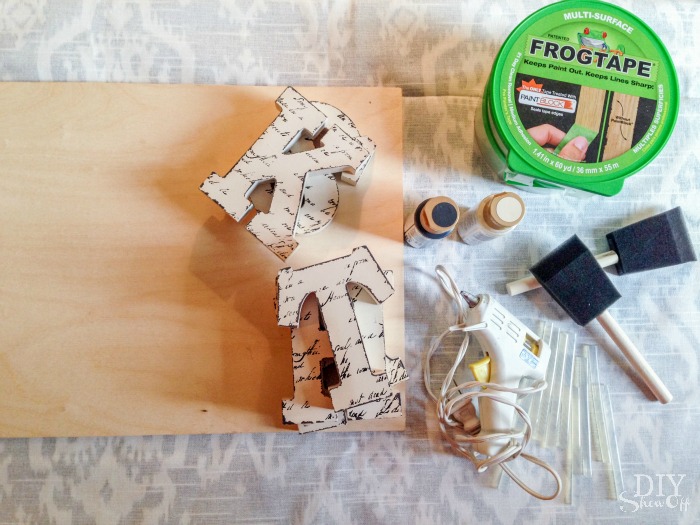
What I used: 

  • 12 x 24 piece of plywood
  • FrogTape®
  • paint and foam paint brush
  • wooden letters
  • hot glue (or wood glue and clamps or screws)

easy Thanksgiving sign tutorial @diyshowoff

What I did:

1. Paint wooden letters if needed and let dry. Mine came from the craft store dollar section pre-finished. 

 2. I taped off stripes using FrogTape Multi-Surface. I made a larger stripe in the middle to create a darker background since my letters are lighter in color. 

easy Thanksgiving sign tutorial @diyshowoff

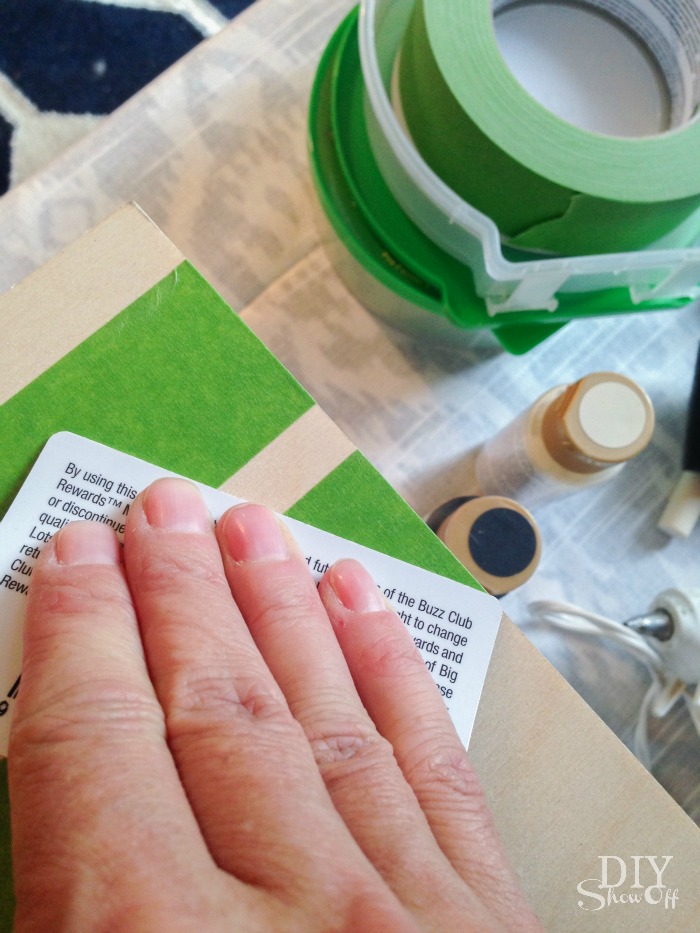
3. Using a plastic card, I burnished the edges of the tape to ensure crisp clean lines. 

easy Thanksgiving sign tutorial @diyshowoff

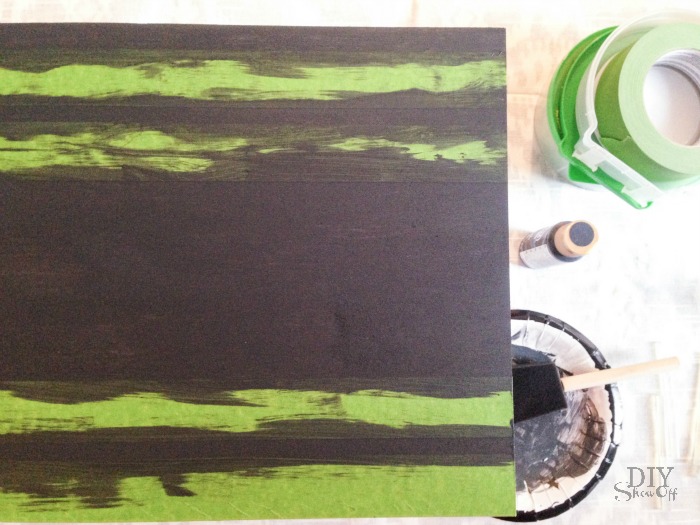
4. Next I applied a coat of paint. 

easy Thanksgiving sign tutorial @diyshowoff

5. While paint was still wet, I carefully removed the FrogTape. Then let the paint dry. 

easy Thanksgiving sign tutorial @diyshowoff

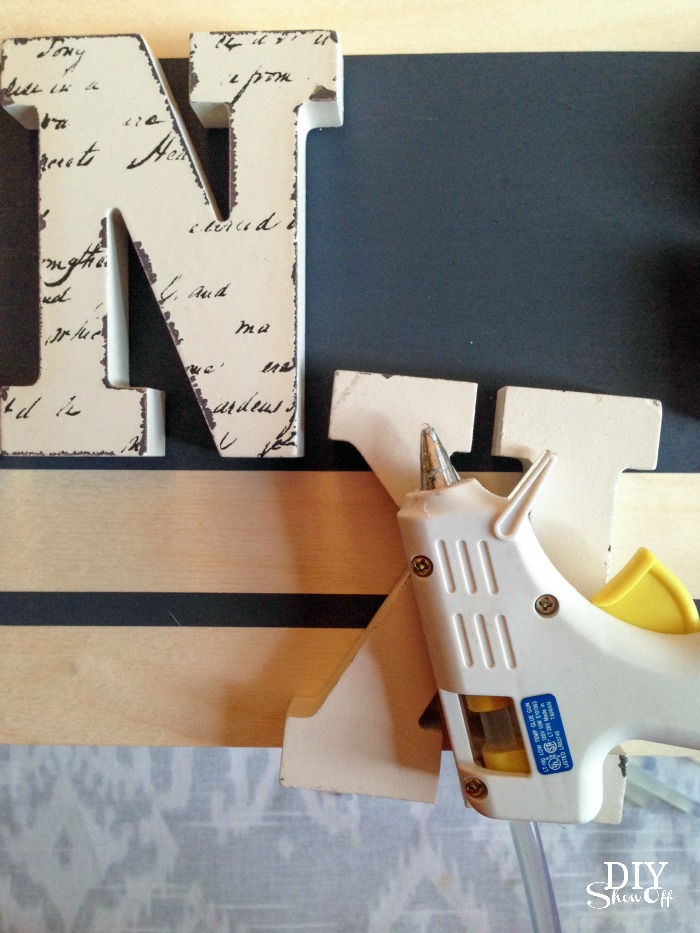
6. I secured my letters using hot glue. 

easy Thanksgiving sign tutorial @diyshowoff

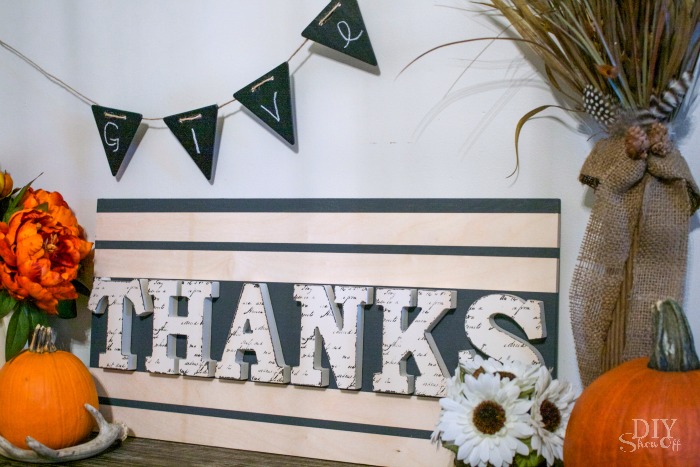
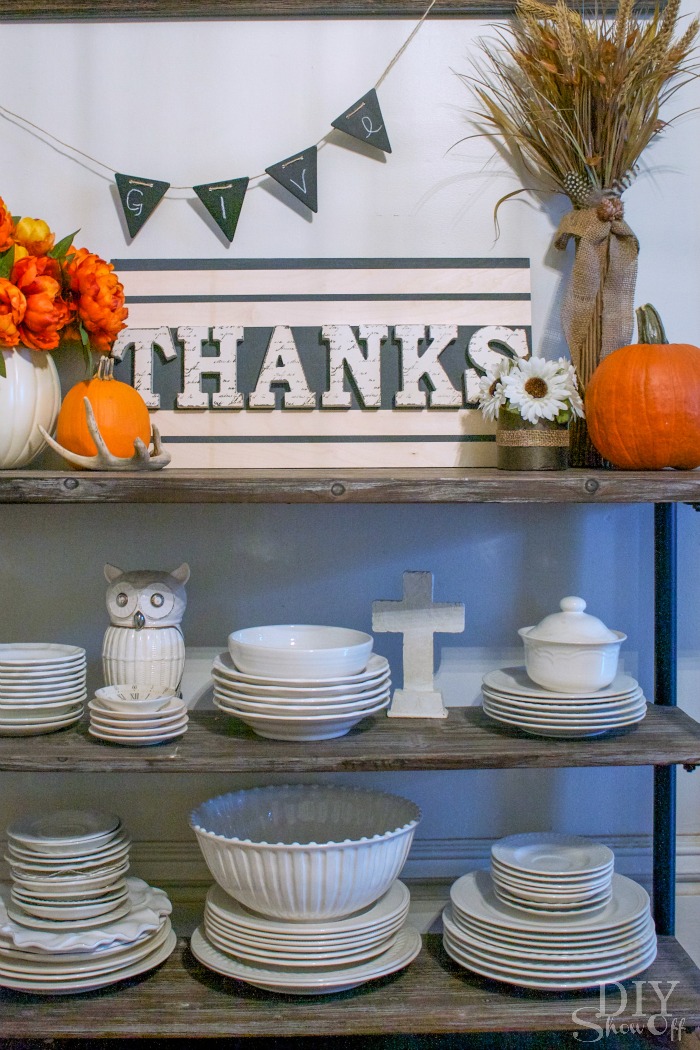
I love this quick and easy piece to add to my Thanksgiving vignette: 

easy Thanksgiving sign tutorial @diyshowoff

easy Thanksgiving sign tutorial @diyshowoff

*I received compensation to complete this project for using FrogTape® products. All opinions, projects and ideas are based on my own experience.

  FrogTape Blog Squad

Step Stool Makeover

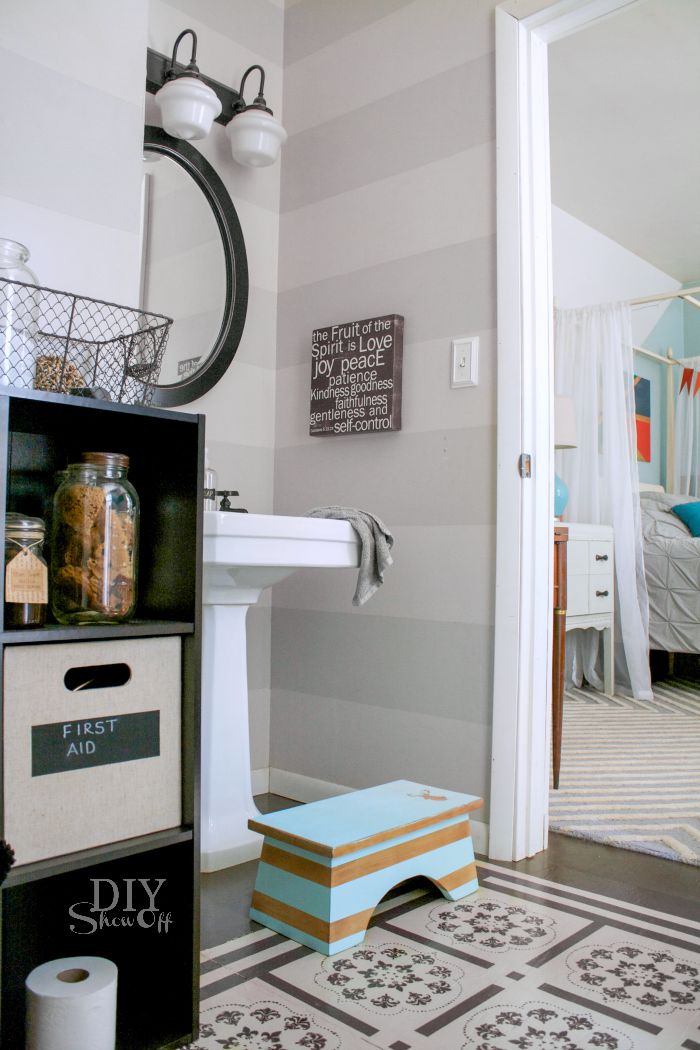
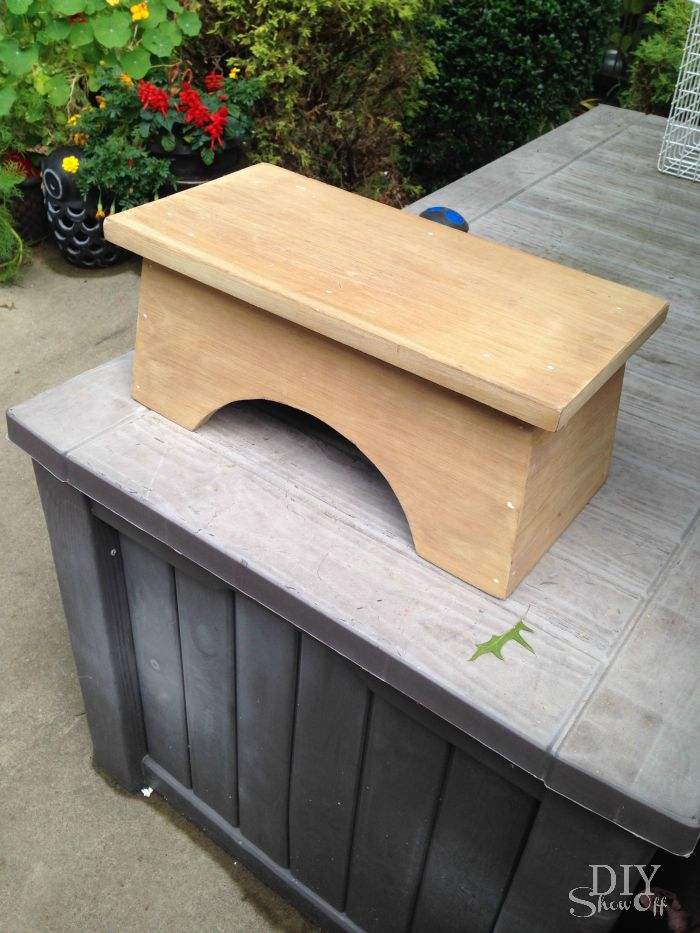
Scoop up a step stool at the flea market, yard sales or thrift stores and give it a makeover. Thinking ahead, sweet grand baby is going to need a step stool to reach the bathroom sink to wash his little hands. This wooden flea market treasure is perfect. And of course I can’t resist the opportunity to take it from blah to cute with a little paint and FrogTape®.

flea market step stool makeover @diyshowoff

Materials I used:

  • wooden foot stool (sanded and wiped clean)
  • FrogTape and scissors
  • vinyl decal 
  • paint (I used Valspar Sea Kiss in a satin finish) and paintbrush
  • spray lacquer 

What I did: 

1. I convinced Mr. DIY to do the sanding for me. He’s much faster at that task than I. He simply sanded away the varnish leaving me a clean blank slate.

flea market step stool makeover @diyshowoffflea market step stool makeover @diyshowoff

2. Then I wiped away the saw dust with a damp cloth. 

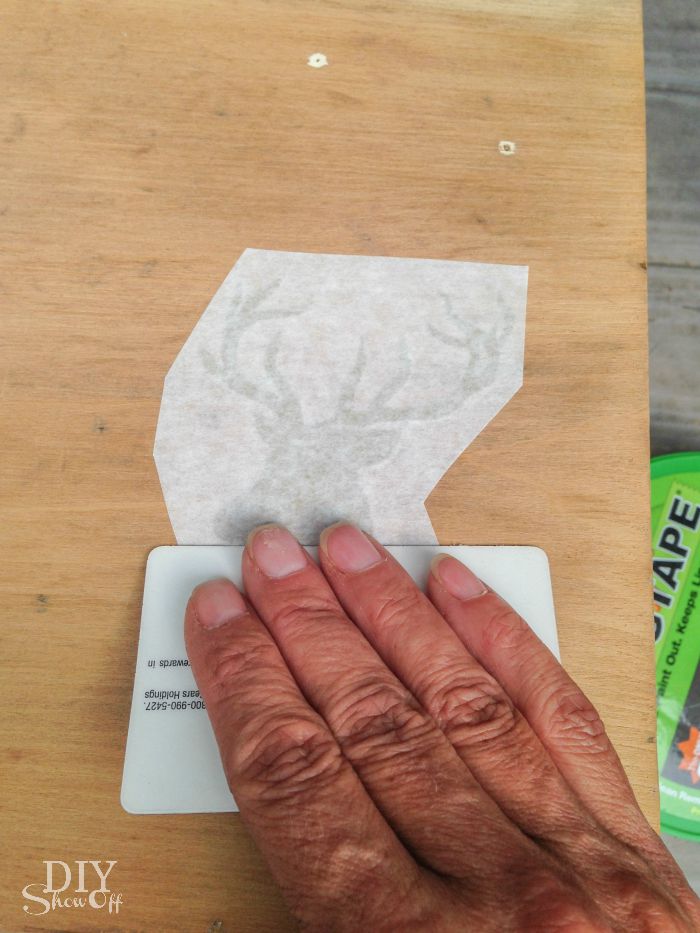
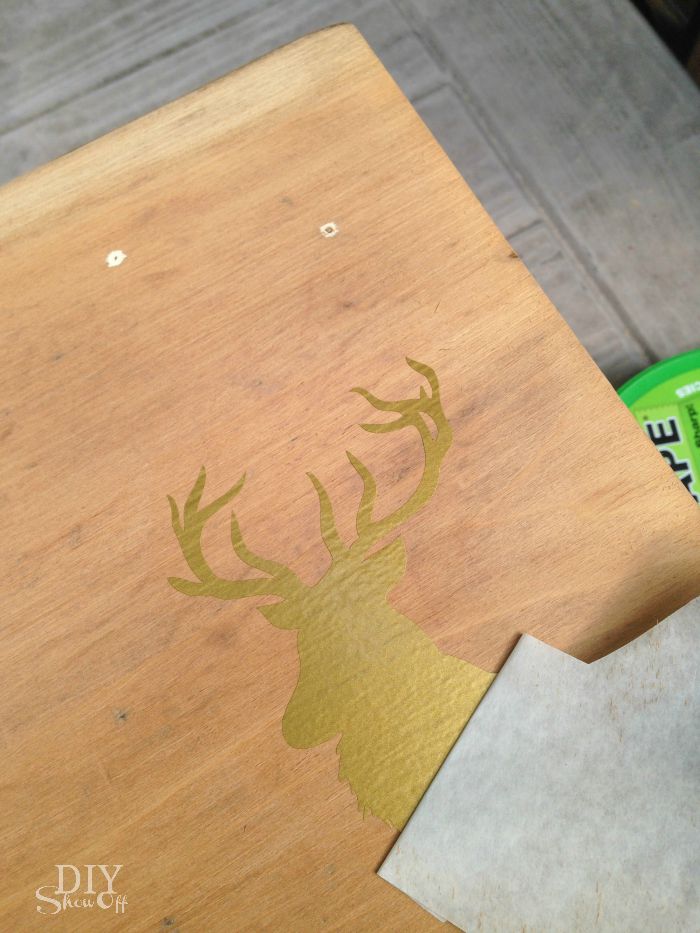
3. Next I applied my vinyl decal to the top, burnished it and pulled away the transfer paper. 

flea market step stool makeover @diyshowoff flea market step stool makeover @diyshowoff

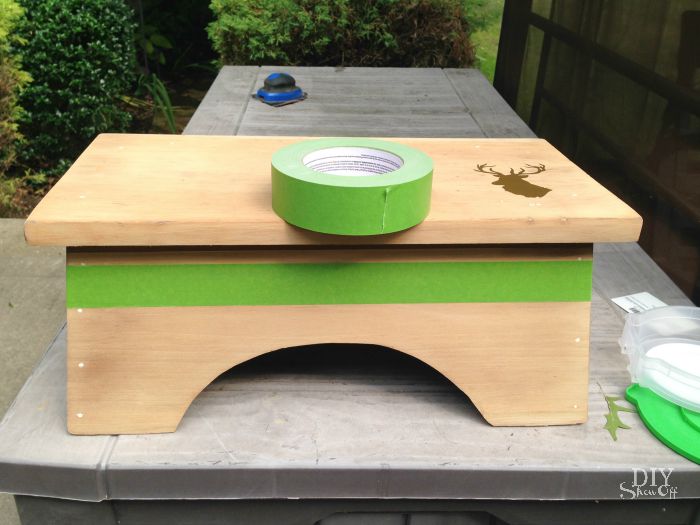
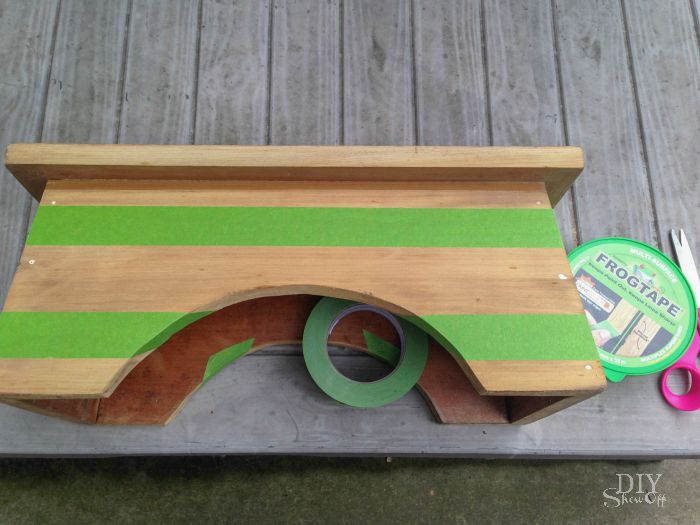
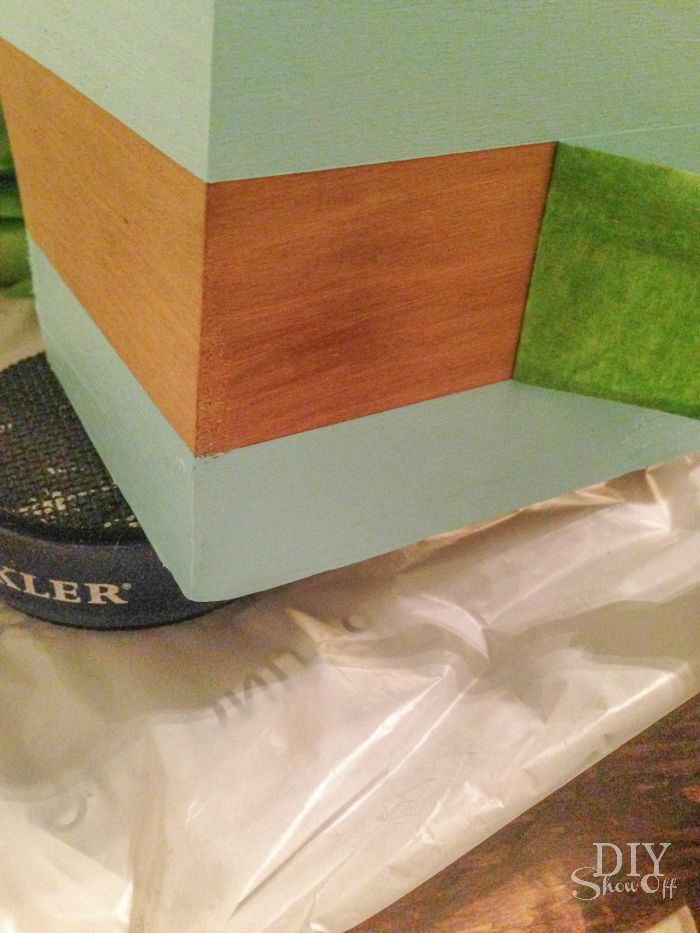
4. I taped off stripes using FrogTape Multi-Surface. Since the sides aren’t 90 degree angles, here is what I did: Tore off a piece of FrogTape longer than needed. I placed it in a straight line (I just eye-balled it) and folded the edges over on the ends. Using my thumbnail (or credit card), I rubbed the FrogTape on the corner. Then I gently lifted it up and using scissors, cut along the ‘white’ line. Replace and burnish tape. Repeat on each of the four sides, two rows of stripes. 

flea market step stool makeover @diyshowoff flea market step stool makeover @diyshowoffflea market step stool makeover @diyshowoff

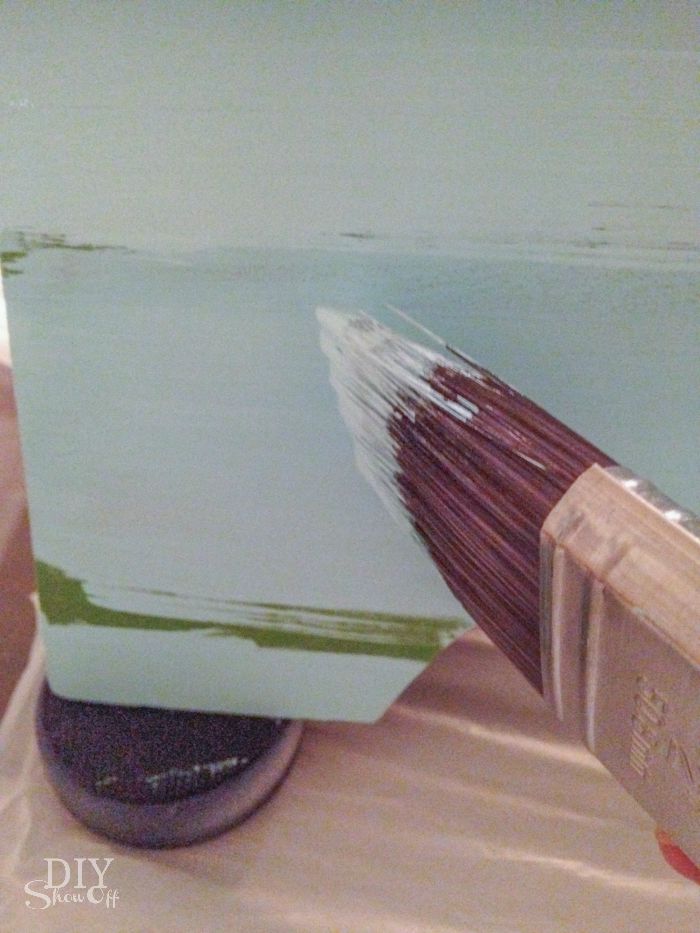
5. Paint a coat. Let dry. Paint a second coat. 

flea market step stool makeover @diyshowoffflea market step stool makeover @diyshowoff

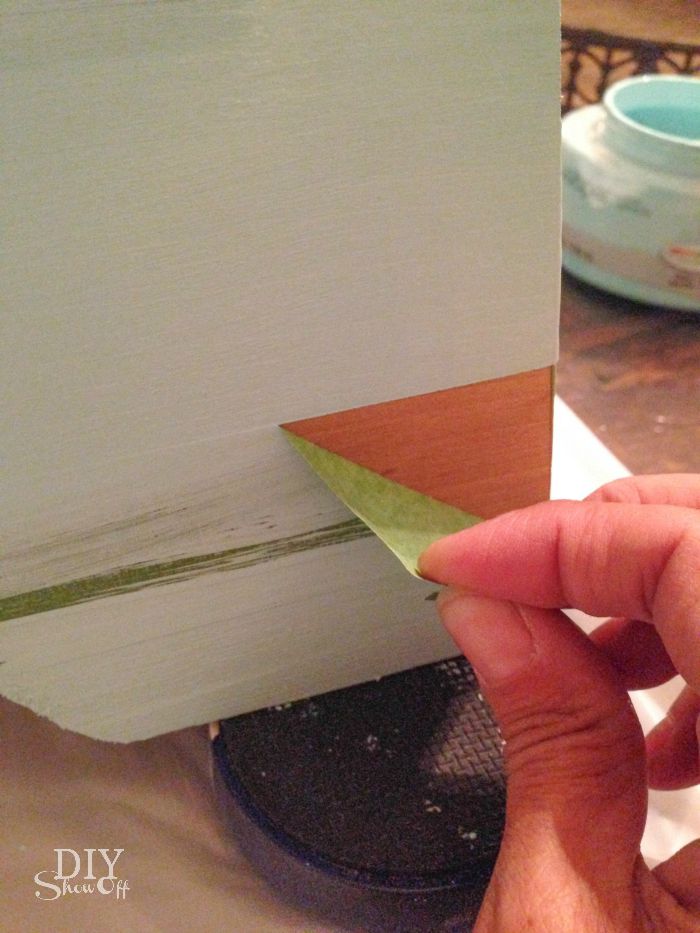
6. While paint is still wet, carefully remove FrogTape and vinyl decal. Then allow paint to dry over night. 

flea market step stool makeover @diyshowoff flea market step stool makeover @diyshowoff

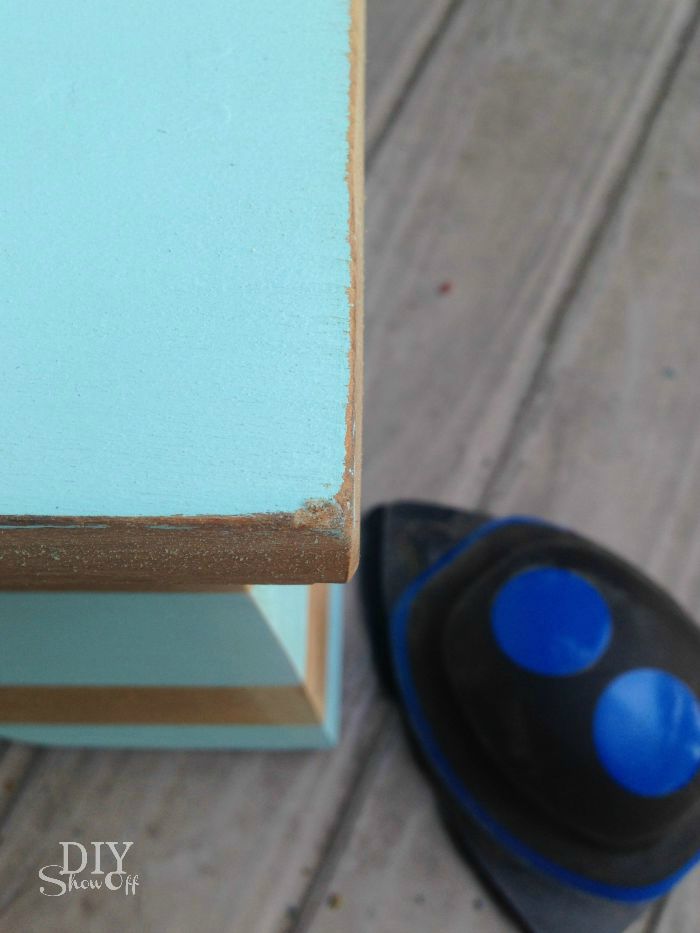
7. Optional: sand edges for a distressed look. 

flea market step stool makeover @diyshowoff

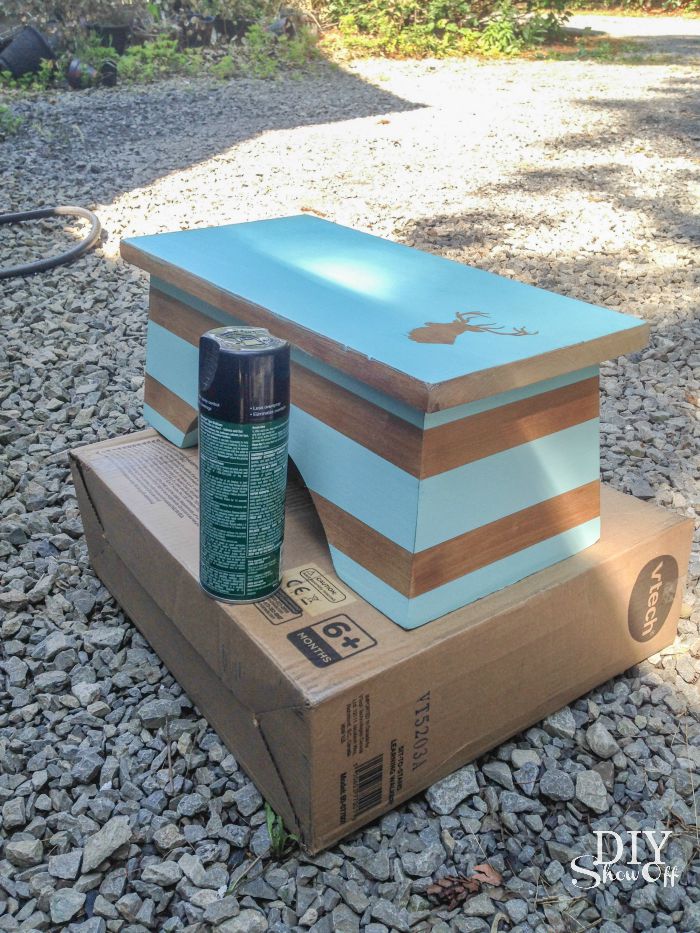
8. Apply two light even coats of spray lacquer, allowing dry time between each coat according to instructions on the can. 

flea market step stool makeover @diyshowoff

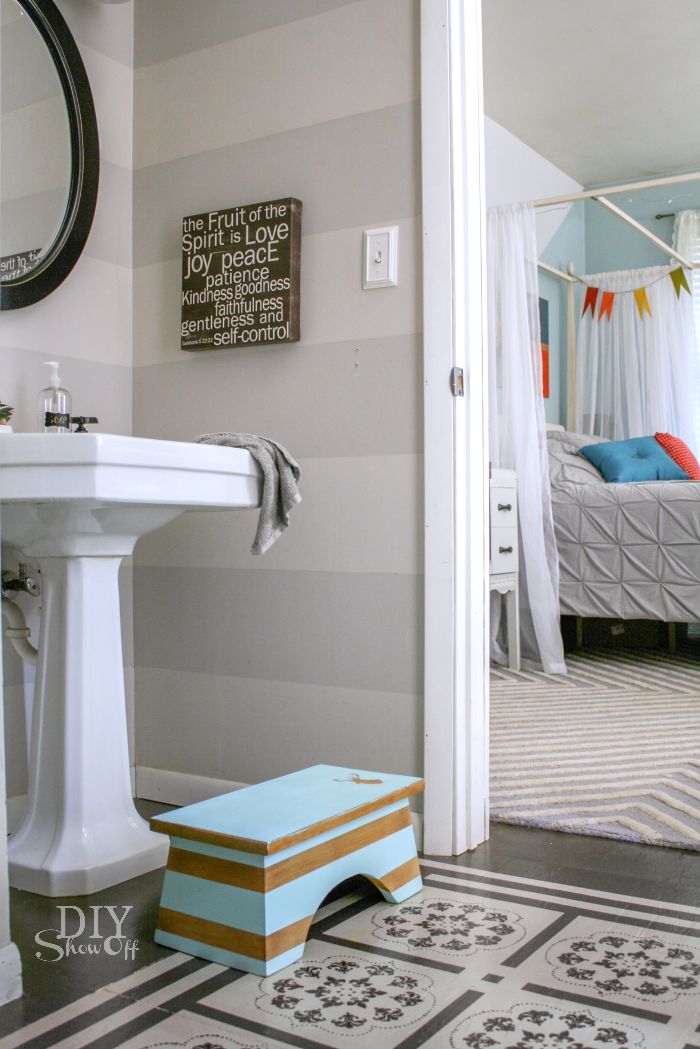
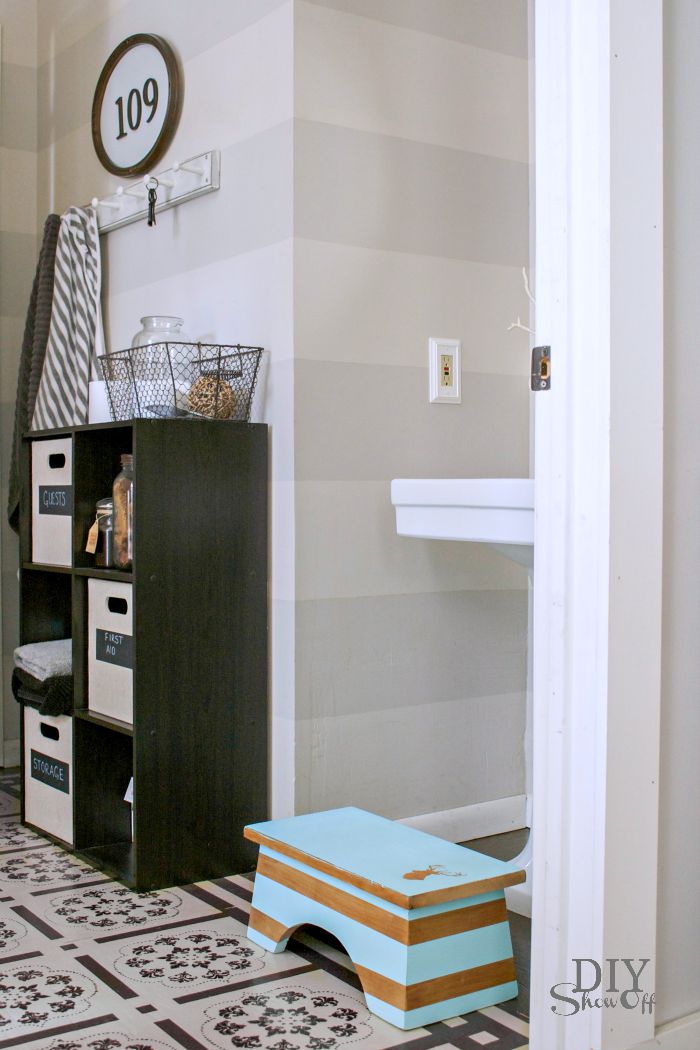
Ta-da! A cute addition to the bathroom sink for little ones. 

flea market step stool makeover @diyshowoff flea market step stool makeover @diyshowoff

*I received compensation to complete this project for using FrogTape® products. All opinions, projects and ideas are based on my own experience.

 FrogTape Blog Squad