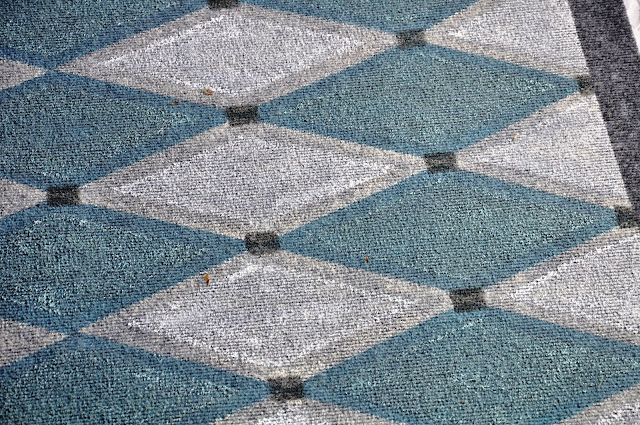
Good day, DIY’ers! Today I’m excited to introduce you to Jeff from
Like most of us DIY’ers, Jeff started working on home improvement projects on their home and rental properties in order to save money. He shares his knowledge and experiences with the hopes of helping others realize they can save time, money and DIY. I love that he shares his bloopers as well…a great “don’t do what I did” approach to learning.
Recently, Jeff researched the best products and ways to refinish a wooden porch floor and is sharing that secret here today!
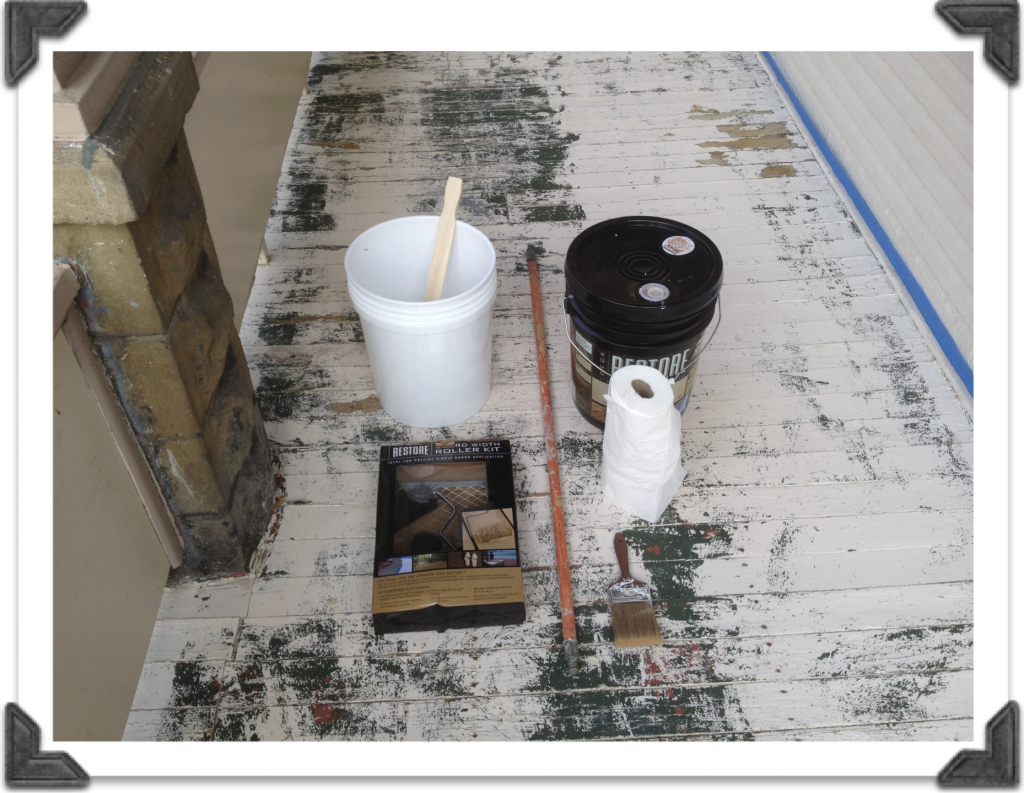
Materials for stripping old paint (optional):
- Behr Stain & Finish Stripper
- foam roller (One thing that makes reading enjoyable at Home Repair Tutor is that Jeff uses technical terms like “hot dog” roller! It throws you off for a minute while you giggle but you definitely know what he means!)
- wire brush
- tape/drop cloths to cover anything not being stripped (and to cover plants)
Materials for painting the porch:
- 5 gallon bucket
- 4 gallons of Restore paint (2 gallons will cover 100 square feet but you will need 2 coats)
- paint stirrer
- Restore paint roller kit that comes with a paint grid (some may say screen) for the 5 gallon bucket (Color shown below is Fieldstone)
- 4 inch paint brush (cheapest available)
- extension pole for paint roller (optional)
- paper towels
- painter’s tape/drop cloths to cover parts not being painted or to prevent splashing
Tutorial:
How to strip a painted porch floor
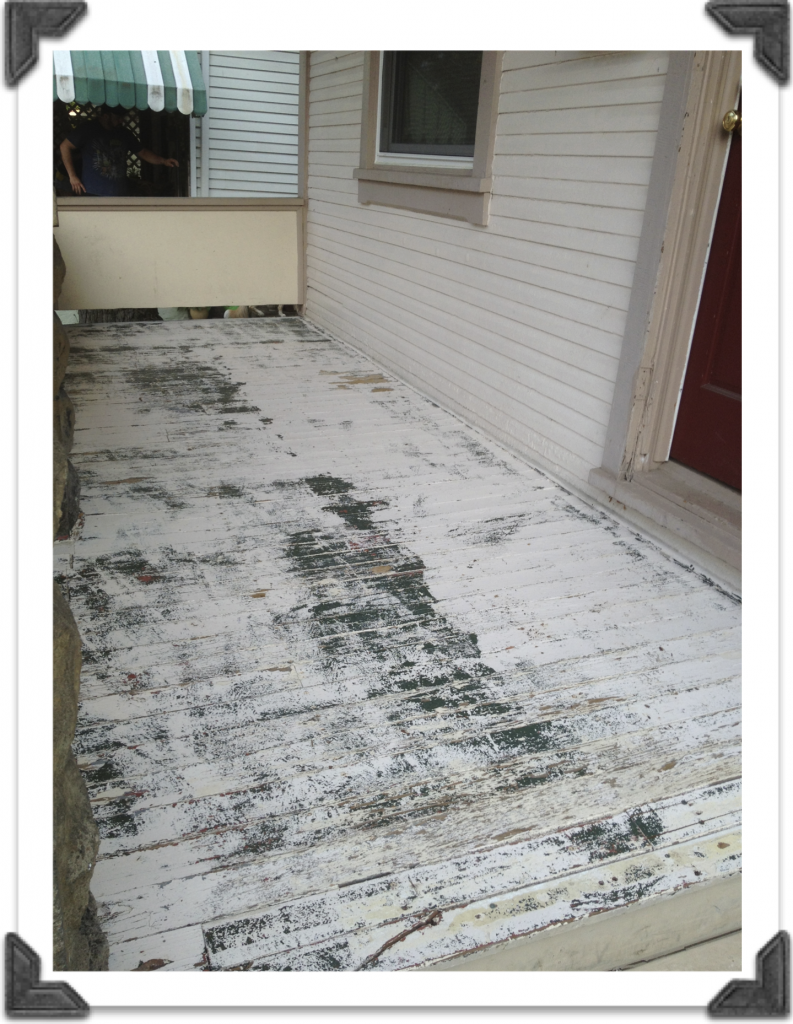
Jeff started the process with stripping away the old paint in order to achieve an even finish by rolling on the Behr Stain and Finish Remover with a foam roller. He worked in 3-4 rows of floor boards then waited 5-10 minutes before etching the boards with a wire brush. After finishing about 5 square feet of wood, he carefully used a hose to spray off the excess paint and repeated this process until the entire porch was done and let it dry overnight. The next day, this is how it looked:
How to painting a porch floor
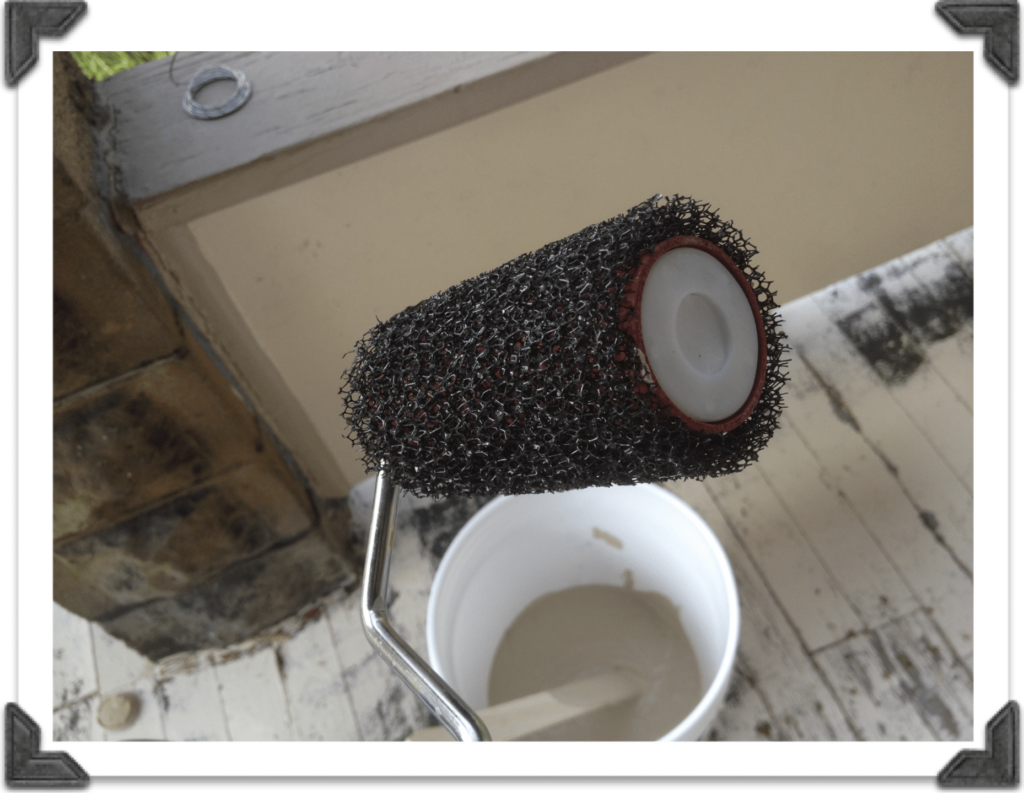
Pour about 1 gallon of Restore into the white 5 gallon bucket and stir with the wood stirrer to ensure an even consistency. Place the paint screen into the 5 gallon bucket then dip the Restore roller into the paint and move it back and forth on the grid to remove excess paint.The Restore paint roller covers are what provide the rough texture.
Jeff’s technique for painting with Restore consisted of rolling the paint onto the floor boards with the roller in one direction, moving from right to left. He did cut in first using a 4 inch paint brush and painted the quarter round trim and any other areas that butted against support beams, etc. Moving on, he found that painting 4 to 5 boards with the paint roller then smoothing them with the paint brush worked best. He overlapped the paint brush strokes by one half the width of the paint brush to ensure a consistent & smooth finish. You can see Jeff’s Restore Project video for a better visual explanation.
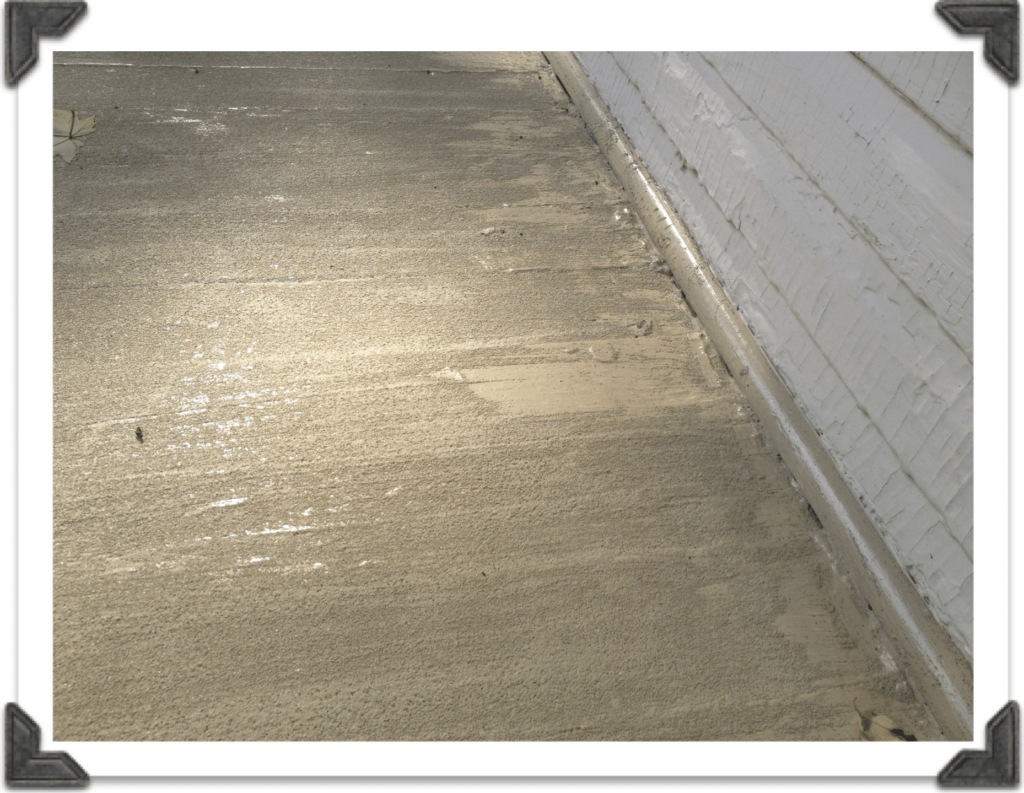
Jeff states that you can choose to leave the rough texture created by the Restore roller or smooth it out using the brush like he did. He chose the smoother finish over the concern that dirt and grime may get trapped in the textured surface.
The final feel of the Restore paint is grainy and it definitely did an awesome job of making the wood boards more even. There is absolutely no splintering poking through the two coats (recommended by the manufacturer and Jeff).
After one coat:
After letting the paint dry for 24 hours, apply a second coat.
After two coats of Restore paint…
Once again, here’s the before:
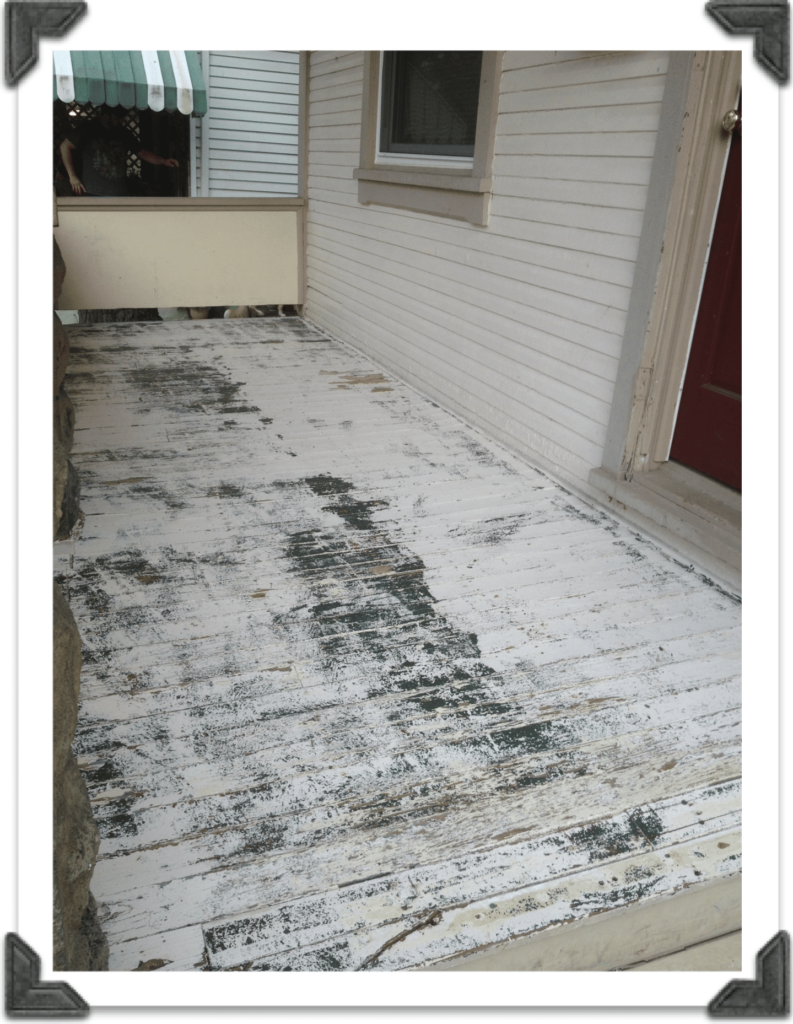 A freshly painted, slip resistant surface after:
Tips:
- This does seal the spaces between the boards and rain water will puddle. Best used on porches with a slight downward pitch.
- Remove painter’s tape as you finish sections. Otherwise, it may be permanently stuck if painted and allowed to dry.
Project cost: $150 (and lasting more than the usual two year period of other finished outdoor areas)
Time involved: Approximately 7 hours (*includes paint stripping time and applying two coats).
Pretty awesome, right? It reminds me of our brushed concrete patio. The Restore paint comes in a variety of colors and is a great alternative to staining. Love the texture. Now…if only I had a outdoor wooden area to paint, this would be my preference. With a stencil involved in those steps. haha!
~*~*~*~
Thanks to Jeff for sharing his helpful porch painting tutorial and Restore paint review! See more of his projects at Home Repair Tutor. (I spy some bathroom tiling tips that I’ve bookmarked for an upcoming project).
I have to tell you that I’m always excited to make new DIY friends around the world wide web. I recently learned that Jeff is local geographically to us. Woo hoo! Another Steeler fan (well, for Mr. DIY since I’m not really into football other than being in the same room while the game is on). But the best part?! If I hit a snag with the apartment renovation, guess who will be getting a call? Be careful when you say “If I was local, I’d totally be helping you!” You just never know who might live next door!


