DIY Styrofoam Wood Chip Tree Tutorial

Wood Chip Tree Tutorial


Materials:

  • 2 Styrofoam Cones, two different sizes
  • Hot Glue
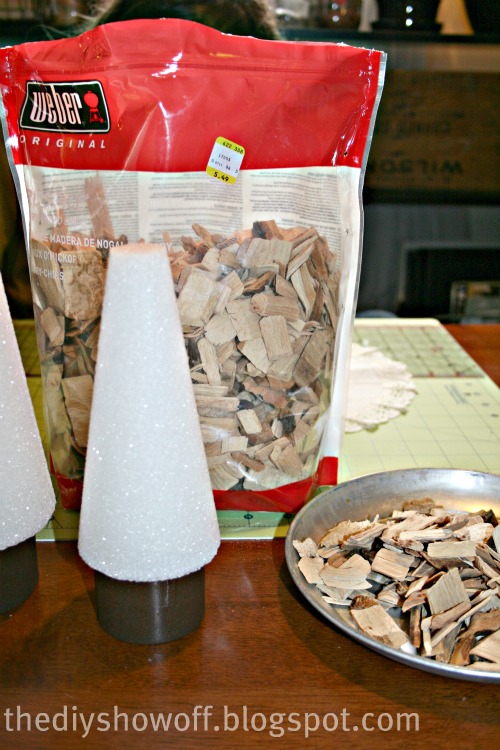
  • Wood Chips (Grilling section at True Value)
  • PVC pipe fittings, 2 different sizes
  • Krylon Fusion for Plastic spray paint (sparkly brown)
  • Paint, stain or dye
  • Small Star (holiday pick from craft store)
Tutorial:

1. Spray PVC pipe fittings. Let dry.

2. Attach pipe fittings to bottom of styrofoam cones with hot glue.

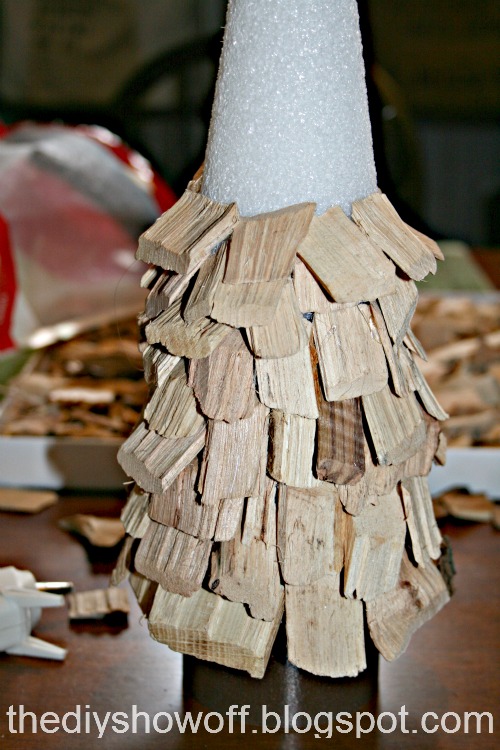
3. Using hot glue and starting at the bottom, glue wood chips around the Styrofoam cone.


4. Continue working upwards in layers.  Find the right pieces is like putting together a puzzle. I liked using pieces with bark for texture.

 
Note:  The Weber wood chips were cut on an angle. Gluing the angle and attaching to the cone, made the chip stand out a little.
 
Note: Thin wood chips can be snapped which is helpful for placing on curved surface.
 
5. Paint or stain the wood chips and let dry.


6. Add star to top by poking wire into Styrofoam or secure with hot glue. Embellish if desired.


My inspiration was the West Elm seagrass tree but due to a shortage of sea grass in western PA, mine turned out different but not in a bad way…


Simple. Pretty. Natural.


*~*~*~*~*~*~*~*~*~*~*~*~*~*~*~*~*~*~*~
 
I was one of the bloggers selected by True Value to work on the DIY Squad. I have been compensated for my time commitment to the program as well as my writing about my experience. I have also been compensated for the materials needed for my DIY project. However, my opinions are entirely my own and I have not been paid to publish positive comments.
~*~*~*~*~


Funky Junk's Sat Nite Special

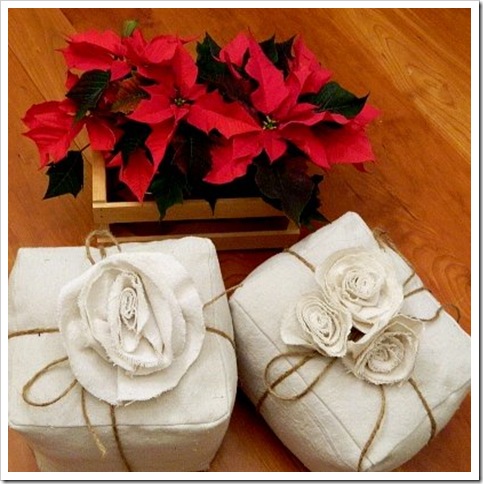
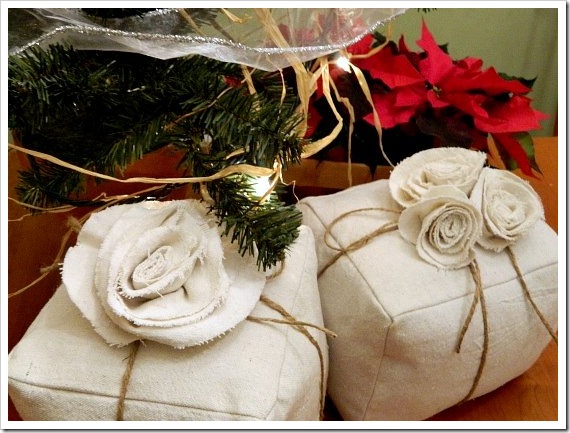
DIY Present Pillows by Linda from It All Started with Paint

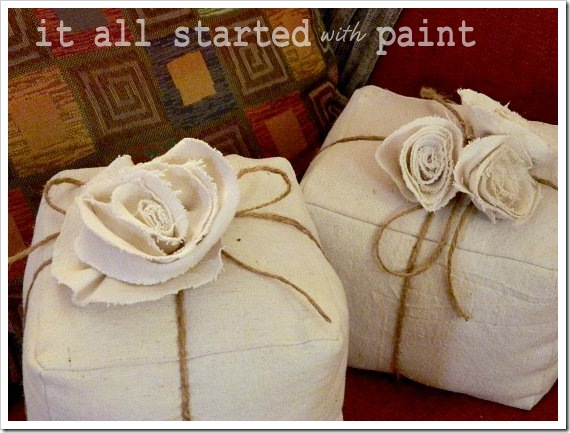
Present Pillows Twine on couch (550x413) (2)

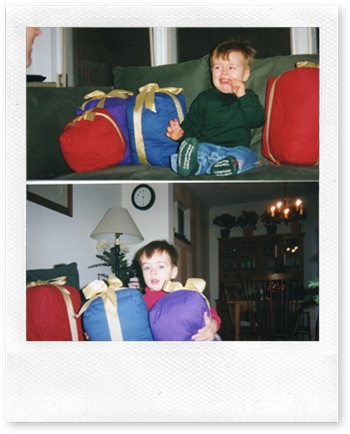
I’m honored to be blogging to you today from The DIY Showoff. Thank you Roeshel for this amazing opportunity to be a guest contributor on your blog.  You, your readers and your followers have been so very kind to me … and an amazing source of inspiration and instruction.  About 13 years ago, I made ‘present pillows’ for our home.  They were jewel-toned with gold bows.  Seriously, those were the hot colors of the day splashed across the catalog pages …
Present Pillows (3)
… my creations (and photos) were a little rough around the ages in my pre-blogger days …

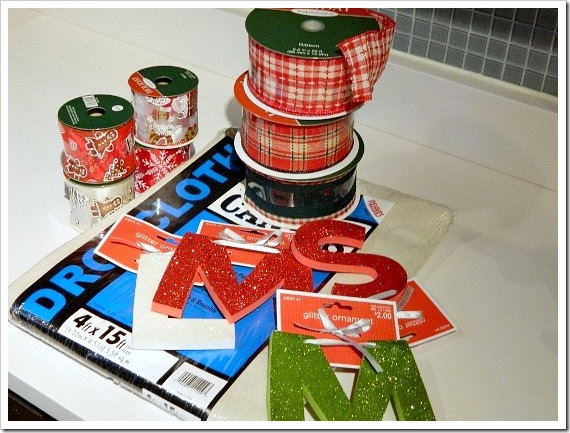
   … and the very pages where the inspiration for this project first sparked. It was either Pottery Barn or Crate & Barrel that featured ‘present pillows’ in a photo shoot.  They weren’t for sale.  Just a prop.  But it was a prop that I knew I needed in our home for the holidays …Those jewel-toned present pillows were literally loved to death by my children and were ‘recycled’ many moons ago.  Then I happened upon that picture above (the baby holding those pillows is now in high school) and decided it was high time to bring back the present pillow.This time around I jumped on my new passion of using drop cloth as fabric.  With a $10 Menard’s rebate, I picked up a 4’ x 9’ drop cloth for under $5. Then I grabbed a bunch of different ribbon options.  They were all marked 50% off and if I don’t use them in this project I’ll put them to good use elsewhere …
Present Pillows Materials (550x413) (2)

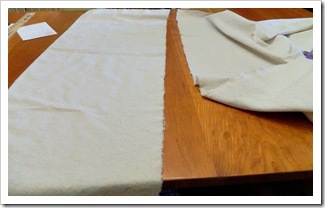
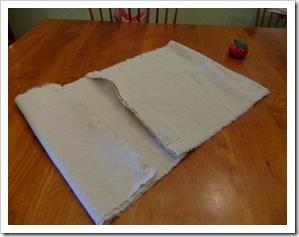
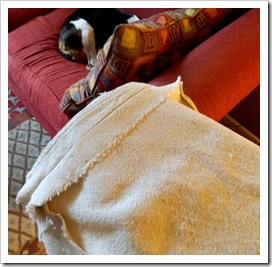
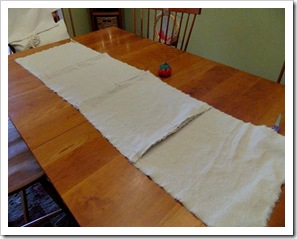
The first step was to wash the drop cloth with detergent and fabric softener.  And then dry with a dryer sheet.  I actually ran mine through the washing machine twice.  It’s amazing how much it softens it up.I made two present pillows that are 8” x 6” in size.  That meant I cut 4 pieces of fabric (tops and bottoms) 7” x 7”; and cut 8 pieces of fabric 9” x 7” for the sides.I cut  — well, more like tore – the top and bottom pieces first.  If you make a small cut in the drop cloth like so …
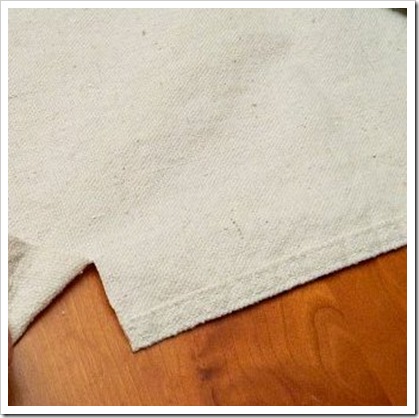
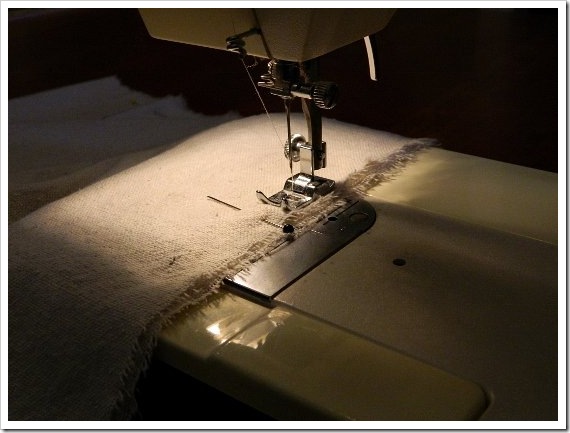
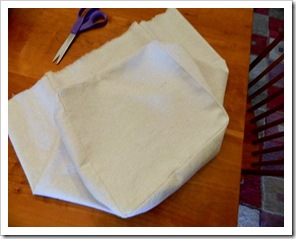
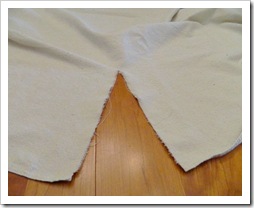
Present Pillows Tear 1 final (550x413) (2)You can then tear it and end up with a perfectly straight line …Present Pillows Tear Final (550x413) (2)Present Pillows Tear 2 (550x413) (2)When all the cuts (tears) were made, I pinned the pillow “sides” together …Present Pillows Sides (550x413) (2)Present Pillows Pinned (550x413) (2)…and stitched them up…Present Pillows Sew (550x413) (2)
In an ideal world, I would add a zig zag stitch on the edges because the drop cloth frays so easily … but since these are seasonal pillows, I skipped that step and instead pressed open the seams …
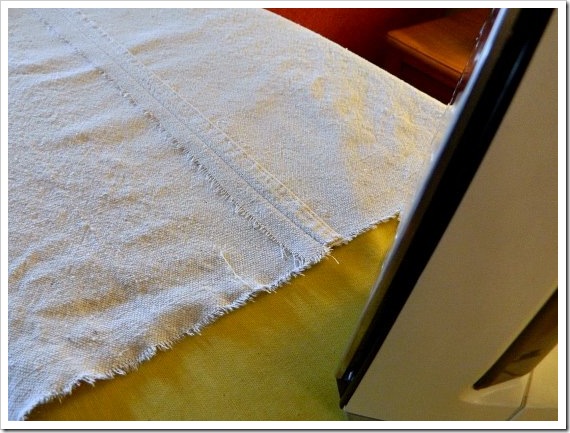
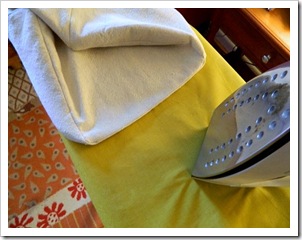
Present Pillows Press (550x413) (2)I pinned the top on next, matching up the corners …Present Pillows Top Pin (550x413) (2)
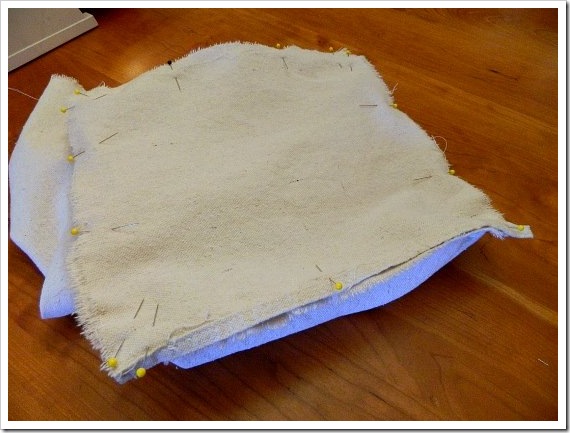
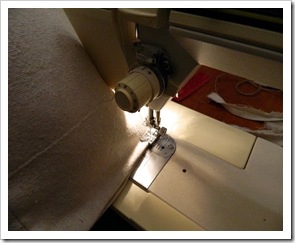
When sewing the tops and bottoms to the sides, when you get to a corner you need to lower the needle into the exact corner and lift the footer …
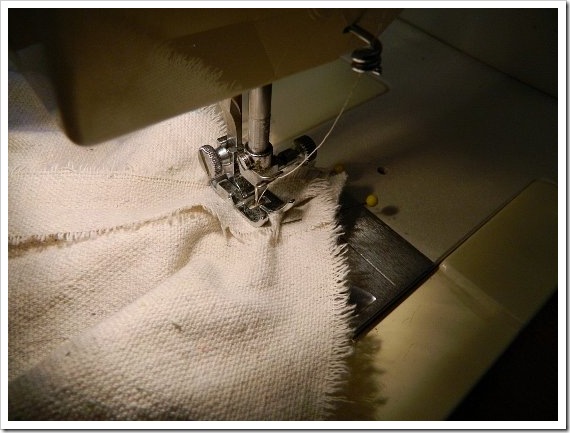
Present Pillows Sew Top (550x413) (2)

Pivot the fabric and spread the boxing around the corner … lower the footer and continue sewing. Repeat at each corner.
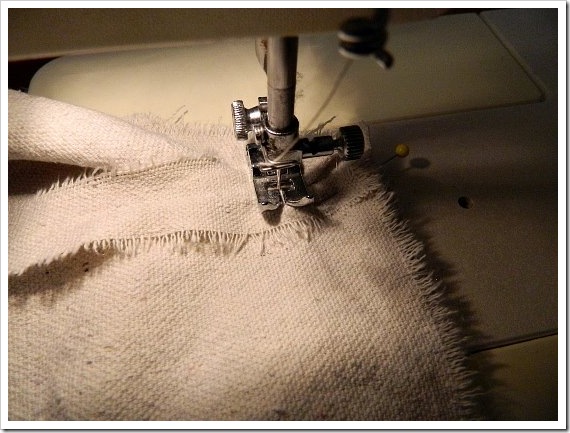
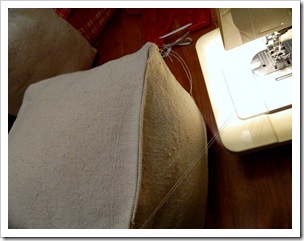
Present Pillows Sew Top 2 (550x413) (2)I clipped the corners, pressed open the seams and turned right side out ..Present Pillows Clip Corner (550x413) (2)Present Pillows Press Open (550x413) (2)Present Pillows Press Top (550x413) (2)Present Pillows Turned (550x413) (2)
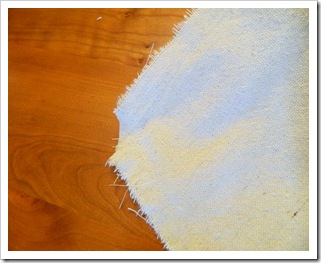
Then I pinned the bottom on the same way, only this time when I stitched it up I left an opening for the stuffing …
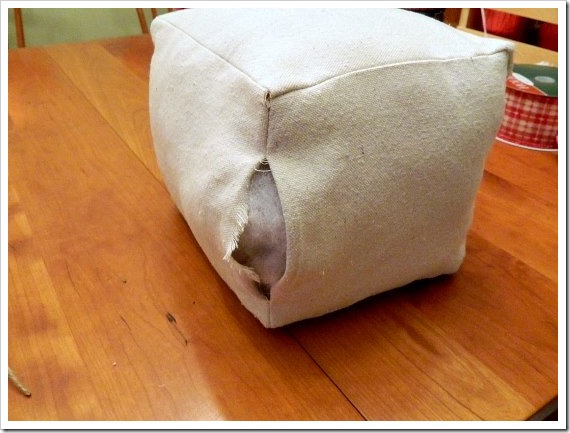
Present Pillows Opening (550x413) (2)

… and speaking of the stuffing, mine is from a ‘deconstructed’ $9.99 body pillow from Target.  And no, really, I didn’t get that great money-saving tip from a fabric and craft store employee …You can slip stitch the opening closed … or do what I did and sew it shut using the machine …Present Pillows Sew Open Close (550x413) (2)Present Pillows sew open closed (550x413) (2)All that’s left to do is dress them up with some twine and rosettes ….
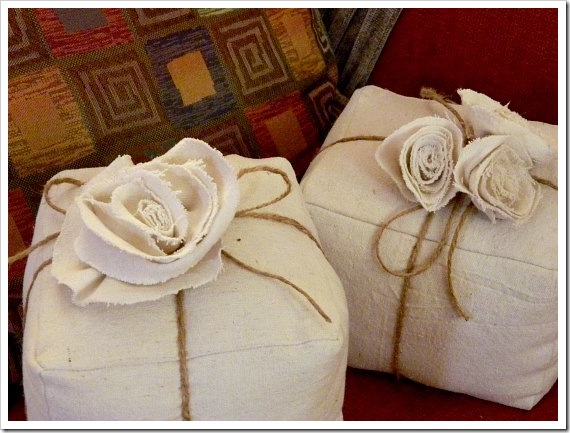
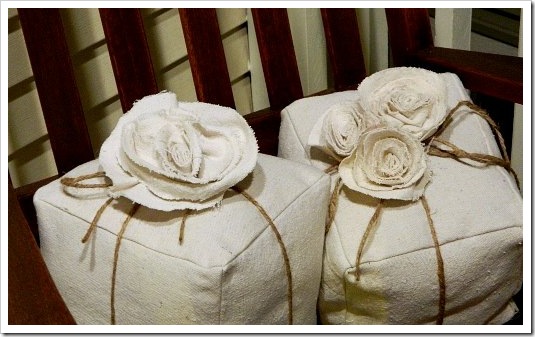
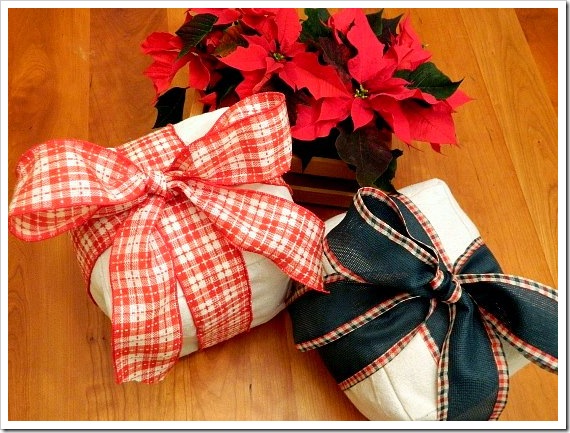
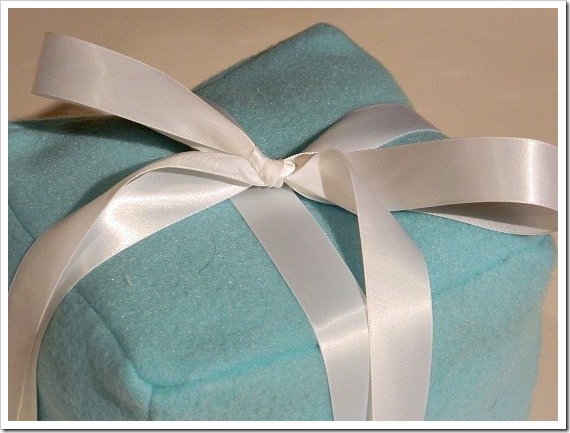
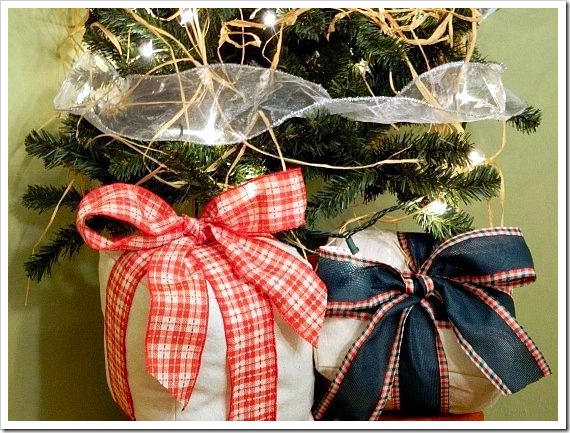
Present Pillows Twine on couch (550x413) (2)Present Pillows Twine 2 (550x413) (2)Present Pillows Twine (550x413) (2)Present Pillows Twine on porch (550x413) (2)Or, if you prefer, with some ribbon and bows …Present Pillows Country (550x413)-2 (2)Present Pillows Country table (550x413) (2)And, just because I couldn’t resist, I used a $2 fleece remnant to make a Tiffany blue pillow box …Present Pillow Tiffany Box Kitchen(550x413) (2)Present Pillows Tiffany close up (550x413) (2)
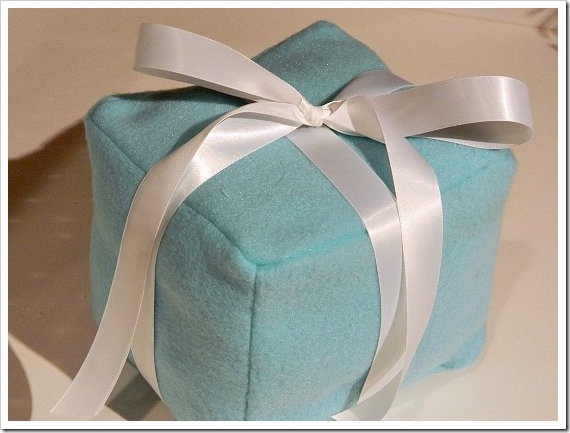
I’m not a huge jewelry person, but even my heart skips a beat when I see that robin’s egg blue all wrapped up with a simple white ribbon …

Present Pillows Tiffany 2 (550x413) (2)

Thank you Roeshel for hosting my project!  And “Happy Holidays” to all you DIY Showoff followers. If you happen to find yourself here through my blog, please be sure to check out all the great posts, projects and creativity featured on The DIY Showoff … 
  

Christmas DIY by Randee's Organized Chaos

Hi!!!  I am Randee from 
Randee's Organized Chaos
I am SUPER DUPER excited that Roeshel allowed me to be a guest! My life is in constant CHAOS but I would not have it any other way! I am married to a wonderful man and I have two AWESOME children!  I constantly CrEaTe my own CHAOS and I always think “what have I done?” but it always works itself out and turns out to be TOO STINKING CUTE!!!

I am featuring a few of my favorite projects and recipes. I hope that you will stop by and add a little CHAOS to your life! I like to talk about my family that is the CENTER of the chaos and all of my favorite projects that I am knee deep in!! You might learn a few tricks from MY CHAOS! 
(The complete tutorials can be seen by clicking the links below.)

My first project is my NO SEW RUFFLED TREE SKIRT… 
Isn’t it BEAUTIFUL???
I have a small “OBSESSION” with burlap!

Another one of my NO SEW projects:  
Last but NOT LEAST…..

These are without a doubt AWESOME!  I think EVERY SINGLE person on my list this year will be getting some of these.  They will make GREAT teacher gifts! 😉

THANKS again for having me! I hope that following along with my CHAOS makes you realize that EVERY family has a little bit of “CRAZY” which makes us all NORMAL!!!  😉
Reminder:
12 Bloggers,
12 Colors, 12 Days
of Holiday DIY

Dec. 1st ~ GREEN ~ The Design Confidential

Dec. 2nd ~ WHITE ~ Domestically Speaking

Dec. 3rd ~ BLUE/PURPLE ~ Fireflies & JellyBeans

Dec. 4th ~ SILVER ~ Freckled Laundry

Dec. 5th ~ GRAY ~ Primitive & Proper

Dec. 6th ~ SPARKLE/GLITTER ~ 
A Girl and a Glue Gun

Dec. 7th ~ MIRROR/CLEAR ~ The DIY Show Off

Dec. 8th ~ EARTH TONES ~ Making the World Cuter

Dec. 9th ~ RED ~ It’s So Very Cheri

Dec. 10th ~ GOLD ~ 504 Main

Dec. 11th ~ CHALKBOARD ~ WhisperWood Cottage

Dec. 12th ~ MULTI-COLOR ~ The DIY Club

Pin It