Protecting Floors from Heavy Chunky Furniture

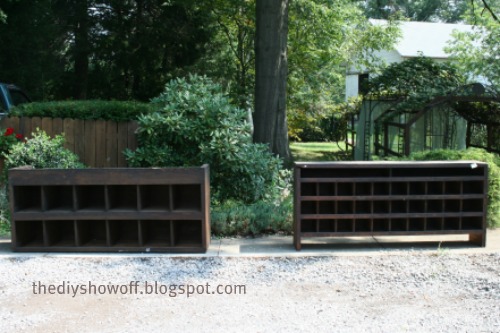
I recently spied this BIG beauty in a local antique/junk shop. You know how much I love junk and unique thrifty finds! Anyway I HAD to have it….

Of course, it’s just a little buried in the dark in a back room so I couldn’t see the entire thing but I just loved her chunkiness and that she was old AND that she was the perfect size for a recessed area in our home. 
Upon getting it home (thanks Bri & Steve for truck/delivery services), I discovered it was pretty filthy.  Even oily or perhaps tar was used as an anti-skid application? Maybe it lived in a garage for 30 years.  I don’t know but she was not stepping foot in our home until she had a bath.  
Isn’t she pretty?
A little scrubbing and degreasing helped however not enough that I’d want to shove it around directly on our new bamboo floors!
A little ingenuity, Gorilla Glue, felt weather stripping and Self Adhesive Cushions and Felt Pads did the trick!
I applied Gorilla Glue to the bottom of her bulk. 
(Yes, I went from swimming straight to DIY without changing…sometimes I’m in my pajamas, sometimes swim wear and sometimes I even wear old work clothes for the DIY occasion.  See how it’s dark outside?  There’s never enough time in the day…or if there is, I just might be taking the opportunity during the day for an end of summer swim at mom’s. )

Felt weather stripping was cut to fit  and applied using Gorilla Glue.
I added weight and let it dry overnight. 
A little extra added protection using Felt Furniture Movers never hurts (floors). 
Then Mr. DIY and I used tons of blankets and towels to flip this big girl.
With the felt bottom, a giant heavy piece of furniture now easily slides around and right into place. No damage to the floors! I can even slide it around myself. I do love to rearrange!  

More details on where this is going coming up at Friday’s Roomspiration!  🙂

*~*~*~*~*~*~*~*~*~*~*~*~*~*~*~*~*~*~*~
I was one of the bloggers selected by True Value to work on the DIY Squad. I have been compensated for my time commitment to the program as well as my writing about my experience. I have also been compensated for the materials needed for my DIY project. However, my opinions are entirely my own and I have not been paid to publish positive comments.
~*~*~*~*~

Bun Feet!

These….

(paintable grade but I love the wood pattern)
French Country in Paint Grade Bun Foot

plus this…

TransTint® Dyes
2 oz. of TransTint Dye
2 qts. of water
(I experimented with a smaller amount of water with the a couple of drops to achieve a deeper look.)

 applied with a foam brush…

results in this…

color: dark mission brown
This picture is most true to real life on my monitor:
I love the color. I love that it’s not sticky or oily like stain. I love that it dries fast and I love the finish that shows the grain. LOVE…it’s a serious possibility for our kitchen island when the time comes. 
Tips:  Use in a workshop/outside or in a protected area. Wear old clothes and wear gloves if you’ll need to turn project. It’s “dye” and very concentrated!
Bun feet, TransTint and foam brushes are available at Rockler
Click HERE to see where you’ll find these feet!

Fabulous Furniture Features

I have BIG plans for a dresser makeover in my near future. Very near. Like this week along with an entire guest bedroom makeover. Ambitious! Crazy! I don’t have the dresser yet but I do have the paint. So, let’s look at some fabulous furniture makeovers for a little motivation today! Please click the links to be redirected to the original blogger’s post with more details, pictures and tutorials. Warning: It’s a long post, but trust me…I need inspiration and these are all so inspiring. 
Daena is an inspiration when it comes to painting furniture. Her entire blog is filled with amazing transformations! Check out these beauties:
{must click links for a closer look at the pretty details}
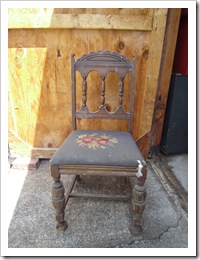
Before
Union Jack after – beautiful detail, lovely vintage colors.
Hutch before – pictured in the background
Pretty after
Chair before was lacking in looks
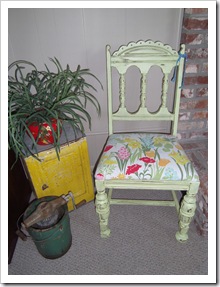
Chippy after is so happy! Love the distressed white and vintage cement bag seat cushion…
Molly has a beautiful home and I love her attention to detail. 
Molly from The Poor Sophisticate is great with furniture transformations too!
Blah before
Happy After
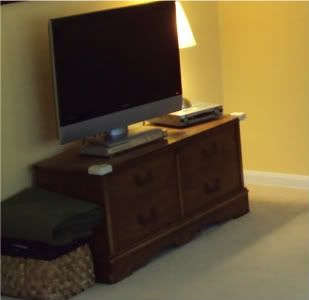
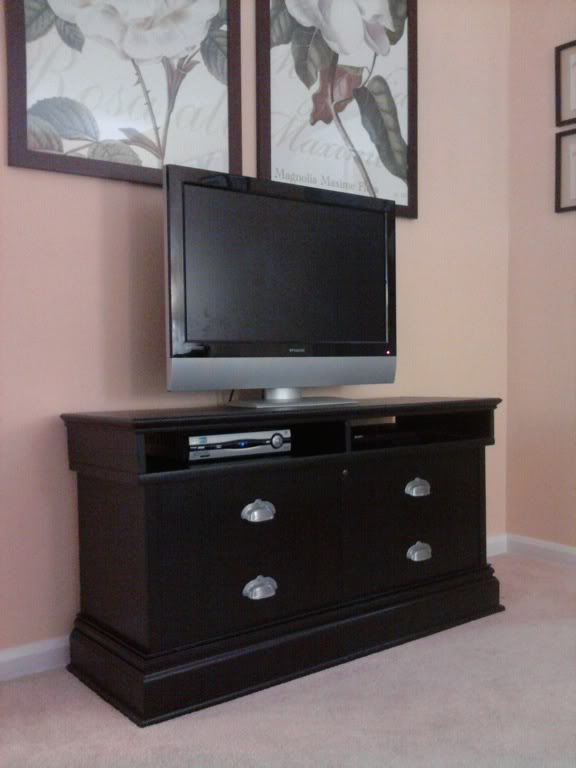
This chest…
is now this beautiful tv stand complete with an area to store tv accessories…
{take a second look – hard to believe it’s the same piece}
Kathy from PettiCoat Junktion is amazing 
at painting, restyling and reinventing furniture. I love these!
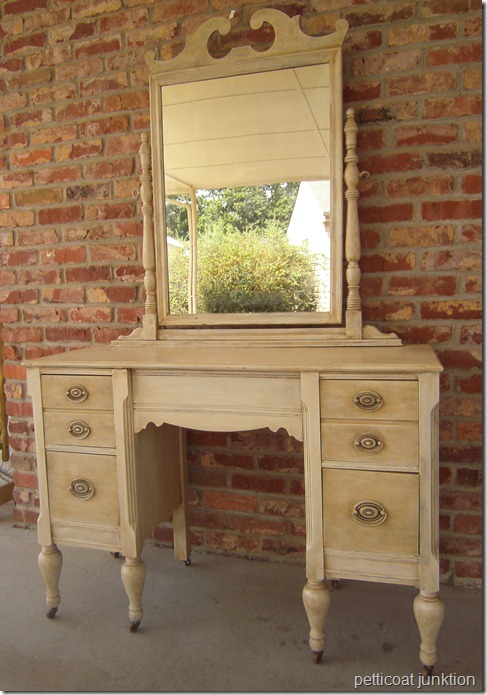
Understated vanity before…
SANY0048
has every reason to be called “vanity” now…
SANY0079
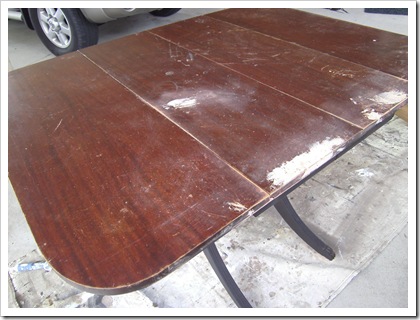
before
greentable6
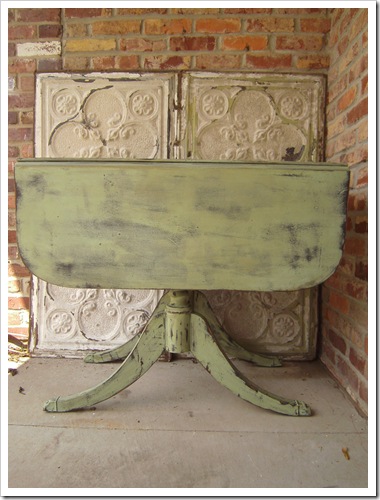
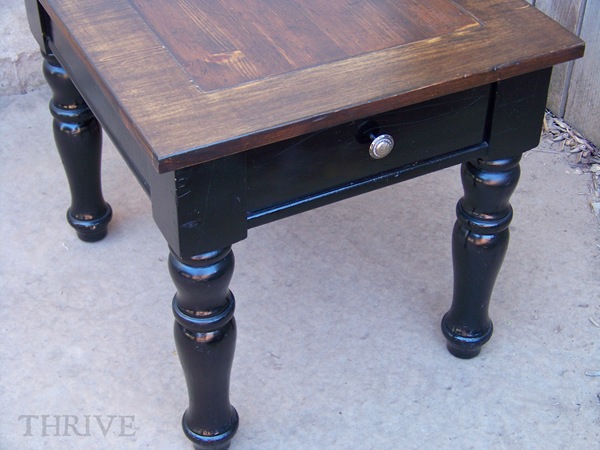
Peppercorn and Spring Green after…yum!
greentable2
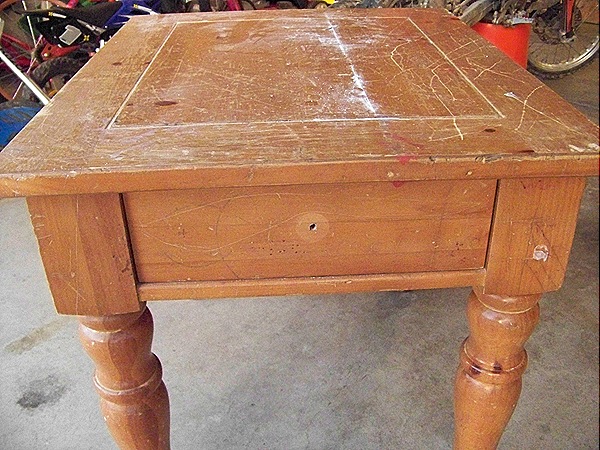
before
whimsical chair 001
pretty after
whimsical chair AND CHEST 003
Chair diva is ready for her closeups…
and French blue dresser…so soft and pretty!
Kristin from Chi-Chi Studio
shares her adventures in milk paint {so pretty!}…
took this rusty file cabinet…
and WOW – it’s a beautiful storage piece now!
Well, this looks like it’s on it’s way to the curb, right?
100_1812
Guess again.  Rescue success!
Beautiful save!
betty.6
Beauprez Family
oh so boring before
Pretty patterned after
This night stand was a curb side treasure and received a makeover.  This is what it looks like after 5 years of use {looking a little worn down}…
Time for another face lift…it IS easy being green! Pretty paper decoupage and distressing and ta da: 
Swing N Cocoa
damaged before
Like new after:
Stephanie from Swing N Cocoa gave these Craig’s List bar stools a makeover…
See the reveal here!
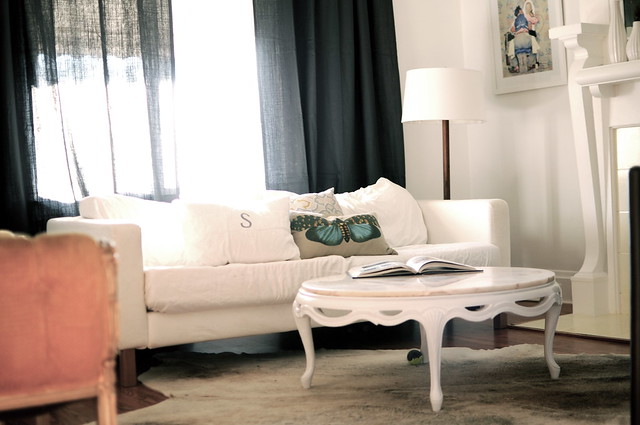
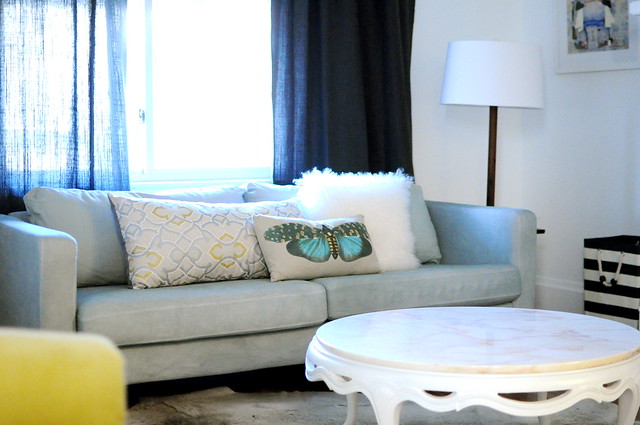
I love how Rasha took an Ikea couch and dressed it up with nailhead trim!
Simple, inexpensive, gorgeous detail!
Rasha also bought a chair that was falling apart and burgundy in color. Sneak peek of the new look:
Amazing!
There’s more furniture goodness!
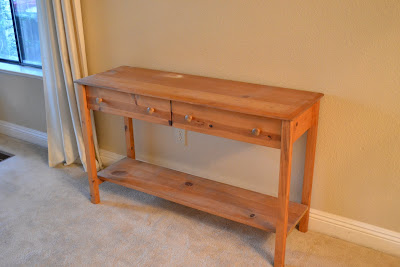
Console before…
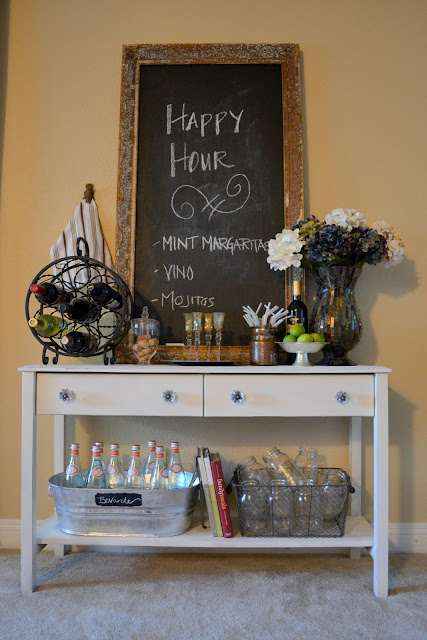
Black Beauty after
Rasha is a new blogger with amazing talent!
Now…
Boring desk before/Fun after
Meet: Closet Hog
After a little surgery…fun suitcase chair! Awesome!
Something as simple as dying a sofa can make it feel new!  Great job, Emily!
Before
Emily Snuffer
After
Emily Snuffer
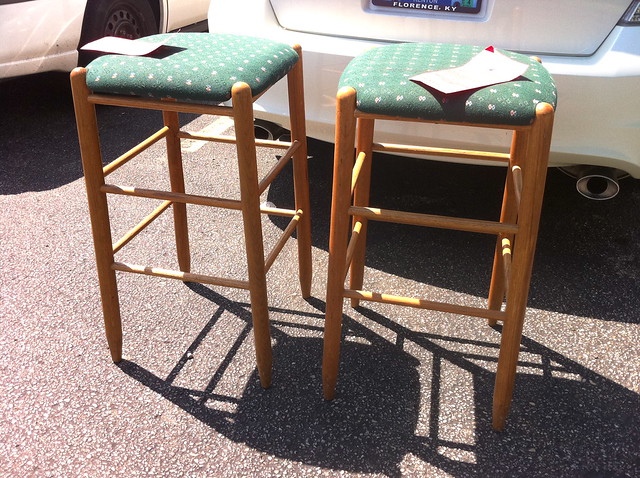
That’s not all from Emily at Go Haus Go.  These outdated $4 GoodWill finds…
Emily Snuffer
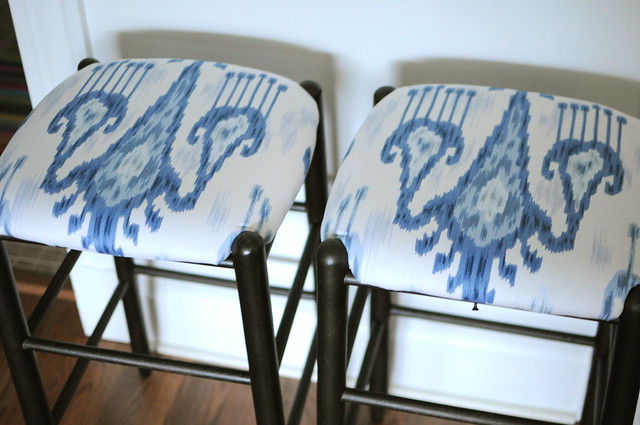
Now sport a pretty new ikat fabric and stunning oil rubbed bronze legs!
Emily Snuffer

*I’d like to thank Emily for the correct pronunciation of “ikat”.  It sounds like “ee-kot”! All this time I’ve been mispronouncing it. I wish someone would have pointed it out! Of course you don’t know that I’ve been saying “i-cat” like some Apple version of a my furry pet, unless you’ve seen the videos!  Oh, I’m so embarrassed.  But, over it.  Lesson learned and thank you so much, Emily! For another lesson in pronouncing design terms, visit Lauren at Pure Style Home. She has a wonderful post about it!  
Speaking of ikat! There are still 4 days left to enter to win new flooring for your home and to vote for Cassity & Roeshel.  Our coastal cottage room was designed about beautiful handscraped maple floors and a gorgeous “ee-kot” area rug! Visit Shaw Floors on Facebook to enter! Please! We really need your help these last couple of days!  Cassity is also giving away an area rug of your choice (even the ikat) at Remodelaholic!
And while on the topic of furniture.  Enter to win a designer ottoman kit at the DIY Club too!

BIG ROUND OF APPLAUSE to these bloggers for a DIY job well done and for sharing their talents and inspiration!  I’m motivated.  Heading to find a thrifty-budget once or twice loved dresser today! Wish me luck! 

Pin It