Quick DIY Lamp Makeover

A recent thrift store score inspires a new addition to our family room. 

DIY lamp makeover at diyshowoff.com

Materials:

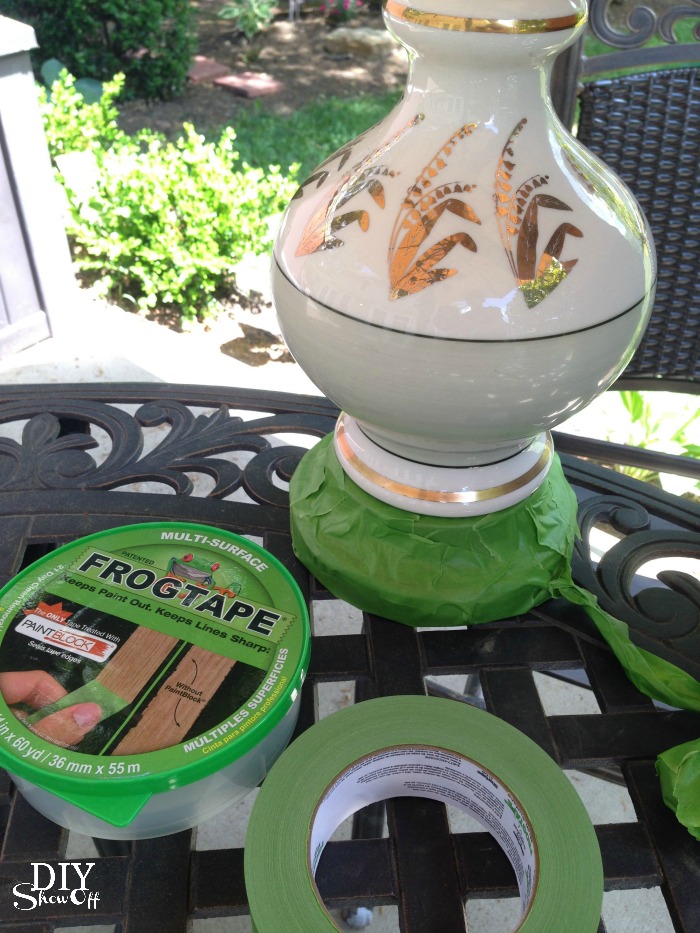
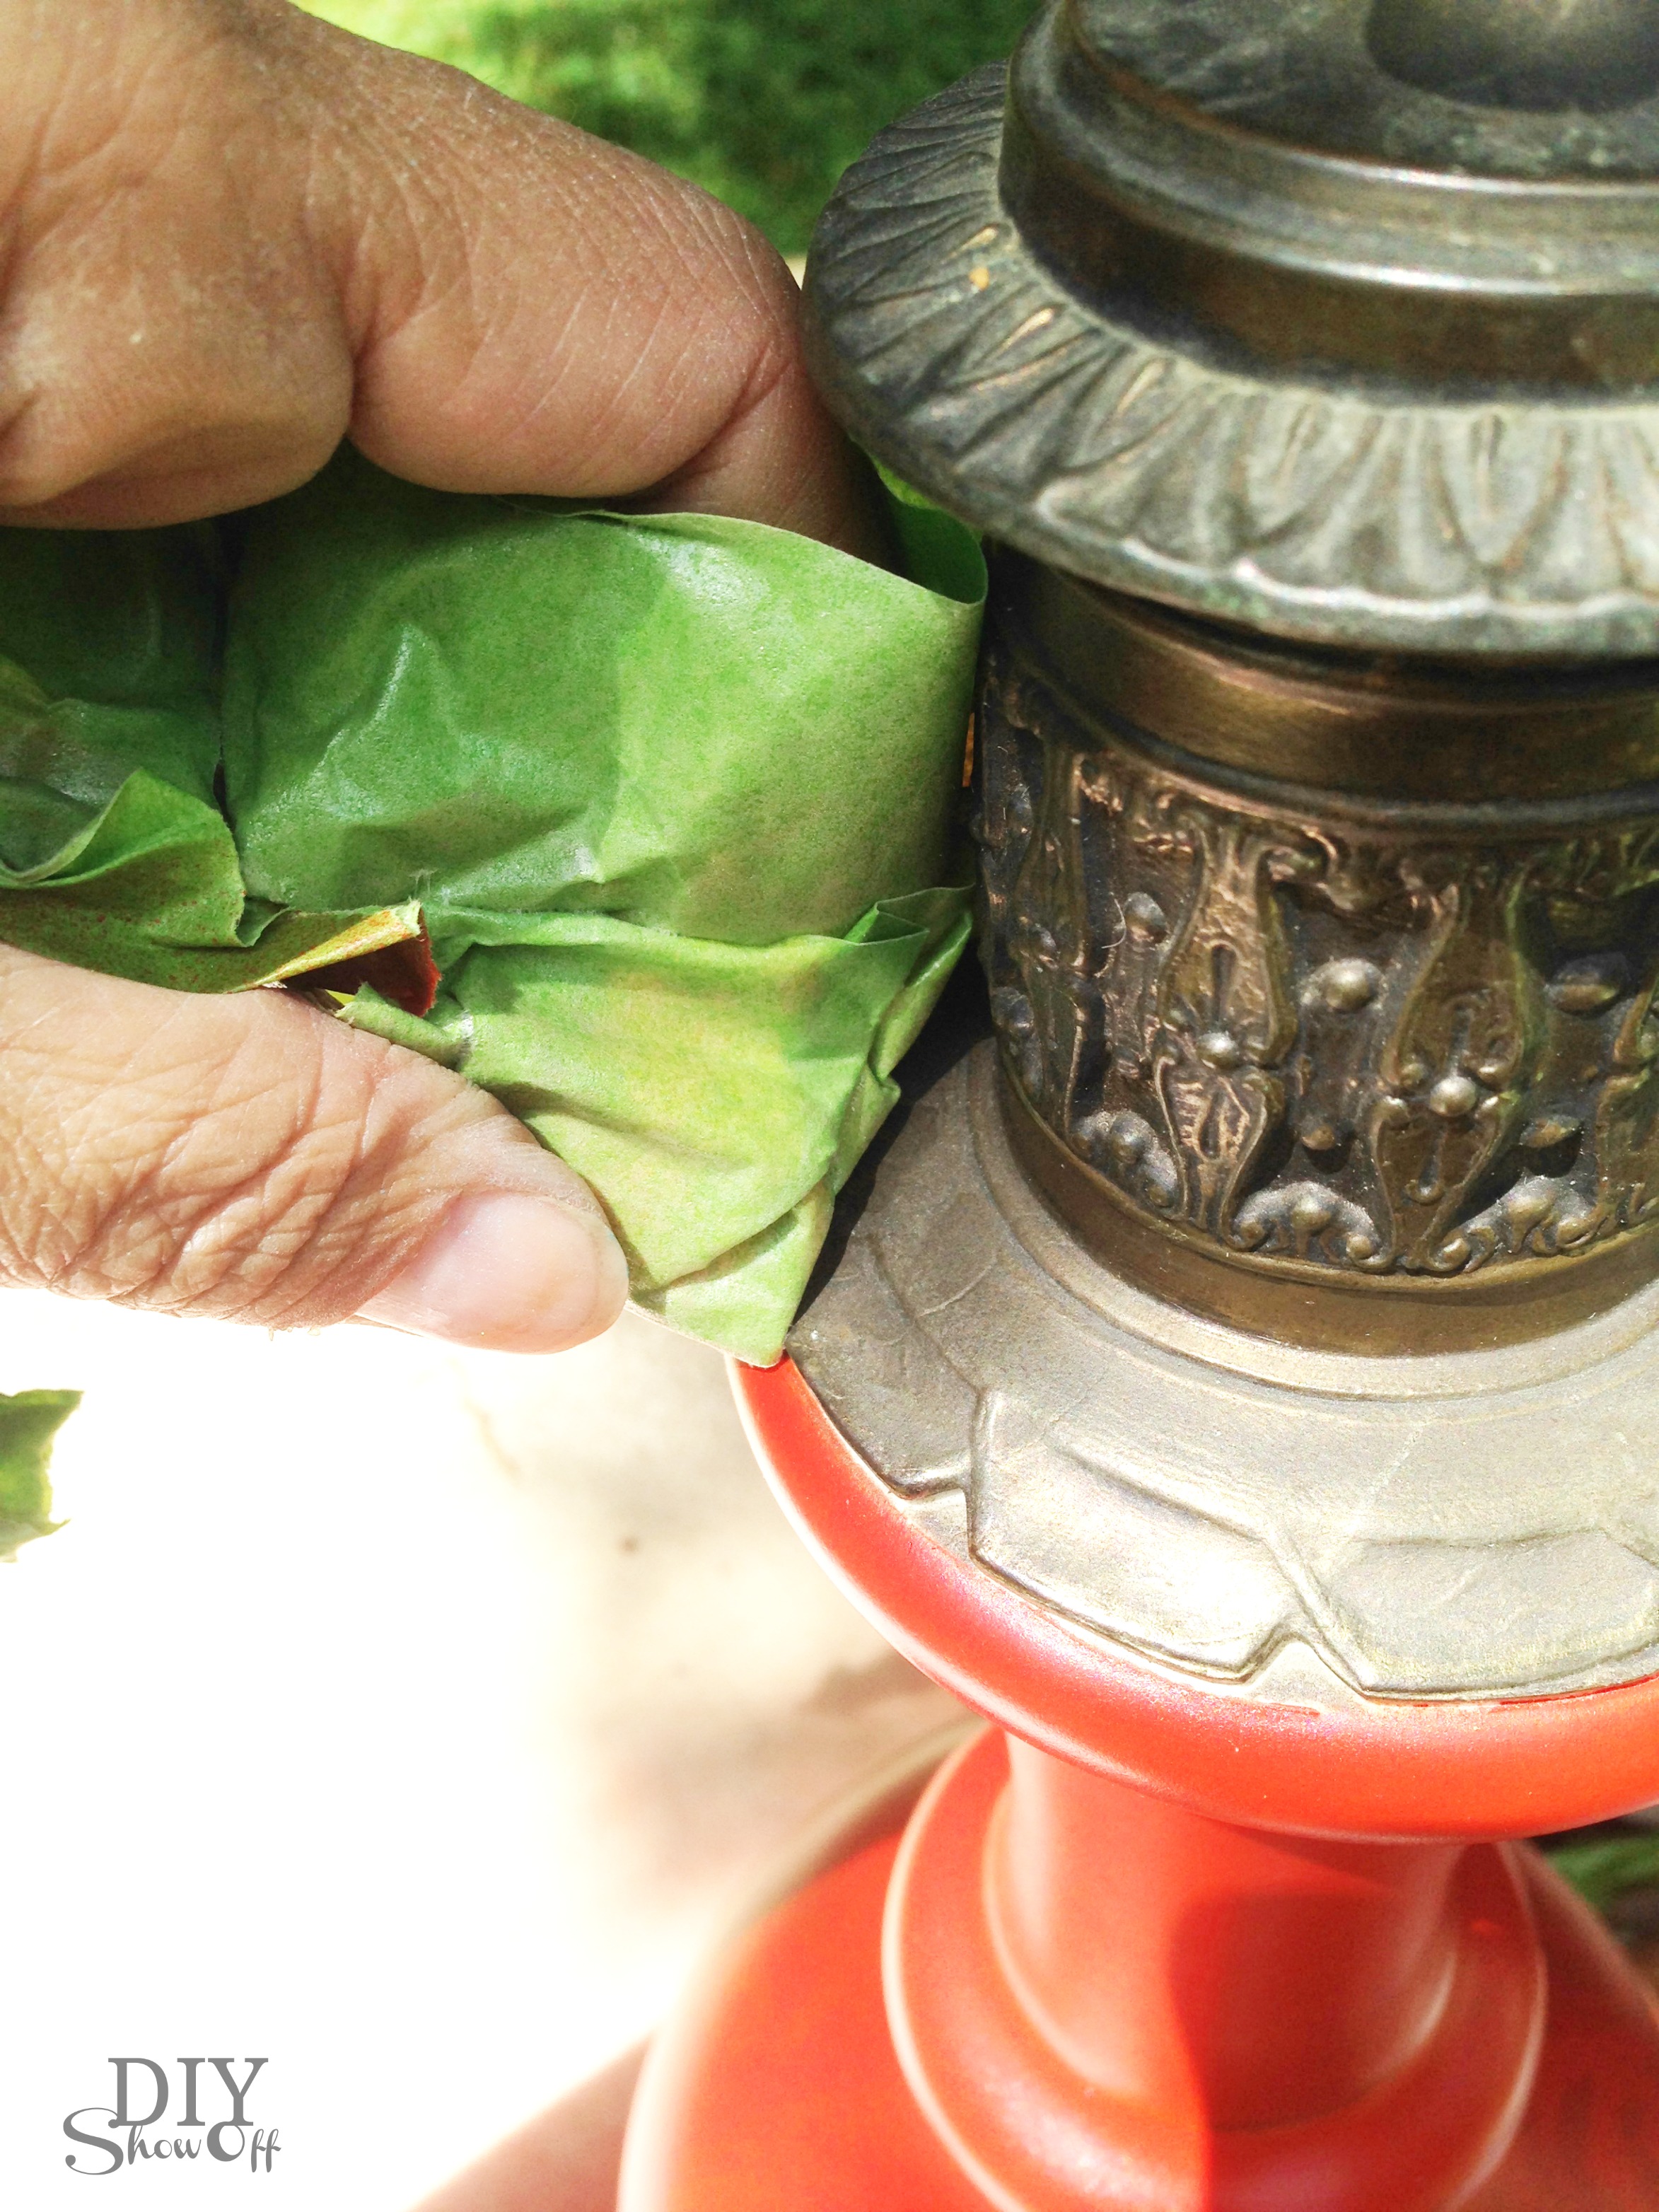
It goes without saying but I simply taped off the parts I didn’t want sprayed with paint using FrogTape.

DIY lamp makeover at diyshowoff.com

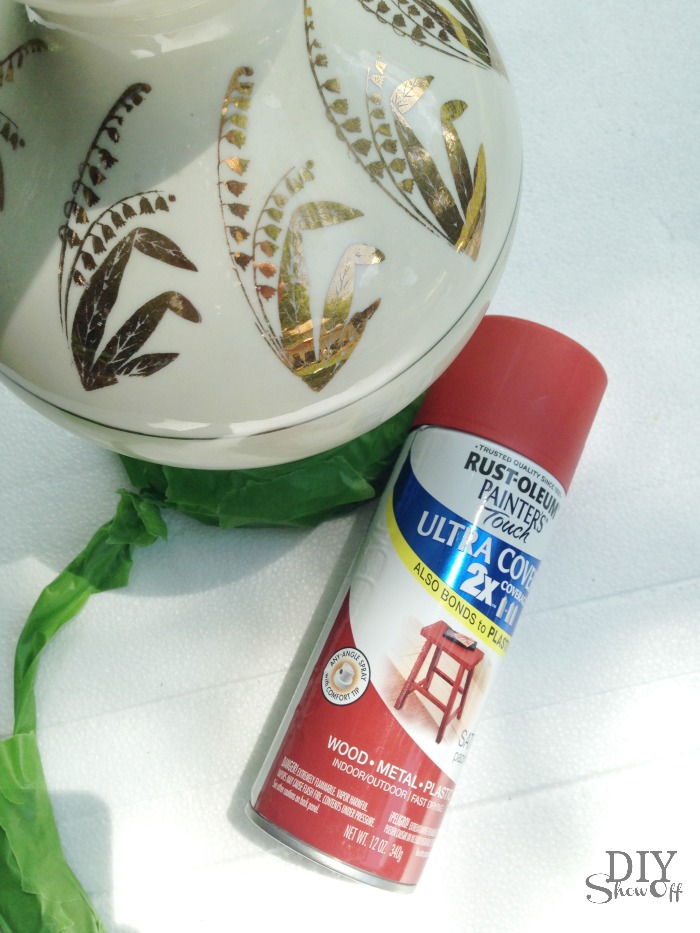
I gave the lamp a few light coats of spray paint (allowing dry time between each). 

DIY lamp makeover at diyshowoff.com

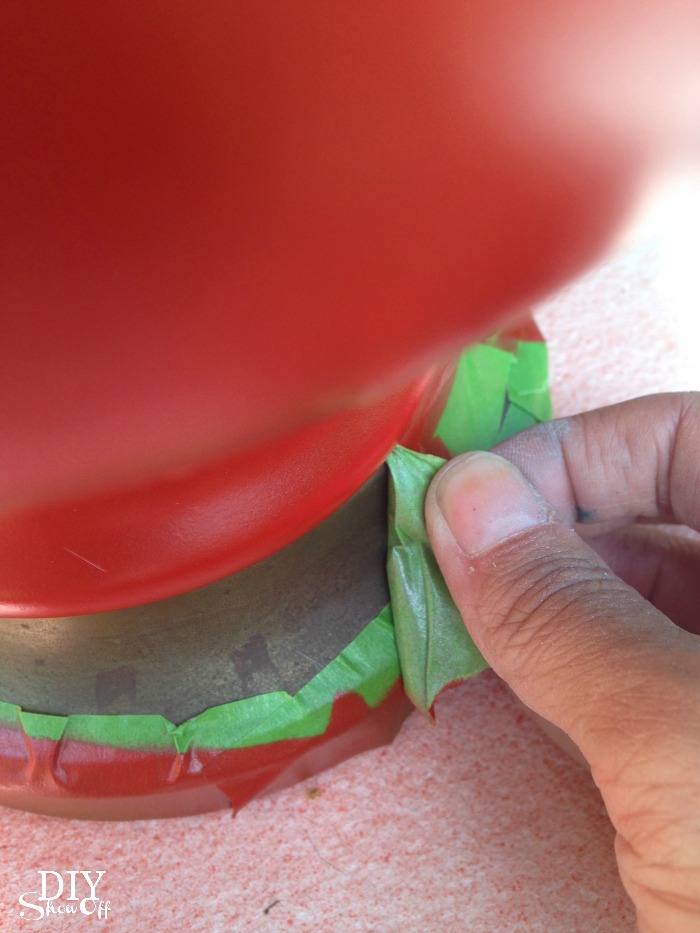
Then I removed the FrogTape while the last coat of paint was still wet.

DIY lamp makeover at diyshowoff.com DIY lamp makeover at diyshowoff.com

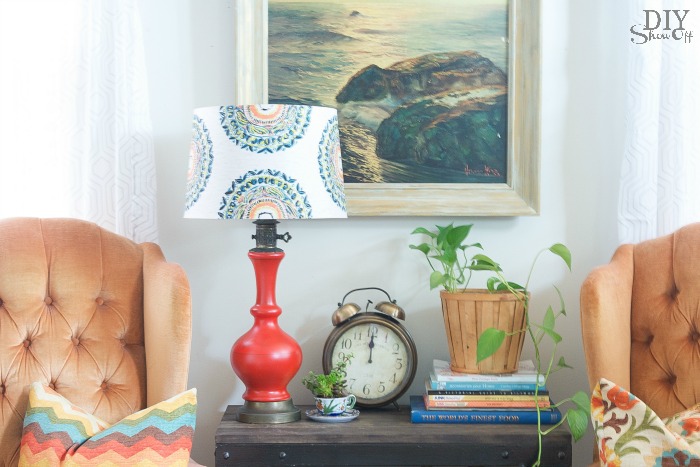
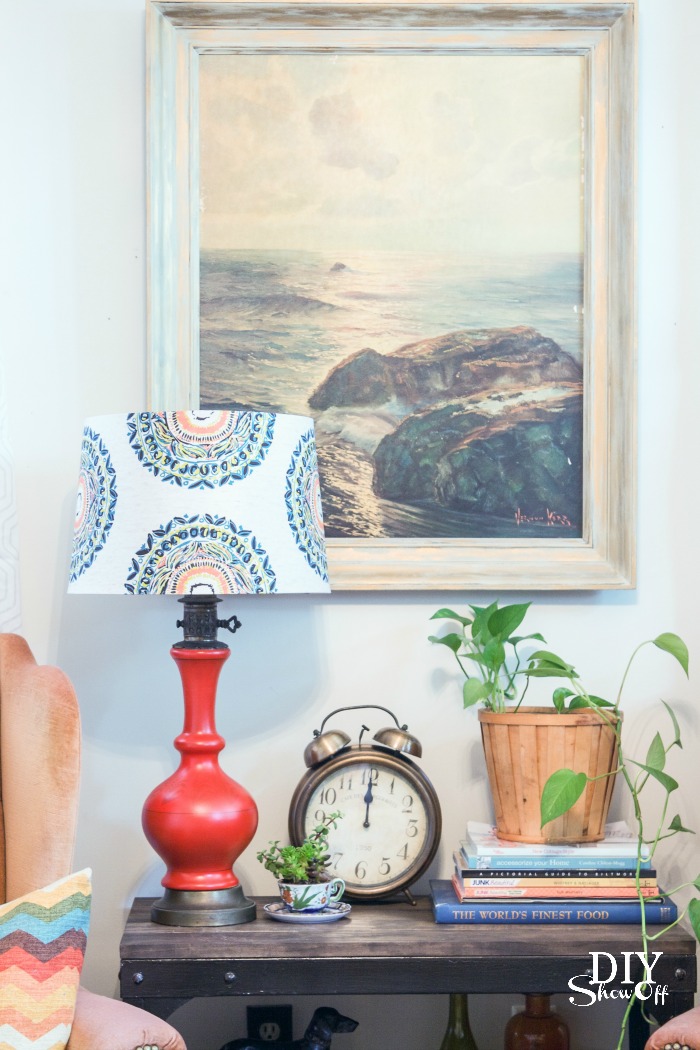
Finally, I topped it with a new lamp shade. 

A quick new lighting accent in our family room….

DIY lamp makeover at diyshowoff.com

Keep your eyes open at yard sales and flea markets this summer. Snag a lamp for cheap and give it a new look to freshen up your existing decor. 

FrogTape Blog Squad

Disclaimer: I received compensation to complete this project for using FrogTape® products. All opinions, projects and ideas are based on my own experience.

Wall Mounted Lantern Hanger

As a member of the Lowe’s Creative Ideas team, I participate in monthly DIY challenges. The challenge I chose for July is DIY decor with a DIY wall mounted lantern hanger. 

DIY wall mounted hanging lantern tutorial at diyshowoff.com

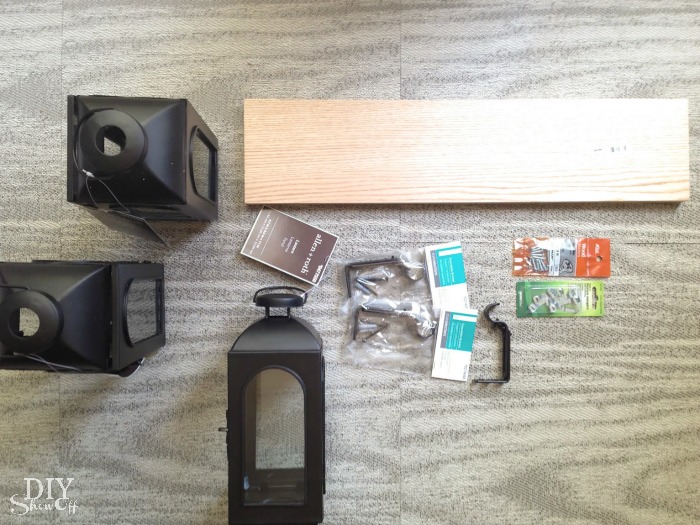
Materials I used:

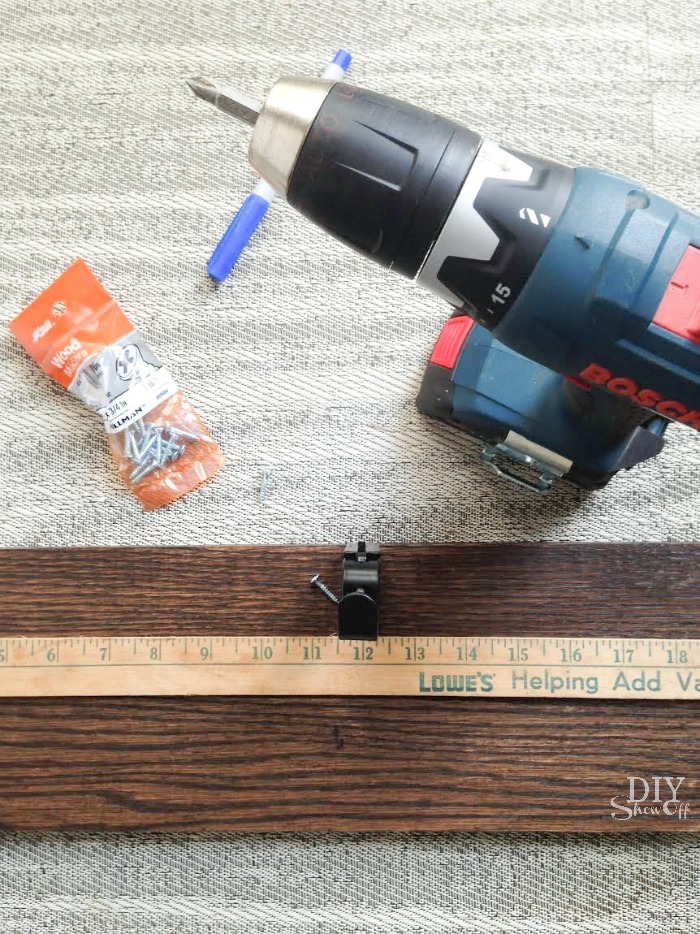
wall mounted hanging lantern materials

Wall Mounted Lantern Hanger supplies

Here’s what I did:

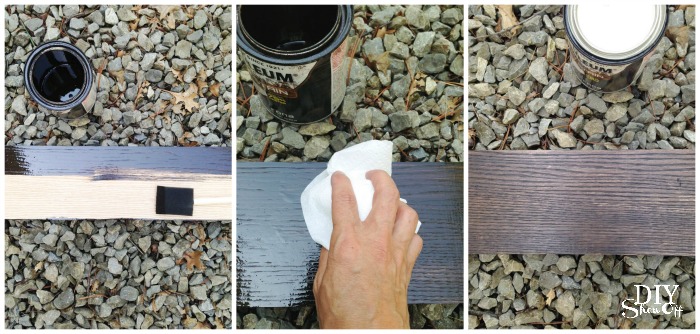
1. Stain the wood plank by brushing stain on in the direction of the wood grain, let sit a few minutes and wipe away (same direction) with clean rags. Let dry one hour.

DIY wall mounted hanging lantern tutorial at diyshowoff.com

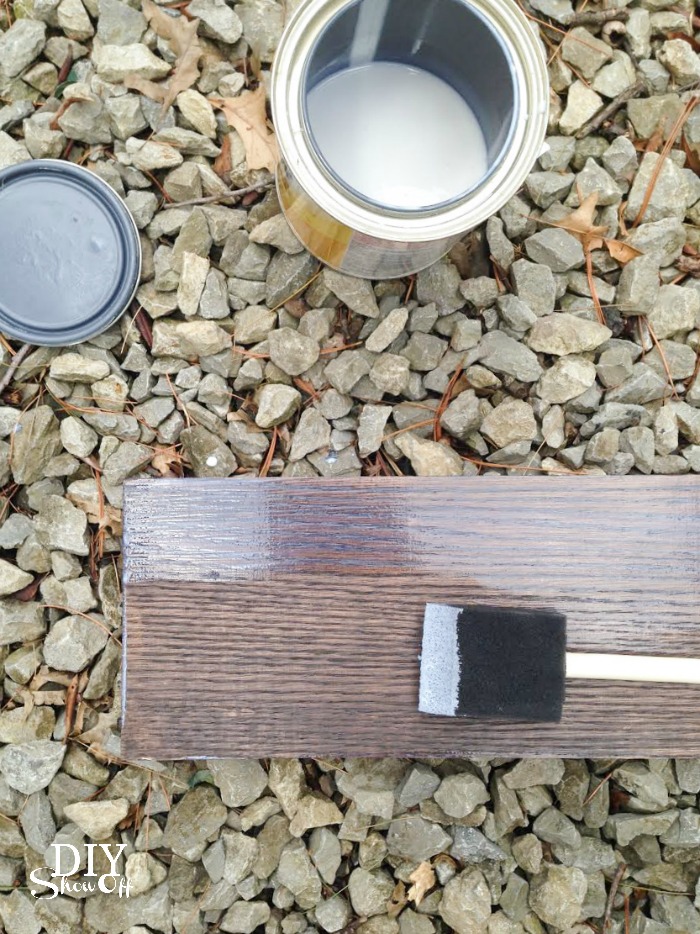
2. Apply a coat or two of polyurethane and let dry. It goes on with a milky look but dries transparent.

DIY wall mounted hanging lantern tutorial at diyshowoff.com

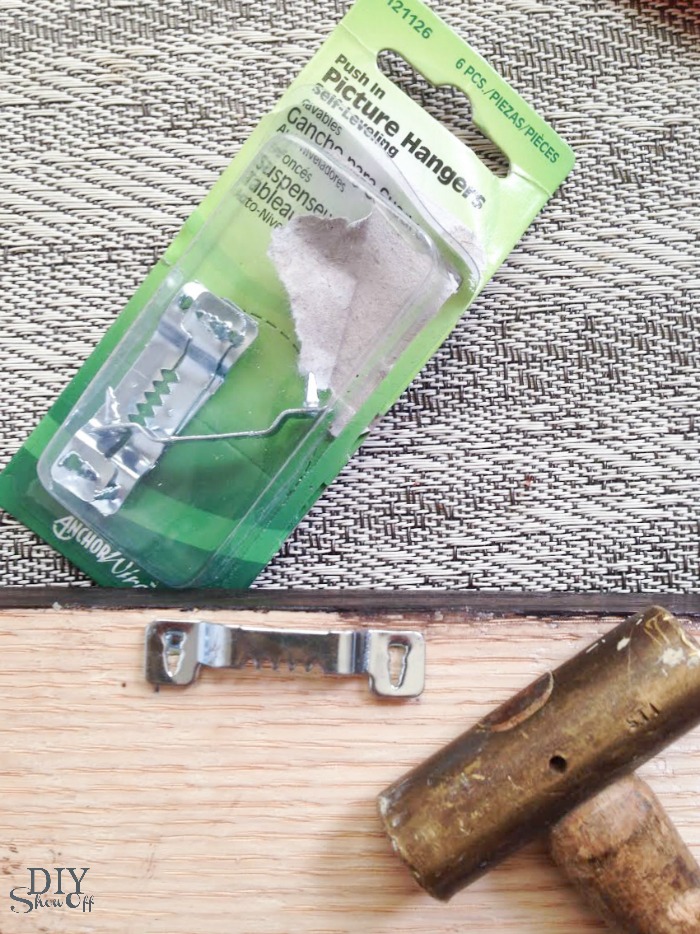
3. Attach hanging hardware to the back. I did two; one on each end.

DIY wall mounted hanging lantern tutorial at diyshowoff.com

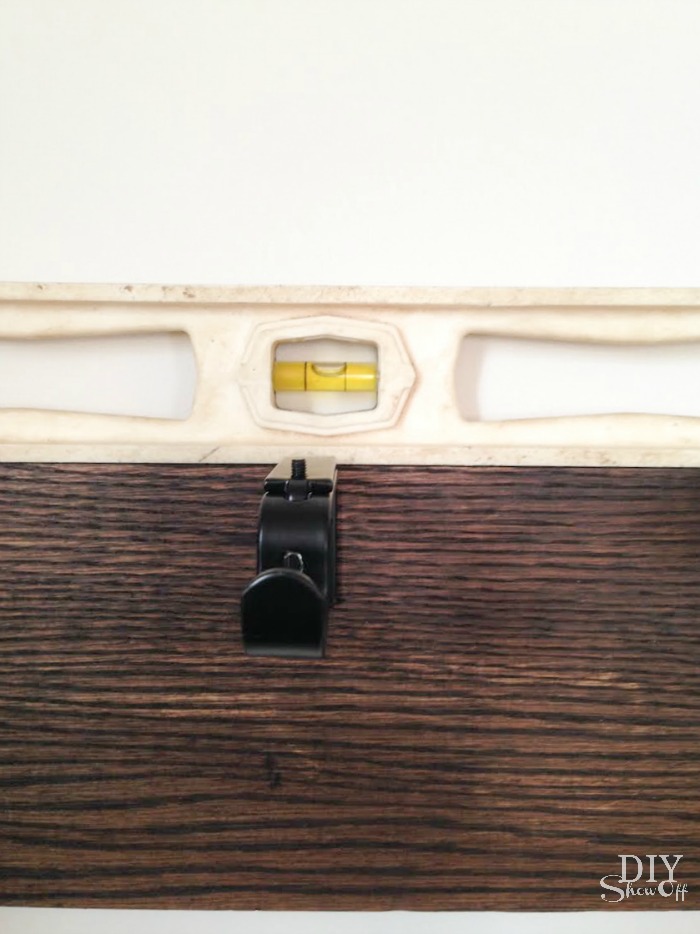
4. Flip to the front stained side and attach the curtain rod brackets using 1/4″ screws (the screws that come with the brackets will be too deep). I measured and marked the center bracket first then measured the center from the edge to the center bracket on each side for the other two ‘hooks’.

DIY wall mounted hanging lantern tutorial at diyshowoff.com

5. Adjust the brackets to fit the depth of hanging a lantern on the hook. 

6. Hang or secure to the wall. 

DIY wall mounted hanging lantern tutorial at diyshowoff.com

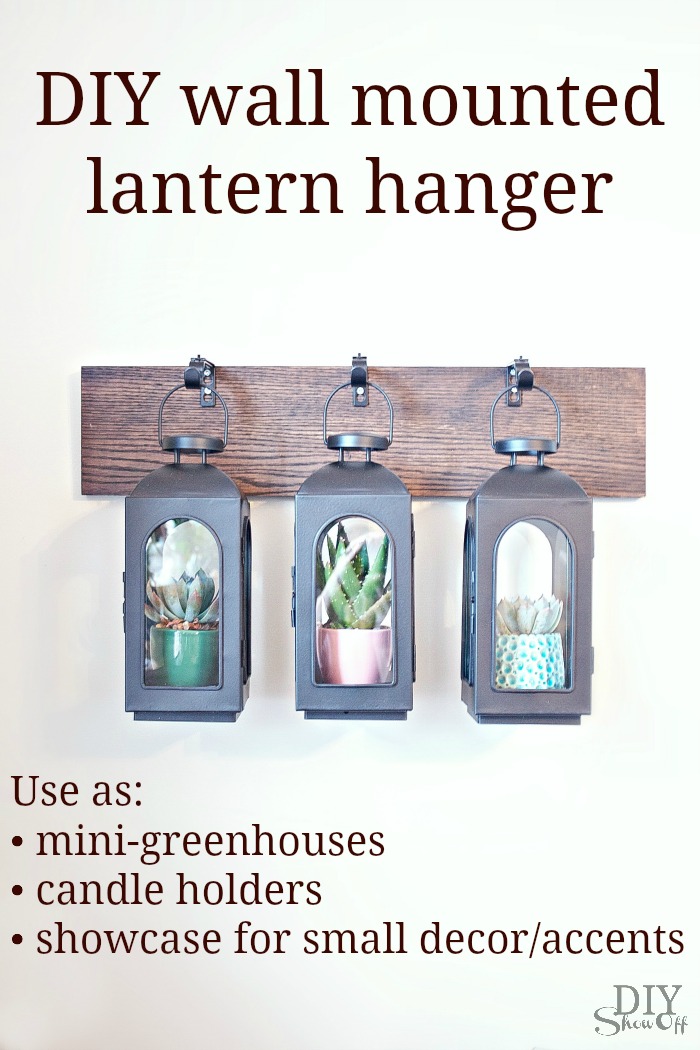
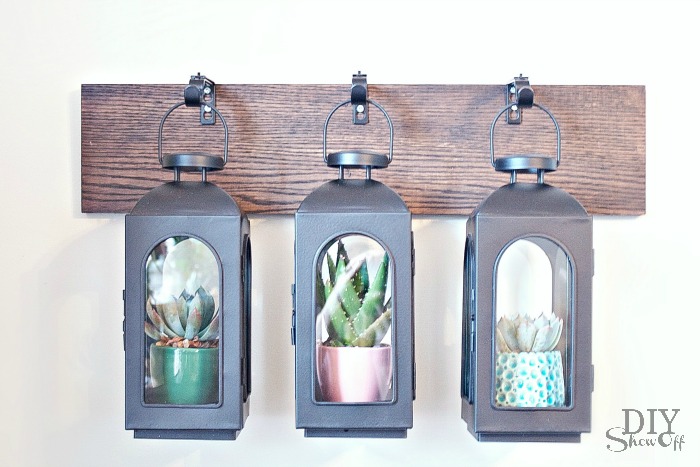
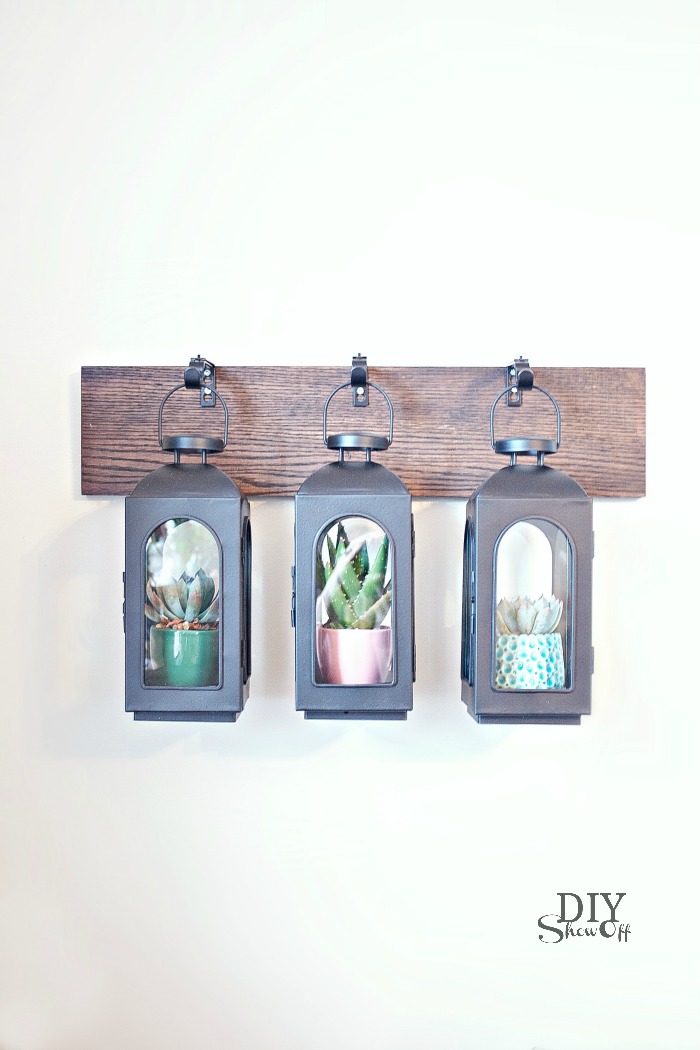
7. Hang lanterns. Add candles, use as mini display cases to showcase your favorite small decorative items or use lanterns as mini-greenhouses for succulents or small plants. 

DIYShowOff Wall Mounted Lantern Hanger Greenhouse tutorial at diyshowoff.com

DIY wall mounted hanging lantern tutorial at diyshowoff.com 

I received a Lowe’s gift card to complete this challenge. Opinion and above idea is 100% my own. More DIY ideas at Lowe’s Creative Ideas or follow Lowe’s on InstagramPinterest and sign up for the Creative Ideas magazine and app.  

LCI Summer Badge


Beverage Recipe Vinyl Decal

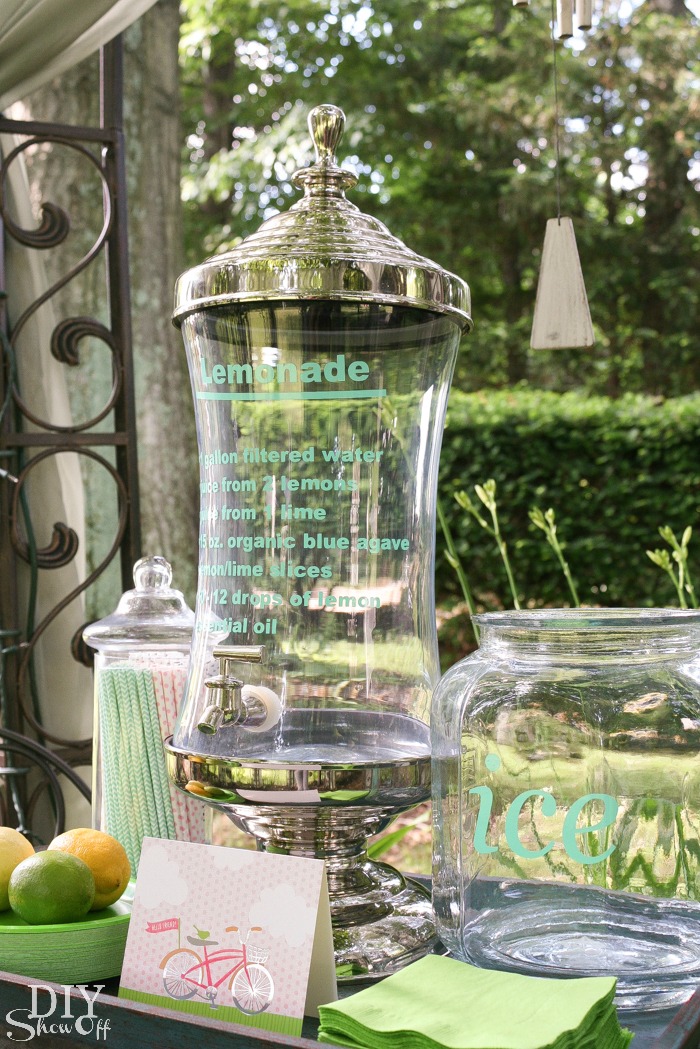
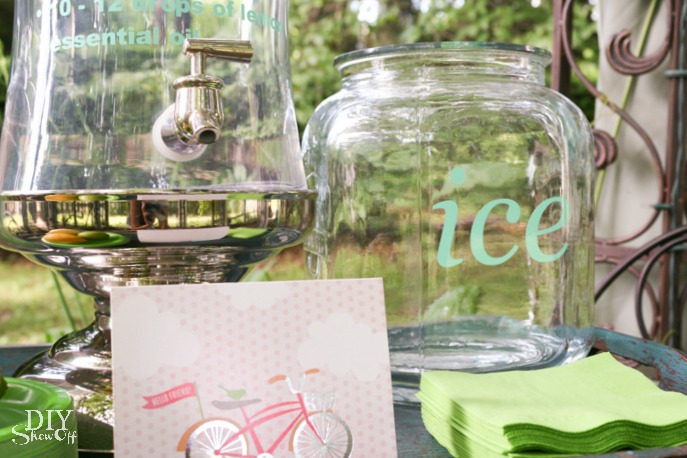
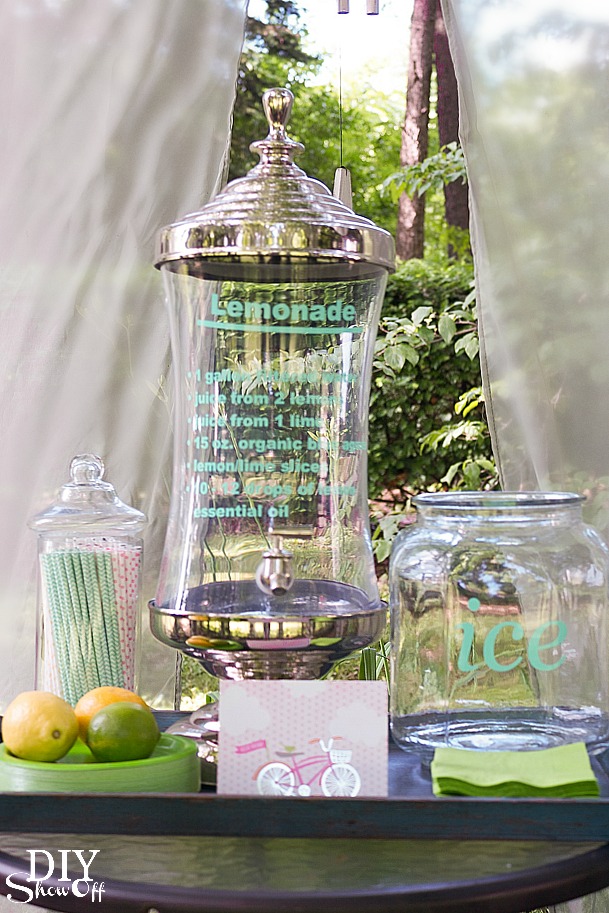
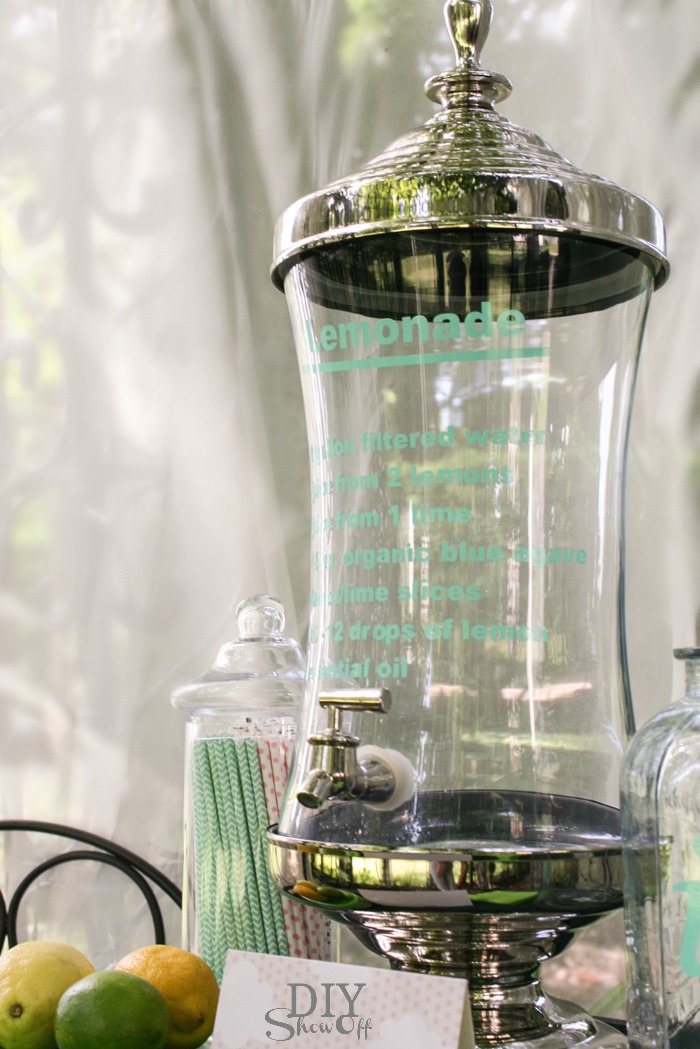
Summer time in our home = lots of entertaining and hauling out the fancy glass beverage server for homemade lemonade is a must. Labeling glass containers lets guests know exactly what they’re consuming.

Beverage Recipe Vinyl Decal Label Tutorial
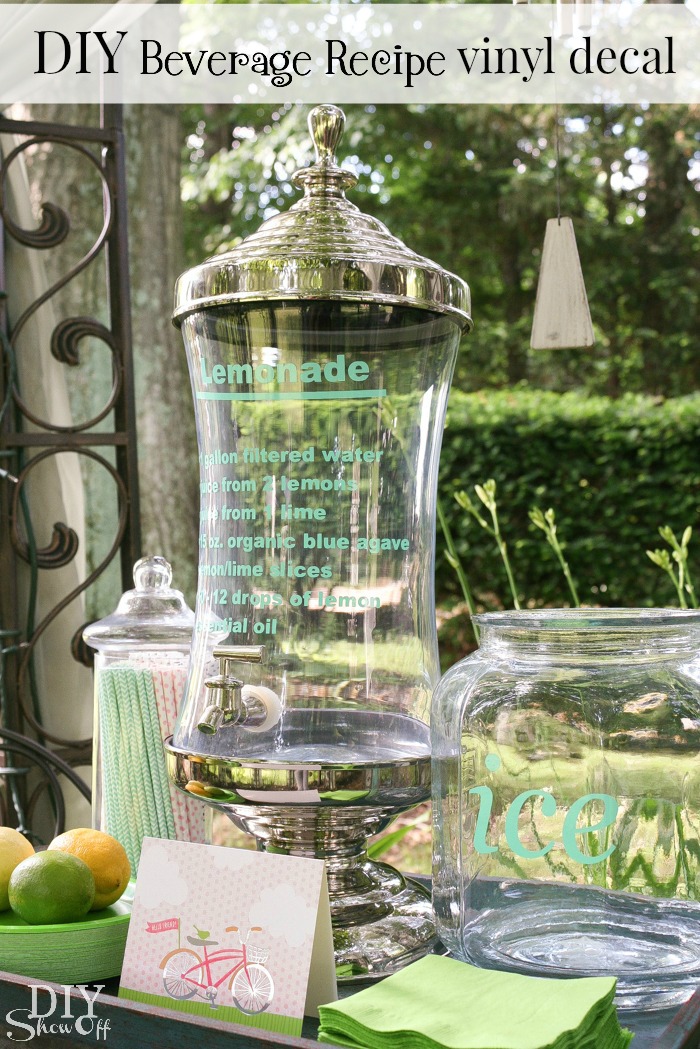
DIY lemonade recipe vinyl decal on beverage glass

Materials:

  • Glass beverage server
  • Happy Crafters Glossy Adhesive Vinyl (mint)
  • Transfer paper

Tools Needed:

  • Vinyl cutter (I use a Silhouette Cameo)
  • Scissors

What I did:

Open up Silhouette Studio Designer software. Choosing the font tool, write up a label. Simply the name of the beverage or ice. I included my lemonade recipe too. 
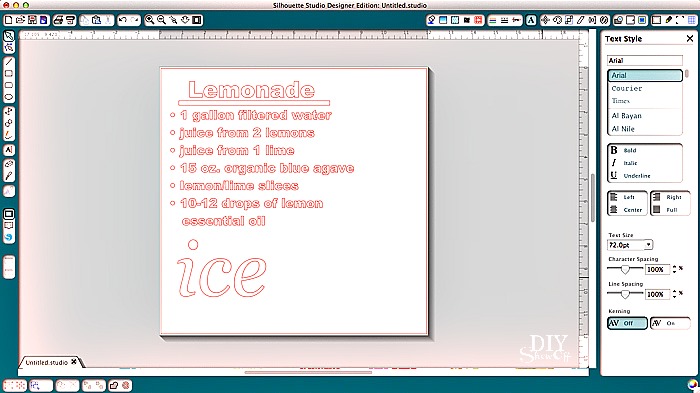
lemonade vinyl label tutorial

Load the vinyl, color side up into the machine. Adjust blade settings for adhesive vinyl and “send to cut”.
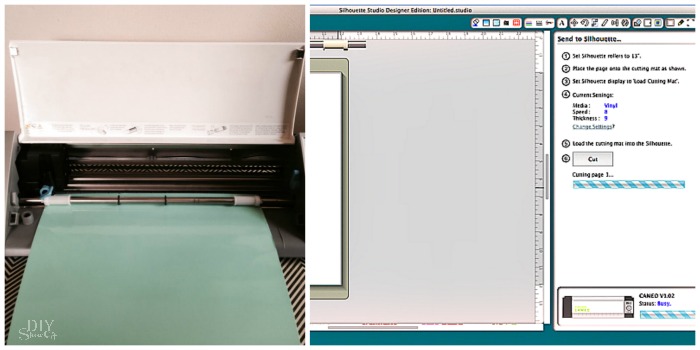
lemonade vinyl label tutorial

Unload vinyl, trim design if needed and weed away vinyl that isn’t a part of the design. 
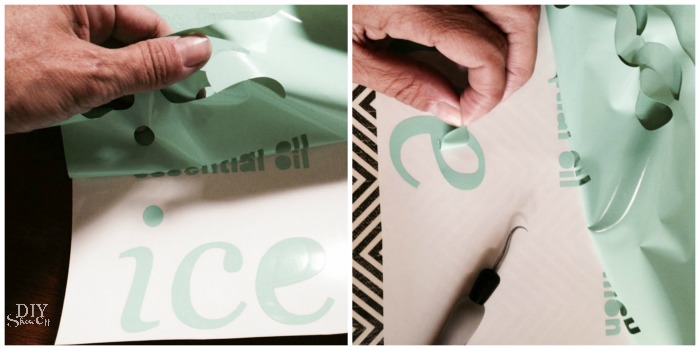
lemonade /beverage vinyl label tutorial at diyshowoff.com

Apply transfer paper to the vinyl. Rub with a credit card. 
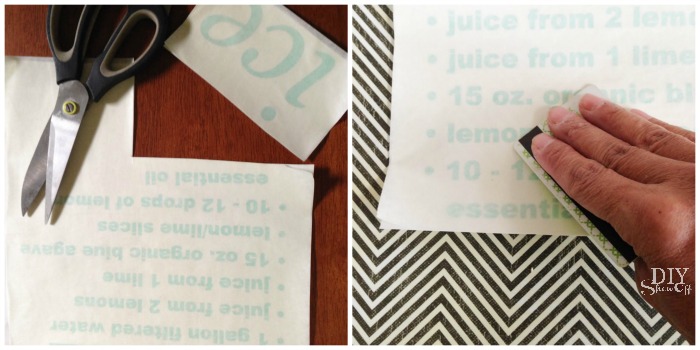
lemonade /beverage vinyl label tutorial at diyshowoff.com

Peel away backing (vinyl will transfer, showing reverse on the transfer paper).
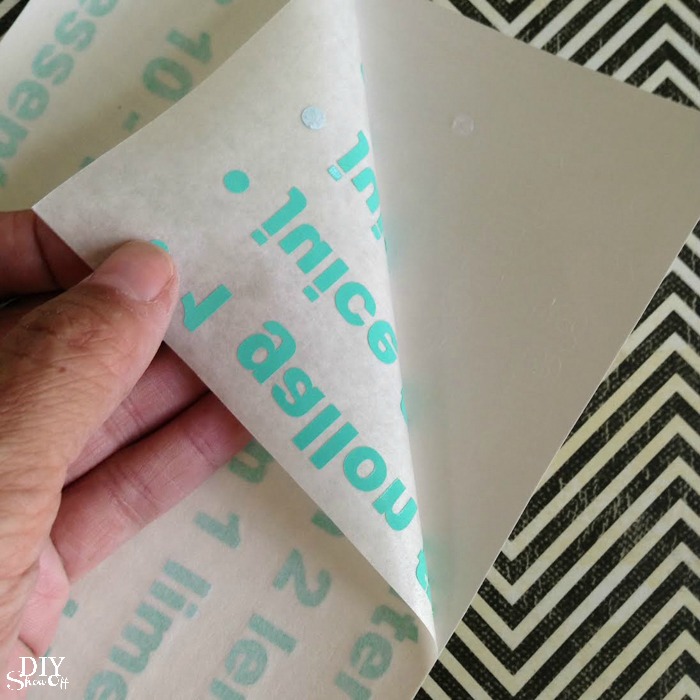
lemonade /beverage vinyl label tutorial at diyshowoff.com

Place sticky side of the vinyl/transfer paper design to the glass. 
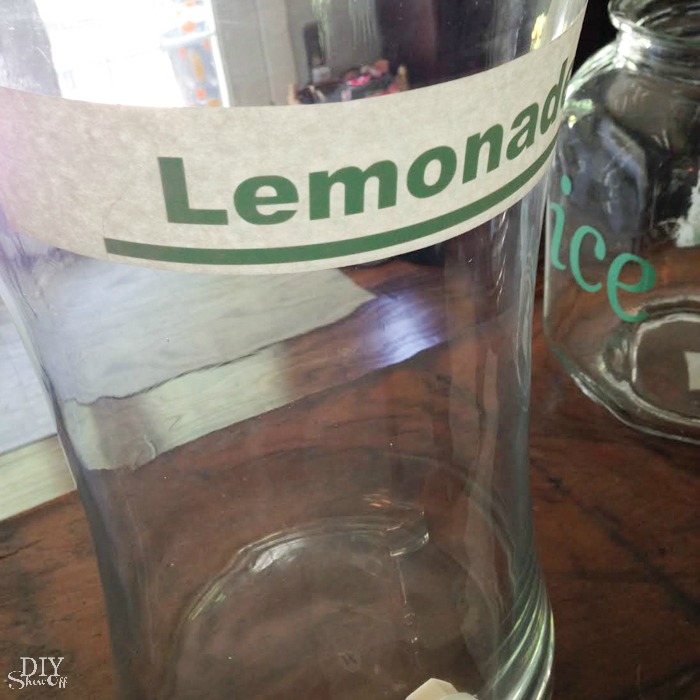
lemonade /beverage vinyl label tutorial at diyshowoff.com

Rub with a credit card then peel away transfer paper. 
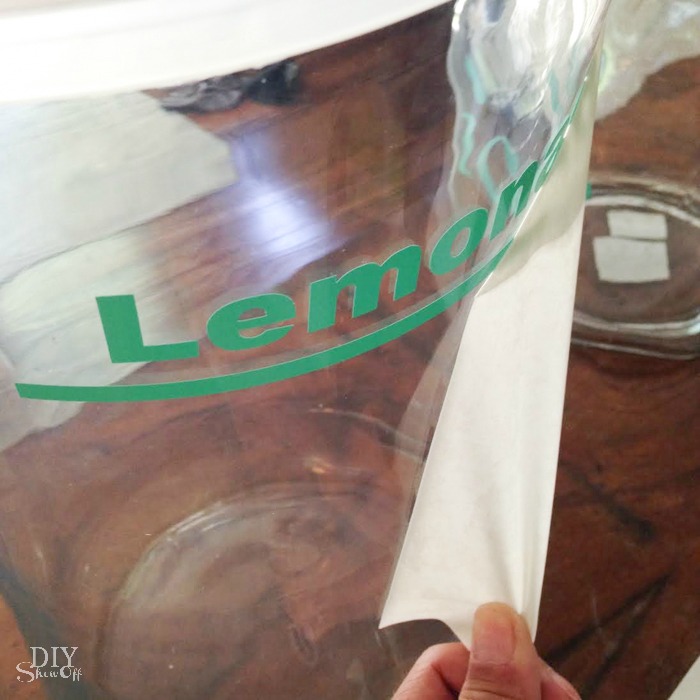
lemonade /beverage vinyl label tutorial at diyshowoff.com

Tip for curved surfaces: Stick the center of the decal first. Apply by working from the center point out. I found it easier to carefully tear the transfer paper on each end between text to avoid wrinkles. 
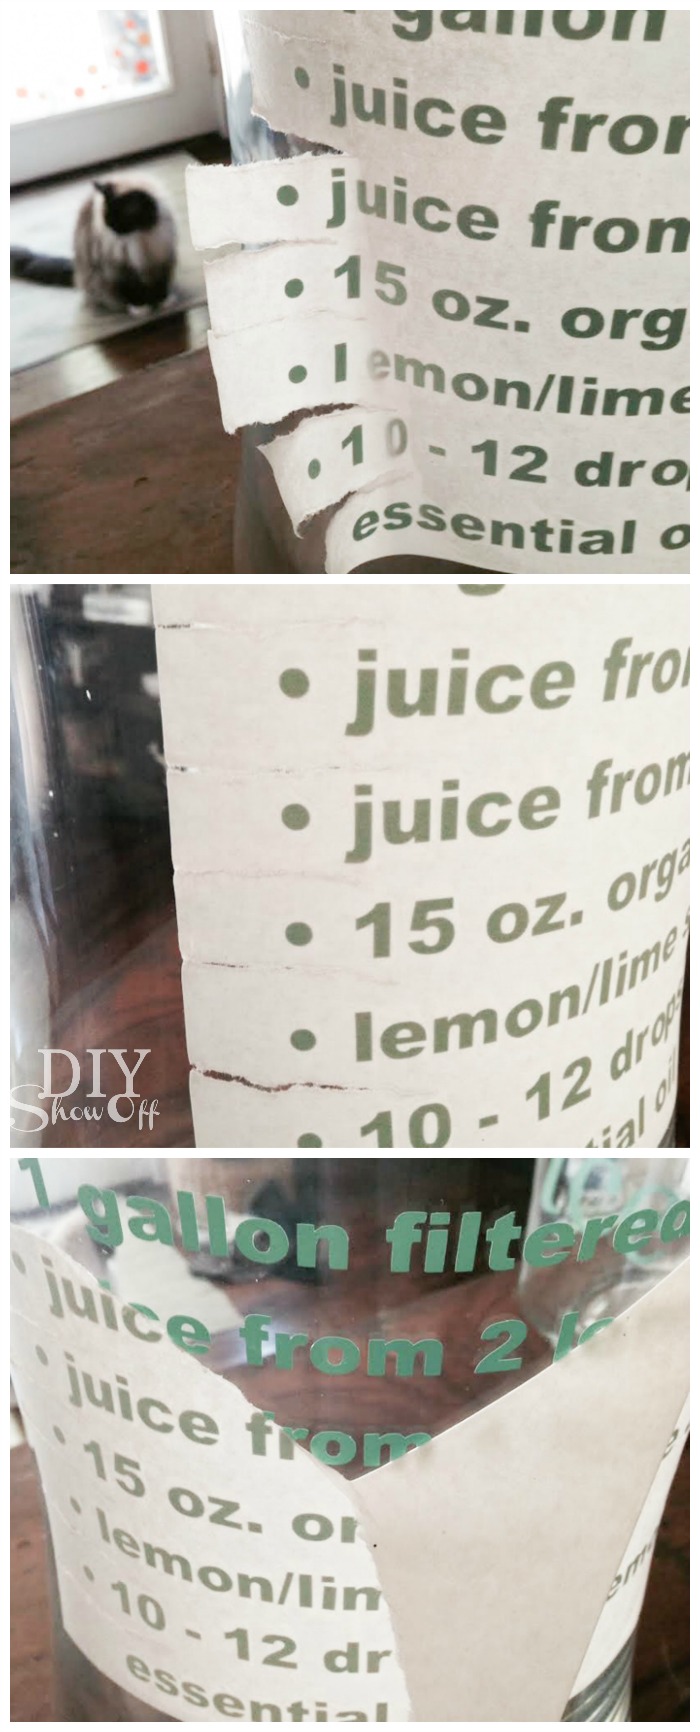
lemonade /beverage vinyl label tutorial at diyshowoff.com

Mix up your beverage recipe and serve!
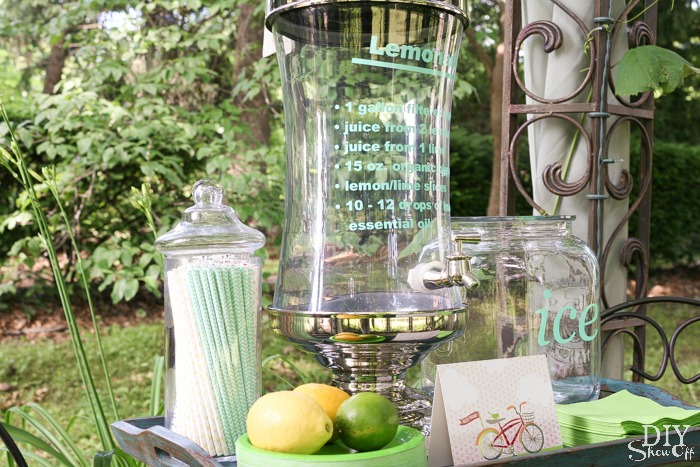
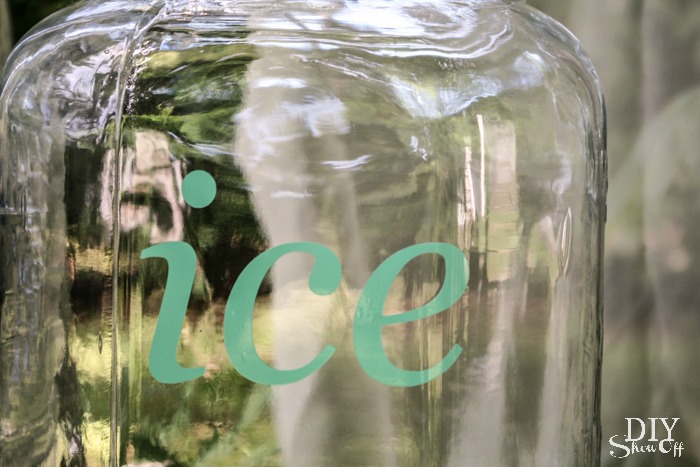
DIY beverage containter vinyl label at diyshowoff.comDIY beverage containter vinyl label at diyshowoff.com

Party time!

DIY beverage containter vinyl label at diyshowoff.comDIY beverage containter vinyl label at diyshowoff.comDIY beverage containter vinyl label at diyshowoff.comThese glass containers are washed by hand. And I’ll simply peel off the vinyl lettering when if I want but I think it’s going to stay throughout the season. DIY beverage container vinyl label at diyshowoff.comThese glass containers are washed by hand. And I'll simply peel off the vinyl lettering when if I want but I think it's going to stay throughout the season. DIY vinyl decal for lemonade recipe
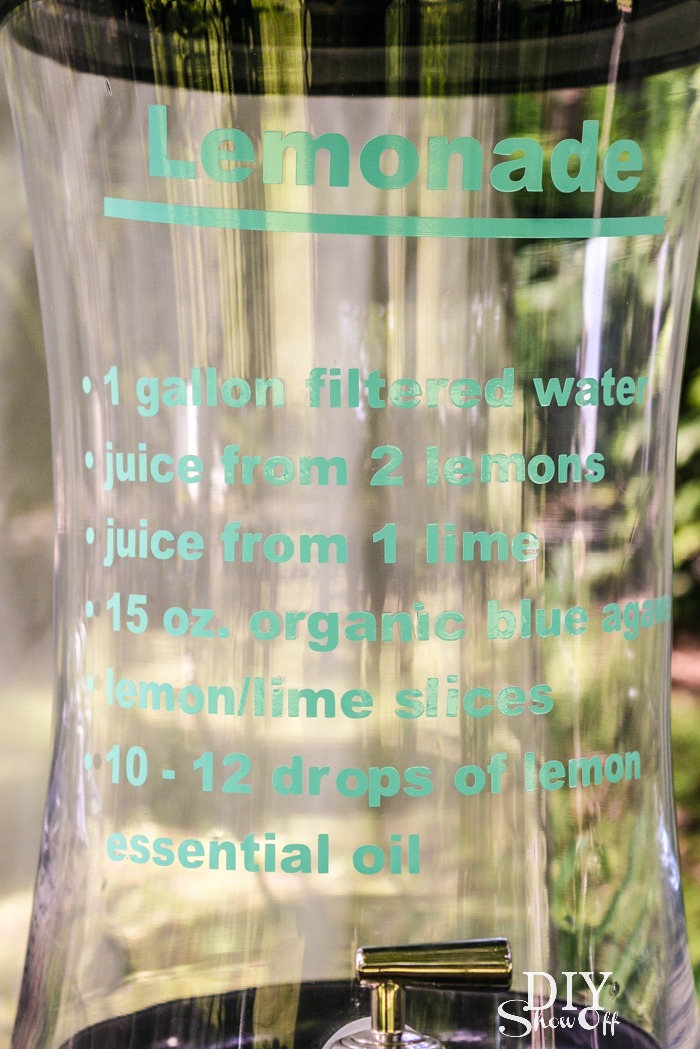
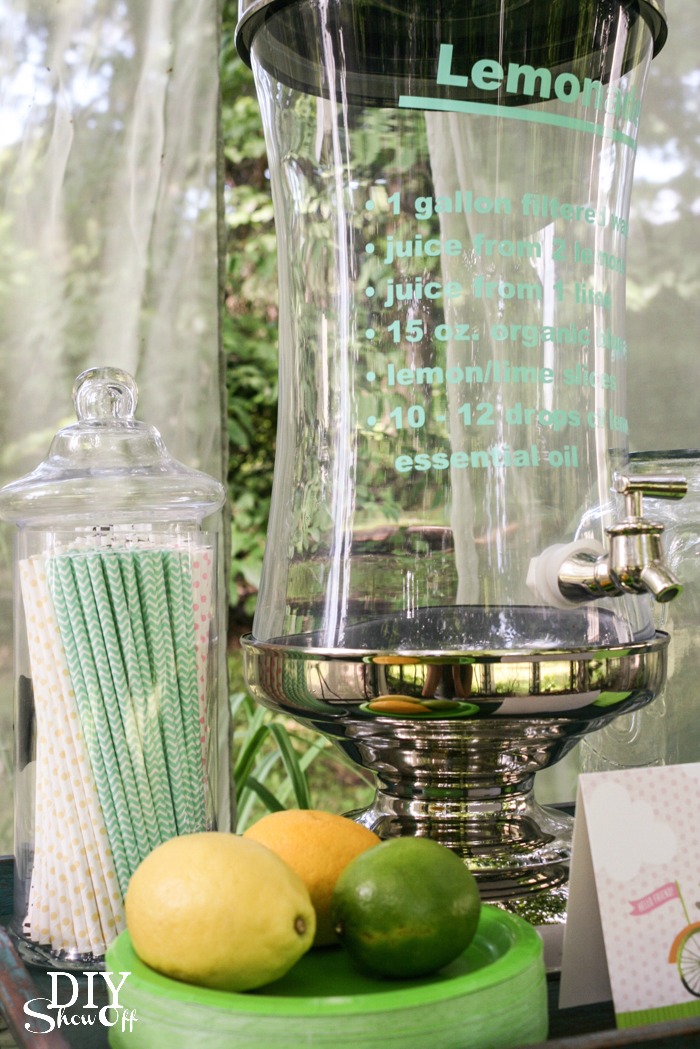
Visit The Shabby Creek Cottage for another fun summer vinyl project!
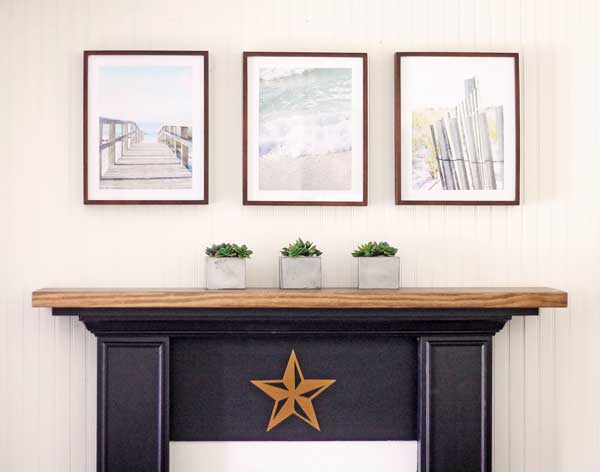
summer-mantel at The Shabby Creek Cottage

*This post is sponsored by Happy Crafters. Tutorial, experience and opinion is my own.  Check out all the supplies at Happy Crafters for inspiration for your next project. 

HClogopngsmall