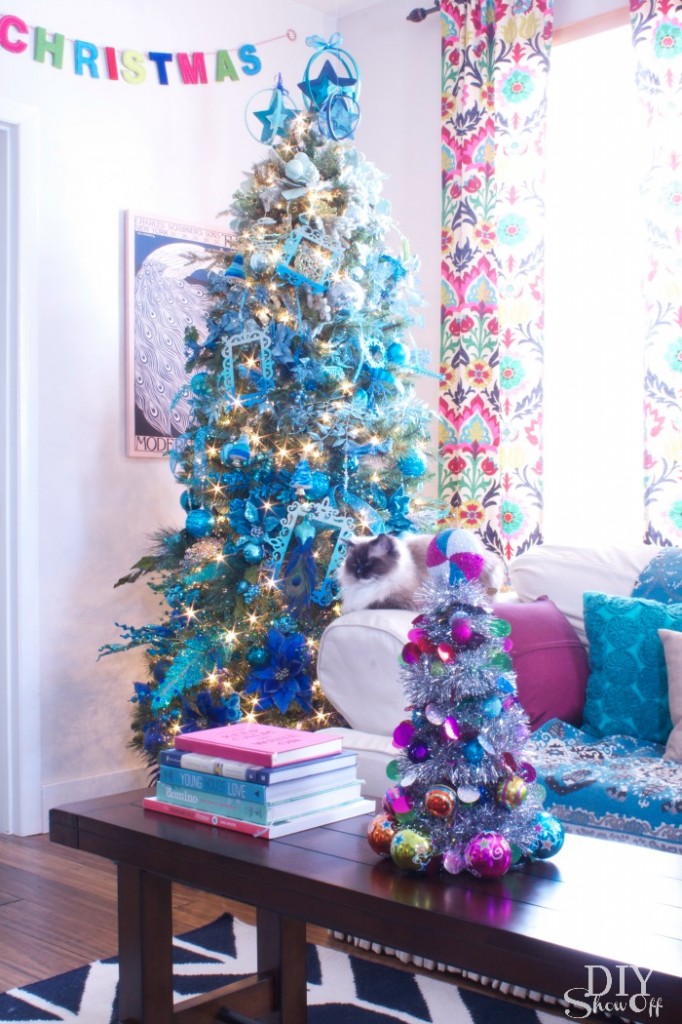
Ornament Frames

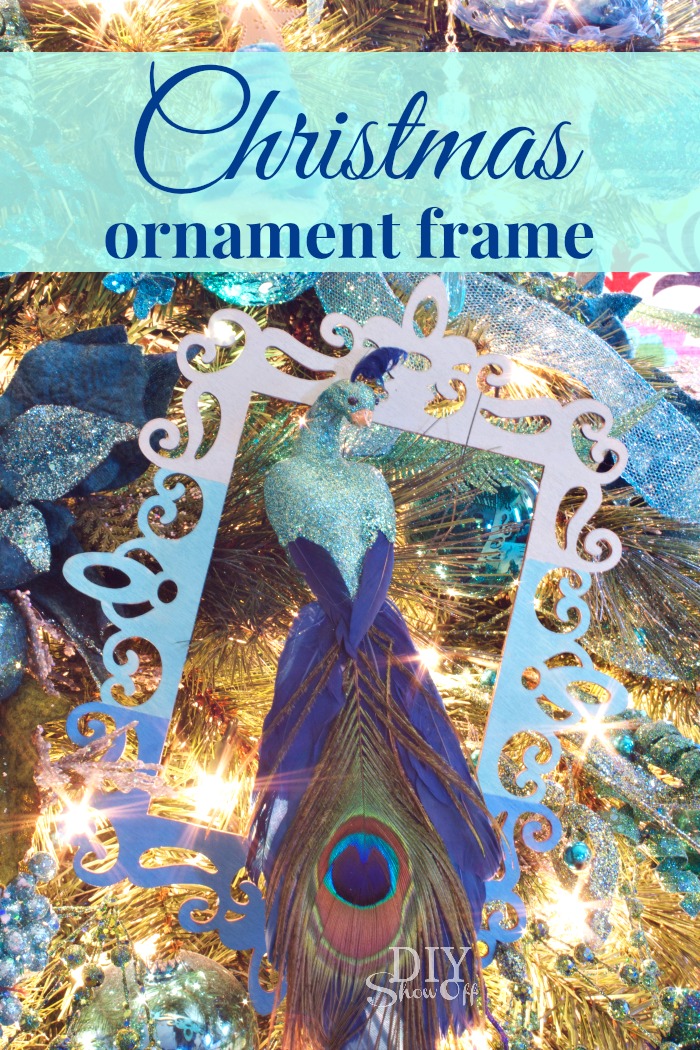
Ever want to draw attention to a special ornament on your Christmas tree? Why not frame it?Christmas ornament frame

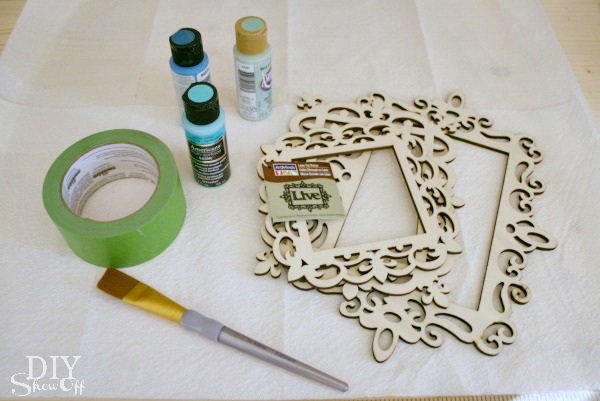
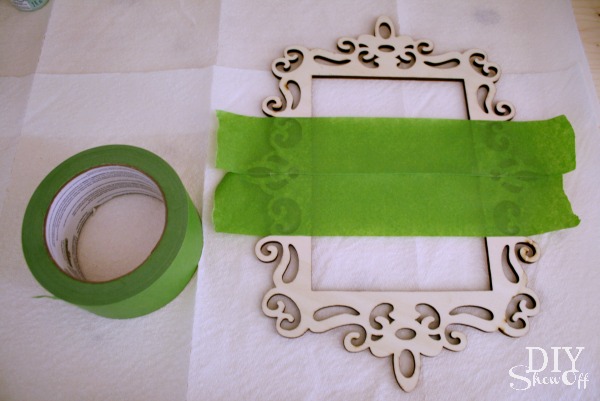
I used FrogTape® and acrylic craft paint to give mine a fun ombrè look for my ombrè Christmas tree. Here’s how:ombre ornament frame supplies

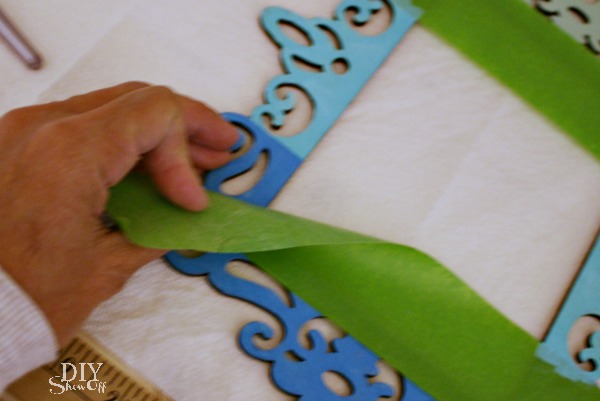
Tape off the middle section of a frame using FrogTape. I pressed down on the edges of the tape with my thumbnail in order to get a crisp clean line. ornament frame tutorial

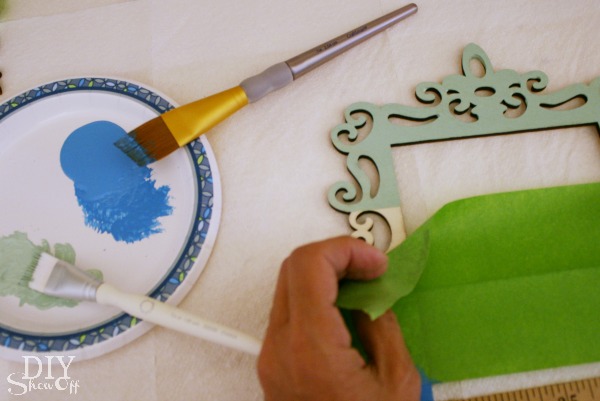
Then I painted the top and bottom sections using my lightest paint color on top and the darkest on the bottom.

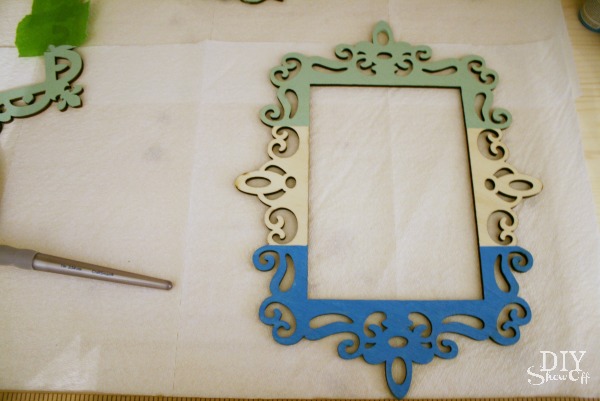
While the paint was still wet, I removed the FrogTape and let the paint dry.ombre ornament frame tutorialstriped ombre ornament frame tutorial

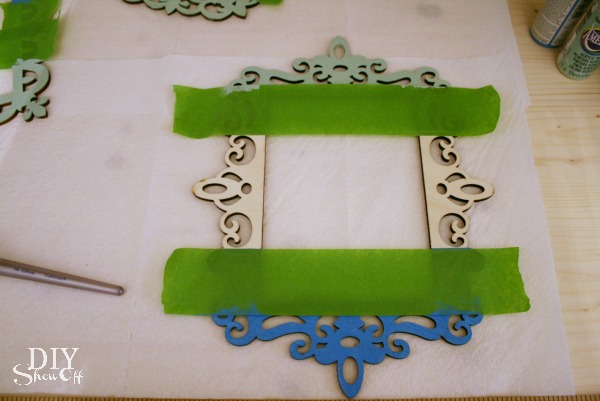
Then I taped off the middle section and followed the same steps.painted ombre ornament frame tutorialChristmas ornament frame tutorial

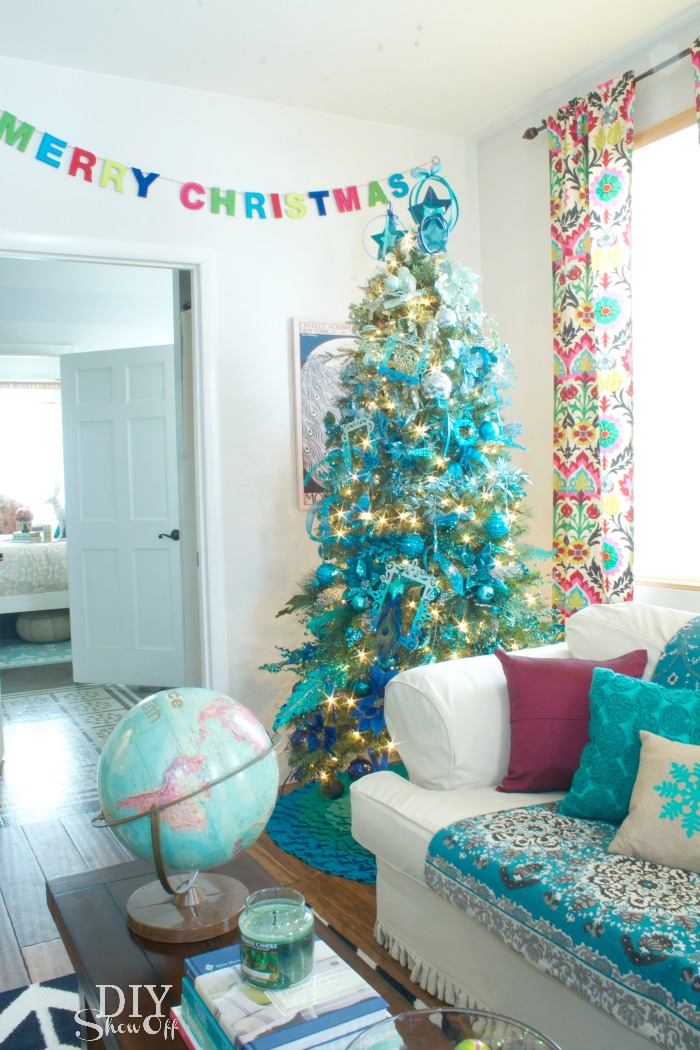
The frames serve as custom color coordinating ornaments themselves but they also draw the eye to the “framed” ornament.Christmas ornament picture frame Do you have a favorite or meaningful Christmas ornament?eclectic colorful Christmas

FrogTape Blog Squad

Disclaimer: I received compensation to complete this project for using FrogTape® products. All opinions, projects and ideas are based on my own experience.

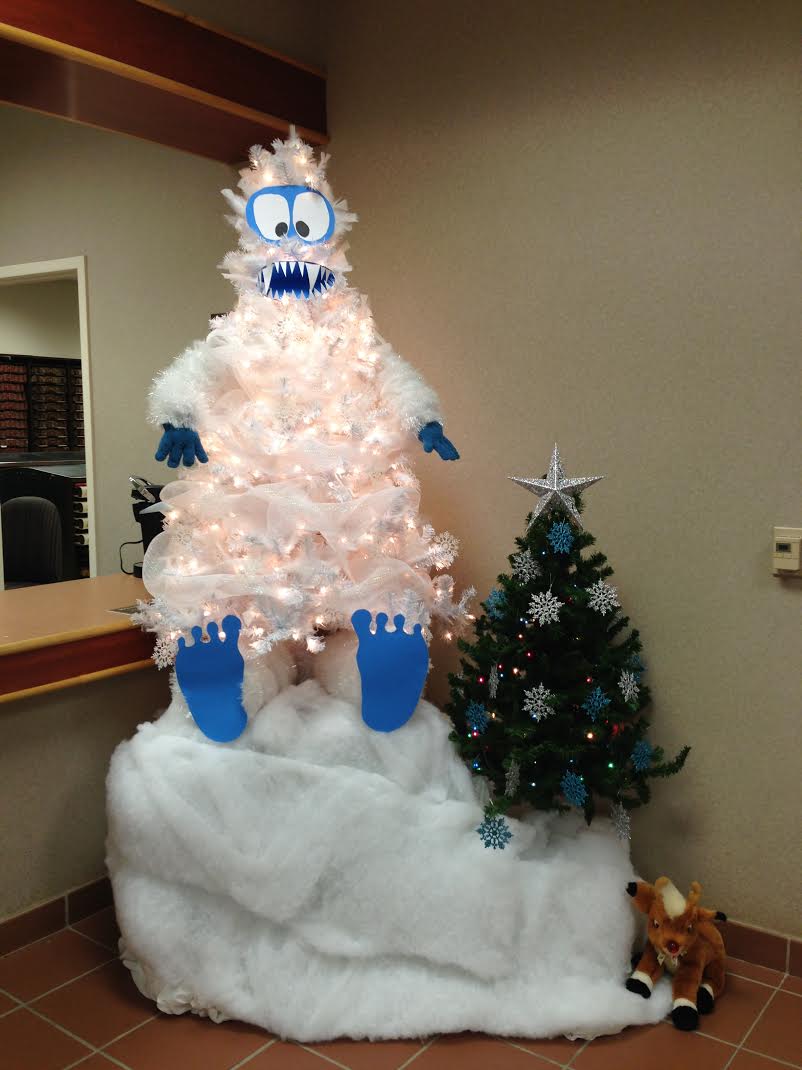
Bumble tree submitted by Courtney for the Christmas Tree Contest

Bumble

DIY Customizable Monogrammed Mirror Tutorial

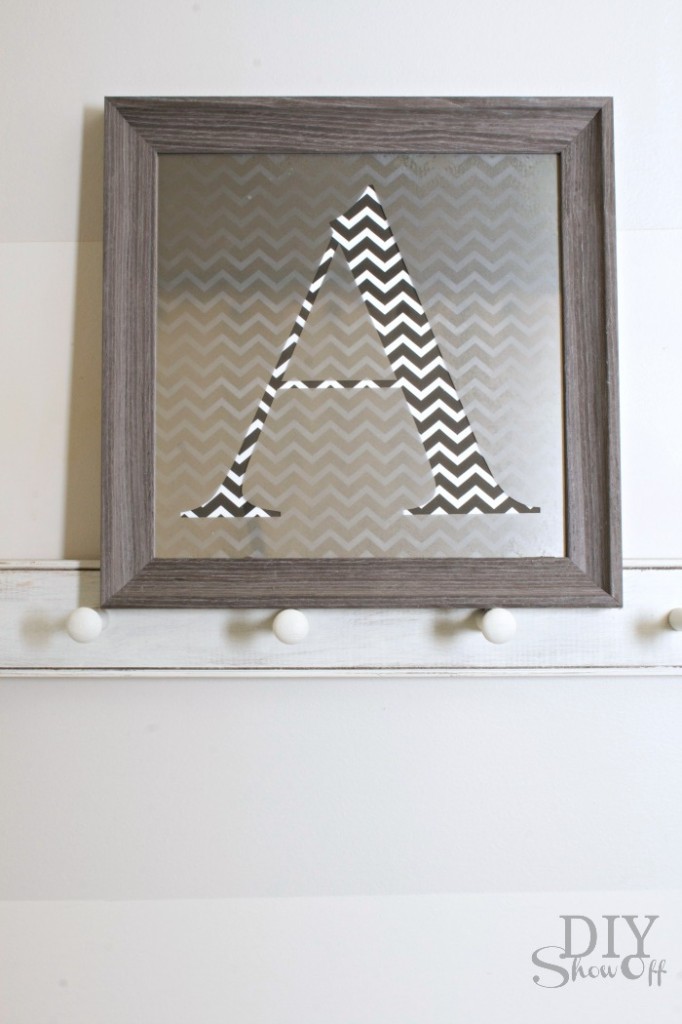
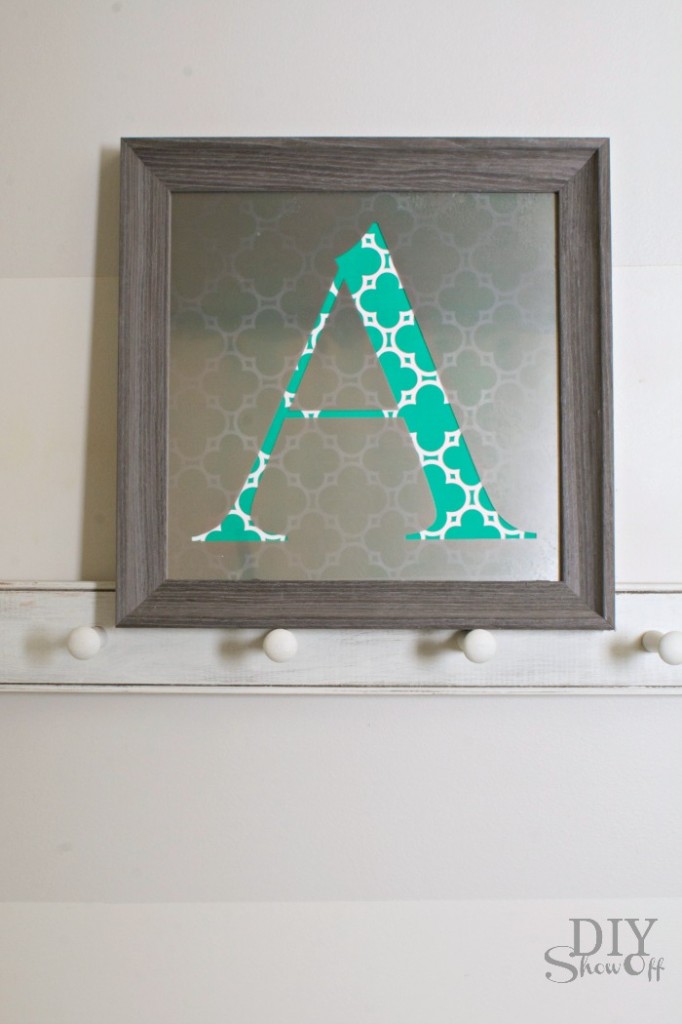
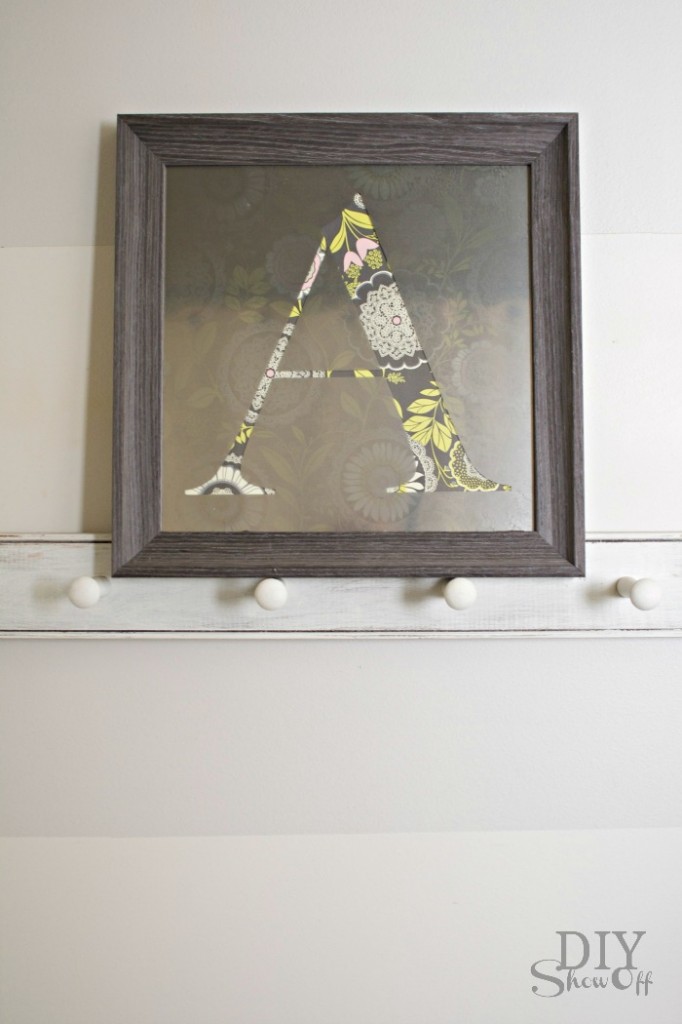
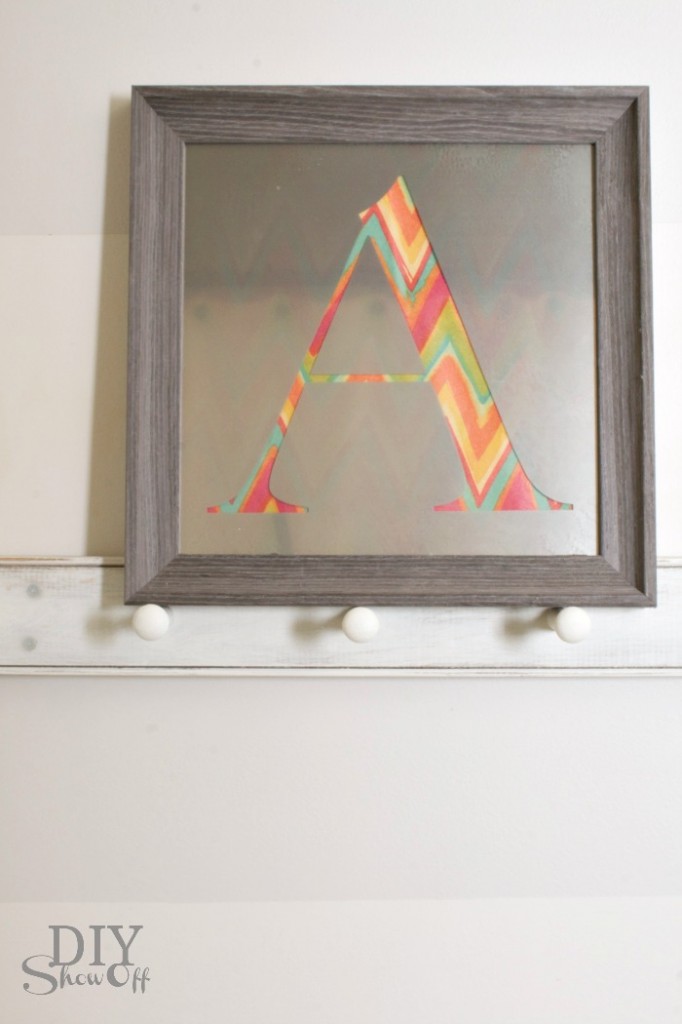
Looking for a great gift DIY gift idea? Or some easy DIY wall art? Look no further! This framed monogrammed mirror is easy to do and easily customizable for swapping out colors and patterns. It’s perfect for those who love to decorate and easily changes to match any decor. One decorative accent, UNLIMITED looks! So fun!
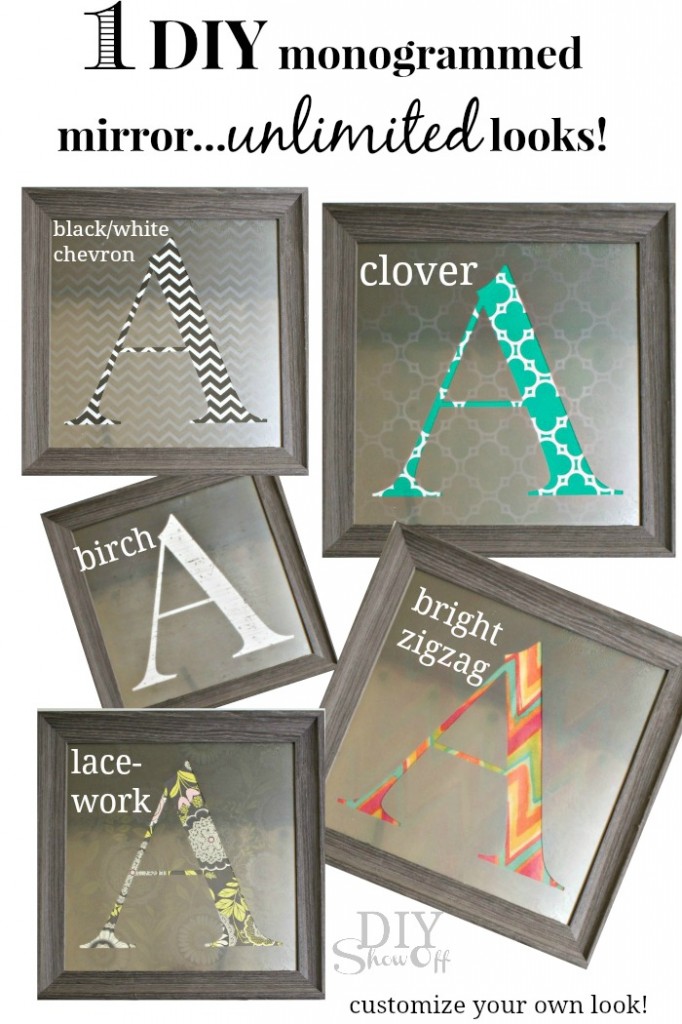
One decorative accent - UNLIMITED LOOKS: DIY Interchangeable/Custom Monogrammed Mirror Tutorial

Materials:

  • Picture frame with glass – I purchased mine at TJMaxx but shop the house or thrift stores for an even better deal!
  • Krylon Looking Glass – Mirror Like Spray Paint
  • Vinyl letter decal, shape or silhouette – don’t have a Silhouette Cameo to do your cutting? Use a stencil and contact paper to create your own. Remember to ‘mirror’/’flip’ the design so that it doesn’t show backwards.
  • Scrapbook paper, wrapping paper {holiday/wedding/birthday paper for celebrating/gift giving would be cute too!}, book pages, maps, fabric…get creative! Cut to size to fit within the frame. 

Tutorial:

1. Create vinyl decal to fit inside of the dimensions of the picture frame/onto the glass. Remember to mirror/flip the design so that it doesn’t show backwards (vinyl will be applied to the backside of the glass). I used my Cameo to cut out a design on vinyl.Letter A for monogrammed mirror DIY
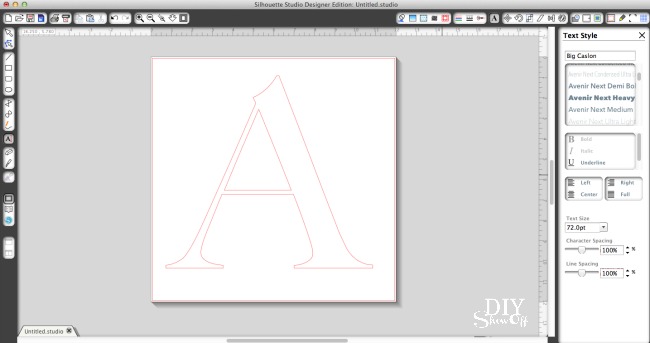
2. Disassemble glass from frame and clean the glass. DIY monogrammed mirror tutorial
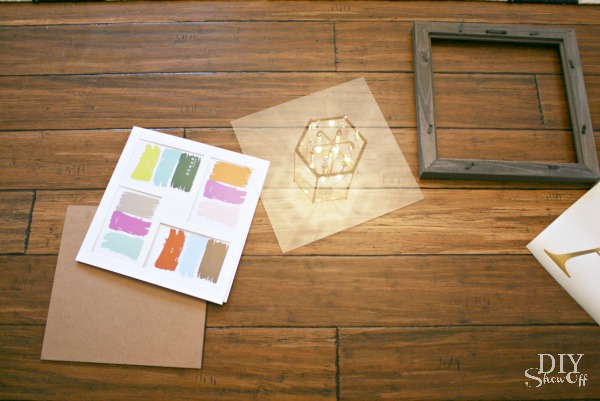
3. Apply vinyl decal to glass. I centered a letter “A”. You’ll be applying it to the backside of the mirror so you’ll want to “mirror” or flip the letter if needed so it doesn’t show up backwards. A shape or silhouette would be cute too! Example: monogram, dog, person, state, stag, word, etc.Monogrammed Mirror DIY tutorial
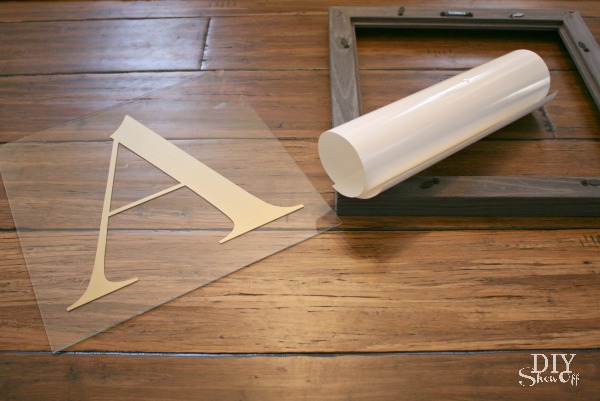
4. Follow instructions on Krylon Looking Glass can. Wear a respirator in poorly ventilated areas. Apply a light coat of the Krylon Looking Glass spray paint in a sweeping motion (starting off of the glass). Do this on the side of the glass with the vinyl decal. One decorative accent - UNLIMITED LOOKS: DIY Interchangeable/Custom Monogrammed Mirror Tutorial
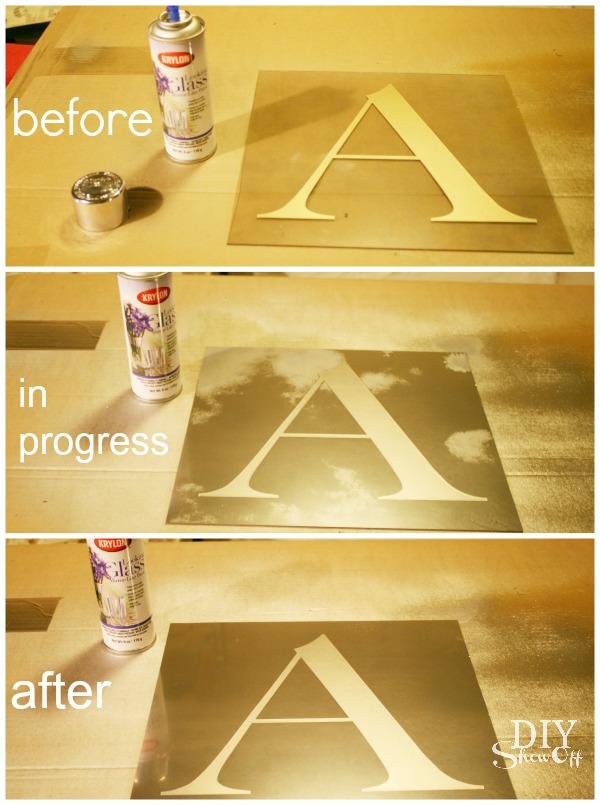
{zero degrees outside, spray painting in the basement – pardon the poor lighting!}

5. According to the instructions, repeat the above step four more times (only waiting a minute between coats – this stuff dries fast!). Then let dry one hour before handling. I did five coats and my glass still has a semi-transparent look which I like. Try more coats for a more solid look. 

6. Once dry, carefully remove the vinyl decal by lifting an edge using your fingernail or thumbnail or a vinyl weeding tool if you have one. Be careful not to scratch the mirror-painted finish (although scratches add to an antiqued/aged look). One decorative accent - UNLIMITED LOOKS: DIY Interchangeable/Custom Monogrammed Mirror Tutorial
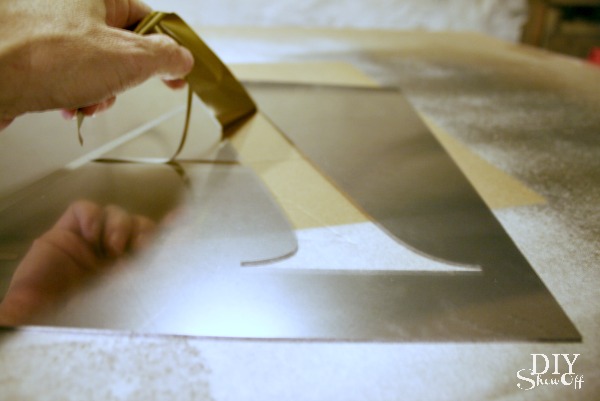
7. Cut scrapbook paper, book pages, fabric or wrapping paper to the same dimensions as the glass. Re-assemble glass and frame and insert scrapbook or wrapping paper in the same manner as framing a picture. One decorative accent - UNLIMITED LOOKS: DIY Interchangeable/Custom Monogrammed Mirror Tutorial
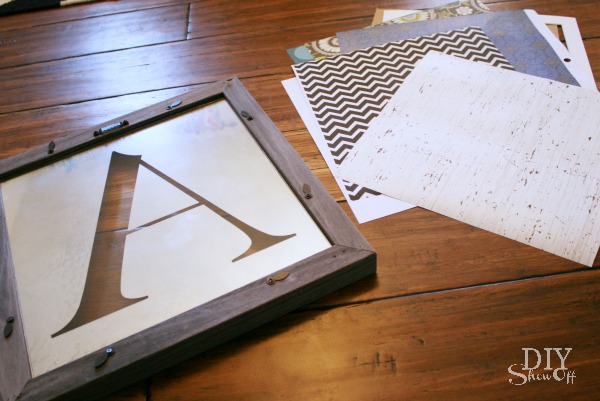
All done! Include several shades and patterns of paper with your gift and let the recipient choose their favorite look to coordinate with their home.
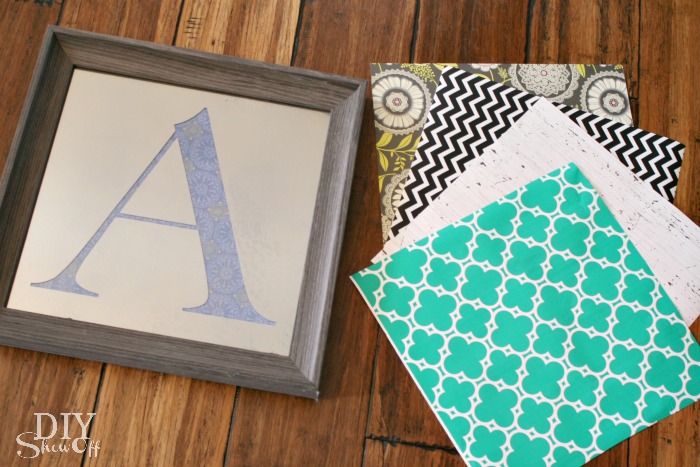
One decorative accent - UNLIMITED LOOKS: DIY Interchangeable/Custom Monogrammed Mirror Tutorial

Cool, right? They’re going to love it and you’re going to want one for yourself!
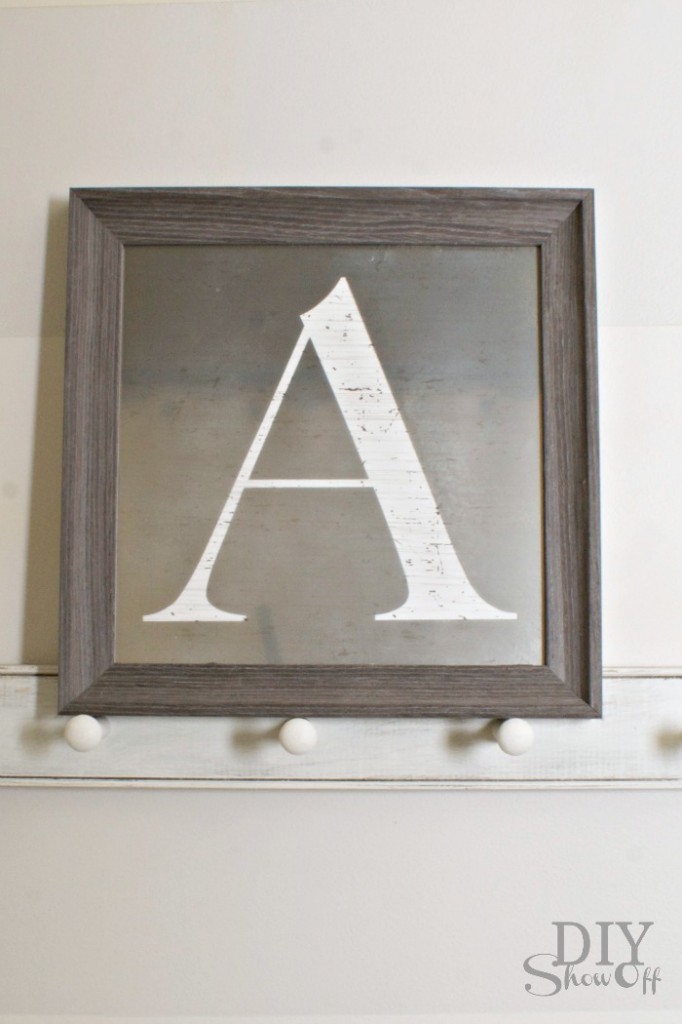
Monogrammed Mirror Tutorial DIY mirror DIY mirror DIY mirror DIY mirror

You can’t tell from my pictures but the mirrored surface is very reflective. I just took my photos at an angle where you weren’t seeing me and my camera’s reflection in the glass. The mirror finish also has a bit of a worn/antiqued look that I love. One decorative accent - UNLIMITED LOOKS: DIY Interchangeable/Custom Monogrammed Mirror Tutorial

Next up in the series is an awesome project from Amy at Positively Splendid!

For even more fun Krylon Looking Glass ideas, visit the entire series:

Friday –
http://www.infarrantlycreative.net
http://findinghomeonline.com
http://www.theshabbycreekcottage.com
http://sarahmdorseydesigns.blogspot.com
http://www.the36thavenue.com
http://www.eastcoastcreativeblog.com
http://lilluna.com
https://diyshowoff.com
http://www.positivelysplendid.com

Saturday –

http://tatertotsandjello.com
http://www.ourfifthhouse.com

Disclaimer: This is a post sponsored by Krylon. As always, all ideas, opinions and experience is my own. I first tried Krylon Looking Glass paint back in 2010 on an old window

Like what you see? Get reminders and updates delivered right to your inbox:
Enter your email address:

Delivered by FeedBurner

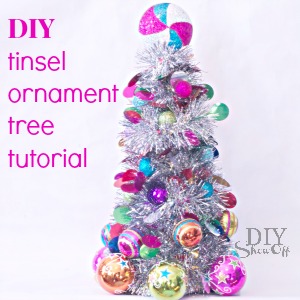
DIY Tinsel Ornament Tree Christmas Decoration

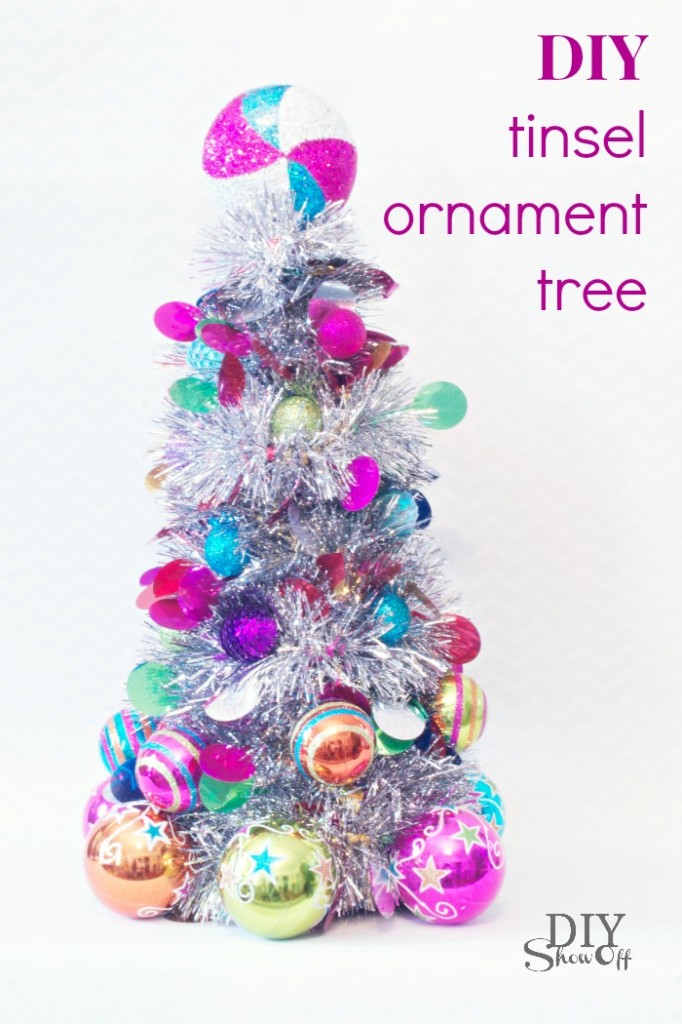
With a Merry & Bright theme going on in the family room, I needed a colorful Christmas decoration to add to my existing decorative accents which is what inspired this tinsel ornament tree tutorial. This tutorial is a part of the fun Christmas Extravaganza Blog Hop! More fun holiday links below!DIY tinsel ornament tree tutorial 

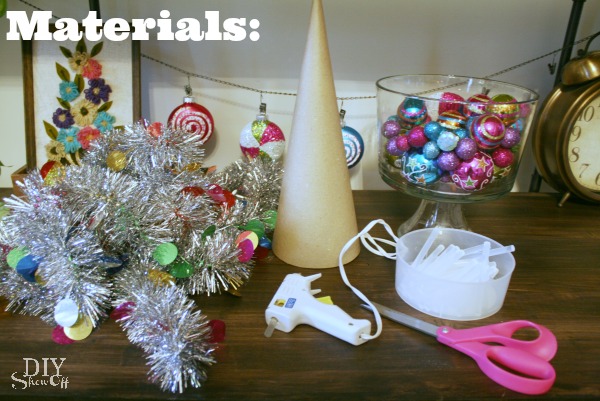
What I used:tinsel ornament tree materials

  • cardboard cone
  • tinsel garland
  • optional: ornaments (I used three different sizes)
  • hot glue/gun

DIY tinsel ornament tree craft tutorial

Tutorial:

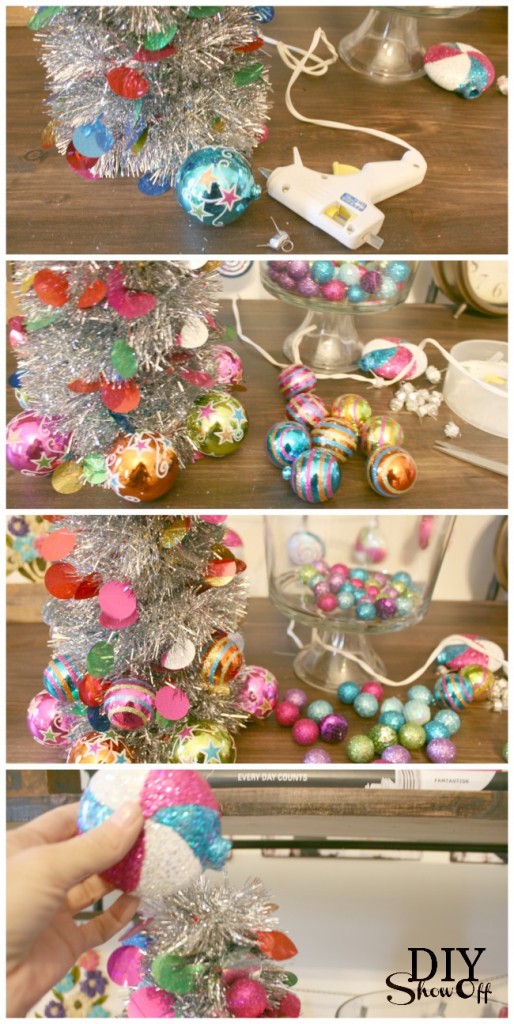
Starting at the top,  add a dab of hot glue near the pointy end of the cardboard cone and attach one end of the tinsel garland.

Wrap the cardboard cone. Pull garland tight for a fuller look or just enough to cover the cone…it’s up to you! I pulled mine tighter and used the entire string of tinsel garland.

Secure the end of the tinsel garland to the cardboard cone with a touch of hot glue.

You could be finished at this step if you like the look! Or use hot glue to add in ornaments (I removed the metal hangers). 

Remove the metal hanger from a favorite ornament, add a dab of hot glue and attach to the top of the tree. tinsel ornament Christmas tree instructions

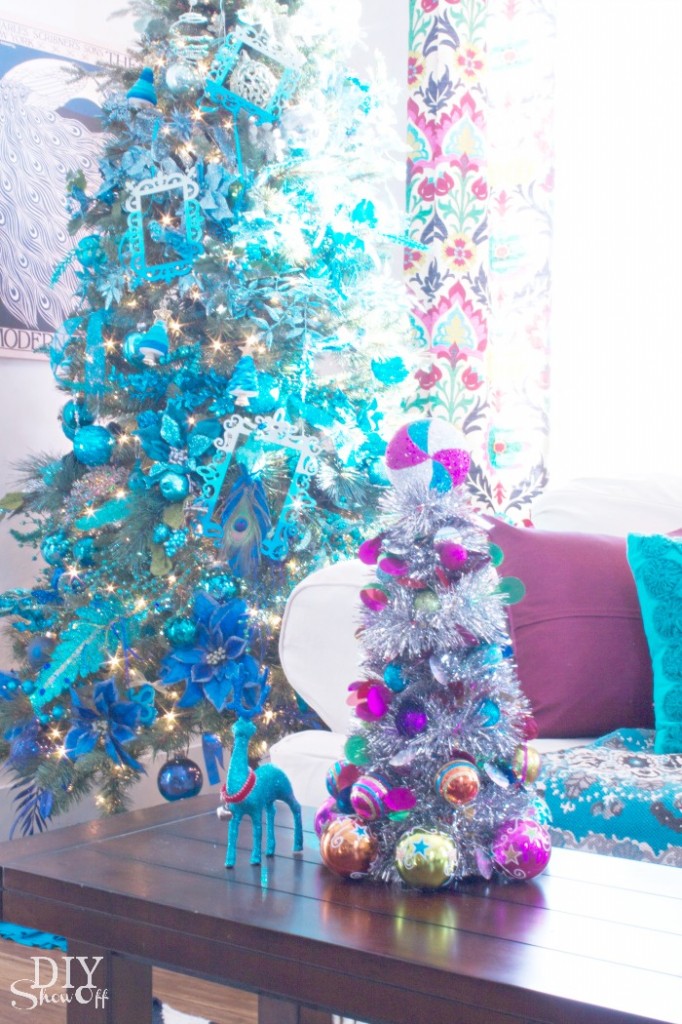
All done…definitely “merry & bright” AND easy!

DIY ornament tinsel tree tutorialHappy! Right? colorful Christmas
 

Family Room Makeover

Christmas Home Tour

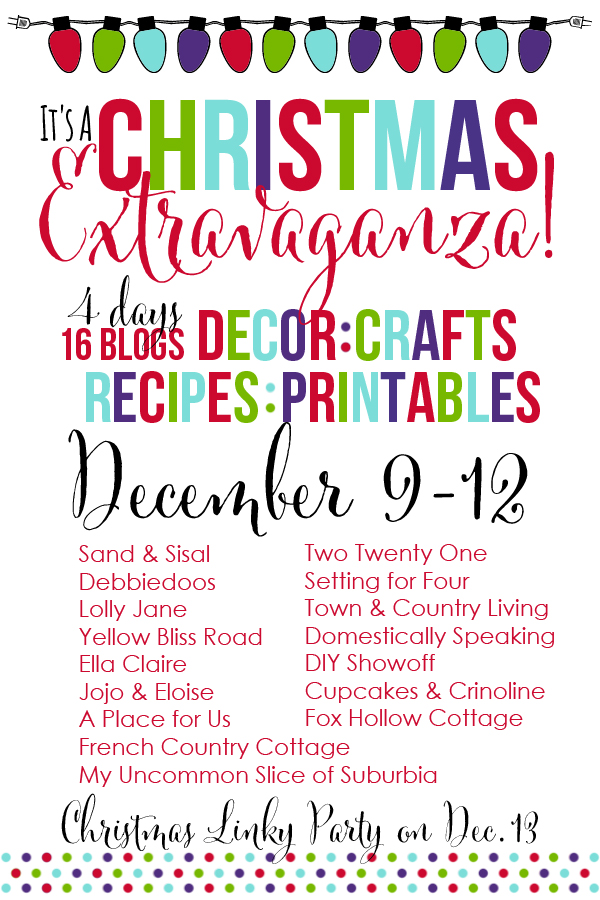
See more Christmas crafts, decorating, DIY and recipes at the Christmas Extravaganza Blog Hop…

Christmas Exravaganza Blog Hop and Linky Party Graphic

Christmas Extravaganza Schedule

Mint Chocolate Cream Torte from Cupcakes and Crinoline

Easy Four Ingredient Snowball Cookies from Yellow Bliss Road

Holiday Napkin Apron from Jojo & Eloise

DIY Eyelash Yarn Christmas Trees from A Place for Us

Yarn Candy Canes from Lolly Jane

Chocolate & Peppermint Crispy Rice Treats from Ella Claire

Tinsel Ornament Tree from DIY Showoff

Sequin Ornaments from Fox Hollow Cottage

Fuzzy Christmas Trees from Two Twenty One

15 Christmas Decorating Ideas from Town & Country Living

Pom Pom Snowball Wreath from My Uncommon Slice of Suburbia

Christmas Craft Round Up from Debbiedoos

DIY Boxwood Napkin Rings from French Country Cottage

Rustic Glam & Blue Christmas Tree from Setting For Four

Easy Dollar Tree Wreaths from Domestically Speaking

Frosted Pear Ornament from Sand & Sisal

Friday – it’s your turn! Link up your fun Christmas ideas!

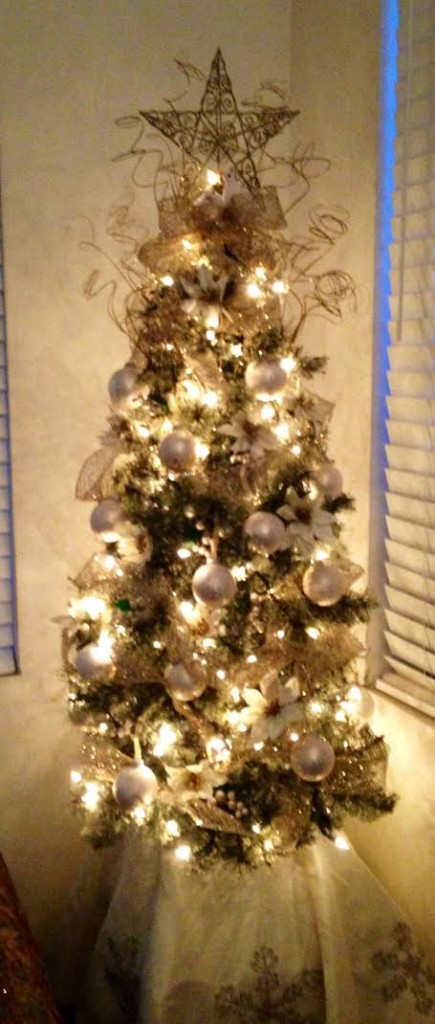
Elaine’s Christmas tree for the Christmas Tree Party & Contest

Elaine's Christmas Tree