Mailbox DIY Vinyl Decals

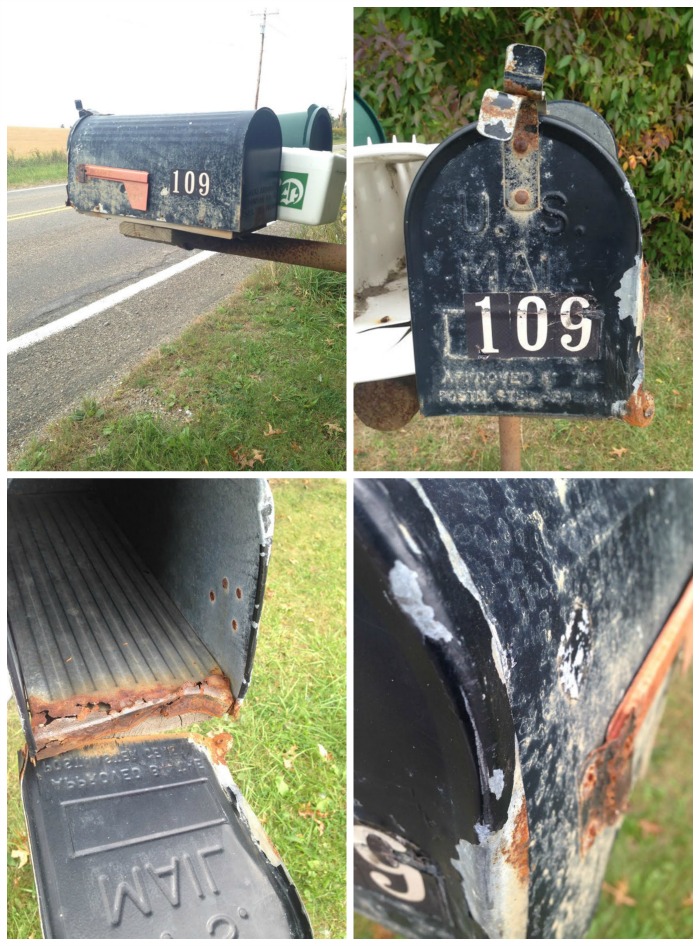
This poor mailbox had seen better days…don’t you think? 

DIY mailbox vinyl decals tutorial at diyshowoff

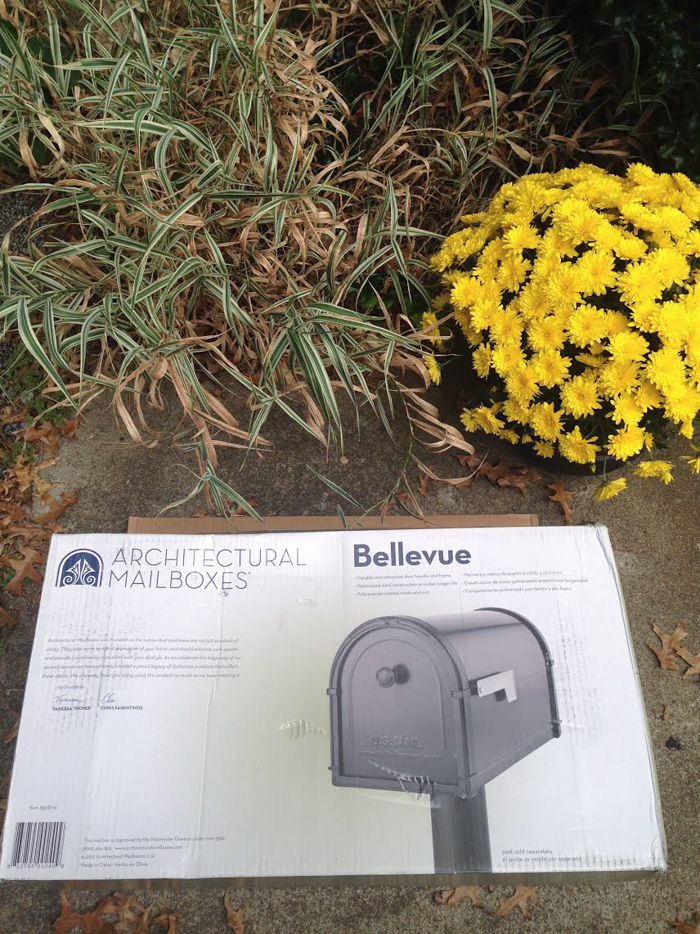
Time for a new one…

DIY mailbox vinyl decals tutorial at diyshowoff

One of the perks of owning a vinyl cutter (I have a Silhouette Cameo) is the convenience of making my own vinyl labels/stickers/decals. 

Mailbox Upgrade

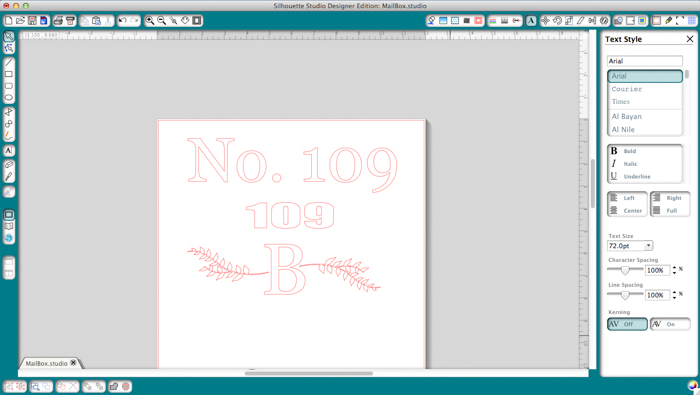
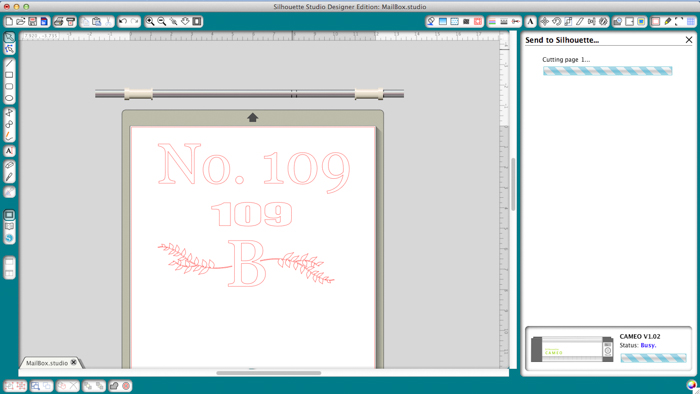
Open up the Silhouette Studio Designer Edition software. Click the text button on the left, choose font and type house numbers and a monogram design. Size to fit flat mailbox surface.

DIY mailbox vinyl decals tutorial at diyshowoff

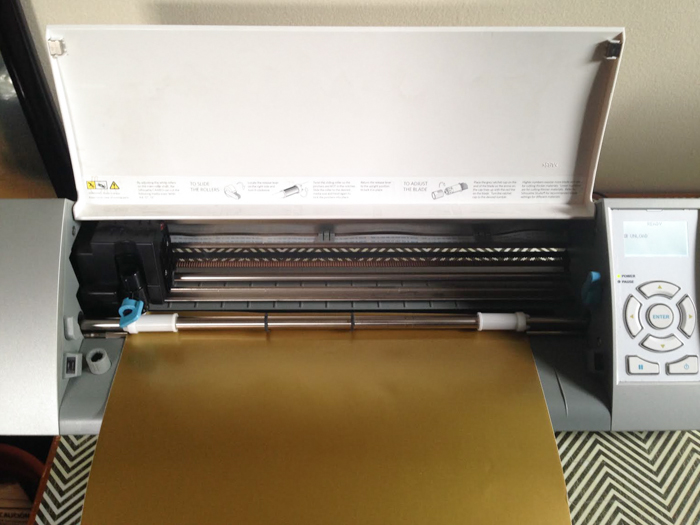
Click the “cut” button on the navigation bar. Choose “vinyl” and adjust blade settings. Insert vinyl color side up into the machine and click “cut”. 

DIY mailbox vinyl decals tutorial at diyshowoffDIY mailbox vinyl decals tutorial at diyshowoff

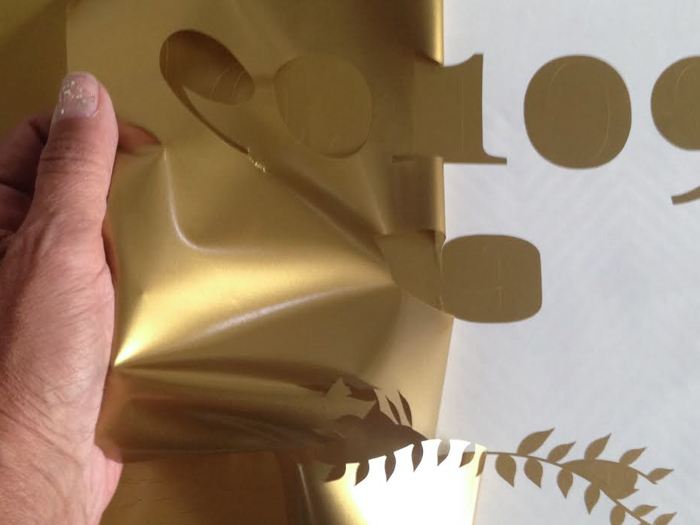
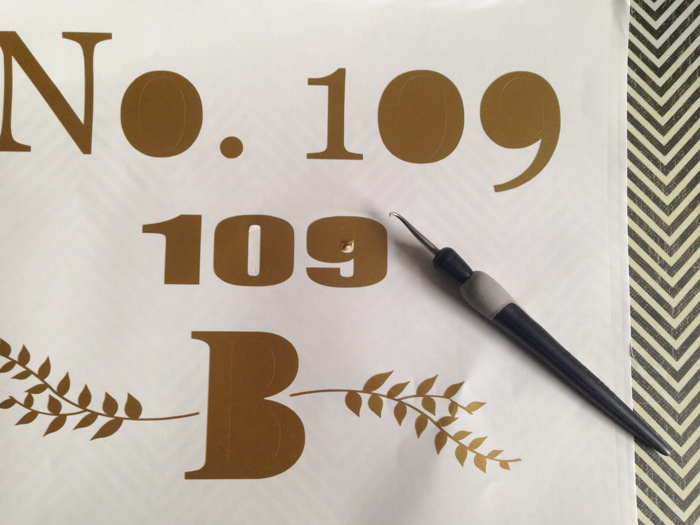
Remove vinyl from machine and weed away excess vinyl. 

DIY mailbox vinyl decals tutorial at diyshowoffDIY mailbox vinyl decals tutorial at diyshowoff

Apply a piece of transfer paper and cut apart individual designs. I have three. Numbers for the front of the mailbox, a monogram design and numbers for the side. 

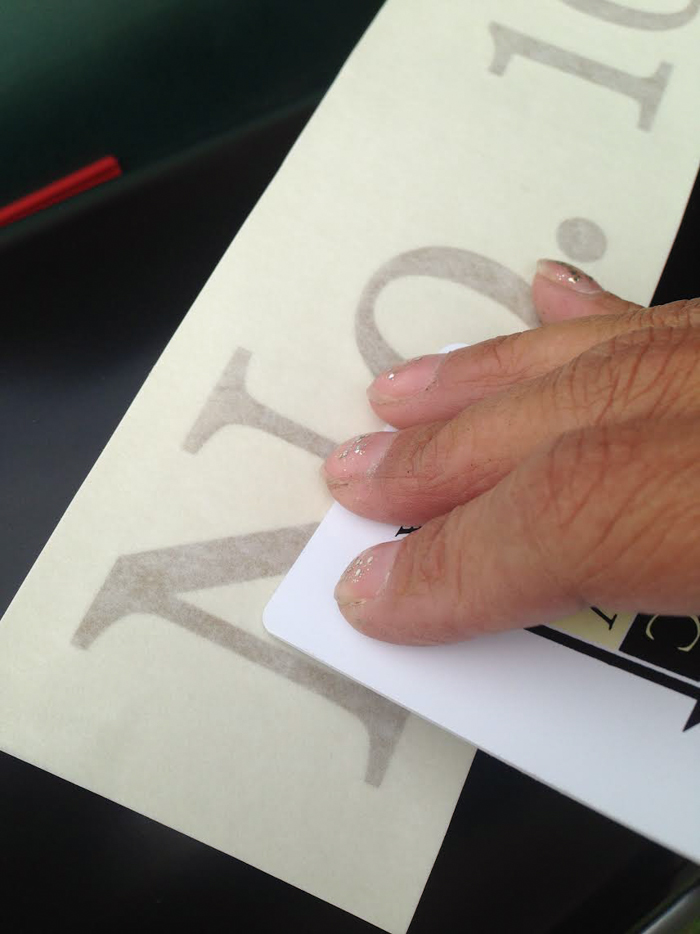
Rub with a credit/gift card to ‘transfer’ the vinyl decals from wax paper to transfer paper. 

DIY mailbox vinyl decals tutorial at diyshowoff

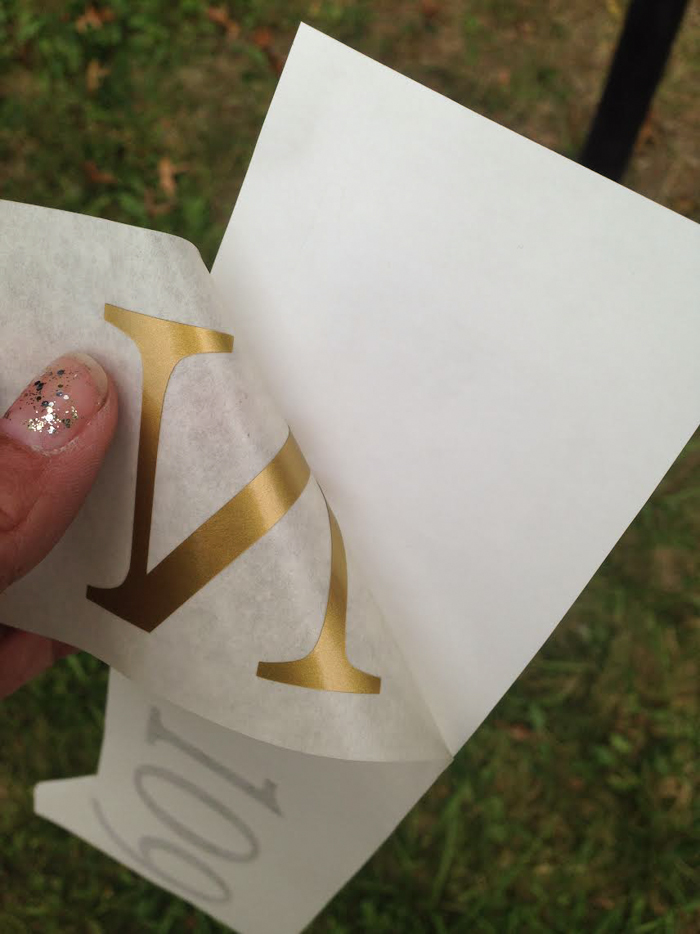
Peel away transfer paper (vinyl decals should be stuck to tacky transfer paper). 

DIY mailbox vinyl decals tutorial at diyshowoff

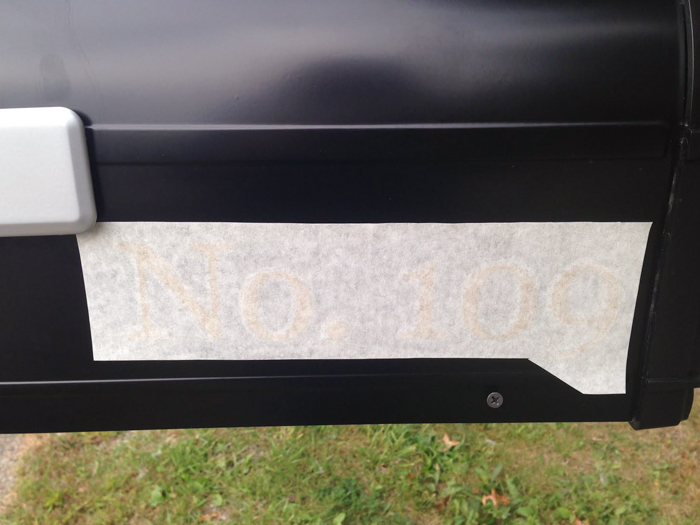
Place onto clean, dry, flat surface of mailbox. 

DIY mailbox vinyl decals tutorial at diyshowoff

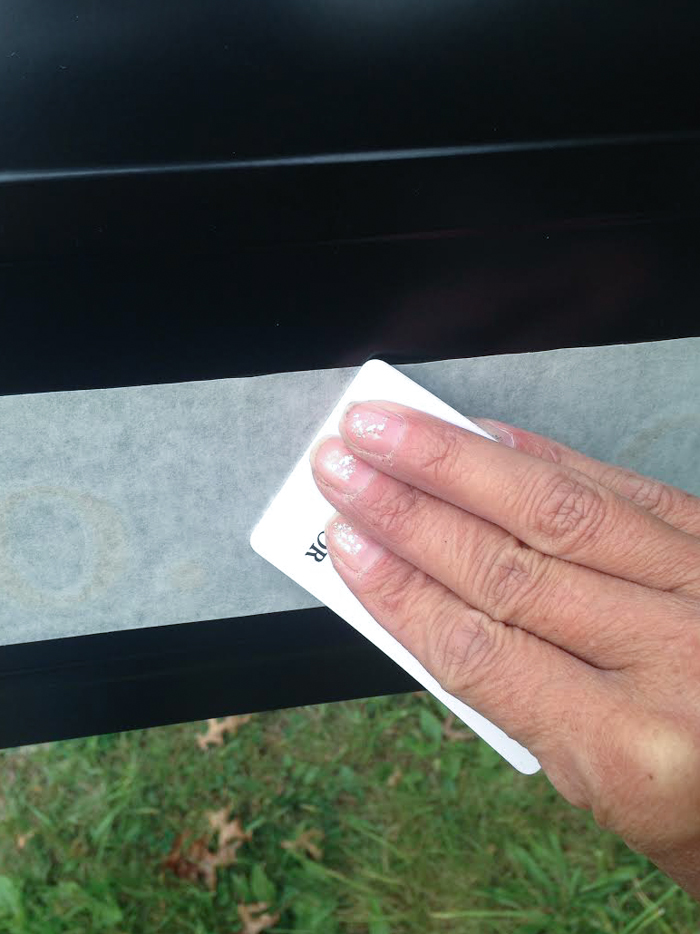
Rub with credit/gift card to transfer design. 

DIY mailbox vinyl decals tutorial at diyshowoff

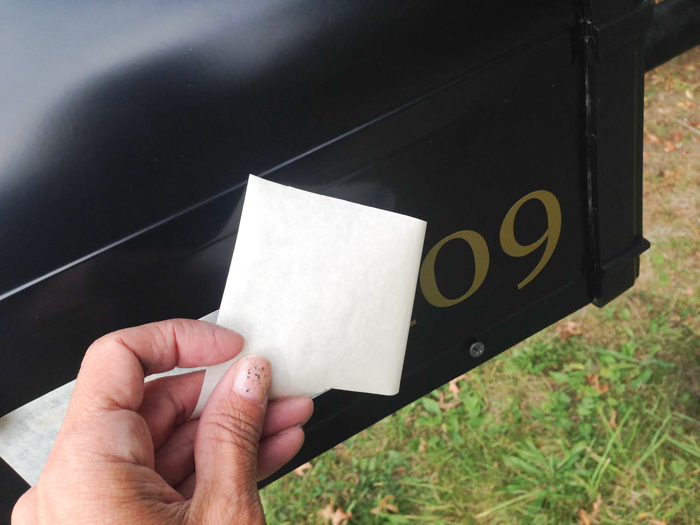
Peel away transfer paper. 

DIY mailbox vinyl decals tutorial at diyshowoff

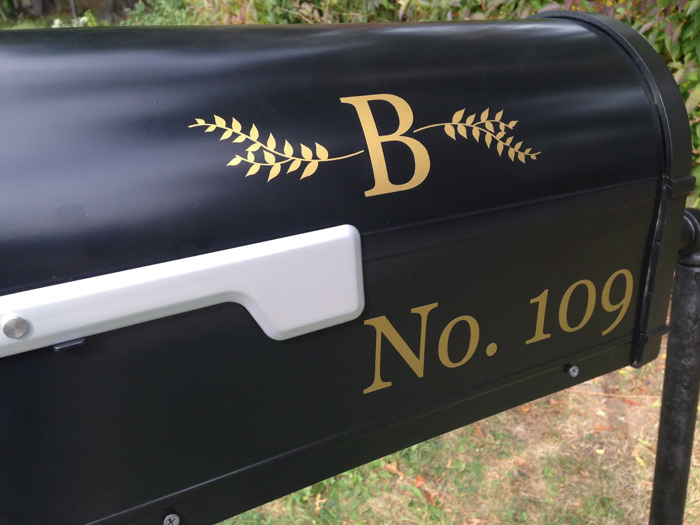
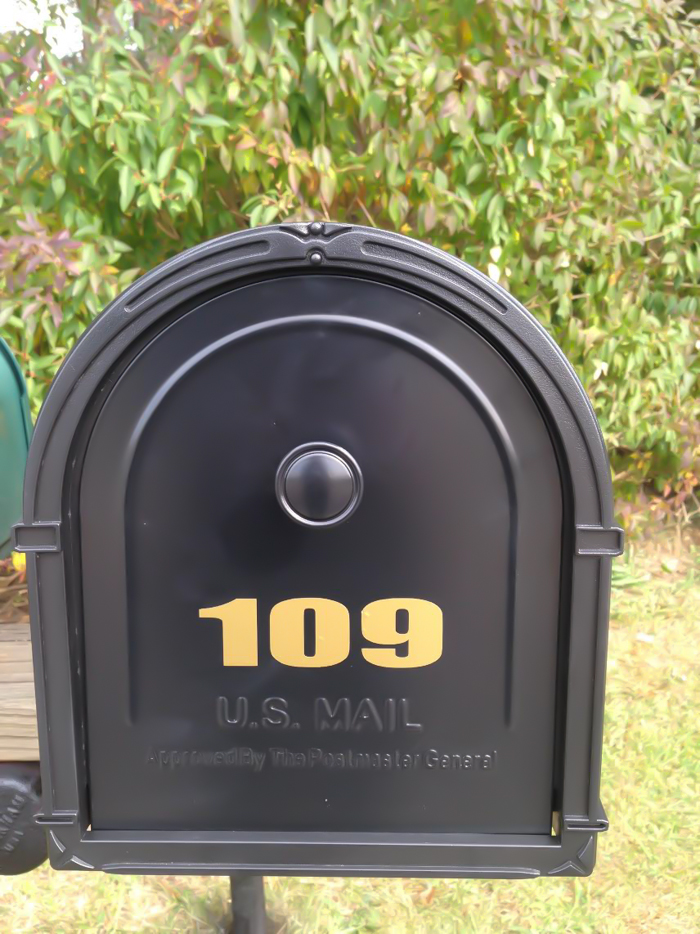
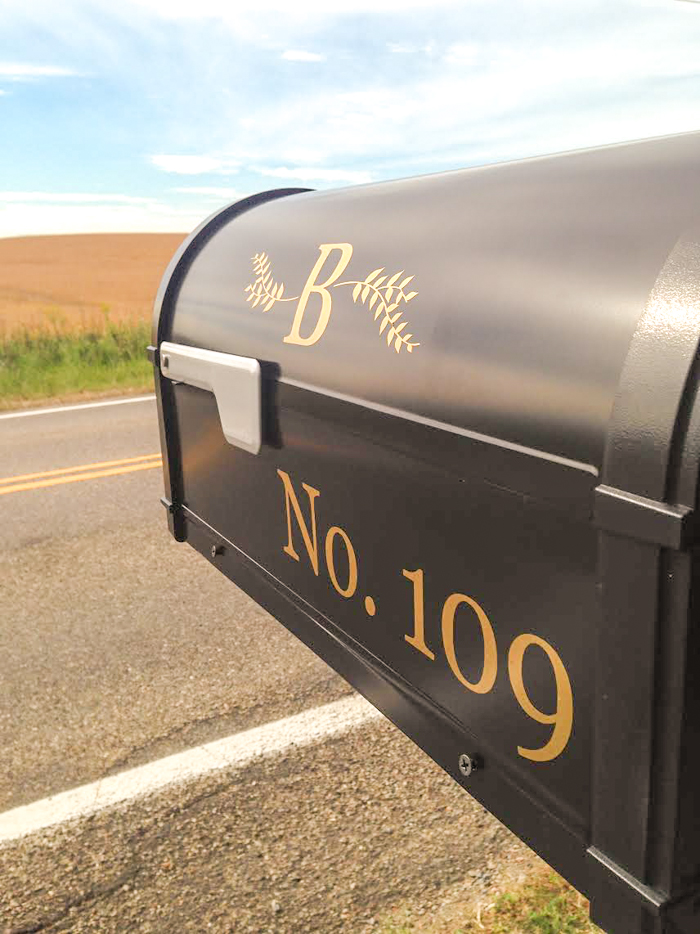
Ta-da! Pretty new address decals for the new mailbox.

DIY mailbox vinyl decals tutorial at diyshowoff DIY mailbox vinyl decals tutorial at diyshowoff DIY mailbox vinyl decals tutorial at diyshowoff

*This post is sponsored by Happy Crafters. Tutorial, experience and opinion is my own.  Check out all the supplies at Happy Crafters for inspiration for your next project. 

HClogopngsmall

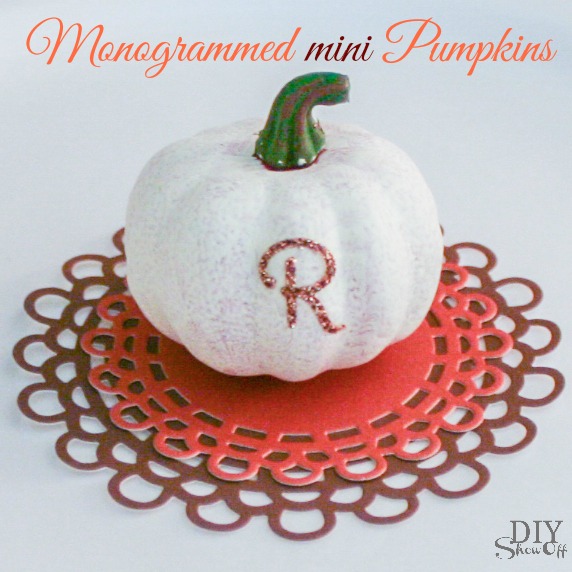
Monogrammed Mini Pumpkins

Monogrammed mini pumpkins

Monogrammed Mini Pumpkins tutorial @diyshowoff

Materials:

  • faux mini pumpkins
  • acrylic craft paint
  • glittery alphabet stickers
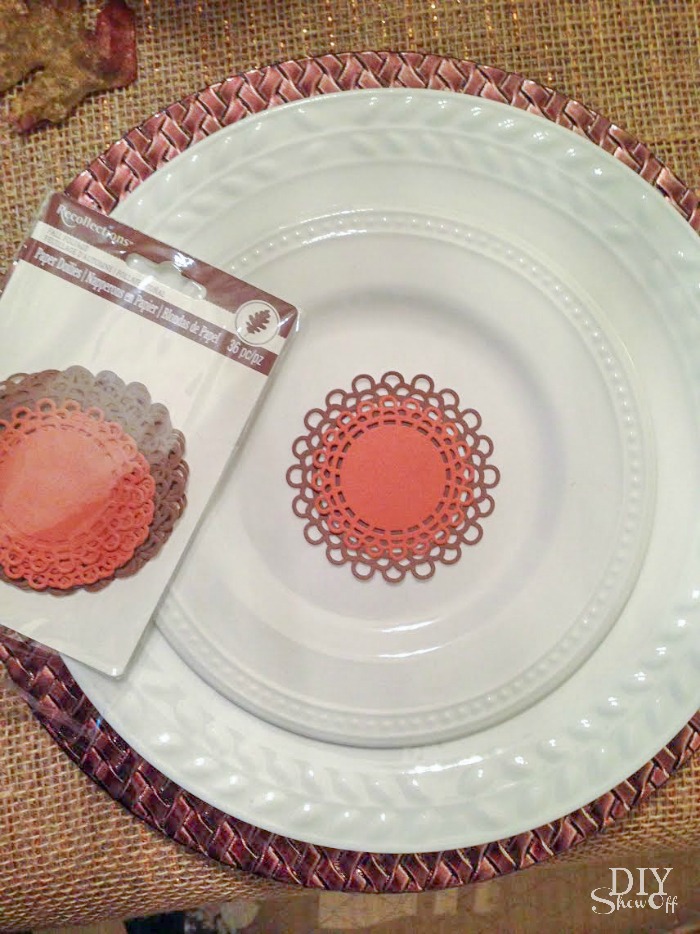
  • mini paper doilies

Tutorial:

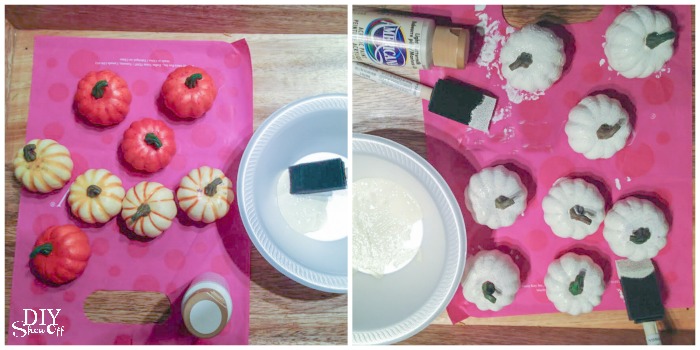
Paint mini faux pumpkins and let dry.

Monogrammed Mini Pumpkins tutorial @diyshowoff

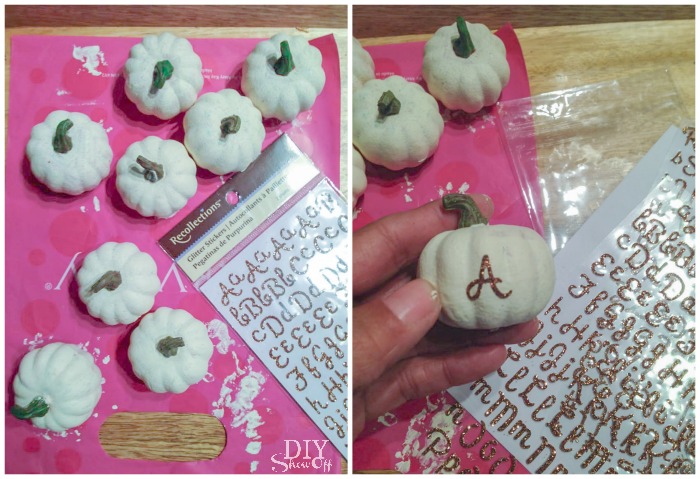
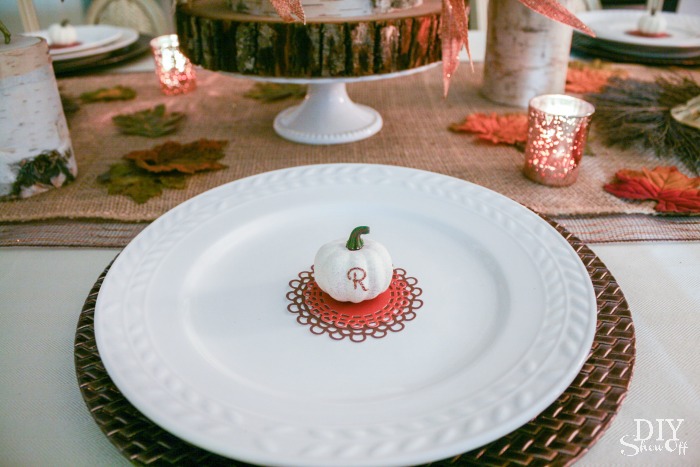
Add a glittery monogram.

monogrammed mini pumpkin placesetting


Display on mini-doilies. 

Monogrammed Mini Pumpkins tutorial @diyshowoffMonogrammed Mini Pumpkins tutorial @diyshowoff

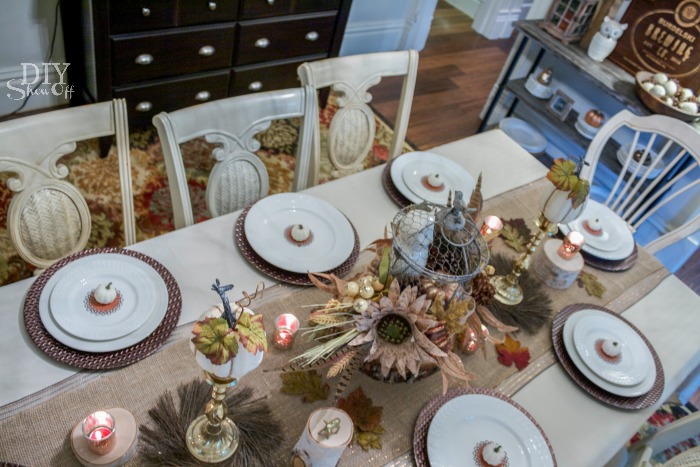
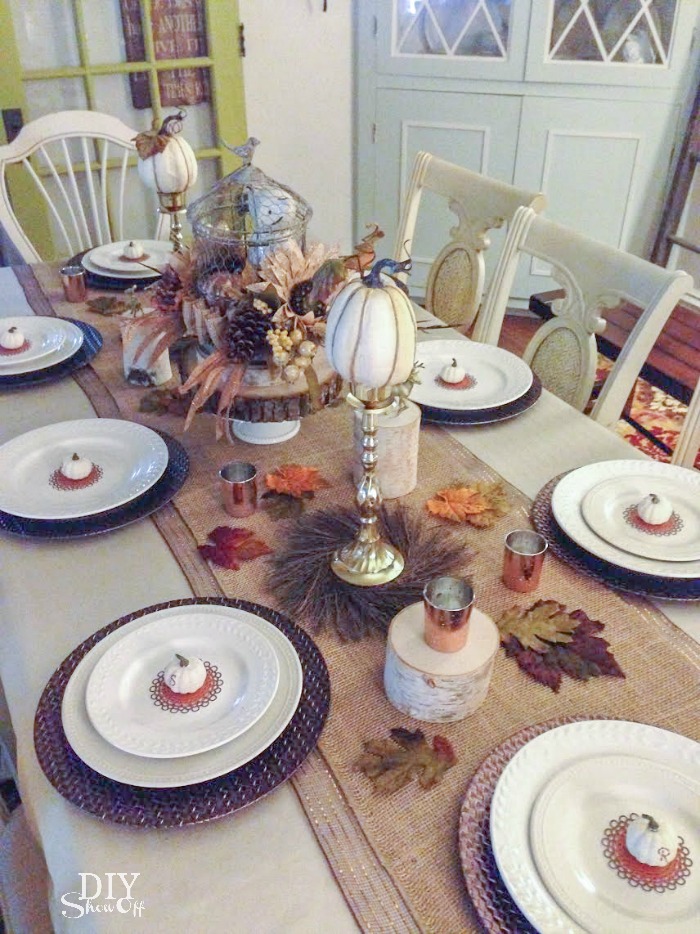
All set for a beautiful fall themed dinner party. 

fall centerpiece @diyshowoff #michaelsmakersMonogrammed Mini Pumpkins tutorial @diyshowoff

See my fall centerpiece for creating an entire autumn themed tablescape. 

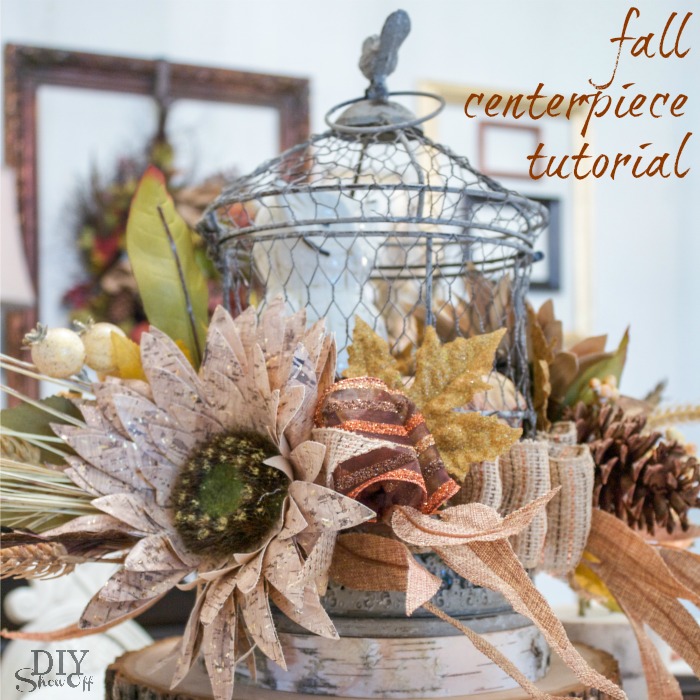
fall centerpiece tutorial at diyshowoff.com

Decorative Fall Centerpiece

Roeshel #MichaelsMakers

The season is changing. Cooler mornings, shorter days and soon pretty leaves. As a part of the Michaels Makers’ team challenge, I’m decorating the dining room table for fall entertaining. 

fall centerpiece tutorial at diyshowoff.com

Fall Centerpiece

Materials: 

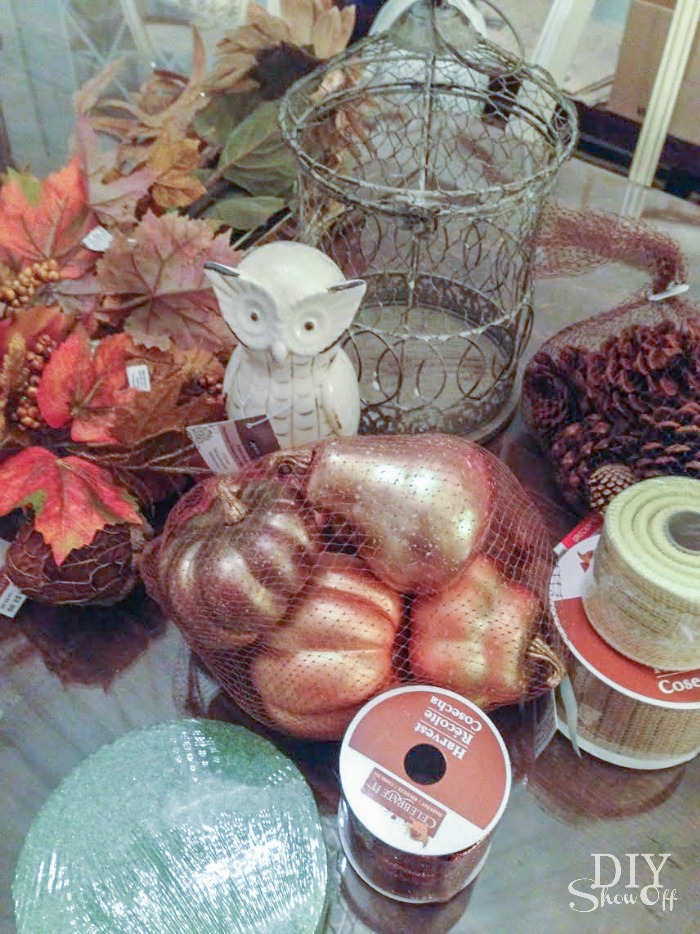
fall centerpiece materials #michaelsmakers


{all materials purchased from Michaels}

  • birdcage
  • fall floral and wheat picks
  • feathers
  • styrofoam disk
  • small plastic pumpkin
  • ceramic owl
  • pinecones
  • burlap ribbon
  • decorative fall ribbon
  • hot glue

What I did: 

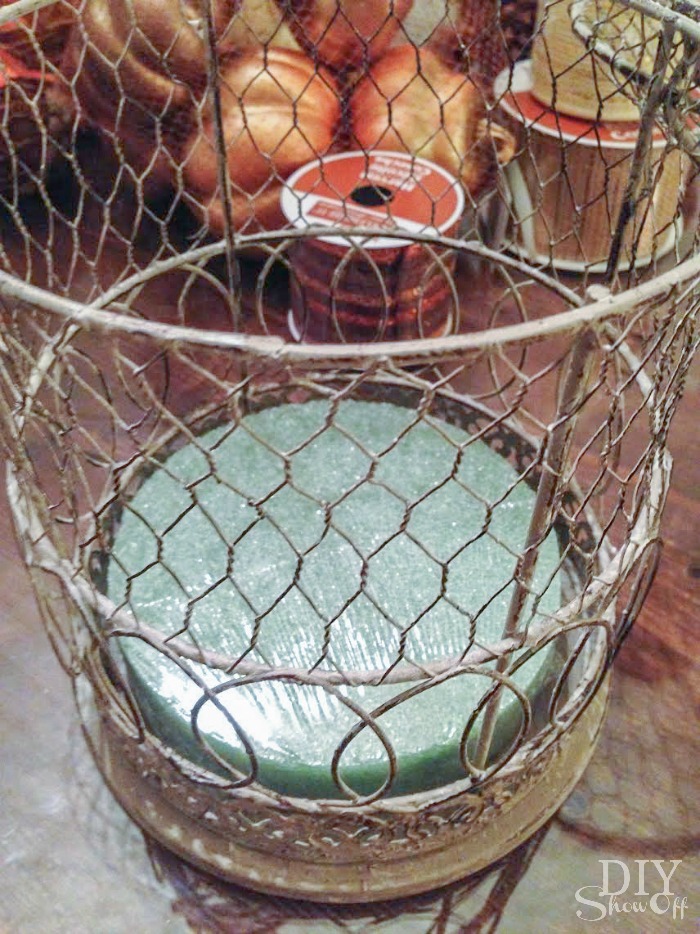
Simply place the styrofoam disk into the bottom of the bird cage.

fall centerpiece materials #michaelsmakers

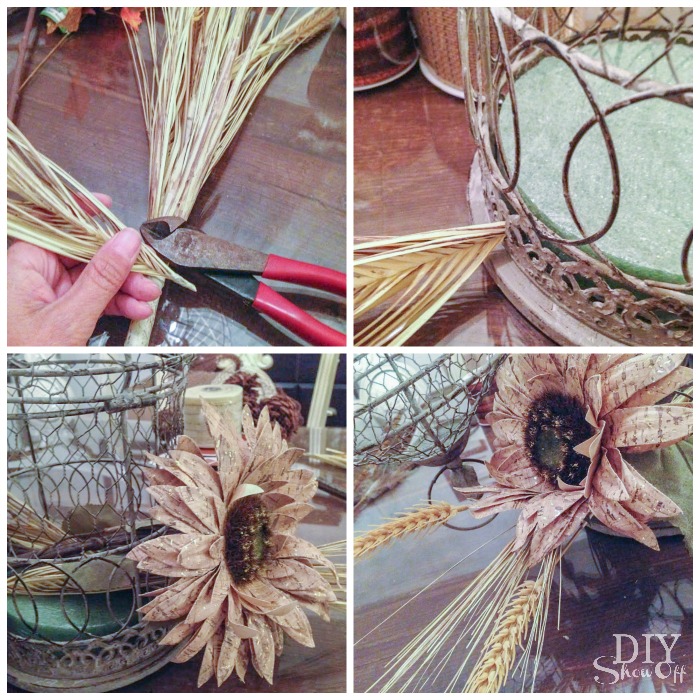
Layer fall floral pieces (deconstruct using wire cutters if needed) and feathers. Secure with hot glue.

fall centerpiece materials #michaelsmakers 

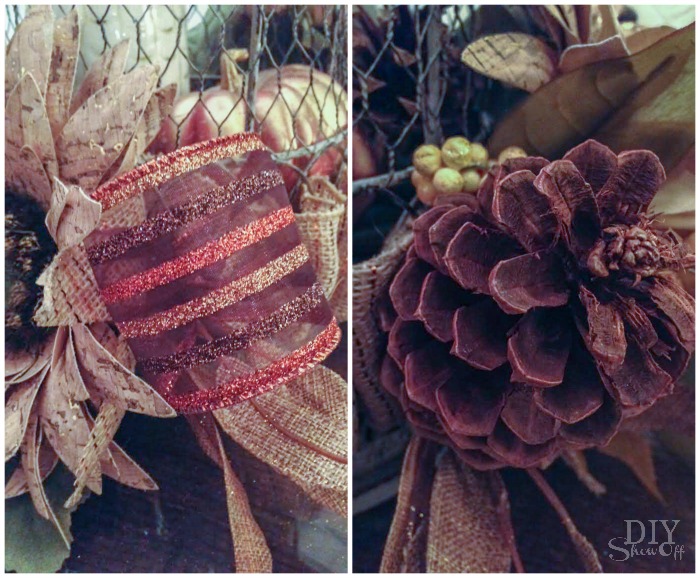
Weave burlap ribbon between bird cage bars.

fall centerpiece materials #michaelsmakers

Tuck in pieces of ribbon and pinecones. Secure with hot glue.

fall centerpiece materials #michaelsmakers

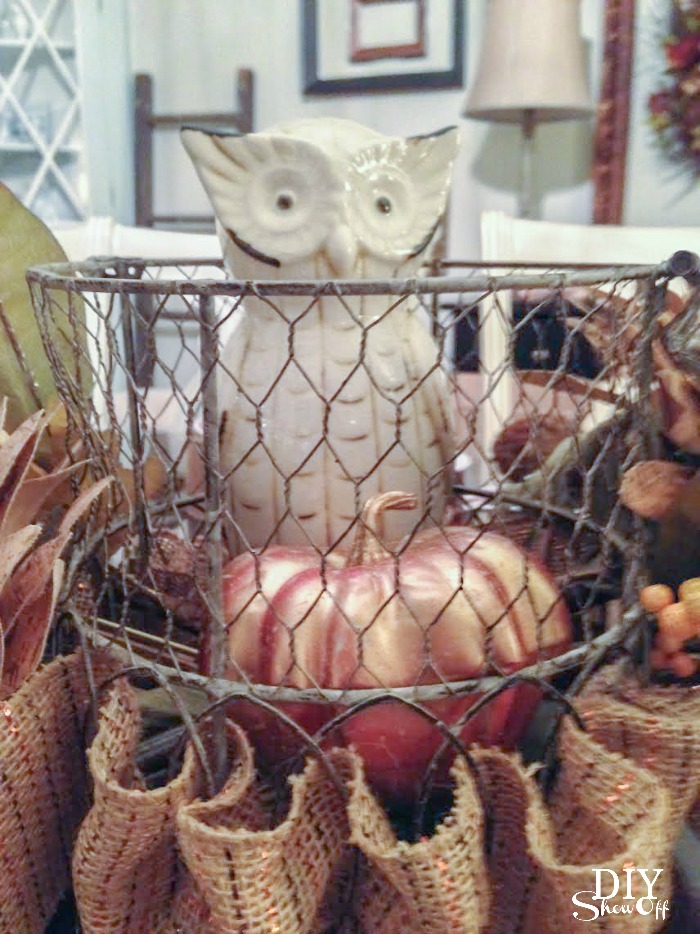
Add ceramic owl and plastic pumpkin to the inside of the cage. 

fall centerpiece #michaelsmakers

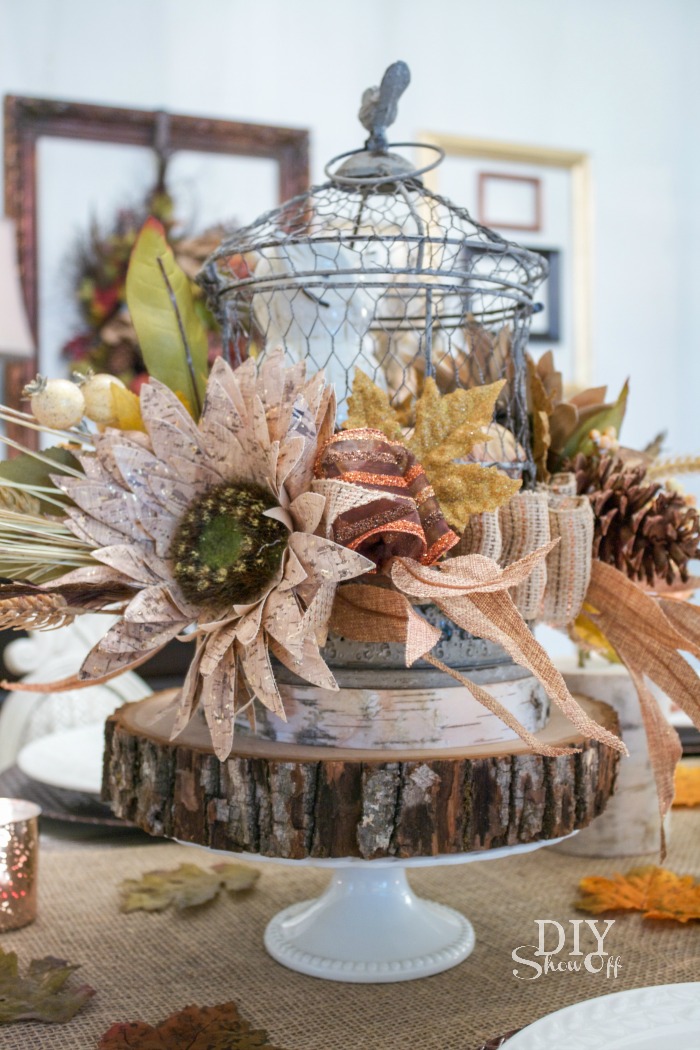
Add height by displaying on a cake plate and/or wood disks. 

fall centerpiece @diyshowoff #michaelsmakers

I layered a little bling (sparkly mesh runner) with a little rustic (burlap runner) down the center of my tablecloth. 

fall centerpiece @diyshowoff #michaelsmakers

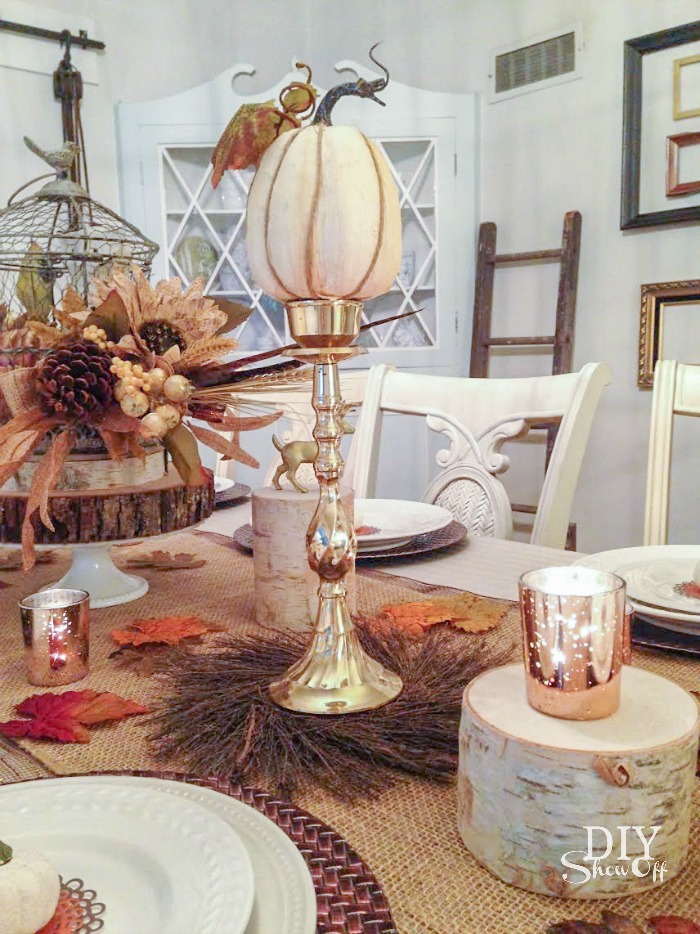
Add wood disks, colorful fall leaves, candles. I topped a pair of gold candlesticks with faux pumpkins for balance and height. 
fall centerpiece @diyshowoff #michaelsmakers

Looking for more inspiration? Check out these crafty blog friends: 


<!– end InLinkz script —>

More Fall ideas from Michaels: 

  • Looking for autumn inspiration? Check out Michaels’ Fall Market lookbook.
  • If it’s not table décor that you’re looking for, Michaels has you covered from pumpkin decorating to wreath making, wall art and more. There are all sorts of easy fall and holiday themed projects for your whole house on Michaels’ Fall Project Page.
  • It’s time to start pinning for the fall! Browse Michaels’ Fall Ideas Pinterest board to get started.

As a member of the Michaels’ Makers team, I receive a gift card to complete and share fun craft challenges.

Michaels.com: Your 24-hour Arts & Crafts Store