Patio Umbrella Table Planter/Centerpiece

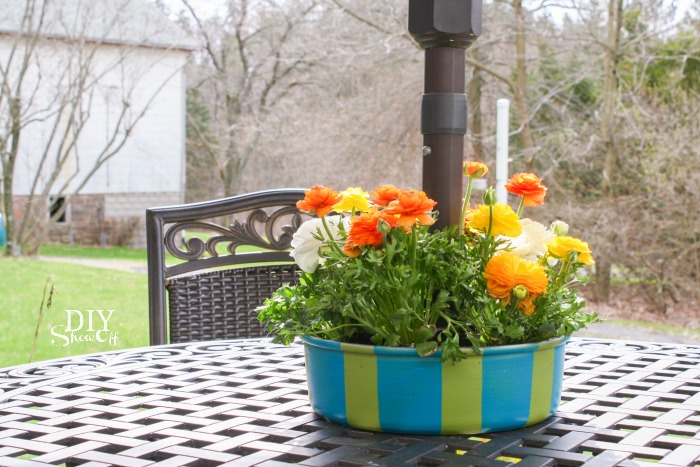
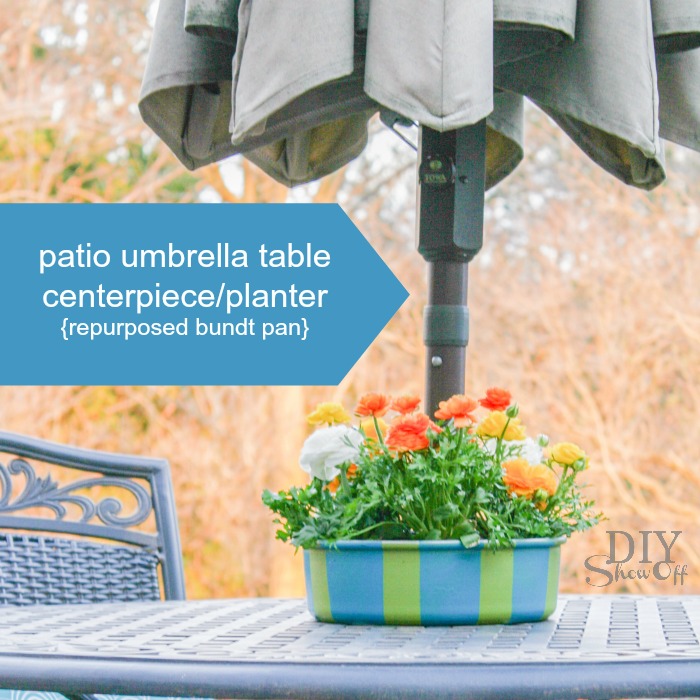
Love accessorizing the patio with flowers? me too! This repurposed bundt/coffee cake pan works perfectly for the center of our patio table. 

patio umbrella table planter/centerpiece (repurposed bundt pan) @diyshowoff

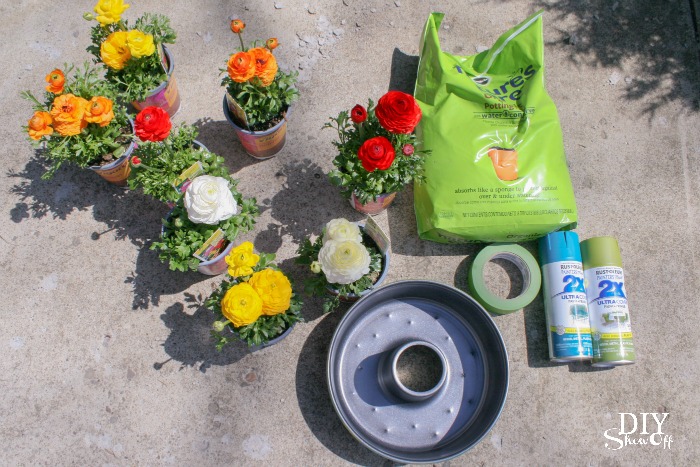
Materials:

  • bundt cake pan (be sure the center hole can accommodate your umbrella). I used this coffee cake pan (affiliate link).
  • RustOleum spray paint
  • FrogTape
  • flowers, plants or succulents and potting soil

patio umbrella table centerpiece planter tutorial @diyshowoff

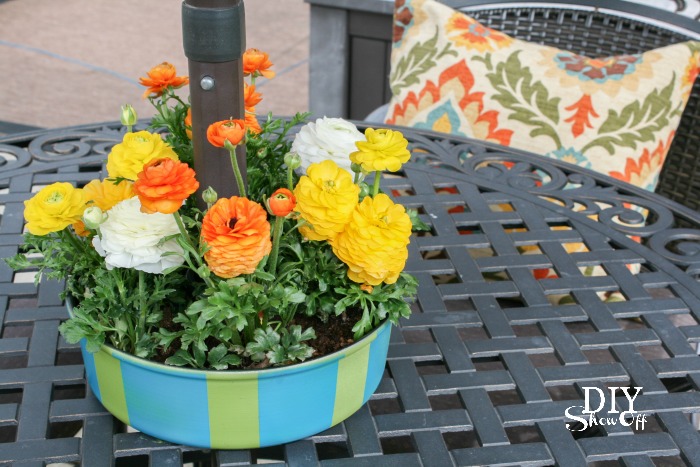
The tutorial is pretty self explanatory:  I simply gave the outside a coat of spray paint, taped off and painted some stripes for a fun look. I also poked holes into the bottom of the pan to allow for drainage. Then simply added some flowers. 
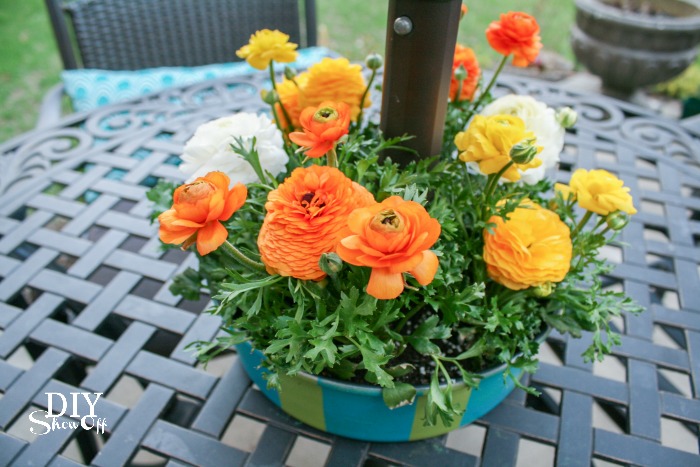
patio umbrella table planter/centerpiece (repurposed bundt pan) @diyshowoffLine the planter up with the hole in the table, insert umbrella through the center of the bundt pan. patio umbrella table planter/centerpiece (repurposed bundt pan) @diyshowoffpatio umbrella table planter/centerpiece (repurposed bundt pan) @diyshowoff
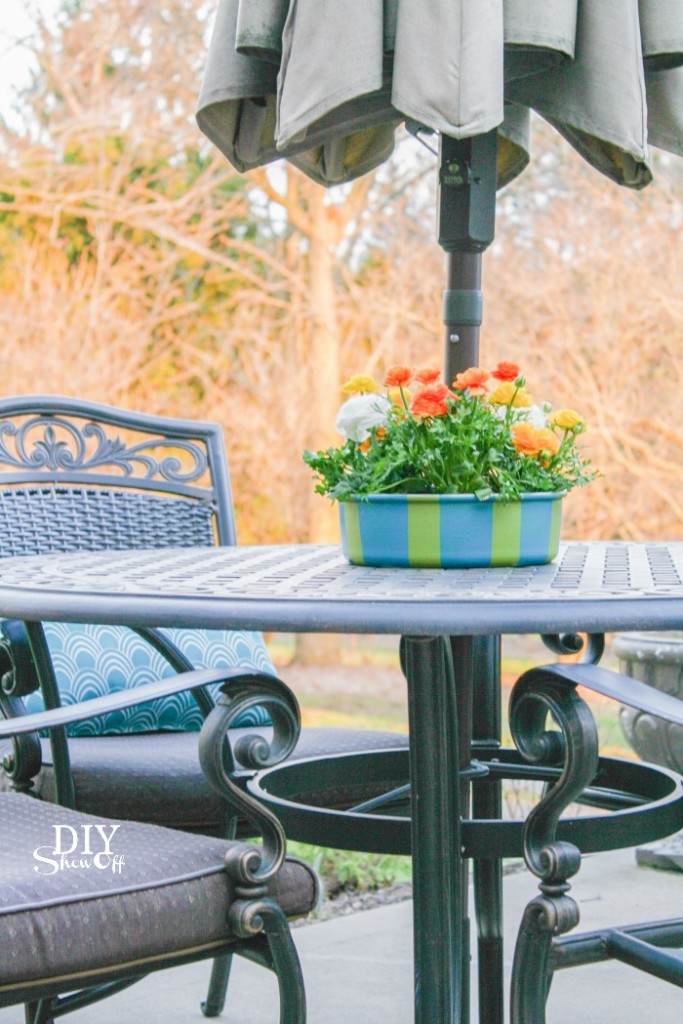
Since our patio is right off the kitchen, we spend a lot of time dining, entertaining or just relaxing outside when the weather cooperates. How about you? 

patio umbrella table planter/centerpiece (repurposed bundt pan) @diyshowoff

DIY {club foot} Brace Cover

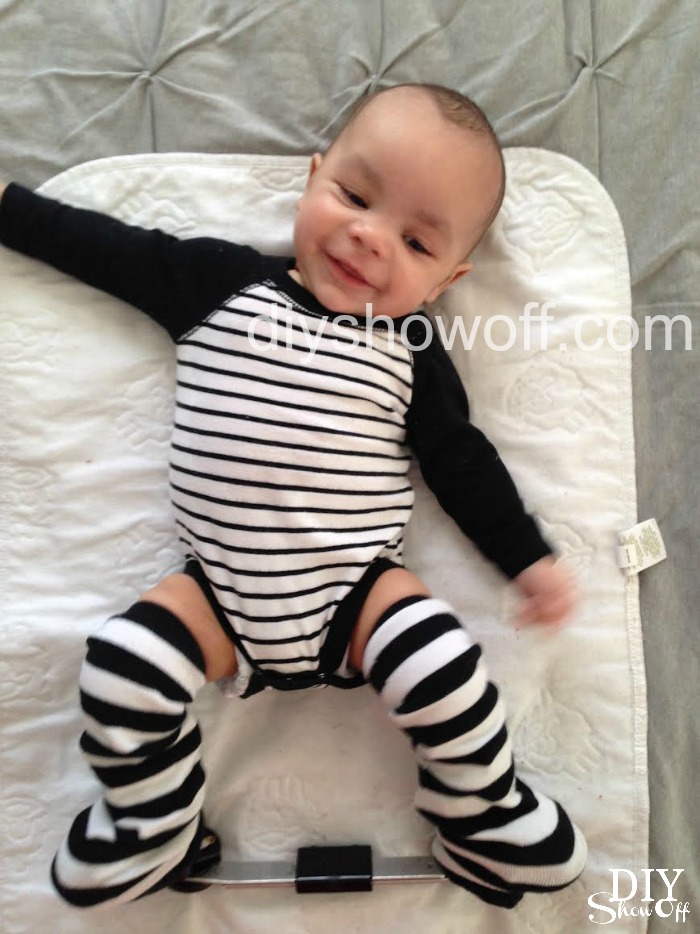
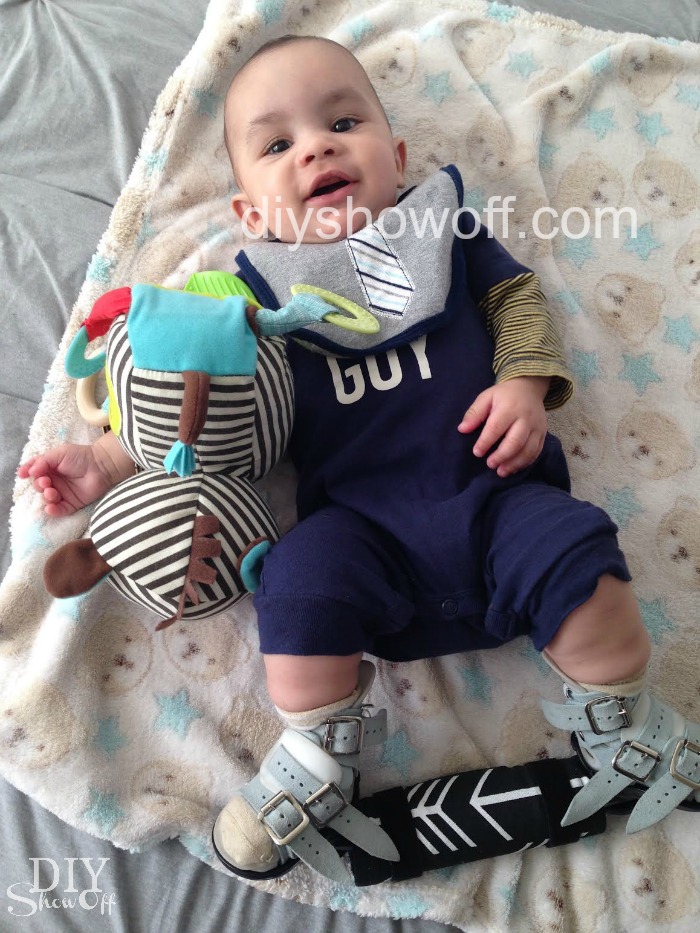
Sweet grand baby boy was born with club feet and after months of casting then surgery, he graduated to special shoes and a bar.

Before…

DIY {club foot} brace cover tutorial @diyshowoff

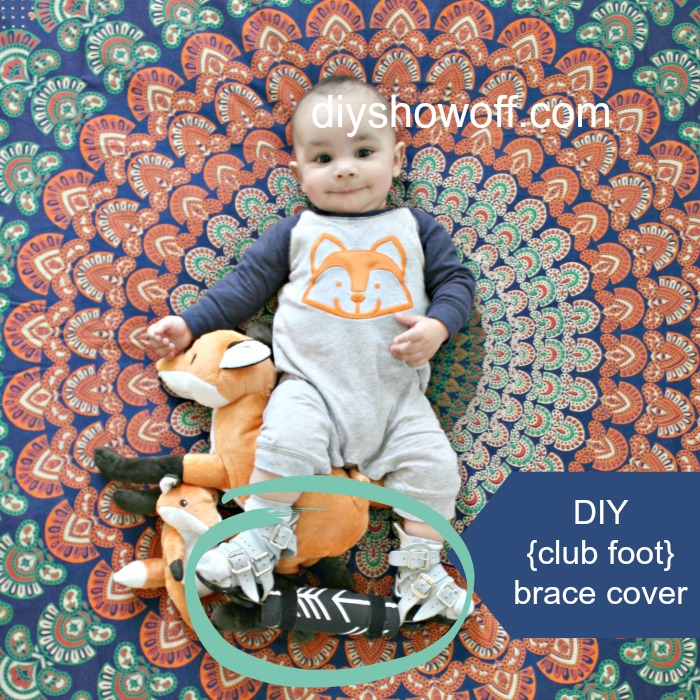
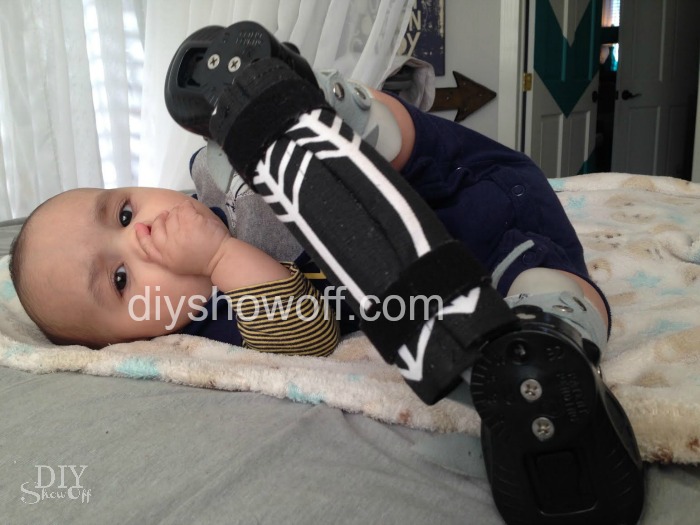
And sometimes that bar conks him on the head. Ouch. So I made up a little cushion/cover and wanted to share here for others who may be searching to cover their baby’s Ponseti bar.

DIY {club foot} brace cover tutorial @diyshowoff

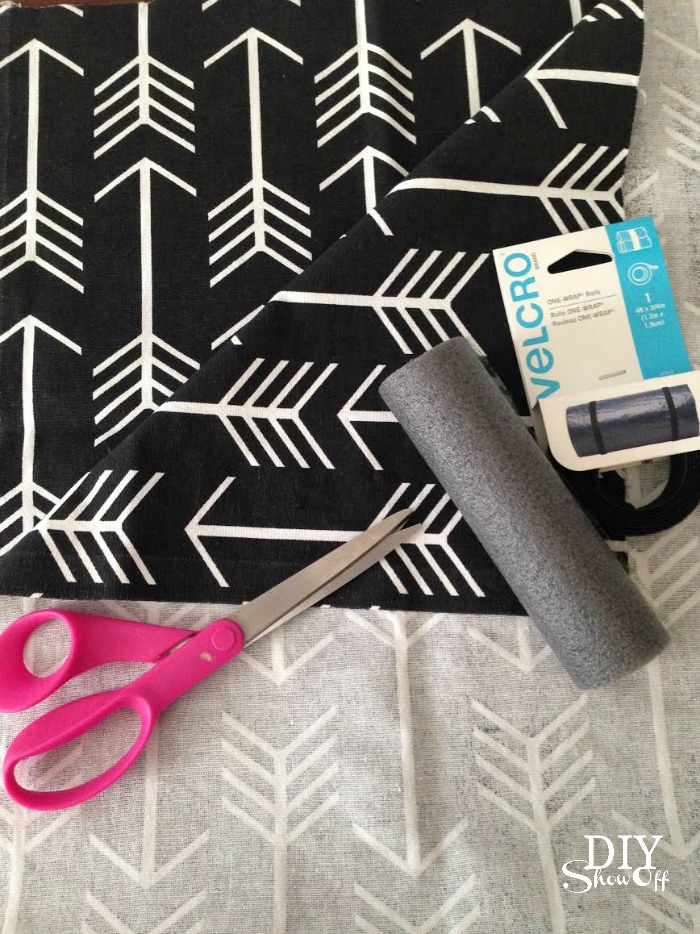
Materials I used:

  • pipe insulation
  • fabric
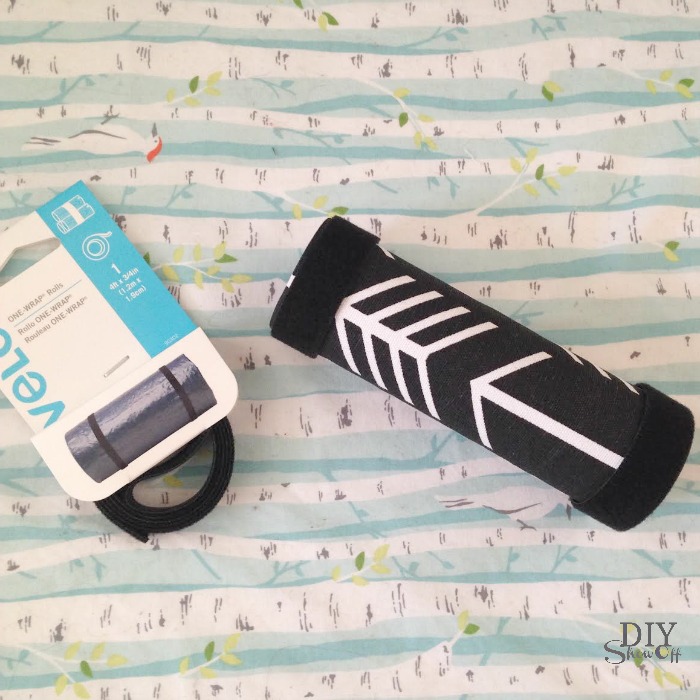
  • Velcro one wrap

DIY {club foot} brace cover tutorial @diyshowoff

What I did:

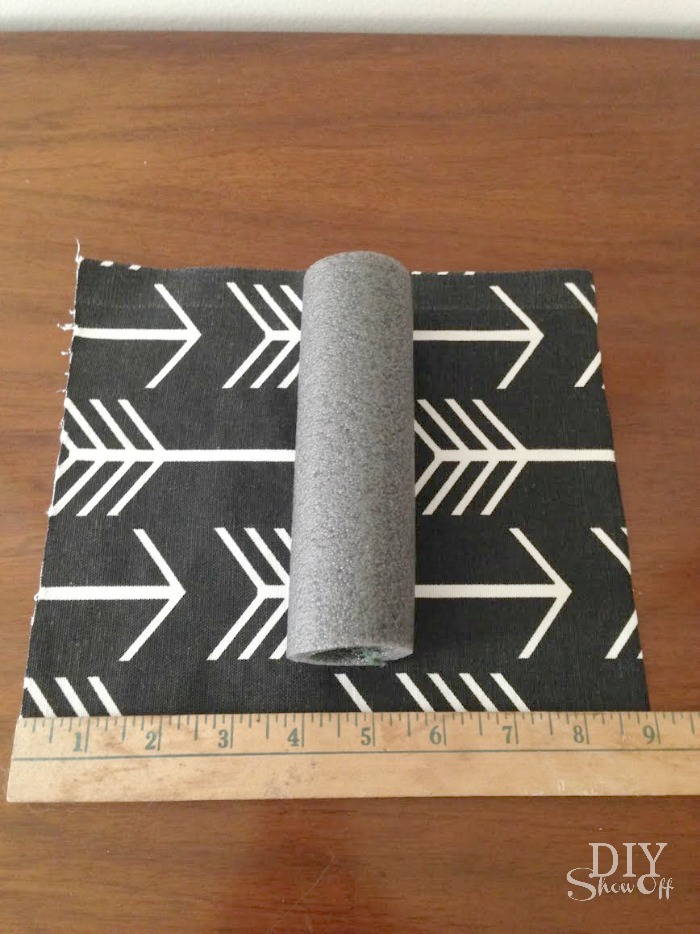
I cut a piece of pipe insulation to fit the brace between the shoes (6 inches). 

Next, I cut a piece of scrap fabric 8×9 inches. (It’s a snug fit so I’d suggest doing 8×11 inches instead…a little extra to tuck in.)

DIY {club foot} brace cover tutorial @diyshowoff

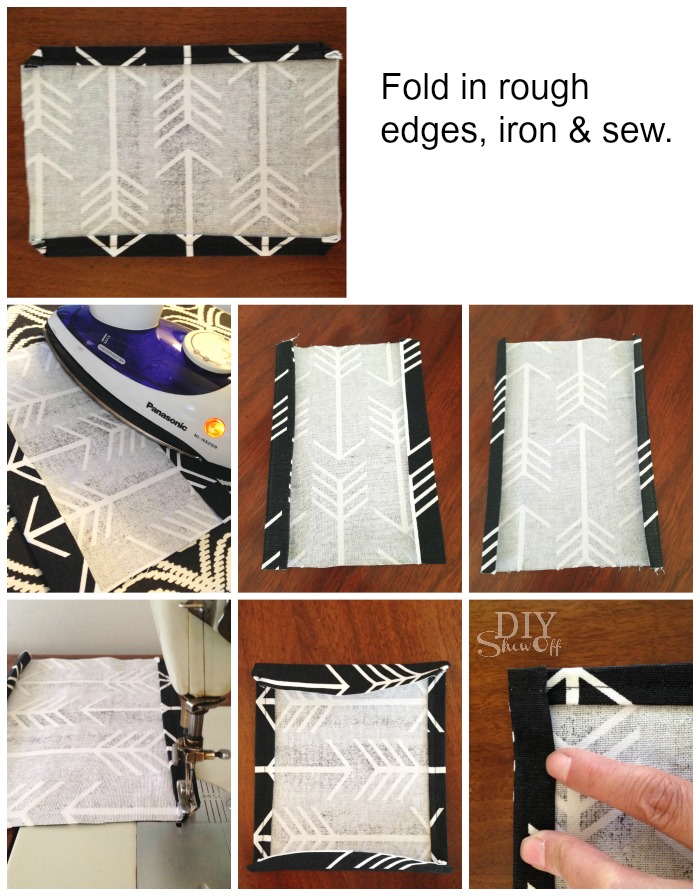
Then just ironed/sewed the borders. 

DIY {club foot} brace cover tutorial @diyshowoffDIY {club foot} brace cover tutorial @diyshowoff

I cut two pieces of the Velcro to fit around the pipe insulation snuggly. 

DIY {club foot} brace cover tutorial @diyshowoff

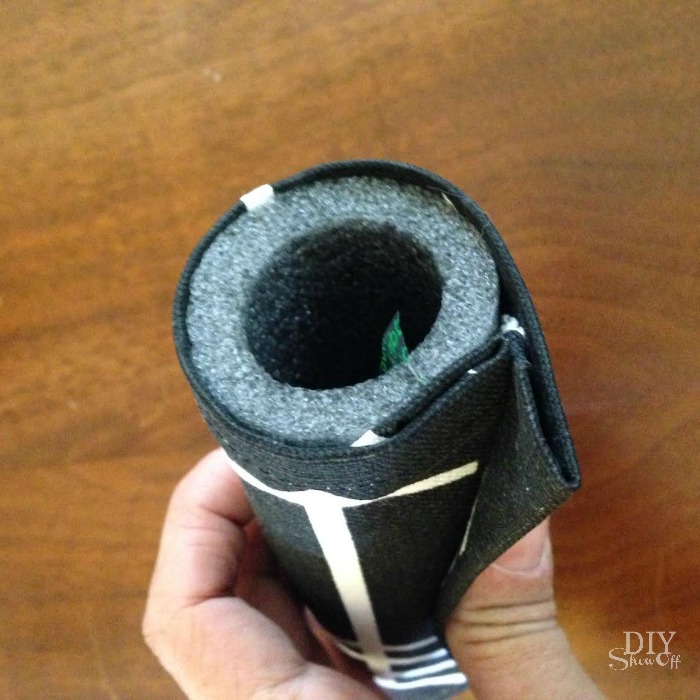
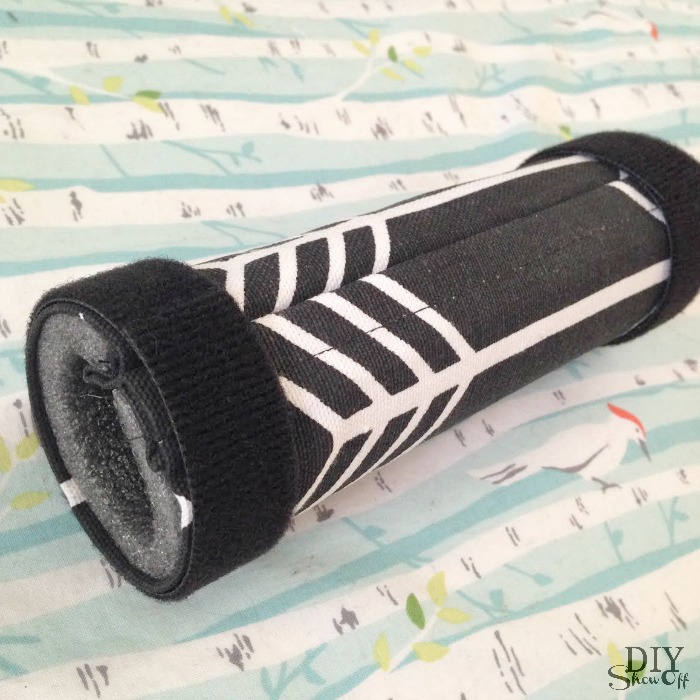
Assembly: Insert the brace into the pipe insulation. Wrap the fabric around the pipe insulation, tucking the ends into the open side. Secure with the Velcro. 

Optional: If you’re more of a sewing expert than me, you could do snaps or sew on velcro. 

DIY {club foot} brace cover tutorial @diyshowoff

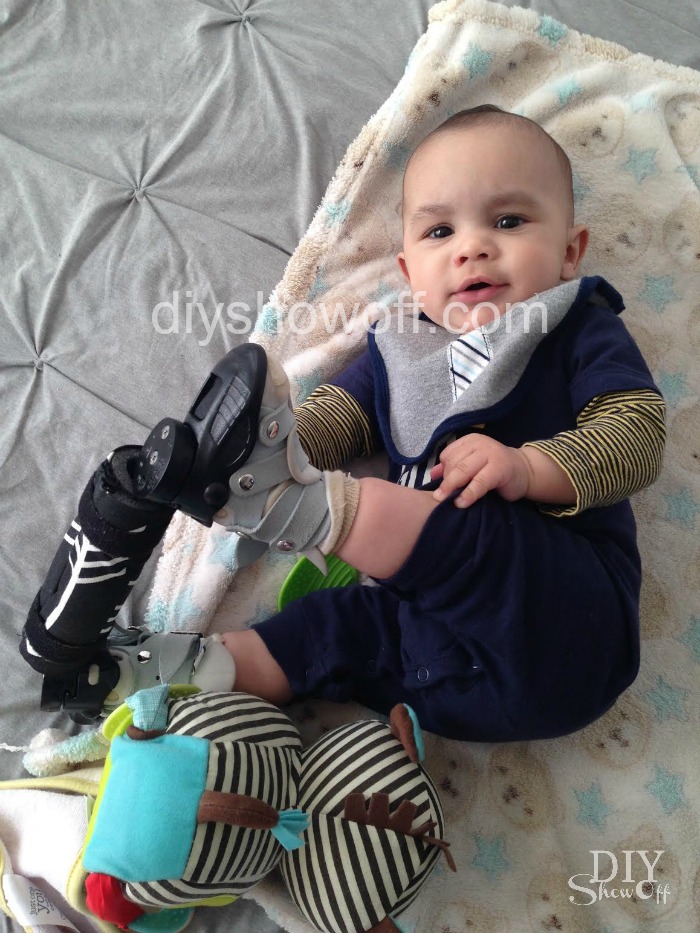
Now, the brace has a bit of cushioning. If there was only a way to cushion those hard soled shoes.

DIY {club foot} brace cover tutorial @diyshowoffDIY {club foot} brace cover tutorial @diyshowoff DIY {club foot} brace cover tutorial @diyshowoff


Ps. Yes, his shoes are on backwards. Doctors orders, part of the treatment. Isn’t he the cutest?
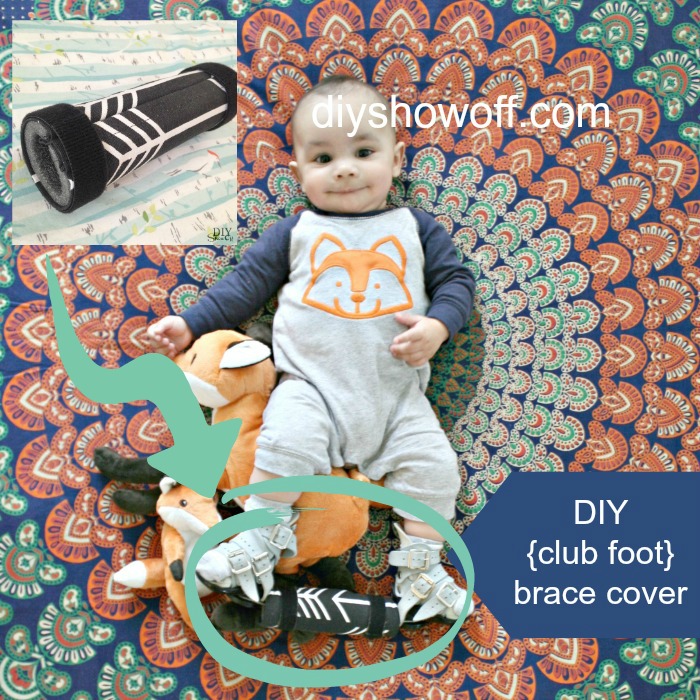
DIY {club foot} brace cover tutorial @diyshowoff

DIY Vinyl Iron on Decal

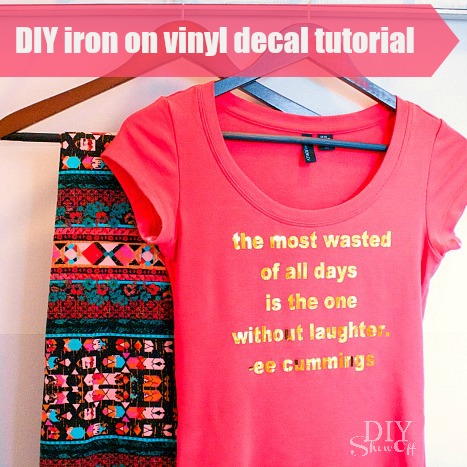
My monthly project for Happy Crafters is all about iron on vinyl, my favorite being the gold vinyl where I can quickly add a little bling to a plain t-shirt, tote back, pillow covers, onesies, etc. 

gold metallic iron on vinyl decal tutorial @diyshowoff #happycrafters

Materials:

Tutorial:

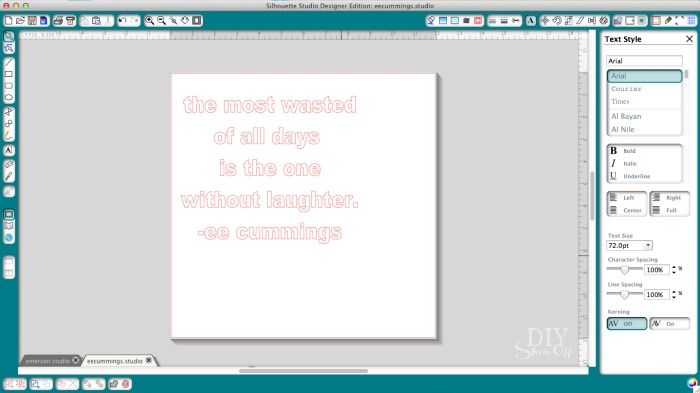
Use Silhouette Design Studio software to create a design of text with a quote. 

gold metallic iron on vinyl decal tutorial @diyshowoff #happycrafters

Resize text the text box and font to fit the front of your t-shirt. 

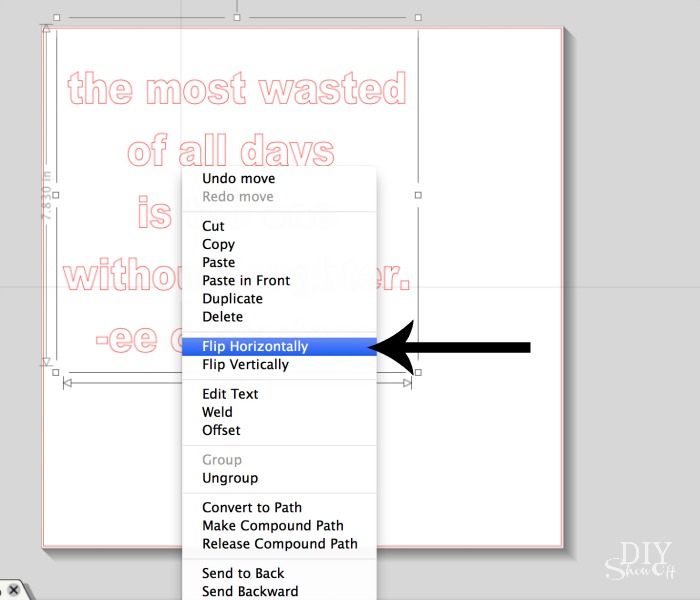
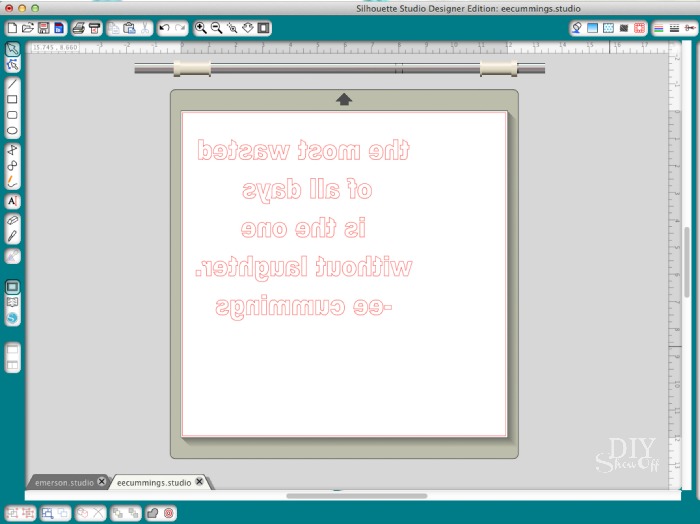
*Important! Right click and “flip horizontally” so that the text is a mirror image/backwards.

gold metallic iron on vinyl decal tutorial @diyshowoff #happycraftersgold metallic iron on vinyl decal tutorial @diyshowoff #happycrafters

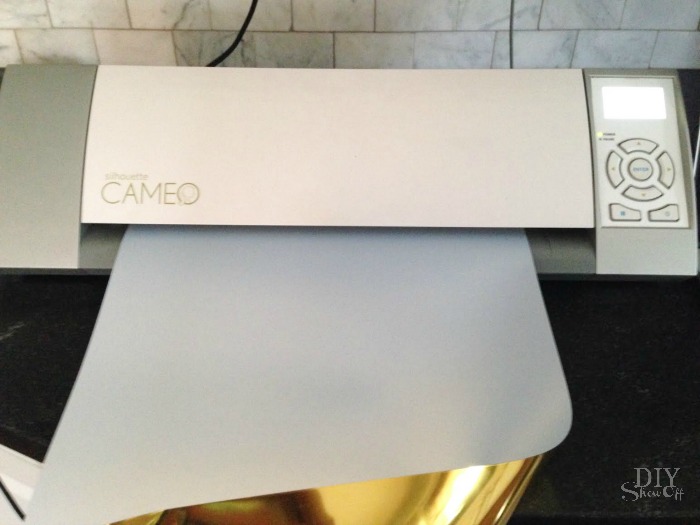
Load sheet of vinyl iron on into the machine shiny/color side facing down. 

gold metallic iron on vinyl decal tutorial @diyshowoff #happycrafters

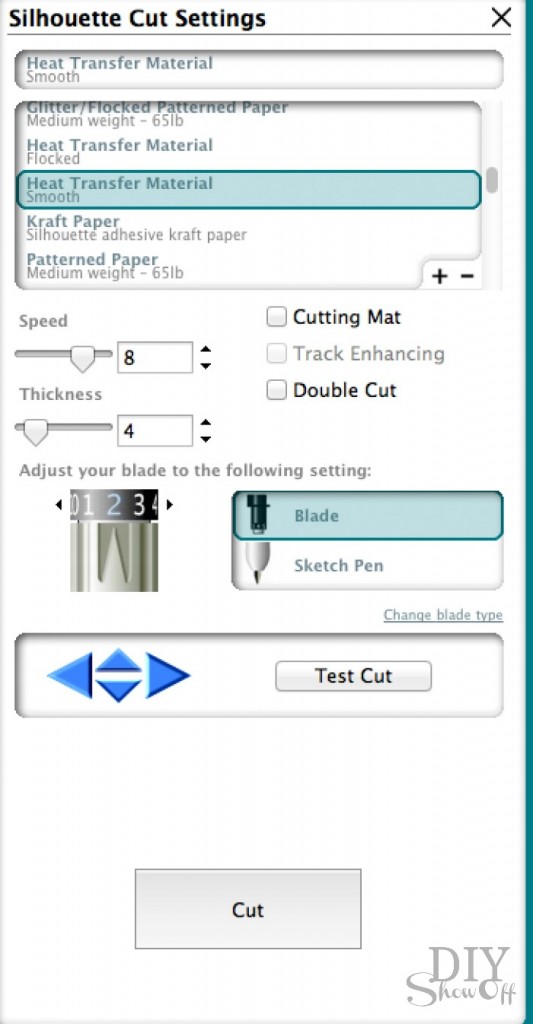
Click “send to cut” and be sure to adjust settings for cutting smooth heat transfer. I found that I needed to up the blade 2 more than recommended to get through the vinyl (awesome quality stuff!) so you may want to do a small text cut. 

gold metallic iron on vinyl decal tutorial @diyshowoff #happycrafters

Click “cut”. Once cutting is complete, remove vinyl from machine. 

Trim away excess vinyl. I like to have about an inch border around my text.

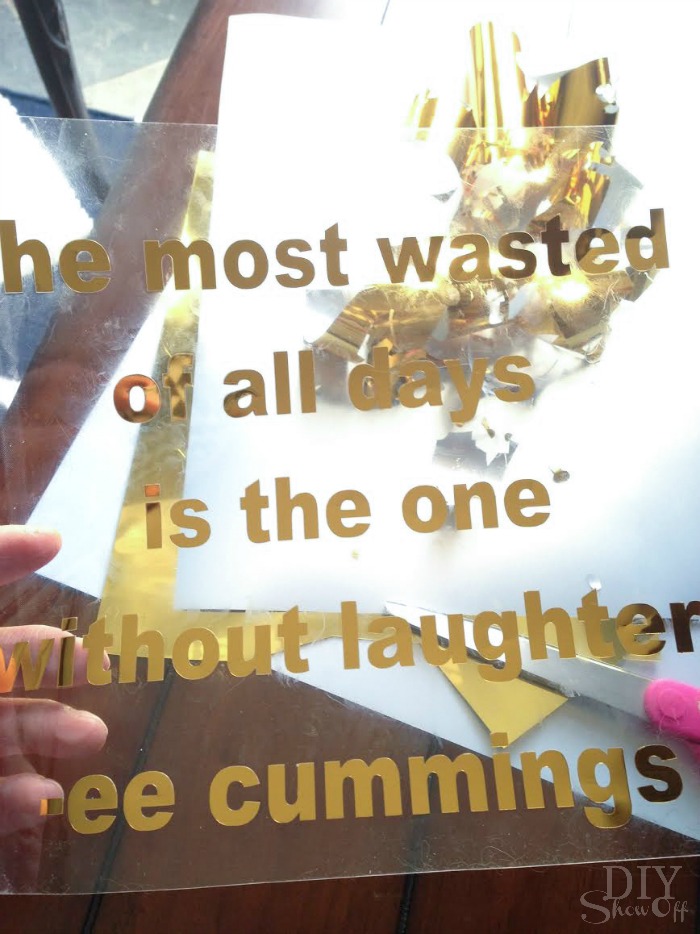
Weed away the negative part of the design (leaving text on the tacky clear transfer sheet). 

gold metallic iron on vinyl decal tutorial @diyshowoff #happycrafters

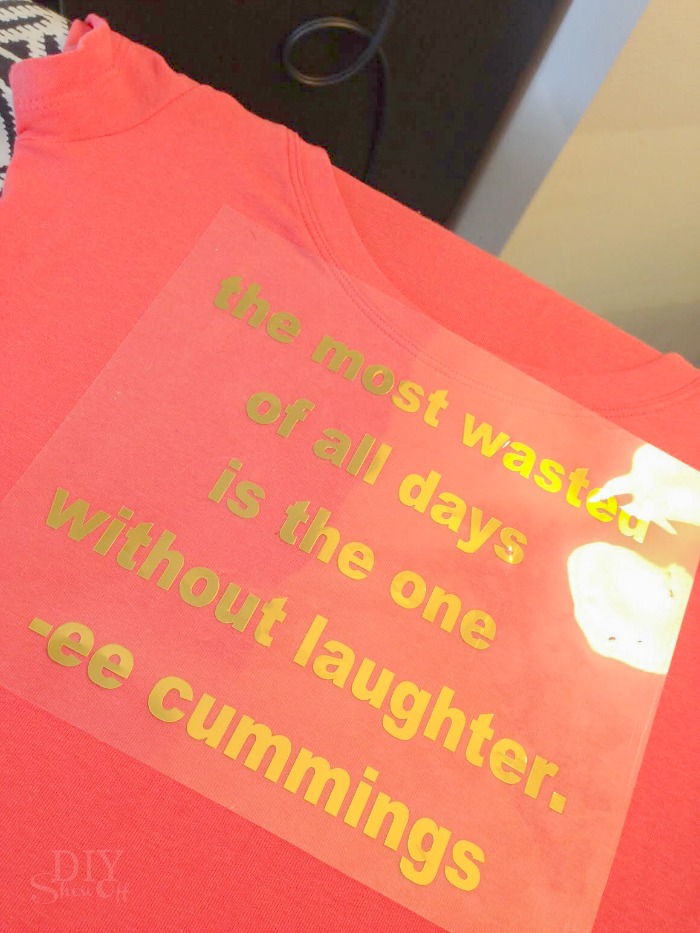
Place iron on sticky side down onto t-shirt.

gold metallic iron on vinyl decal tutorial @diyshowoff #happycrafters

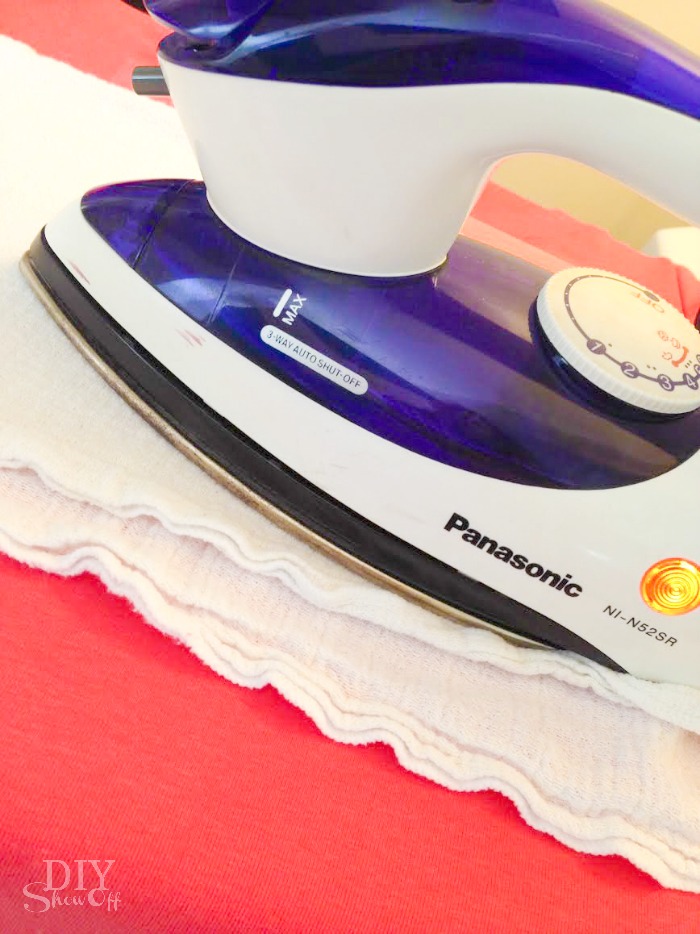
Iron according to paper instructions included with the vinyl iron on material with a cotton cloth over the transparent plastic. 

gold metallic iron on vinyl decal tutorial @diyshowoff #happycrafters

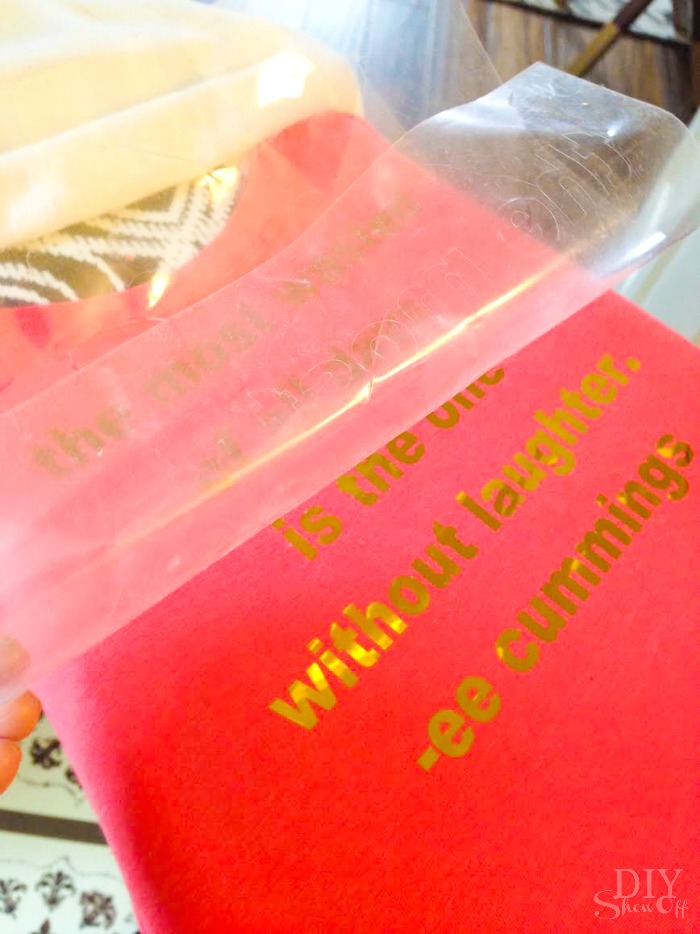
Carefully peel away clear transfer sheet. If vinyl iron on design hasn’t transferred, replace transparent sheet and re-iron/try again. 

gold metallic iron on vinyl decal tutorial @diyshowoff #happycrafters gold metallic iron on vinyl decal tutorial @diyshowoff #happycrafters

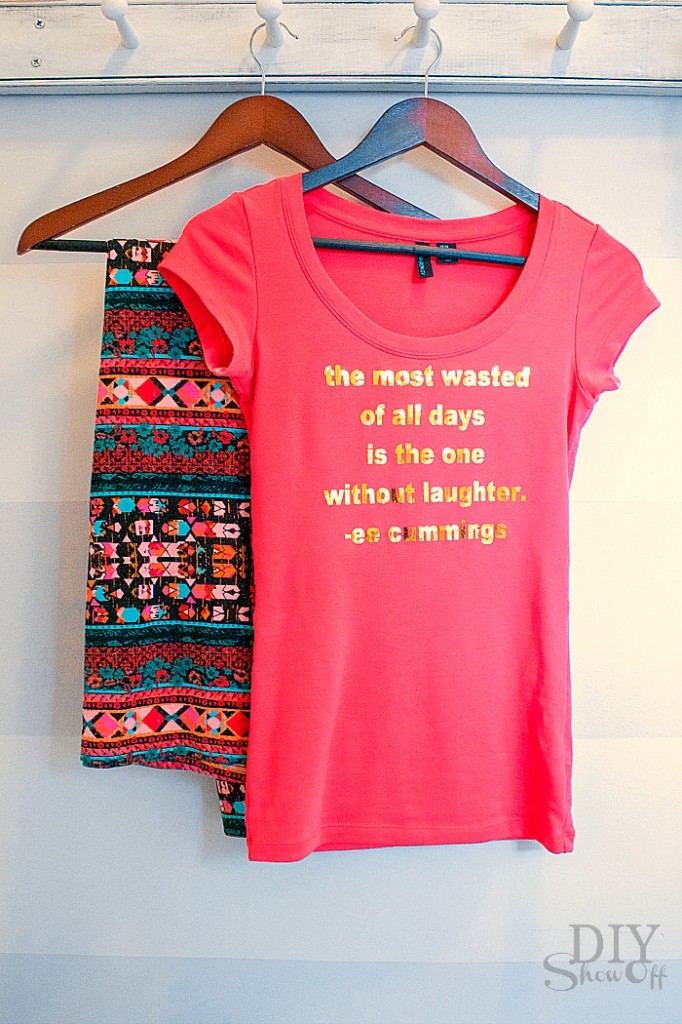
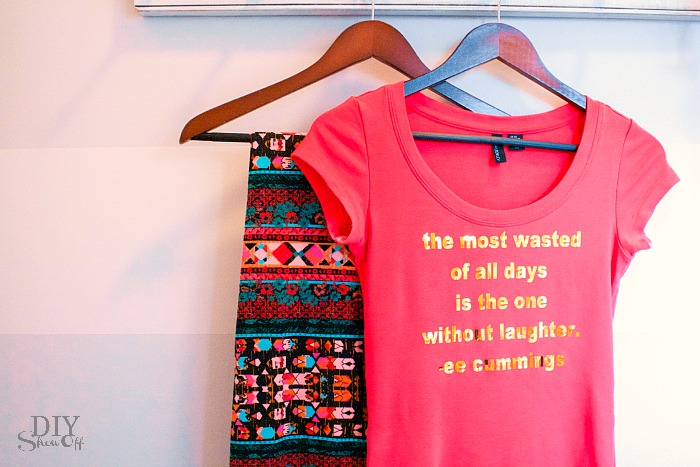
That’s it! This metallic gold foil has a mirror quality, reflections in the decal. So cool!

gold metallic iron on vinyl decal tutorial @diyshowoff #happycraftersgold metallic iron on vinyl decal tutorial @diyshowoff #happycrafters

*This post is sponsored by Happy Crafters. Tutorial, experience and opinion is my own. I love the products and the prices are affordable. Check out all the supplies at Happy Crafters for great prices, products and inspiration for your next project. 

HClogopngsmall