Painted Storage Box Craft

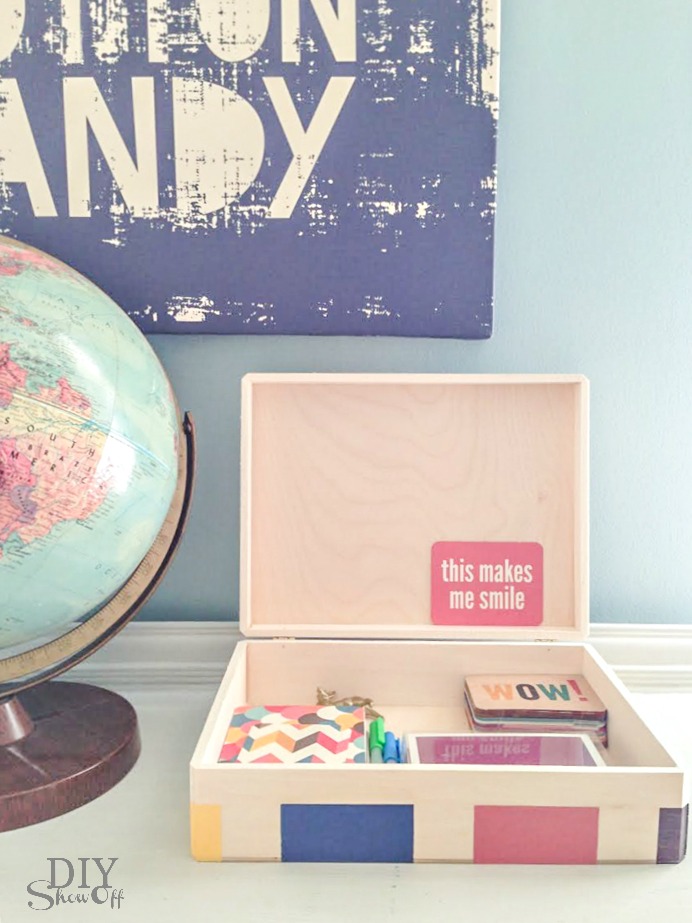
Organizing the desk top / homework station for the back-to-school season? A small storage box keeps school and homework accessories within easy reach but not on display. 

painted box craft idea at diyshowoff.com

Materials:

painted box craft idea at diyshowoff.com

What to do:

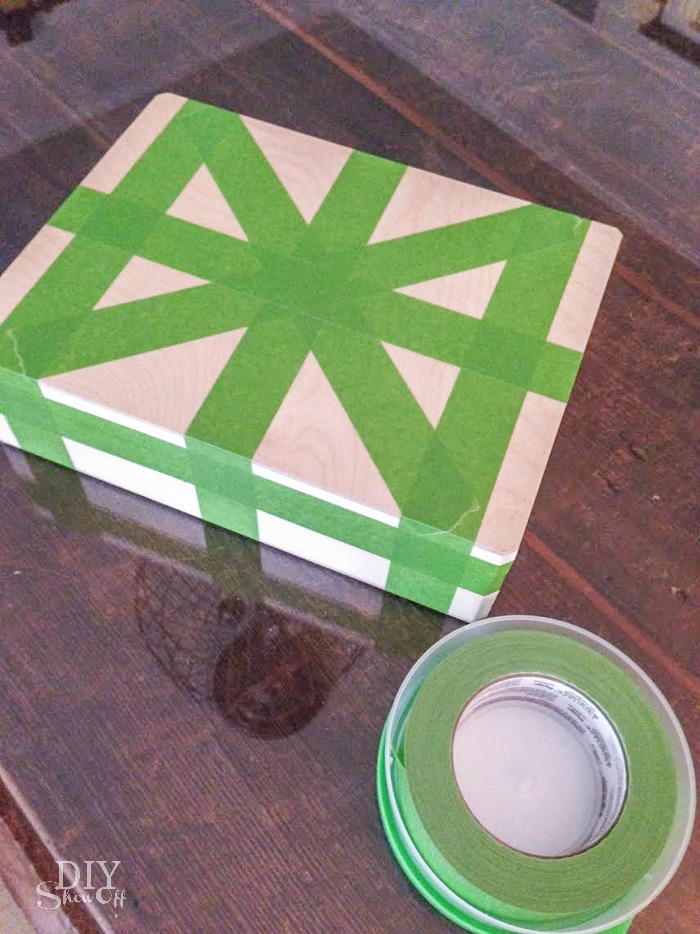
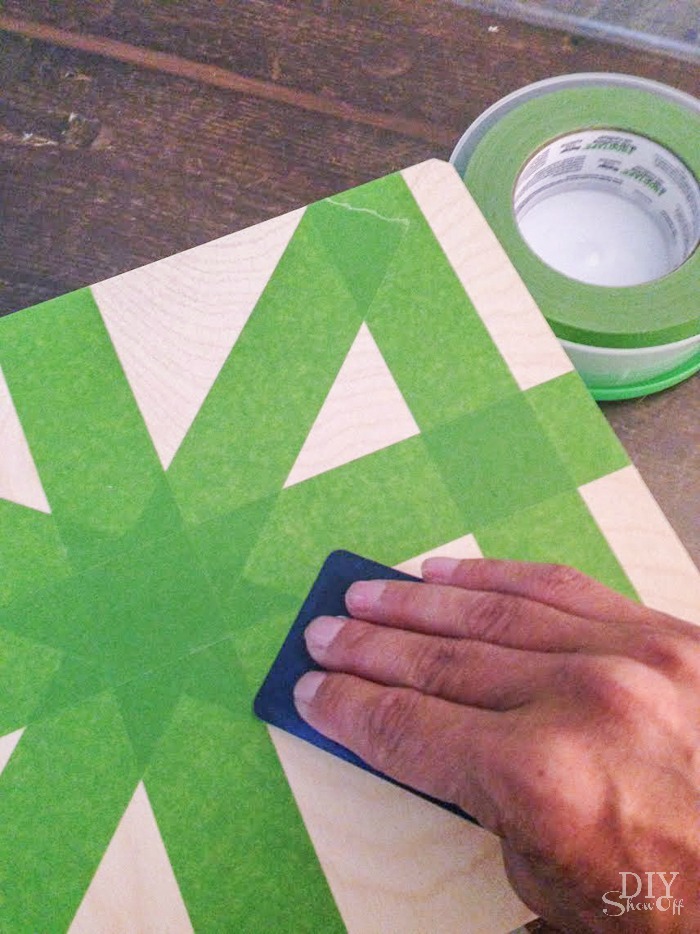
Tape off a design using your FrogTape. Stripes, checkers, plaid, triangles. So many options!

painted box craft idea at diyshowoff.com

Using a credit card, gift card or just your own thumbnail, burnish the edges of the tape. Meaning: make sure the edges of FrogTape are good and stuck down with no gaps.

painted box craft idea at diyshowoff.com

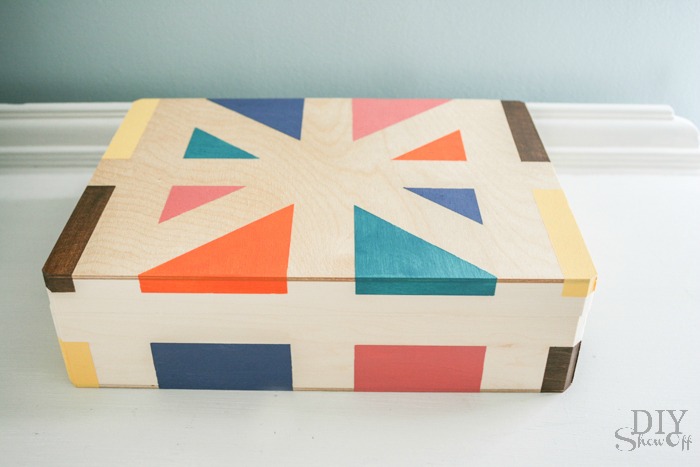
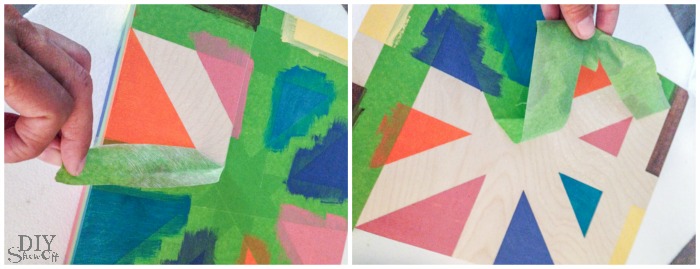
Now the fun part: paint each section. YOU customize colors to coordinate with decor or season.

painted box craft idea at diyshowoff.com

While paint is still wet, carefully remove FrogTape. Then let the paint dry.

painted box craft idea at diyshowoff.com

Give it a quick light spray of lacquer and let dry.

painted box craft idea at diyshowoff.com

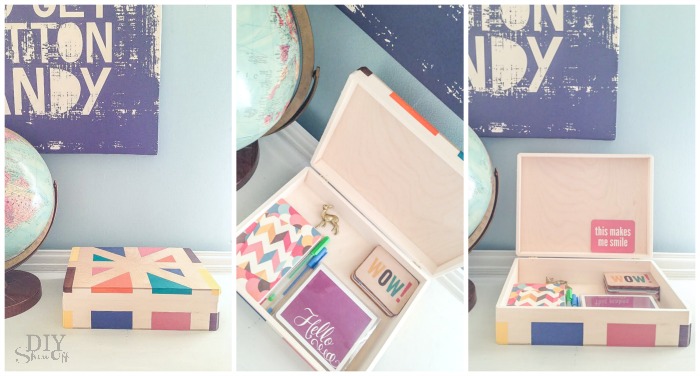
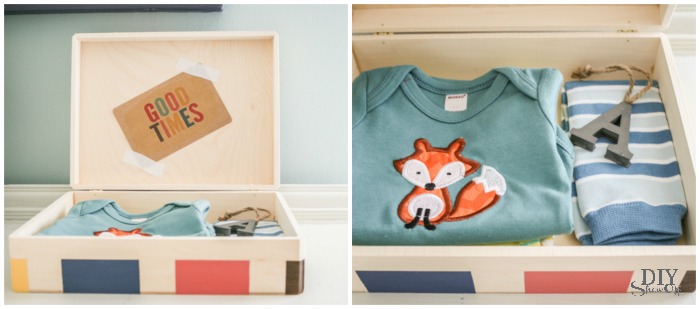
*Optional: embellish with washi-tape and decoupage, add a drawer knob, drawer pull or leather handle, adhere something from the junk drawer or little plastic animal using hot glue, add vinyl decals or stickers. Get creative! painted box craft idea at diyshowoff.compainted box craft idea at diyshowoff.com
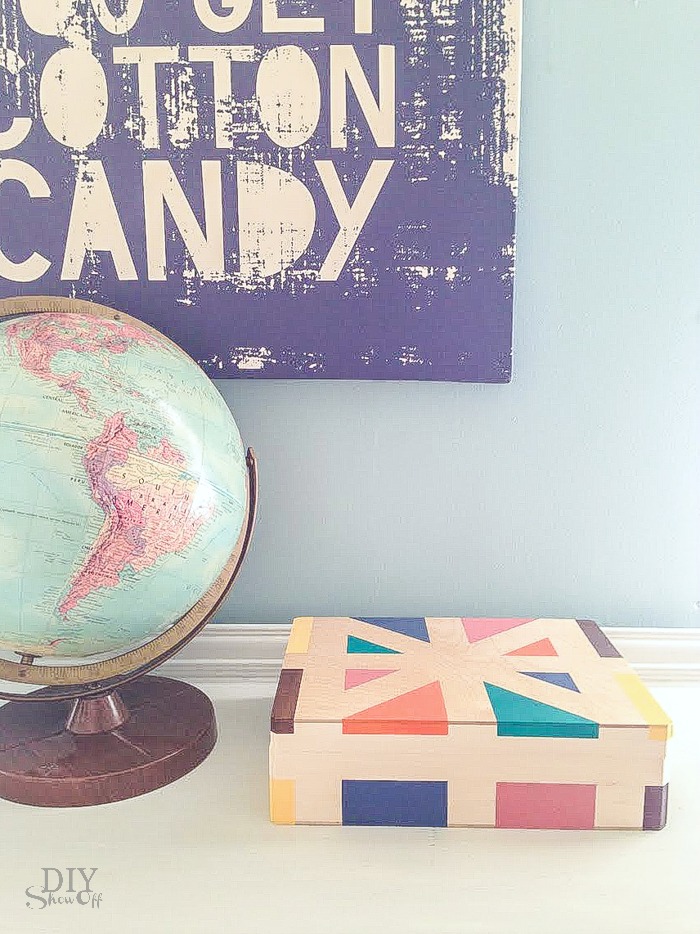
Use as a pencil box, for keepsake treasures, to store note or recipe cards, for organizing an essential oils collection, to tuck on a bookcase filled with bookmakers and highlighters, to keep cords handy or for a unique way of wrapping gifts.

painted box craft idea at diyshowoff.com 

It’s perfect for storing 70 15ml Young Living essential oils (more if you’re mixing in 5 ml sizes). Great idea for incentives, prizes or gifts – and YOU customize it to coordinate with your home. 

Young Living essential oil storage box @diyshowoff


FrogTape Blog Squad

Disclaimer: I received compensation to complete this project for using FrogTape® products. All opinions, projects and ideas are based on my own experience.

DIY Fall Door/Wall Decor Craft

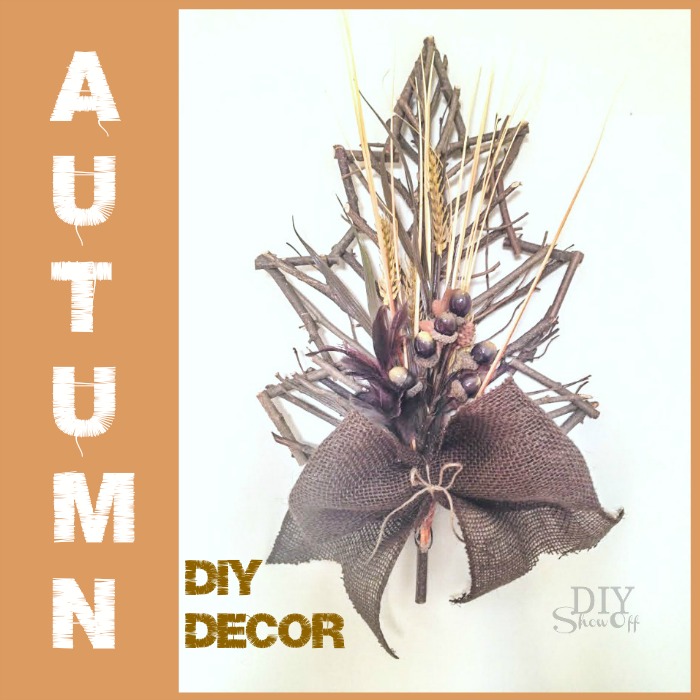
Fall is in the air! The upcoming baby shower theme will be “woodland”. Perfect for the fall season, don’t you think? So I made up a few of these twig leaf door or wall decor crafts for prizes. And just in time to participate in the Autumn Abound Fall Blog Hop (more on that below)!

autum DIY decor - diyshowoff.com

Materials:

  • Twig/stick leaf form from the craft store (you could even make your own) or grapevine wreathes, etc. 
  • Fall floral pics including faux acorns, wheat, leaves, feathers 
  • Hot glue 
  • Burlap ribbon
  • Twine 
  • Twist tie or floral wire

Tools: wire cutters, scissors, hot glue gun

Time: approx. 10 minutes

What I did:

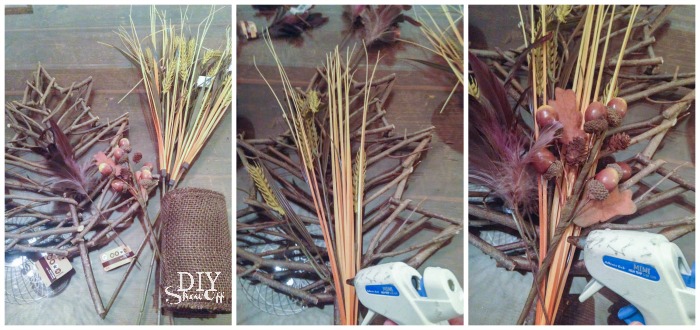
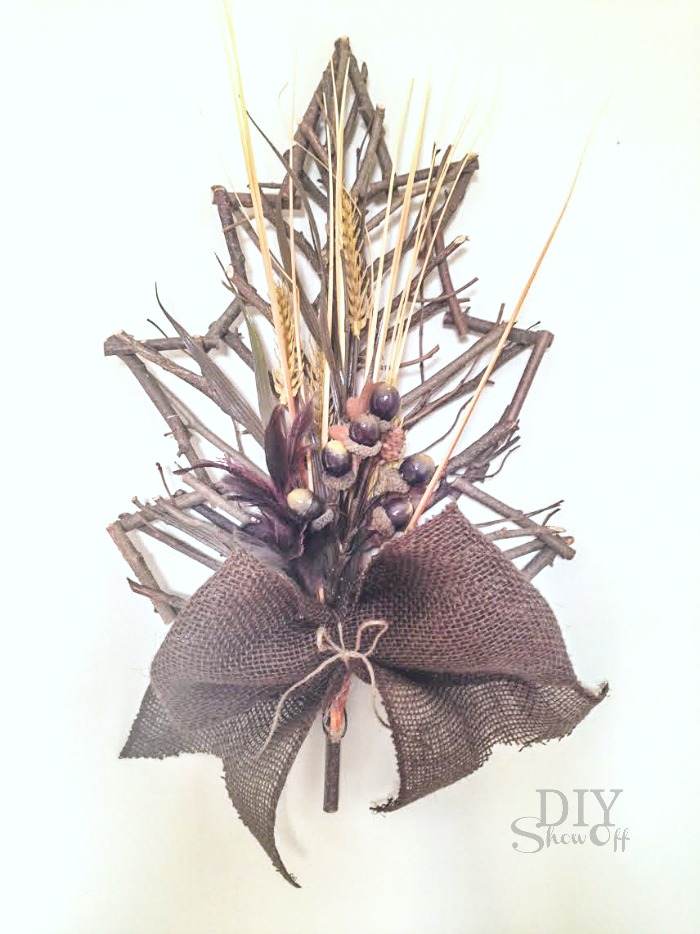
Simply assemble in layers and secure each embellishment with hot glue. DIY Fall Decor Craft at diyshowoff.com

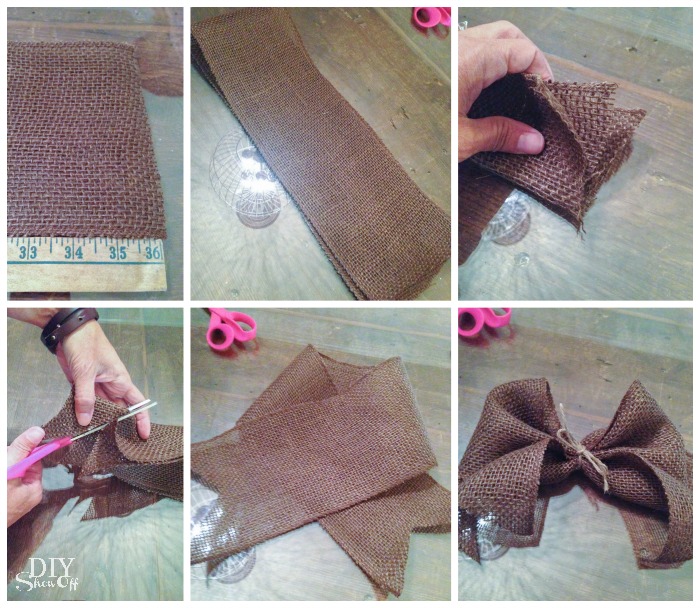
Cut a 36″ piece of burlap. Fold and snip the ends. Lay flat and overlap ends. Tie a knot/bow using twine to gather and finish the burlap bow. Secure to arrangement using hot glue. 

DIY Fall Decor Craft at diyshowoff.com

Use a twist tie to assist with hanging. 

I think that was the easiest tutorial ever! If I can do it, so can you! 

DIY Fall Decor Craft at diyshowoff.com


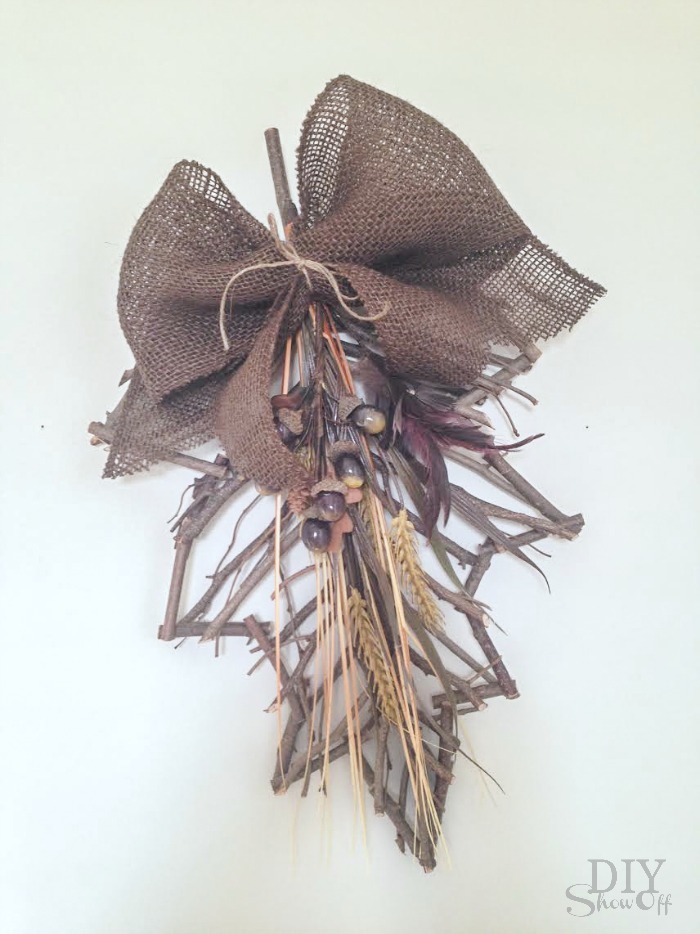
They’d look great used as a centerpiece too. Or hang the opposite direction…

DIY Fall Decor Craft at diyshowoff.com

More on a woodland themed baby shower coming soon!

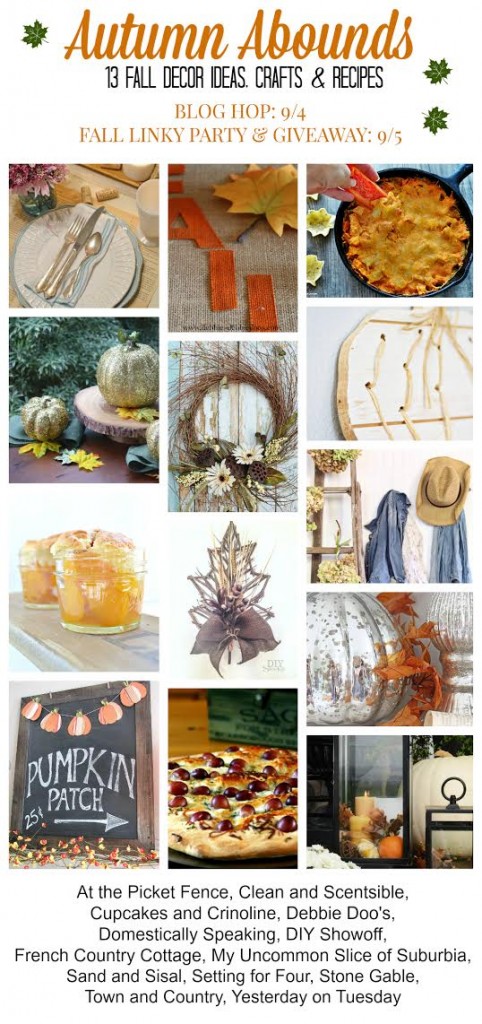
 Autumn Abounds

But today you’re going to want to follow the Autumn Abounds blog hop for more fall inspiration!

Domestically Speaking
My Uncommon Slice of Suburbia
At the Picket Fence
Setting for Four
Stone Gable
Cupcakes and Crinoline
Town and Country Living
Sand and Sisal
Yesterday on Tuesday
Clean and Scentsible
Debbie Doo’s
DIYShowOff
French Country Cottage

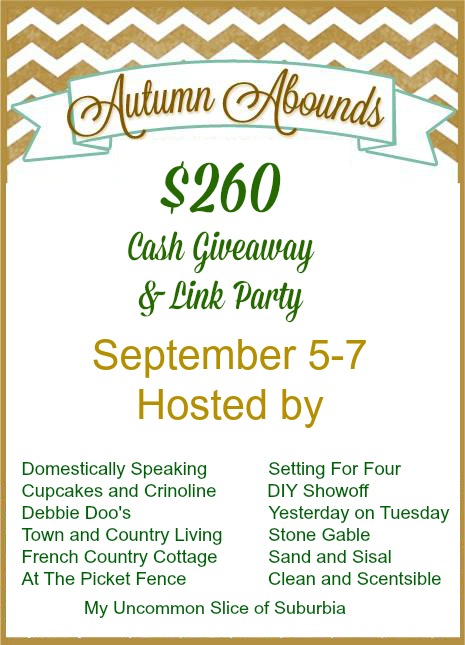
Then stop back tomorrow to link up your own fall related blog posts and to enter to win an awesome cash prize!

Fall Linky Party

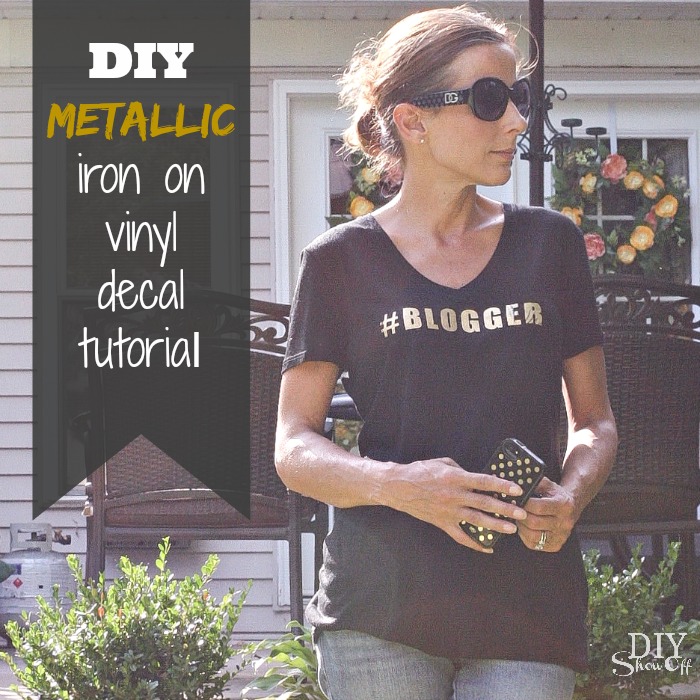
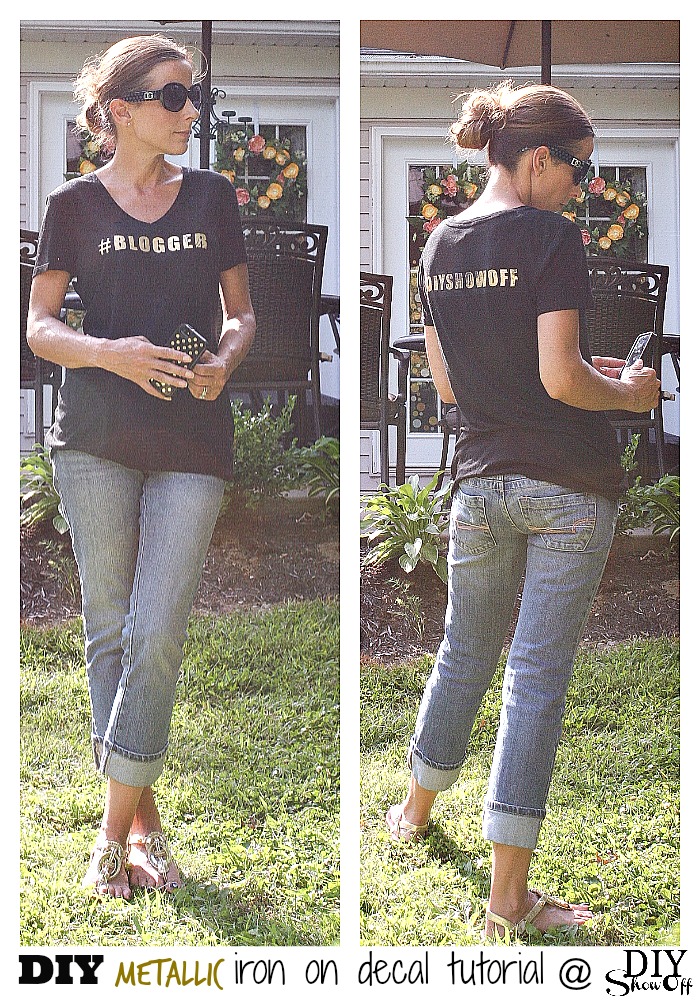
DIY Metallic Iron On Decal Tutorial

DIY metallic iron on decal tutorial @diyshowoff

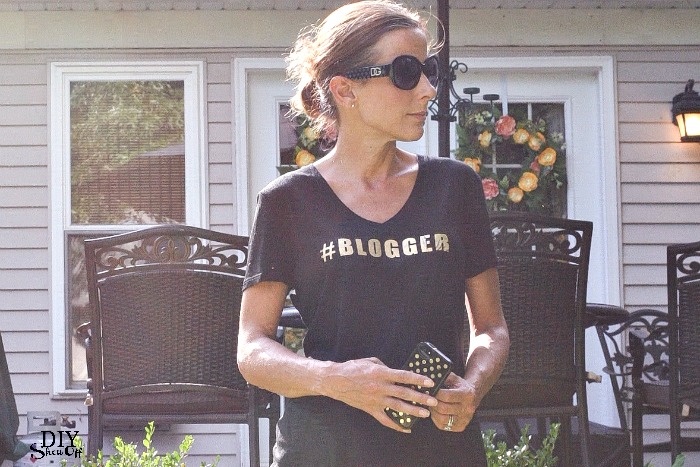
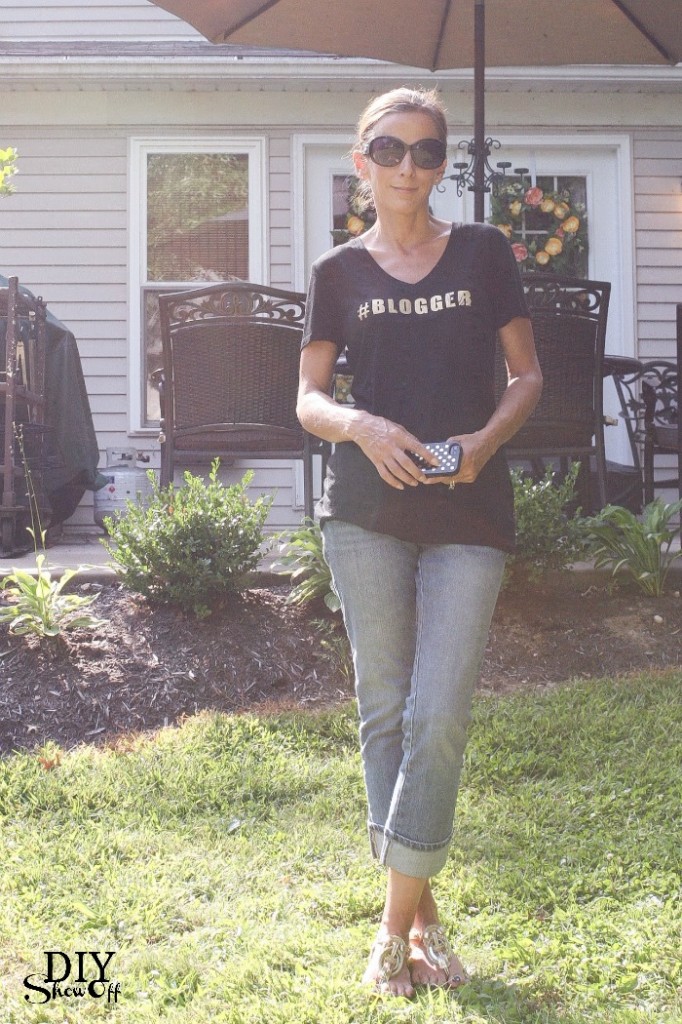
I know, I know. I just shared a t-shirt tutorial a few weeks ago that I created for my sister but making up your own personalized iron on decals is so fun! Recently my blog buddy Julia from Cuckoo 4 Design (love her!) shared on her FB page the coolest t-shirt. It read “#BLOGGER”, however it’s only available in Germany so thinking along the lines of DIY (as usual), I decided to make my own for my August Happy Crafters project. They have a great selection of metallic iron on vinyl that I couldn’t wait to use.

DIY metallic iron on decal tutorial @diyshowoff

Materials:

What I did:

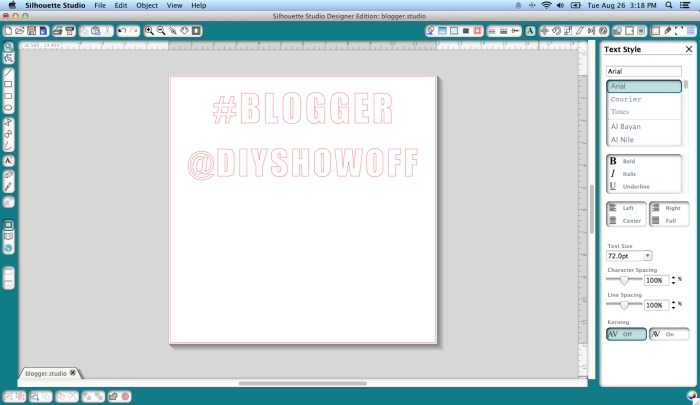
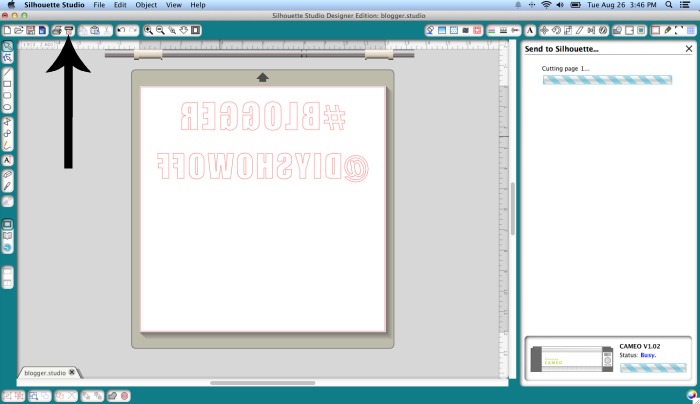
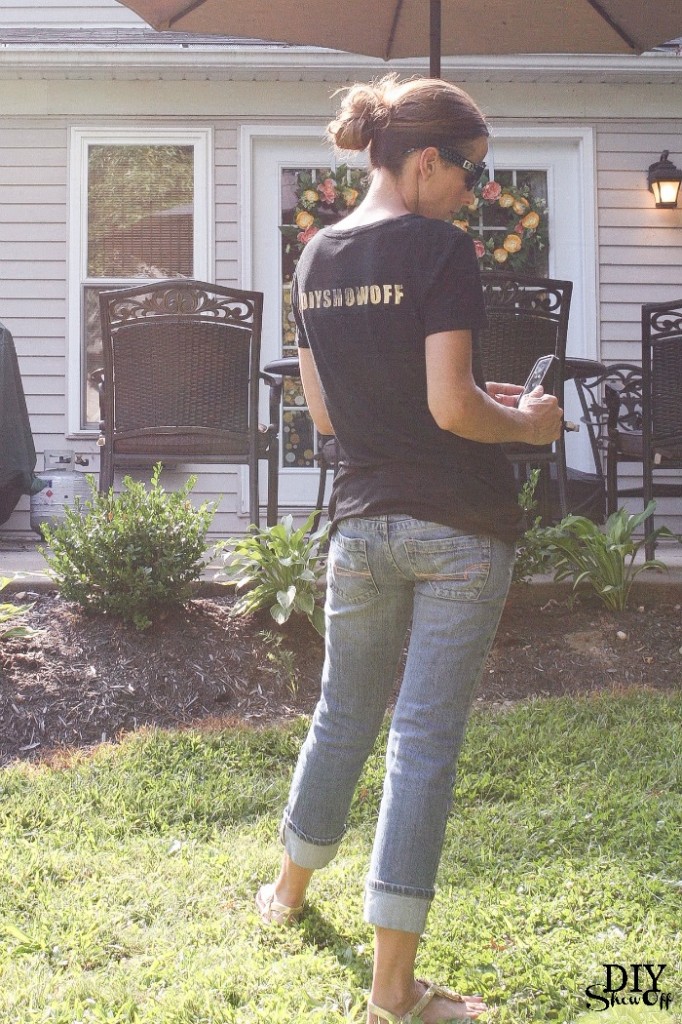
Open up your Silhouette Studio Design Edition software and create the text “#BLOGGER” for the front of the shirt. I also added “@DIYSHOWOFF” for the back of mine. Center on a 12×12 space. 
metallic gold #blogger vinyl decal tutorial @diyshowoff #happycrafters

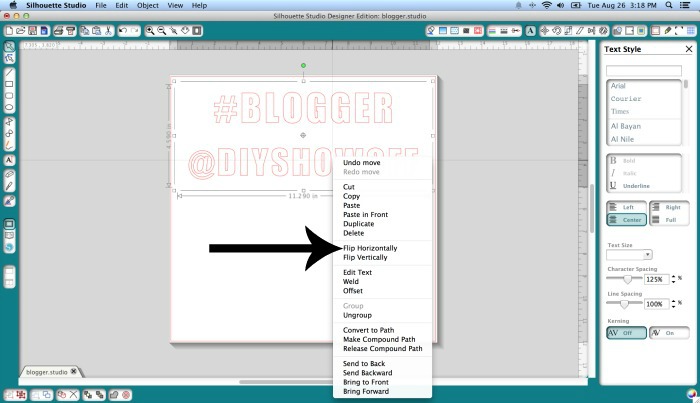
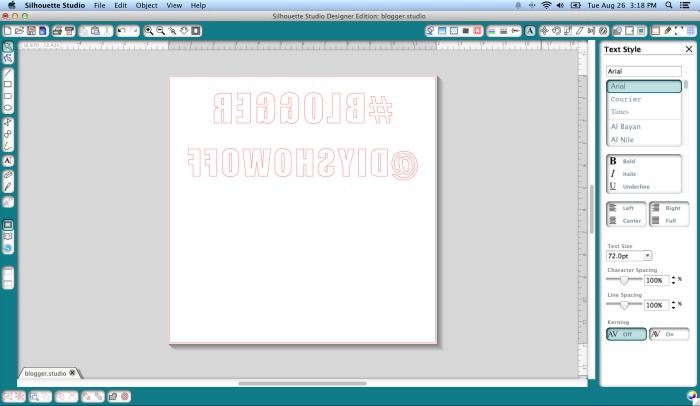
Right click the text box to bring up the edit menu and select “flip horizontally”. You’ll need to mirror the text for cutting. 

metallic gold #blogger vinyl decal tutorial @diyshowoff #happycraftersmetallic gold #blogger vinyl decal tutorial @diyshowoff #happycrafters

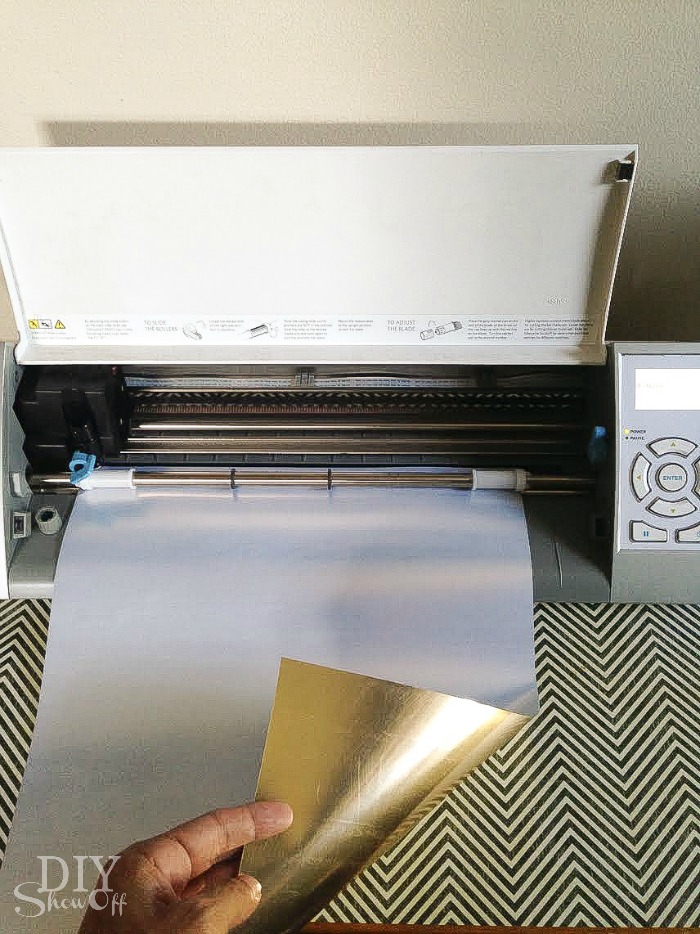
Load the iron on vinyl into the machine gold side down (back side up). 

metallic gold #blogger vinyl decal tutorial @diyshowoff #happycrafters

Adjust blade setting for heat transfer and send to cut. 

metallic gold #blogger vinyl decal tutorial @diyshowoff #happycrafters

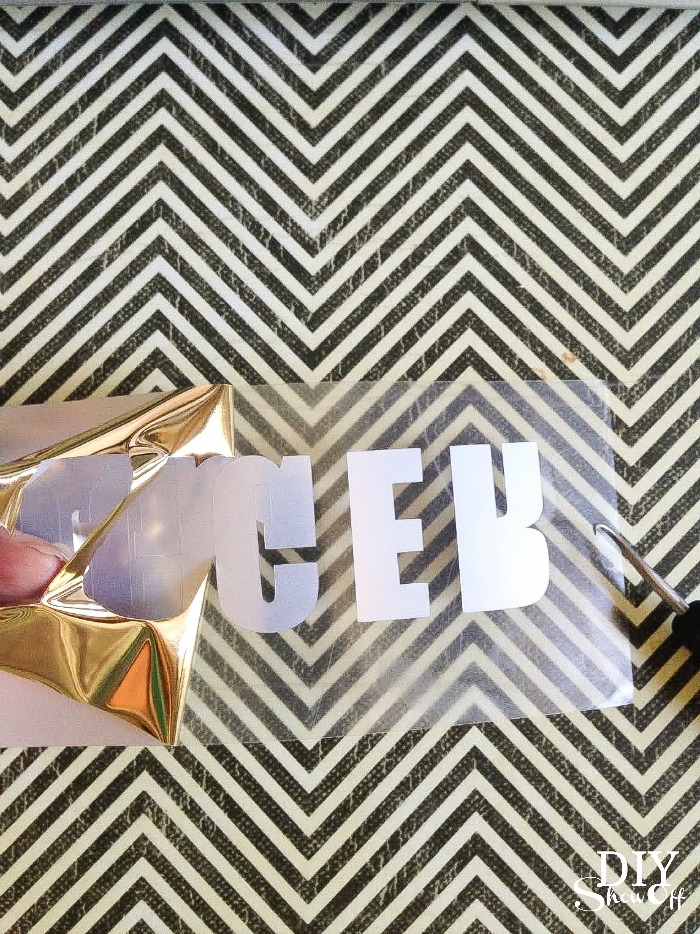
Unload from the machine and weed away excess vinyl. The silver/gold side will peel away from a tacky transparent side (your text will be stuck backwards to the tacky side). 

metallic gold #blogger vinyl decal tutorial @diyshowoff #happycrafters

Smooth out the shirt onto an ironing board. Place iron on vinyl decal tacky side down in the spot where you’d like it to show on the front of the shirt. 

metallic gold #blogger vinyl decal tutorial @diyshowoff #happycrafters

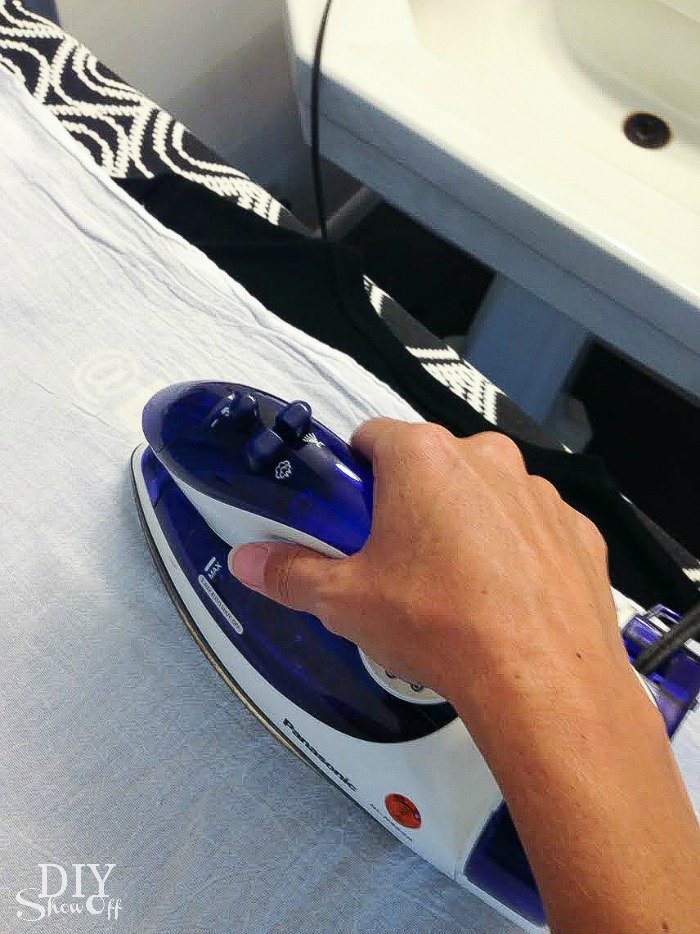
Cover the decal with a cotton dish towel (or scrap fabric). Iron on high adding pressure according to the instructions provided with the Happy Crafters iron on vinyl. 

metallic gold #blogger vinyl decal tutorial @diyshowoff #happycrafters

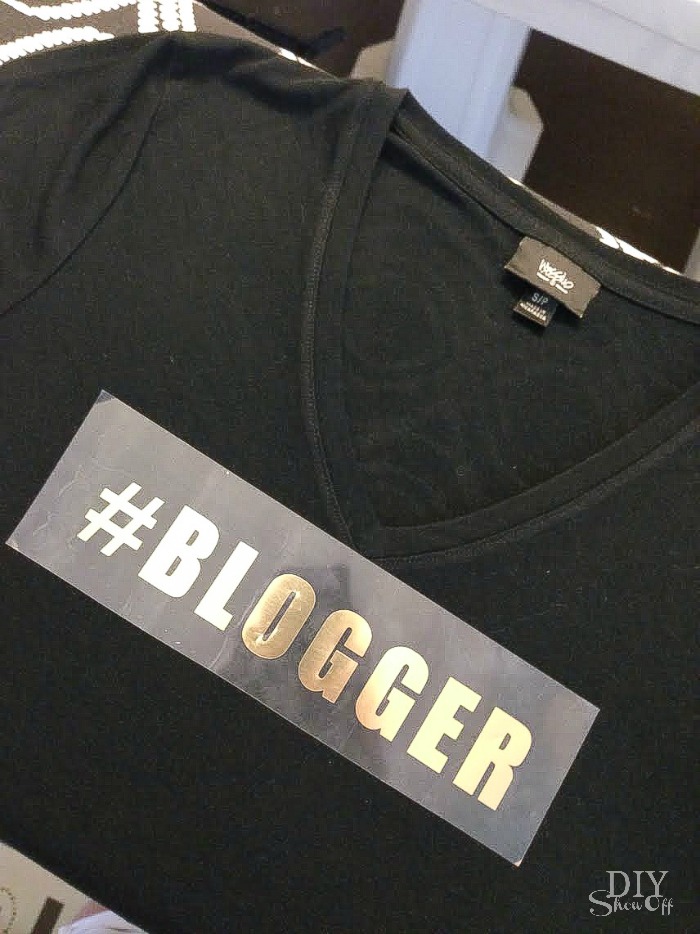
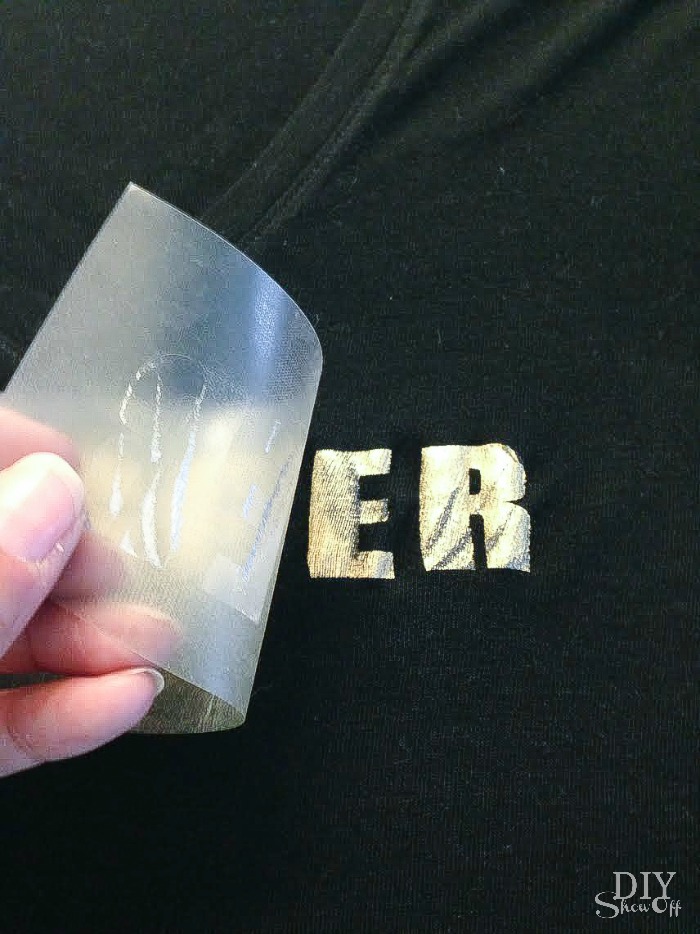
Slowly peel away the transparency. If you notice that the vinyl hasn’t adhered, replace transparency and iron again applying more pressure. 
metallic gold #blogger vinyl decal tutorial @diyshowoff #happycrafters

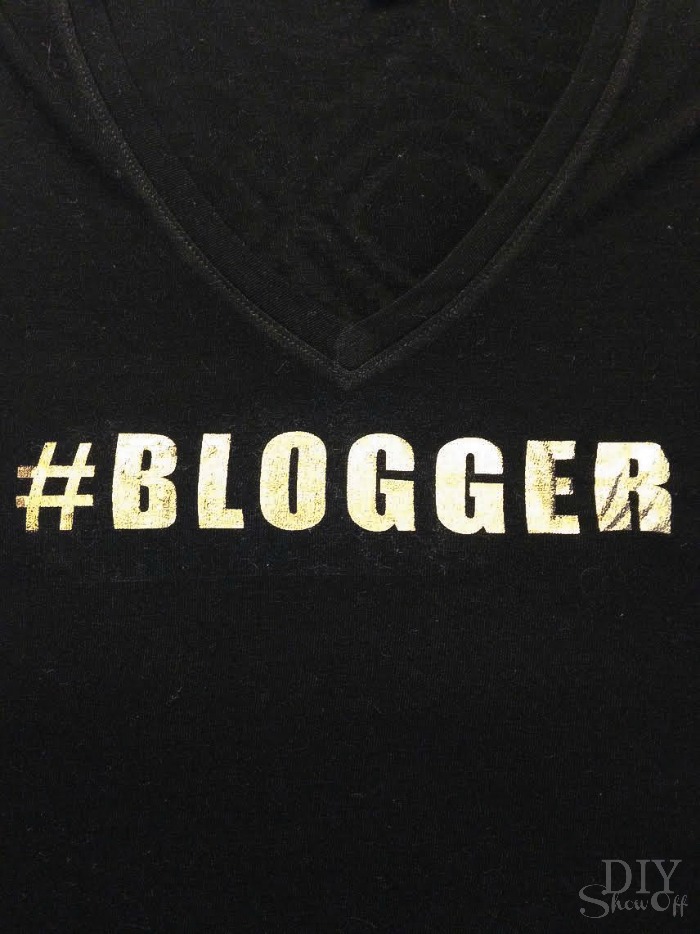
Once transparency is removed, I replaced my cotton dish towel and ironed the lettering flat. 
metallic gold #blogger vinyl decal tutorial @diyshowoff #happycrafters

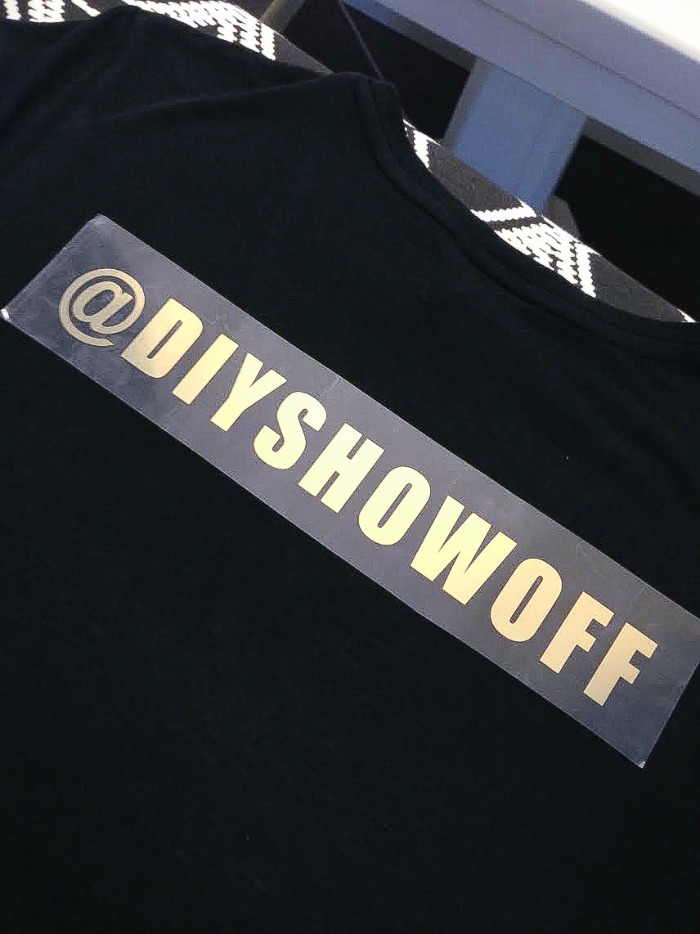
Repeat the same steps for adhering the iron on vinyl decal to the back you may want to slide a piece of cardboard inside of the shirt first to prevent re-heating the front iron-on decal. 

metallic gold #blogger vinyl decal tutorial @diyshowoff #happycrafters

That’s it. I may have ironed mine on too high a temp so I have a sort of distressed look to my decal … which I love! So you may want to do a practice run/test to get it just right if you’re not a fan of the distressed lettering. Good luck! 

metallic gold #blogger vinyl decal tutorial @diyshowoff #happycrafters

And…it coordinates with my black and gold polka dotted iPhone case. #stylish haha!

metallic gold #blogger vinyl decal tutorial @diyshowoff #happycraftersmetallic gold #blogger vinyl decal tutorial @diyshowoff #happycrafters

What hashtag would you choose for your shirt? 

*This post is sponsored by Happy Crafters. Tutorial, experience and opinion is my own.  Check out all the supplies at Happy Crafters for inspiration for your next project. 

HClogopngsmall