Thanksgiving decorating {thrift store art print becomes Thanksgiving reminder}…

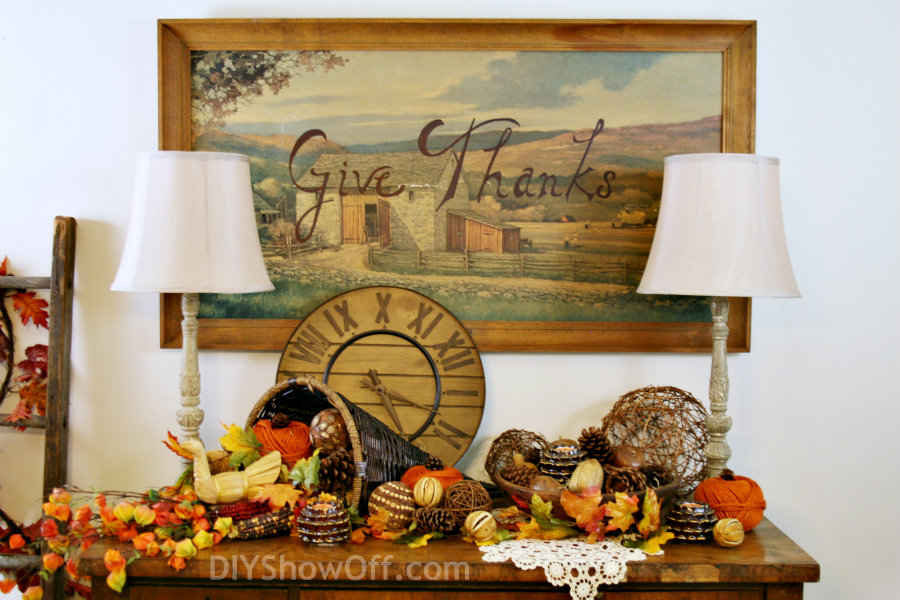
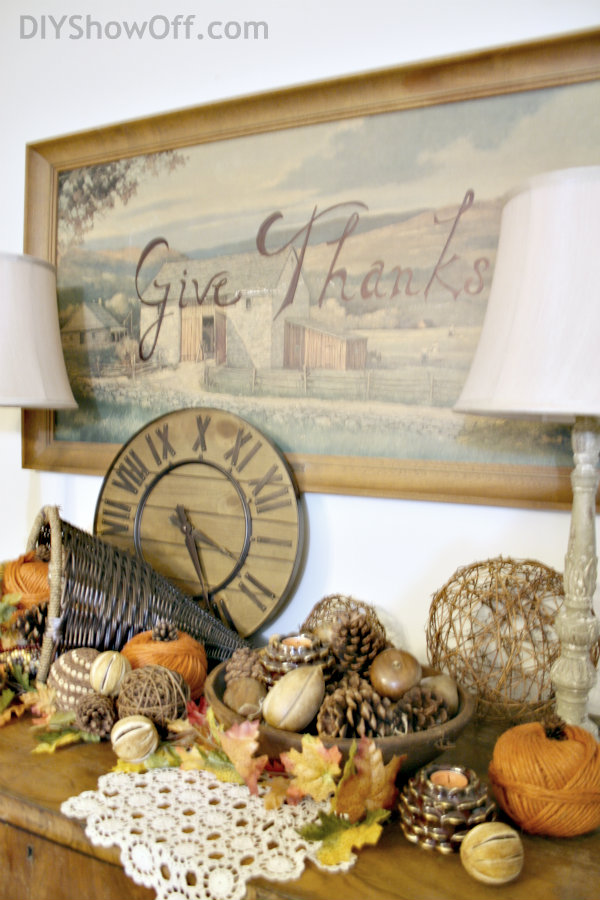
We don’t host Thanksgiving dinner. We’re lucky to be guests. So, Thanksgiving decor is minimal at the DIY Show Off home but I did want to share how I turned a $4 print called “Nostalgic Autumn” by Eric Sloane into something I love hanging in our home this time of the year. Our thrift stores have huge framed outdated prints in “fair” condition on occasion. It’s not something I’d normally choose, but the the colors and autumn farm theme is perfect for our dining room. I decided that adding the words “Give Thanks” ensures that once a year, I will hang this print. And every time I look at the words “give thanks”, I take a moment to thank God for our many blessings.

Give Thanks vignette

What I did:

easy DIY Thanksgiving wall art

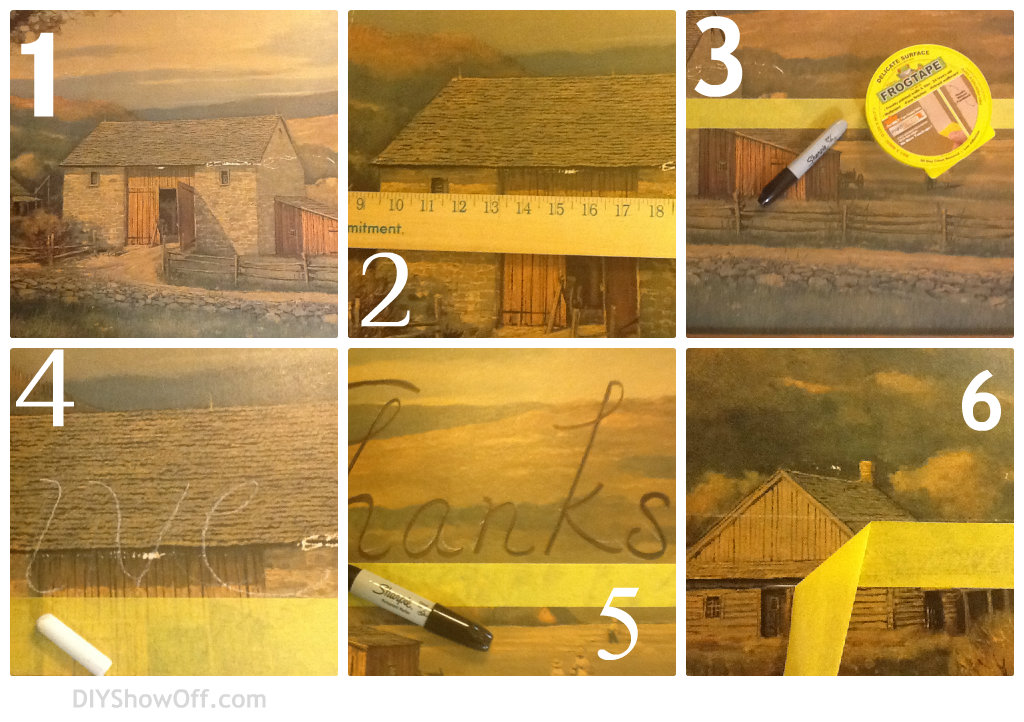
  1. Old framed print {thrift store}. Mine wasn’t in the best of shape. There were scratches on the print, etc. but we embrace imperfection around here, therefore it’s “perfect”. {You may want to check to see if your print has value before altering it.}
  2. Decide where lettering will be placed using a level or ruler.
  3. Apply a piece of FrogTape Delicate Surface. It works on freshly painted surfaces (24 hours) so it’s a good option for sticking lightly to an old art print. I did not rub the tape to adhere since I’m not painting. I’m using it as a guide/straight line.
  4. Write quote or words with chalk or use a stencil.
  5. Go over chalk words with a Sharpie/permanent marker. Be care of smudging with your hand, work from left to right {or I guess if you’re left handed, it might make sense to work from right to left…which ever way your hand won’t smudge the area you’re working on}.
  6. Carefully peel away FrogTape. Continue drawing letters that fall below the level line, wipe away chalk.

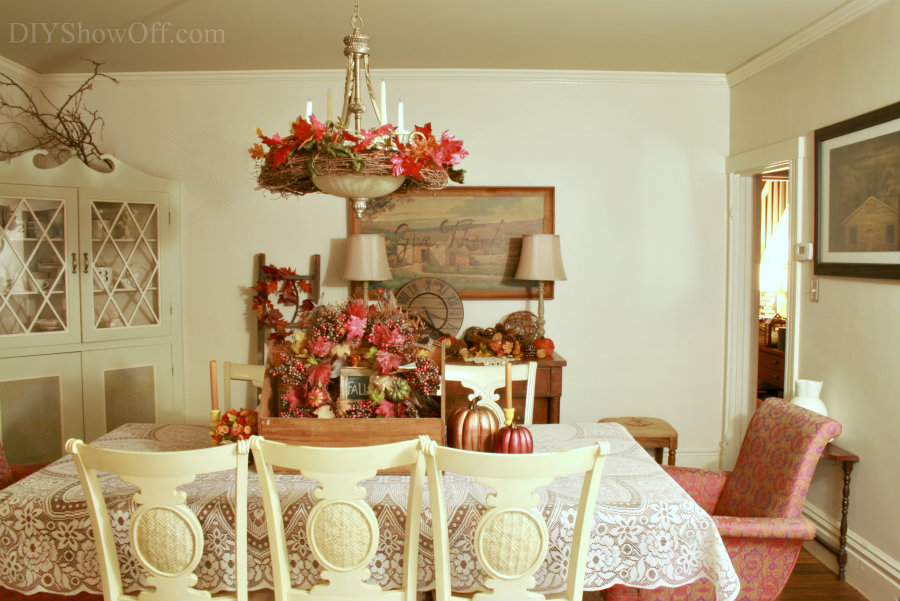
farmhouse Thanksgiving dining room

I love the every day reminder to “give Thanks”, especially this time of year. What do you think? Have you seen large art prints at the thrift store or yard sales that with a little DIY touch or accent would work for your seasonal decor?
DIY Thanksgiving wall artThis is a sponsored post brought to you by FrogTape. The opinions are completely my own based on my own experience. 

 FrogTape Blog Squad

DIY Fall Festival and Autumn Highlights

Welcome back to the week DIY Fall Festival! You’re invited to share your fall craftiness and autumn decorating or browse the links to visit our festive blog friends already all decked out for fall! There were so many great links last week. Here are a few fall favorites:

5 Minute Fall Crafts

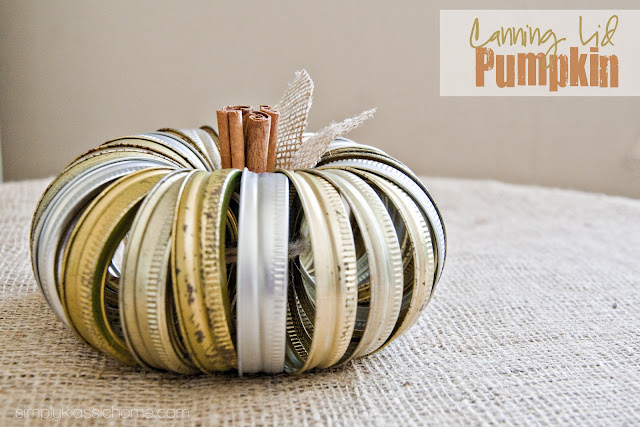
Super cute canning lid pumpkin tutorial at Simply Klassic Home.
canning lid pumpkin tutorial

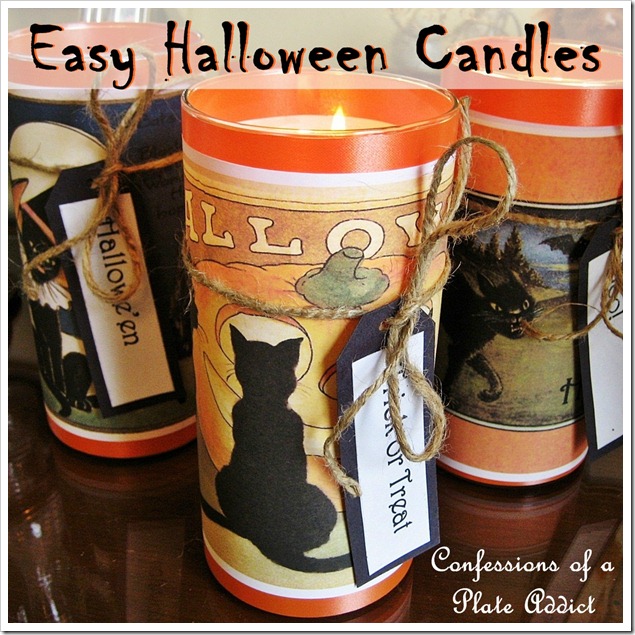
Looking for an easy autumn decorating or fall gift idea? Check out the cute vintage Halloween (or any season) candle tutorial over at Confessions of a Plate Addict.

easy seasonal candle

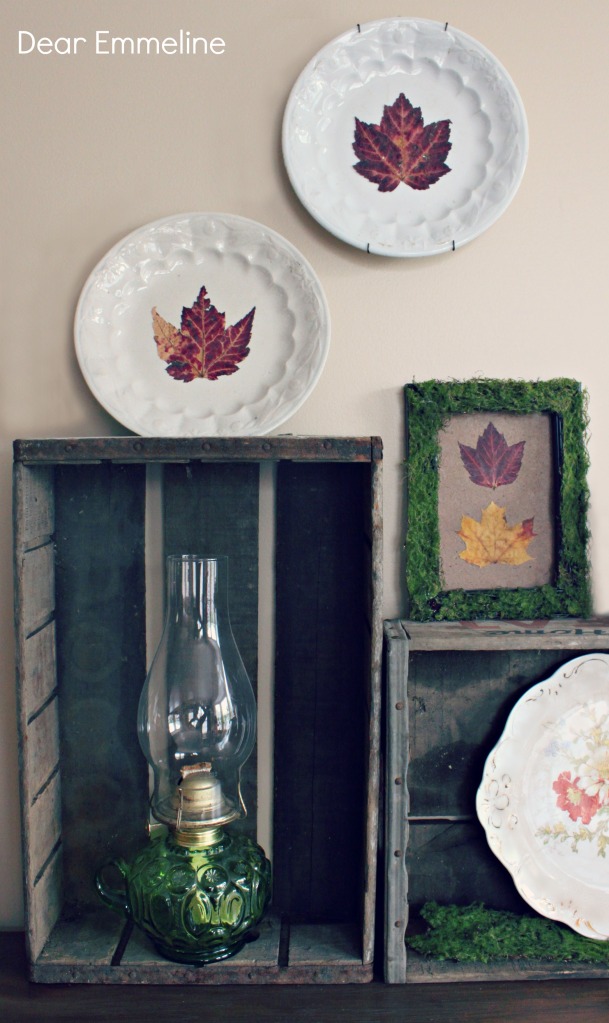
Fall plates craft by Dear Emmeline.

fall plate craft

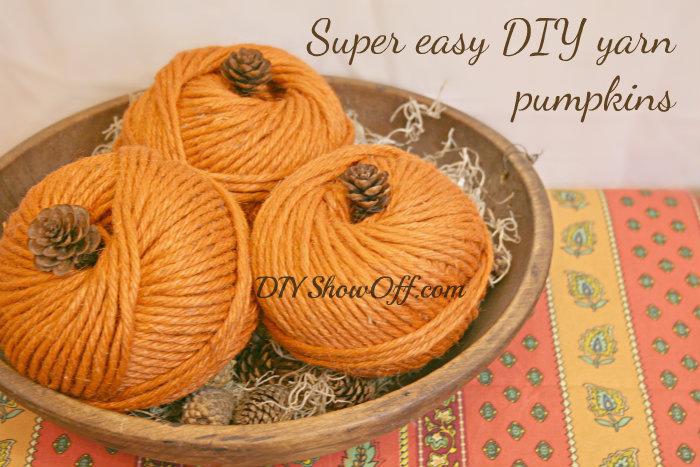
Last week I shared my DIY yarn pumpkins, a super easy and quick fall project:

how to make yarn pumpkins

Fall Mantels

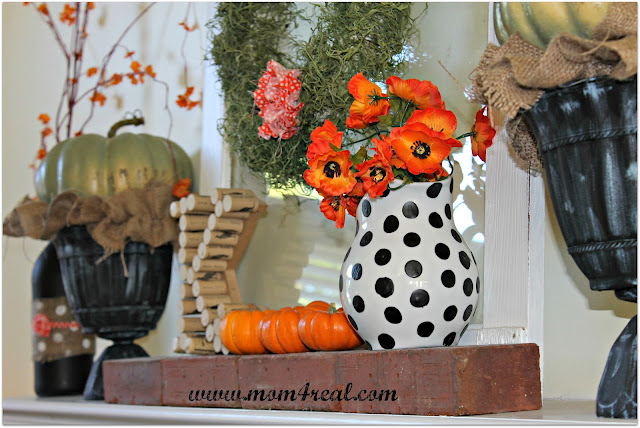
The fabulous fall mantel at Mom4Real has the perfect combination of texture, fall colors and a fun pop of whimsy in that polka dotted pitcher.

fall mantle at Mom4Real blog

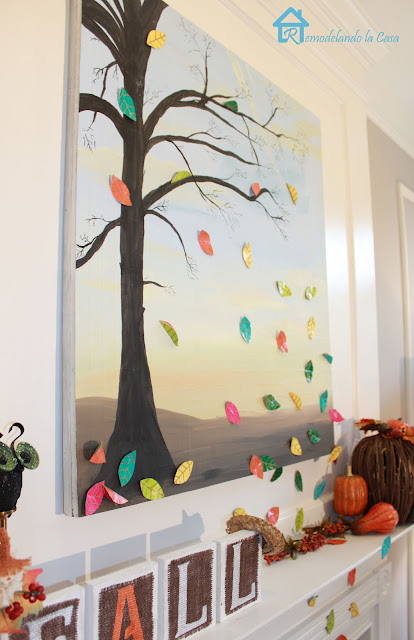
Remodelando la Casa has a fall mantel full of DIY goodies. Love the burlap fall blocks and her awesome painted tree with falling flying leaves is perfect for the autumn season!

fall mantel 

DIY Show Off Fall Festival Party

<div align="center"><a href="https://diyshowoff.com/category/holidays-seasonal/fall-festival/" title="DIY Show Off Fall Festival Party" target="_blank"><img src="http://i899.photobucket.com/albums/ac195/Roeshel/DIYFALLFESTIVAL.jpg" alt="DIY Show Off Fall Festival Party" style="border:none;" /></a></div>
  • Link YOUR NEW FALL DO-IT-YOURSELF projects only please! If linking an old project, please reintroduce in a Fall 2012 post to share.
  • Please link back to this party in some way.
  • By linking up you give permission to be a favorite fall DIY feature {with a link back your site}.
  • I will share links to your post on Facebook, Twitter, G+ and Pinterest. Feel free to do the same! Thanks!


This week, I’ll be working on some fall decorating {finally!}. In the meantime, here is our fall decorated dining room last year…

DIY Signs and a girls’ DIY day…

Distressed Wood Sign Tutorial

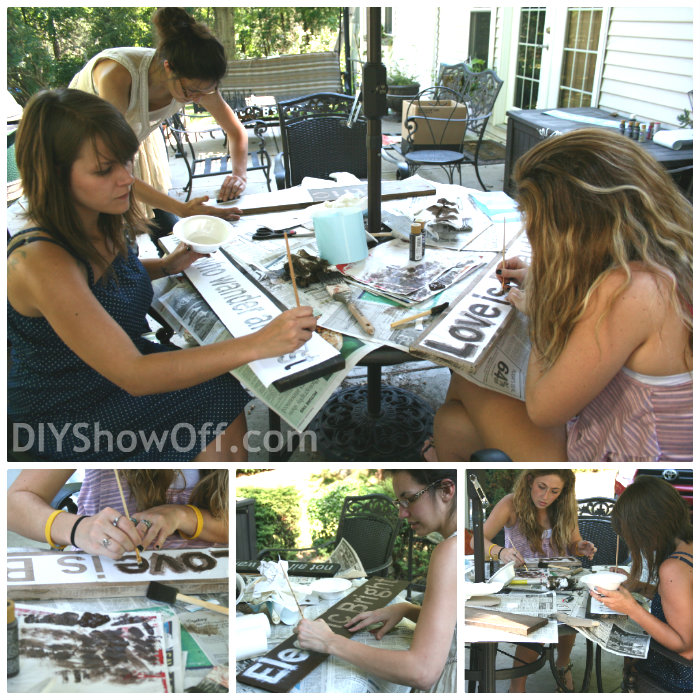
One busy day last week, when I wasn’t renovating an apartment, Bri and her friends {Amber and Megan} joined me for a morning of thrifting and in the afternoon while I was working on a wood plank DIY project {can’t wait to show you!}, they scooped up the wood scraps and created personalized signs. They did also give me a hand on a couple of projects I was working on so a barter of wood scraps for a little creativity was the perfect “thank you”. It was a super fun and productive day! Here is a tutorial for creating a DIY wood plank sign by Megan, Amber & Bri:

distress sign tutorial at DIY Show Off

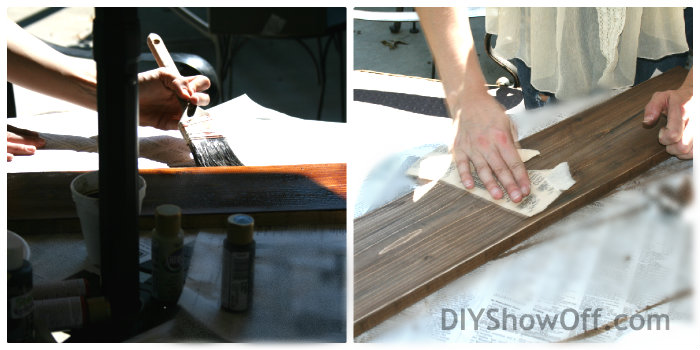
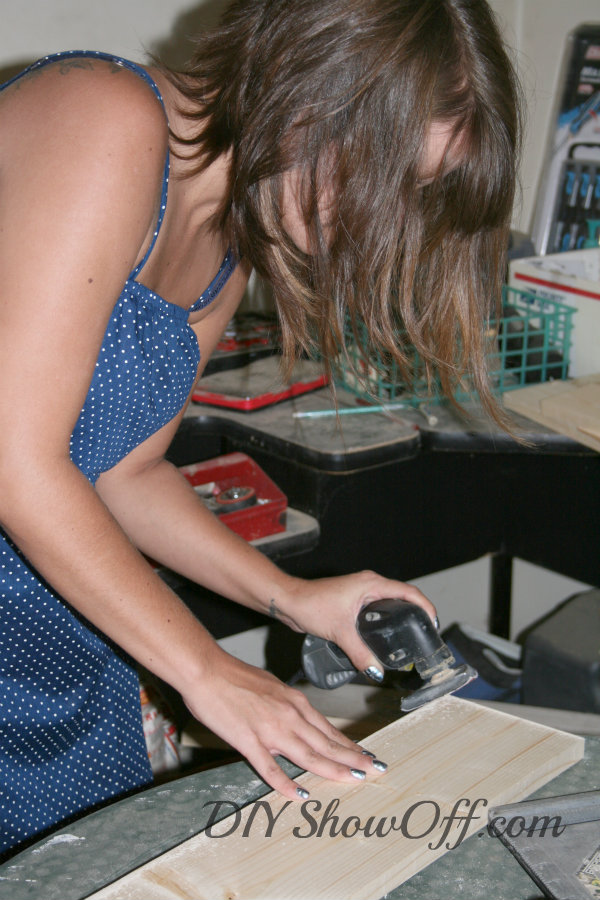
They each grabbed a board, my Dremel Multi-Max and sanded the edges. These girls are DIY divas! Affiliate link: Dremel 6300-05 120-Volt Multi-Max Oscillating Kit

DIY wood plank sign

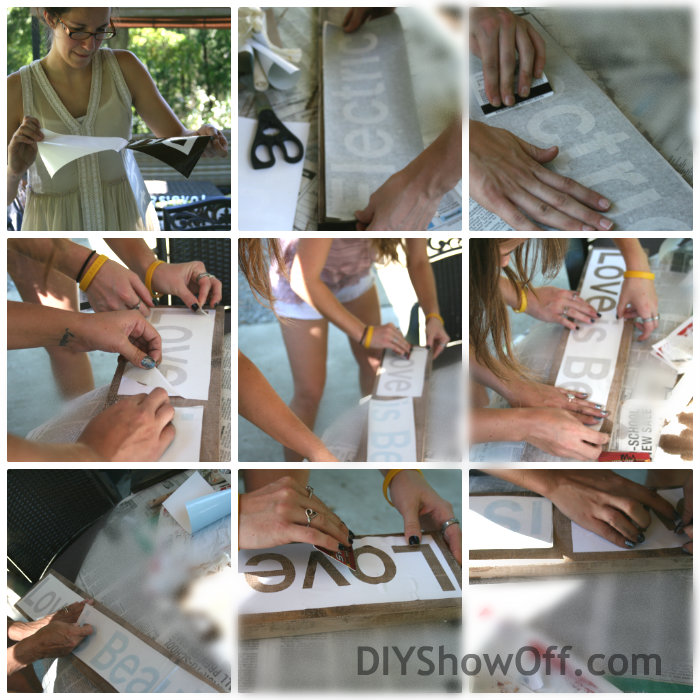
Each girl chose a quote (or in Amber’s case the name of her upcoming Etsy shop – exciting and I’ll share more when she’s ready) and I used my Silhouette Cameo to create and cut out vinyl stencils. Affiliate link: Silhouette Cameo Starter Kit Bundle Cutter

They each went for a classic distressed/antiqued look.

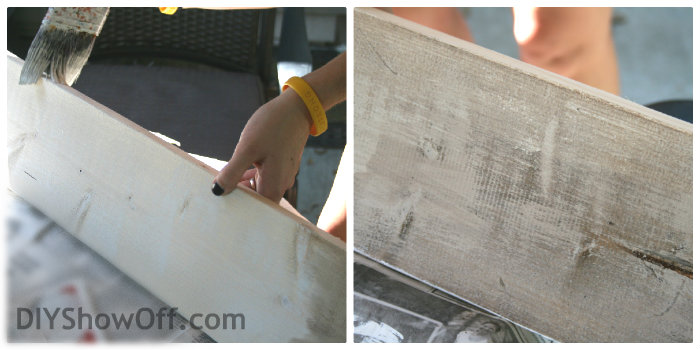
Bri chose a dry brush technique with black and a brown glaze.

how to make a distressed sign

Amber chose to distress with a stain.

how to make a distressed sign

Megan did a white wash (dry brush technique) with a brown glaze.

how to make a distressed sign

Silhouette vinyl was used as a stencil and applied to the painted/glazed boards once they were dry…

how to make a distressed sign

The vinyl was rubbed down with a plastic card to secure the vinyl to the board.

They each painted the letters for their quotes using craft paint…

how to make a distressed sign

and promptly removed the stencil.

how to make a distressed sign

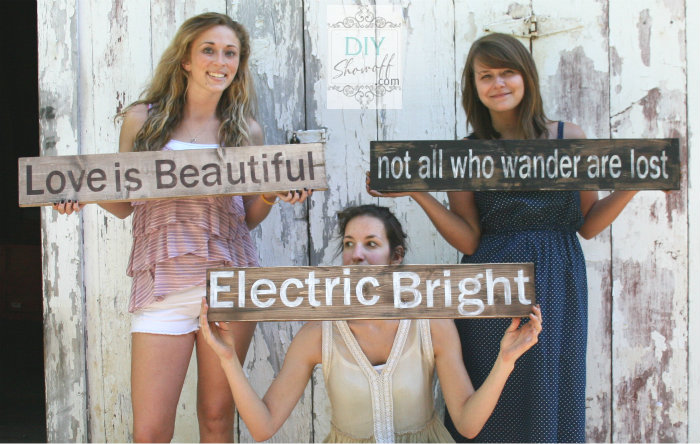
It didn’t take long for their signs to dry. I love them all lined up. They look awesome!

how to make a distressed sign

And they each took home a sign to display in their homes…

how to make a distressed sign

So easy. So pretty! (the signs are cute too! lol!)

Have an amazing weekend! I’ve been working on details to help out with a family reunion for Saturday so I won’t be around but hope to see you Sunday at the DIY Project Parade!

More DIY sign tips: