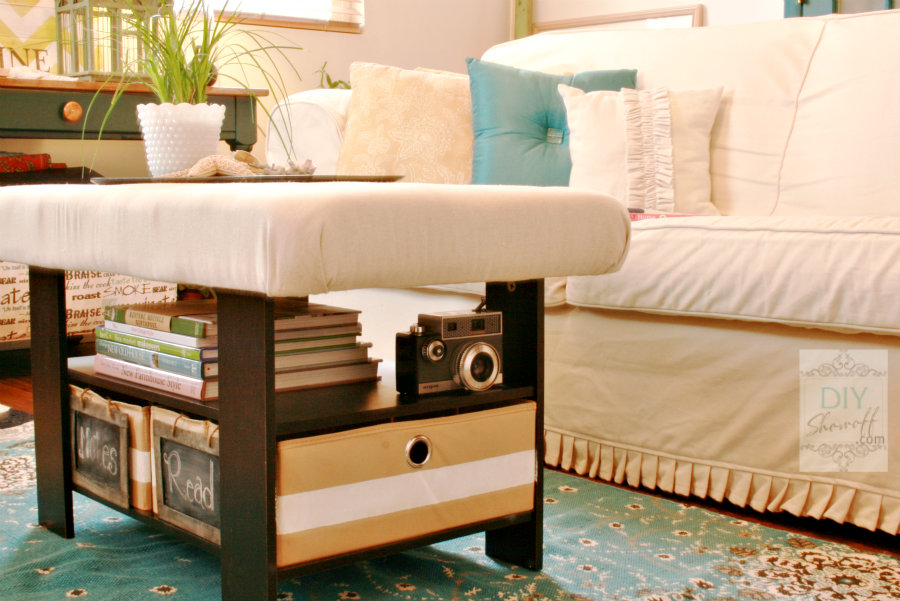
Remember, oh I don’t know, 10 years ago (Just kidding. It feels that way!) when I started our family room makeover? Then we got sidetracked with an apartment renovation but since we’re wrapping up the last minute details there, the family room makeover is back on my DIY schedule. Of course that means a lot of DIY projects, decorating and furnishing and on that list was a DIY upholstered tufted ottoman.
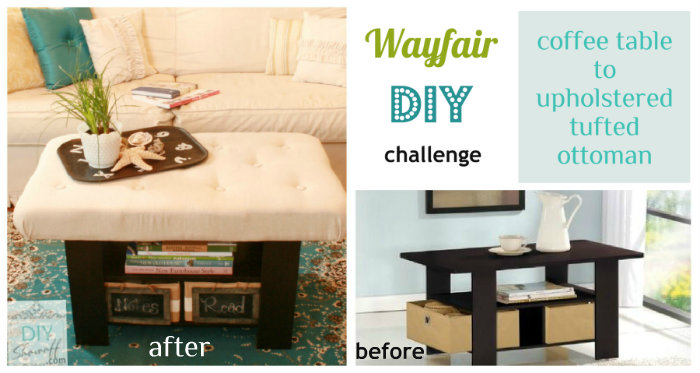
Challenge: Have you heard of Wayfair.com? It’s the largest online retailer of home furnishings and decor, with millions of products for the home that fit any style and budget. They believe that getting crafty with your decor is one of the best ways to add a unique personal touch to your home. That’s why they created the DIY Blogger Challenge. I was invited to participate and had the option to choose from a coffee table, book case or pendant light. All fun products but I took one look at the coffee table and knew I wanted to create an upholstered tufted ottoman.
And as I found many tutorials and inspiration on Pinterest, I’m joining the Fall Pinterest Challenge as well. I have built an ottoman in the past {see my tips for building an ottoman} but tufting is a new experience to me and one I’ve been wanting to try for a while now. My ottoman upholstery/tufting experience:
Here’s what I did:
- Furinno Espresso Coffee Table
- 4″ foam (This can be pricey. Use coupons or try foam from an egg crate twin bed cushion.)
- batting
- fabric (I purchased 1 1/2 yards. 1 yard for the project, scrap for button covers)
- spray adhesive
- tools: scissors, Sharpie, yard stick, drill, electric knife, felt tip pen, screwdriver
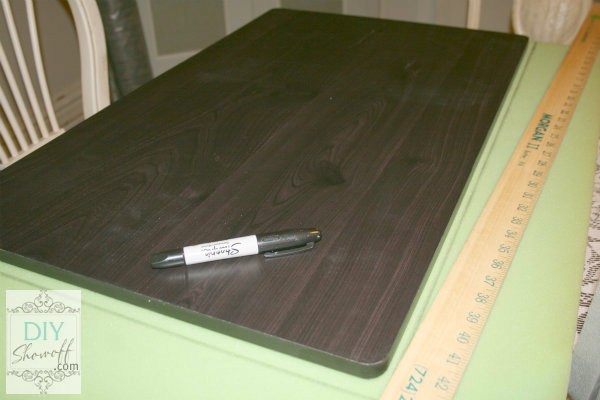
I started by laying the coffee table top on my foam and measuring just a little bit bigger (about 1/2 inch).
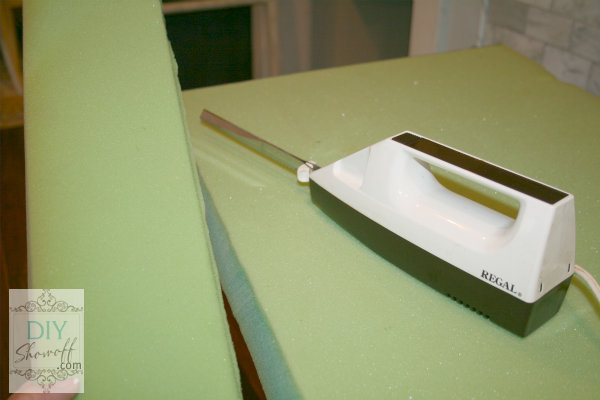
Using an electric knife, I cut out my piece of foam.
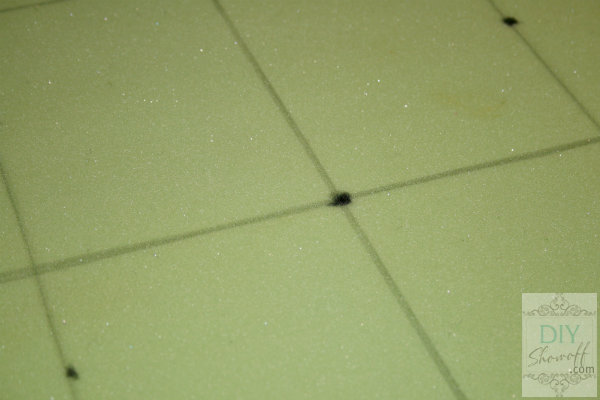
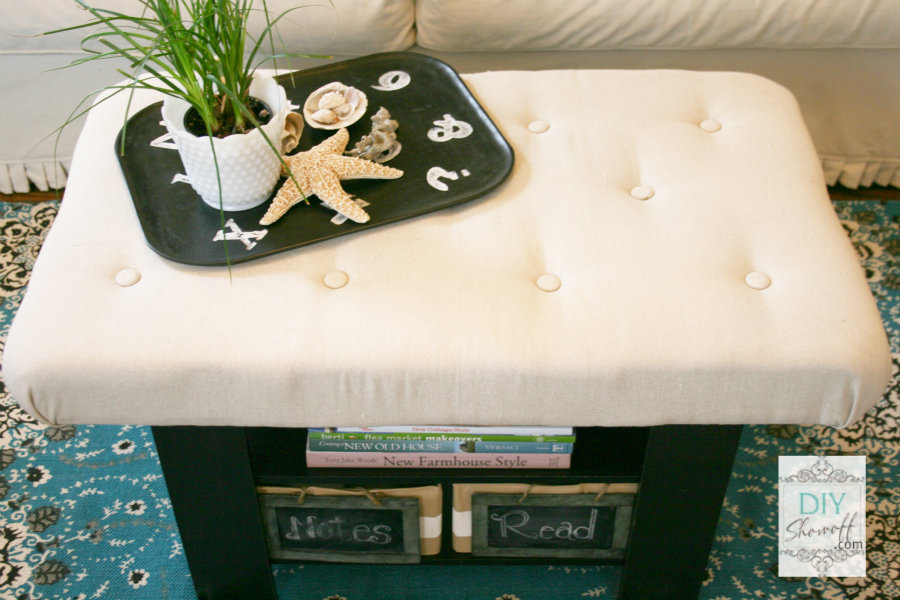
With a yard stick and measuring in halves, I made a grid on the foam with a Sharpie. Then decided where I wanted my button tufts to be located. I did 3 rows totaling 11 buttons (4 buttons, 3 buttons then 4 buttons).
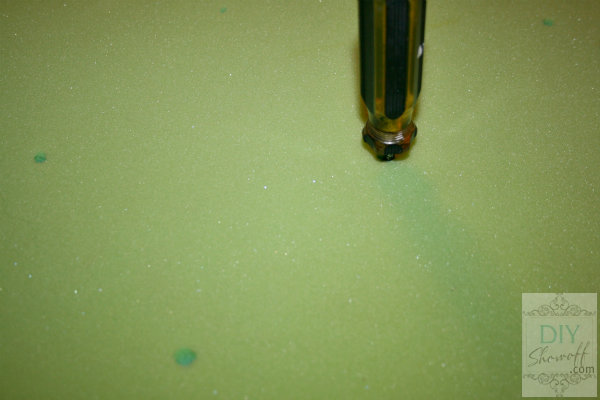
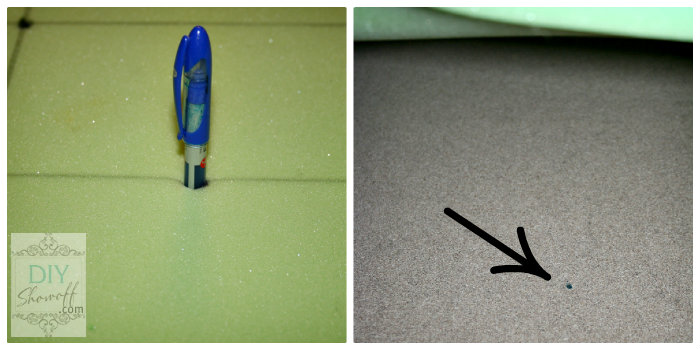
I poked a hole where I wanted my button tufts using a screw driver. Then flipped my foam and poked through that side as well.
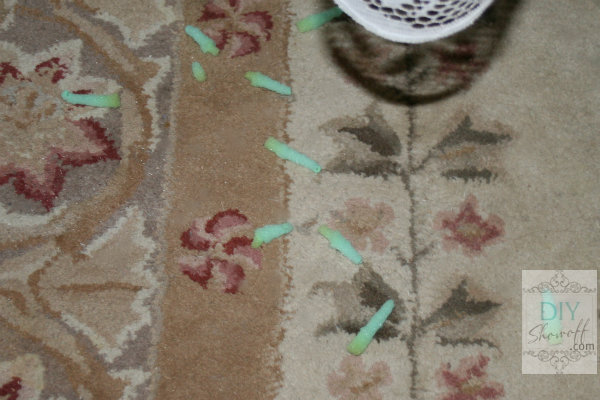
The screwdriver pushed out the foam, creating a small hole all the way through the foam.
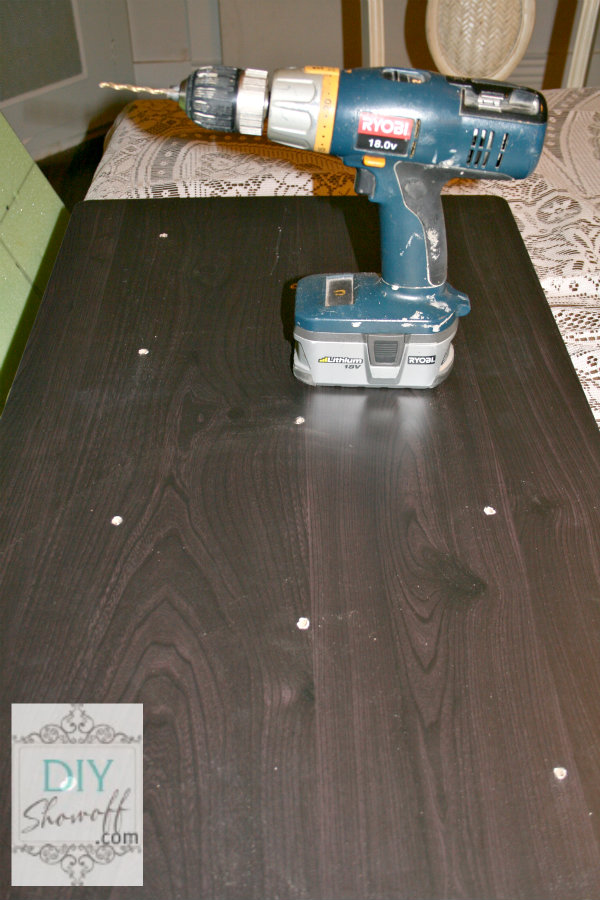
I flipped my coffee table top back side up, laid the foam on top and using a felt tip pen pushed into the holes, I made a mark on the table top where I’d want to drill holes for tufting.
I drilled the marks, then flipped the table top over and cleaned up that side of the drilled holes by drilling through them again.
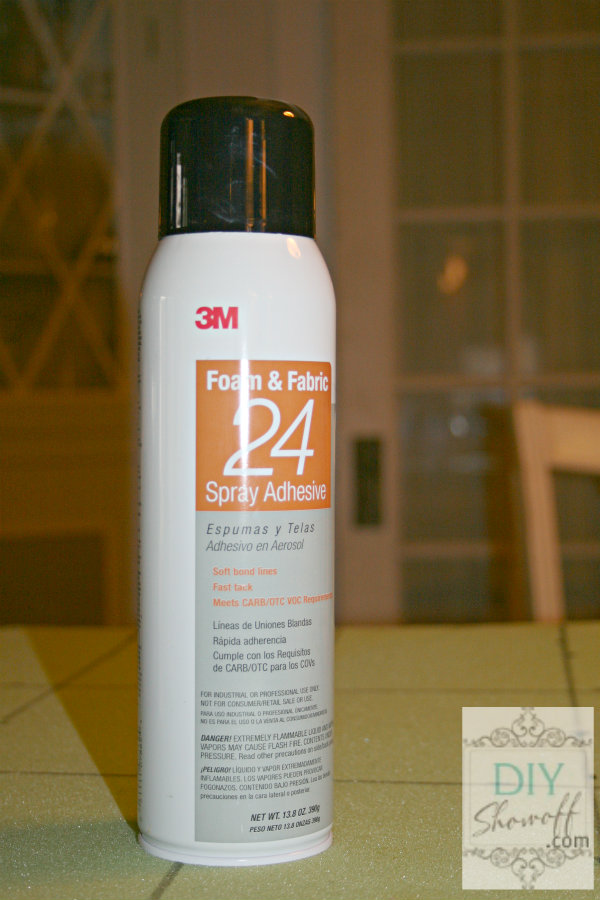
Next I used a spray adhesive to attach the foam to the table top.
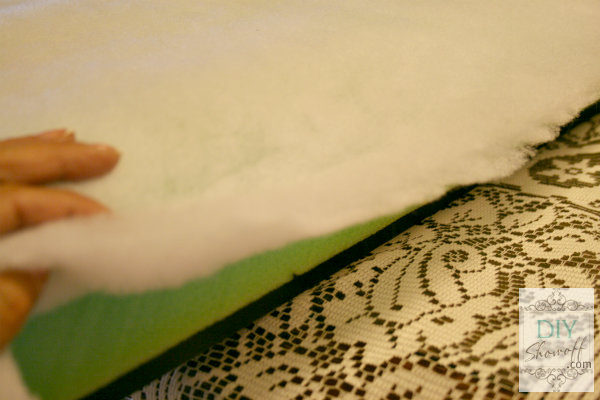
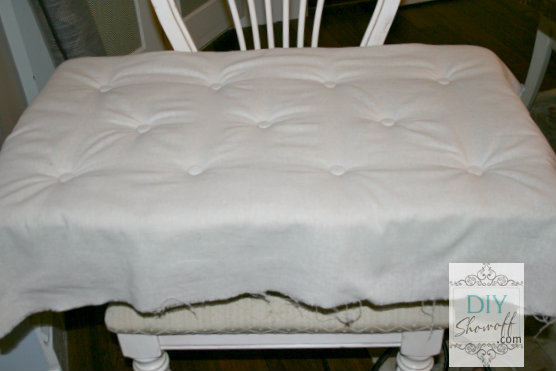
Then covered the foam with batting (cut just a half inch longer than the edges of the foam and table top).
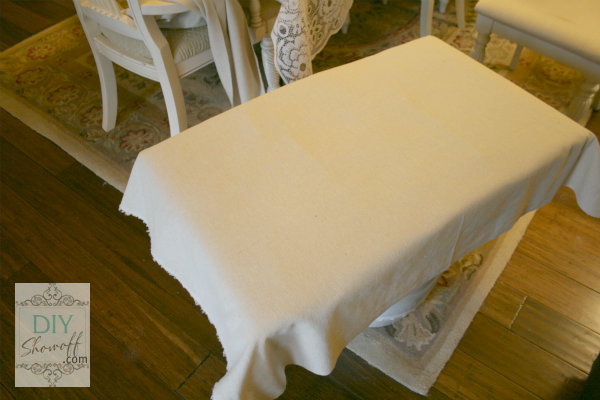
I covered the batting with my fabric. Again, measuring and cutting just enough to pull onto the underneath for stapling.
Tufting:
- fabric scrap and button kit (or buttons for tufting)
- upholstery needles
- wax covered button thread
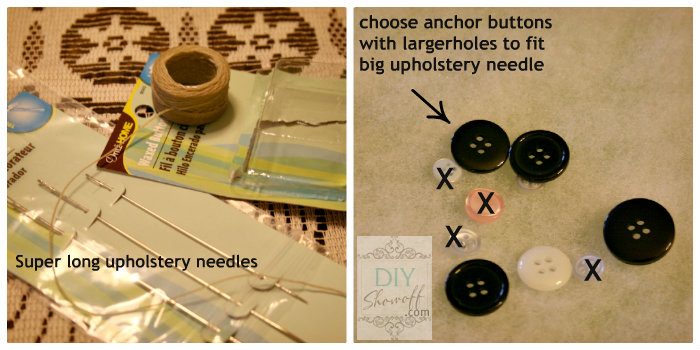
- anchor buttons
- staples
- tools: stapler, scissors
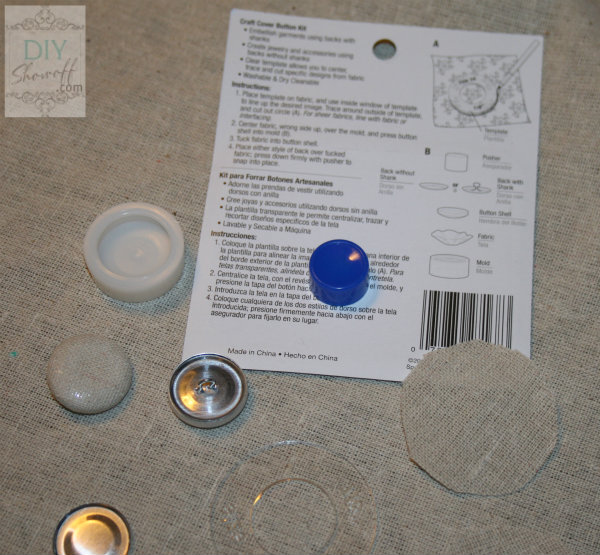
I put together the fabric covered buttons I wanted to use on the top of my ottoman for tufting.
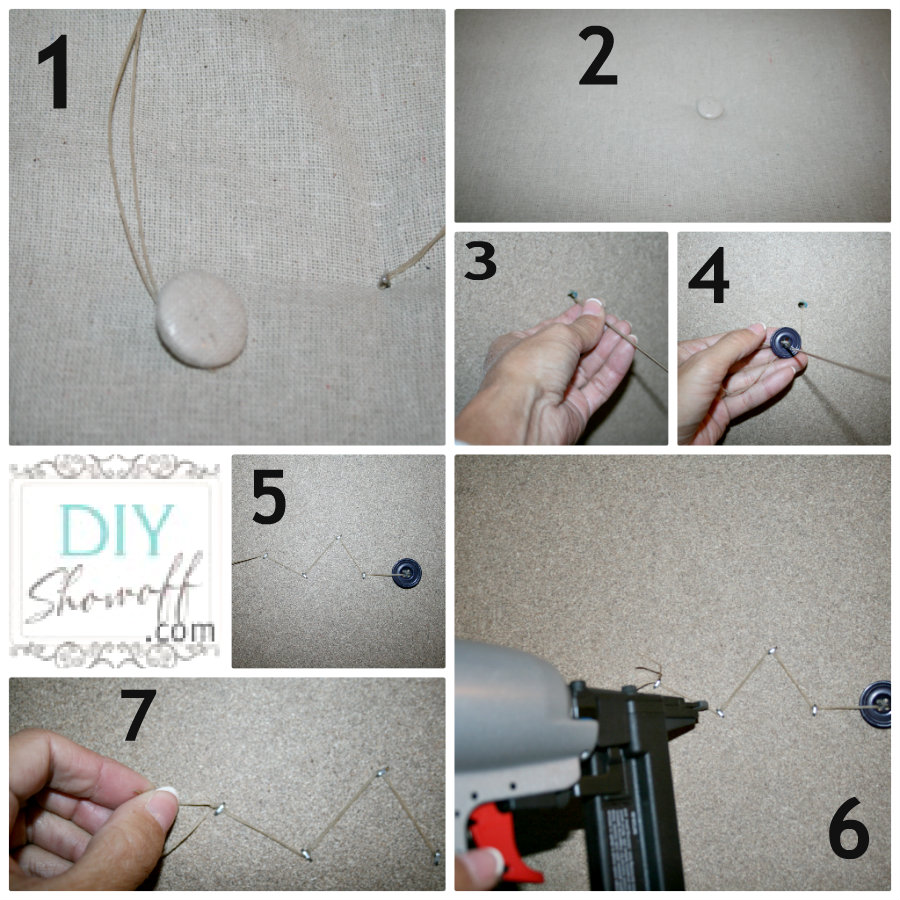
Then, I threaded the largest upholstery needle with the waxed button thread. (I had no idea what this was for when starting but learned through use that the wax helps hold the tufted button when the waxed thread is pulled tight.) I attached the fabric covered button to my threaded needle and started at the center of my upholstered table top. Locating the hole is tricky (I did lift my batting to help guide my needle). Find the tufting hole and poke the needle through the fabric, batting, foam hole and into the hole in the wooden table top, pulling the needle out the bottom of the table top.
Thread an anchor button onto the needle. Thread the needle back through a second hole in the anchor button and back up through another hole one more time. Push the button down towards the hole in the wooden table top. Pull tight.
While thread is pulled tight and anchor button is secure against the wooden table top, staple thread onto the wooden table top a few times using a zig zag pattern.
Leaving enough thread to tie a knot, cut the thread and put the needle aside. Tie a knot in the thread.
Repeat. I worked from the middle out. Note: I used random anchor buttons I already had on hand.
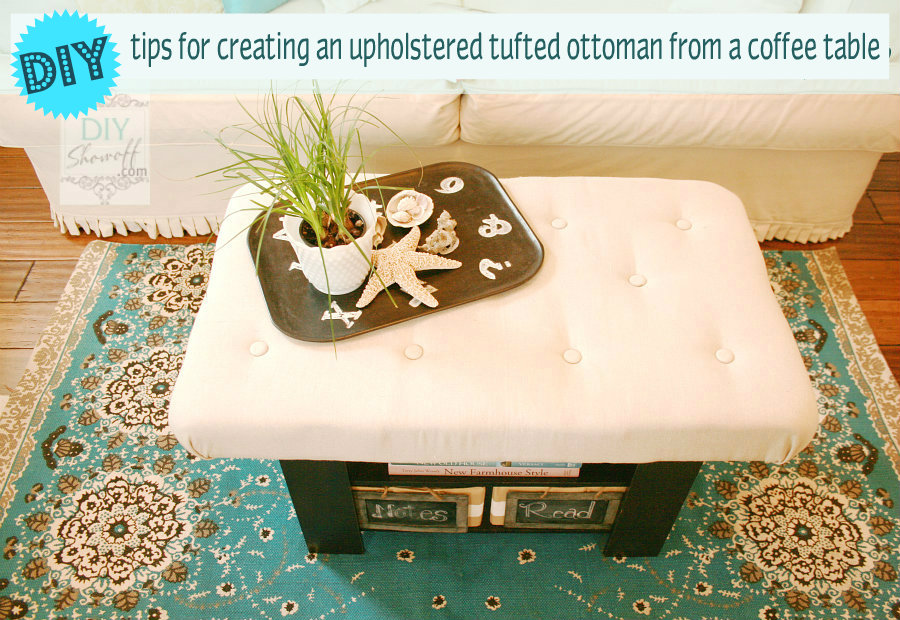
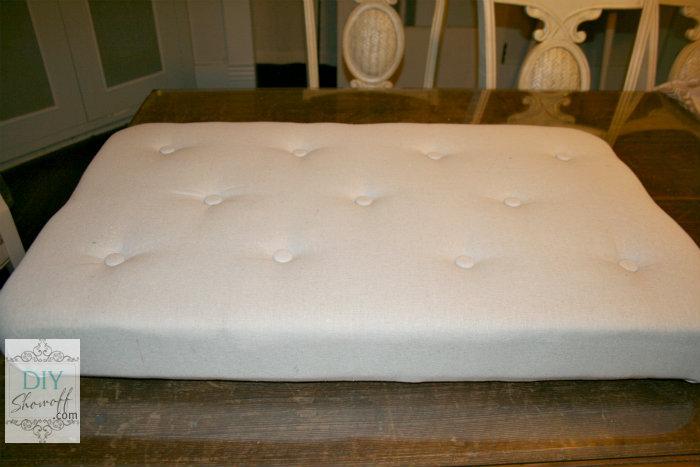
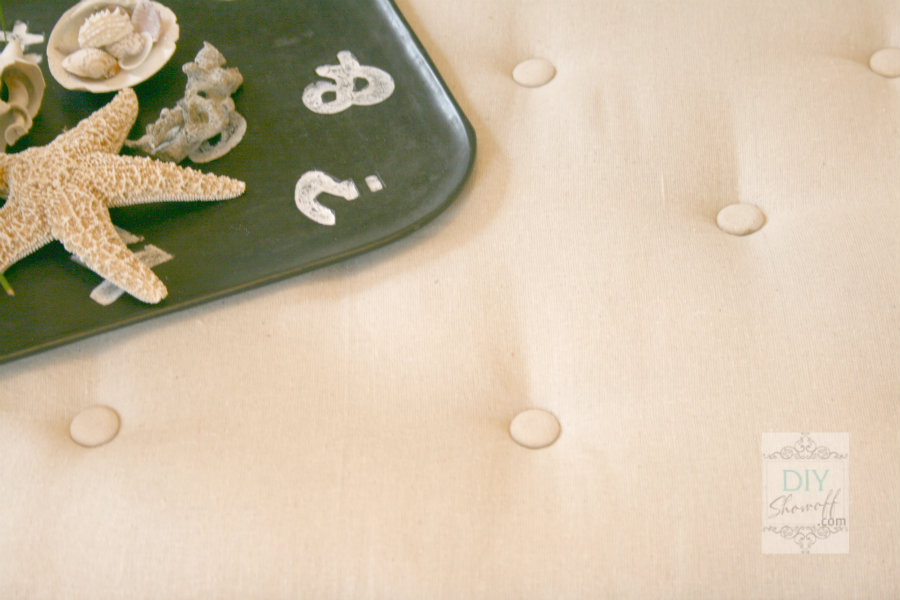
The front will look like this:
Move completed tufted table top to an area where it can lie flat. Pull the fabric tight around the sides of the foam to the under side of the tabletop and staple into place. Start in the middle of each side and smooth batting and fabric as you go.
Then work on the corners. Wrap them like a present. There is no wrong way, just try to create a smooth corner. Staple into place on the bottom of the table top. Be sure to stay clear of the pre-drilled holes for attaching the legs to the table top!
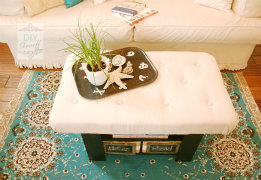
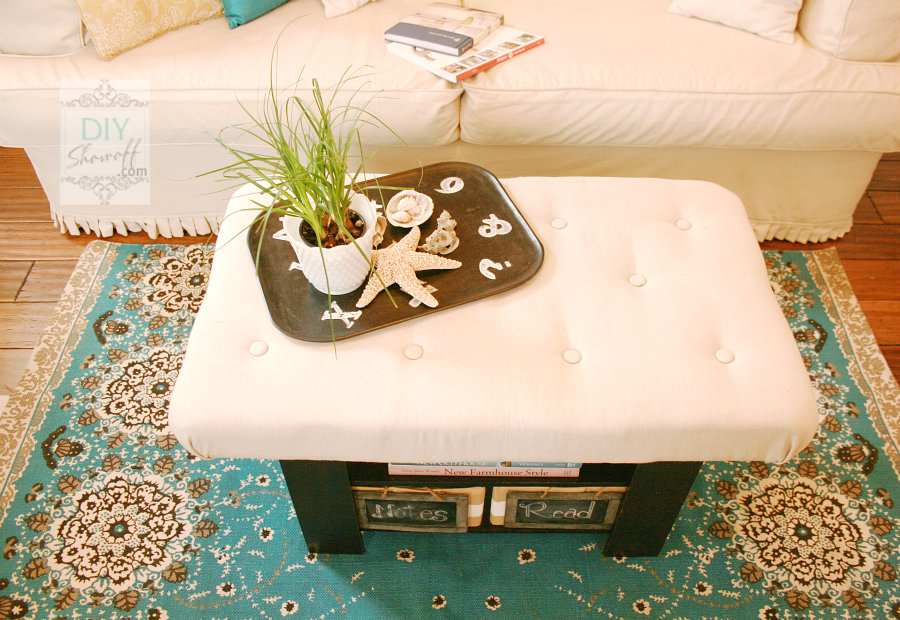
All done! For added security, I covered my buttons and thread with duct tape (not shown). Flip and admire your upholstered tufted ottoman cushion!
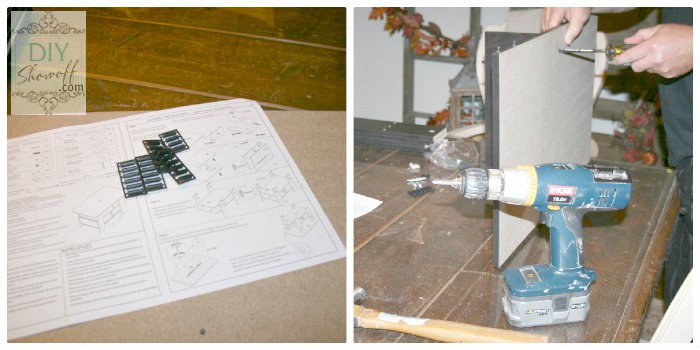
Assemble the rest of the coffee table as per instructions. Attach newly upholstered tufted top just as you would the regular top according to the directions. Assembly was extremely easy.
- tools: screwdriver, rubber mallet
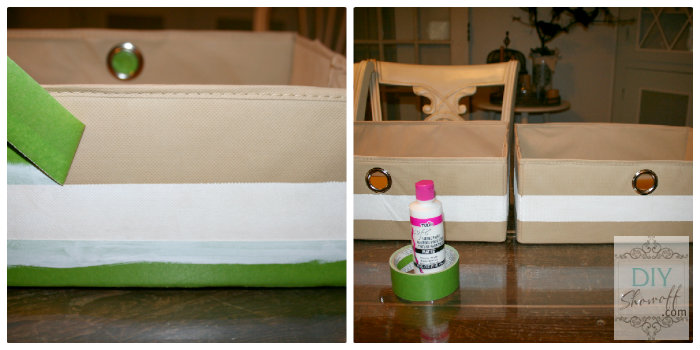
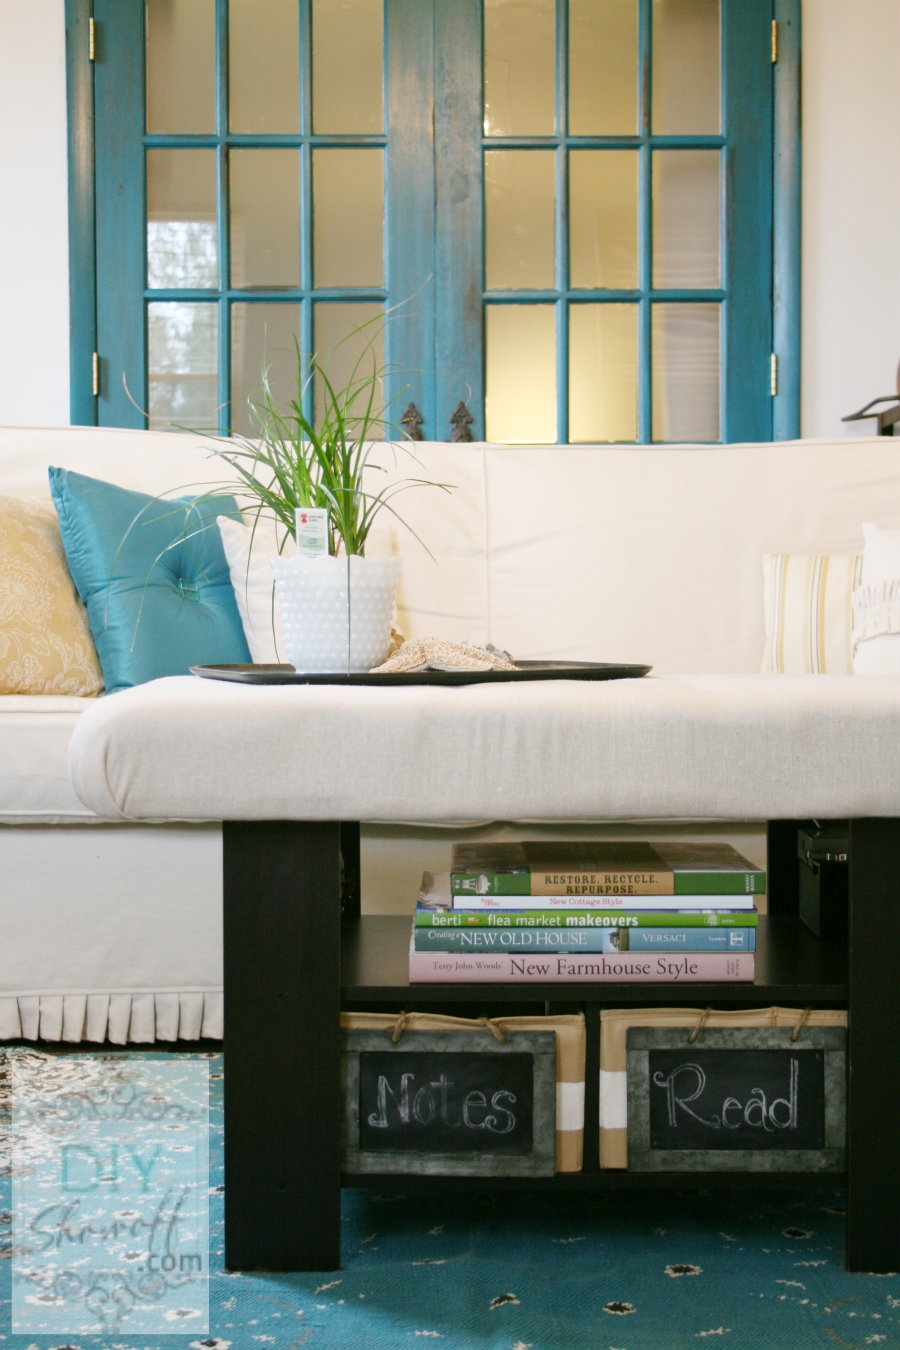
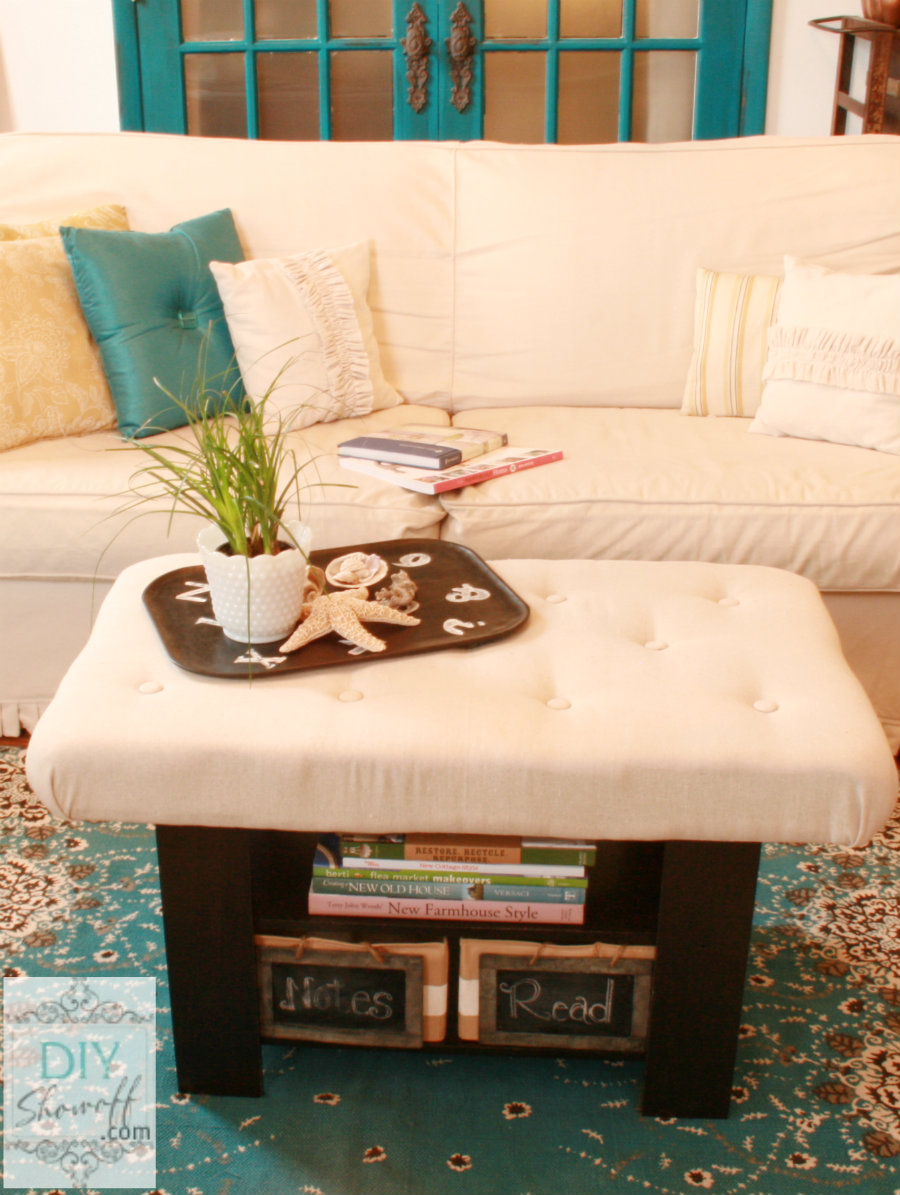
Accessorize: What I loved about this coffee table is that it has two bottom shelves and comes with bins! I gave the bins a little makeover using FrogTape and fabric paint and added chalkboard labels that I had on hand.
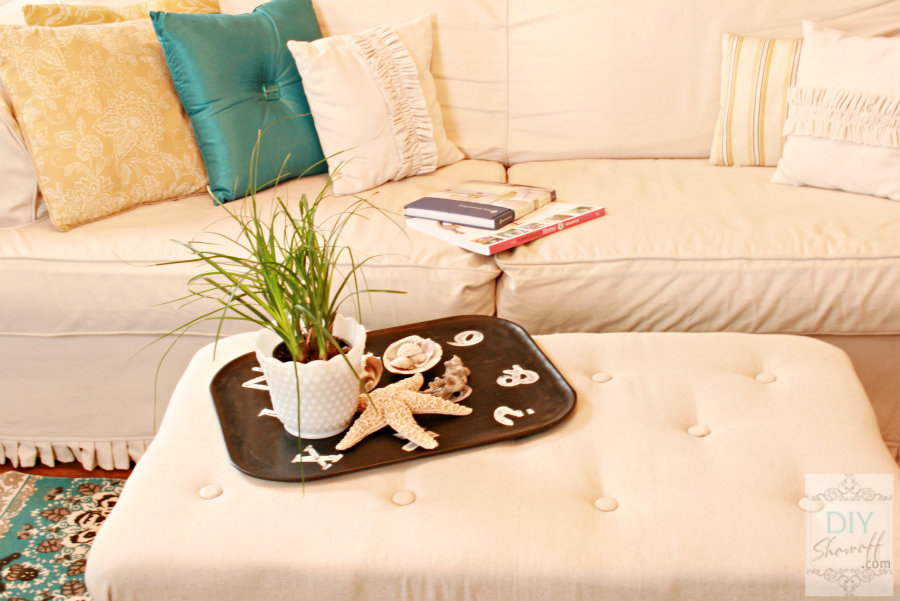
Now I have an upholstered tufted ottoman for the family room!
What do you think? Pretty easy and affordable. Visit wayfair on facebook here or on pinterest here.

Disclosure: Thank you to Wayfair for the coffee table and the challenge and to Giftcards.com for providing the gift card for my project materials. This post was also partially sponsored and brought to you by FrogTape. The opinions are completely my own based on my experience and project results may vary.
Linking up:






I love tufting!! I am sewing challenged – and I think even I could do this!! Great accessories too – want that camera!
Kelly
BEAUTIFUL!!! I love it! so creative!
oh and that turquoise is STUNNING! great choice color!
woohoo Roeshel! it looks fabulous! Love the tip of the sharpie through the hole!
great job girl!
gail
Nice job!!
Hi Roeshel,
Girl! You have put a great effort in tufting the ottoman. I wish I could be handy with these tools.
Hi, Roeshel
I am loving this new ottoman. It turned out great and now I am going to redo my redo from last year’s ottoman. LOL I love the colors in your living too.
Vanessa
Roeshel,
As a former seamstress who paid her rent by sewing, while working a full time job that did not come close to paying my monthly bills…….. this is a great instructional. You are very smart and do quality work.
If all follow your instructions, they can do this….. I know, I had to do such stuff all the time. Great job girl.
Sheryll, that’s the best compliment! Thank you sooo much!!!
it turned out great! love the added details on the baskets too!
That is one beautiful table! I always love the attention you pay to the little details. It makes is one of a kind 🙂 I love it.
This is so beautiful! I just love how it turned out. The white against the dark wood is gorgeous.
Nice job and holy detailed tutorial! Pinned and shared 🙂
Pingback: DIY Project Parade Linky PartyDIY Show Off ™ – DIY Decorating and Home Improvement Blog
Wow Roeshel you are amazing, girl! What a cool and functional project. xo
That turned out so great! Love that it pulls double duty if you pop a tray on top. I like the super clear, step-by-step step instructions too 🙂
Pingback: How to turn a coffee table into an ottoman ~ Inside Out Design | | DIY Show Off ™ - DIY Decorating and Home Improvement BlogDIY Show Off ™ – DIY Decorating and Home Improvement Blog