Covered Patio Transformation

When we bought our home, the lower area of our bank barn was junky and scary.

Before – previous owner’s things. It’s dark, scary, spidery and a little dangerous with broken glass. Old picture…sorry about the tiny size.

barn-before

I shared some photos in our summer home tour but I wanted to share some true before along side the after pictures. 

After – paneled wall, a LOT of paint and a concrete patio. 

barn patio 

The transformation in pictures:

Yikes!

New Back Wall

The harvest table looked liked this before and was actually nailed to the back wall…we gave it a makeover too.

New Concrete Patio
 
Russ tries out the paint sprayer

Now:

barn party patio

On the far wall, two old barrels topped with a door serves as a buffet table near the electrical outlet…great for serving and keeping crockpots and slow cookers warm. 

barn patio makeover

Doesn’t the harvest table look 100% better with a paint job? The bench was ‘rescued’ too. 

party patio

A framed chalkboard gets a new message with each party. Birthdays, graduations, etc. The tire planter is on the wall when we entertain but gets moved to the sun/rain otherwise. My giant painted puzzle playmat serves as wall art. 

outdoor entertaining

Wicker furniture is all from estate and yard sales – just a fresh coat of spray paint. 

outdoor living

I still need to get two outdoor pendants/lighting. I’d love to stain/paint the concrete. I also have plans for moving things around and building a ‘bar’ type area. But for now, it’s perfect for parties and sometimes I come down here for some quiet time too. 

red and turquoise patio

It’s a fun area for hosting cookouts since it opens up into our huge back yard with plenty of room for volley ball, badminton, corn hole and a fire pit. 

tire flower planter tutorial at DIYShowOffWall art….

Painted Foam Playmat

Games…

DIY giant outdoor LCR dice game tutorial


DIY Chalkboard Party Favors

DIY Chalkboard Party Favors:

DIY chalkboard party favor clips

Materials:

  • small flat wooden pieces 
  • chalkboard paint
  • clothes pins 
  • hot glue 
  • decorative tape or ribbon
  • chalk
  • optional: add a magnet to the back of the clothespin

Tutorial:

1. I gave one side of my mini-chalkboards two coats of chalkboard spray paint and let dry.

mini chalkboard tutorial

2. I decorated my clothespins with decorative tape or ribbon. I recommend attaching/securing decorative tape or ribbon with glue (not just the sticky decorative tape) or spray paint clothespins.

decorative clothespins

3. Season chalkboards by rubbing chalk on the surface and erasing.

how to make mini chalkboard party favors

4. Hot glue clothespin to the back of the mini chalkboards.

chalkboard favors

5. And wrapped pieces of chalk with decorative tape too. 

decorative chalk

6. I also added some decorative tape to the back of my mini chalkboards. The clothespin holds the chalk.

DIY mini chalkboard tutorial

Since I made these for a group of 30 blog friends, I tied on my business card…cute!

DIY chalkboard promotional gifts

Great for a smaller sized get-together and I have a few left to attach some magnets to for the fridge. 🙂 

DIY chalkboard party favor clips

THAT DIY PARTY and DIY Highlights

Every week, so many blog friends take a minute to link up their fabulous DIY projects. I love browsing the links, visiting friends and getting inspired. 

That DIY Party

Do I really visit over 200 blogs each week? You bet I do which accounts for not being able to comment every single time but I pin my favorites for sure! Follow along, check out and repin from the original source by following THAT DIY PARTY pinboard.

thatdiyparty.pinboard

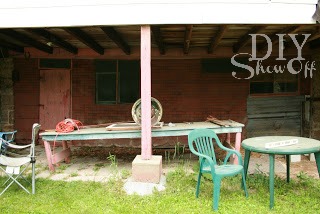
DIYShowOff Recap: This week I shared a kids’ picnic table makeover. The faded yellow, red and blue just isn’t anyone’s style. Now it’s cute, cleaned up and a great reminder to give thanks. 

How to paint a child's plastic picnic table 

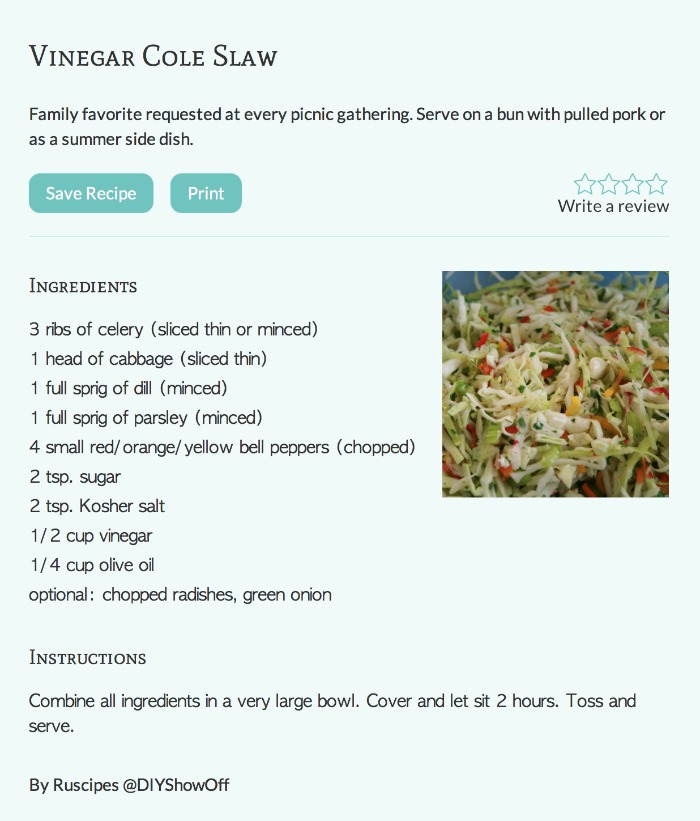
Question: Remember when I shared an entire BBQ Menu from Mr. DIY? My man loves to cook! If we won the lottery, he’d give up his day job to open a restaurant. He loves it THAT much! Did I mention that even after working a long work day, he still comes home to relax and unwind by cooking up a delicious meal nearly every single night? I know. I’m a lucky girl! How would you like to see a few more of his recipes here and there? 

vinegar coleslaw recipe

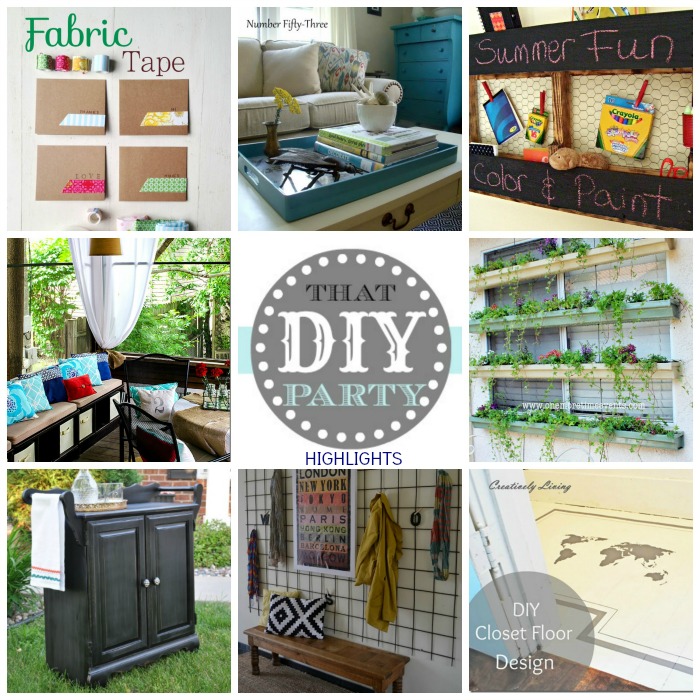
Showing Off: And now for some awesome DIY highlights from last weeks’ THAT DIY PARTY.
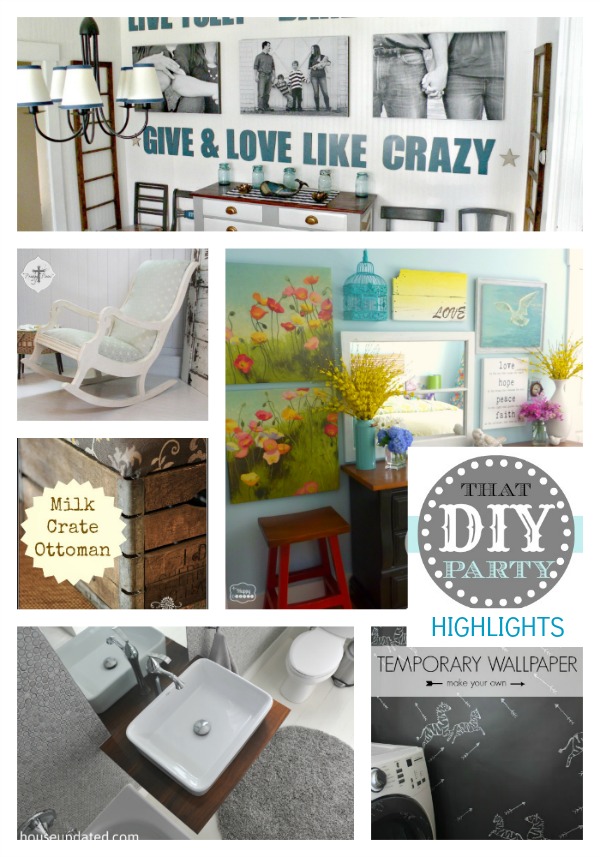
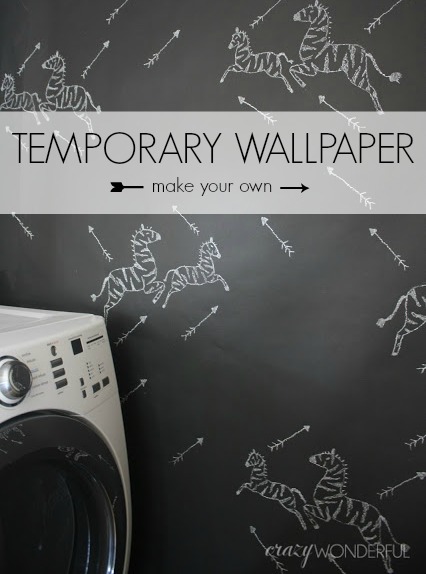
DIY Party Highlights

FUN DIY

Shelley’s DIY temporary wallpaper at Crazy Wonderful is well, crazy wonderful, isn’t it? Those chalk zebras are adorable! 

temporary wallpaper at westerman fam 

AWESOME ROOMS

Every time I visit Krista, I can’t help smile at her happy colorful and eclectic home. Her summery master bedroom at the Happy Housie makes me think I’d wake up every day with a positive attitude. 

summer-master-bedroom-gallery-wall-new-bedding-at-thehappyhousie 

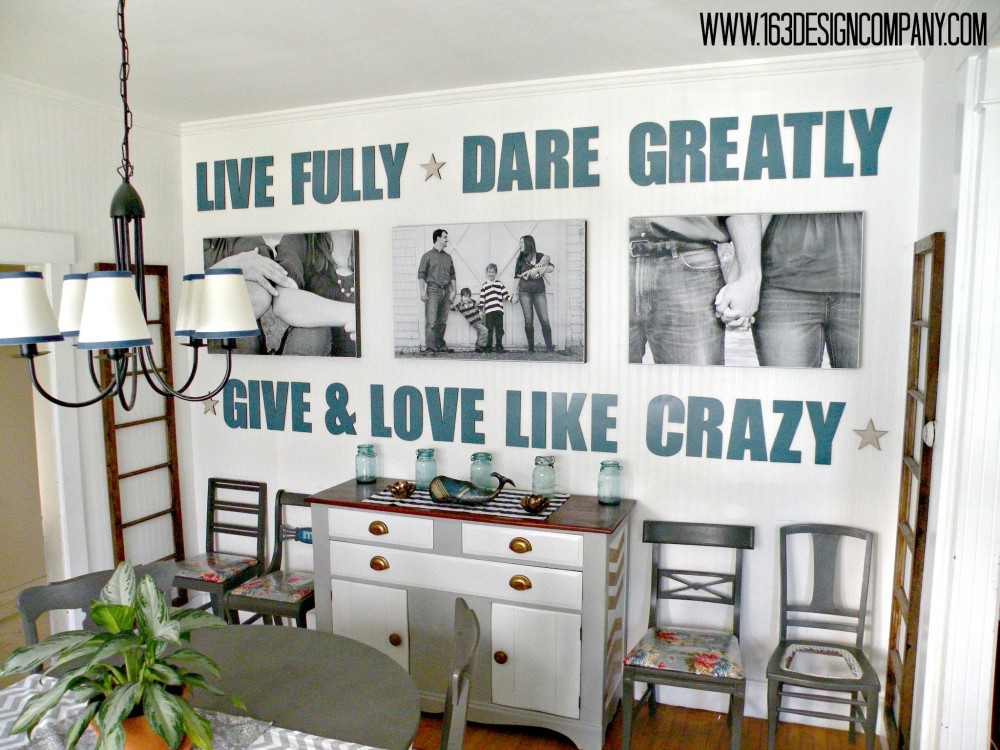
I love a great mix of pattern and lots of DIY and that’s what Jennifer accomplished in her stunning dining room makeover at 163 Design Company.

dining room makeover at 163 Design Company

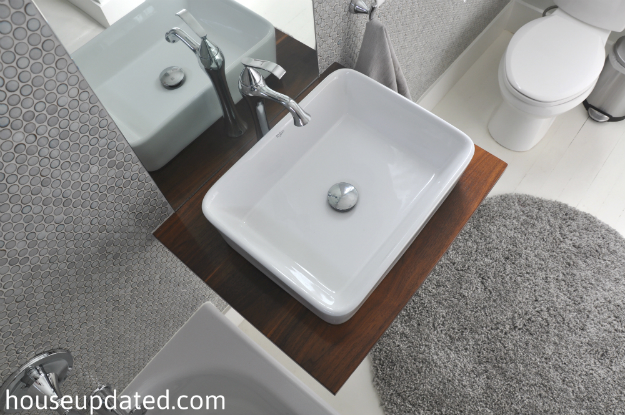
You will NOT believe this bathroom before and after at House Updated. Wow, Brit! Beautiful work! I can’t decide what I love more, the gorgeous penny tile or that stunning warm floating vanity shelf. Wow! 

bathroom makeover - House Updated

FAB FURNITURE

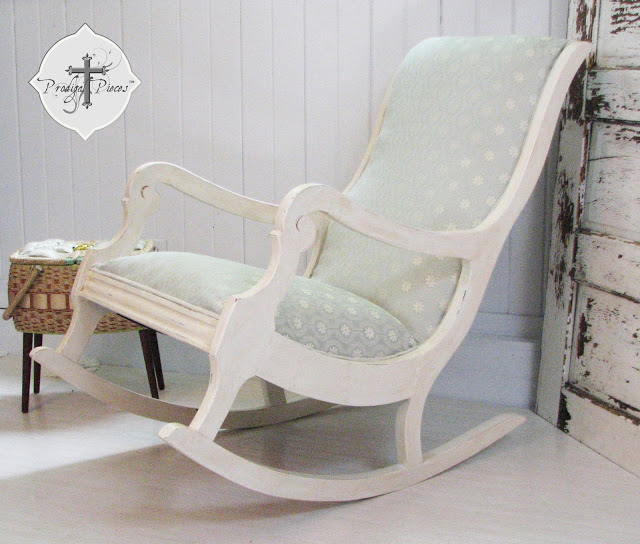
Larissa shares a series on how to makeover a rocking chair at Prodigal Pieces and what a beautiful transformation!

rocking chair makeover at Prodigal Pieces

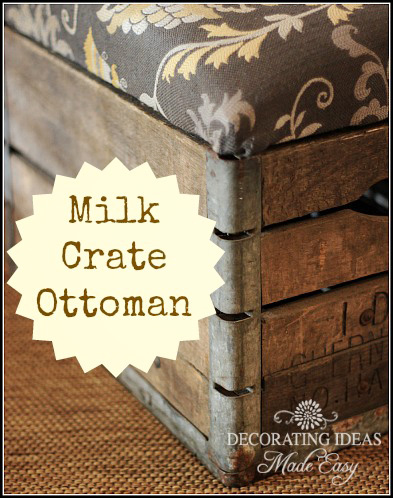
This milk crate carton tutorial at Decorating Made Easy is super sweet!

milk crate ottoman at Decorating Ideas Made Easy

See the previous week’s DIY highlights here

That DIY Party Highlights 24

TIME TO PARTY: Now let’s see what you’ve been up to!

DIY Show Off

<div align="center"><a href="https://diyshowoff.com/category/other/that-diy-party/" title="DIY Show Off"><img src="http://i899.photobucket.com/albums/ac195/Roeshel/thatdiyparty125button_zps360f71b1.jpg" alt="DIY Show Off" style="border:none;" /></a></div>

1. Please use the button above or text and link to this post to share the linky love. Here is the link: https://diyshowoff.com/category/other/that-diy-party/. I’m not one to double check and will feature your DIY project if I love it whether you linked back or not. However, I’d love for you to share a link, share on FB or by tweet or pin too! Invite your friends!

2. This blog linky party is for DIY projects only. Links not related to DIY will be deleted. Please share your link one week only.  Please do not link recipes, giveaways, linky parties, promotions or a collection of inspiration that isn’t your own DIY project. PLEASE DO NOT LINK TO YOUR ETSY SHOP. 

3. By joining the party, you give permission for your project to be featured and ‘shown off’ via blog highlight, Twitter, Facebook, Pinterest, G+ and the possibility of being featured on a new DIY feature site coming soon! 

4. If you’ve been featured, feel free to proudly display a DIY Show Off “I’m Featured Button” found here.


Linking up today? Please take a moment to share a link back to this post or one of my projects above via FB, G+ Twitter or Pinterest. I’d be so grateful! xoxoKeep up to date with sneak peeks by following along on social media too!
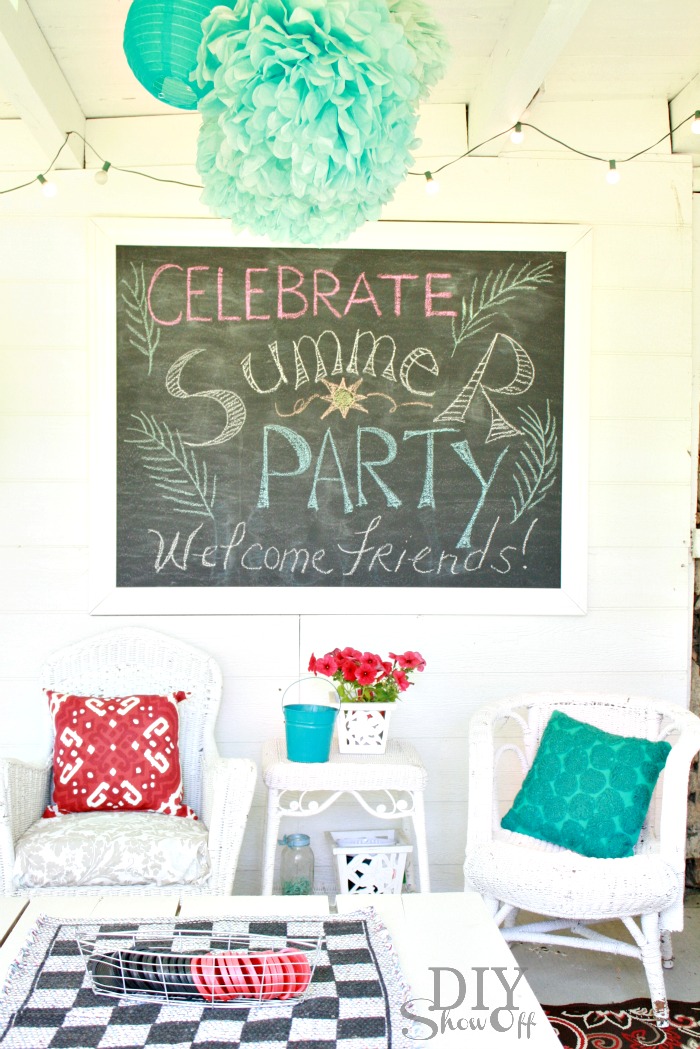
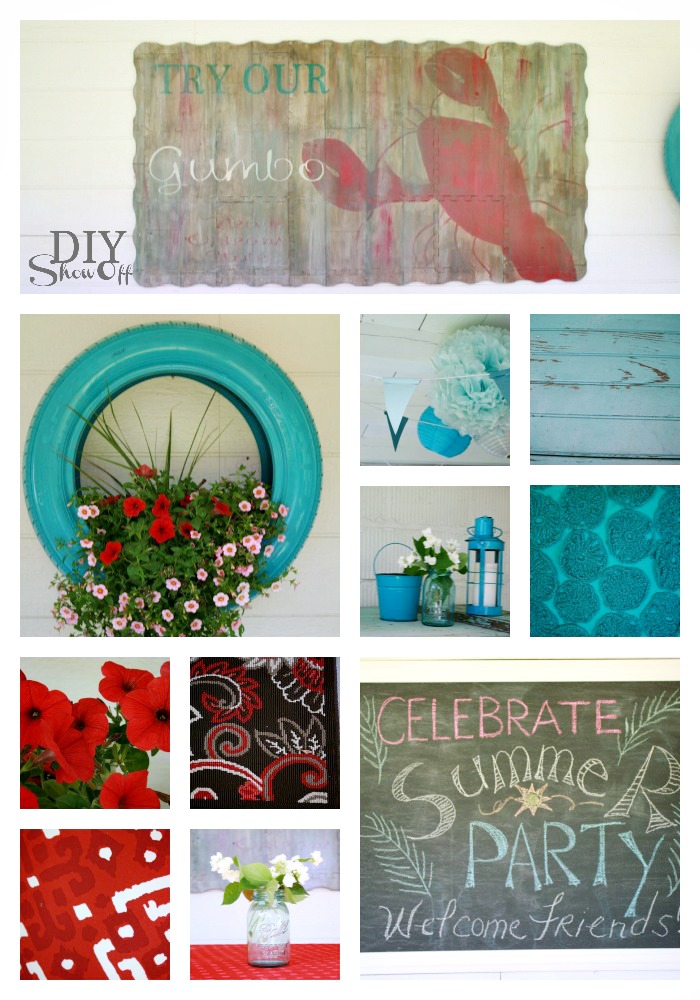